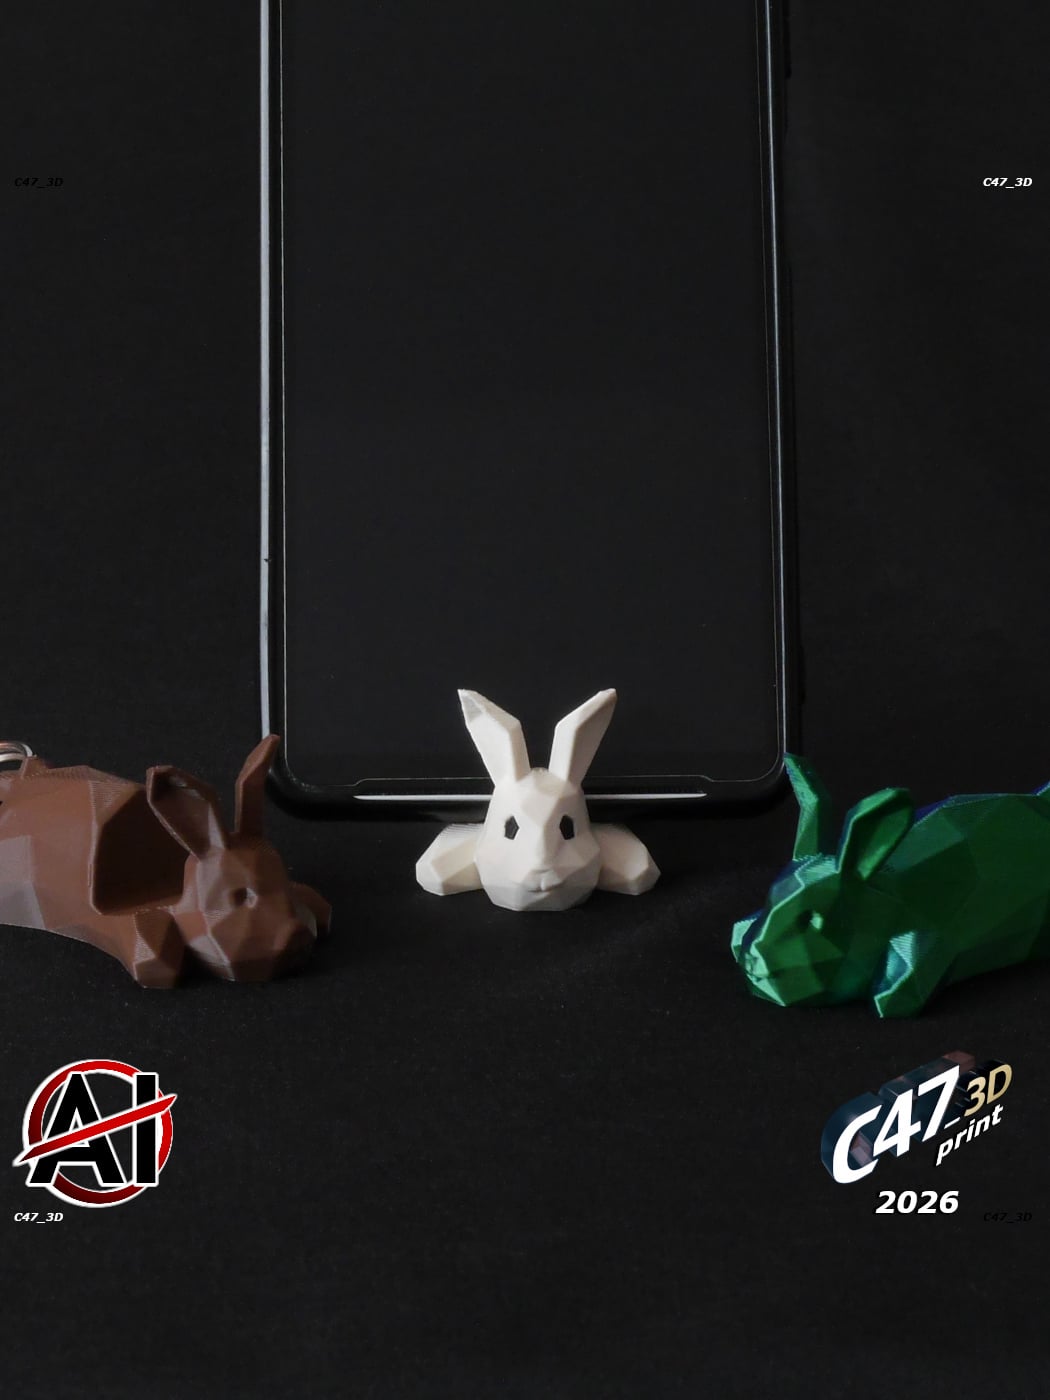


Low-Poly Bunny Phone Holder
Bunny as a toy, phone holder, keyring
If you want to sell prints of this models you can buy a commercial license Check my bio for a LinkTree or join my Commercial Membership on Thangs for all of my models
Number in file names is a space for a phone in mm - numbers are also marked on the model (on the bottom) For phone thickness of 8-16mm If you will need other sizes you can resize any model in your slicer (preferably the closer one) Use the equasion: <Needed space (in milimeters)> divided by <model number> multiplied by 100% = <Needed model size in percent>
May not be suitable with phone set vertically but it depends on phone size and it's weight - mine works fine The smaller the gap between the print and a phone the better chance it will not fall The gap is cut with 12dgr angle
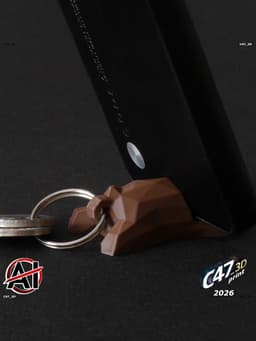
Keyring Drop a Bunny model of your choice along with a keyring file to the slicer Click 'yes' if asked to merge models or do it by yourself (right click menu after selecting both models in slicer)
Keyring models are with a 'frame', a flat surface that will not be printed. This way it is easy to set it in the right spot with a Bunny - Ignore model 'errors' and DO NOT try to 'fix' the model
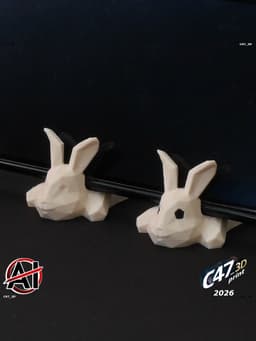
Parts To print a Bunny in two parts (body + eyes) drop a Bunny in slicer then right click and add a negative volume, choose BunnyV11_PARTS_Eyes-Negative-volume file Print eyes with a different color When assembling use small pliers. Keep in mind that Eyes are longer on the bottom (where a first layer is) - assemble it this way Eyes are symmetrical on X and Y axis, it doesn't matter wich will go left or right
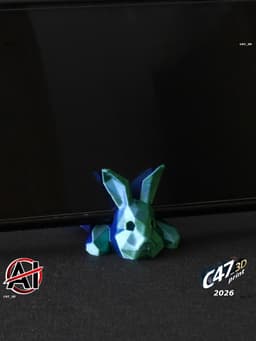
Multicolor Drop a Bunny and all of multicolor files to the slicer Click 'yes' if asked to merge models or do it by yourself (right click menu after selecting both models in slicer) Then choose a color for each part You can now clone this model to fill the bed with it
Multicolor models are with a 'frame', a flat surface that will not be printed. This way it is easy to set it in the right spot with a Bunny - Ignore model 'errors' and DO NOT try to 'fix' the model
Low-Poly Bunny Phone Holder

Halloween Capybara

Flexi Transforming Cat

Tetris Puzzle Cube

Springy Bunny
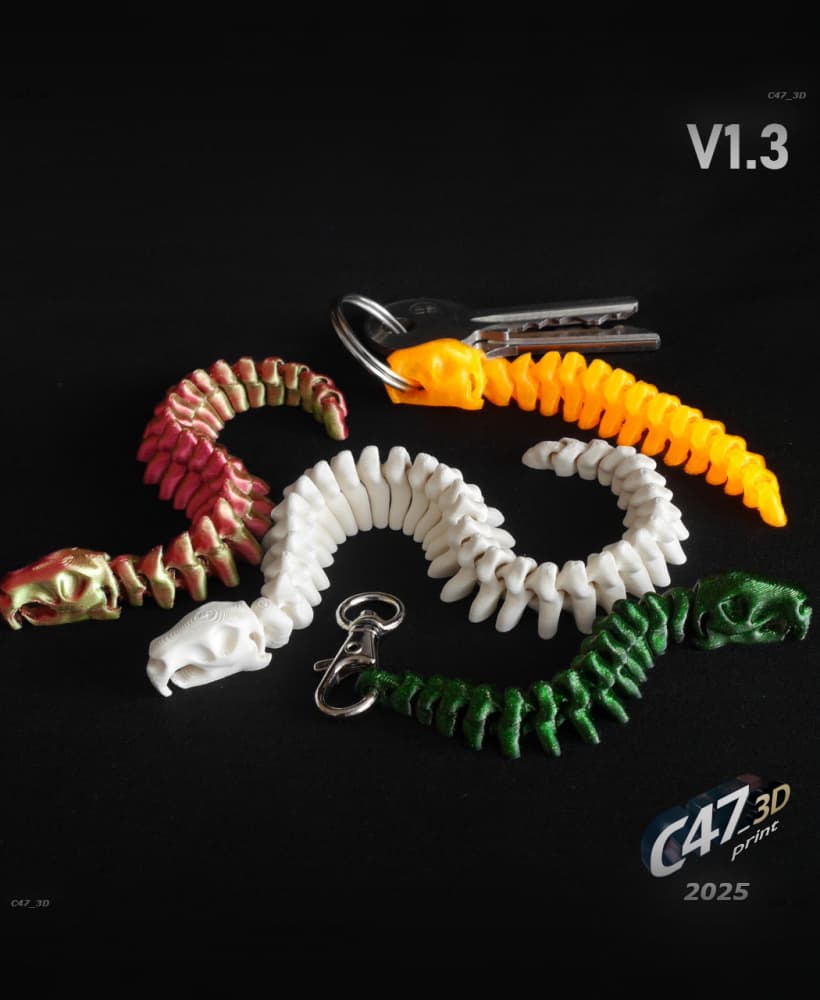
Flexi Capybara Skeleton Snake

One-coin Piggy Bank
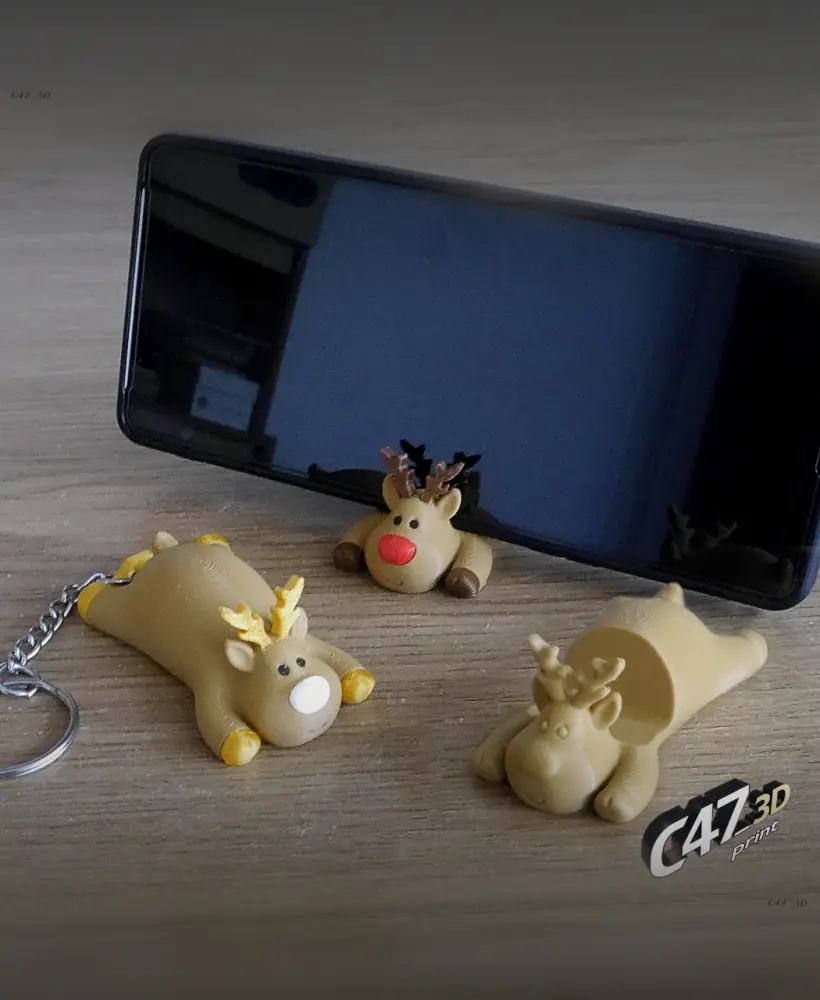
Reindeer Phone Stand

SpringBee

Crappy Piggy Bank V2

Fox Phone Holder

Skull Vase V2

Flexi Transforming Dog

Flexi Snake
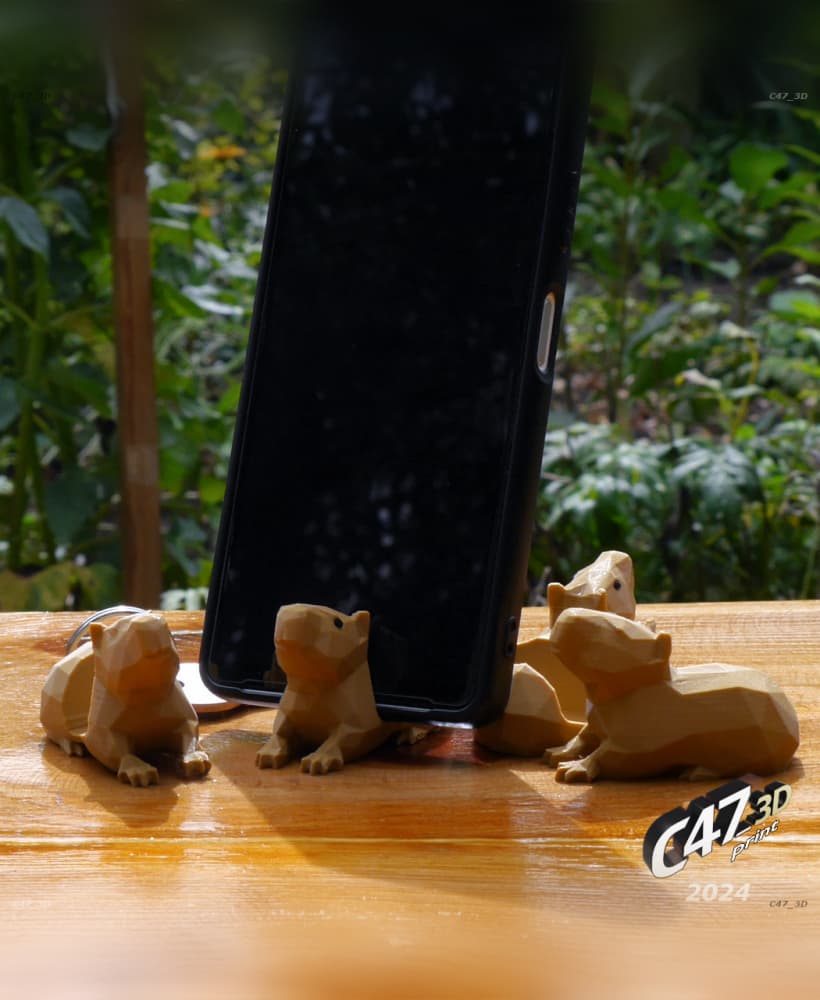
Capybara Phone Holder

Springy Cat

Piggy Set

Low Poly Easter Bunny Decor, Easter Bunny Set, Egg - Heart Detail, Desktop Figurine Set, Geometric
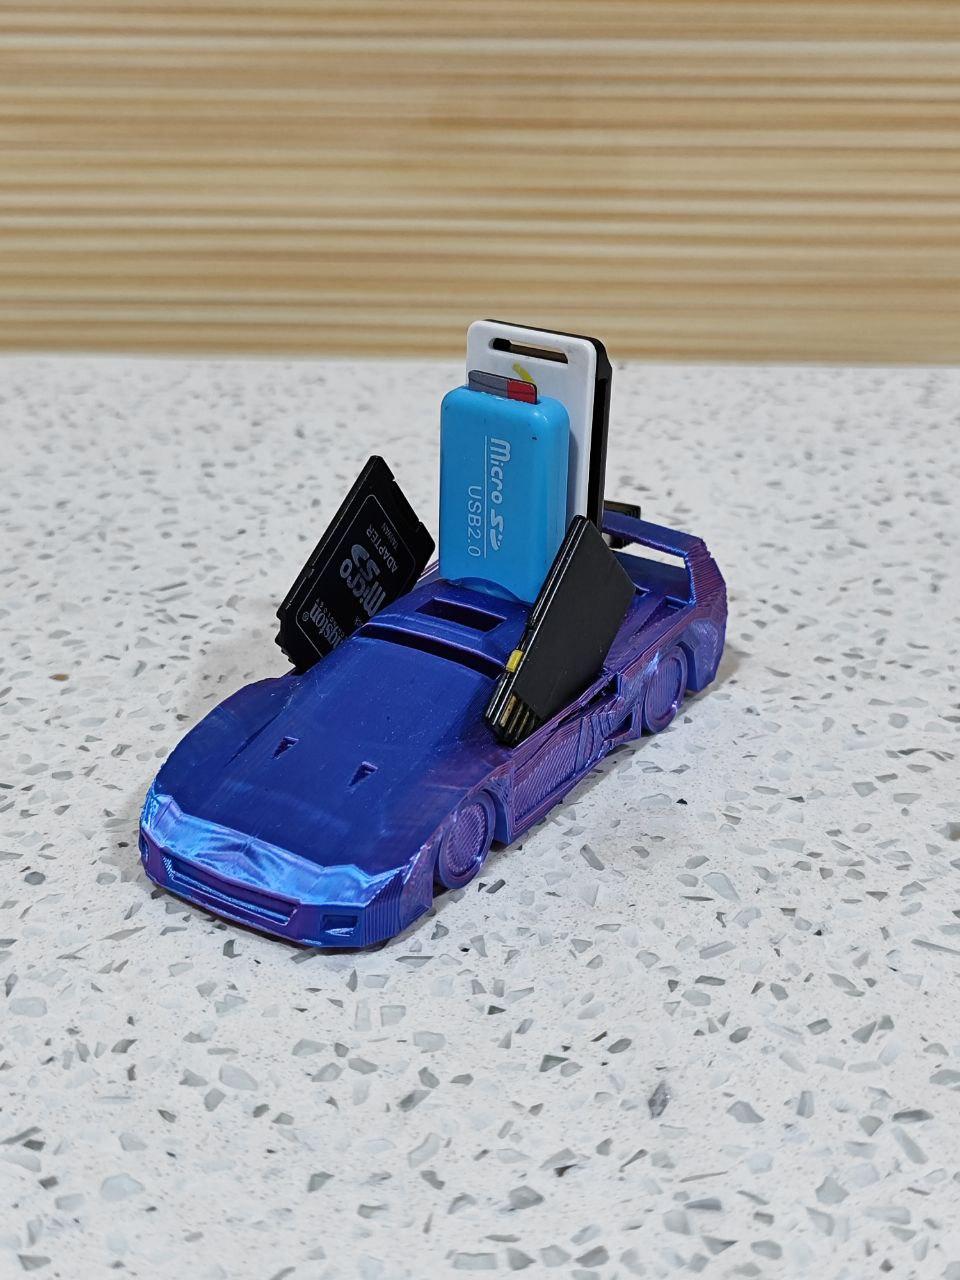
USB and SD Holder Ferrari F40 Low-Poly (Print-in-Place)
.jpg&w=3840&q=75)
Minimalist Low Poly Rabbit, Low Poly Bunny
