


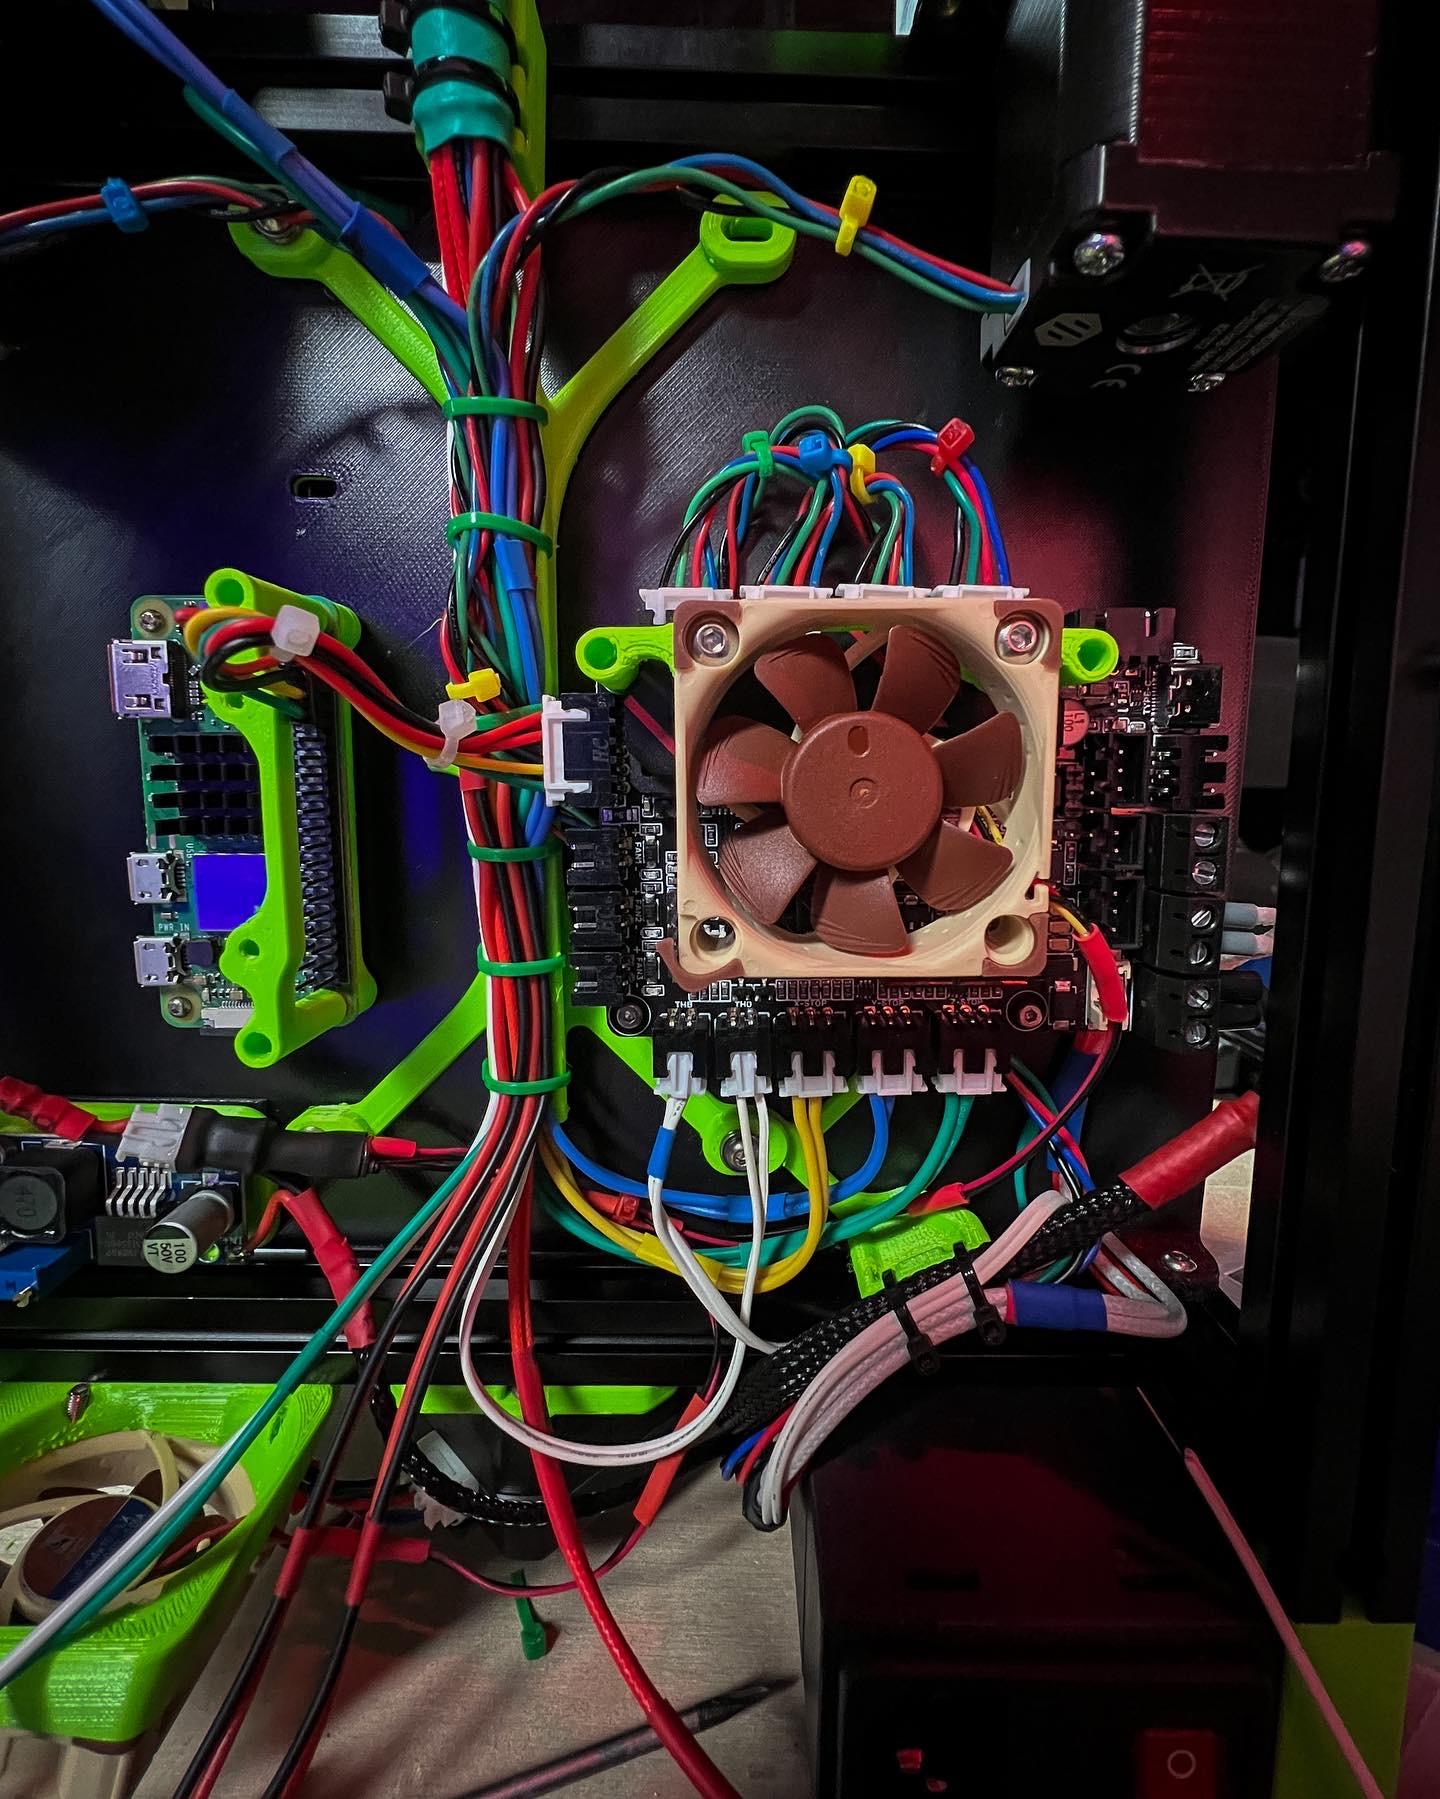
Toybox Alpha v1 Klipper Conversion SKR Pico
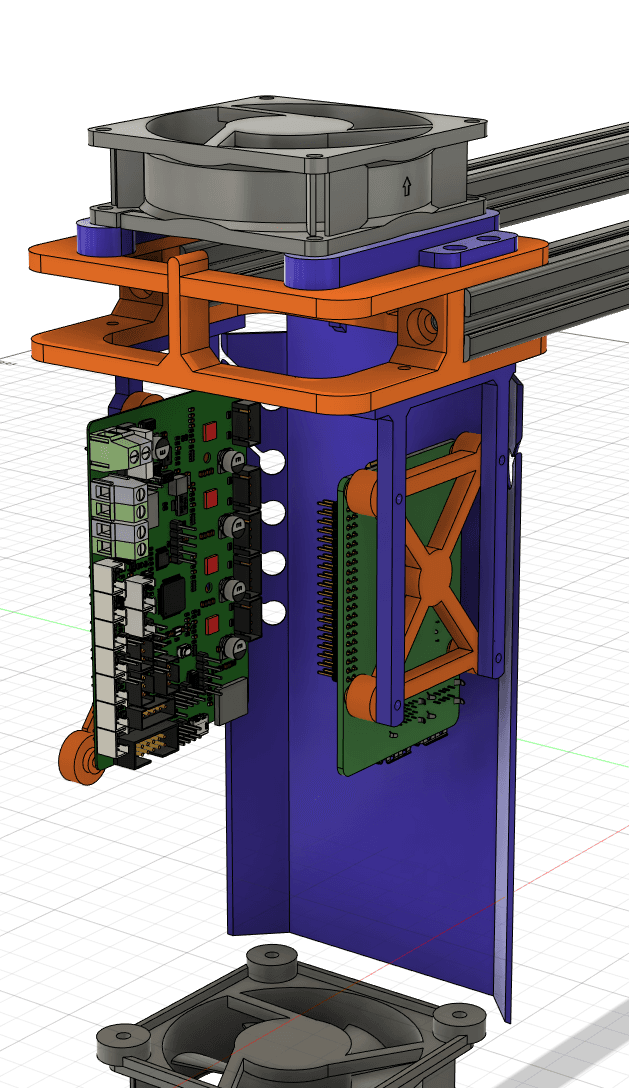
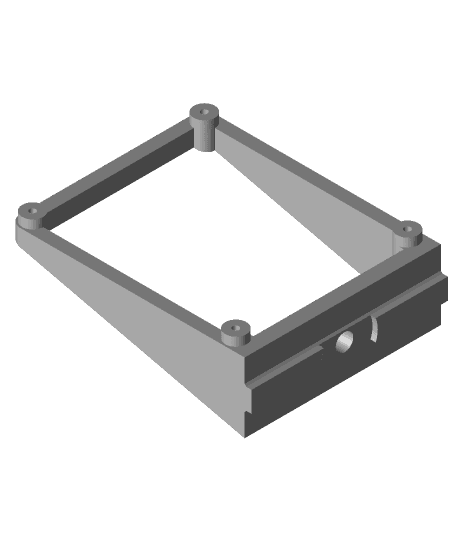
Toybox 3D Printer SKR Pico and Raspberry Pi Zero Mounts Upgrade your Toybox 3D printer with custom mounts designed to replace the OEM hardware with an SKR Pico board and a Raspberry Pi Zero. Two versions are included to suit different preferences: heat set and non-heat set.
Versions Available
- Heat Set Version Uses heat set inserts for added durability and stability. Frame Mount Holes: M3x4x5 heat set inserts. Board Mount Holes: M2.5x4.6x5.8 heat set inserts.
- Non-Heat Set Version For those who prefer not to use heat set inserts. Recommend buying taps of the appropriate diameter to thread the holes for secure mounting. Klipper Conversion Tips
Converting your Toybox 3D printer to Klipper firmware is relatively straightforward. Here are a few key points to keep in mind:
Endstops: Replace the original endstops with 3-wire Hiletgo ones. Heater Cartridge: Trim the plug on the heater cartridge to fit with the new setup. Plug and Play: Apart from the above changes, the conversion is mostly plug-and-play. Additional Files
A printer.cfg file is included as a text file. While this configuration file is fully functional, the extruder may require some fine-tuning for optimal performance.
Performance Notes
With a 70-watt heater cartridge installed, consistent print speeds of 200mm/s with 8,000 mm/s² acceleration can be achieved. This setup significantly enhances the Toybox 3D printer's capabilities when running Klipper firmware.
Feel free to download, print, and enjoy! If you have any questions or need further guidance, I’m here to help.
Toybox Alpha v1 Klipper Conversion SKR Pico

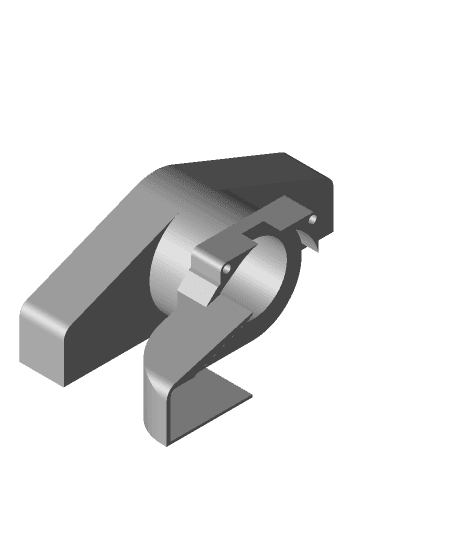
Toybox_Alpha_V1-4010_Blower_Print_Duct_CHC_K1_Hotend_ v1.3mf

Toybox Alpha V1 1KG spool holder
BTT Pico Board Mount for Voron V0.1

Raspberry Pi Pico snap-together case with slot for 6-wire ribbon cable

4 Lane Pico MMU Cover (Remix)
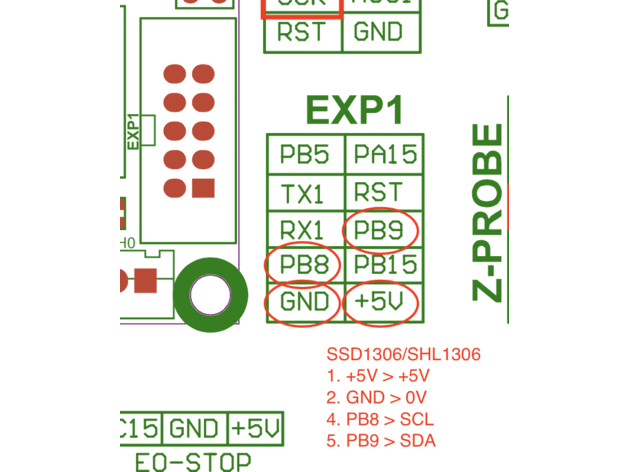
Voron 0 Front Left Skirt With SH1106 1.3" OLED
Kywoo Tycoon Vertical Mainboard Mount
Kossel Raspberry Pi mount
Kossel SKR v1.3 mount with quiet ducted cooling
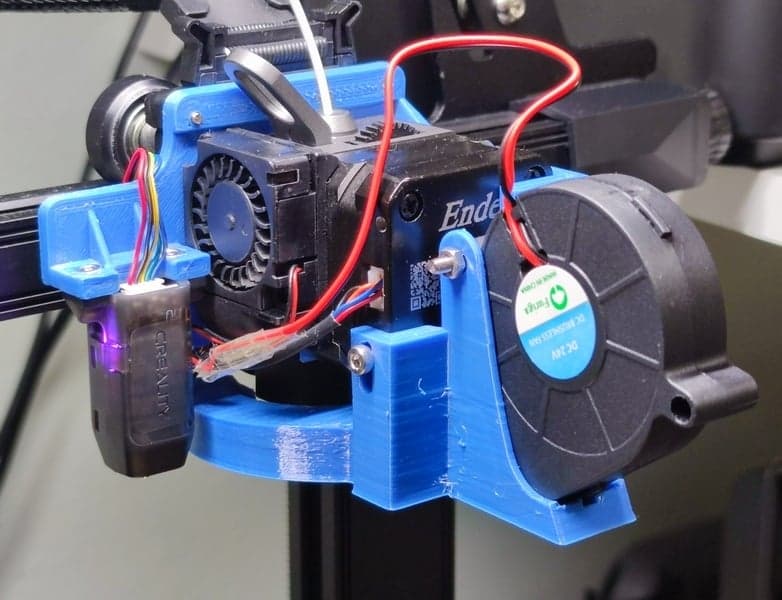
Zad Nozzle Fan Duct mk3 v1.0 for Ender 3 S1 Pro Spriter extruder and 5015 blower fan
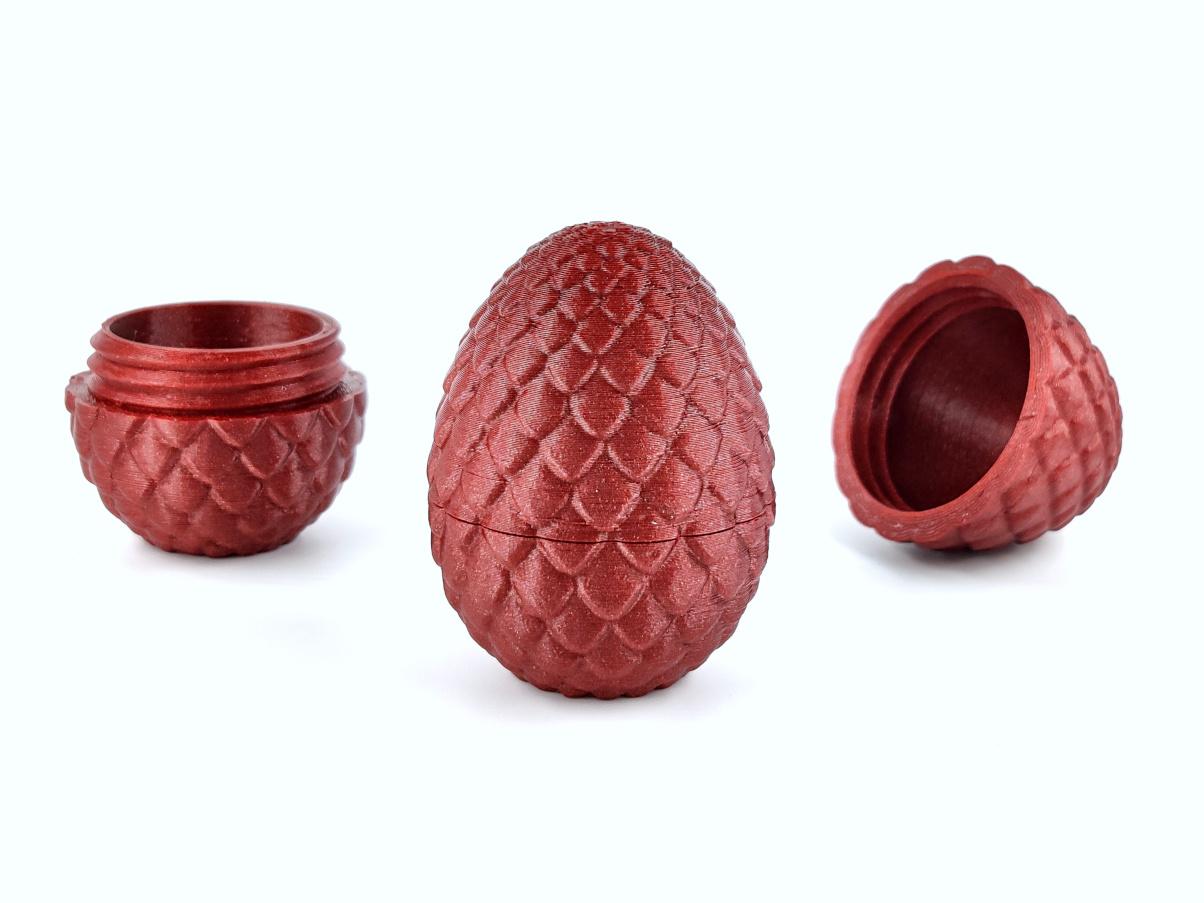
Threaded Dragon Egg, Great for Easter and Gifts

Hero Me Gen7 Release 4 ZIP
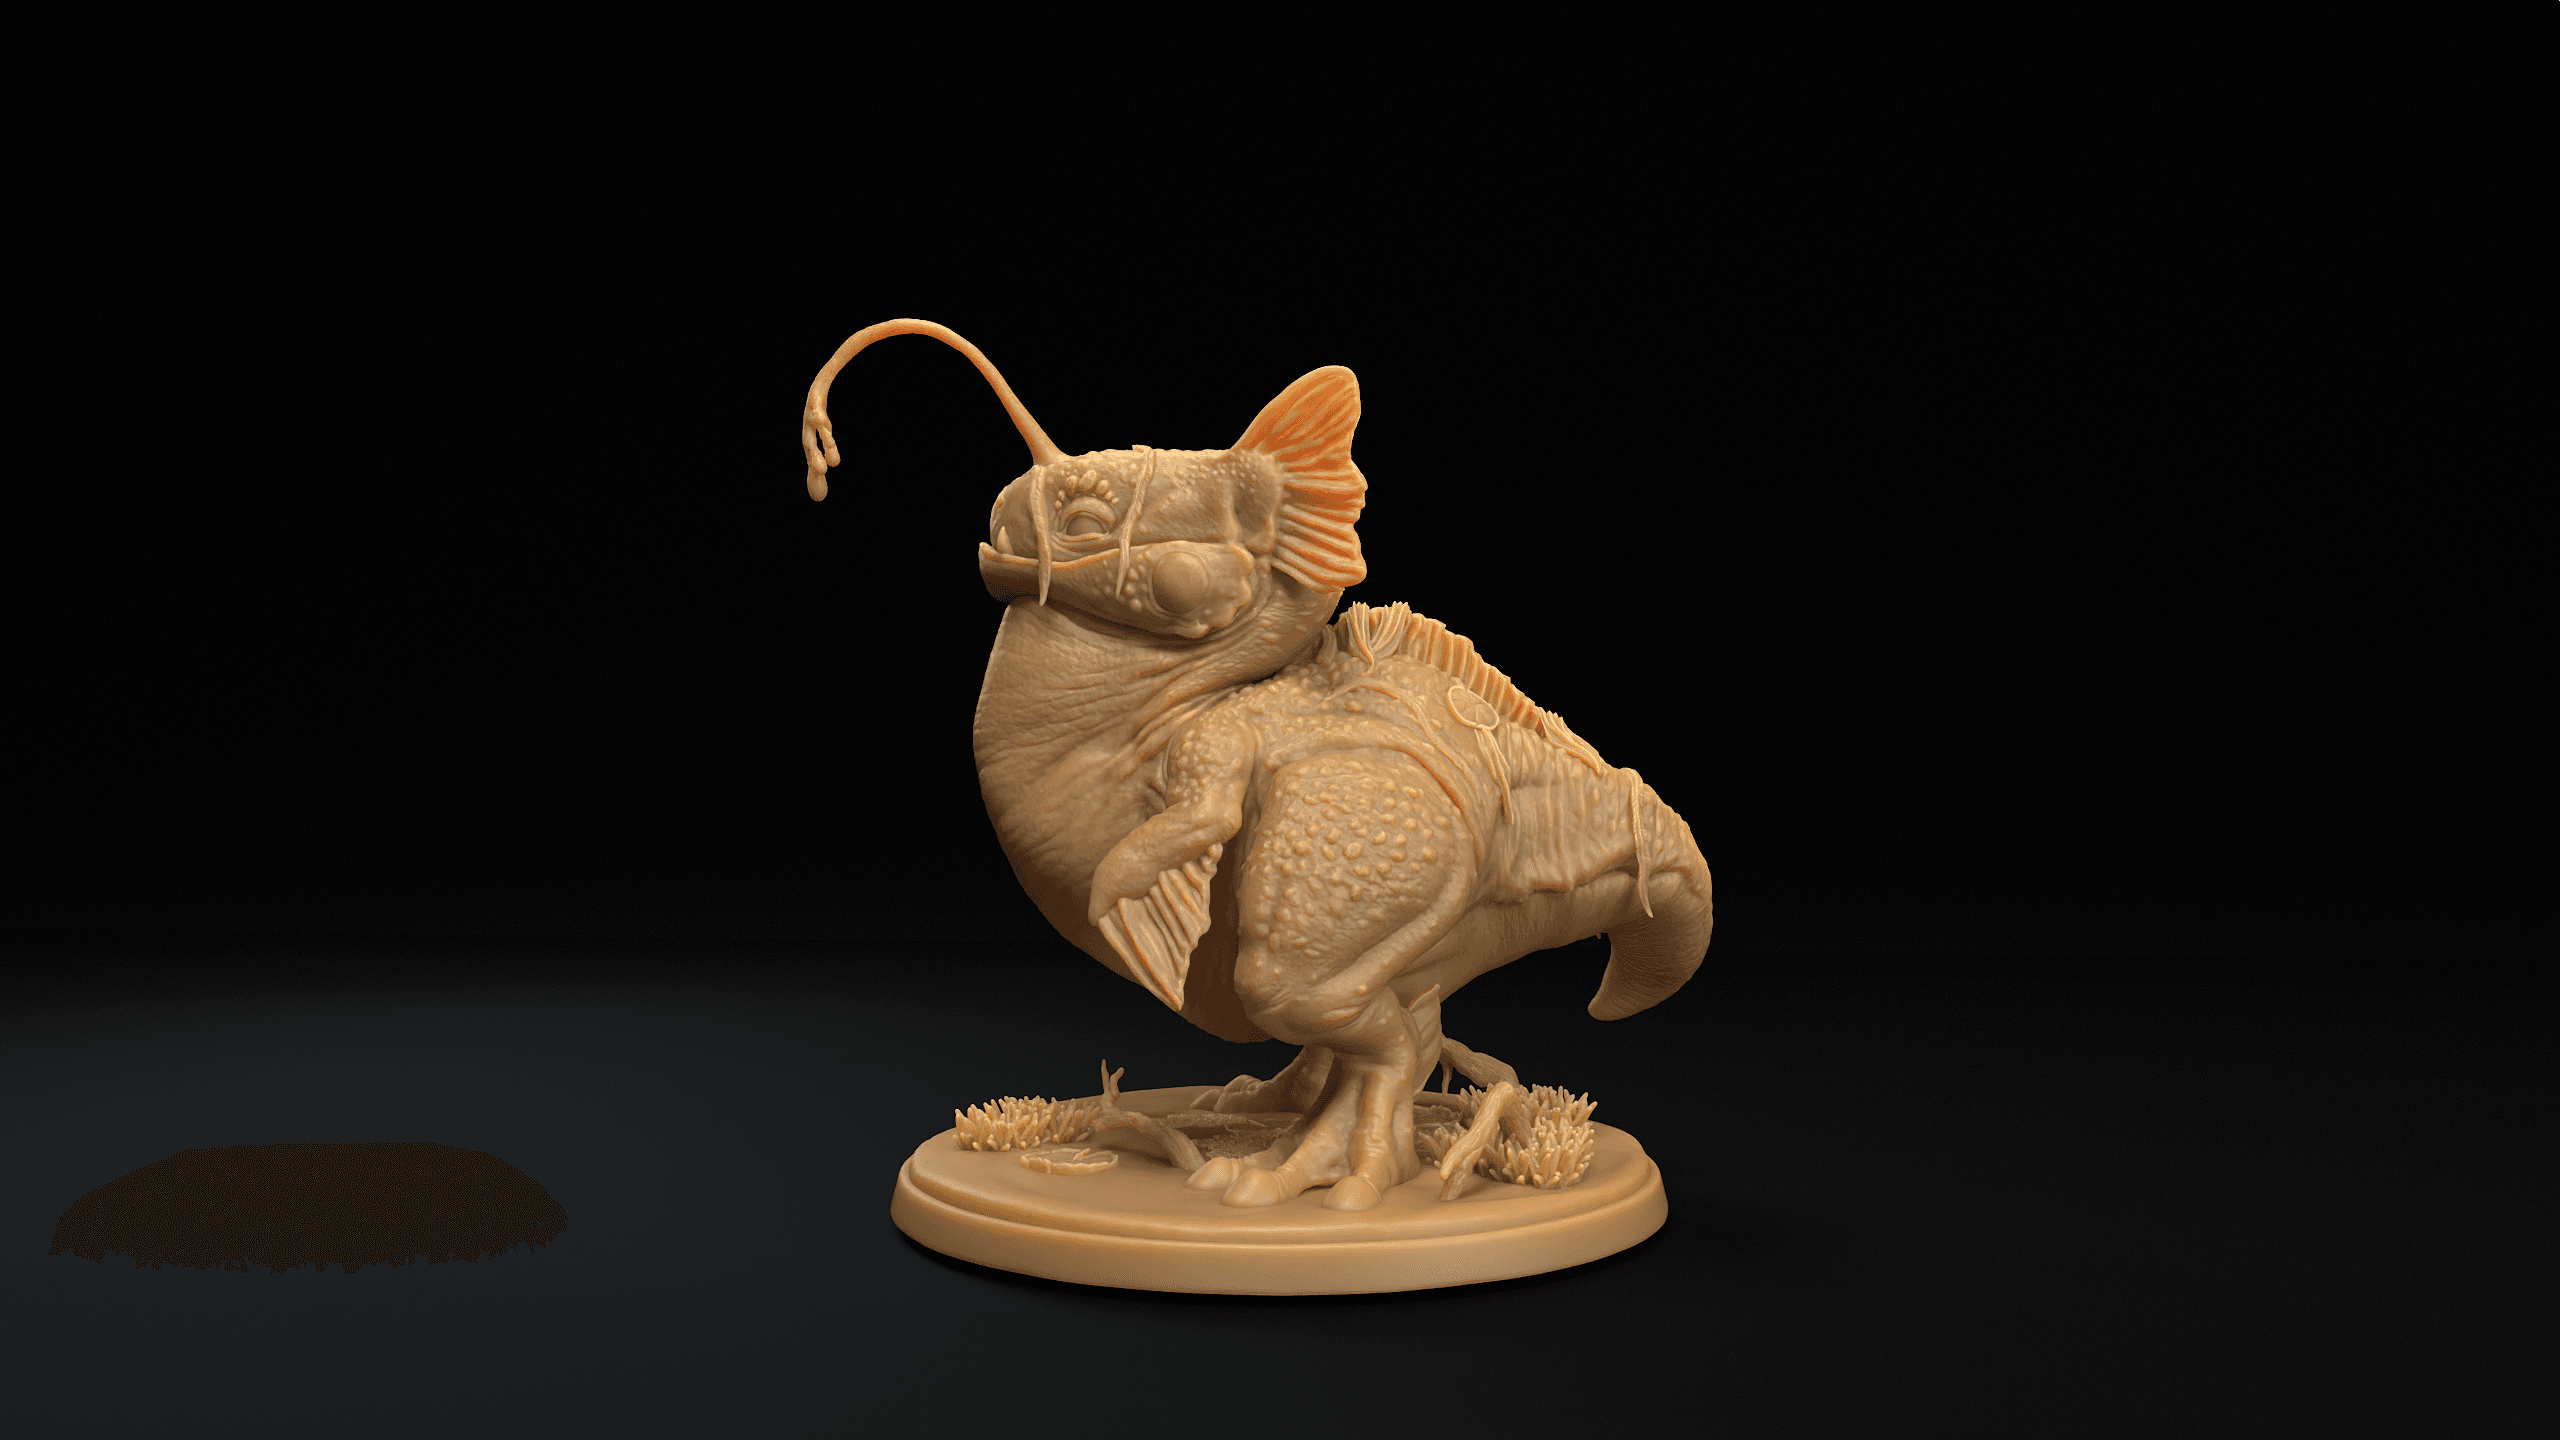
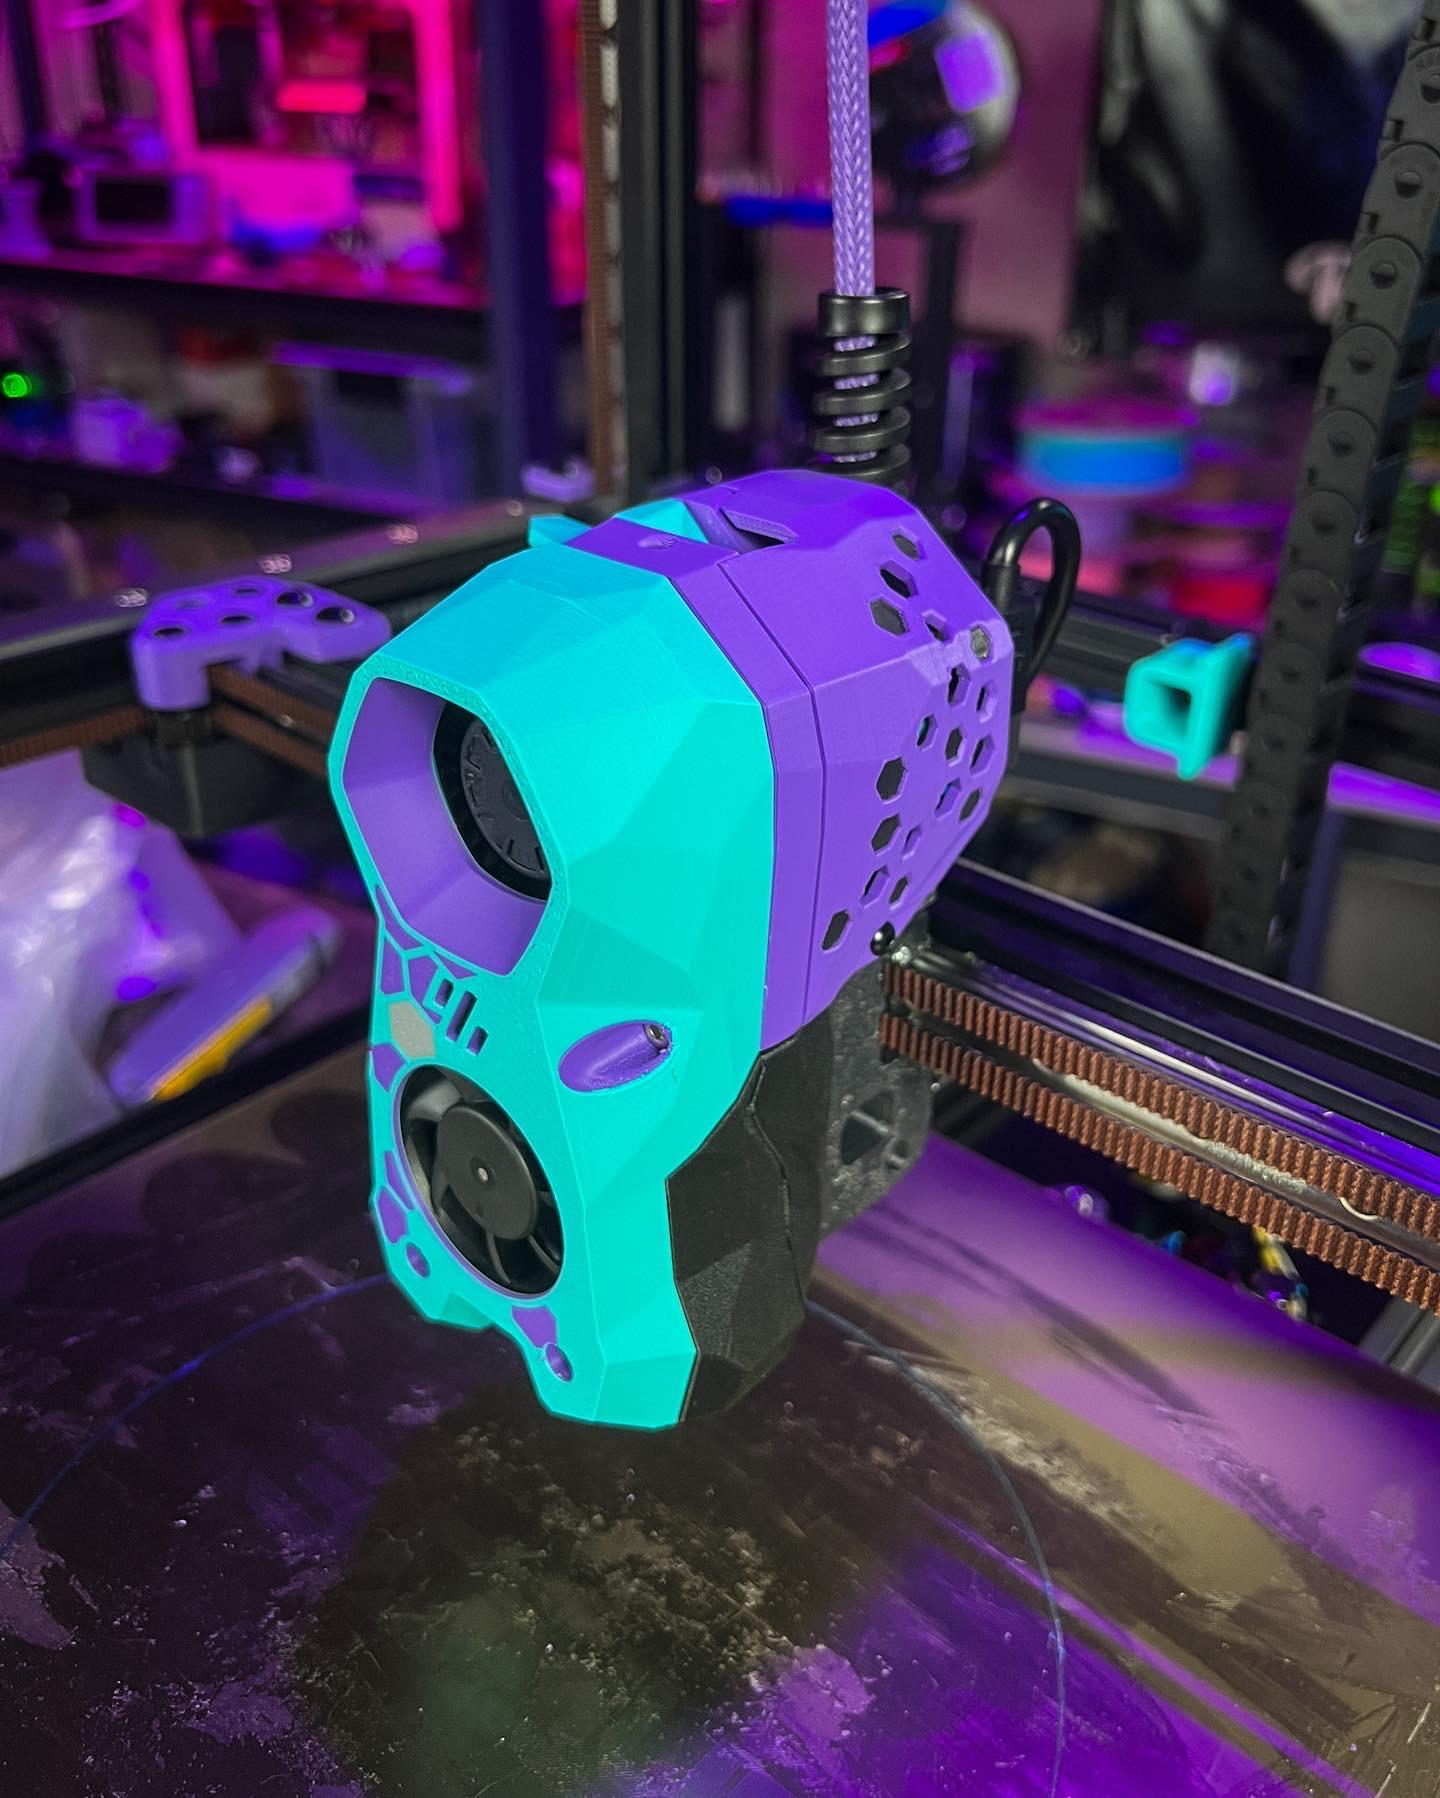
Alpha Glowhopper

Draco Incense Burner
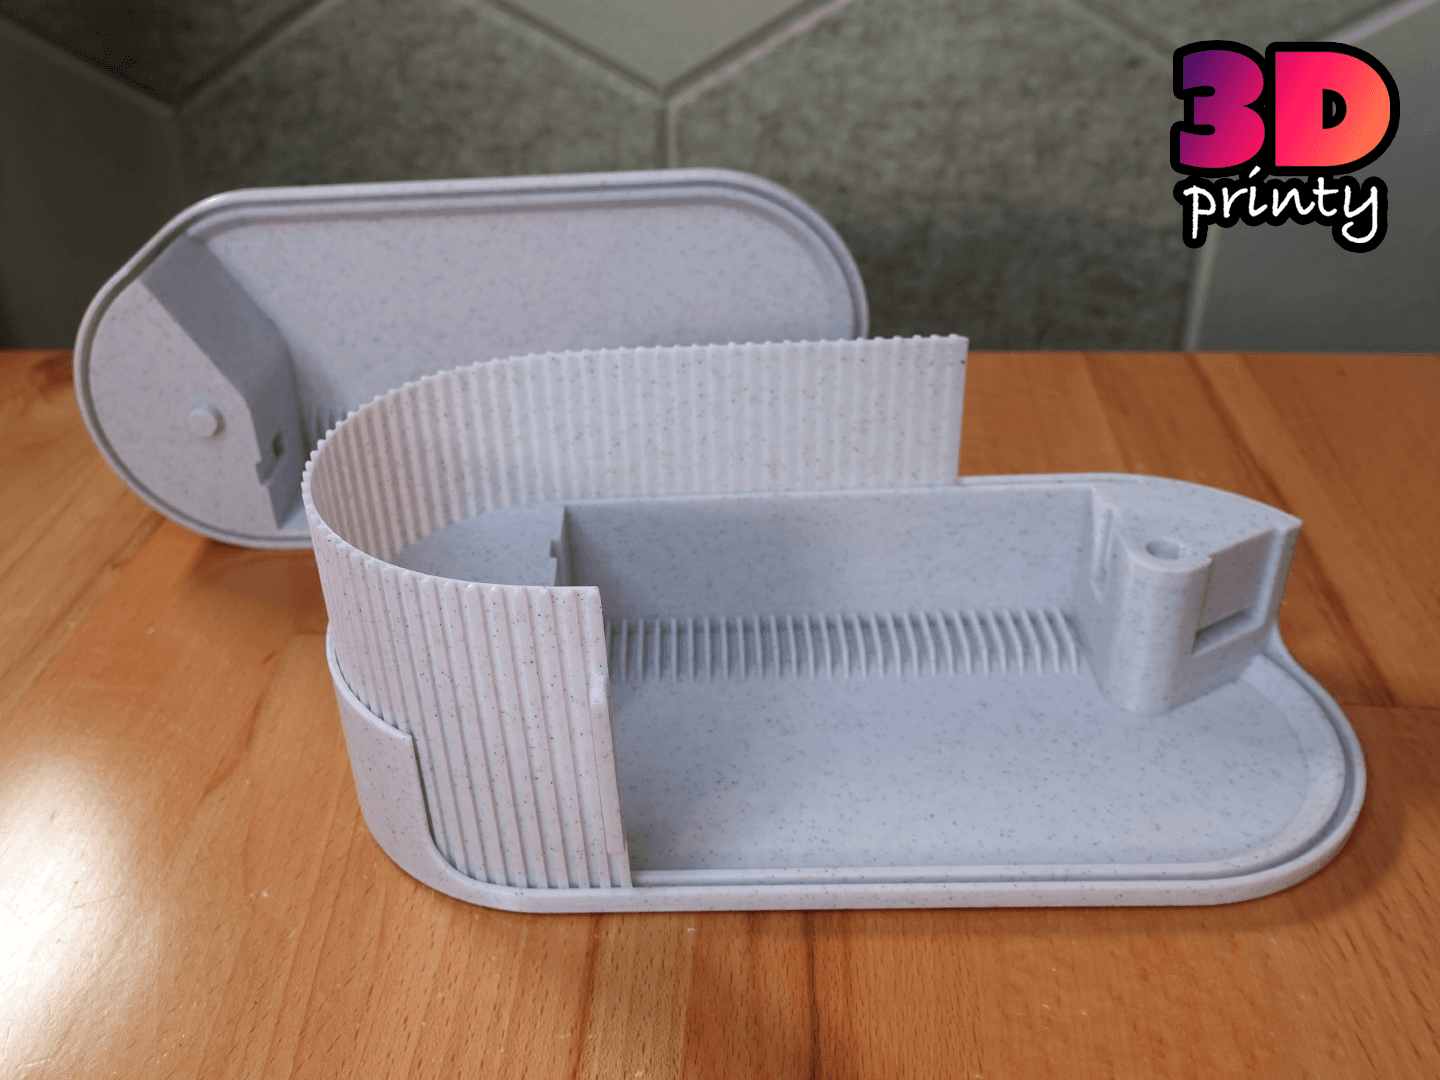
Shutter Box - Tea Box
Hex Cable Door for BigTreeTech SB2240 / 2209 StealthBurner PCB
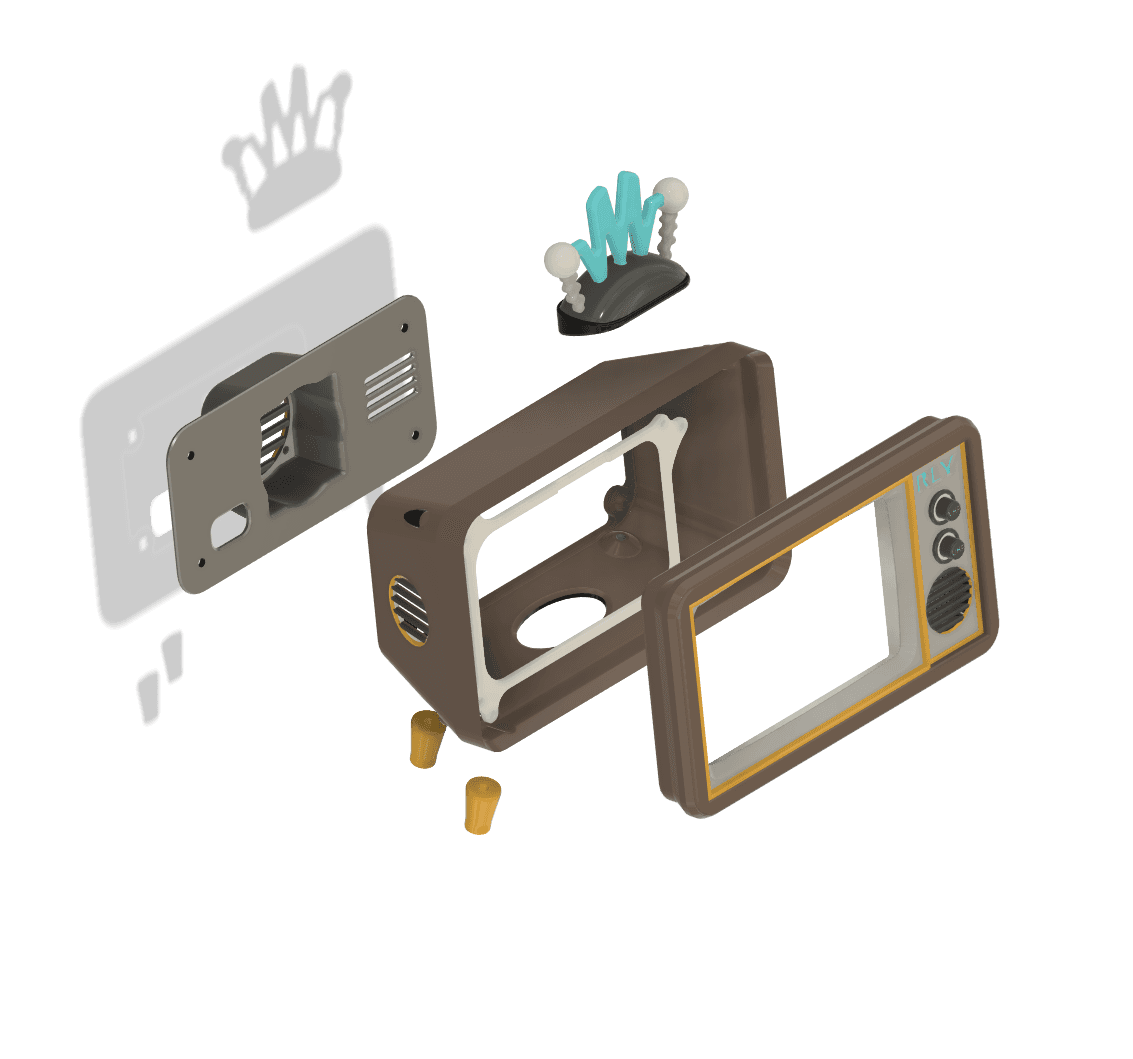
Pi TFT50 TV - Vintage Tube TV Raspberry Pi case!
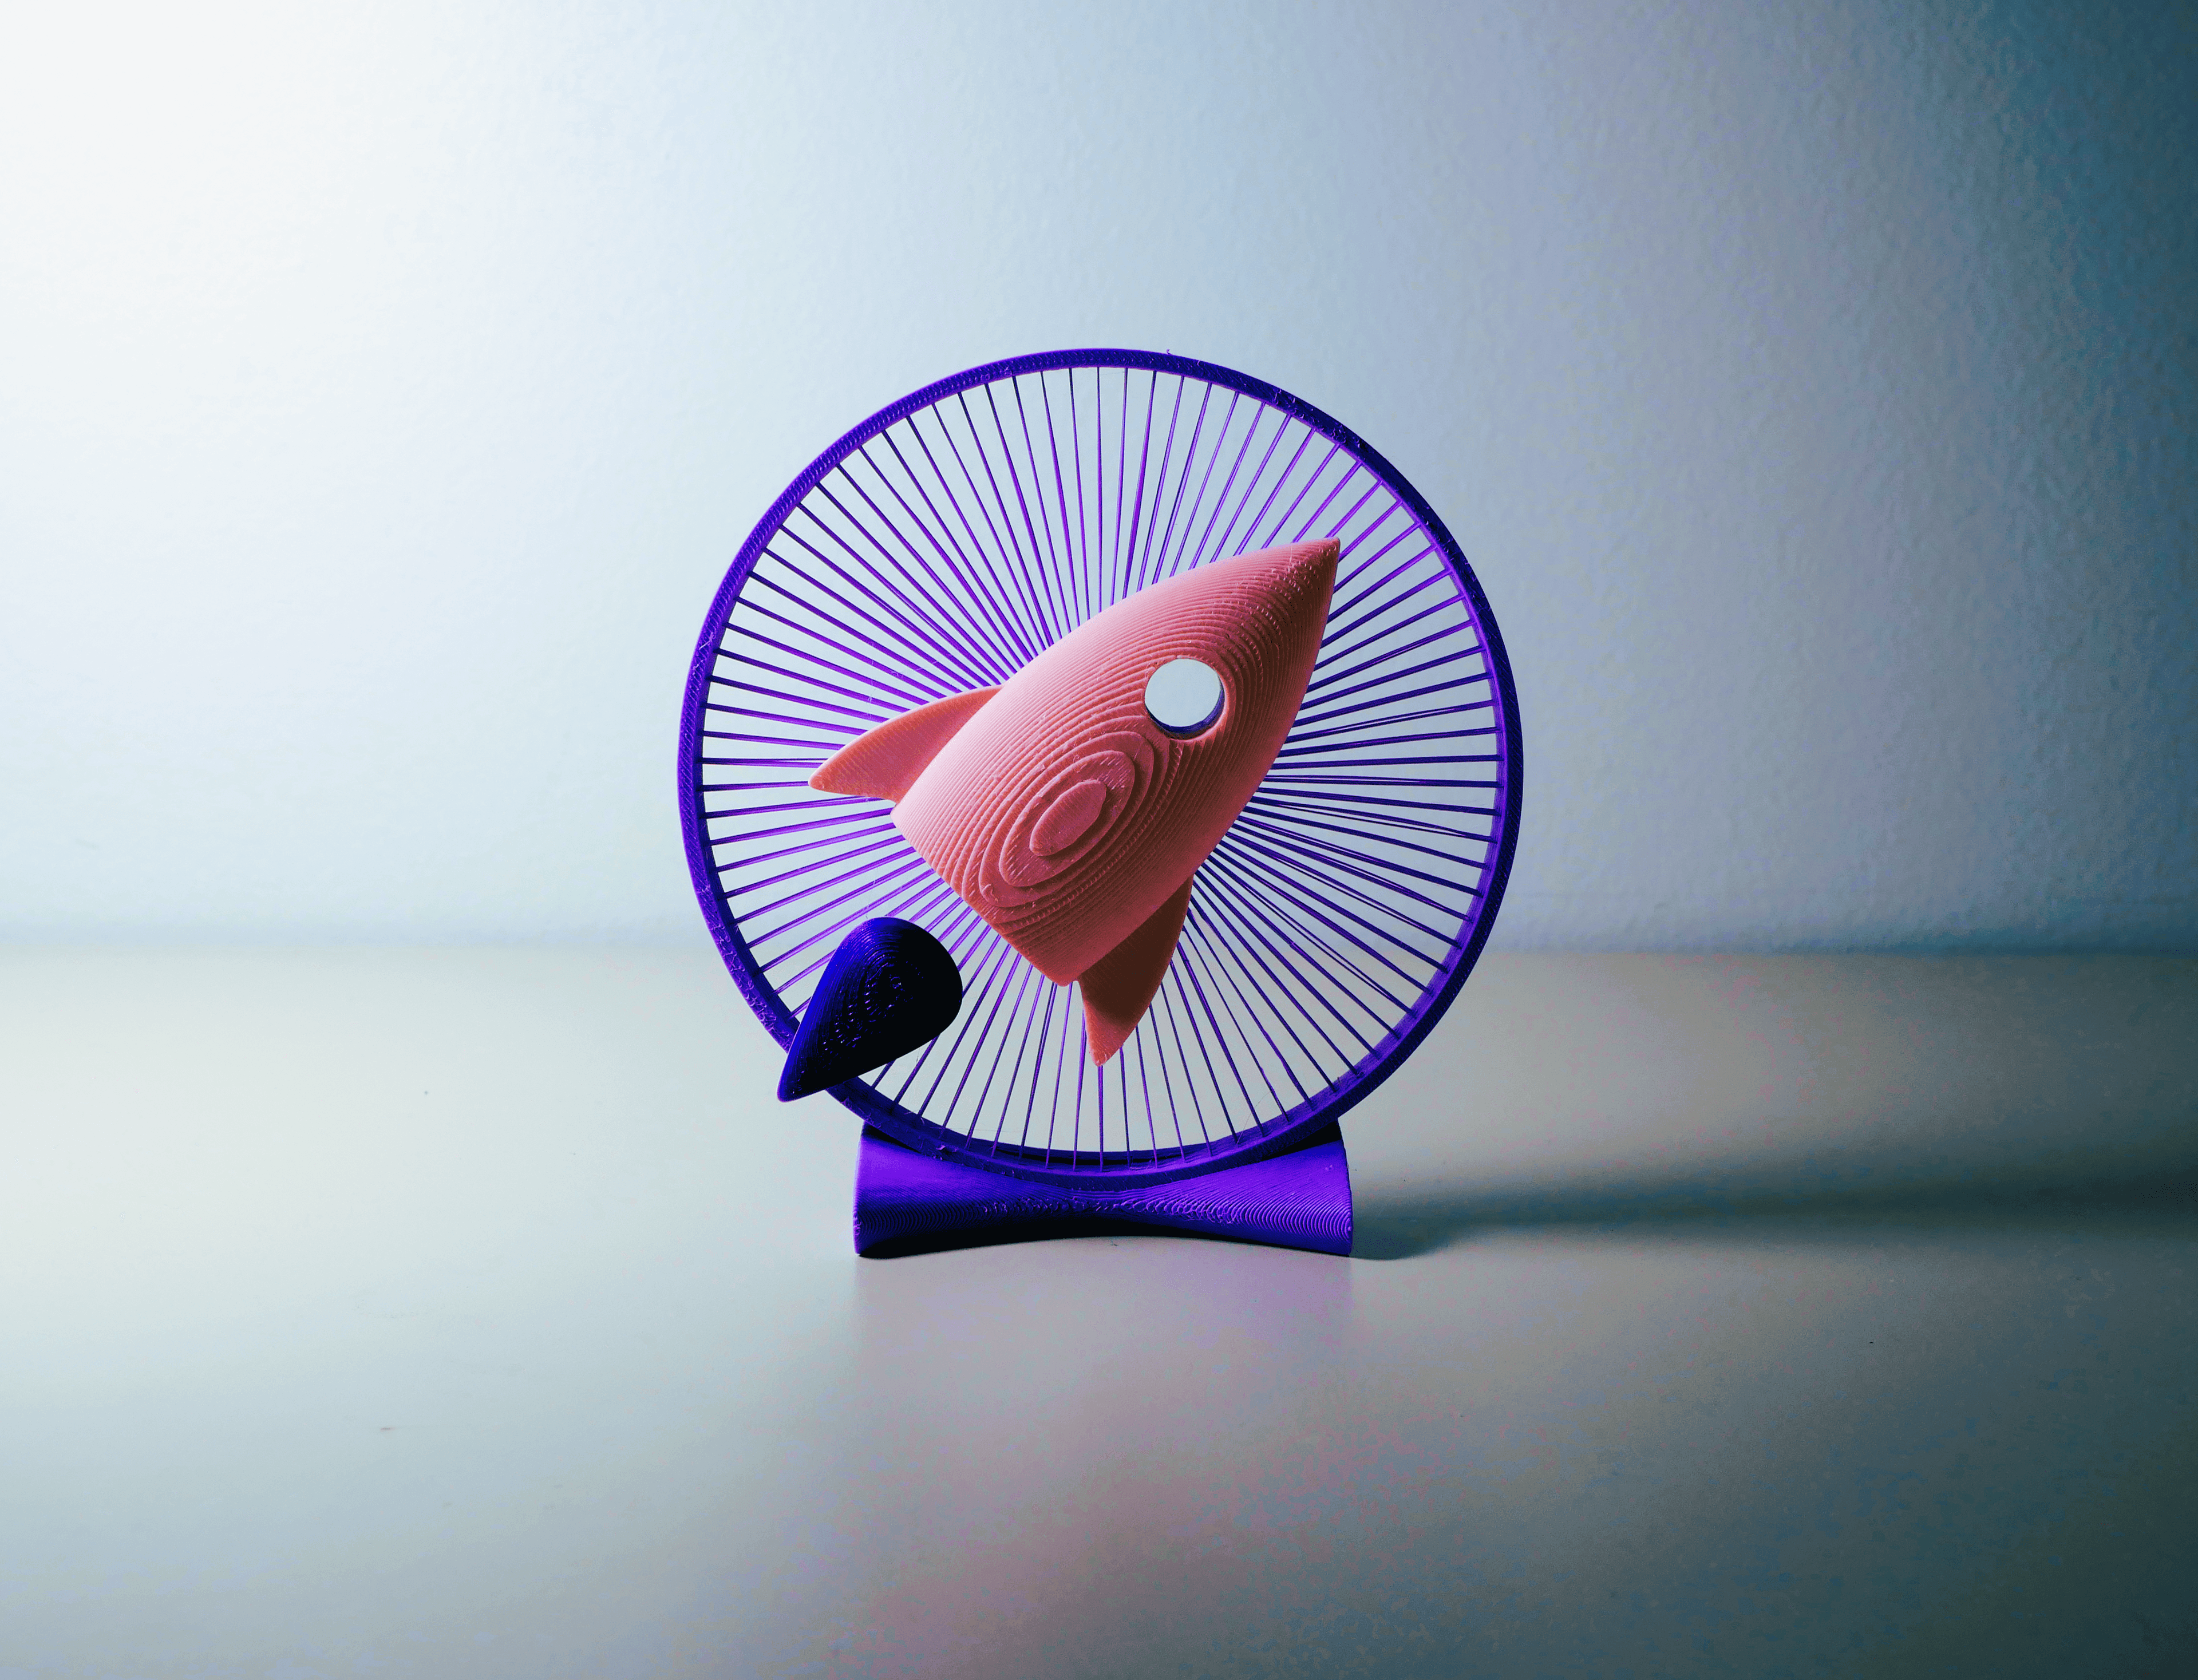
Rocketship String Art
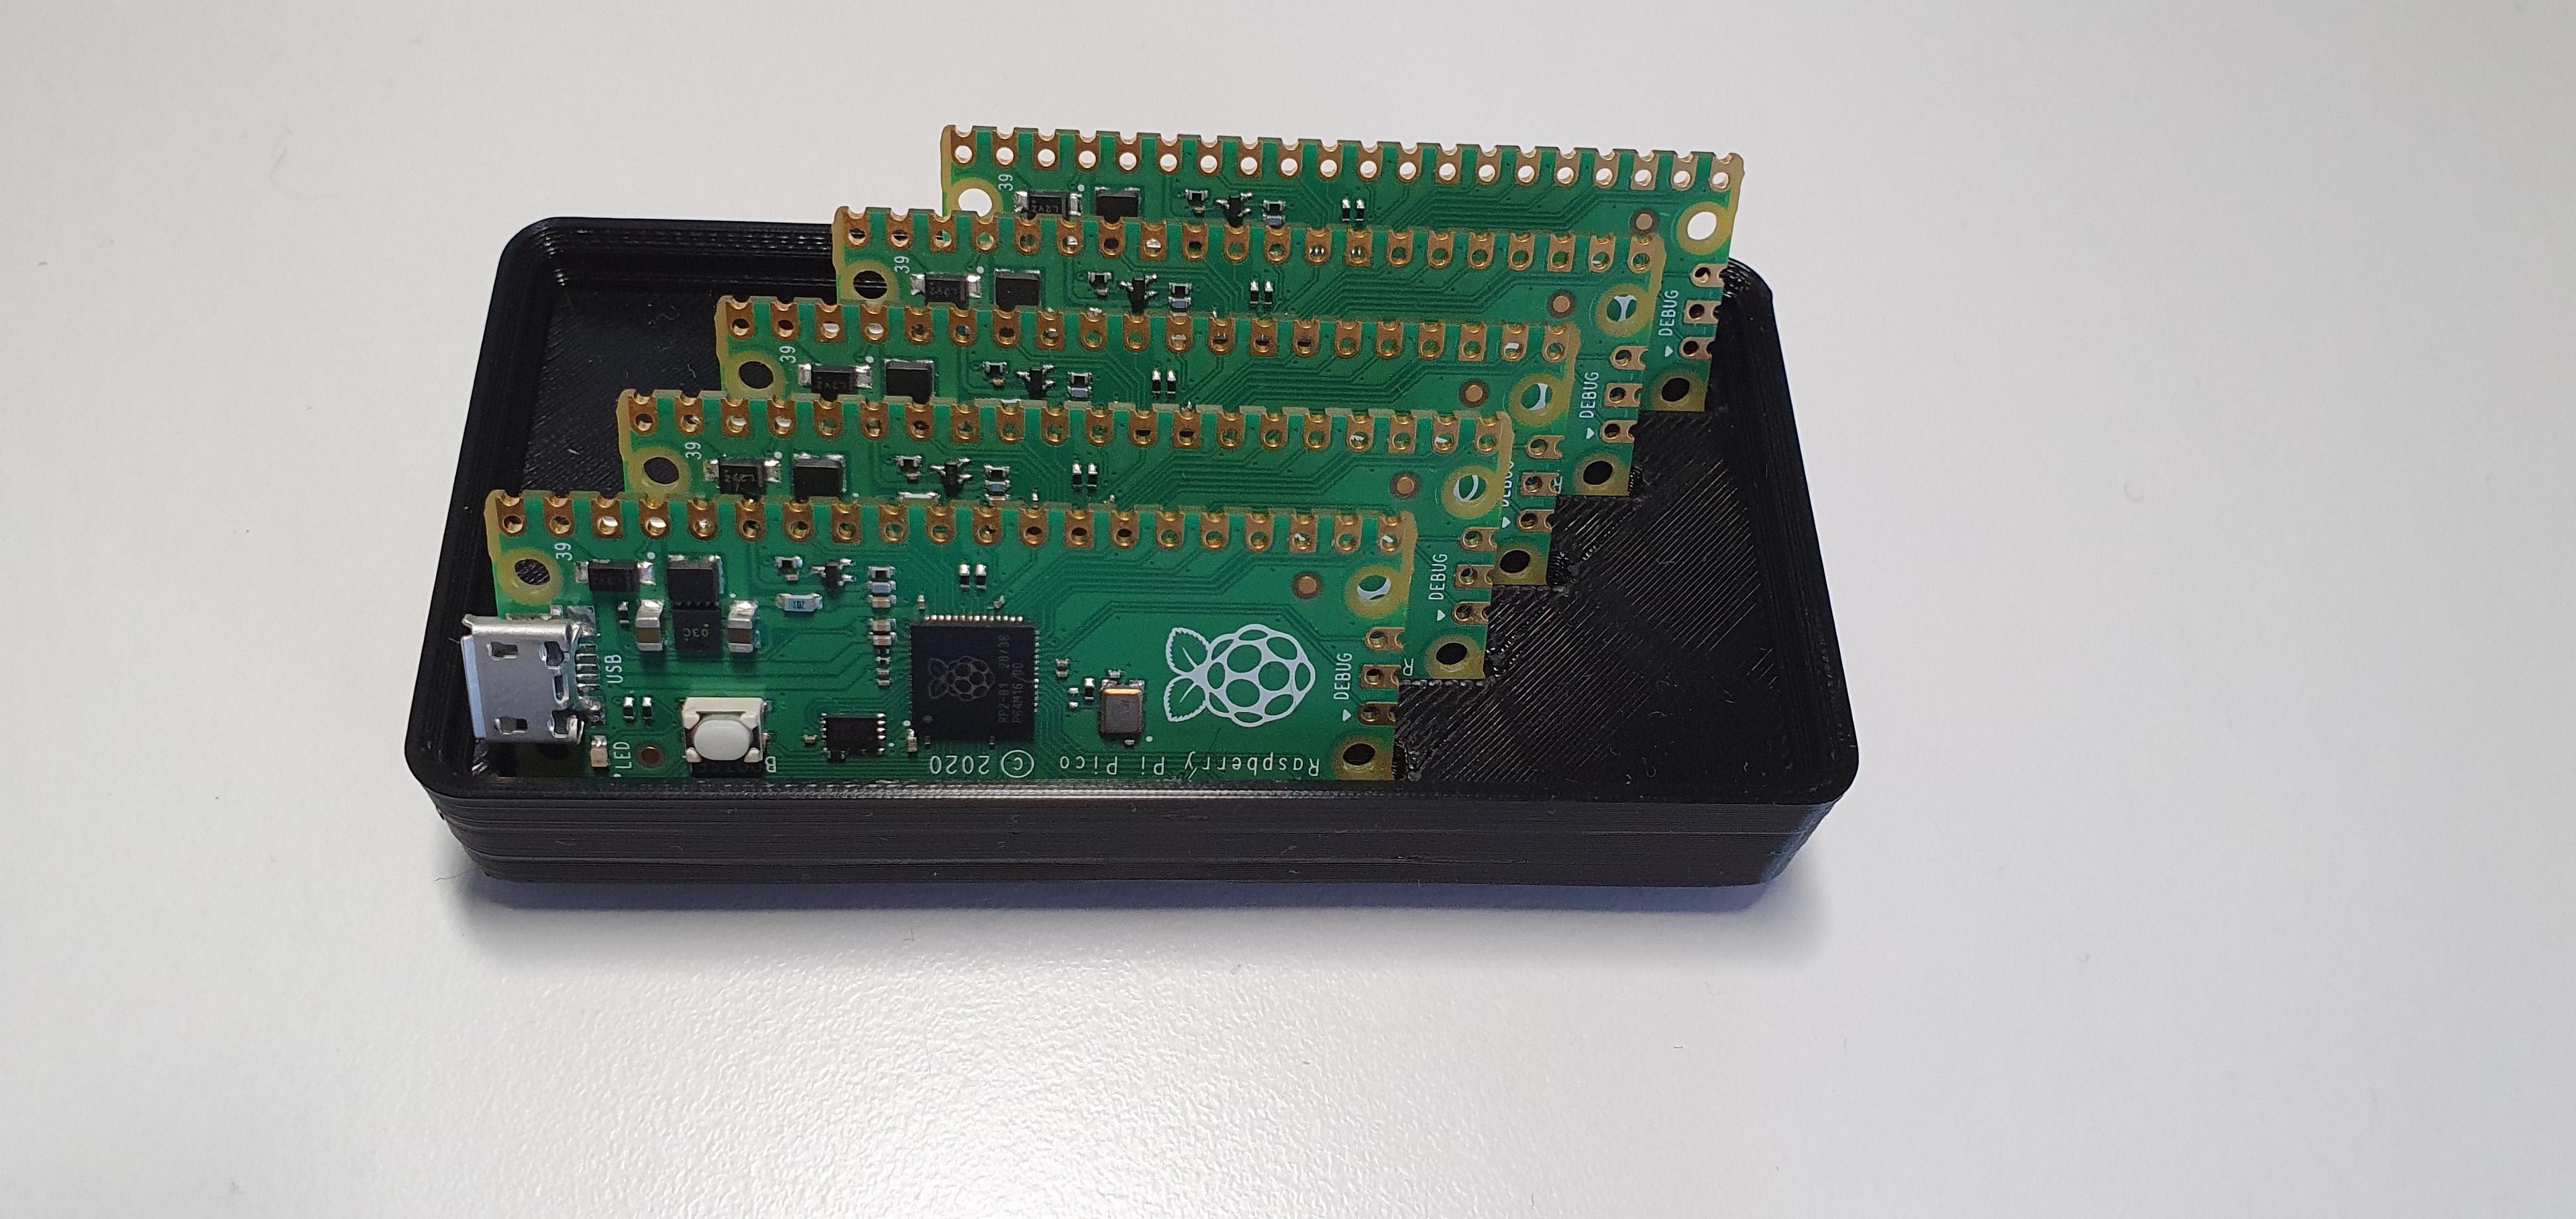
Raspberry Pi Pico
Hey! This is awesome. I've had bricked Toybox printer lying around for a few years, I might dust it off and try this.
However could you possibly give me a bit more information on the endstops you used? I can't seem to find anything called Hiletgo
And voltage of 70-watt heater cartridge do you need? Are these printers 12v or 24v?