
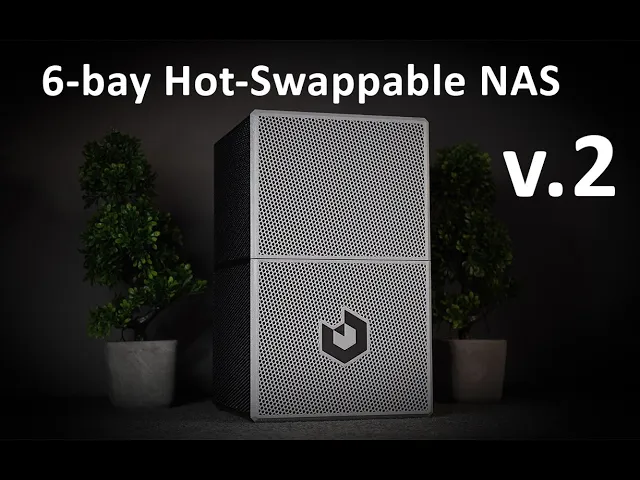

NAS CASE 6-bay (+3 SSD) incl. STEP files.
Key features: 6 slide-in Latching Quick-Swap Hard Drive bays (3.5" HDDs up to 1 inch thick) 3 Additional 2.5" SSDs (System drive + dual cache SSD) Full height single-slot PCIe card support (SATA card, Slim video card, Network card etc.) Magnetic front-panel for super quick front access to the drives and cables. Mini ITX Motherboard SFX or SFX-L power supply 3.5" to 2.5" drive adapters available for main bay.
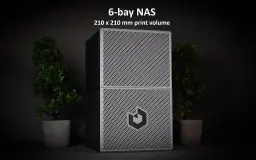
**Print volume required: ** 210 x 210mm
Case size: H: 341mm, W: 210mm, L: 217mm
Materials/components required to build this case: 31x M3 threaded inserts 31x M3x10mm machine screws 8x 8x3mm Neodymium magnets 1x PC Screw kit (for standoffs + HDD mounts)
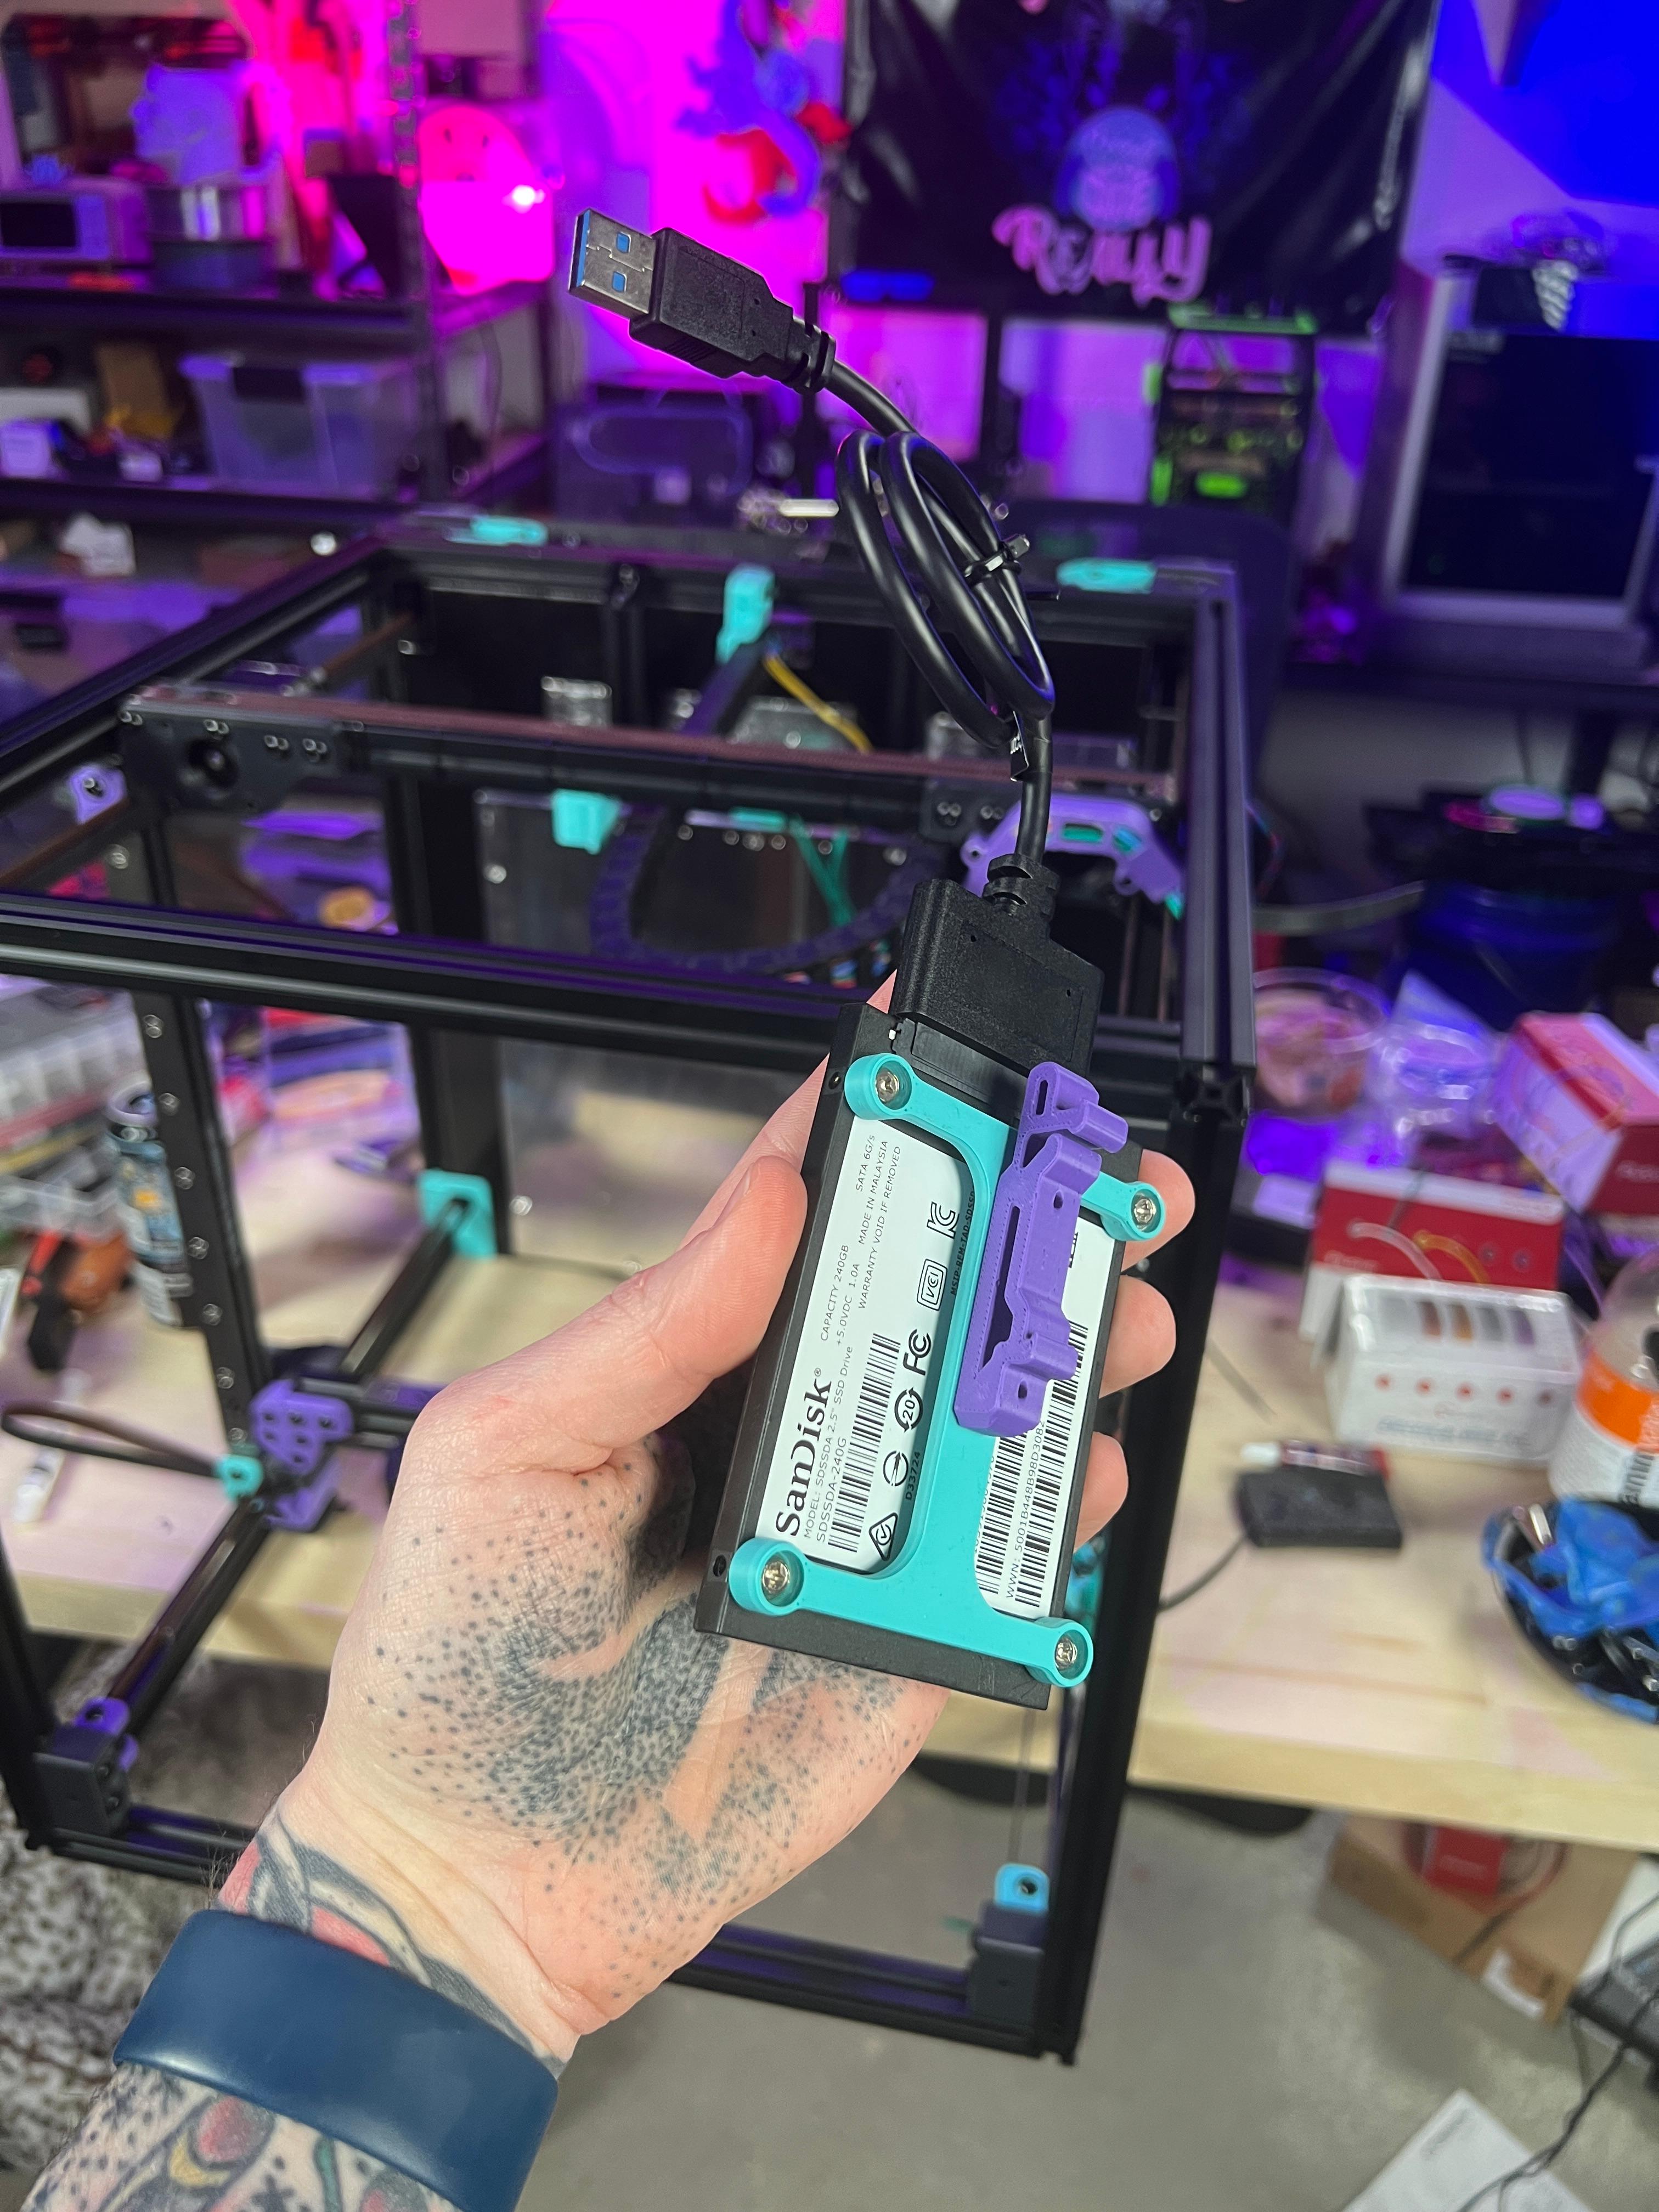
PC Components required/recommended: Mini ITX Motherboard / NAS Motherboard (ITX form factor) SFX or SFX-L Power supply Single slot PCIe expansion card of your choice. (optional) 2x Slim 92mm PC fans (up to 22mm thick) 3.5" HDDs (Up to 6x) 2.5" SSDs (Up to 3x) SATA power and SATA cables with 90 degree connectors (due to limited clearance) 12mm Power Button
**Designed with easy, clean cable management in mind. **
90 degree, flat/flexible SATA cables are recommended due to limited clearance to the front panel. The picture/layout shown above and in the video uses 3x 50 cm cables, and 5x 30 cm cables. One more cable is also required if you are using the last SSD drive mounted at the top of the case. (see video for reference)
Cable lengths stated above are just guidelines based on a similar setup to the one shown, and requirements may vary depending on your choice of parts.
PRINTING INSTRUCTIONS: Minimum print volume required: 210 x 210mm Recommended material: PETG, but ABS or ASA also works. Recommended layer height: 0.2mm Print speed: Not important, whatever is recommended for your printer. Recommended wall thickness: >2mm (5 walls at 0.4mm width)
-
All external panels (front,side,top,bottom,rear) are printed using only walls and infill (15-25% density).
-
All internal panels like the hard drive bay, motherboard mount and hard drive mounts should be printed normally with both top and bottom layers.
-
All parts except for the top of the drive-bay are printed without supports. The one file that does need supports is clearly marked with the word “SUPPORT” in the file name. (Use custom painted supports just under the overhangs if you can, otherwise the threaded insert holes may be filled with supports that are difficult to remove)
For the full written instructions, please refer to my project listing on Printables by clicking here.
NAS CASE 6-bay (+3 SSD) incl. STEP files.
Minimalistic vertical ITX case (v2.0)
Budget-friendly mATX case

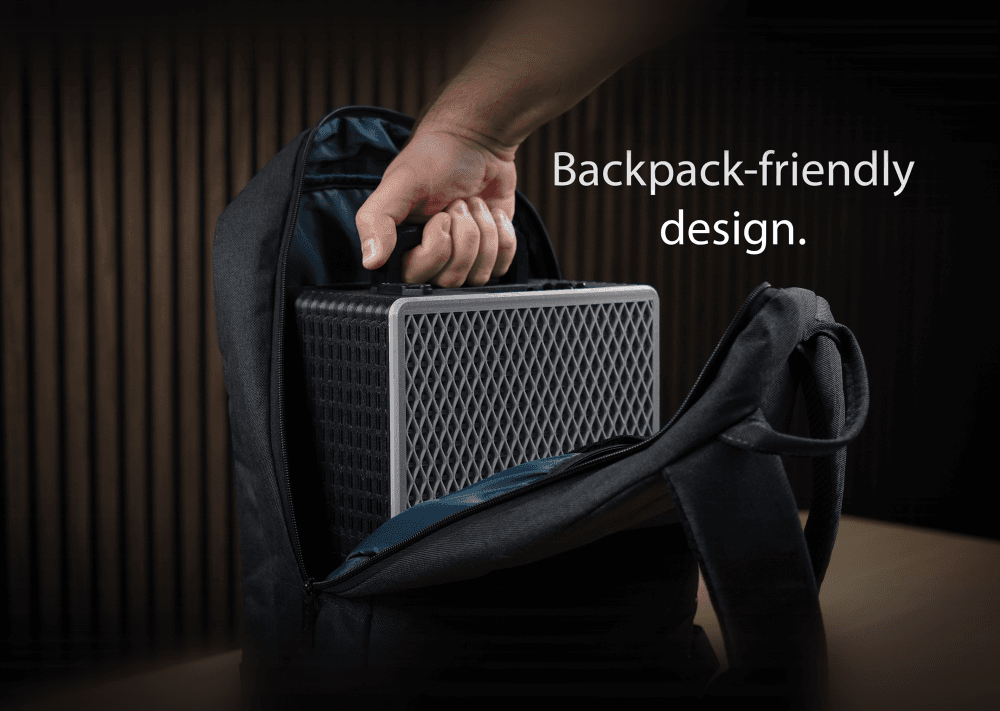
Backpack-friendly ITX PC case v1.0
.png&w=3840&q=75)
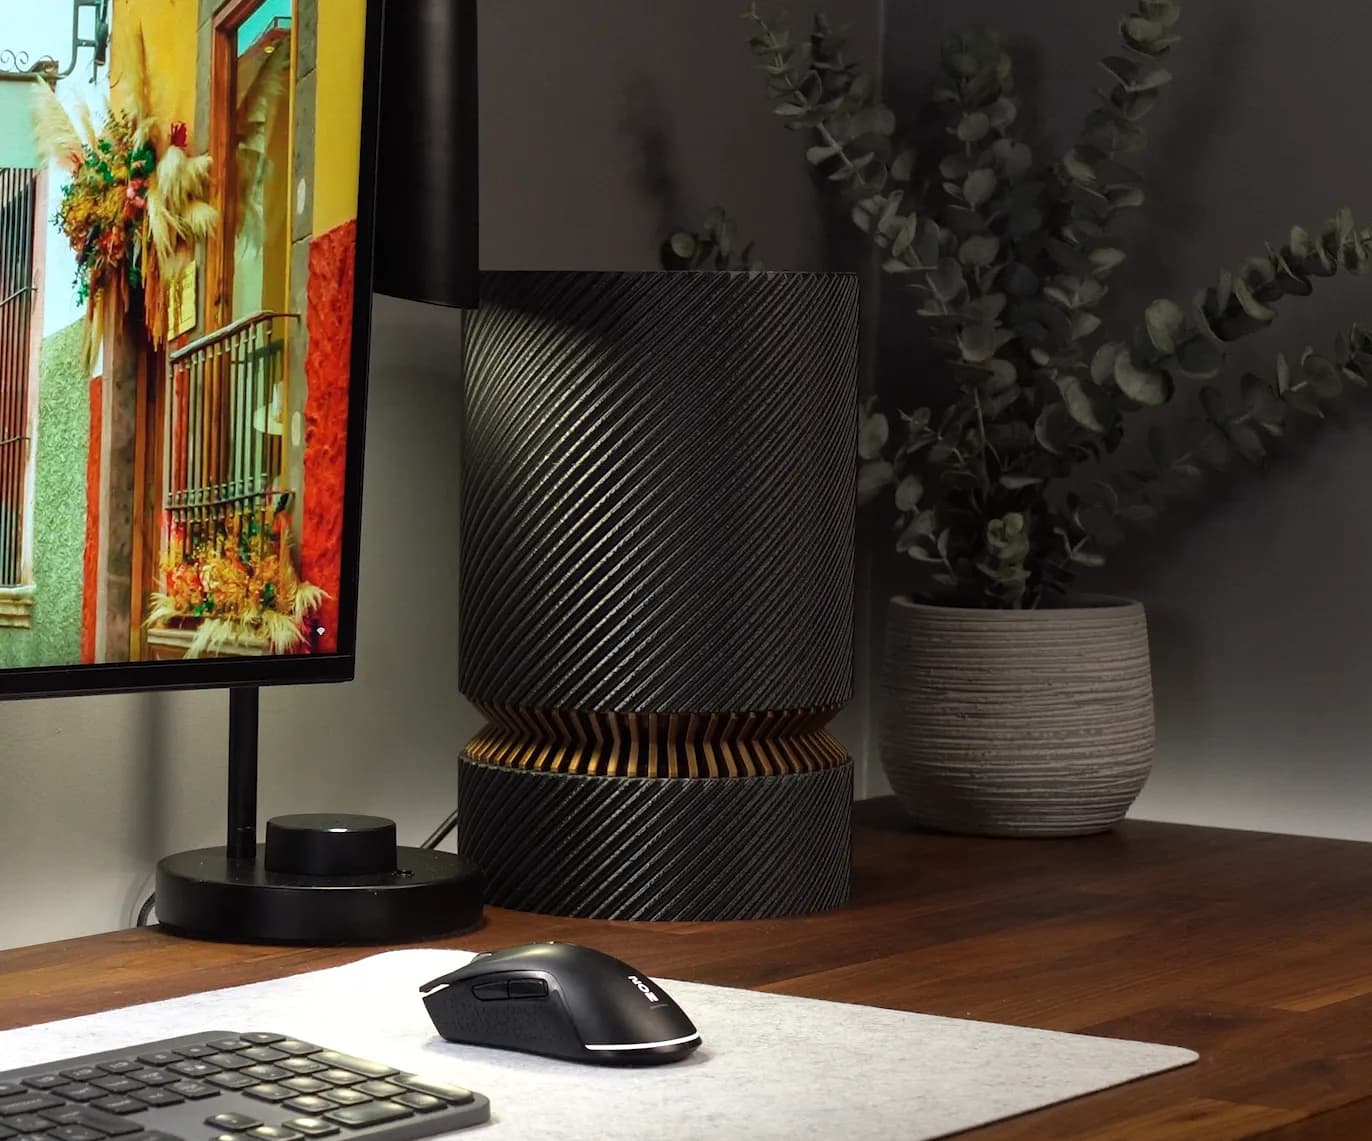
Clean looking ITX PC case
Backpack-friendly PC case v2.0
Minimalistic ITX PC case for onboard graphics

ATX PC CASE - 180 x 180mm print volume

12-bay ATX NAS case - 180mm print volume
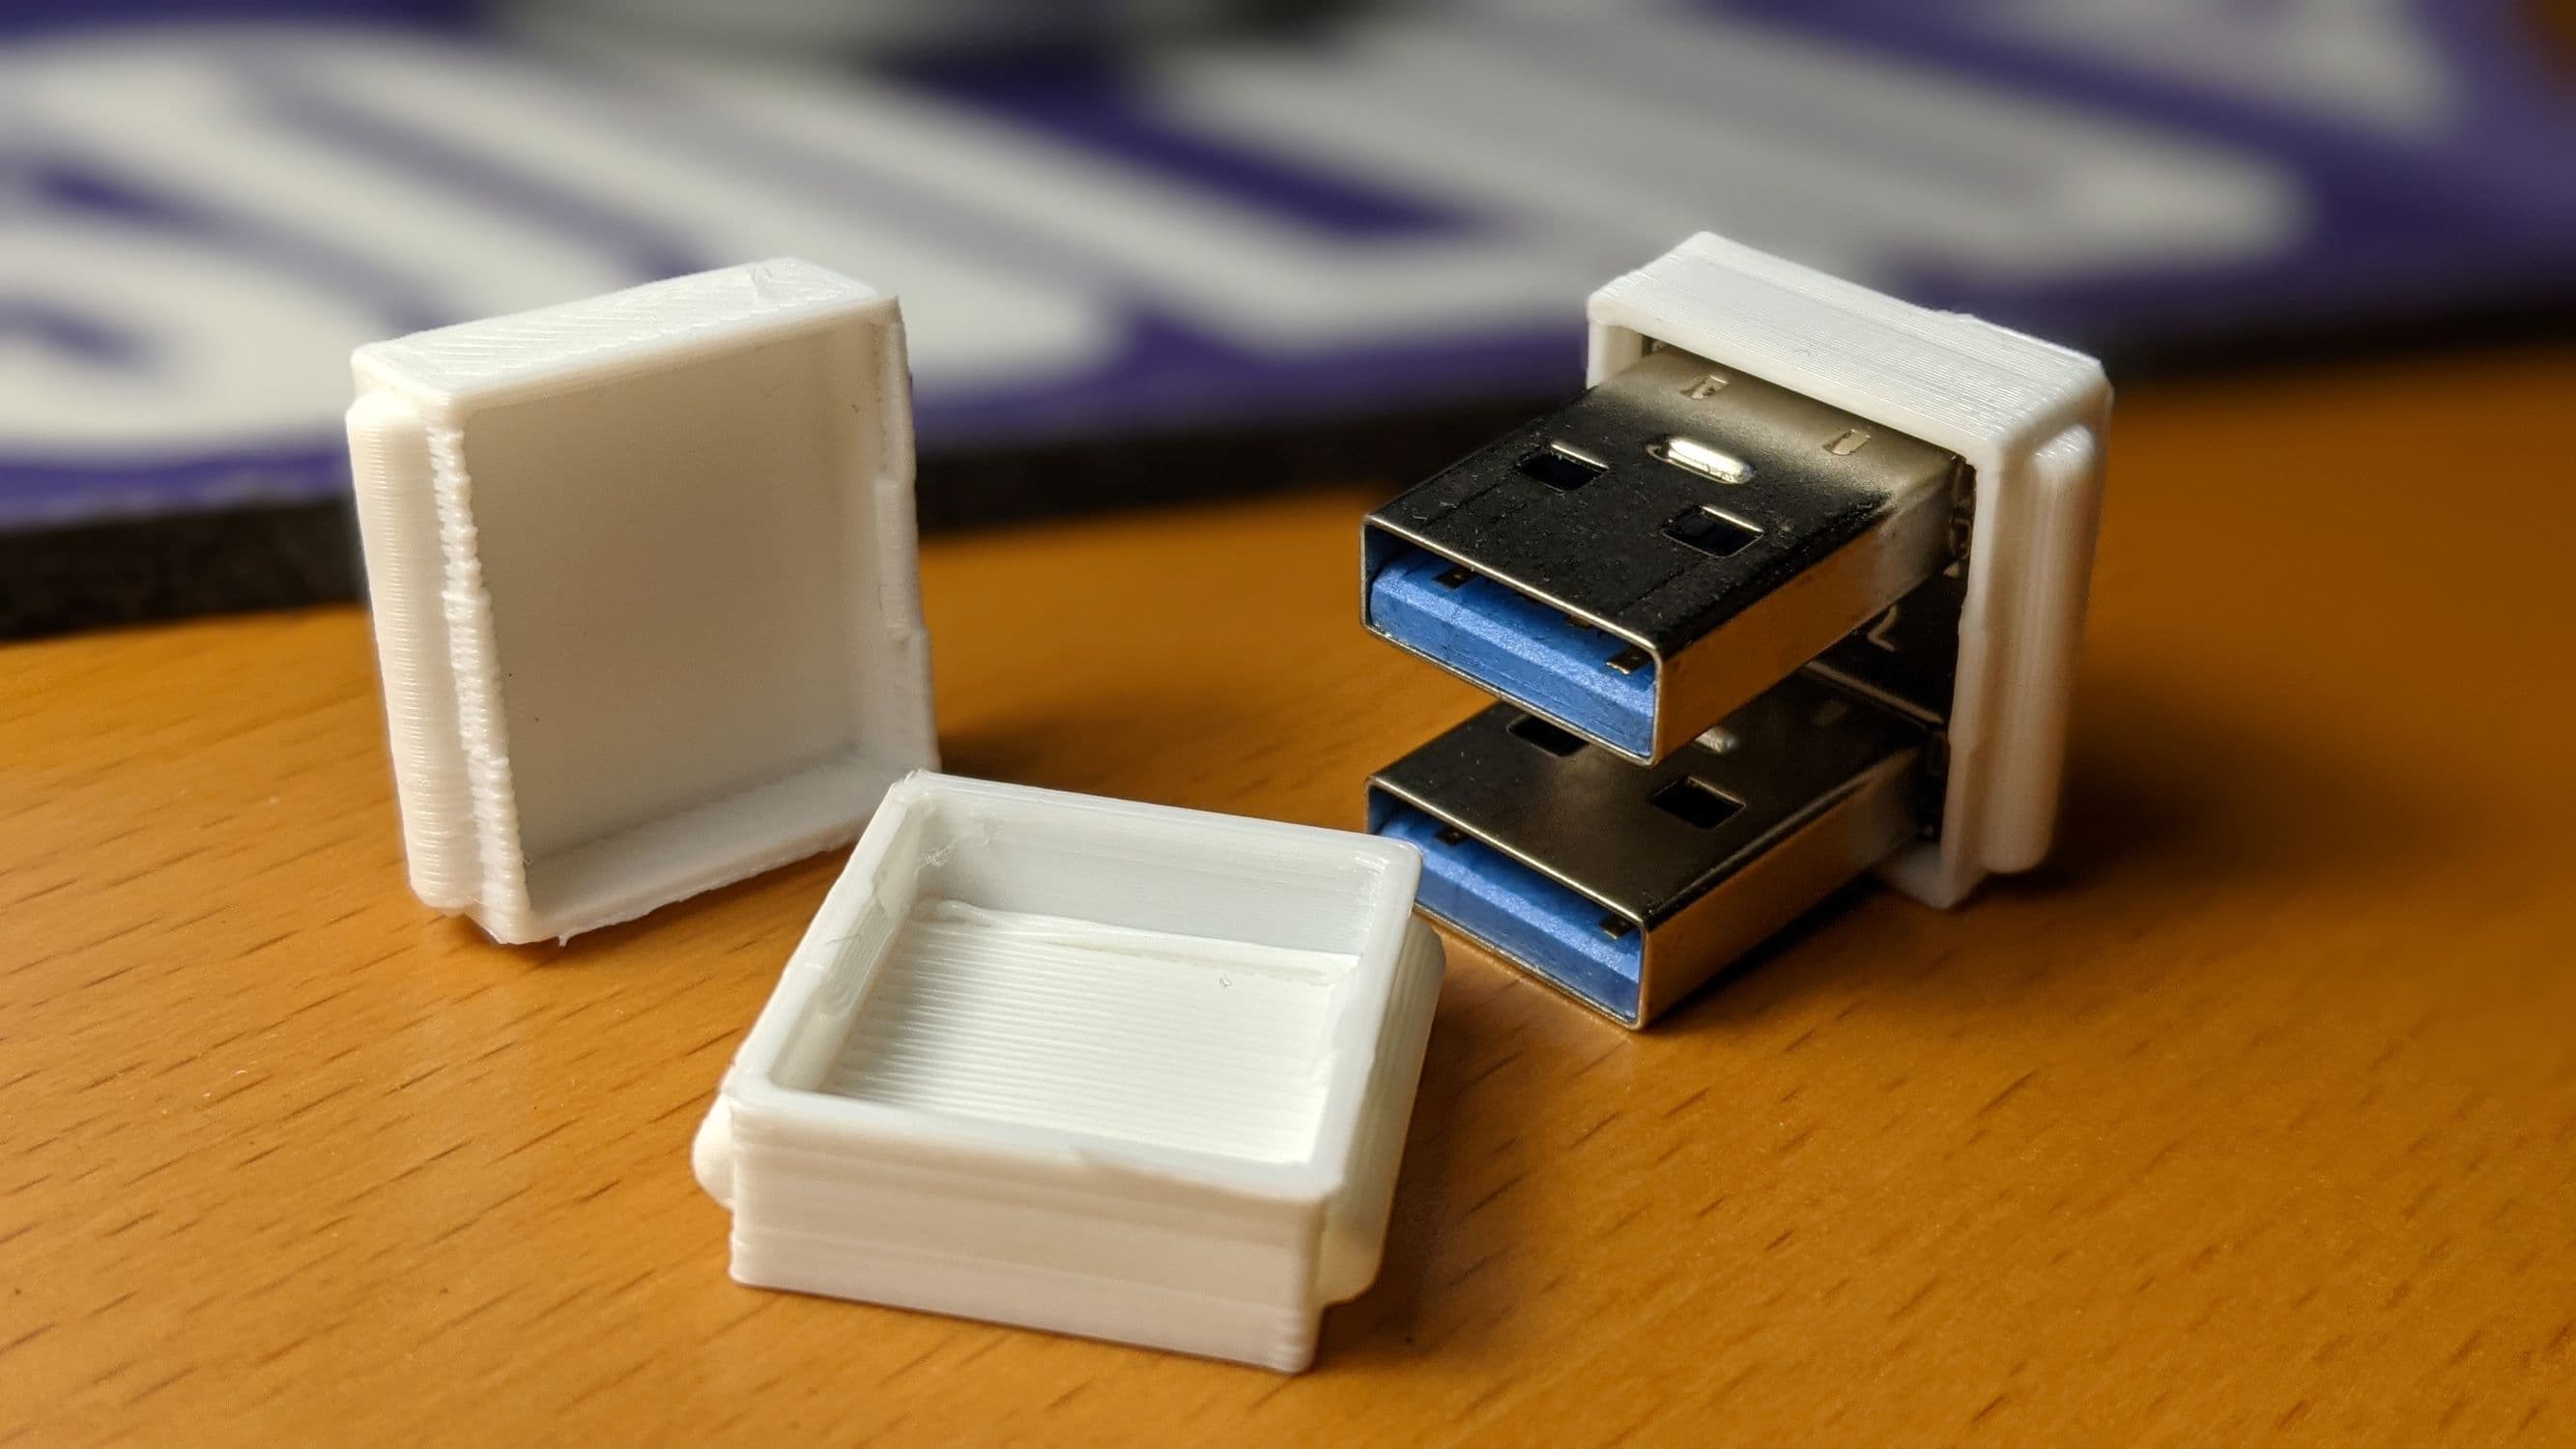
RasPi double USB SSD NAS connector cover

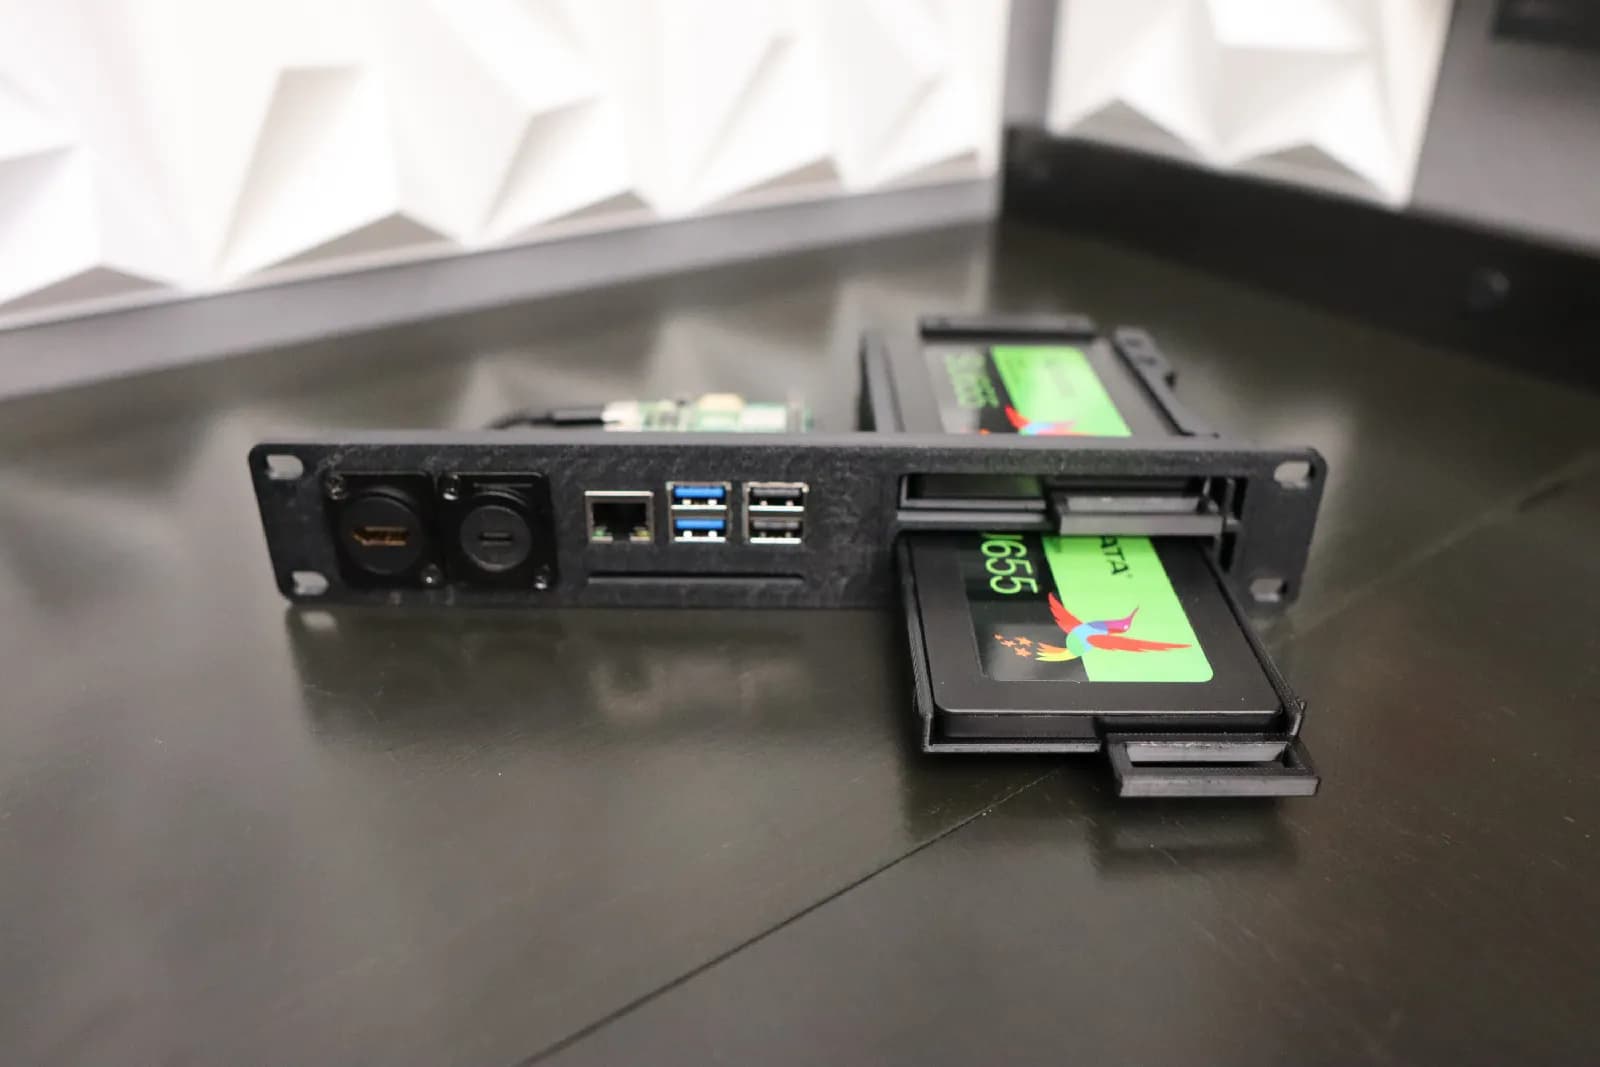
Raspberry Pi5 NAS 10-inch server rack plate, 5 hot swap SSD units, HDMI and power connectors
Raspberry Pi5 NAS 10-inch server rack plate, 2 hot swap SSD units, HDMI and power connectors
Voron DIN Rail SSD Mount

TerraPi SSD Case / Stand for Raspberry Pi (all models)

2 x 2.5" HDD to 3.5" HDD Mount

Fractal SSD Bracket Type B

Ocktron Compact 10‑inch Mini Home Lab Rack 5U by 6U by 8U

Hot swap 10-inch server rack plate for 8 SSD units, 5u by 2u size
2.5" to 3.5" HDD/SSD Screwless Adapter

Ocktron MD 10‑inch Medium Home Lab Rack 7U
With regards to "All internal panels like the hard drive bay, motherboard mount and hard drive mounts should be printed normally with both top and bottom layers.". What is meant by "normal"
Hey! I'm sorry for the slow response, apparently Thangs won't give me push notifications like the other platforms do. (to my knowledge)
About "Normal" settings I mean your typical standard profile in the slicer, or the profile you use for most prints that don't require any fancy settings.