


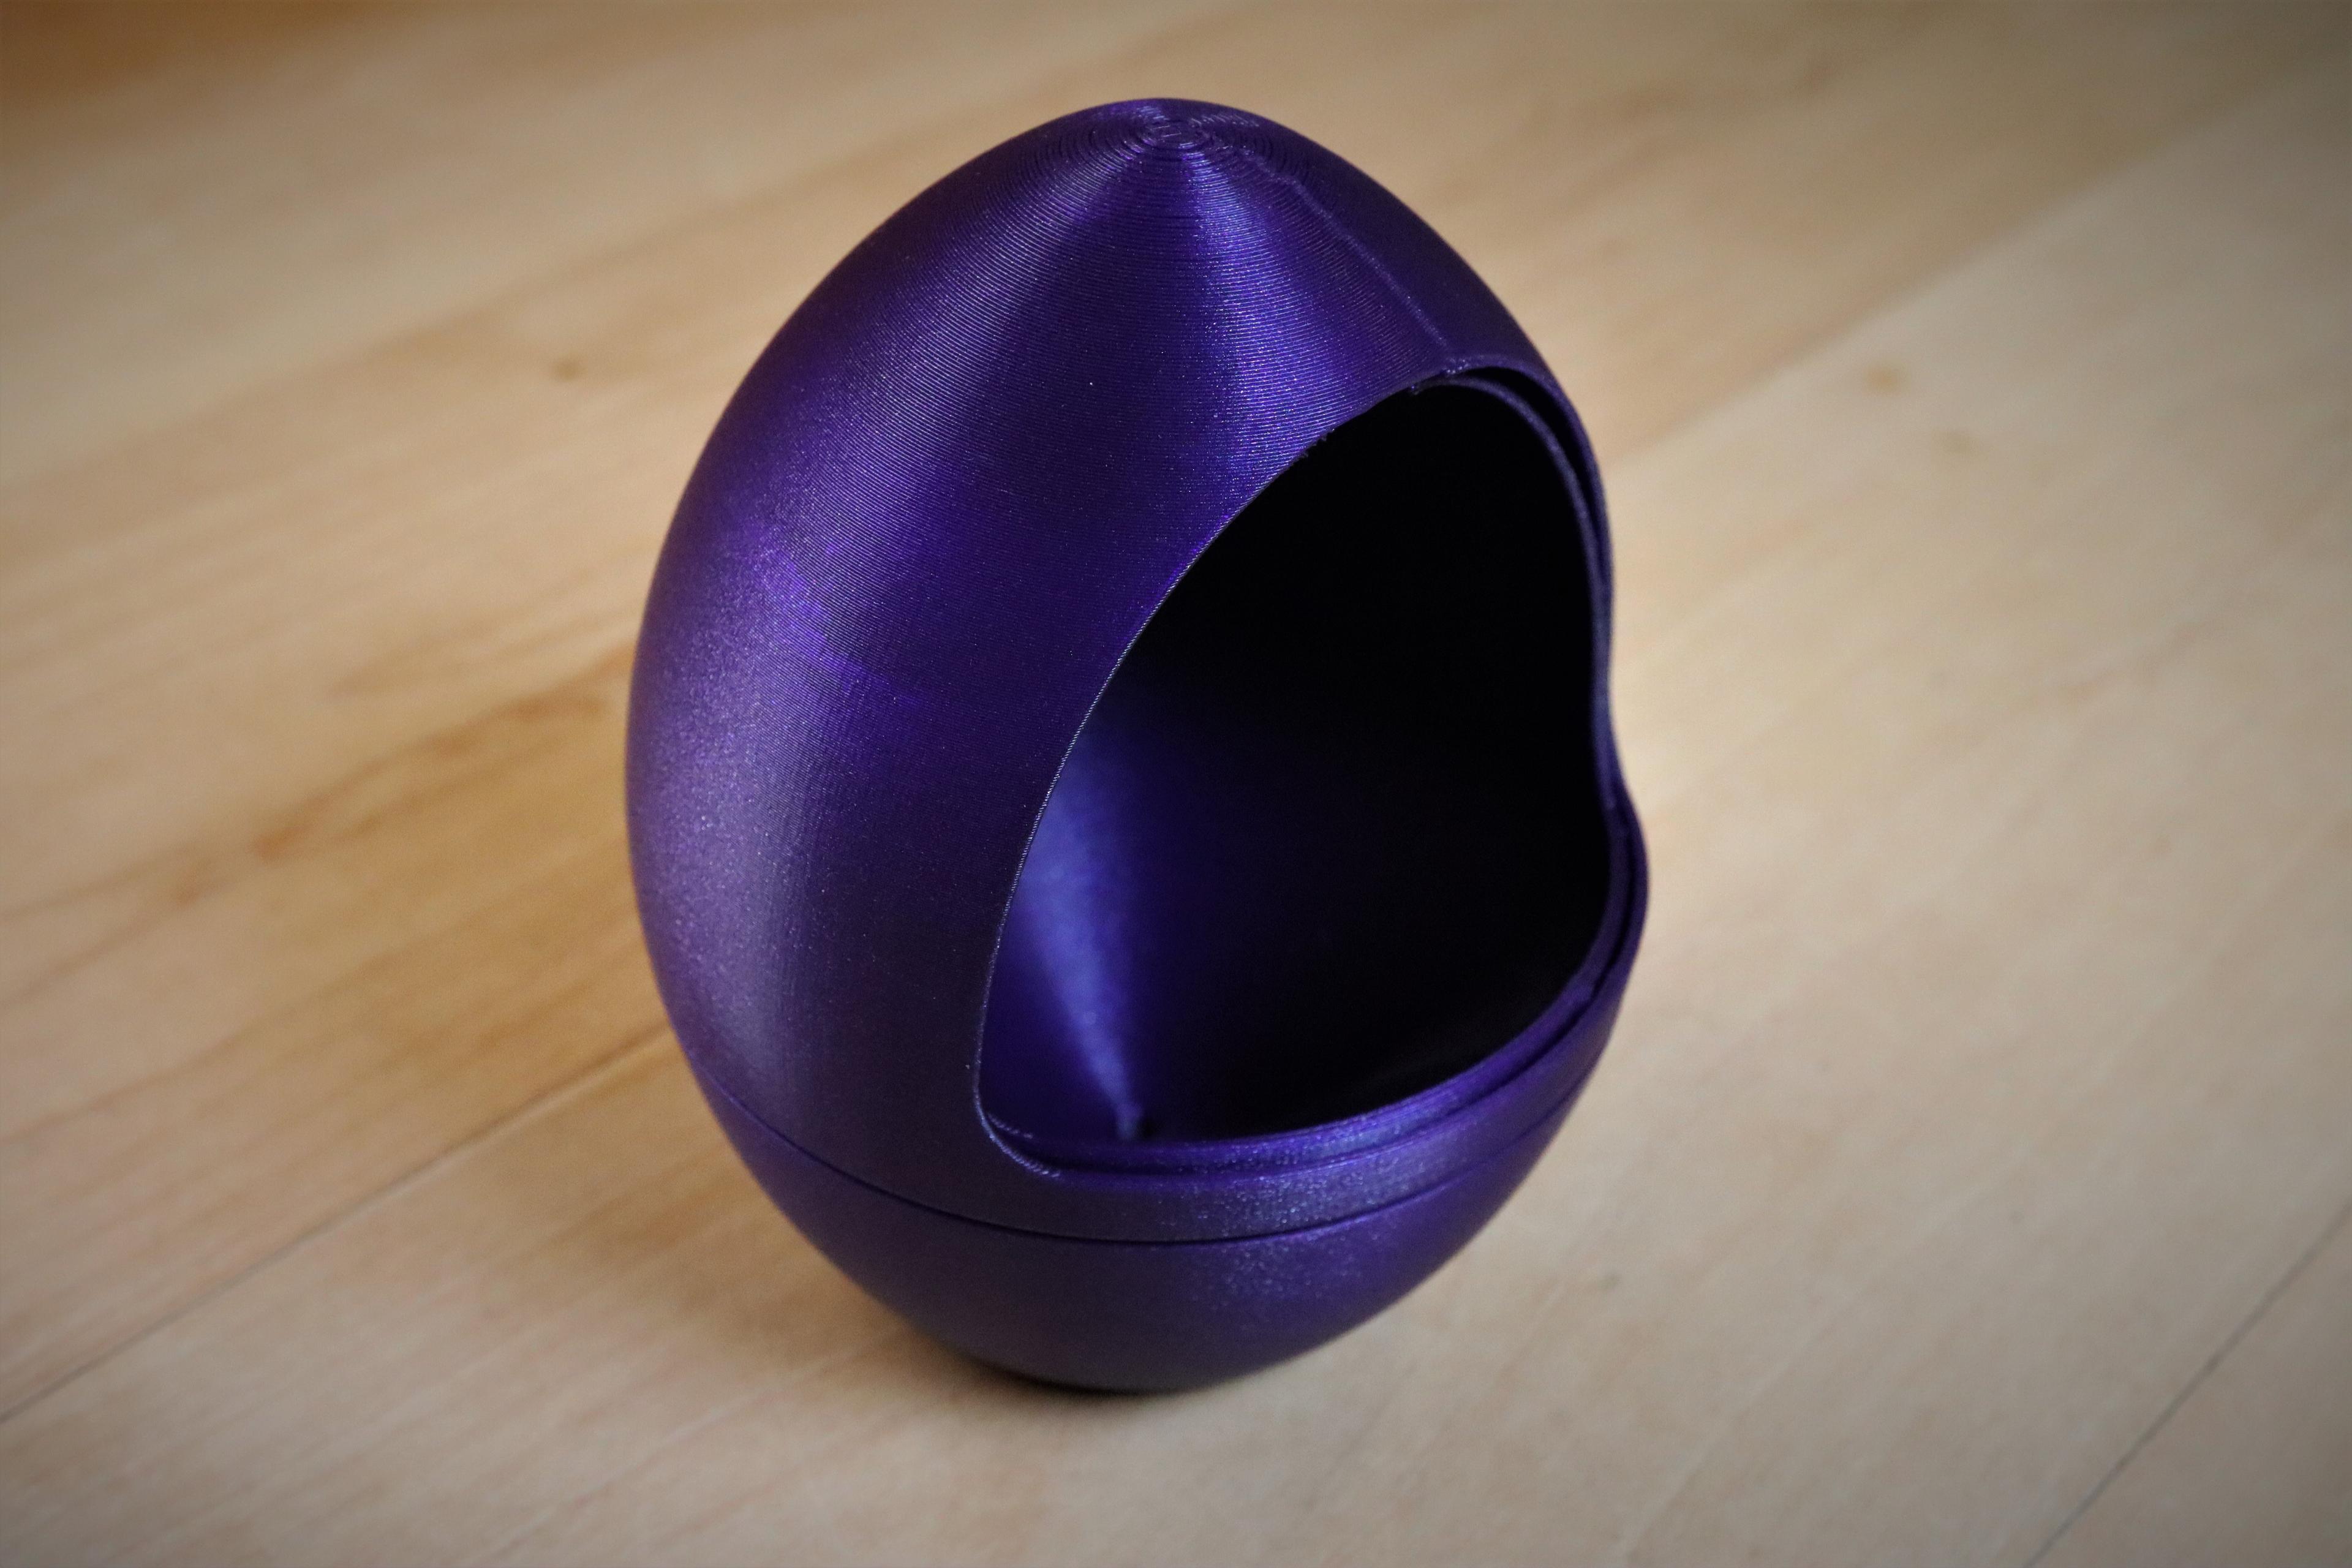
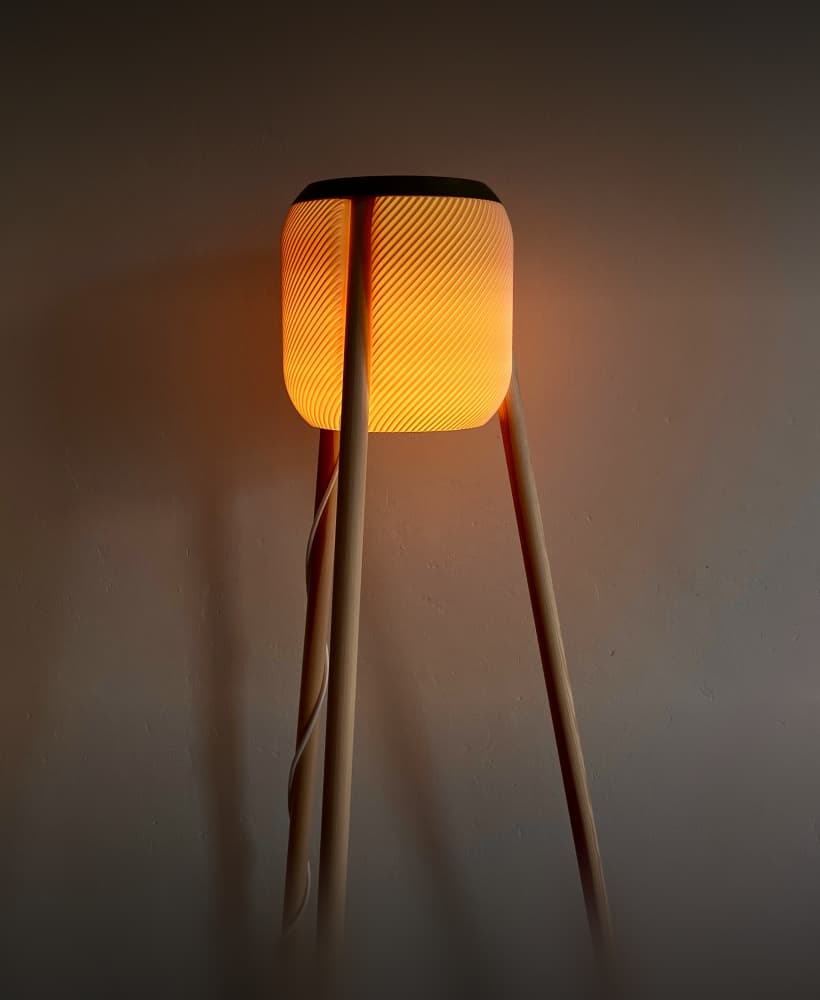
Tama Lamp
0 downloads · 5 months ago · Tama is short for "tamago", the Japanese word for egg. The shade takes that literally — twisted plea
This model is restricted by licensing terms.
View license.
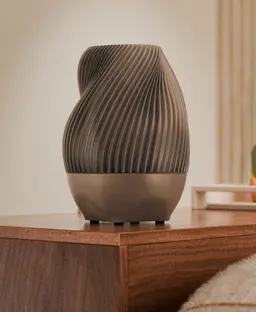
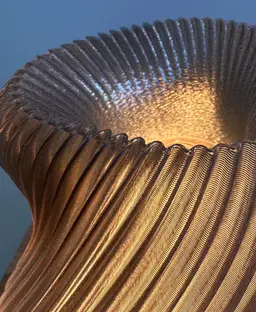
Tama is short for "tamago", the Japanese word for egg. The shade takes that literally — twisted pleats on a rounded form that keeps it together below and lets loose above. Think deviled egg at a dinner party.
The base glows too, just quieter than the shade.
The Tama Lamp is thoughtfully designed to utilize common parts for easy repairs, upgrades, or reuse to minimize waste.
How it works
- Purchase your preferred pendant fixture type. Two options are available but only one is required.
- Print the STL or 3MF files using the provided PDF guide.
- Assemble the base, install the bulb, twist the shade onto the base, and plug it in. Enjoy!
Features
- Flexible Fit: Includes base files for common and inexpensive E26/E27 pendant fixtures.
- Twist-Lock Assembly: The shade easily snaps into the base with a twist, making bulb changes simple.
- Efficient Printing: Designed to be printed with "spiral vase" mode for fast print times. The base features slots for optional TPU feet to prevent sliding.
Parts & Files
- Includes 3MF + STL files and a PDF printing guide.
- Easy to slice in PrusaSlicer, OrcaSlicer, or Bambu Studio.
- Requires a minimum bed size of 160mm x160mm x150mm.
- Hardware Required:
- 1x 5-9W E26/E27 LED Bulb (Max 2.5”/6.5cm diameter).
- 1x Pendant Light Fixture (Threaded 40mm or Smooth 37mm - Pendant Light Cord Lamp Kit - Amazon.com, JACKYLED 12ft pendant light - Amazon.com).
- Recommended filament: PLA or PETG for the shade and base, TPU for the optional feet.
Print Statistics (Prusa Core One, 0.6mm nozzle)
- Shade: 128g, 4.7hrs
- Base: 205g, 3.8hrs (including parts)
Instructions I recommend reviewing the PDF for printing and assembly instructions. Here are the highlights:
- Printing
- The double-walled shade is printed with 1 perimeter and 0% infill. Alternatively, print the shade with a single wall using spiralized vase mode.
- Disable dynamic speeds for the PETG shade to keep the surface texture uniform. Lower speeds will produce more transparent results.
- Print the base with your preferred settings. No special profiles required.
- Assembly - base
- Insert part 2 into part 1 and press until secure. There is a small registration at the back of the parts to ensure proper alignment.
- Assembly - smooth-walled fixture
- Insert the fixture from below until the top is approximately 2 mm above the base. Twist on the printed threaded collar to secure the fixture.
- Insert the fixture cord into the slot at the bottom of the base. Secure it in place with the printed plug.
- Assembly - threaded fixture
- Insert the fixture from below and thread on the fixture ring until it's secured.
- Insert the fixture cord into the slot at the bottom of the base. Secure it in place with the printed plug.
- Assembly - shade
- First, thread in the LED bulb.
- Insert the woven shade above the bulb and twist the shade until you feel a gentle snap.
** These files are for personal use only and not to be resold
Tama Lamp
0 downloads · 5 months ago in and
This model is restricted by licensing terms.
View license.

Bellows Weave Lamp - Shade Only

Nixie Lamp
Burst Lamp
Dollop Lamp: Wavy Desk Lamp, Contemporary Table Lamp
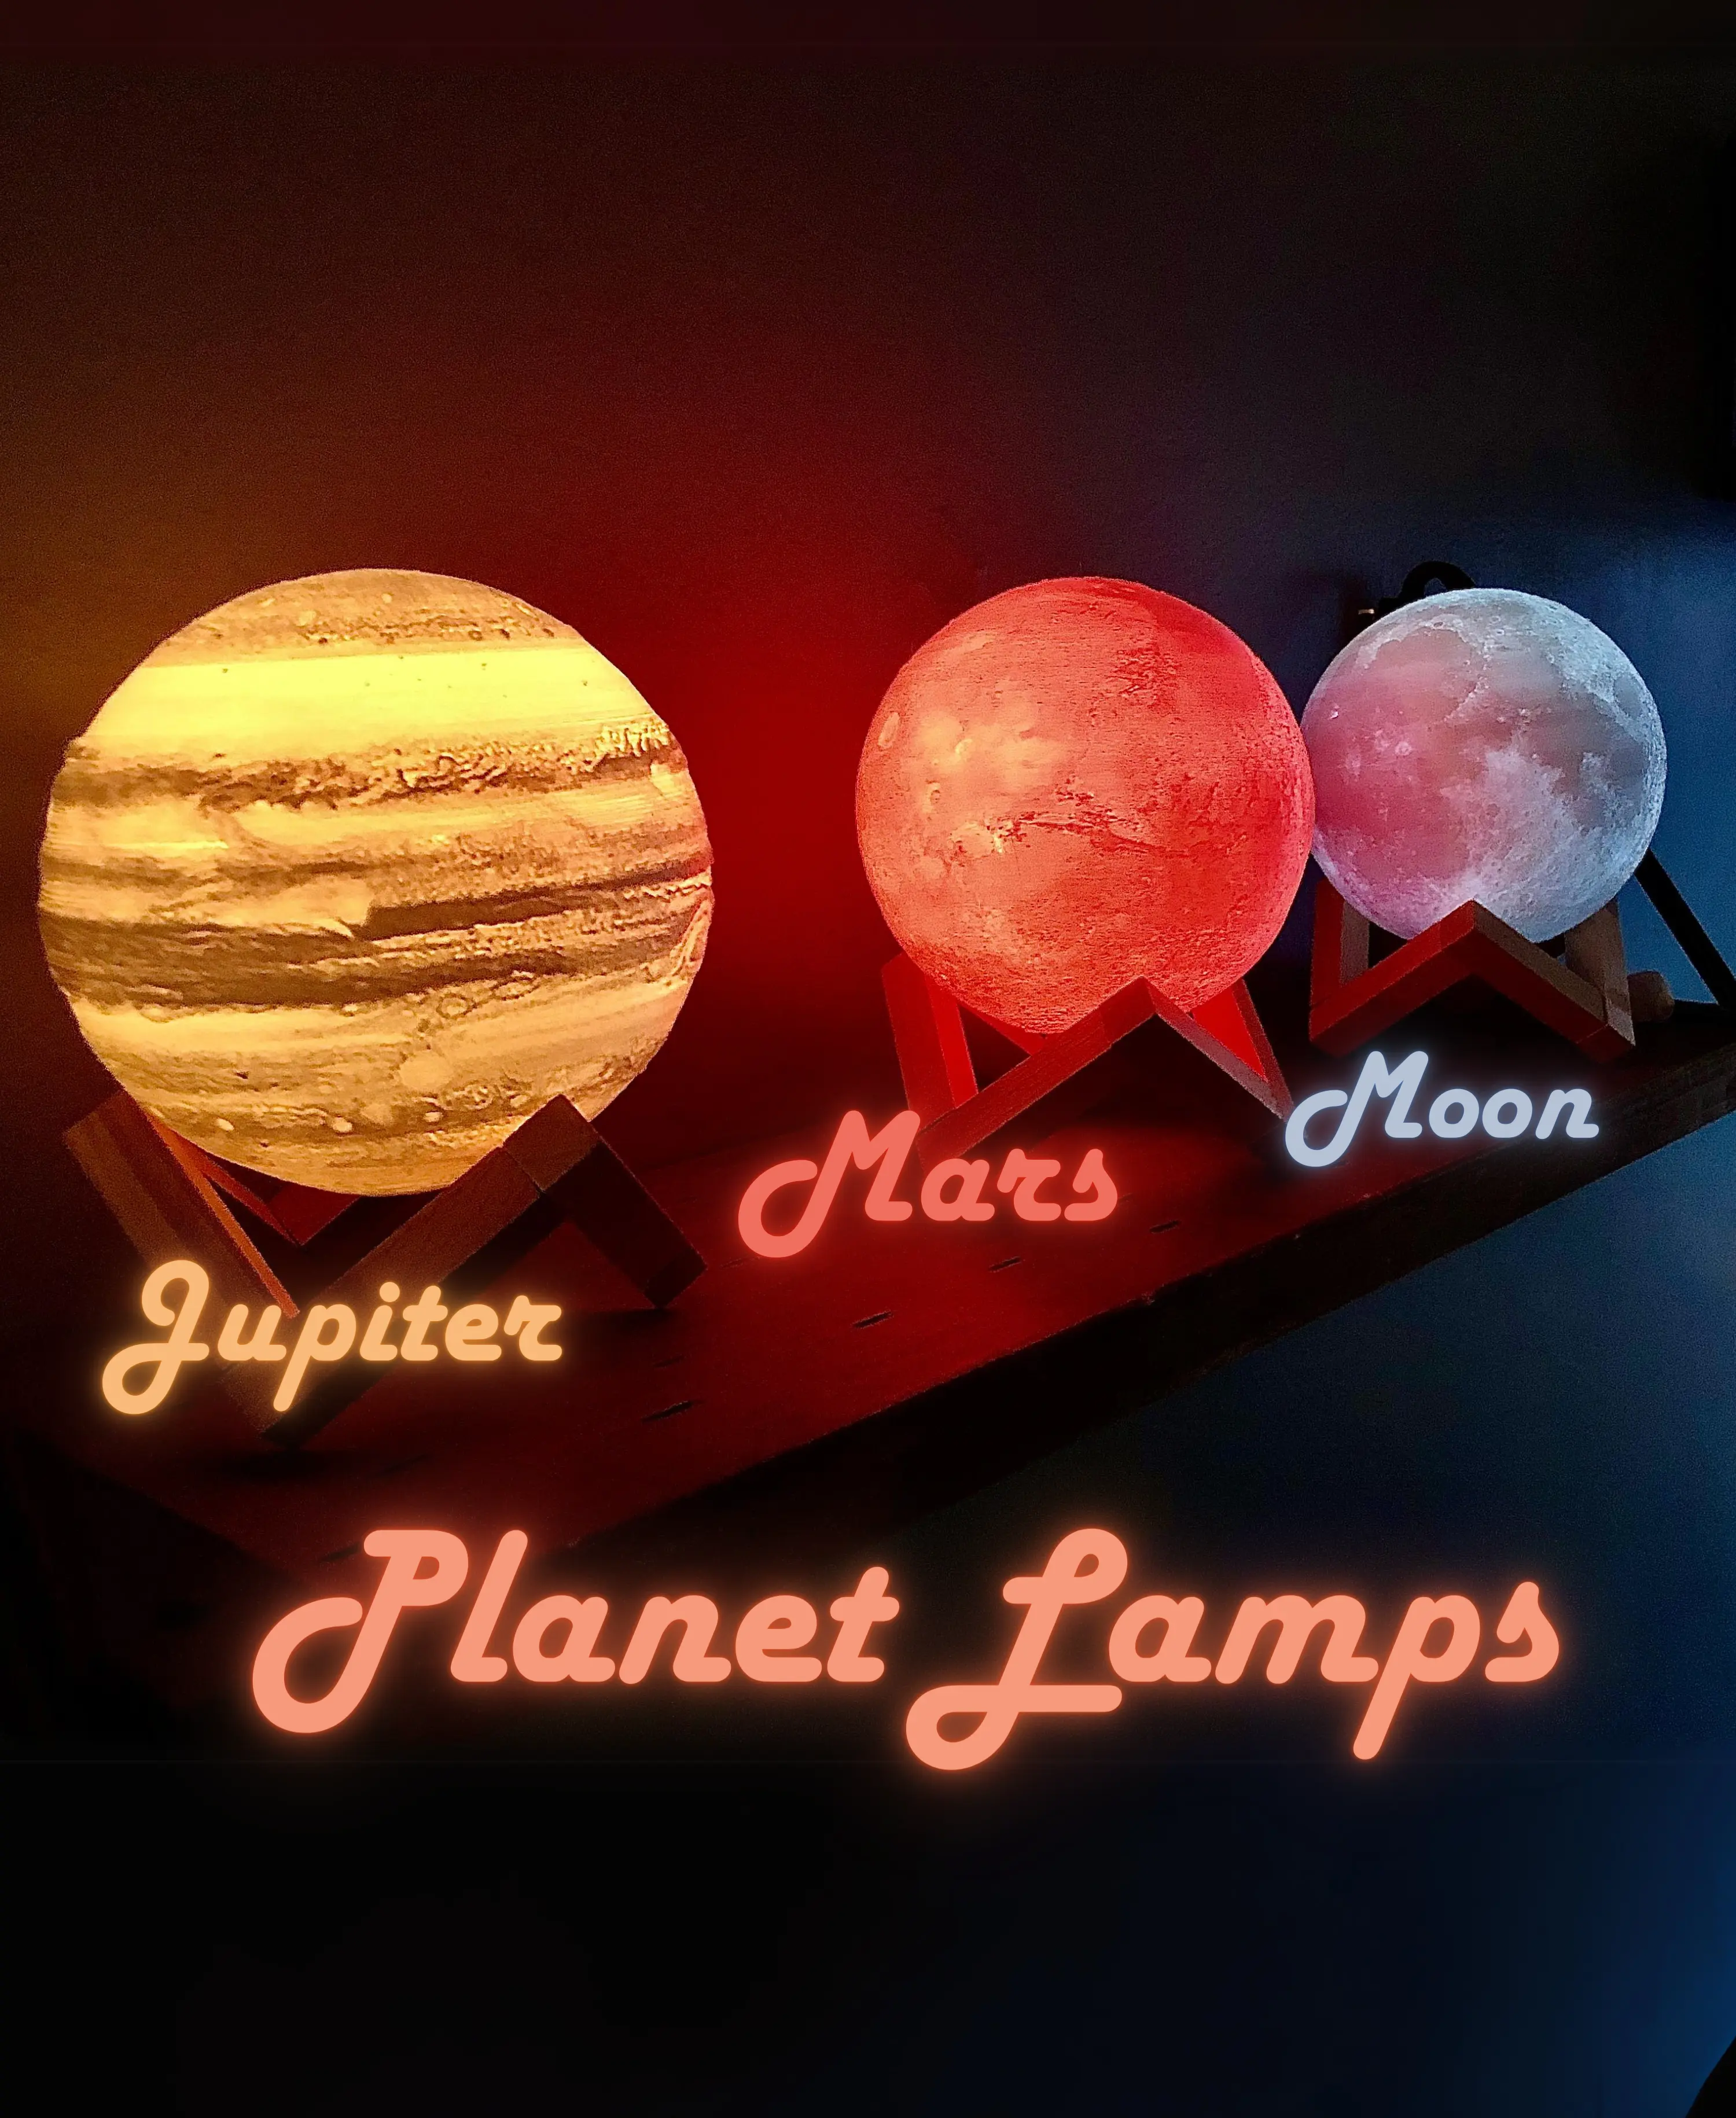
Planet Lamps
.png&w=3840&q=75)
Lara Lamp
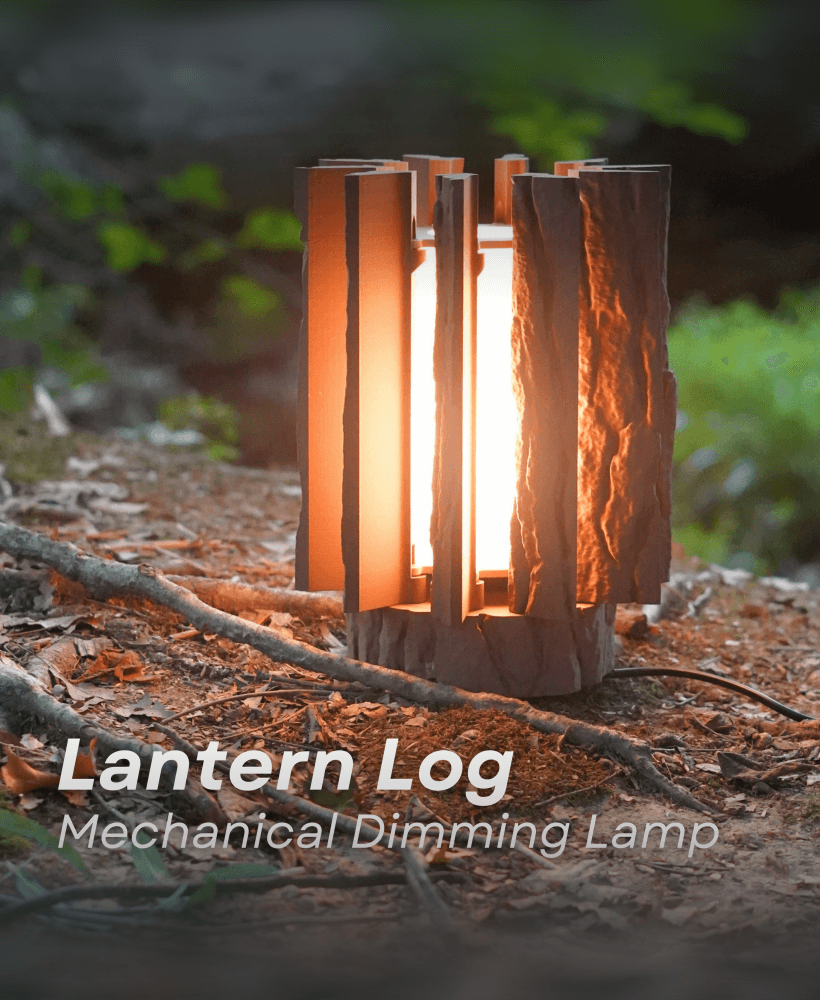
Lantern log - Mechanically Dimming Lamp with Real Log Texture

Jack Skellington Pumpkin 2025 edition - Halloween Lantern Decor - No Supports 3D Print STL/3MF

Cleo Lamp
Planetary Egg Container

The Rail

MCM Christmas Ornament
![Moon Lamp 150mm for LED Lamp 001 [HiRes] [noSupports] 3d model](/_next/image?url=https%3A%2F%2Fstorage.googleapis.com%2Fproduction-thangs-public%2Fuploads%2Fenhanced_images%2Fv1%2F2aa76a1f-56ad-48ad-99e1-ee824261c8ae%2Fezgif-6-4146f34c2f.gif&w=3840&q=75)
Moon Lamp 150mm for LED Lamp 001 [HiRes] [noSupports]
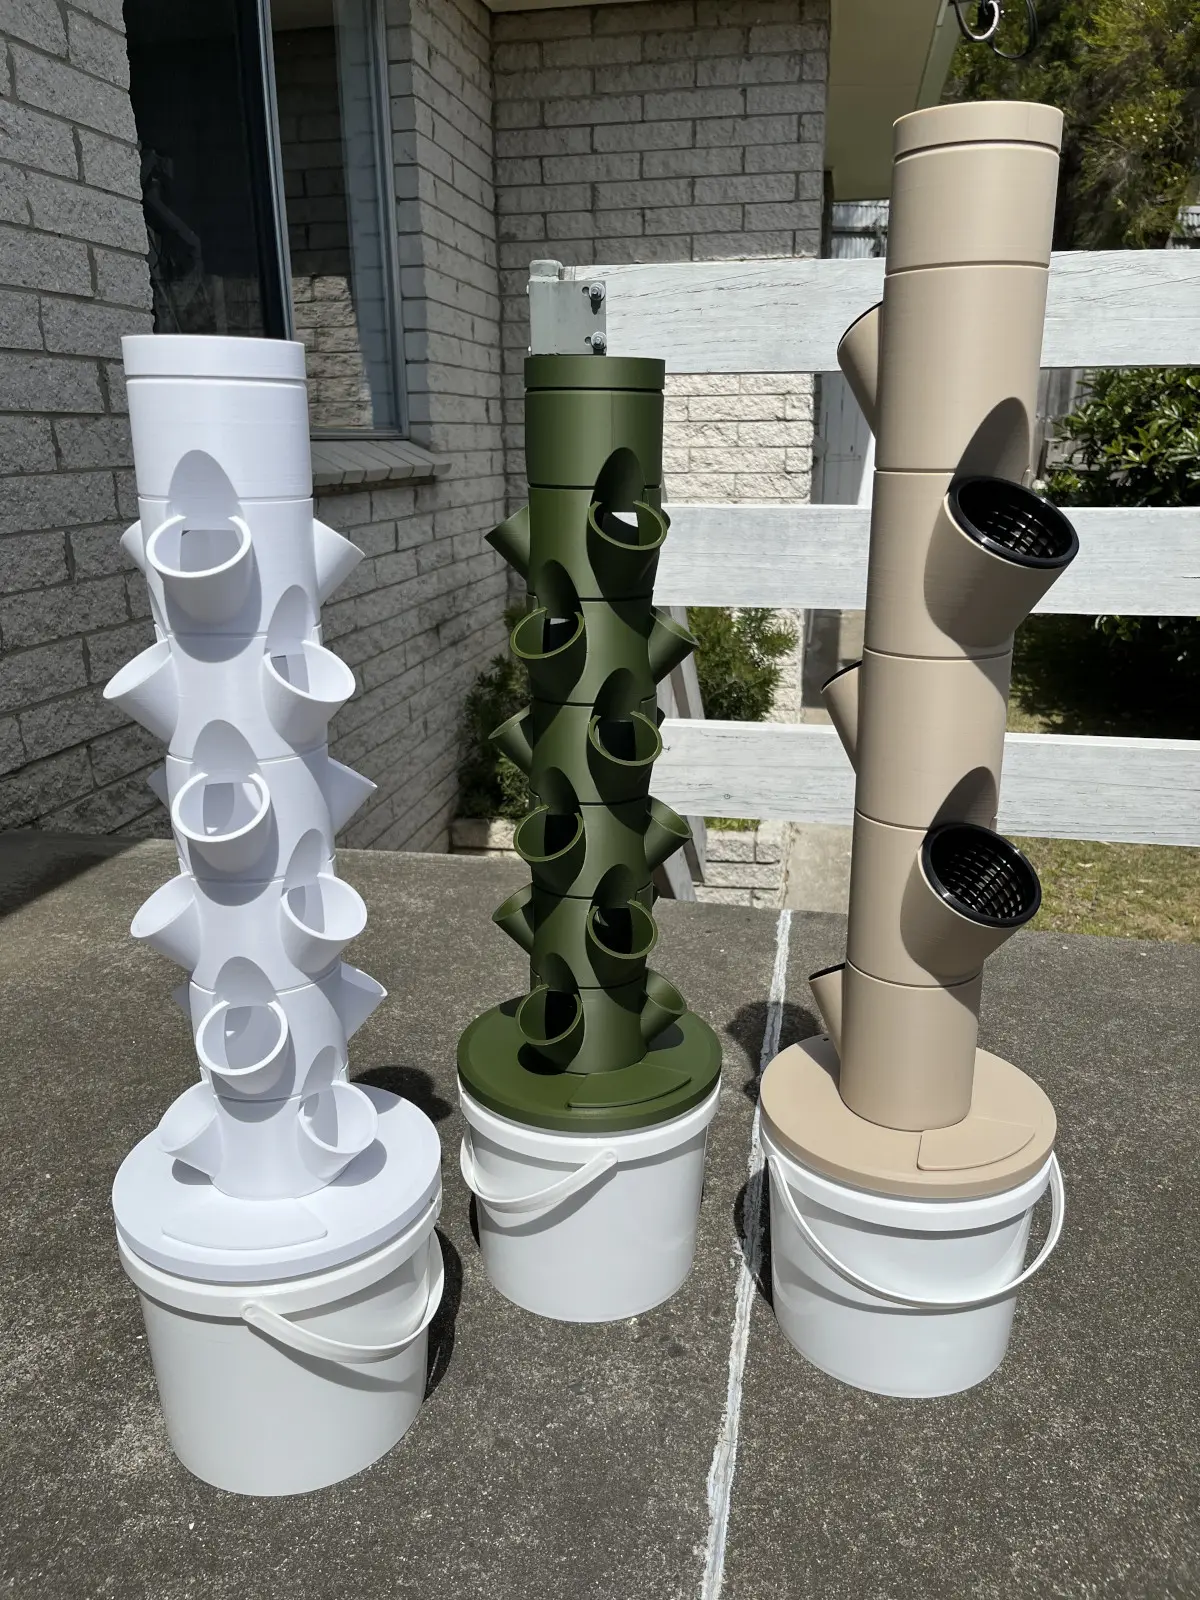
Dani's Miniature Grow Towers

BIG Moon Lamp 200mm High Res E14 Ikea Strala
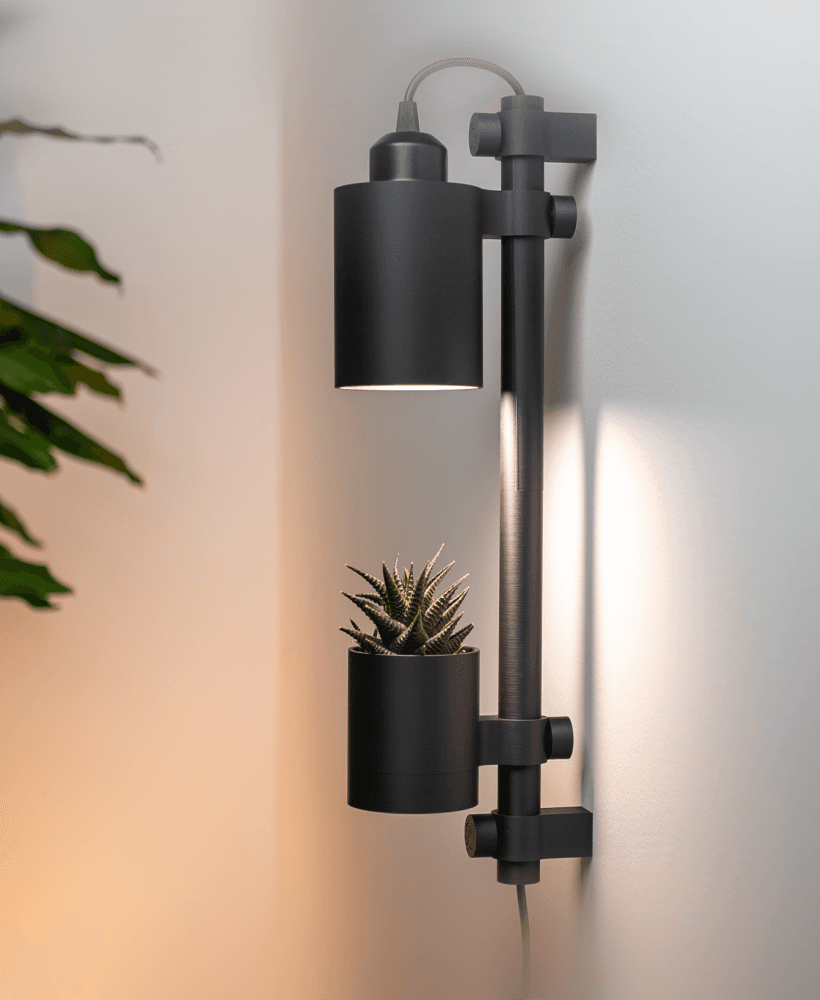
Modular Wall Light
.png&w=3840&q=75)
Sunflower Lamp

Mushroom lamp “Amanita Muscaria”
Umea - a standing lamp in boho style
