
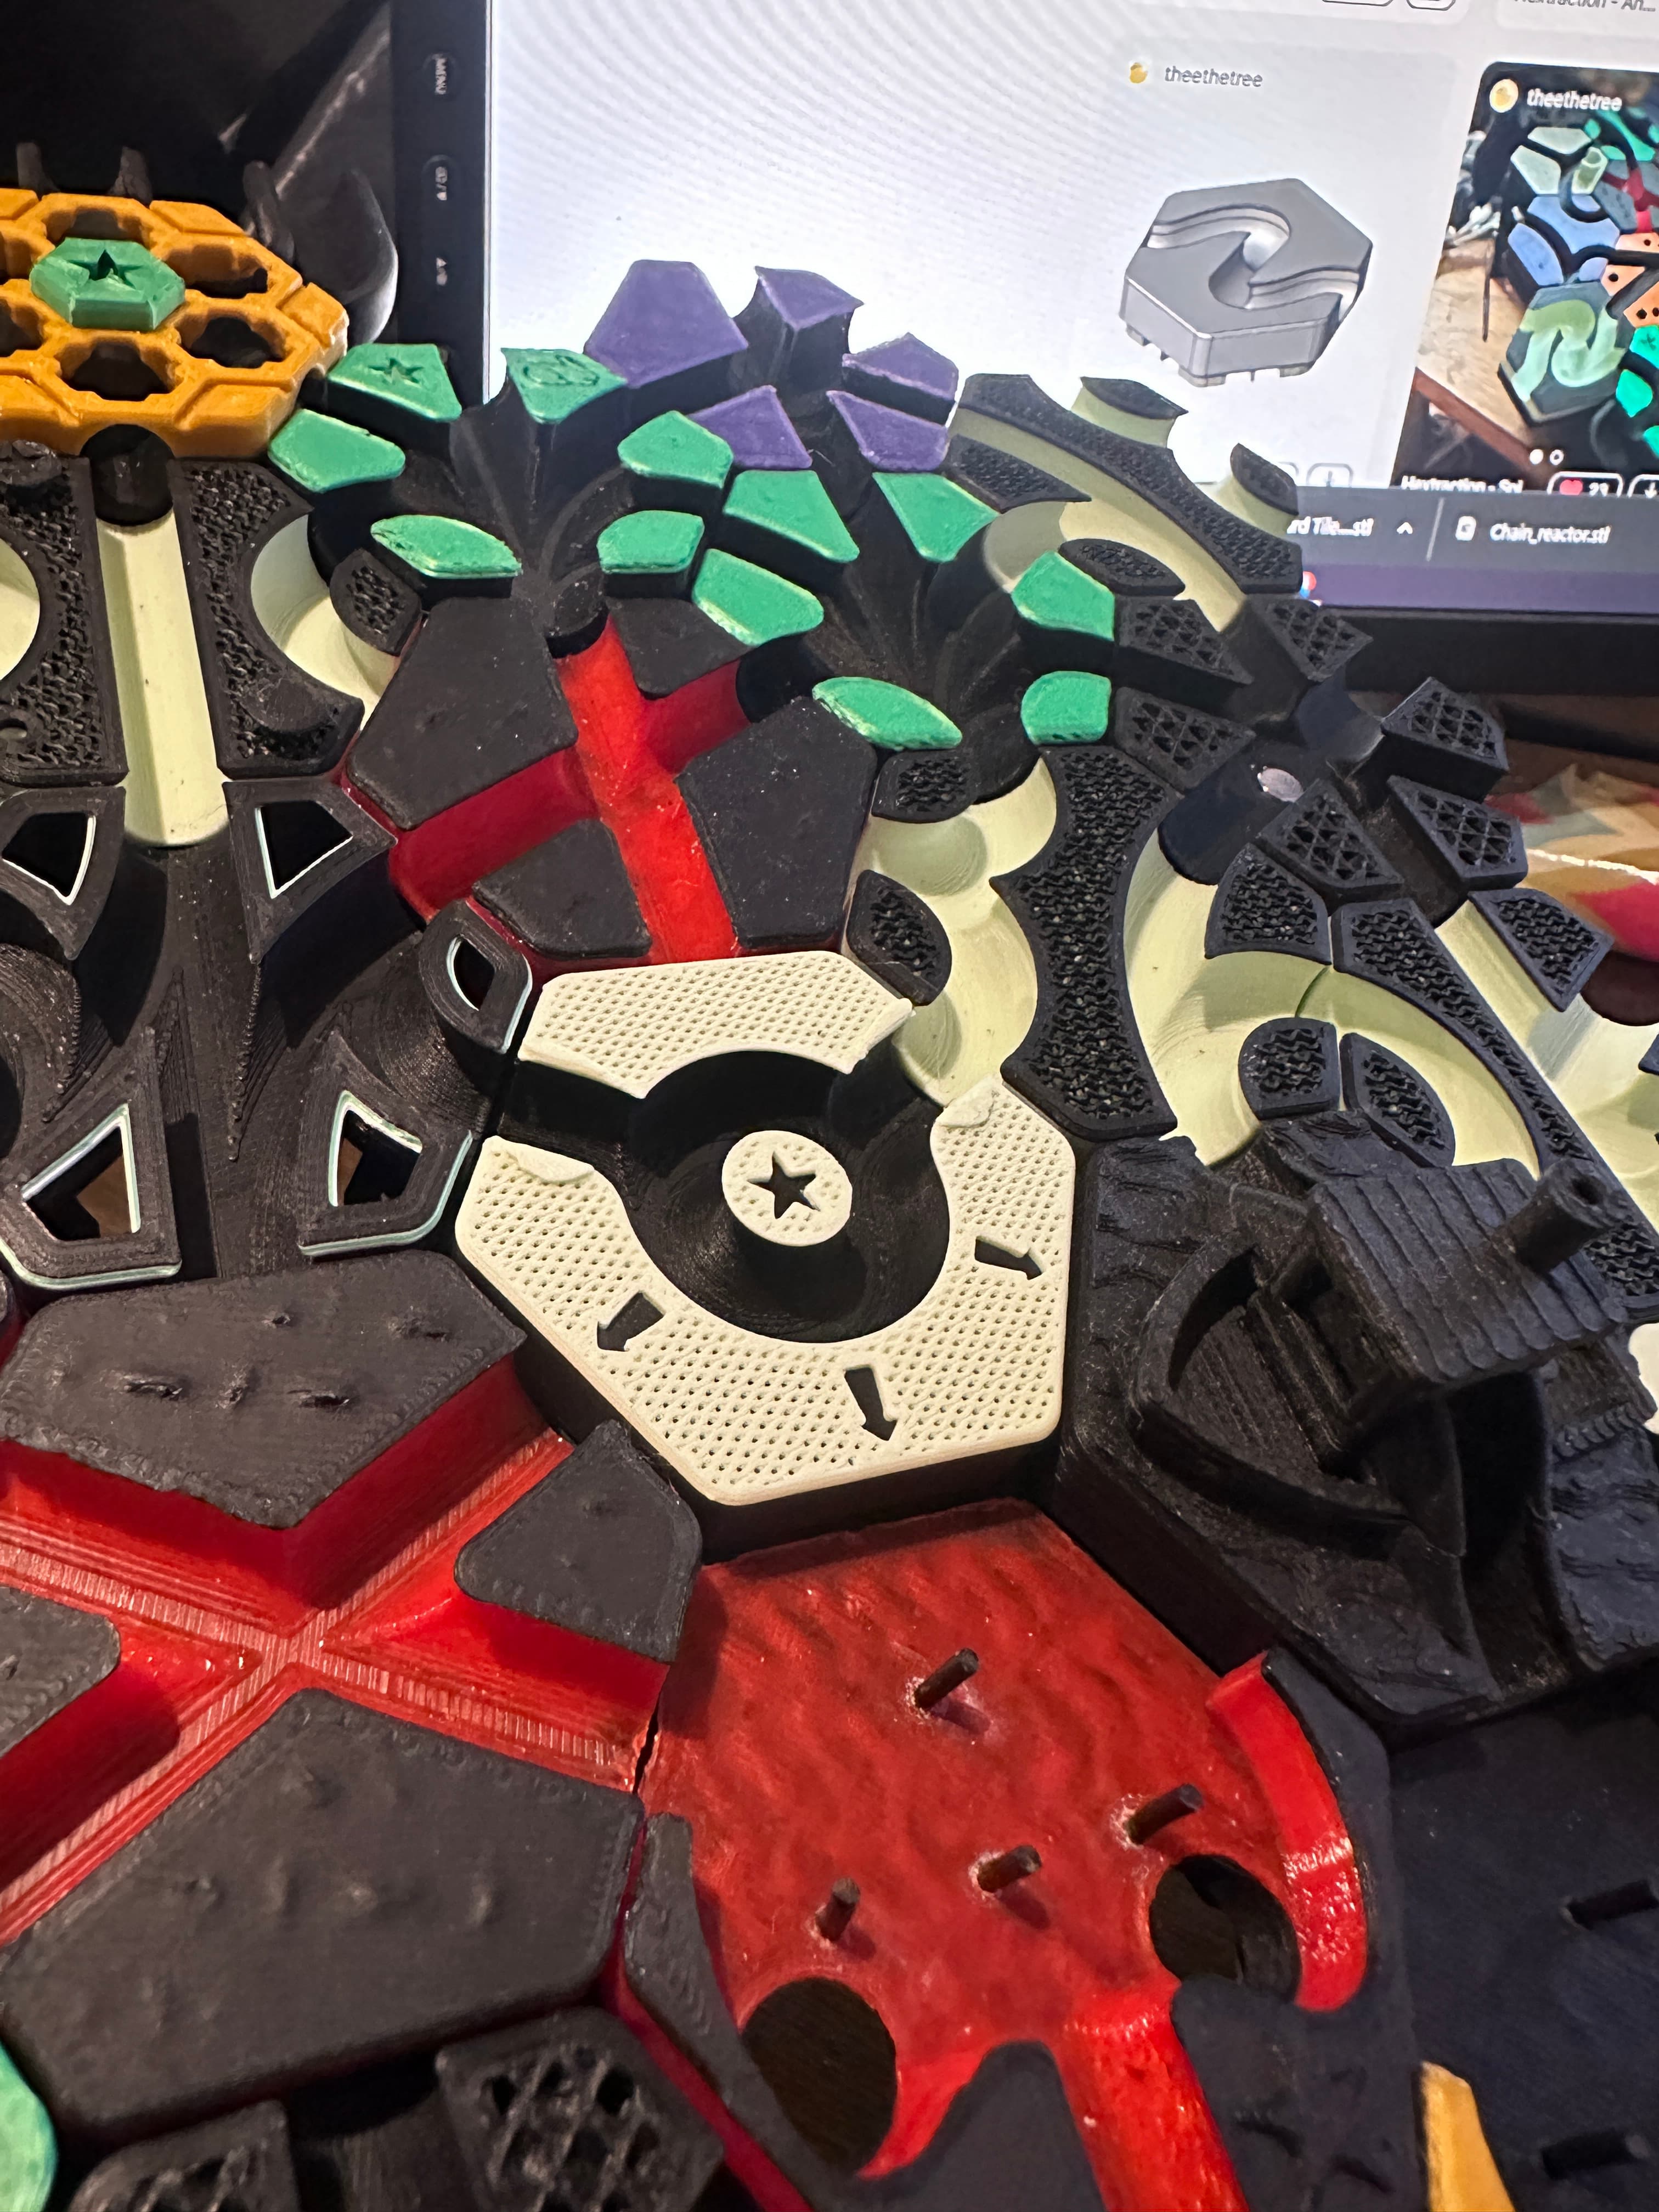
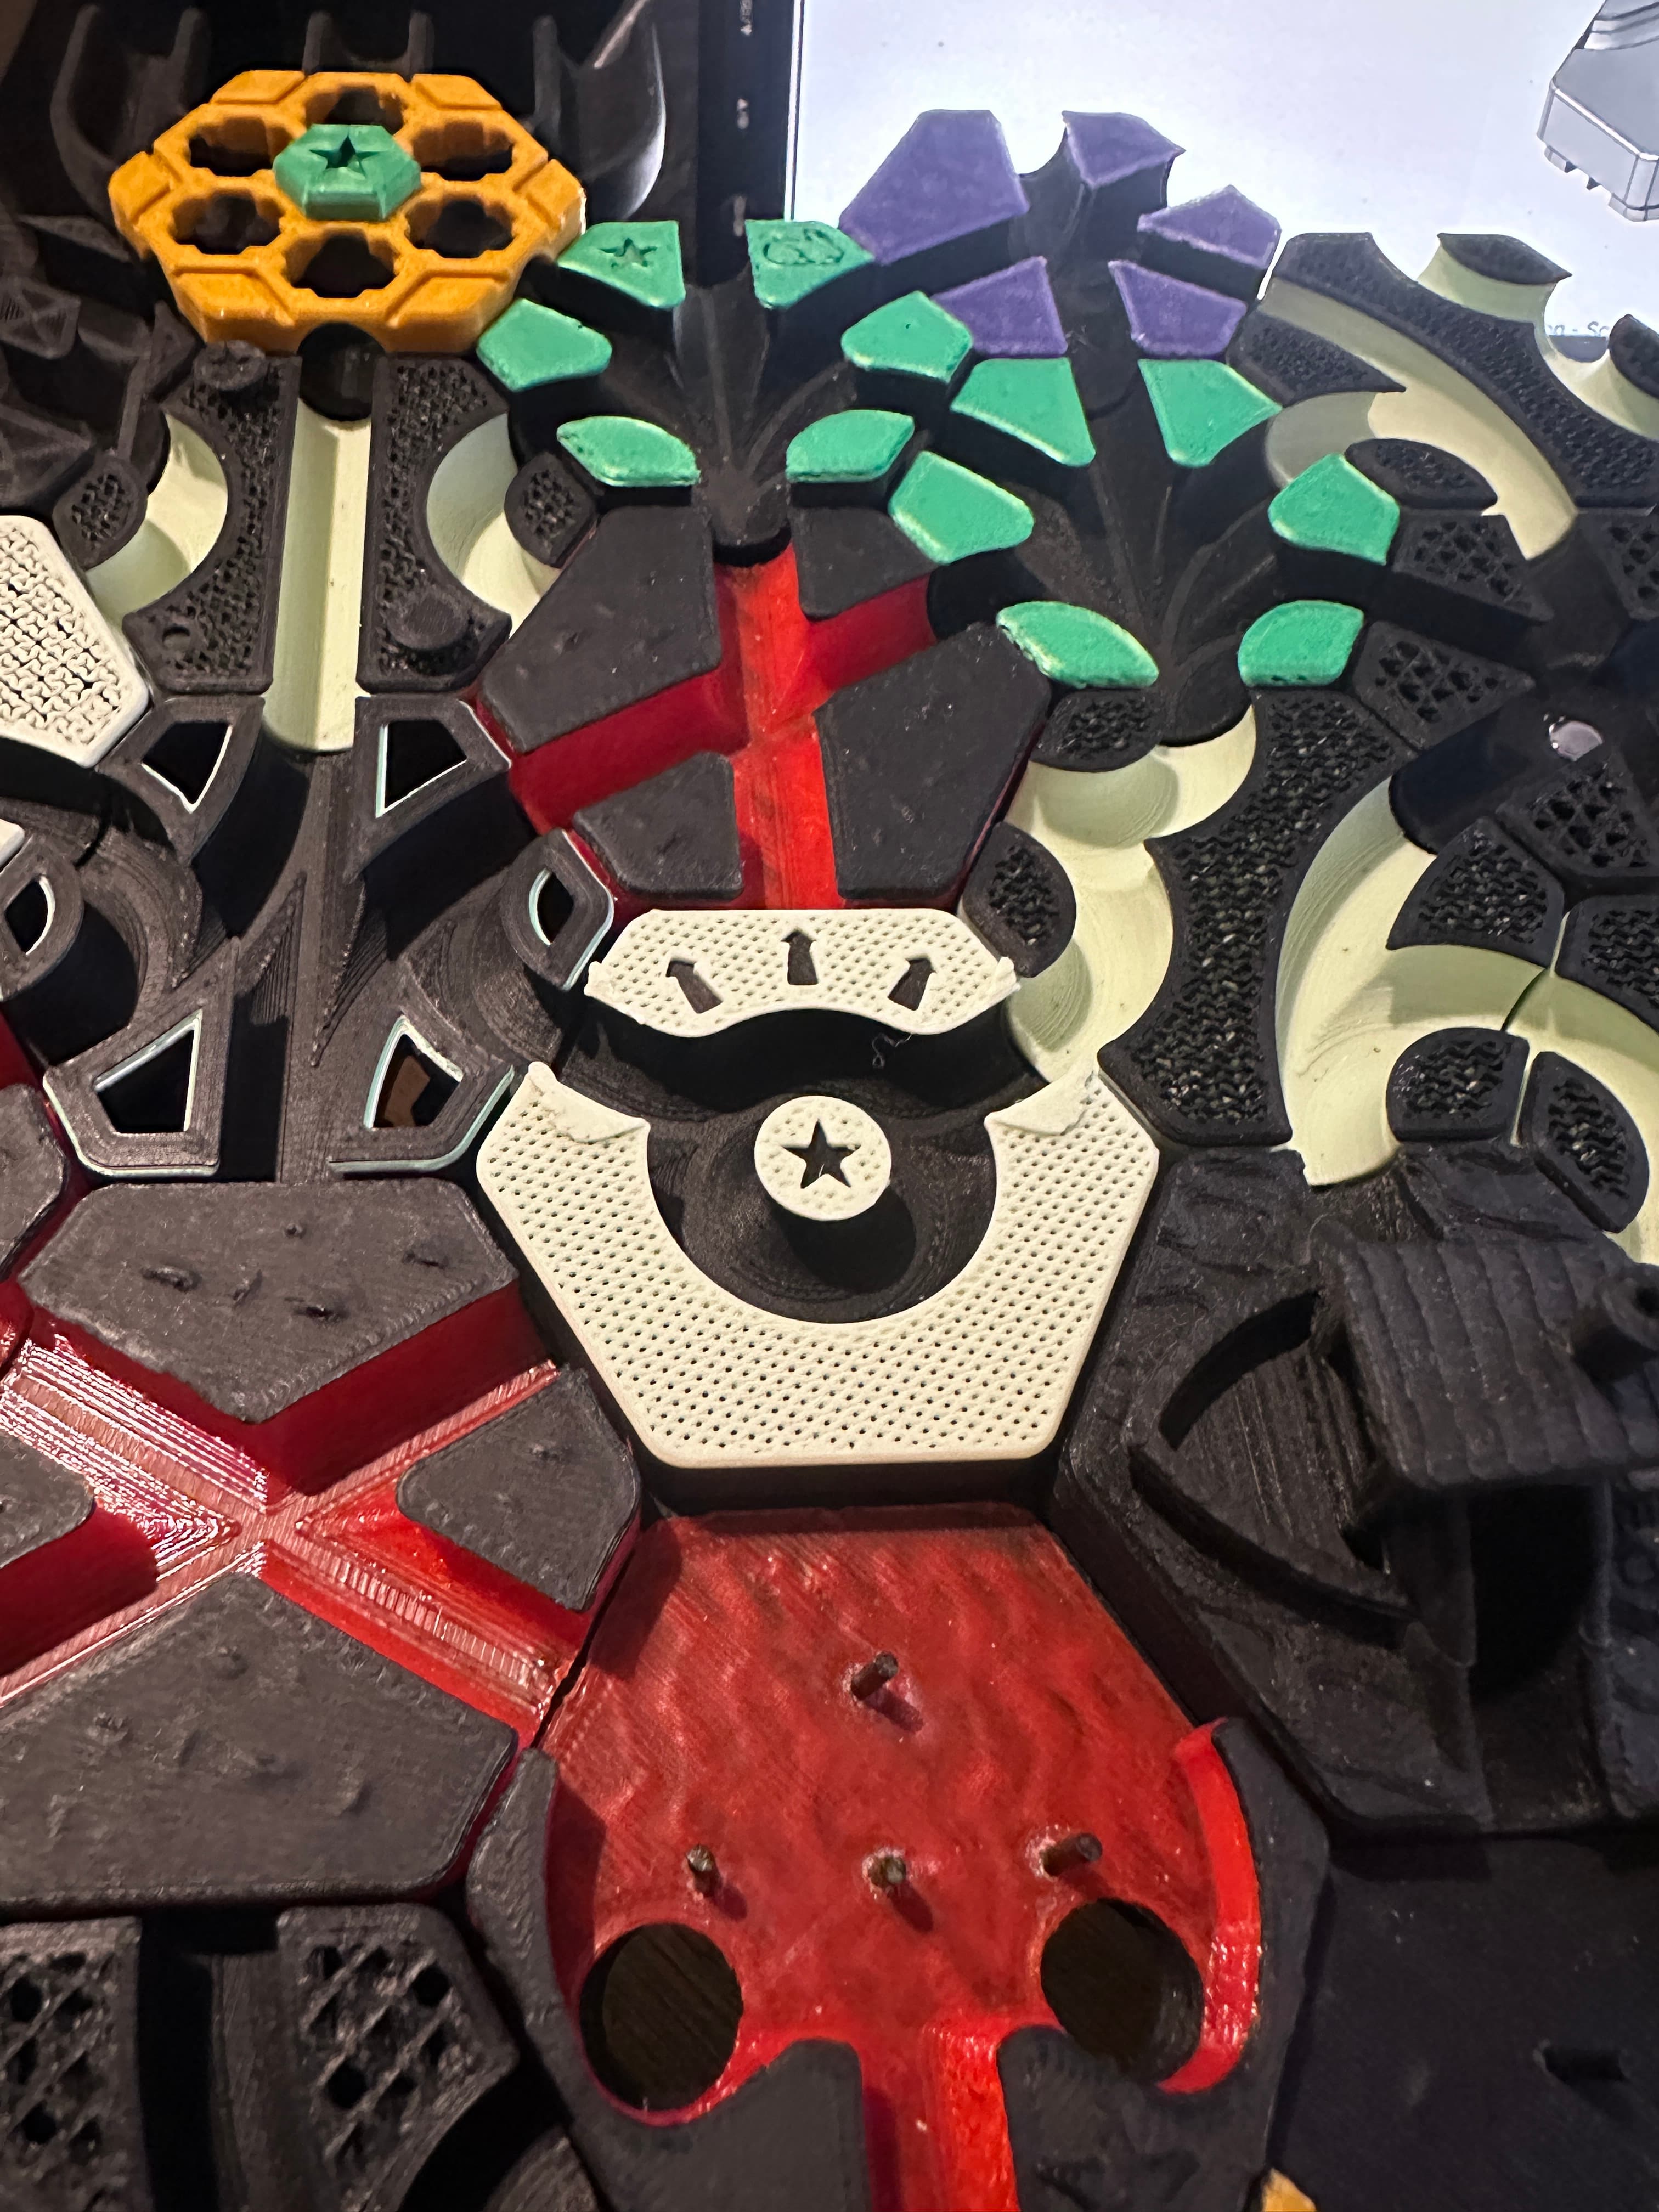
Hextraction Naval Mine Tile
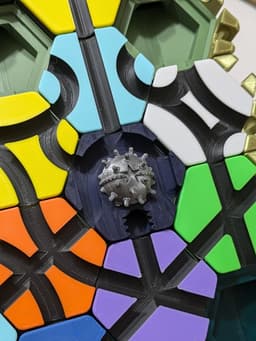
Lying in wait for a gutter ball, the Naval Mine will save your roll - at the cost of all surrounding tiles!
This tile is a gutter recovery with surface pathing, which is different from existing gutter recovery options. The effect is a 1-shot trigger, effectively just a quicker bomb tile but requiring activation via the gutter. Since the explosive effect is tied to On Destroy, it can also be triggered by the 3-ball rule.
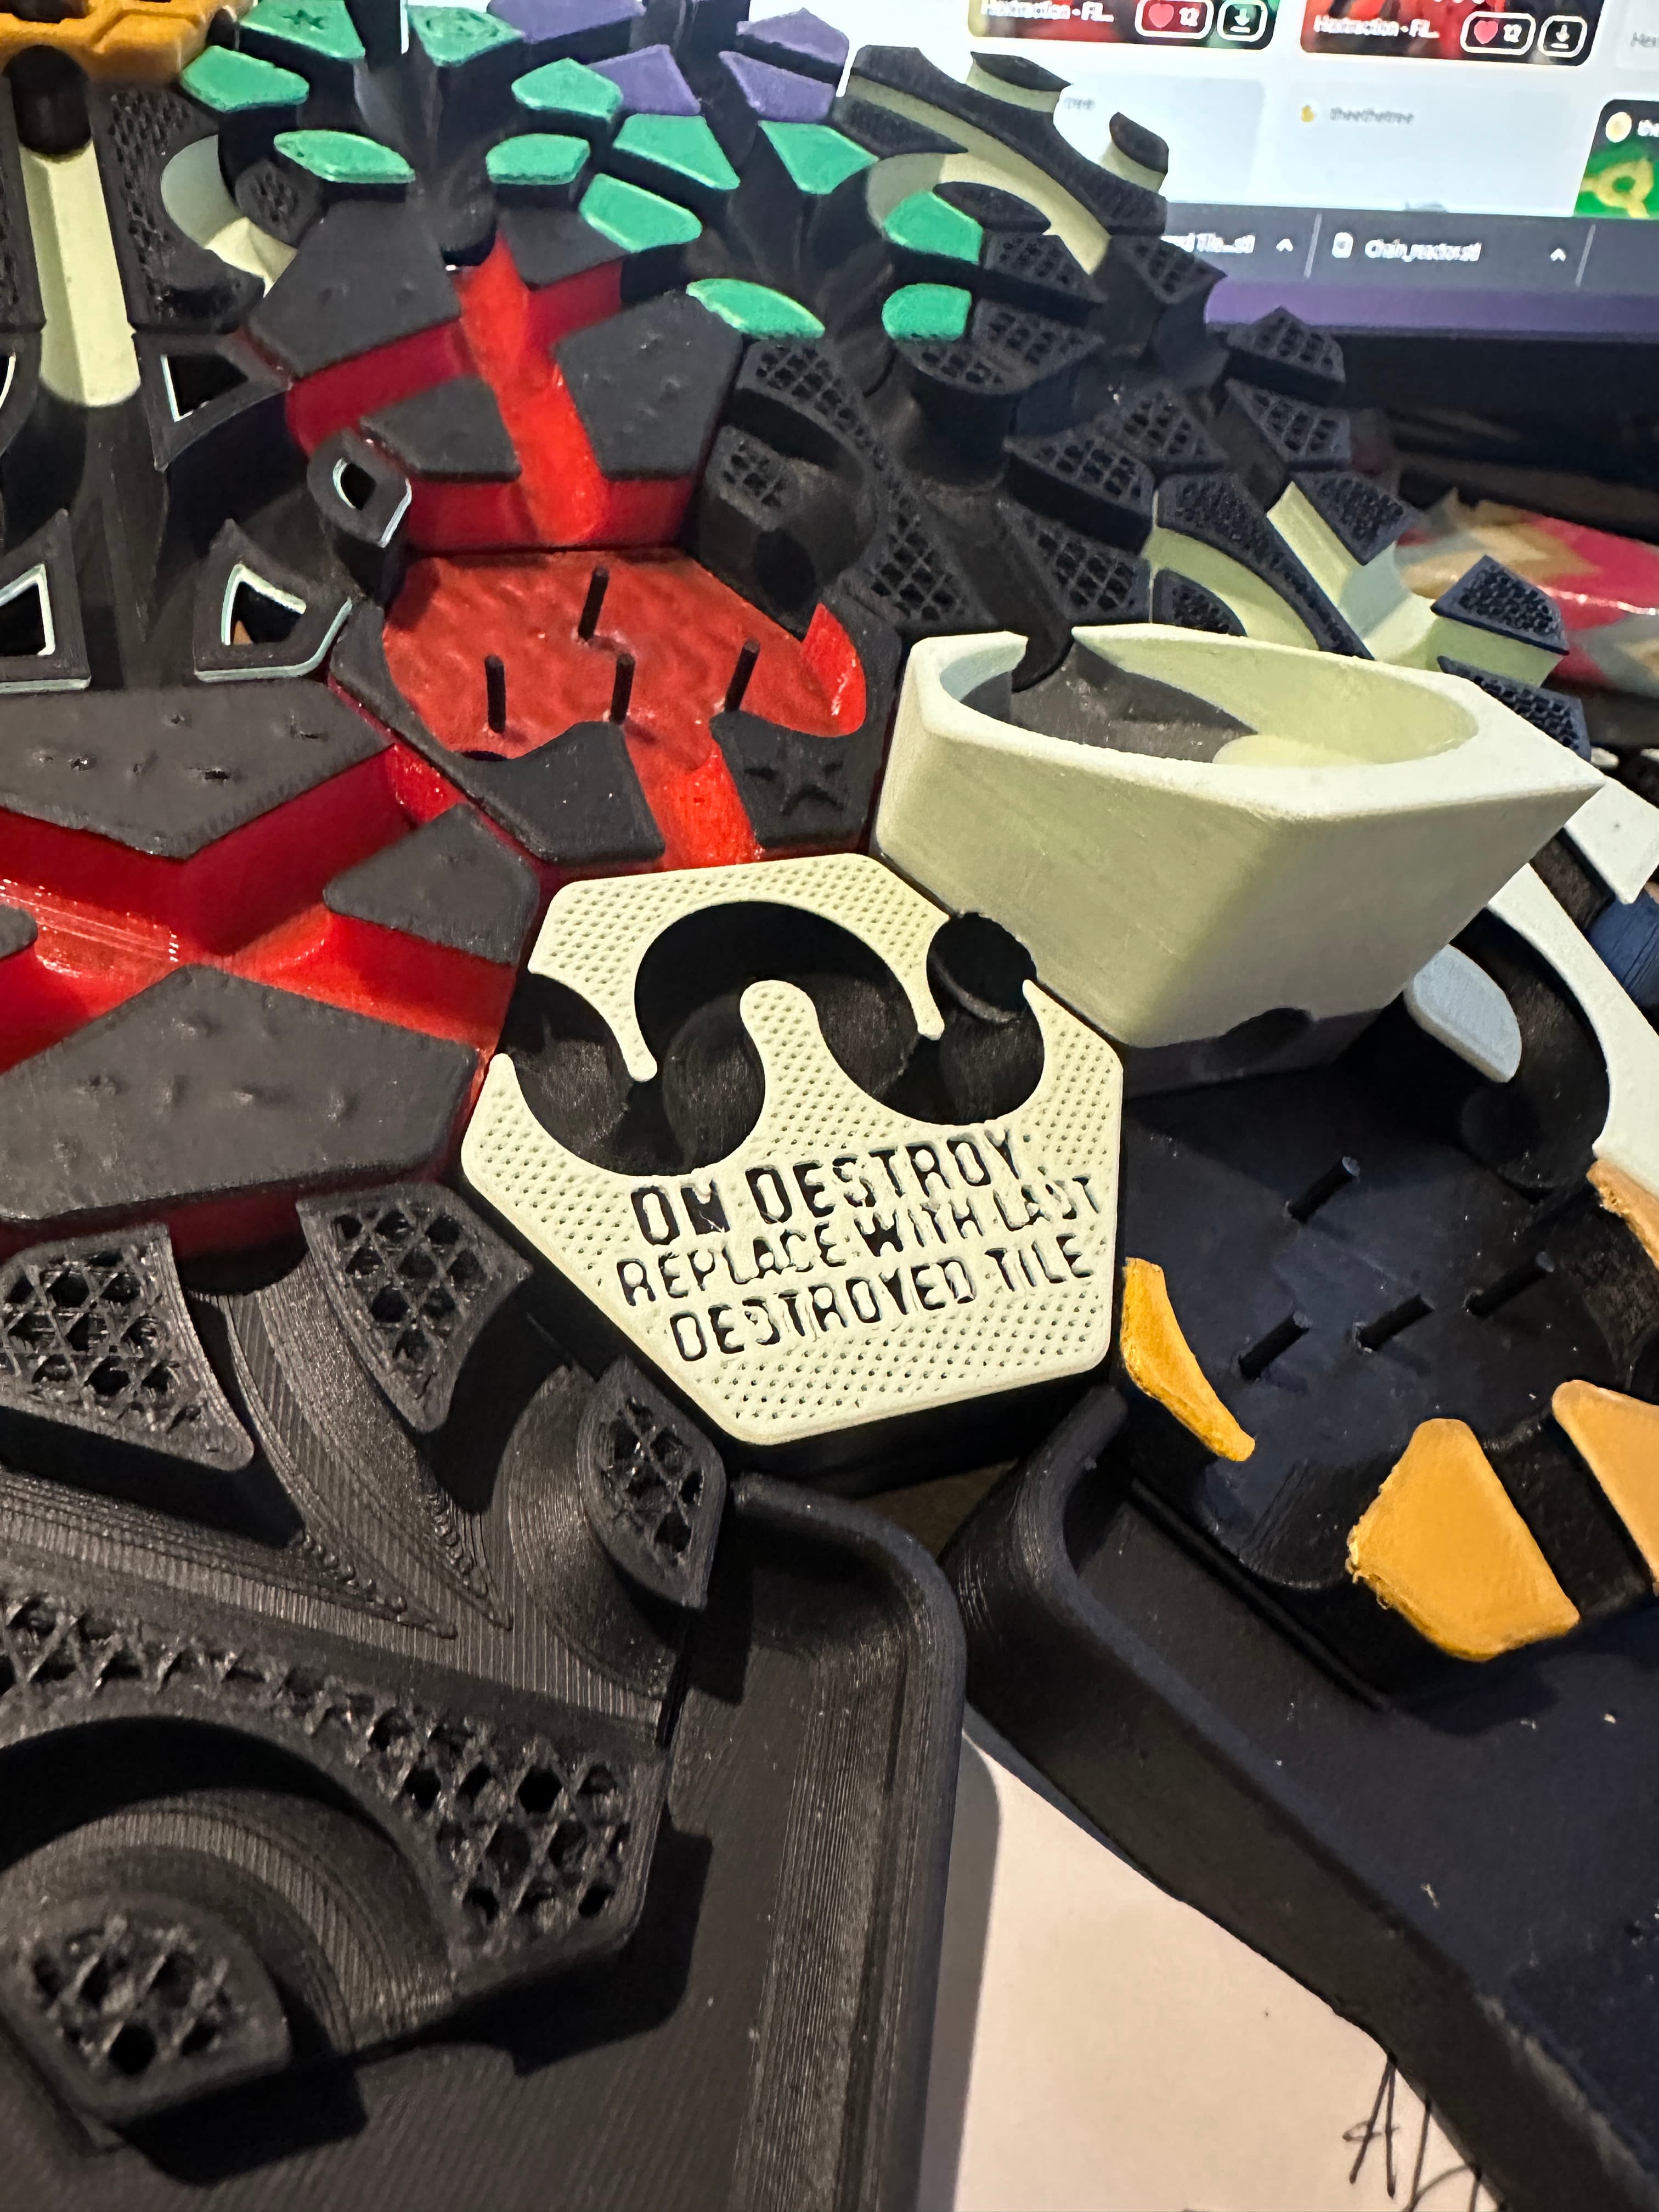
Rules Card Text Limit: Cannot be placed in bottom row. Trigger: Destroy this tile. On Destroy: Destroy all adjacent tiles.
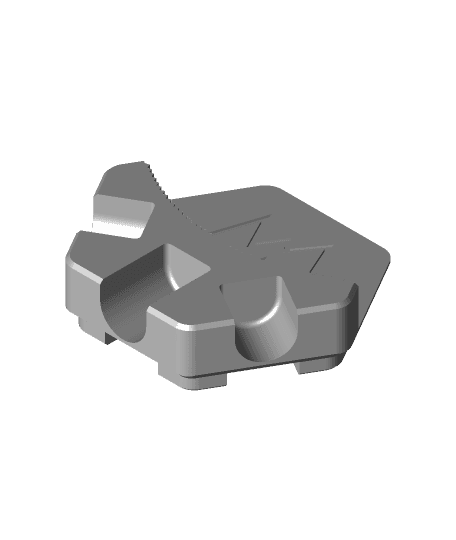
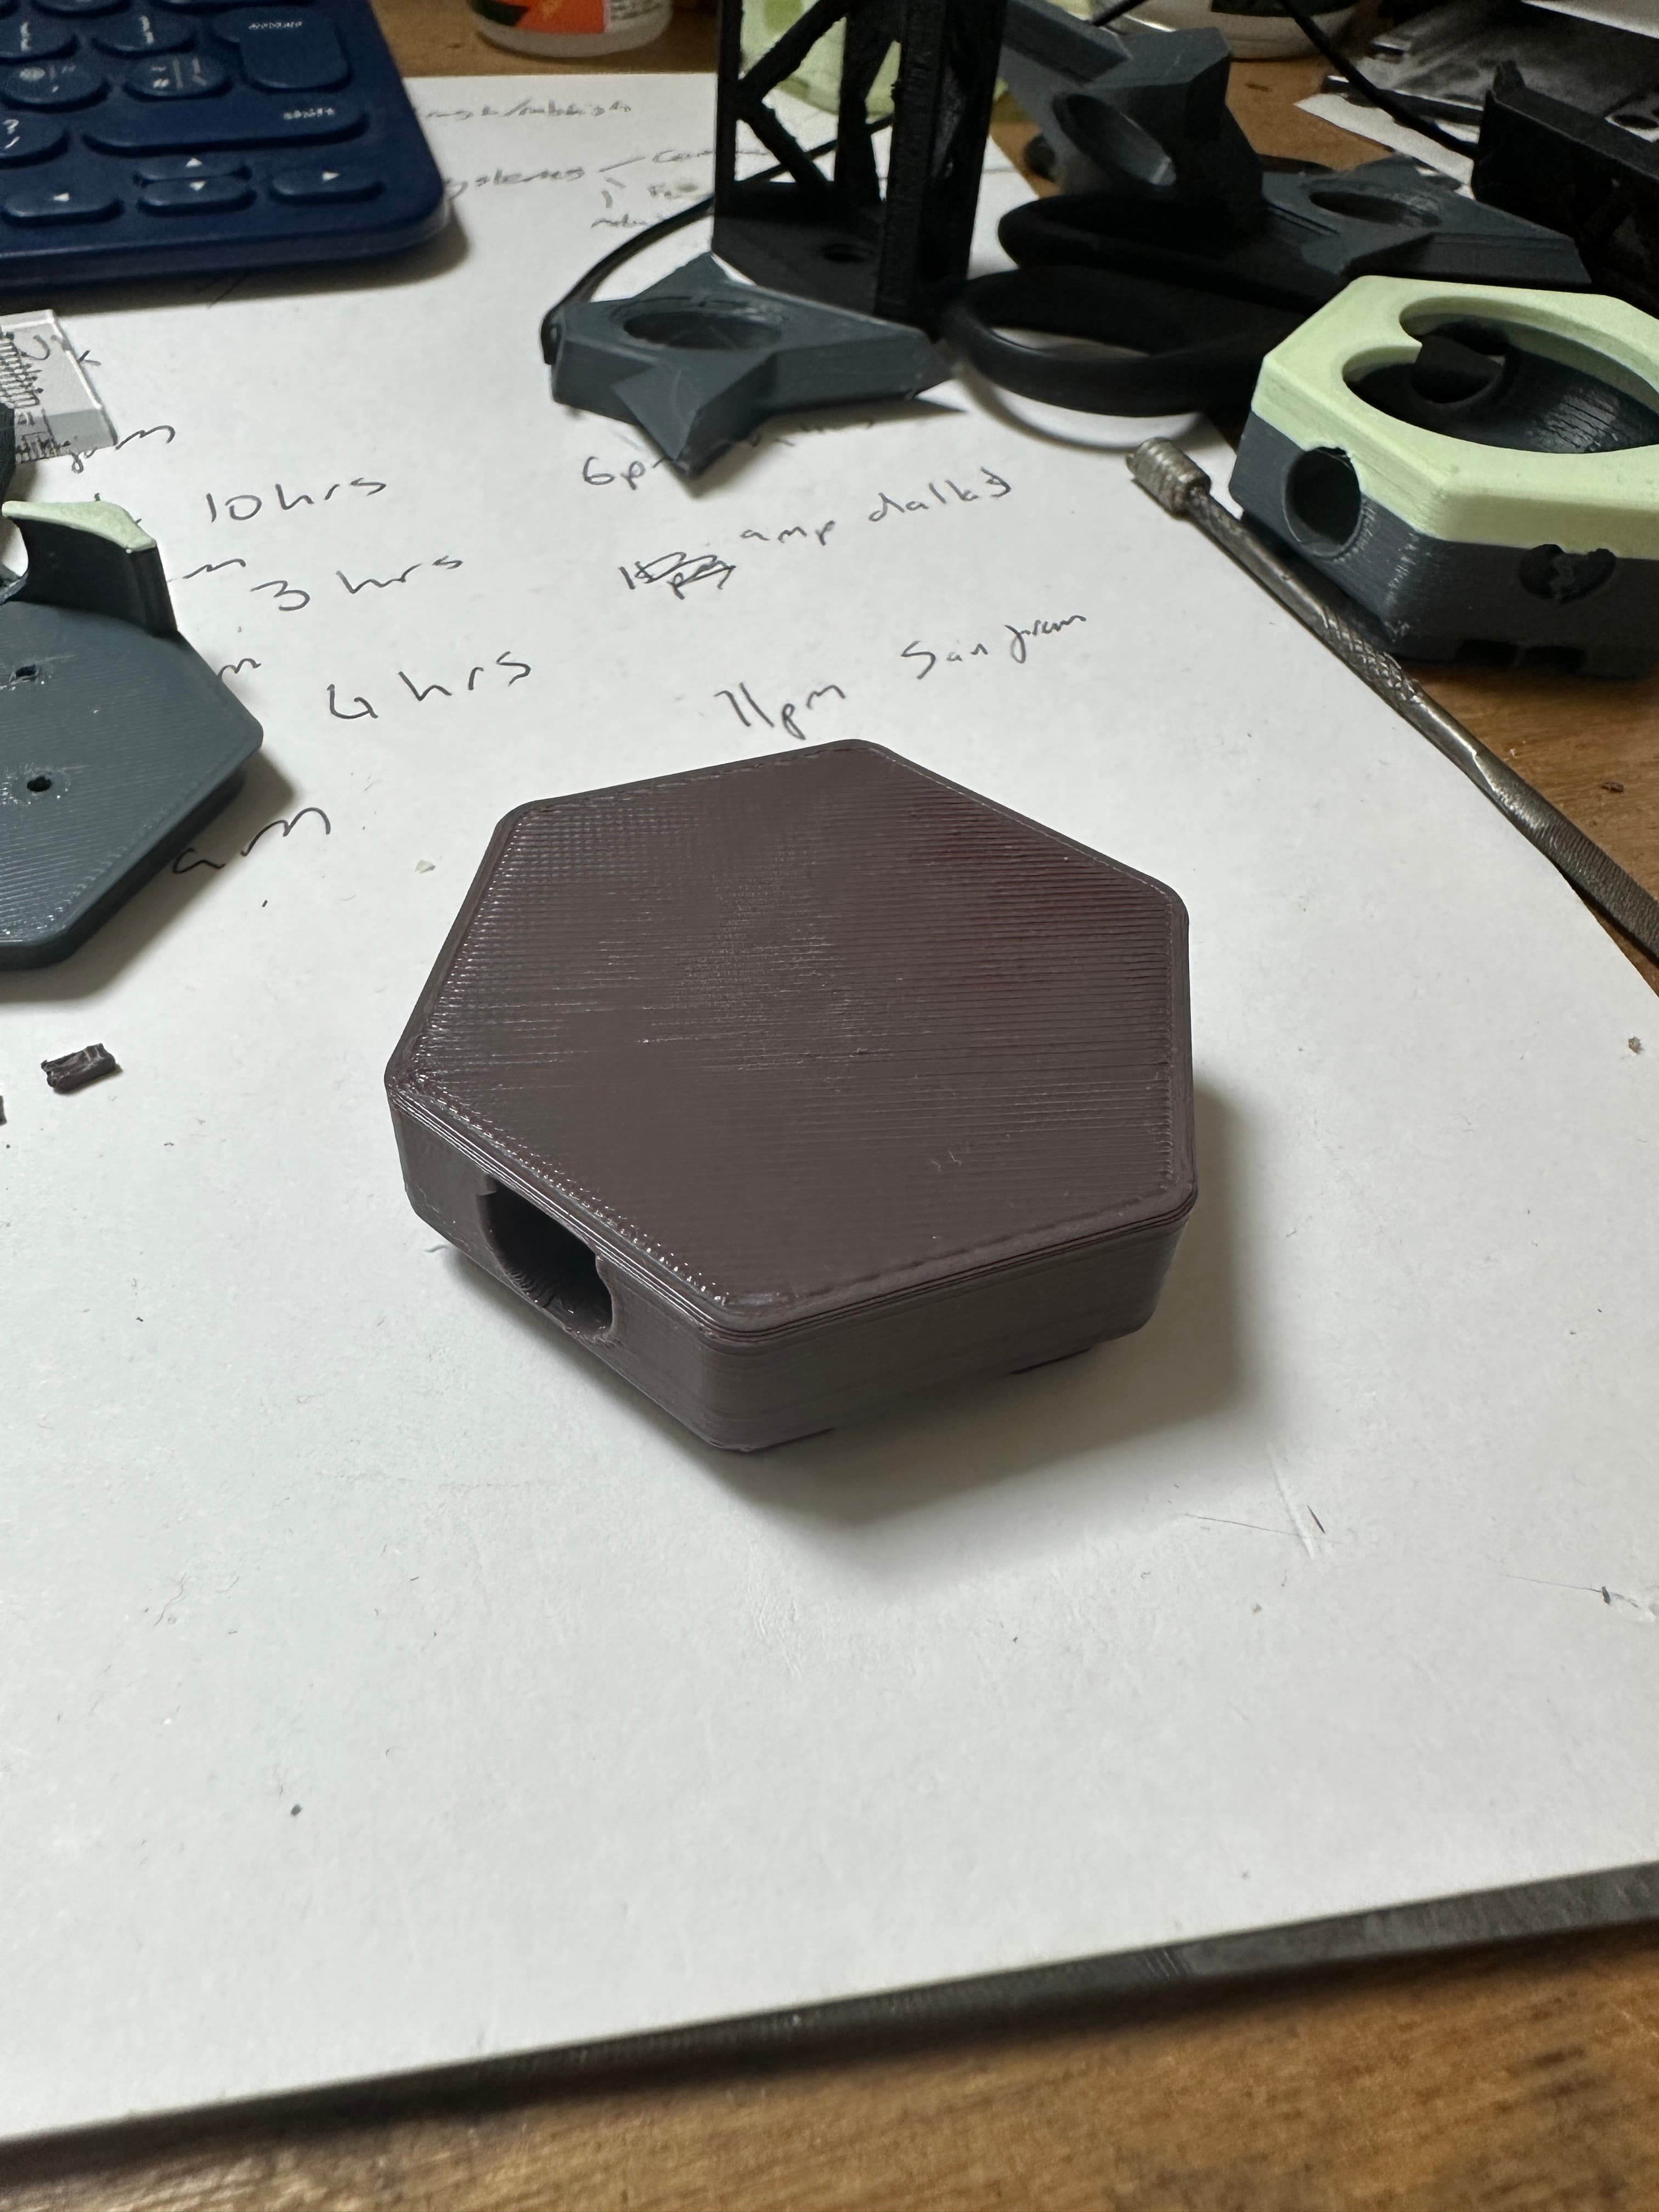
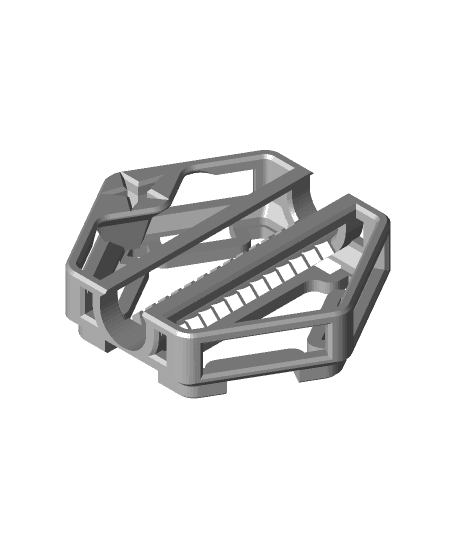
Printing / Assembly Instructions Everything is printed in PLA. You've got two options: print the tile and ramp separate and glue together using the guide pins, or print the whole unit (naval_mine_joined_tile_ramp). In either case, the mine decoration is separate. I printed the Mine with .12 layer height and applied some slicer settings (like dynamic layer height + smoothing). I doubt you would need support, but I left it on and it filled the mount hole which would otherwise bridge. I printed the Gutter Ramp opening-face down, with support on and set to touching build plate only. Lastly, I printed the tile in standard orientation, with support on and set to touching build plate only. If your slicer/printer supports adaptive layer height, I would suggest using it here to smooth the waves.
Naval Mine Tile
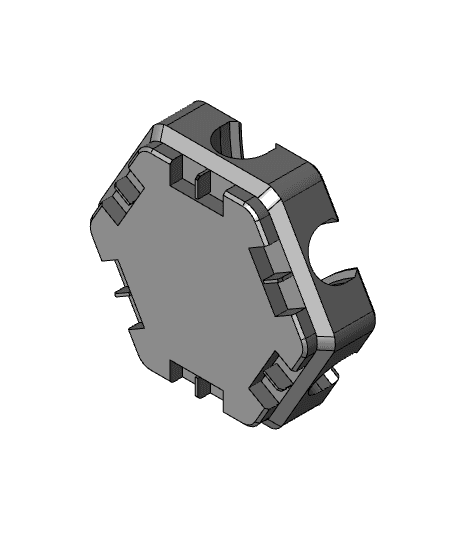
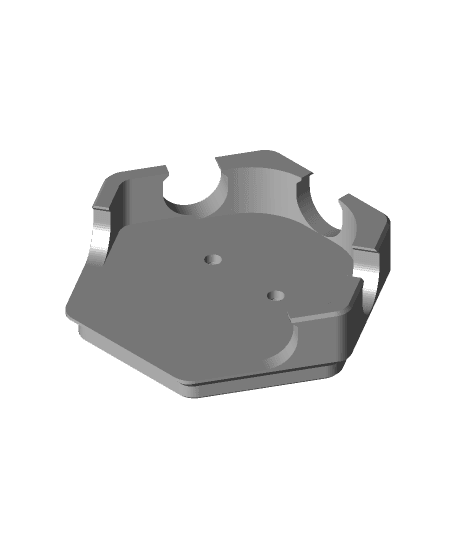
- Align the ramp in the correct direction, lining it up with the tabs. Glue it to the tile.
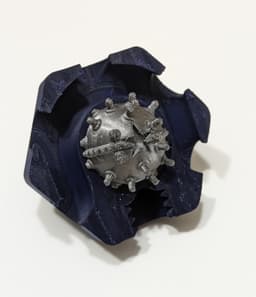
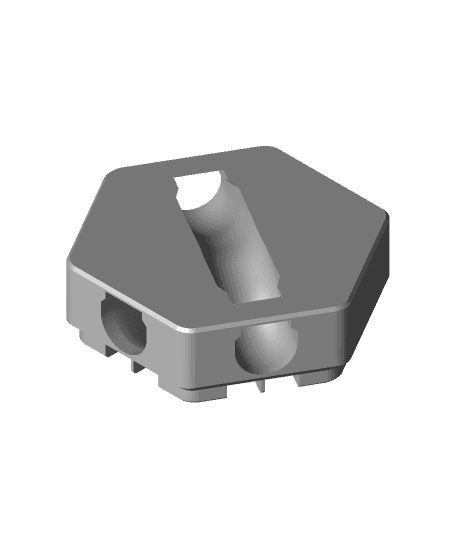
- Glue the mine in whatever orientation you'd like to the top of the tile, using the hexagonal pin. This didn't come out as clean as I'd hoped, so it's just a rough guide, but gets the job done of centering the piece.
Rules Card
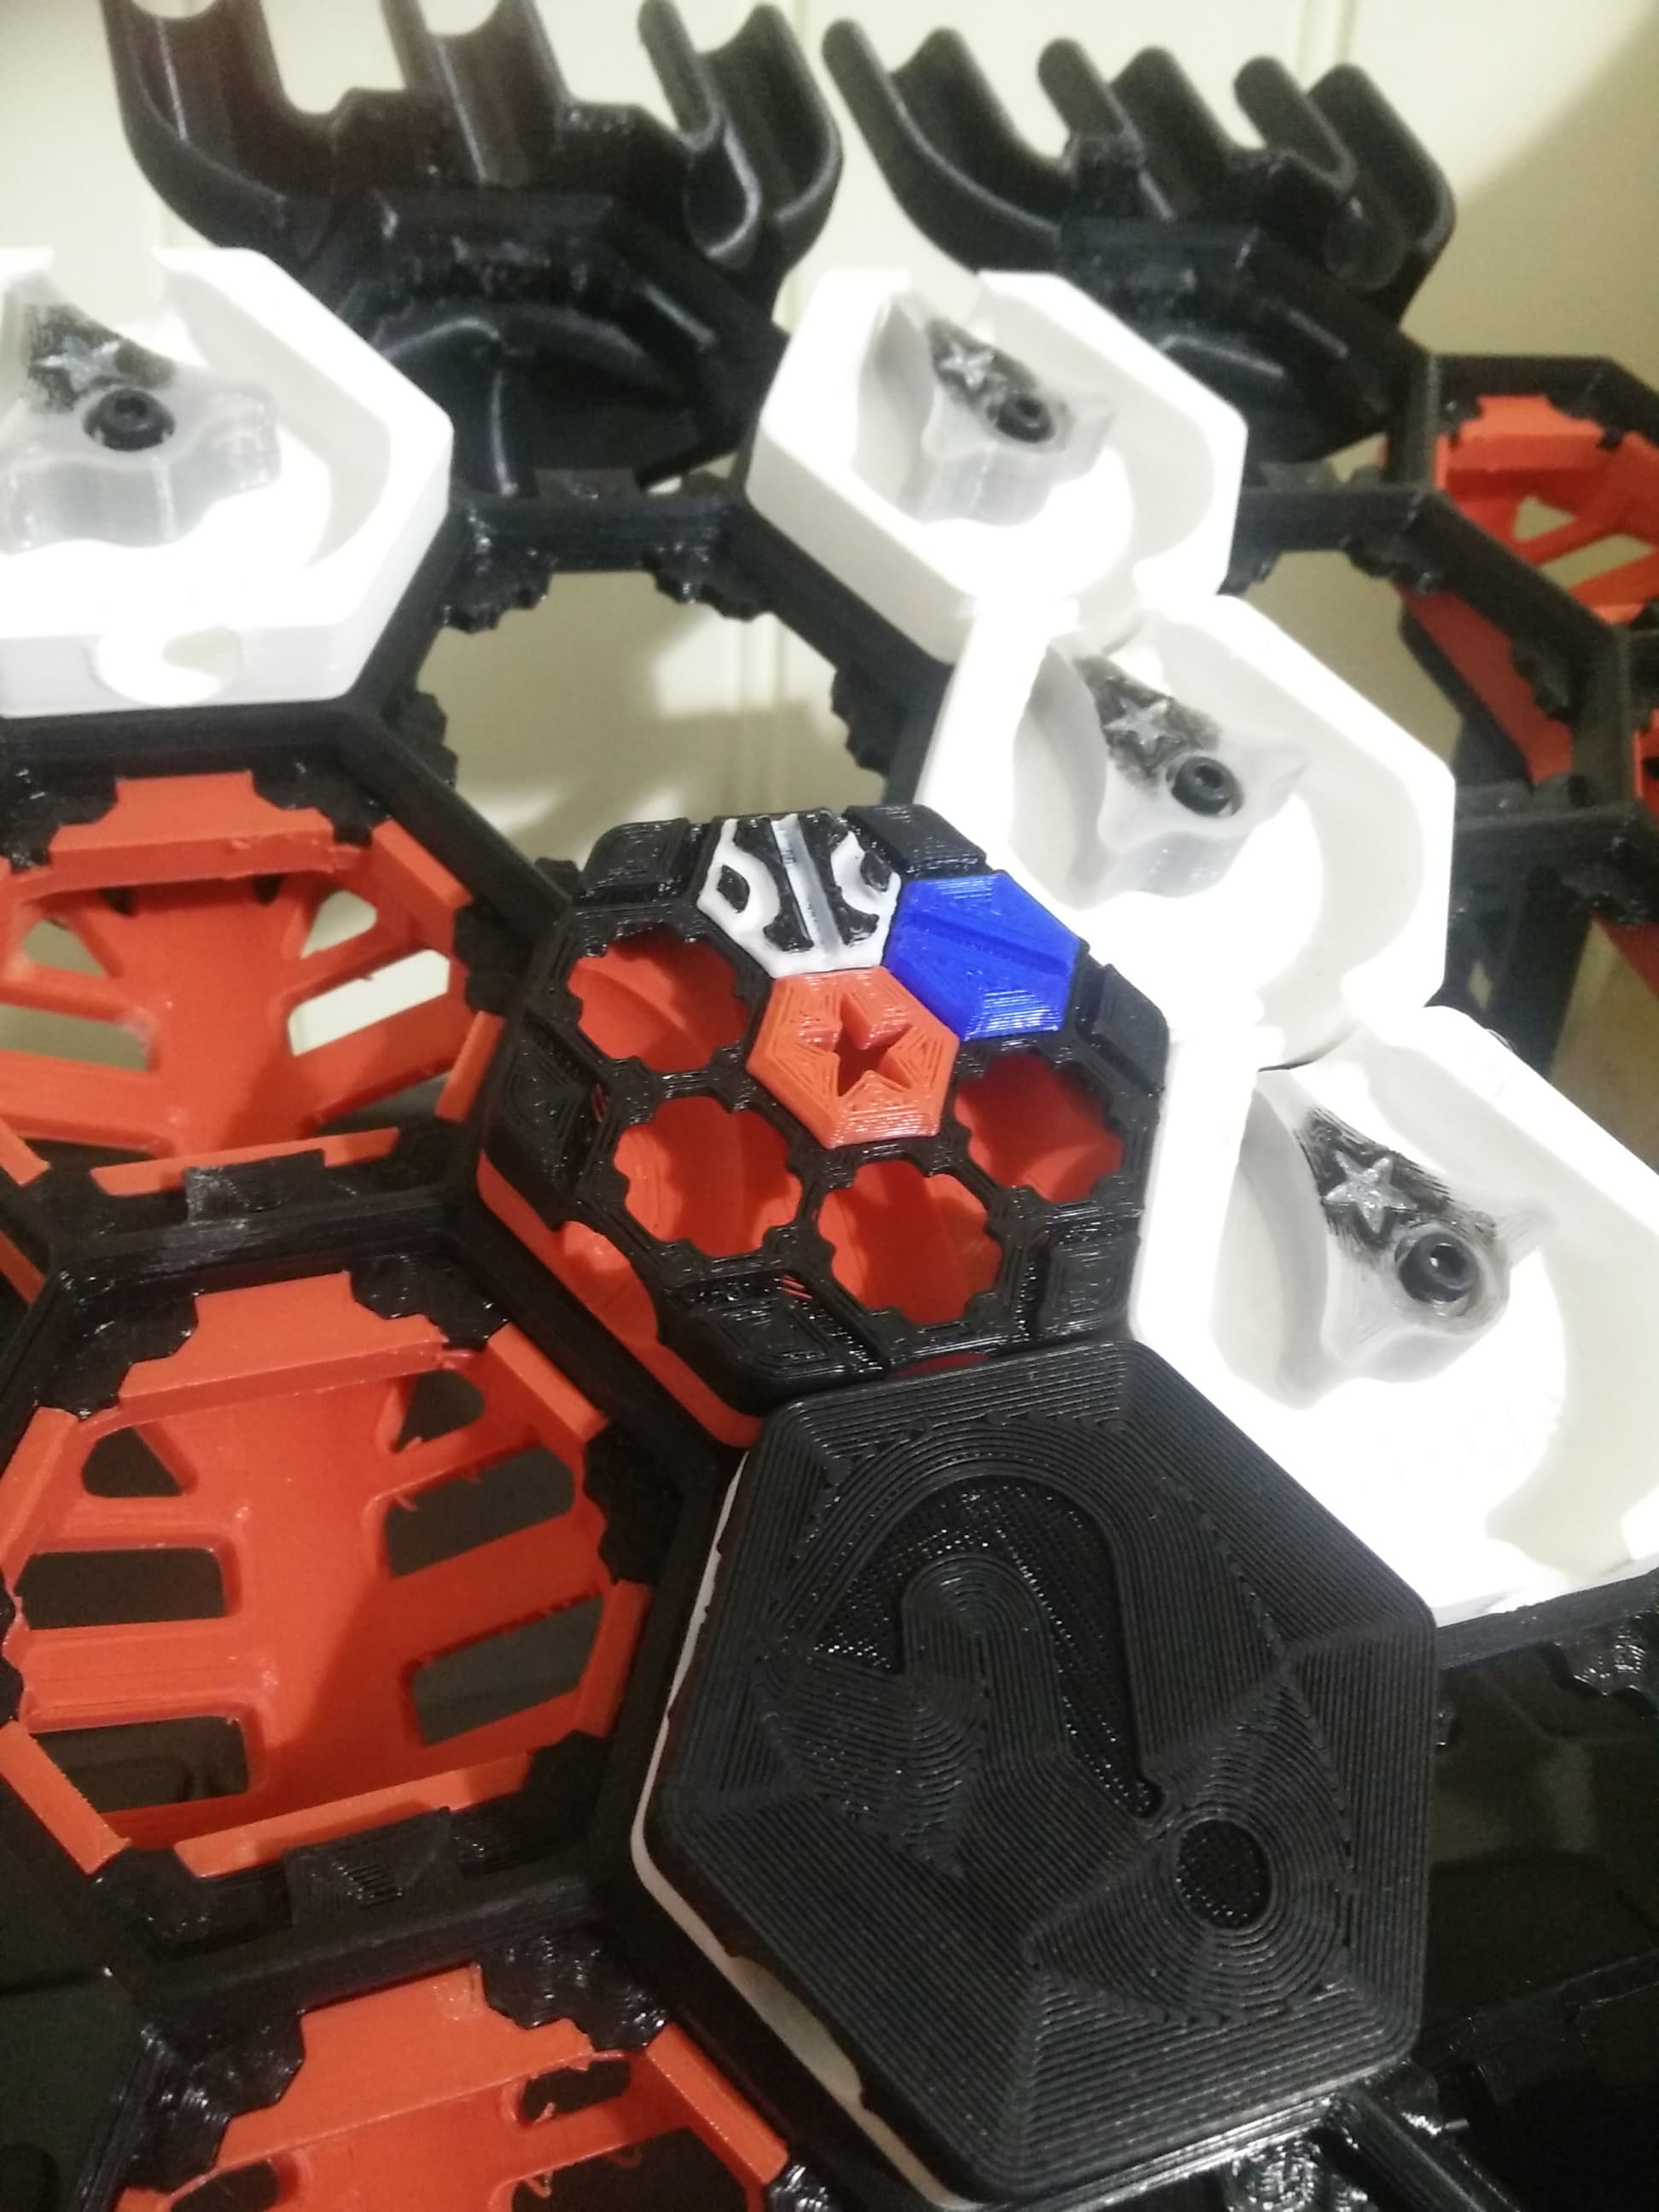
- Multi-material: drag both the base and detail STLs into your slicer simultaneously, loading it as one object with multiple parts. Assign filaments as desired.
- Single-material: print the single color model, or if you want multi-color add a pause and perform a filament swap.


Hextraction Naval Mine Tile
Hextraction Ascent tile - NOT MINE - with tile card

OLD Hextraction - Bishop Tile Chess Tiles

Hextraction - King tile Chess Tiles

OLD Hextraction - Rook tile Chess Tiles
OLD Hextraction - Knight Tile Chess Tiles
OLD Hextraction - Pawn Tile Chess Tiles
NEW Hextraction - Knight Chess Tiles
Hextraction - Queen Tile - Chess Tiles
Hextraction - Angel Down Tile
Hextraction - Angel Up tile
Hextraction - Dip Tile

Hextraction - High-Consistency Trap Tiles
NEW Hextraction - Rook Chess Tiles
Hextraction Shahrazad Tile Lid - Secret Tile Compatible
Hextraction - Holo XC tile - One peice
Hextraction - XC Holo Tile
Hextraction - Dip and hill tile
Hextraction - Rubber band Trampoline Tile
Dragon Ball Hextraction Tiles