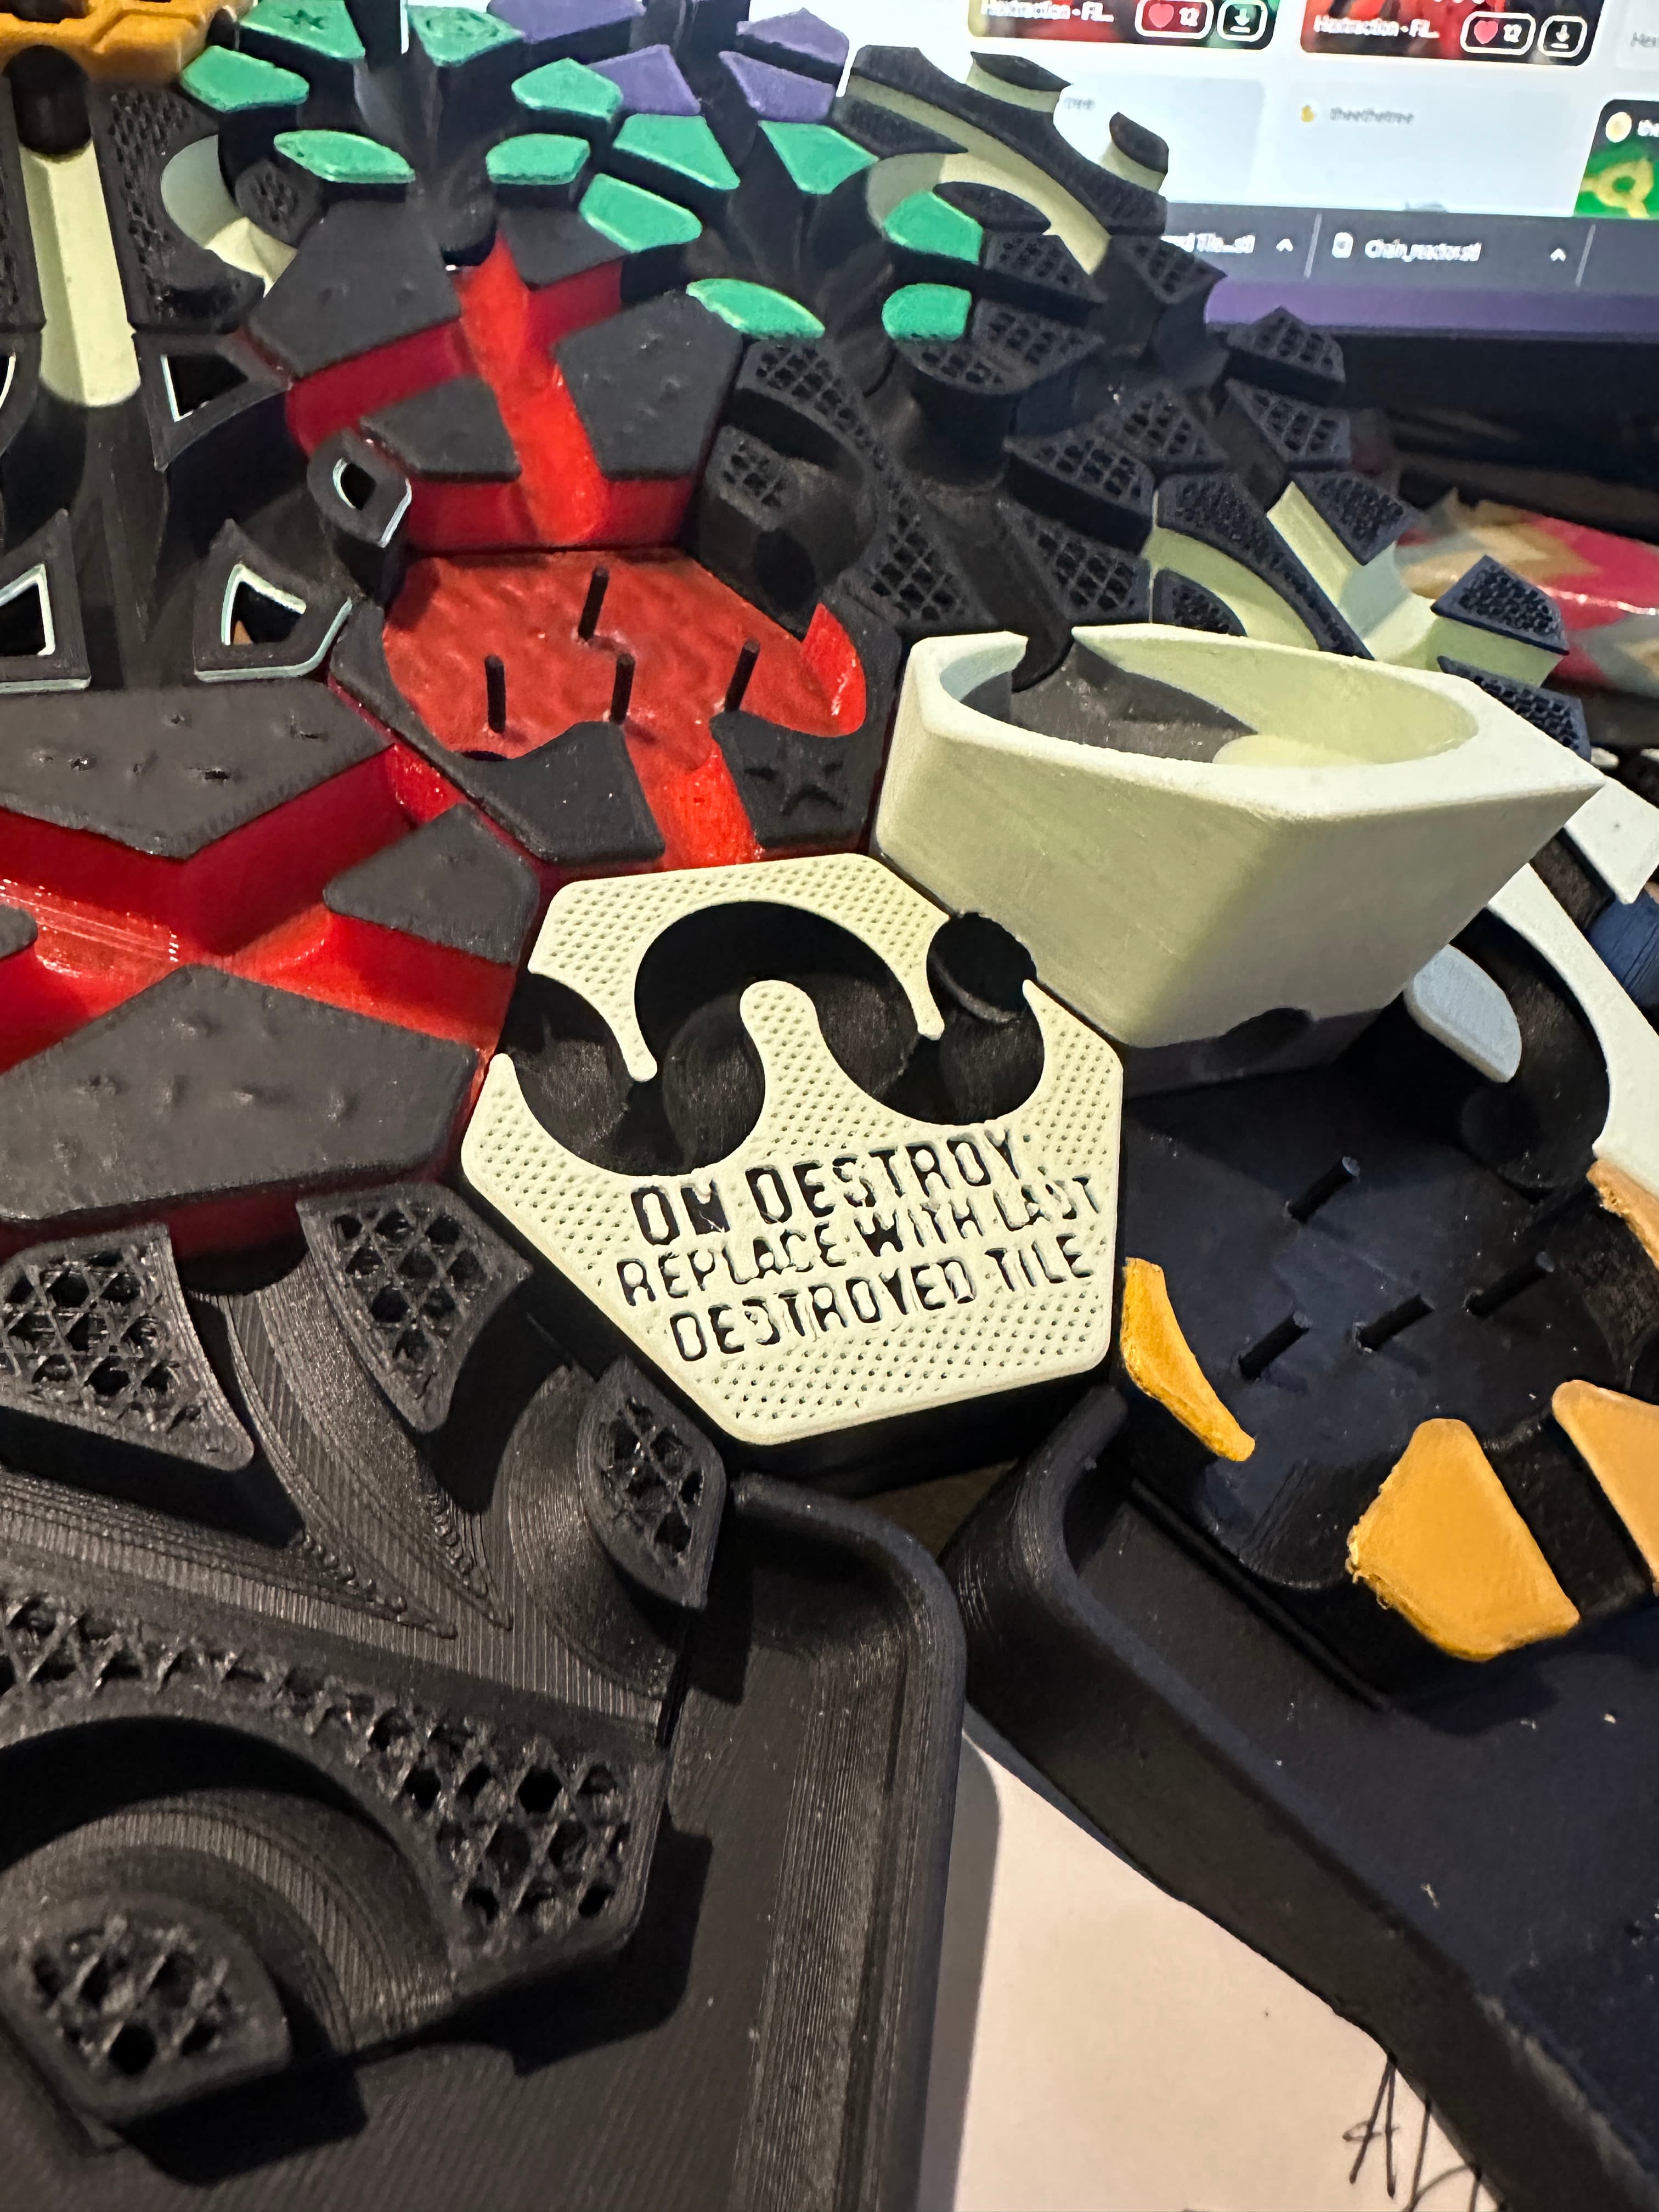

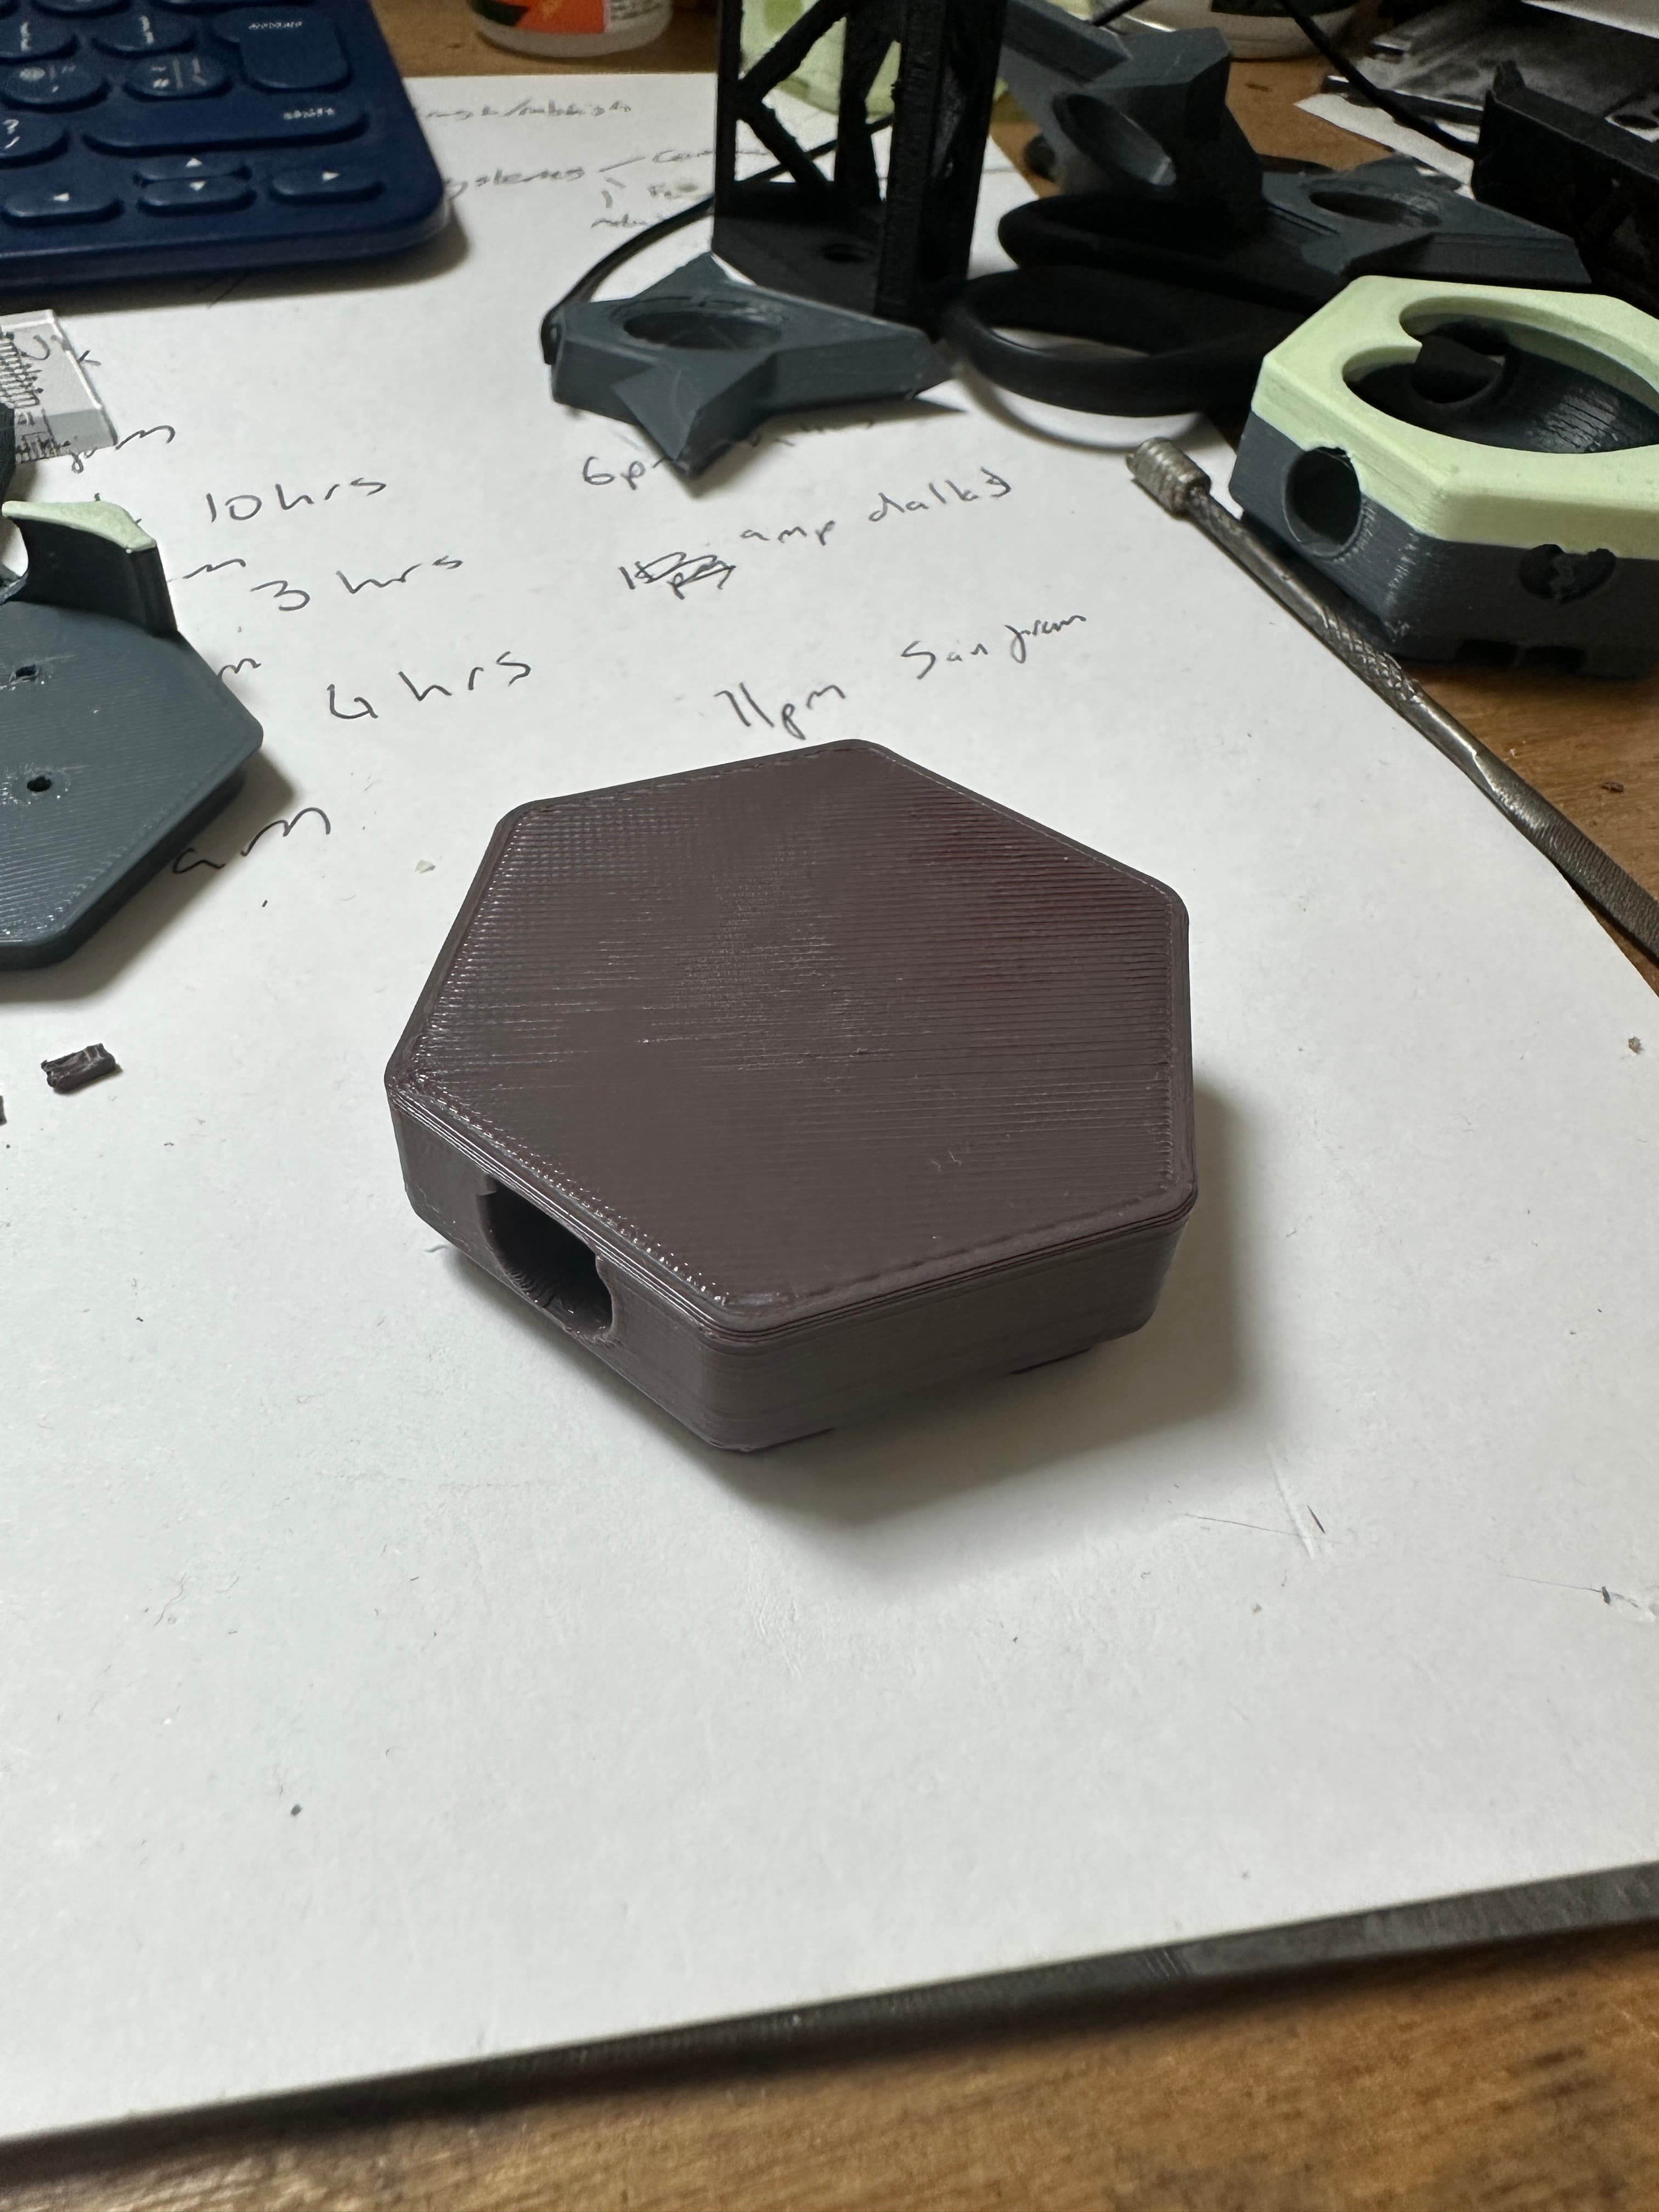
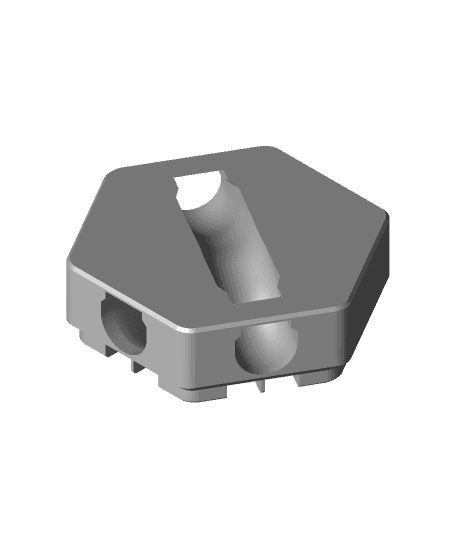
Hextraction Divider Tile
A manual triple dispenser tile with a divider down the middle to break things up!
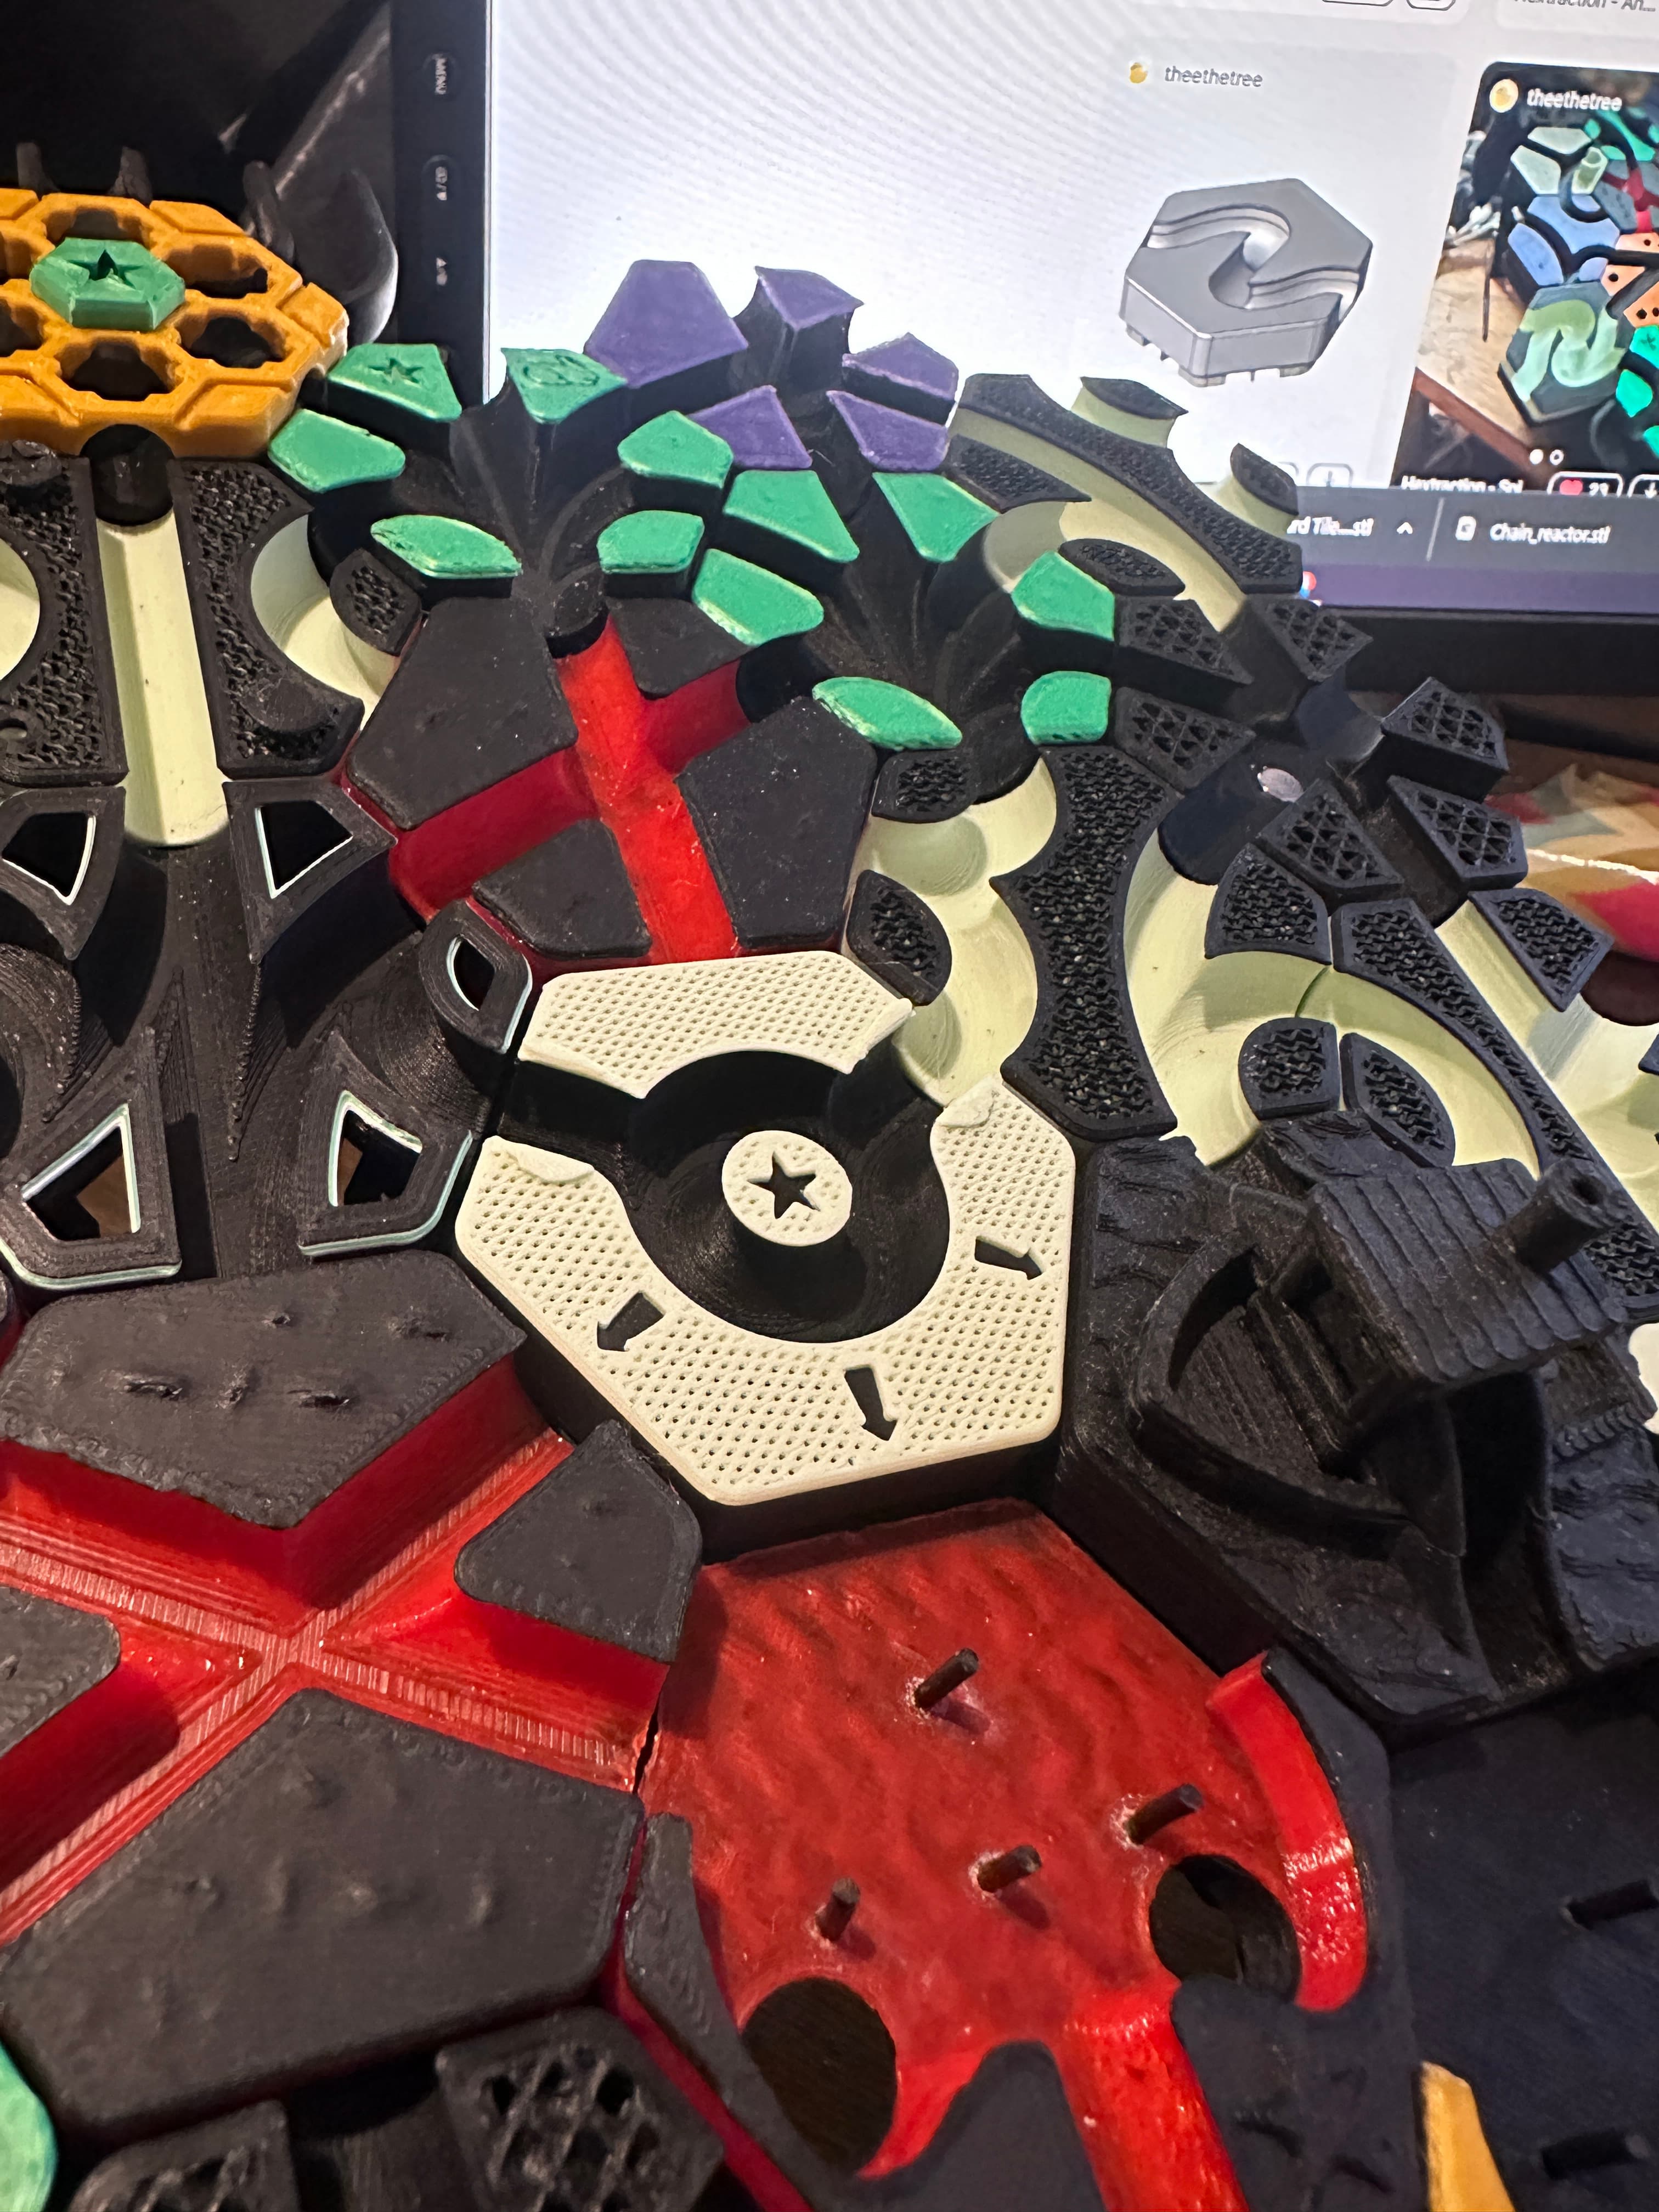
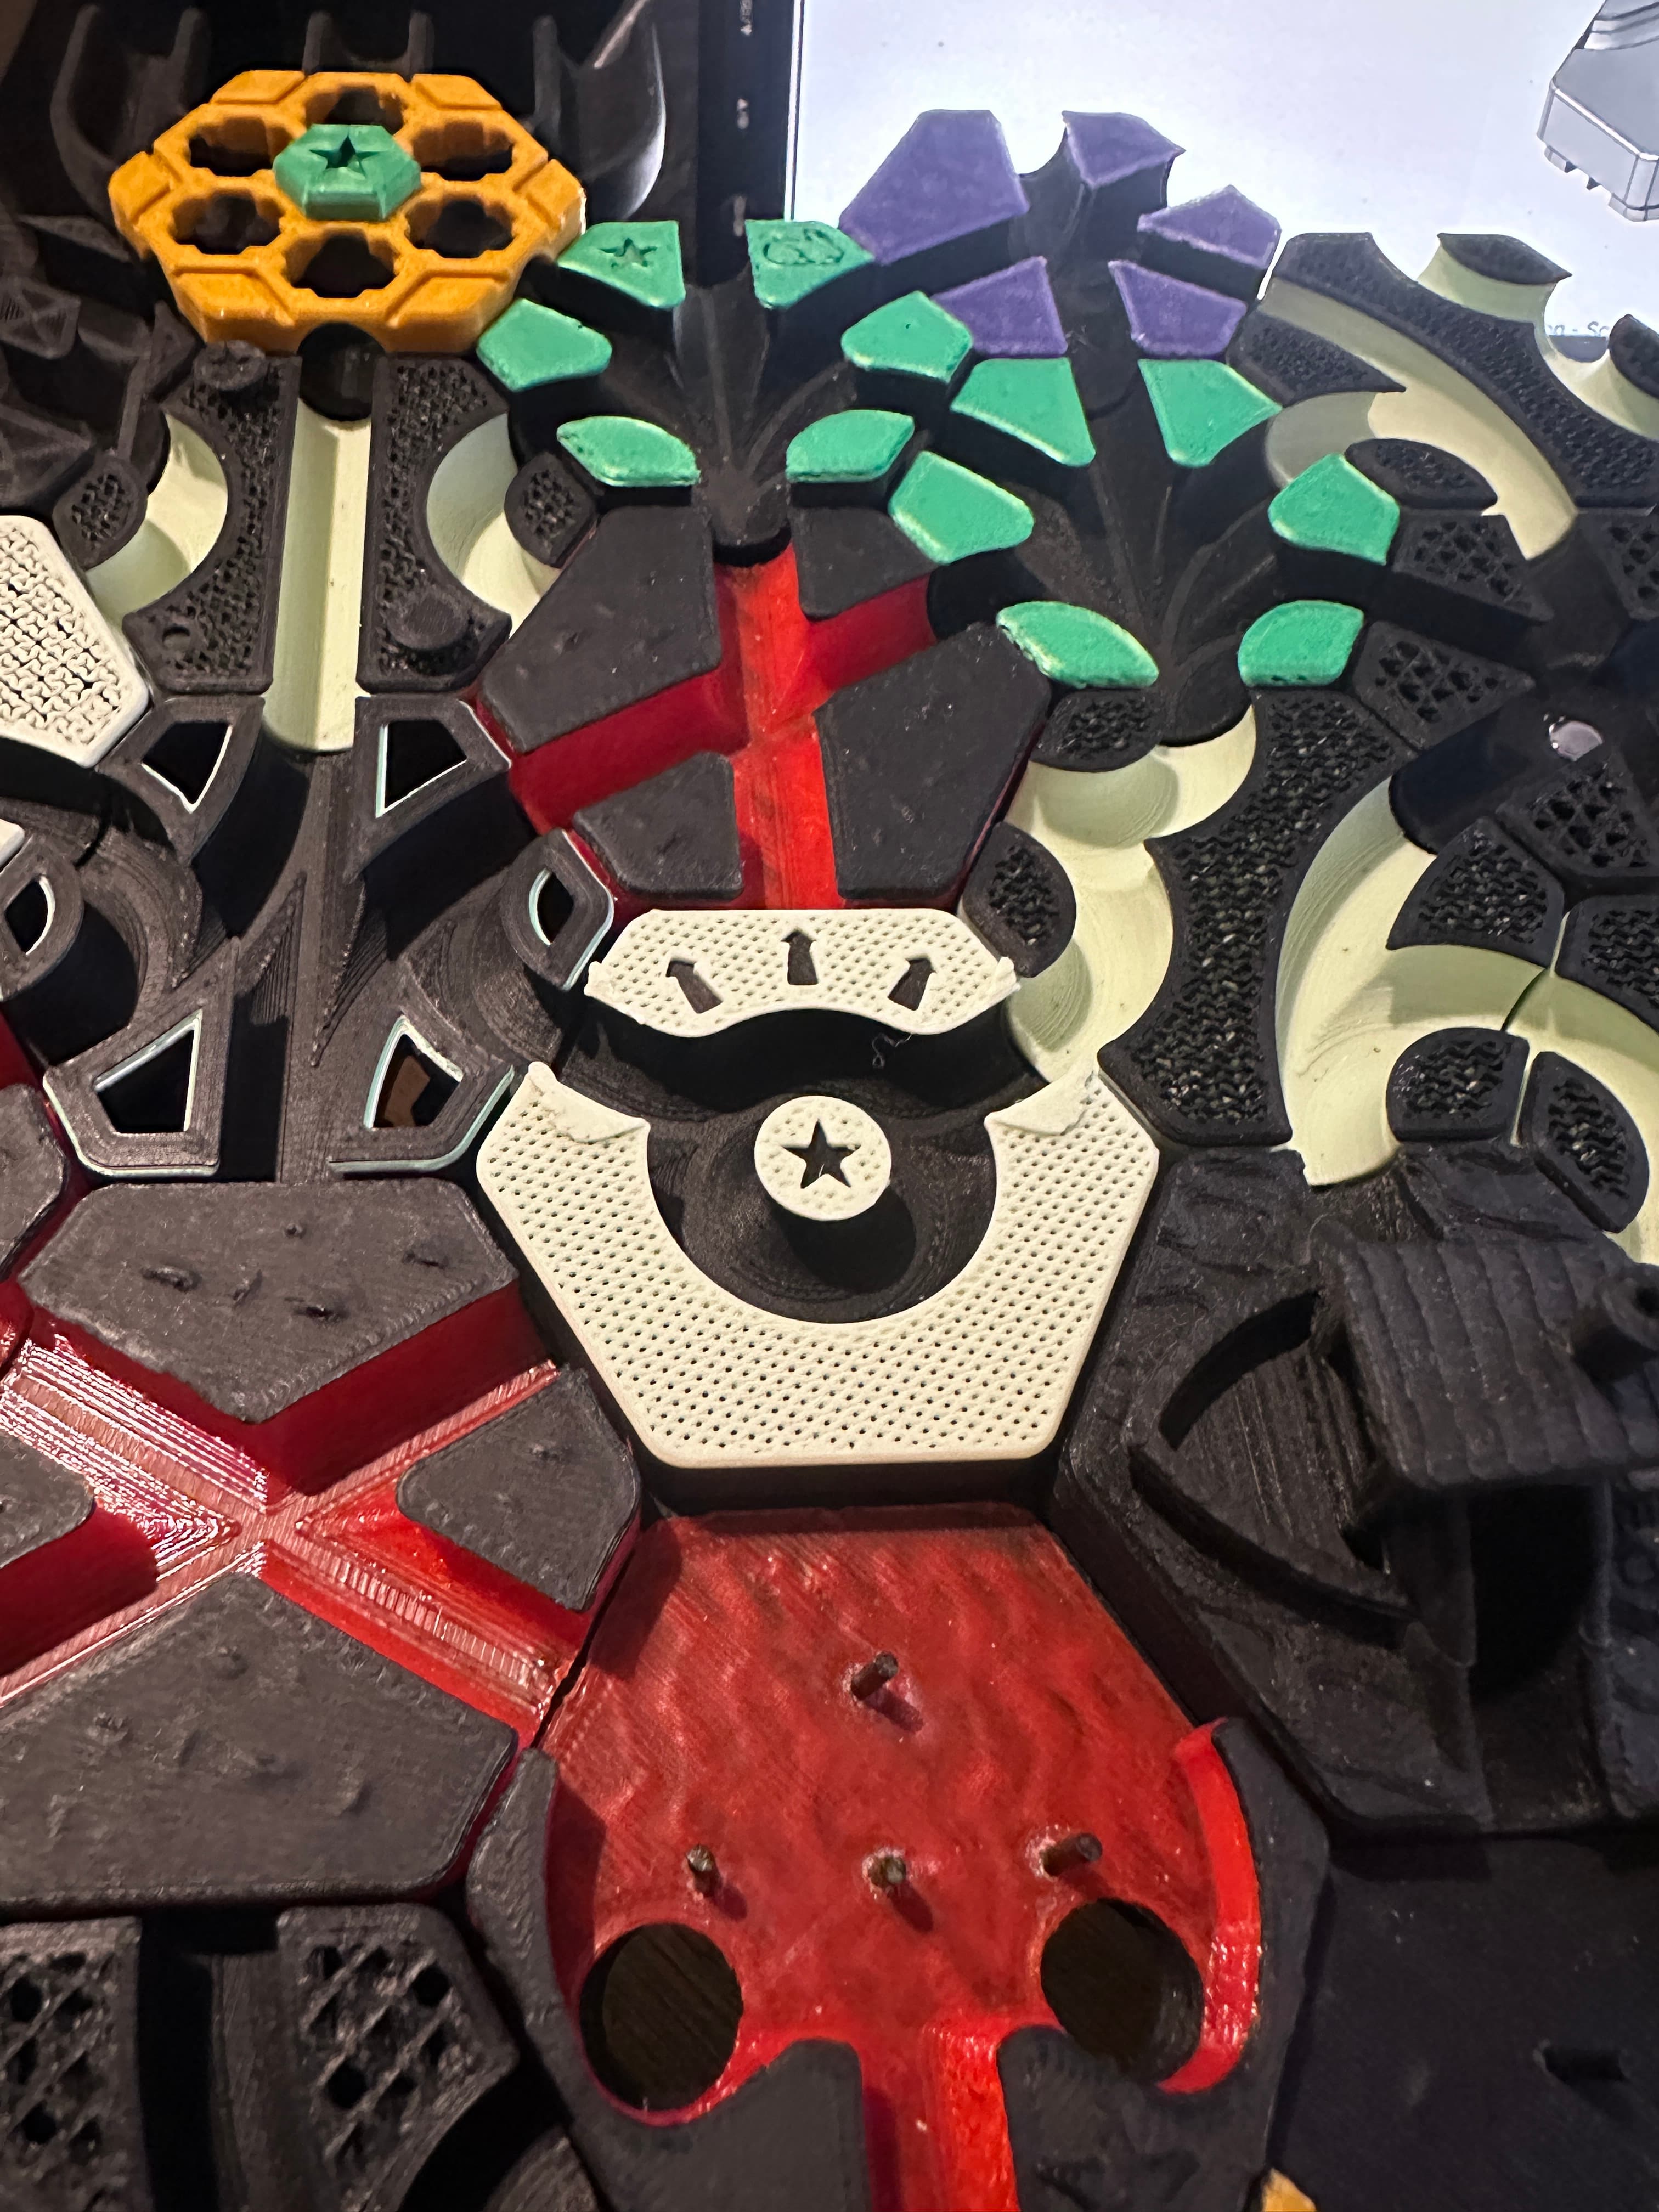
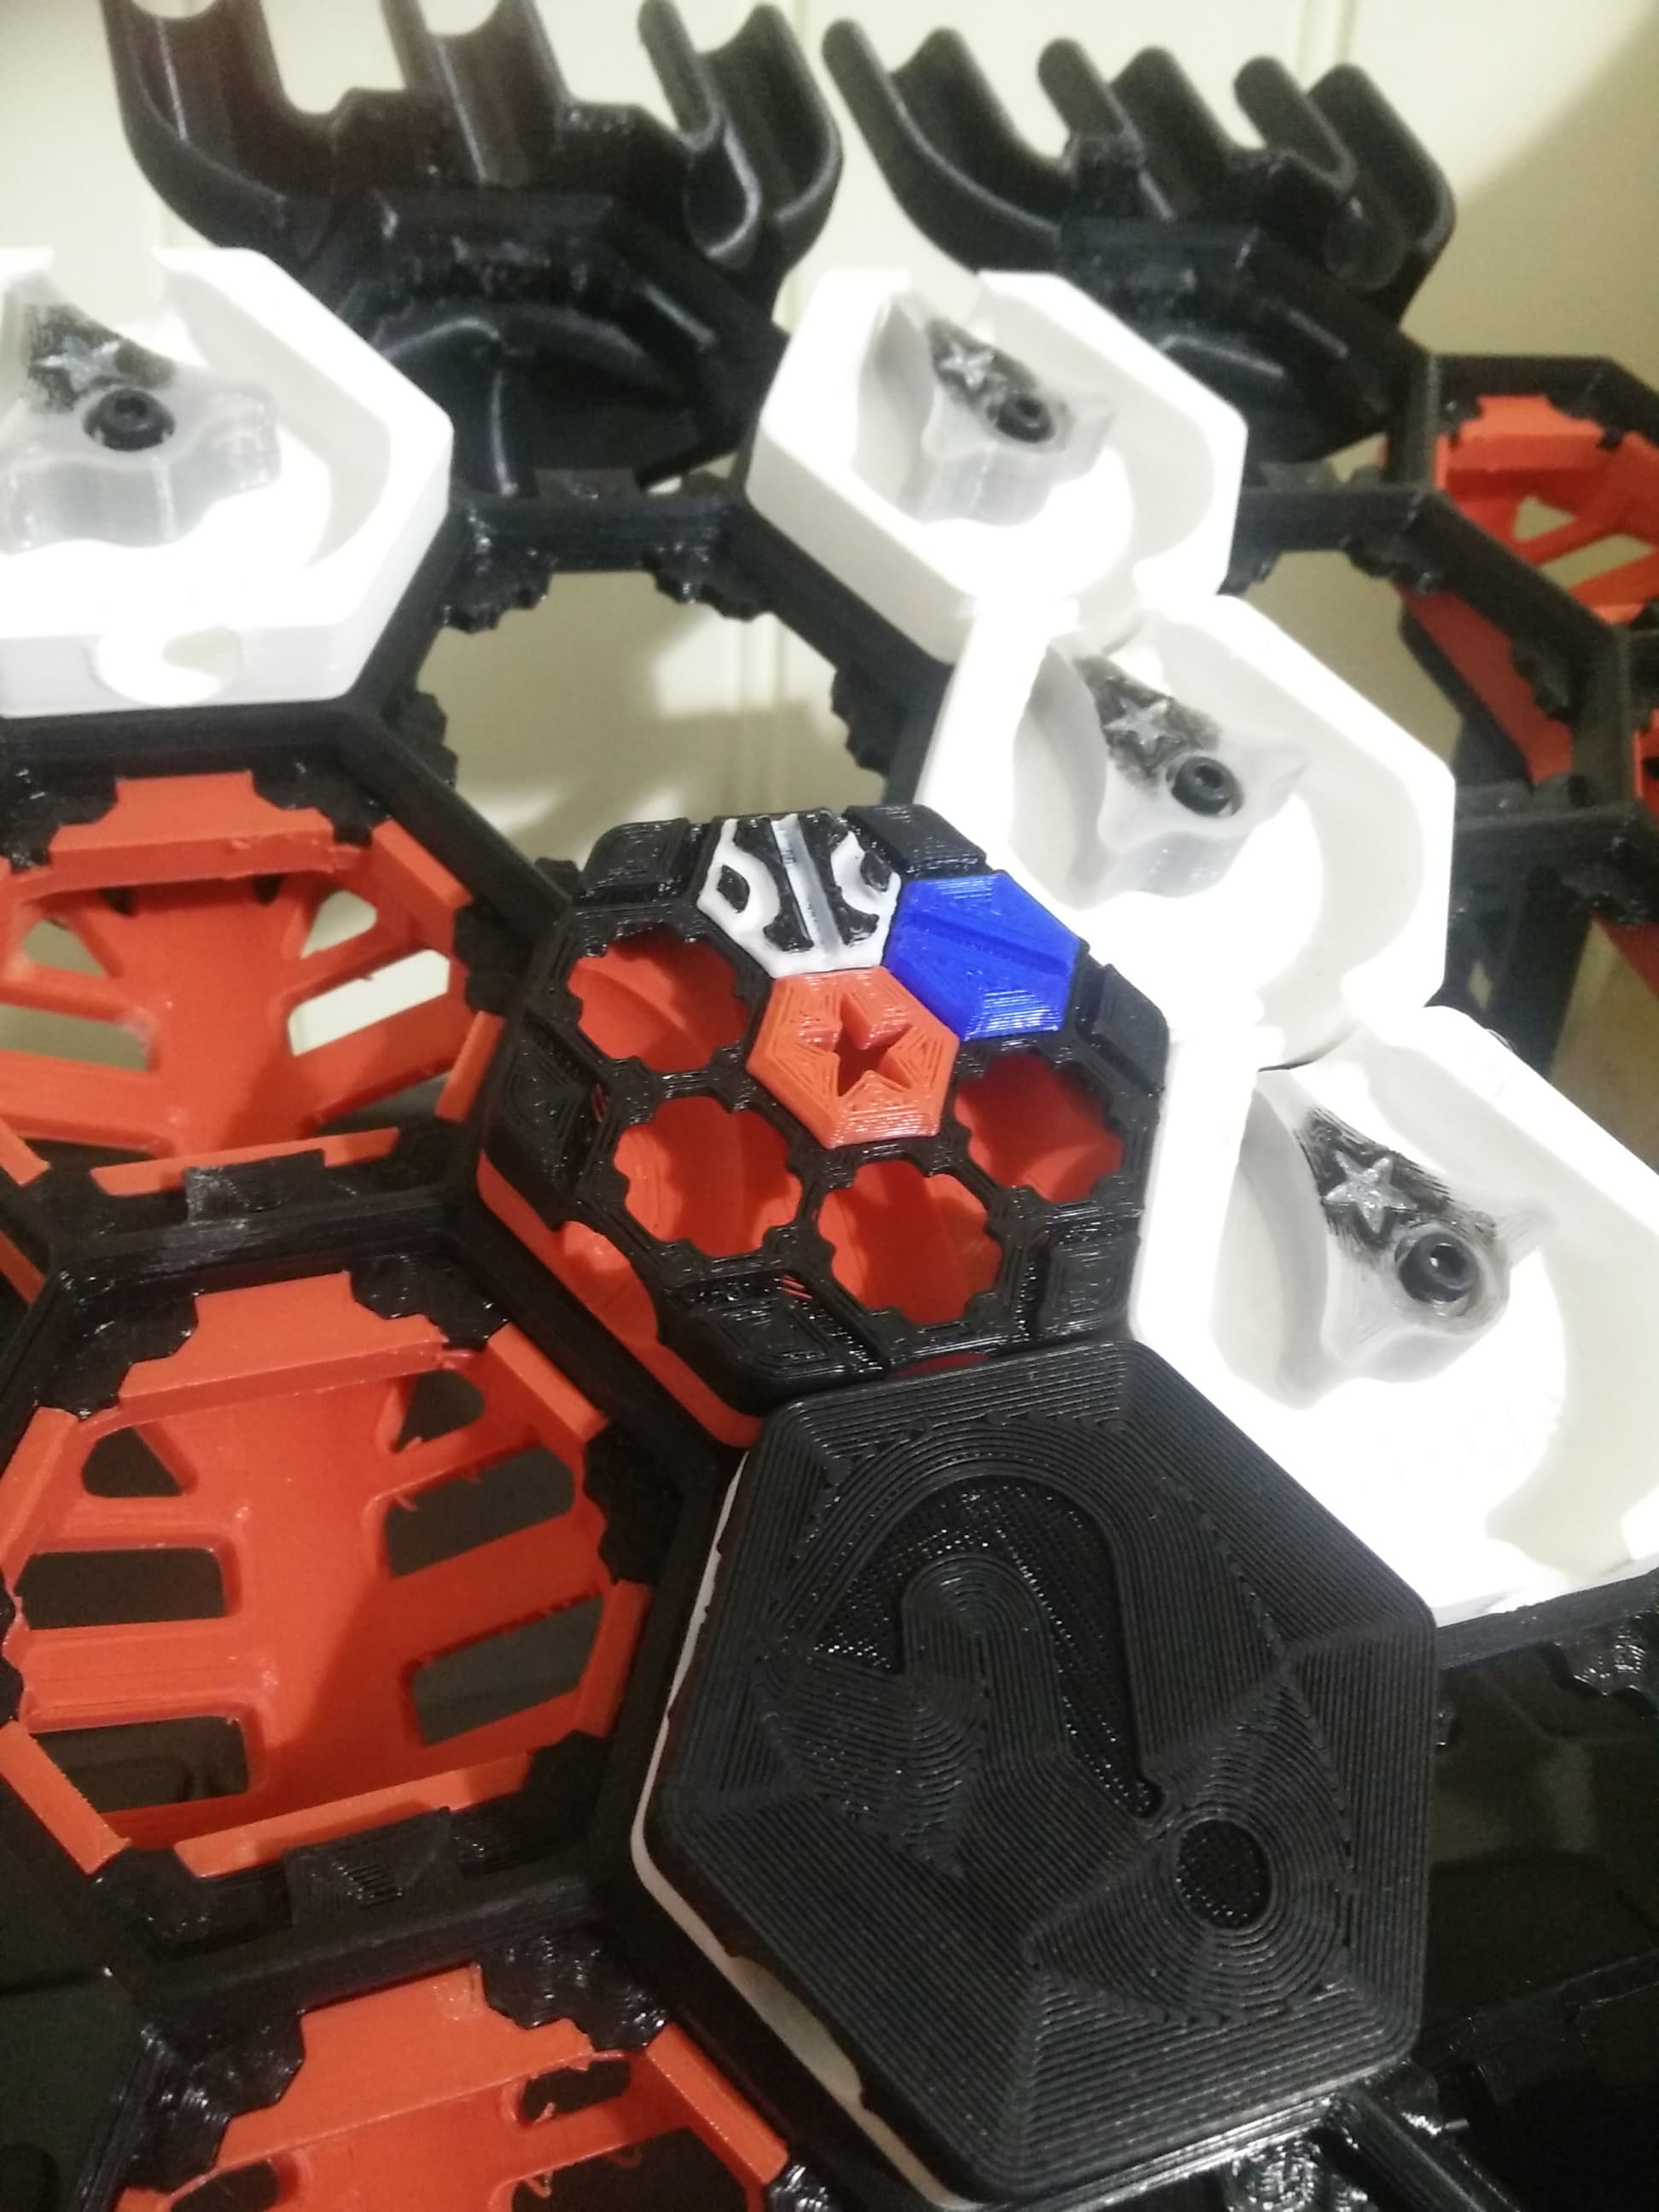
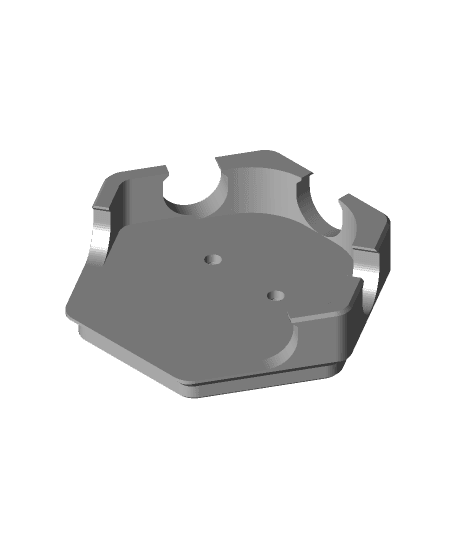
Note: Images are of a prototype version of the spinner for a thematic remix I am developing. The only difference between the provided files and imagery is the added star. Two tile base options are provided: the 'standard' with bottom-left and bottom-right exits, and the 'advanced' version with an additional bottom-middle exit. If using the standard version, it is intended that balls on one side of the spinner remain in the tile when you turn it the opposite direction. If using the advanced version, they'll instead exit from the middle. Choose which behavior you'd like or print them both!
Rules Card Text Setup: Spinner must be oriented as shown. (Default position is shown on the rules card: with the spinner middle arm aligned vertically with the notched bottom side of the tile) Trigger: If 3 balls are in this, turn spinner in one direction until it locks, then activate Setup.
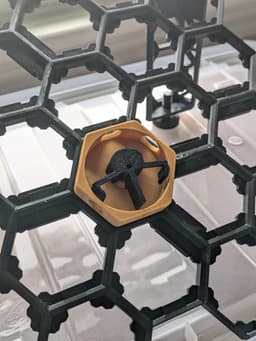
Hardware One M3 screw, I used a 10mm. You can get away with shorter, and I haven't tried longer but it might be a tight fit.
Printing / Assembly Instructions I printed everything in PLA. I didn't use supports. I recommend printing the spinner in a contrasting color from the base, and printing the card details contrasting from the card.
Divider Tile
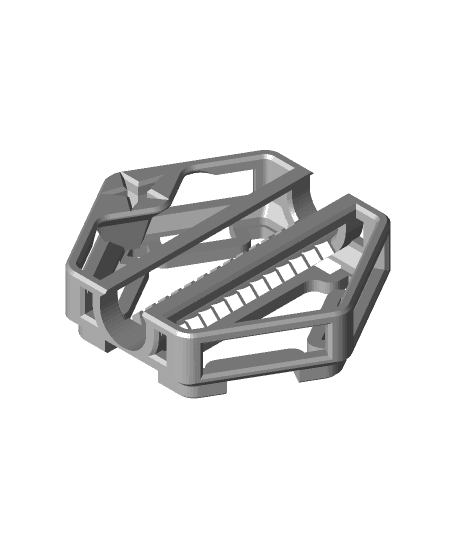
- Print the spinner star-side down. Print a base of your choosing.
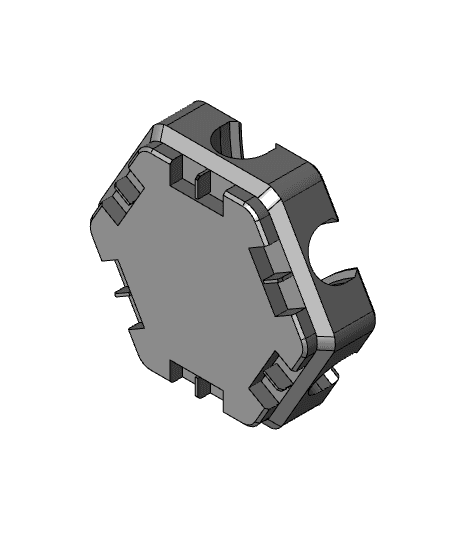
- Align the spinner over the hole, with the locking peg in the path, and install the M3 screw from under the tile. Make sure it is tight enough that a ball won't move the spinner, but a player can turn it.
Rules Card
- Multi-material: drag DIVIDER_CARD_BASE.stl and DIVIDER_CARD_DETAILS.stl into your slicer simultaneously, loading it as one object with multiple parts. Assign filaments as desired. You may also use the 3MF and assign filaments to bodies.
- Single-material: print the single color model, or if you want multi-color add a pause and perform a filament swap.


Hextraction Divider Tile

Hextraction Sonar Tile

OLD Hextraction - Bishop Tile Chess Tiles

Hextraction - King tile Chess Tiles

OLD Hextraction - Rook tile Chess Tiles
OLD Hextraction - Knight Tile Chess Tiles
OLD Hextraction - Pawn Tile Chess Tiles
NEW Hextraction - Knight Chess Tiles
Hextraction - Queen Tile - Chess Tiles
Hextraction - Angel Down Tile
Hextraction - Angel Up tile

Hextraction - High-Consistency Trap Tiles
Hextraction - Dip Tile
NEW Hextraction - Rook Chess Tiles
Hextraction Shahrazad Tile Lid - Secret Tile Compatible
Hextraction - Holo XC tile - One peice
Hextraction - XC Holo Tile
Hextraction - Dip and hill tile
Hextraction - Rubber band Trampoline Tile
Dragon Ball Hextraction Tiles