
Dactyl-ManuForm 5x6 Mechanical Keyboard
Designed by Tom Short and uploaded as permitted under the Creative Commons Attribution license.
The most ergonomic open-hardware keyboard on the Internet is yours for the making. Be warned: Detailed assembly instructions are not available for this keyboard, and I recommend it for experienced keyboard builders.
The Dactyl ManuForm may look wild, but it's really just an Ergodox-style keyboard, warped and bent into a hand-cradling, comfortably-tented configuration. This is the 5x6 version, which actually has four rows of six keys under each finger.
You'll need one each of the Left, Right, Left Bottom Plate, and Right Bottom Plate. If you have access to a laser cutter, the designer recommends cutting bottom plates from the included DXF files from 3mm acrylic. Otherwise, print the STL bottom plates from the stiffest material available.
In addition to the printed parts, you'll need: 56x Cherry MX-compatible switches. I used Kailh Box Jade - https://amzn.to/3a3MNAc 56x Diodes - I used 1N4148 - https://amzn.to/3qOE9fW 52x Cherry-compatible keycaps, 1u 4x Cherry-compatible keycaps, 1.25u 10x 5mm-long M3 screws - https://amzn.to/2KIdnpV 10x M3 heat-set inserts - https://amzn.to/3oeWPnk 2x Arduino Pro Micro - https://amzn.to/3oii7Am Rubber feet - https://amzn.to/2Nozi6u Solid-core wire Solder and soldering gear Note: These are affiliate links
For more information, including the Clojure scripts used to generate these STL's, visit the repository at https://github.com/tshort/dactyl-keyboard
The Dactyl Manuform is copyright 2017 Tom Short, based on the Dactyl by Matt Adereth. The code used to generate these models is licensed GNU GPL and the models themselves are licensed Creative Commons Attribution NonCommercial Share-Alike.
Dactyl-ManuForm 5x6 Mechanical Keyboard
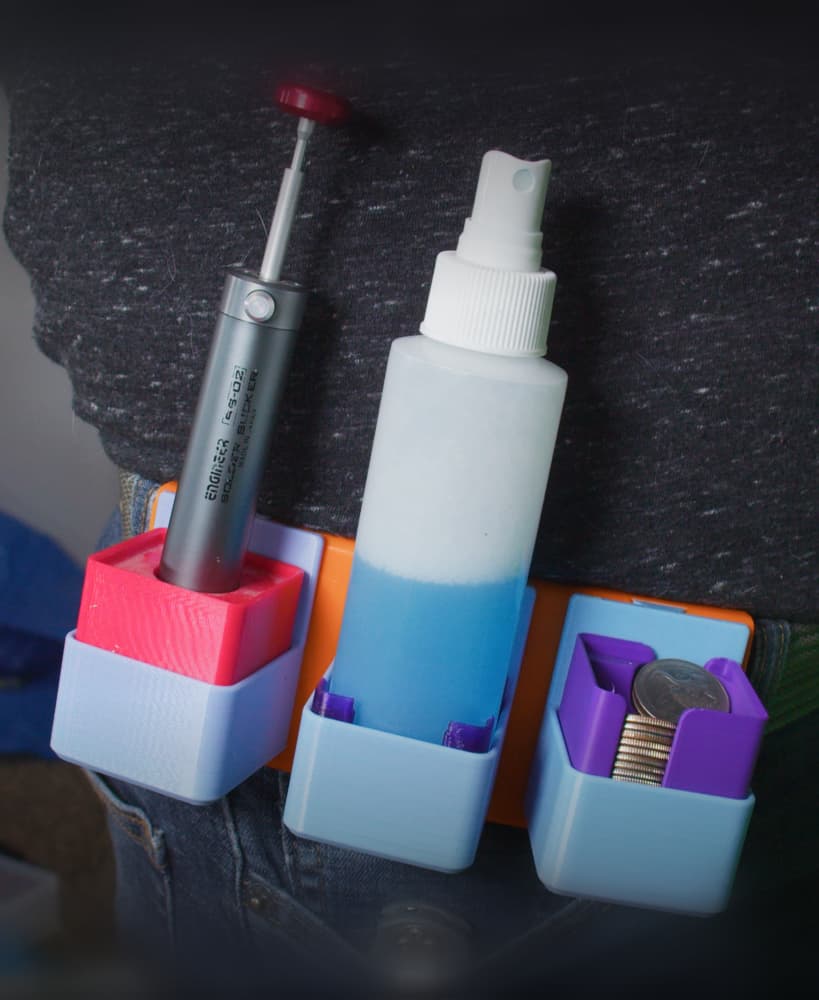
Gridfinity Utility Belt Module for Modular Utility Belt
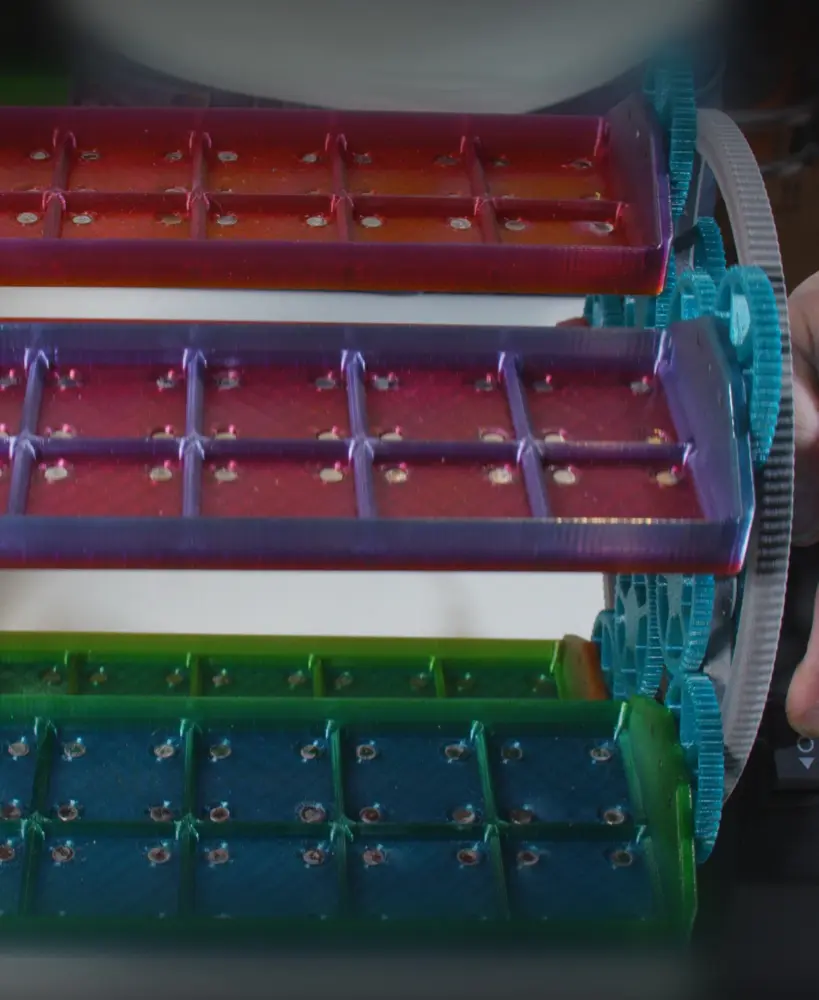
Gridfinity Carousel Carriage w Magnets
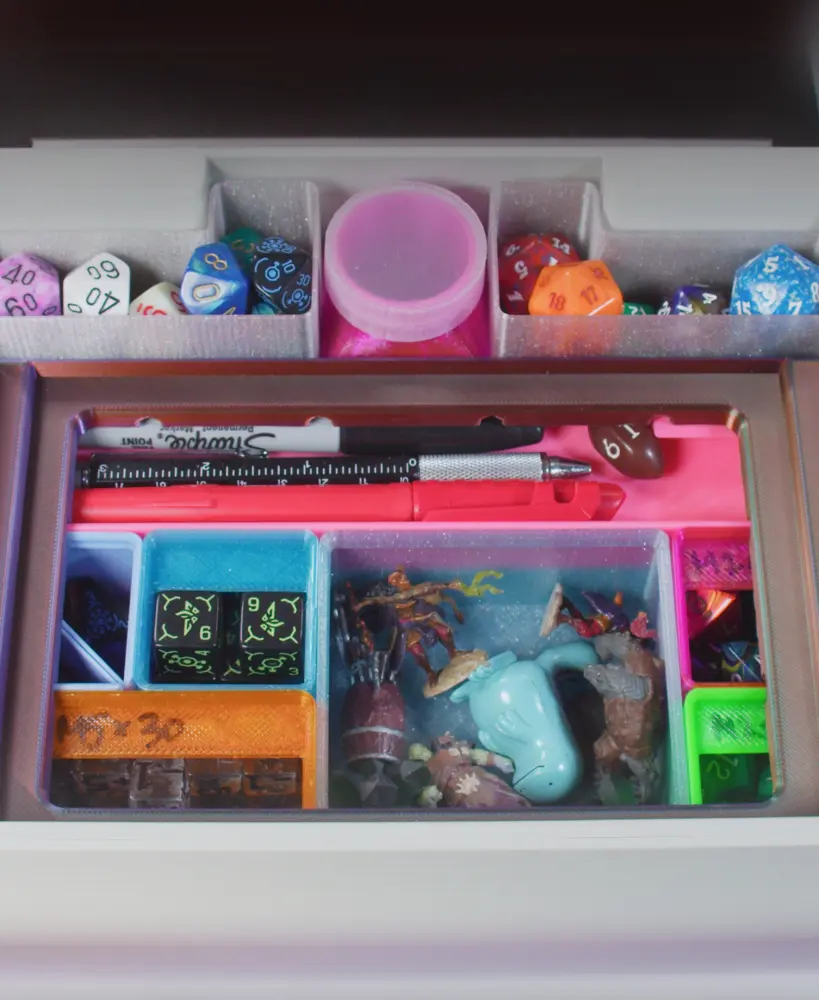
Gridfinity Kit for Dungeon Master's Tome
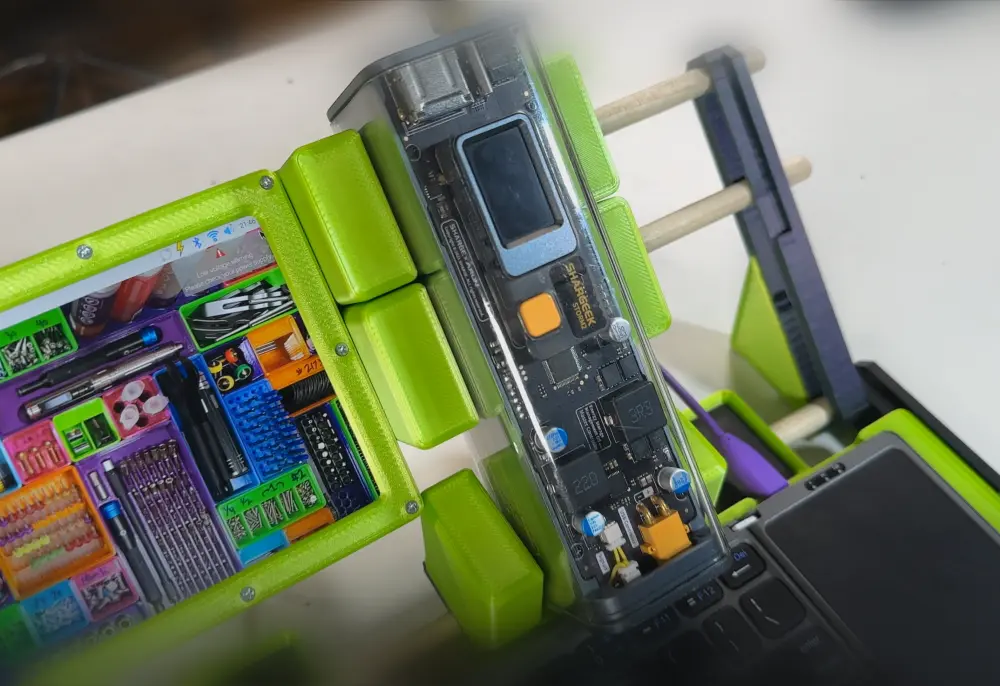
Shargeek USB Power Bank Gridfinity Cradle
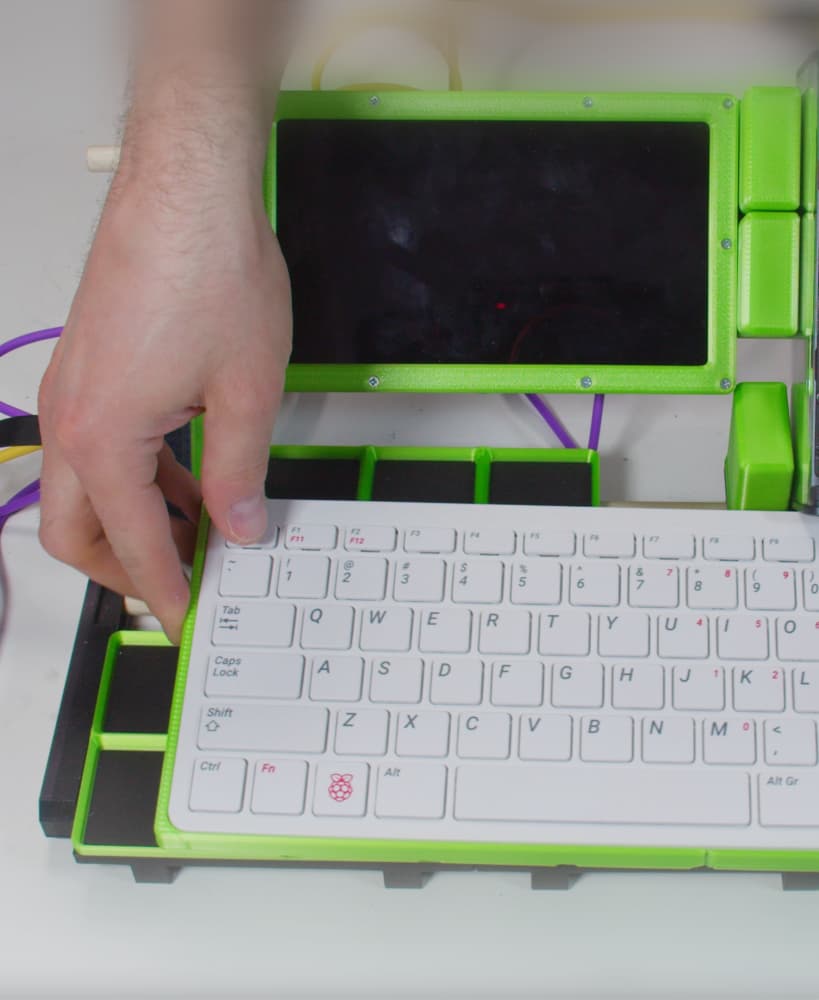
Gridfinity Raspberry Pi 400 Tray (for Cyberdecks)
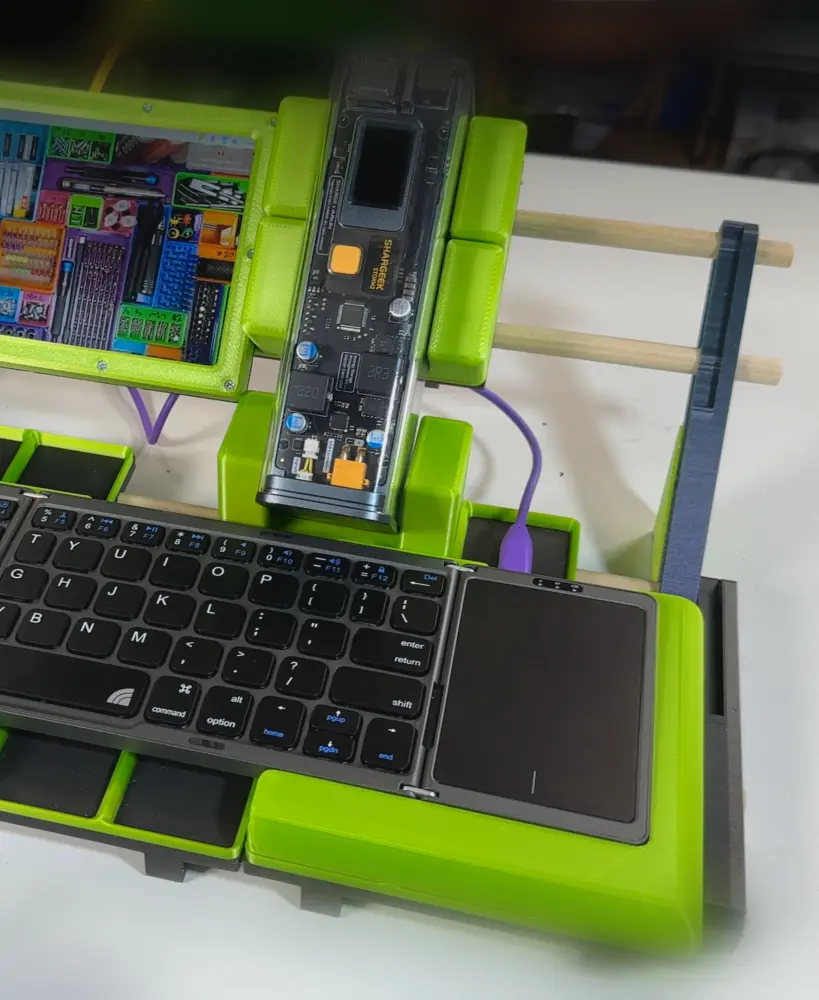
Inland Folding Keyboard Gridfinity Tray (for Cyberdecks)
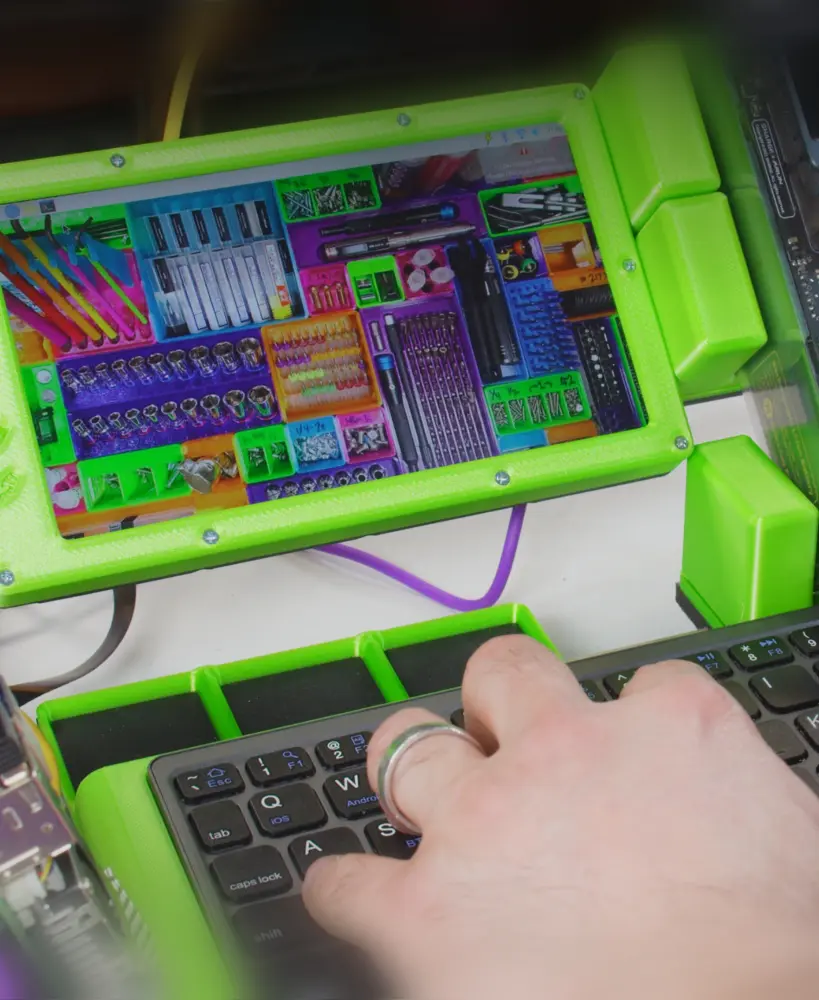
Gridfinity 7" Mini-Monitor (for Cyberdeck)
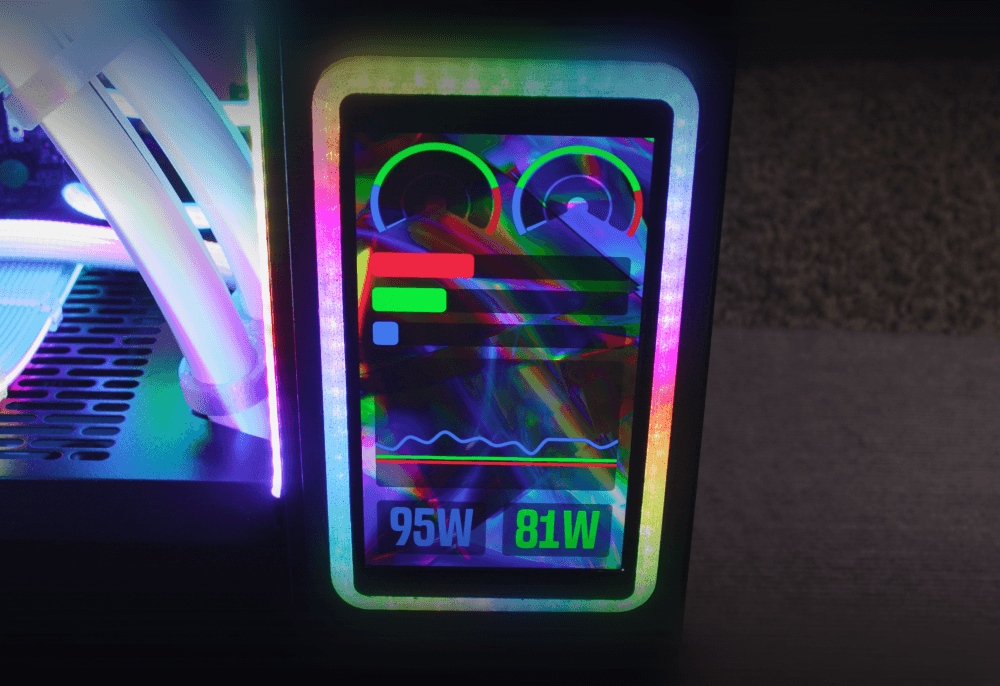
WaveShare AMOLED Panel Mount Frame (With rgbleds!)

North XL Extra-Tall Rgbled Feet

RGB Silicone-Sleeved AIO Tube Clamp Comb Clip Thingamajiggler

Silverstone IceMyst Custom Emblem

Authentic Faux RAM (Looks like G.Skill Trident Z5 RGB) (Download More RAM)
Transwarp Saya - High-Density Nerf Mag Holder for Talon, Katana, and Zinc

MakerChip: Zack Freedman/Voidstar Lab

MakerChip Gridfinity Holder (also fits poker chips)
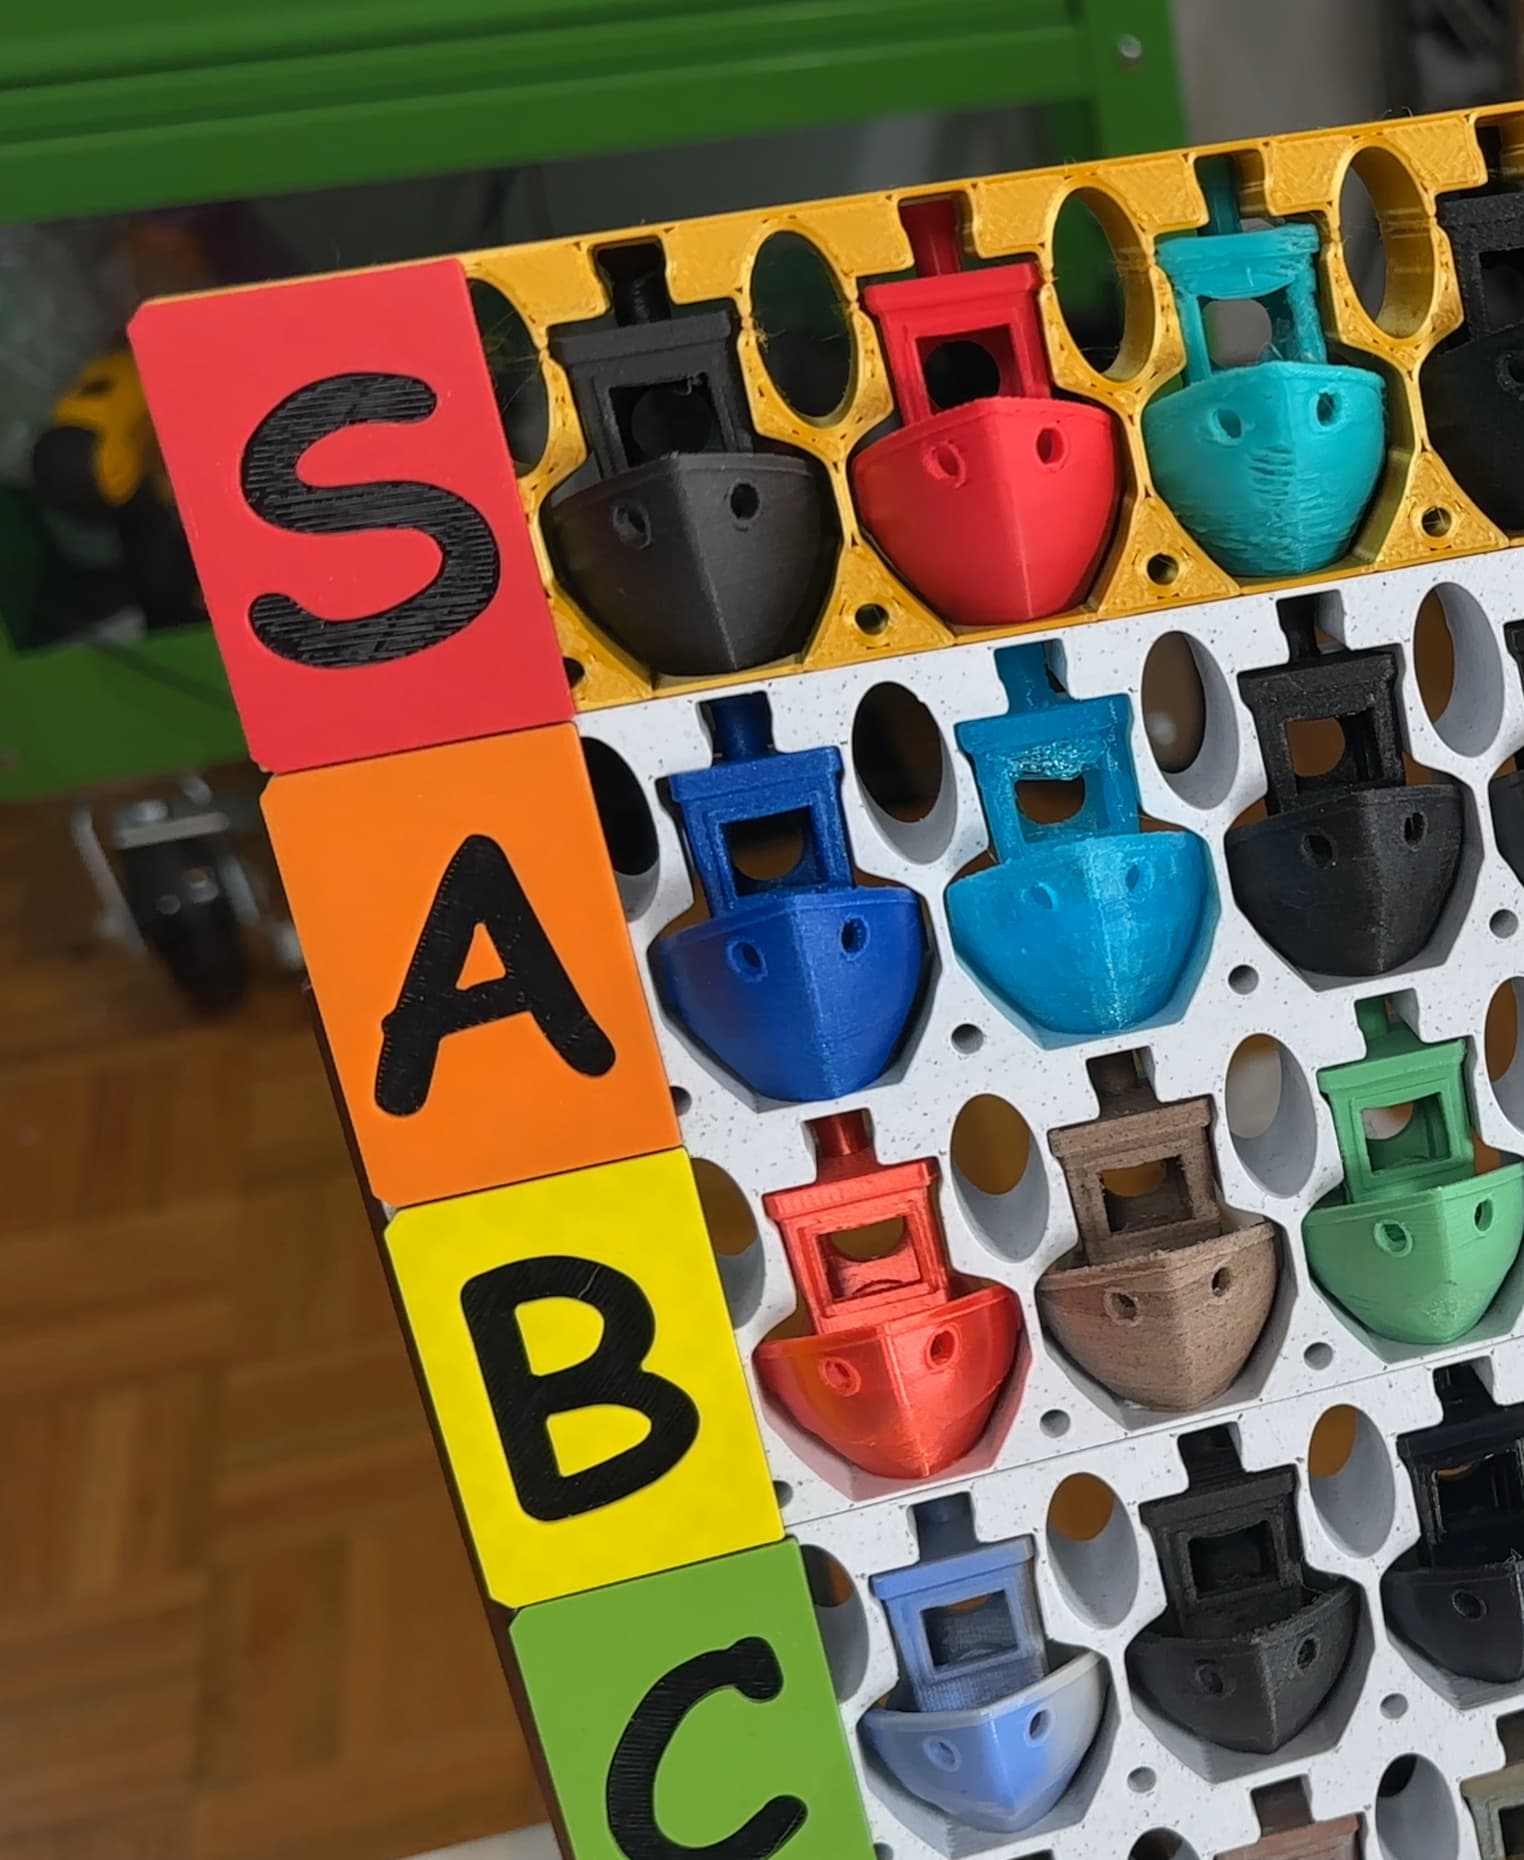
Benchy Tier List!
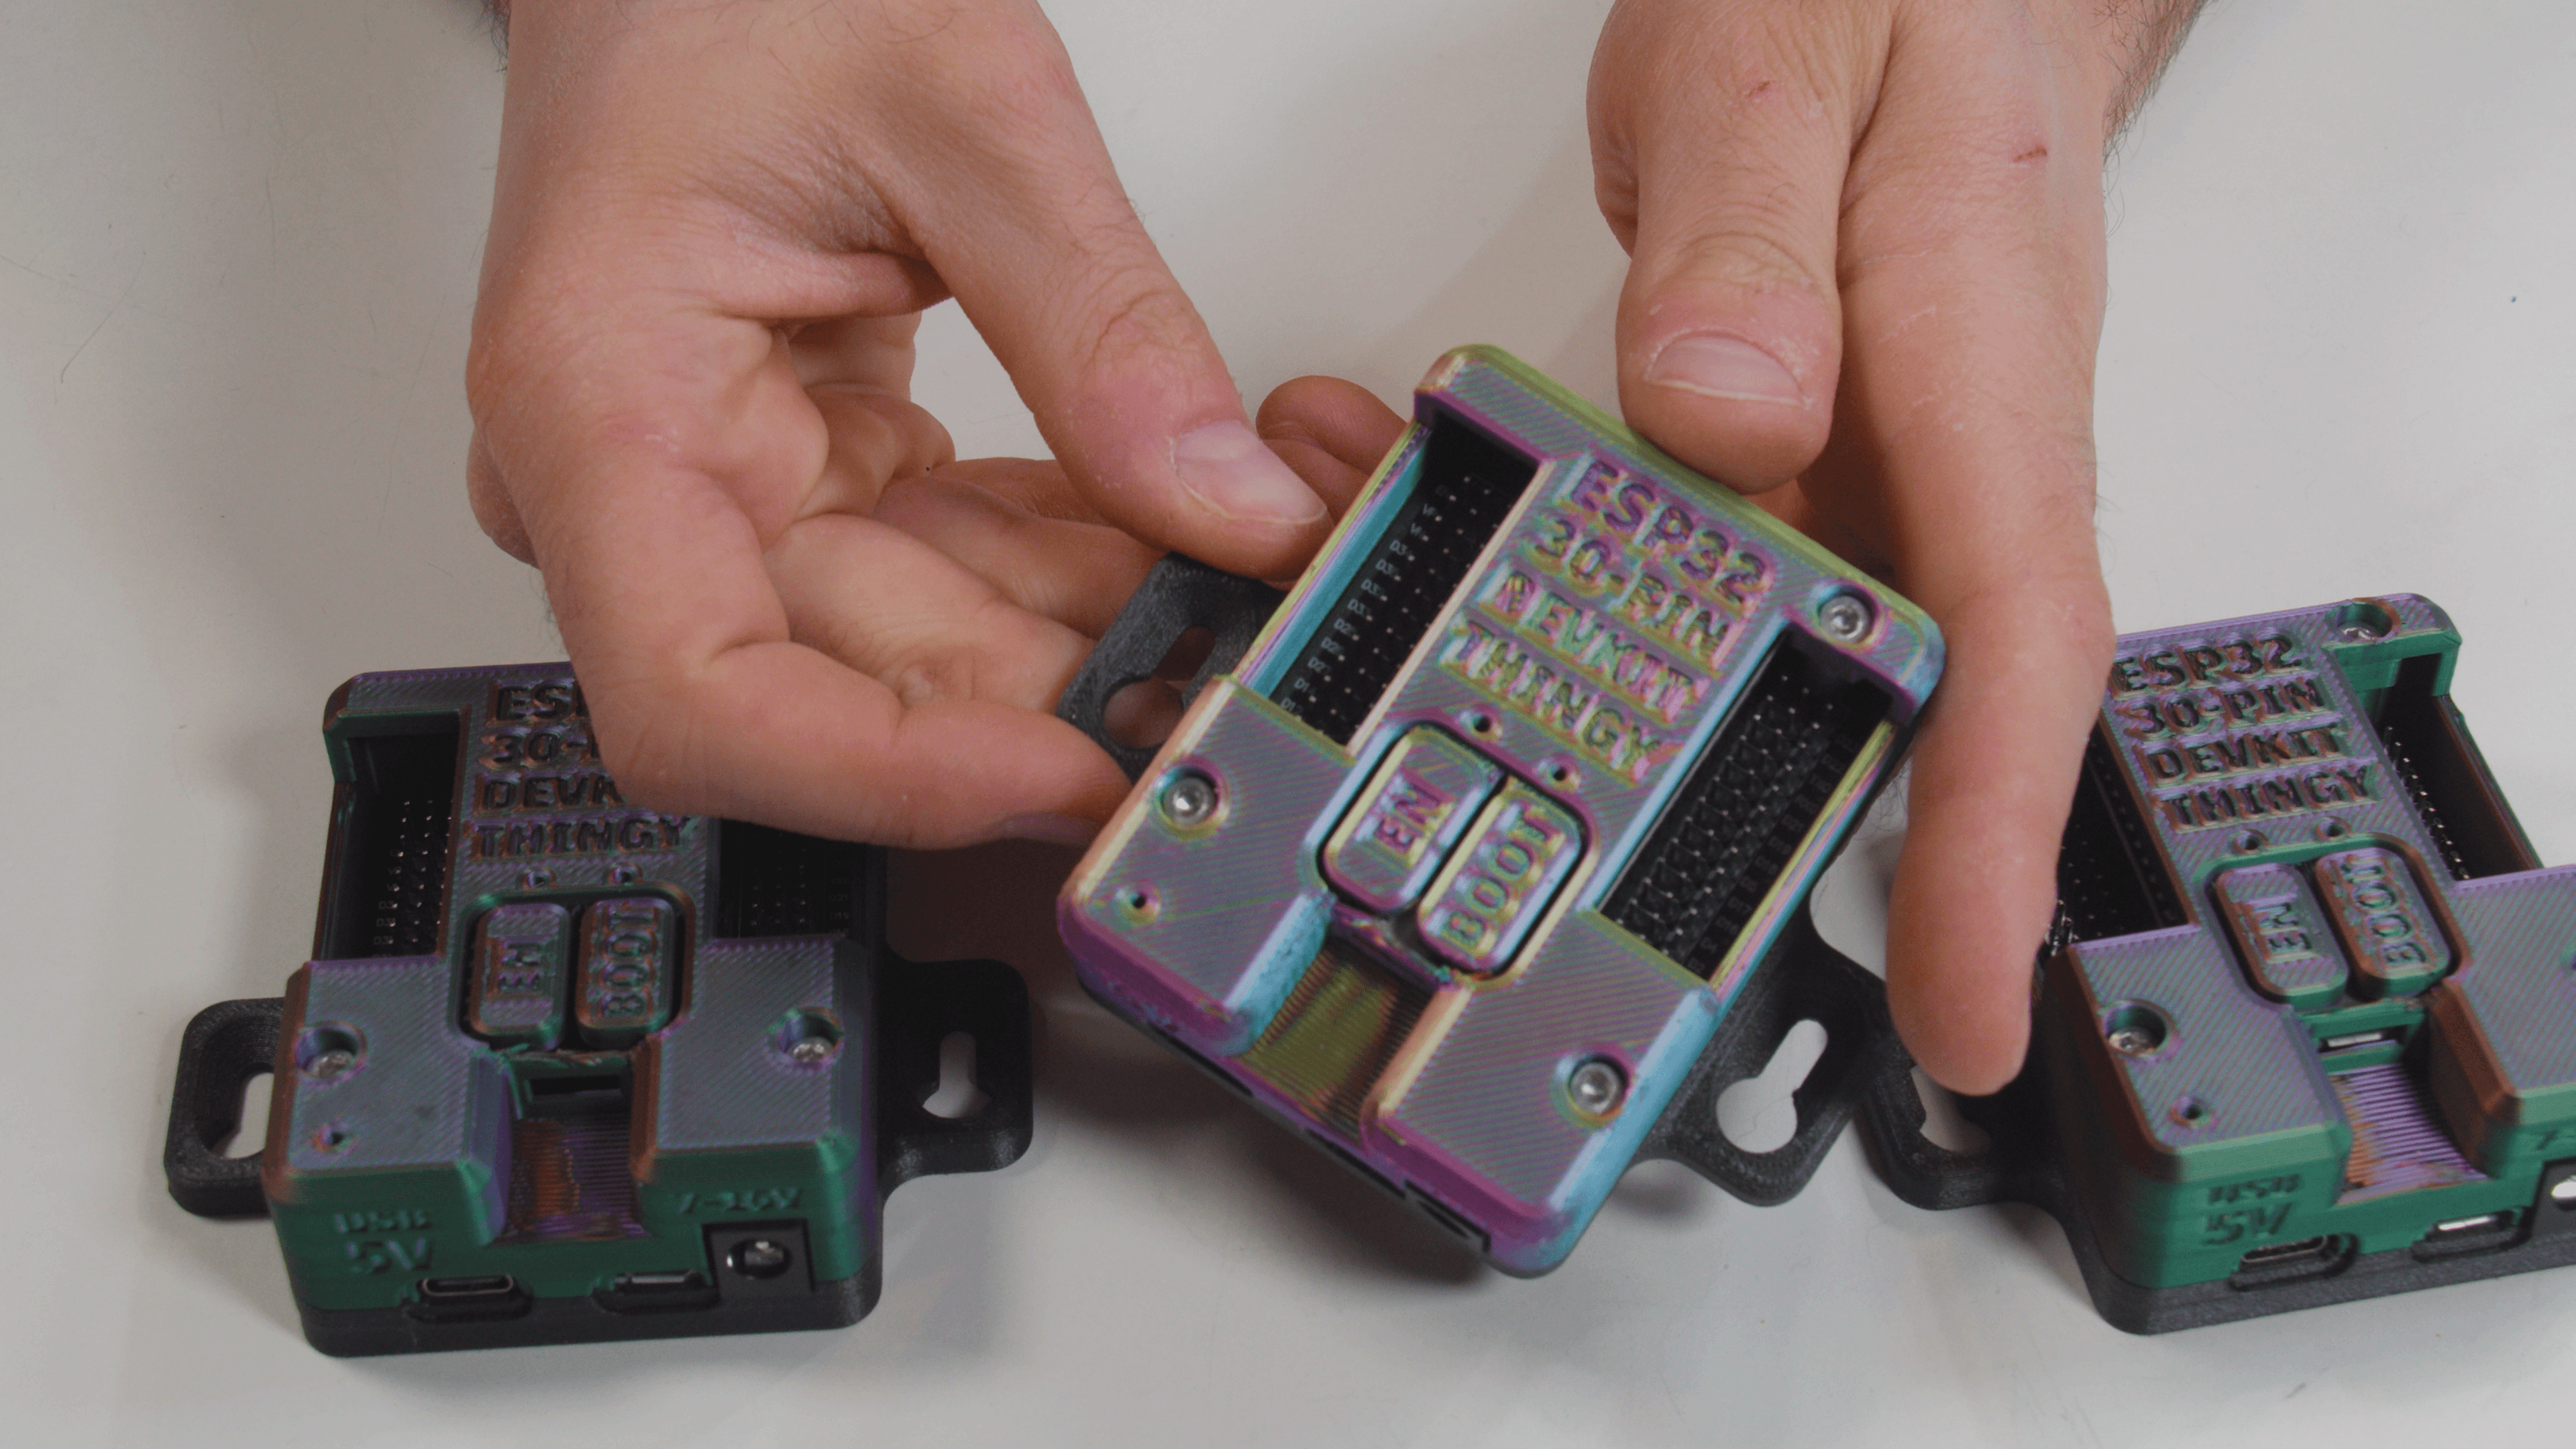
ESP32 30-Pin Devkit V1 Expansion Board Enclosure Thingy
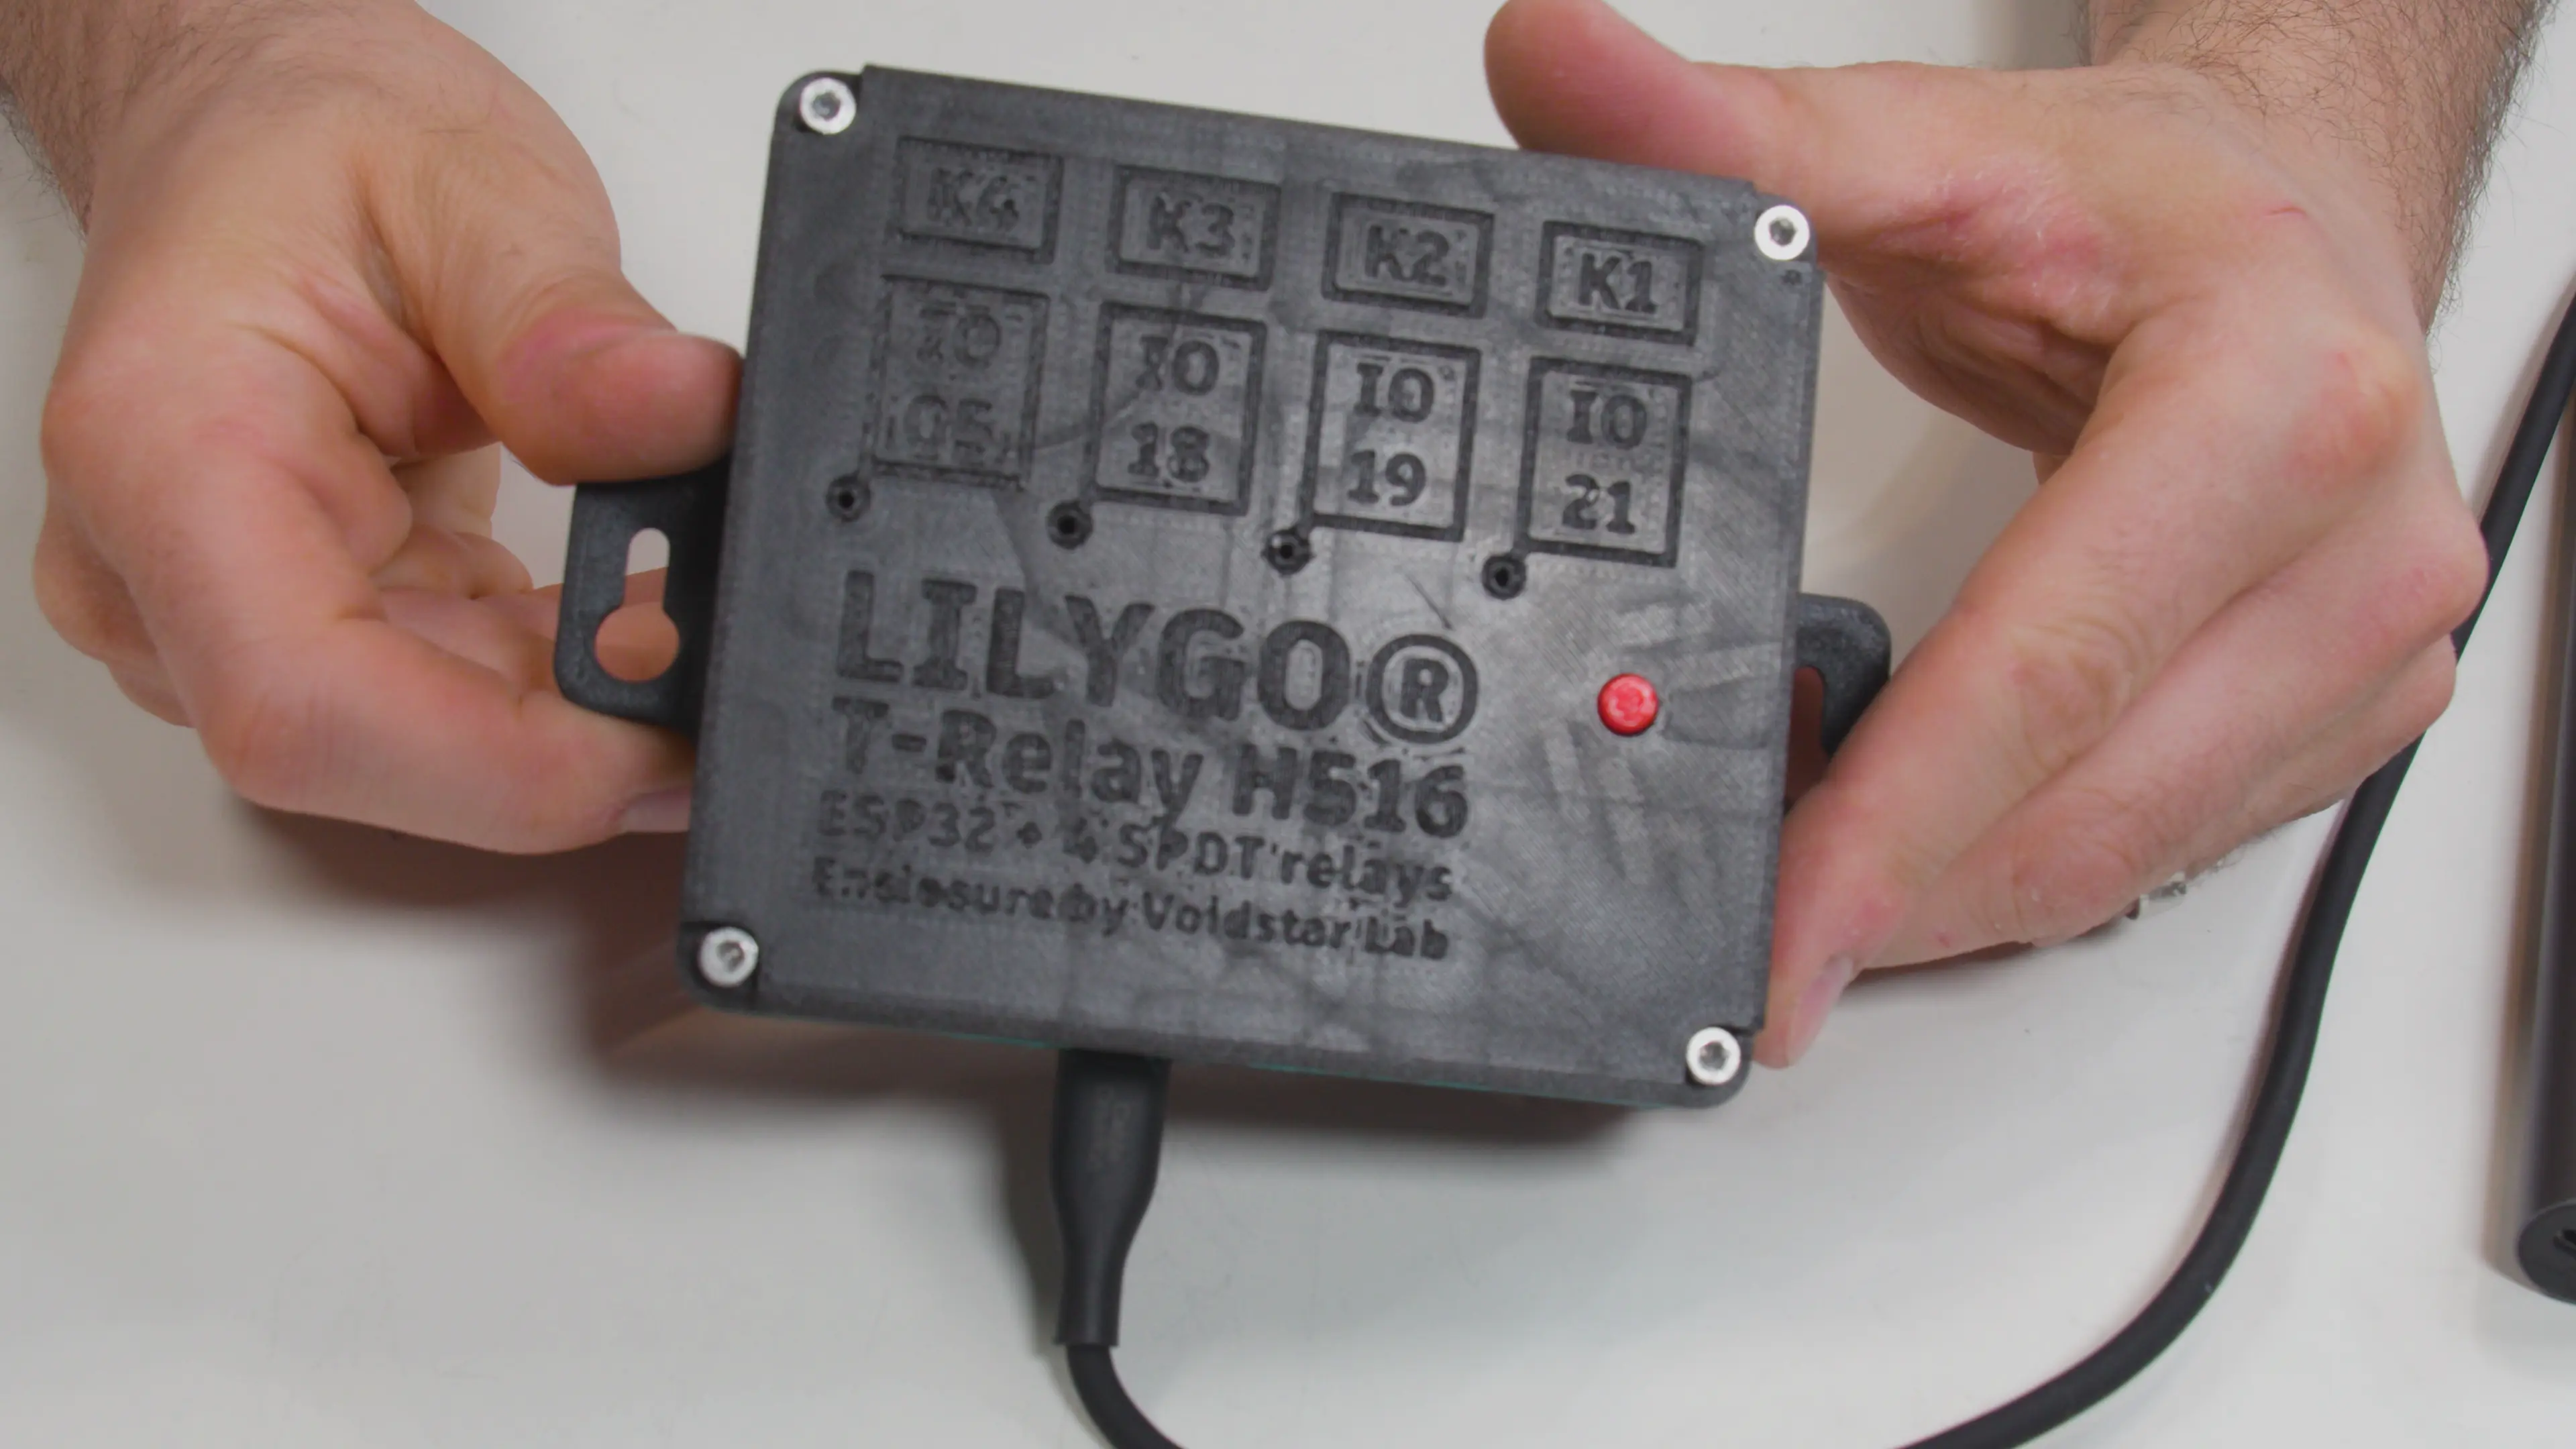
Lilygo T-Relay H516 Enclosure
Hextraction: Take the Tilepill

I contacted a laser cutting company and they said the dxf files are not usable because the line is disconnected. In some places at the outer lines where the screws are. Did anyone fix this? Any ideas?
would it be faster to flip the print and sand the top surface flat?
Instead using a audio jack or telephone cable to connect both sides, can i just connect directly both microcontrollers with solid-core wires?
Some or all M3 Inserts are too small for this model. I just heated them up and pushed them much deeper than they really should be to grab onto something.
@Copernico: On the original github repo there are multiple versions with different numbers of buttons.
@stefanblandin: on the github repo it is stated that they use a RJ9 cable (telephone cable) - in theory you could use whatever you like.
@WyattCrafty1 Check out the github link for more infos, I think Zach is going to do a video on this one too at some point.
@markantony54321 Yes, you could program it in such a way that there is only one (In the setup you would specify one as master and the other to be connected to it, so it doesn't need to be there at all)
How do you link the two sides together?
@ZackFreedman can you use only one half of this or do you need to use both halfs of it
I bet there is a way to make a "key shift" key so you can still have a 60%/100% keyboard just on half the keys. (J is J until "key shift" is pushed and is replaced with A) it would be how you program it to input.
I am confused. Why does the content list say that we need 56 switches, diodes etc. when the board has slots for 64? Was this just a very consistent typo?
yeah probably. get 64 switches, or even a bit more in-case they break
@ZachFreedman I realized that a little after I asked that and I want to say thank you for uploading this because I am planning on actually making this soon
@LynxTrakker2005 They're the same file - just cut it and flip it over.
hi dad