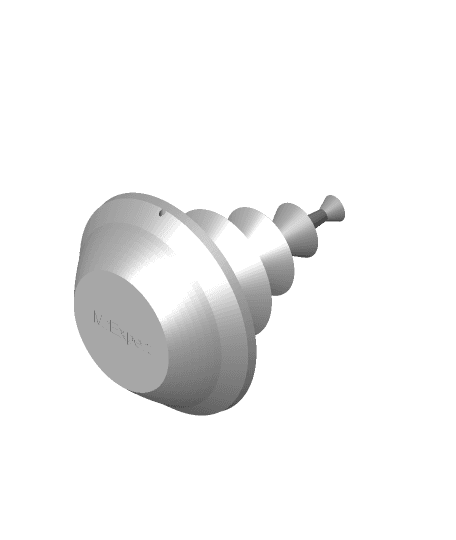
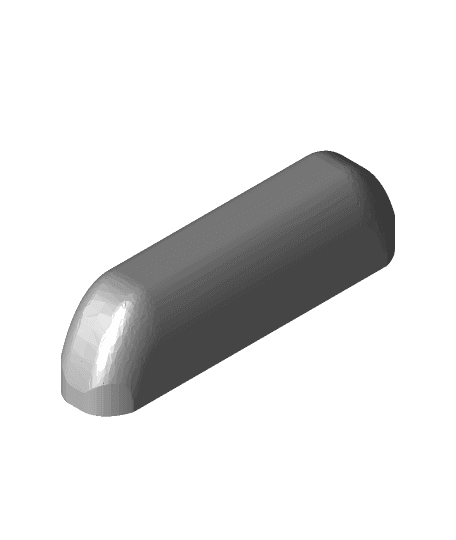
Sliding Door bolt Print fully assembled
Make sure to check out https://thangs.com/mythangs/file/566117 for add-ons for this thing. This includes alternative fixings and spacers for the main bolt and standard receiver.
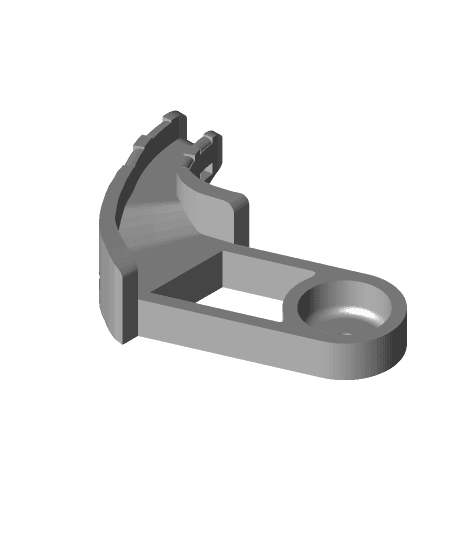
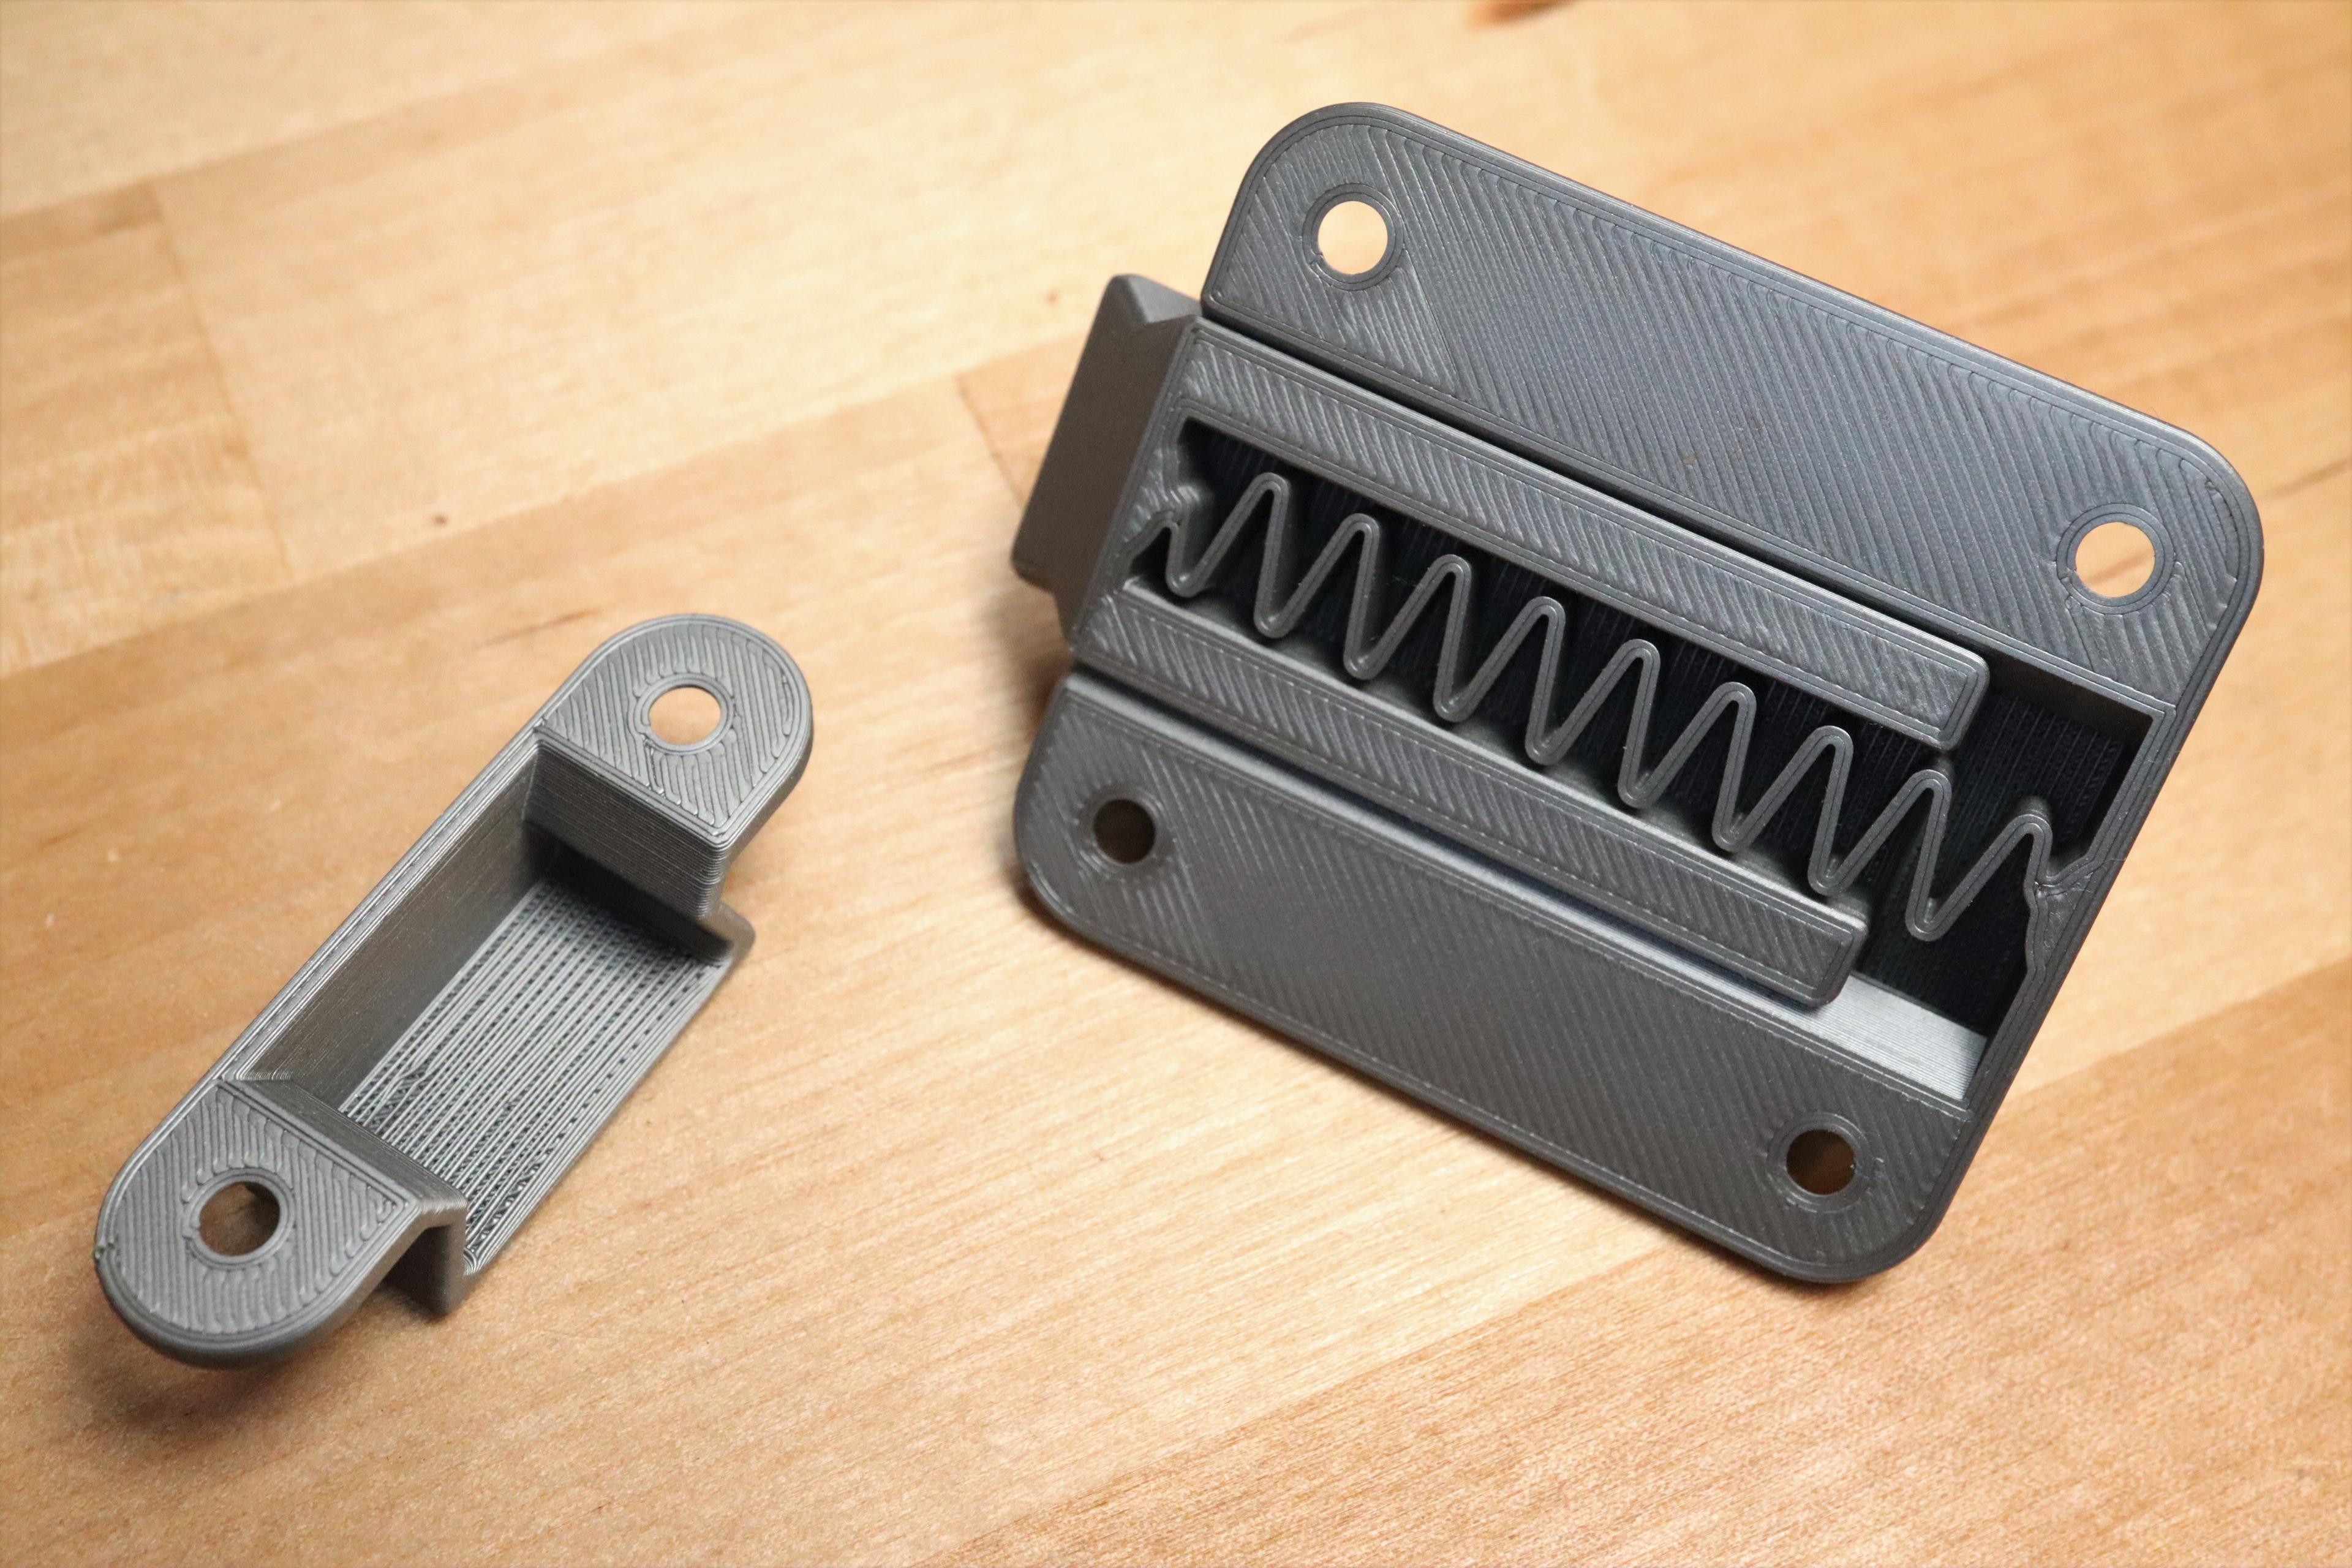
Update 6 July 2020. I've added a sliding bolt release tool. Print 100% infill. Place part with hole on a solid surface, put bolt in bolt shaped recess in this part then put other part with protrusion over back of bolt and tap with a small hammer to release. I hope this makes sense, just let me know if this works for you. It should get the bolt moving and is safer than trying to find random items and causing injury,
I've added a fully assembled door bolt to print. either complete or just the bolt itself.
I've included a reduced contact sliding bar version to help with prints that seem to be fused together, please let me know if this helps.
Supports not required unless using the no support versions.
I've added two versions with improved support for the ball handle, the previous ones the ball appears to be distorted but not unusable.
If anyone prints these two with improved ball support, can you let me know if this fixes the problem, my printer is out of action for the next week or so.
Print at least 3 perimeters and at least 27% infill or higher.
I would recommend using a raft not a brim.
Don't scale the assembled one down as the tolerances would be too close.
If your printer is like mine, the parts seem slightly stuck together when printed, then you should still be able to free it up. I just put the front (the end furthest from the bolt pin) across the jaws of an open vice, so the path of the bolt is free to slide, then tap the back end of the bolt bar with a hammer, I used an M8 bolt to drive the bar into the body. Then just work back and forth a few times, and it should free up.
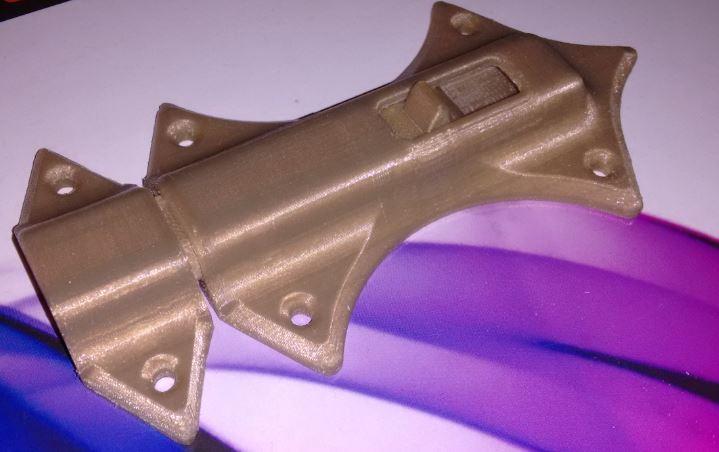
I've added replacement body and receiver with countersunk screw holes. These are... "sliding bolt receiver_csk.stl" and "sliding bolt body_csk.stl"
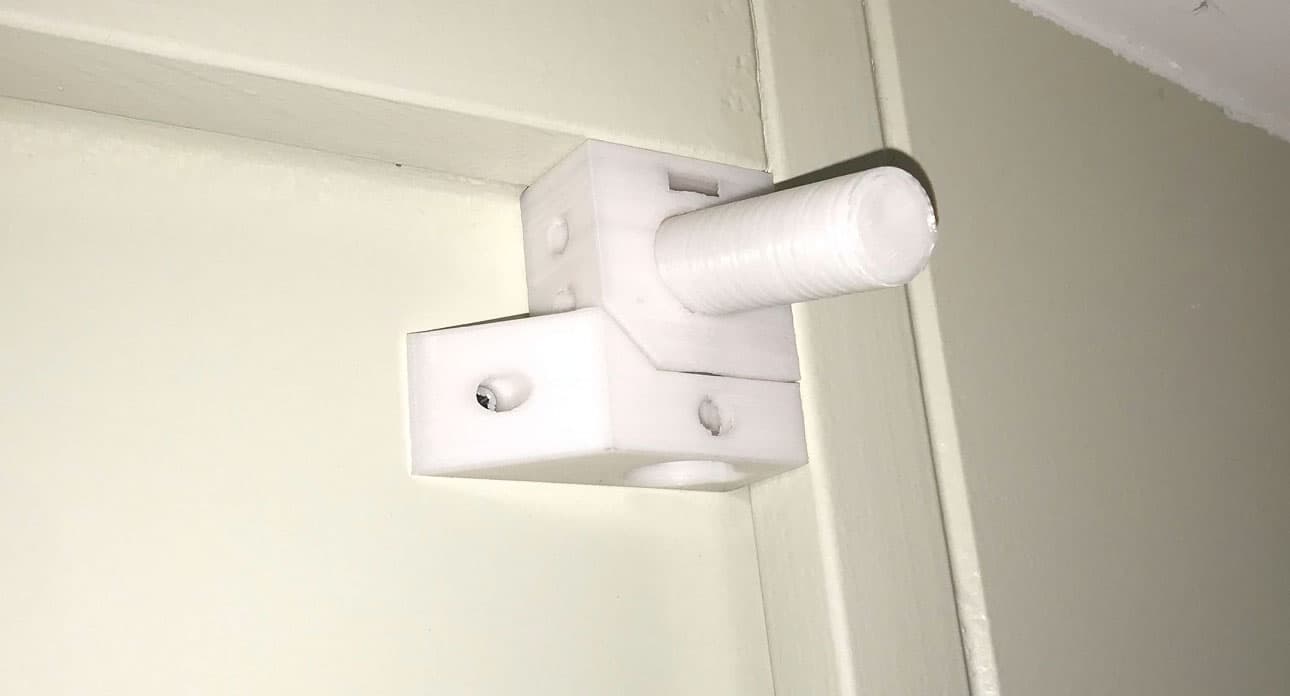
This is the sliding door bolt I made for my shed door.
The one in the picture is made from PLA, although ABS would probably be a better choice for outdoors.
I would probably recommend that the parts be made with at least 50% infill.
Assembly should be quite simple. first make sure the slot in the main body will allow the sliding bolt shaft to slide freely and also check the shaft fits into the blind hole in the sliding bar.
I put a couple of drops of superglue in the hole in the bar, slotted the bar into the main body, lined the hole up with the slot and push the pin into place firmly. Be careful not to get glue on the outside of the bar!
Please note that the sliding bar is deliberately over long to allow for expansion and contraction of the wood on my shed.
The inside of the main body may require a little cleanup after printing. I used a small wood chisel to clean out the top corners and a little filing around the slot.
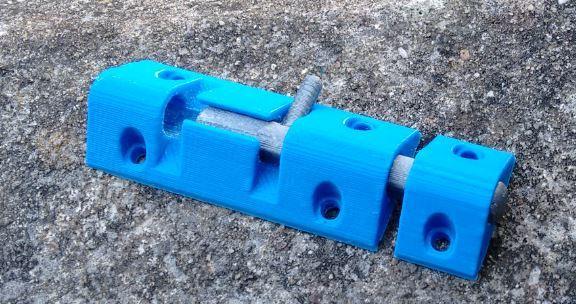
I've added a picture of one of a couple I made 65% of original size, so I can say it works perfectly scaled down too.
Sliding Door bolt Print fully assembled
(V2) For BIQU B1 - DIY Enclosure - Remix of Prusa's V2 IKEA Lack Enclosure - with extra doors (opening on 3 sides)

Sliding door bolt add-ons
Sliding door bolt V2
Sliding door catch v1.3mf

Sliding door lock for 1 inch bifold doors

Sliding Closet door bottom stabilizer v2
Voron handles and stop for sliding door mod

17mm circle sliding door bumber

Sliding door handle

Miniature Replica GALANT Cabinet with Sliding Doors for Miniature Dollhouse - IKEA (1:12,24,48) - 3D

Miniature Replica GALANT Cabinet with Sliding Doors for Miniature Dollhouse - IKEA (1:12,24,48) - 3D
Spring Loaded Slide Bolt Latch
Sliding Door Lock

Bathroom Stall Door Top Slide Lock
.png&w=3840&q=75)
Miniature Replica HAUGA Wardrobe with Sliding Doors for Miniature Dollhouse - IKEA (1:12,24,48) - 3D

Modular 1/64 Garage Display System with Sliding Doors – LED Ready Diecast Diorama STL

Cathedral Cabinet – Storage Cabinet with Two sliding Doors
Small sliding bolt
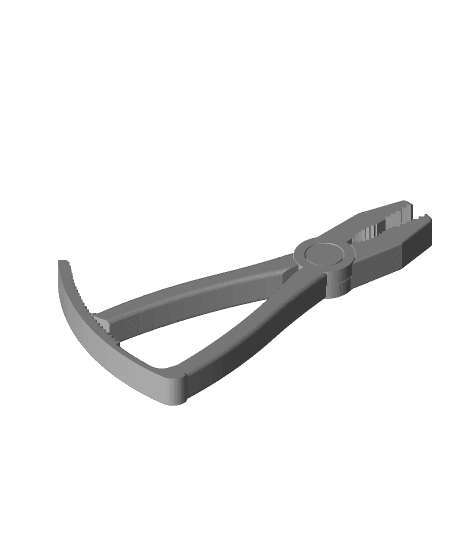
Ratchet Plier - Fully Assembled