


#Hallowearables: CyberWitcher- Jacket
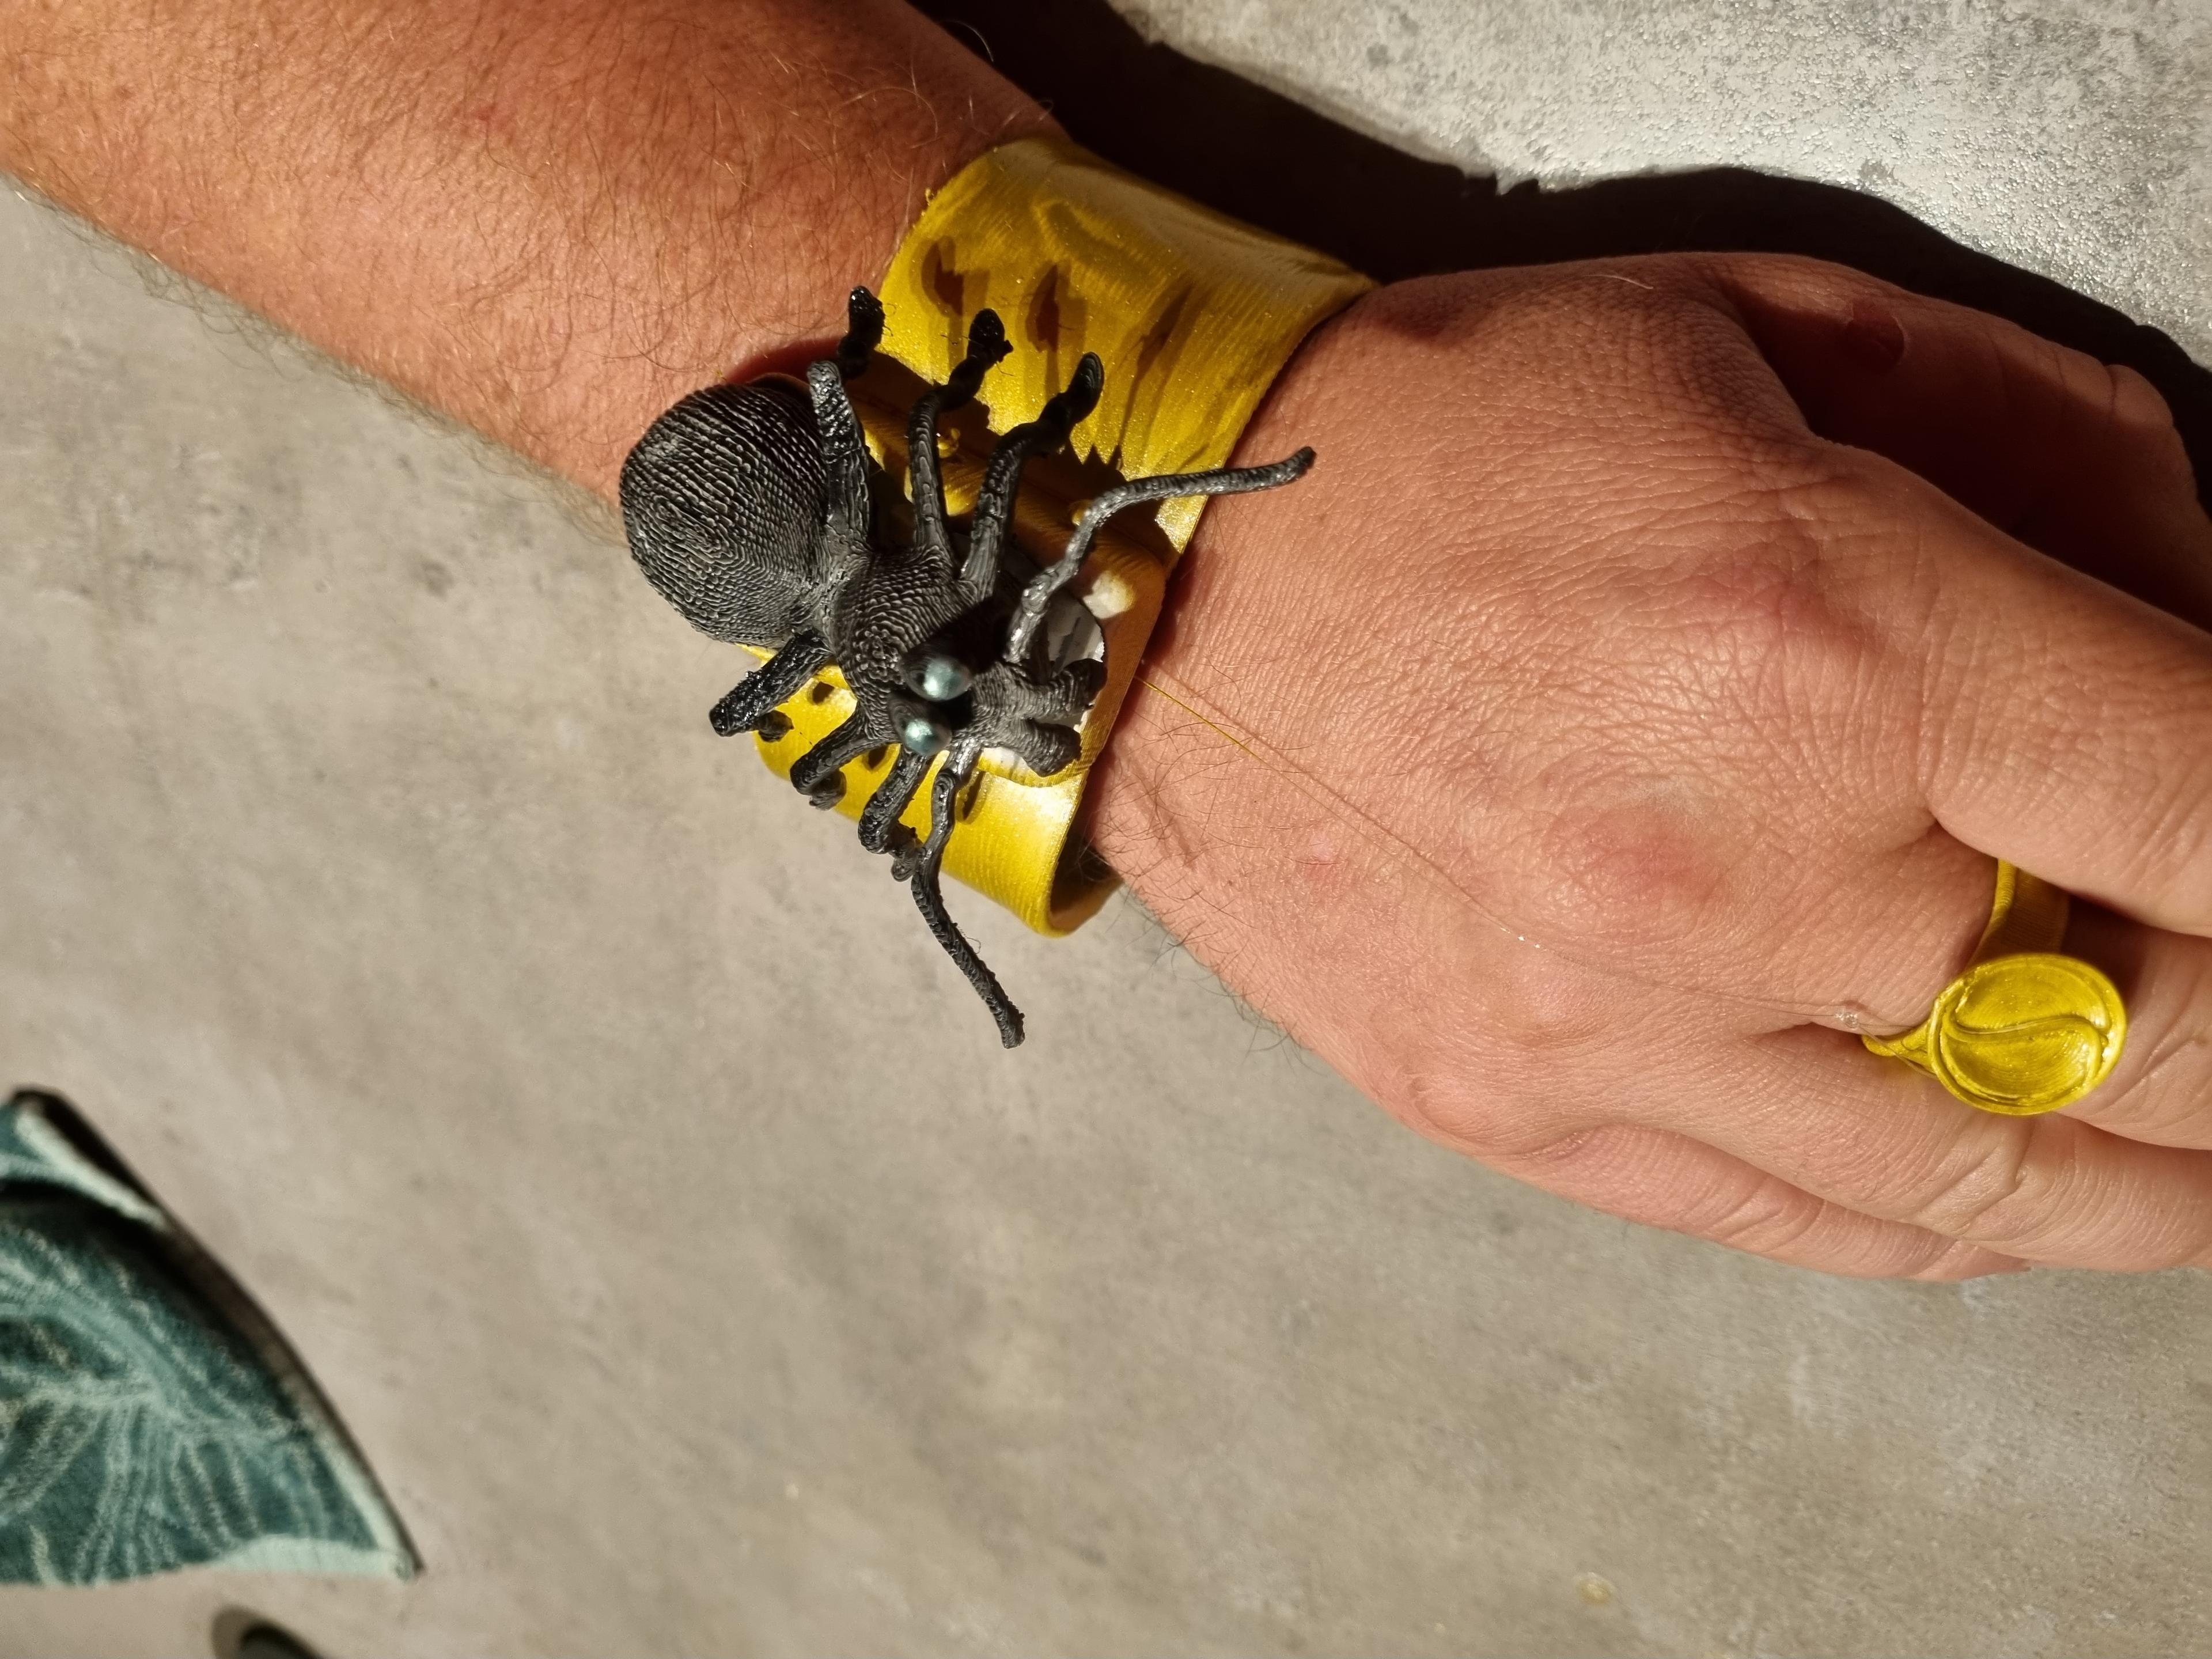
This is part 3 and the Grand Finale of my printed wearable Halloween costume, and entry into the #Hallowearables contest. I have been working almost every single day since Zach announced this contest in late September, and could probably spend another month or so improving and finalizing everything I had in mind for the project. The original plan was to include a cyber gauntlet to use as a wearable controller for the jacket, however I barely had the time to finish the current version before the deadline. I will be uploading the gauntlet in the future when it is in a usable state.
Print parts with 0 infill, 2 walls, and 0 top layers.
As with the other designs this can be made completely out of PLA and the electronics are optional.
This does, however, involve using a technique of embedding fabric during the print and then sewing/glueing onto the jacket. If you have never done this before don't worry, neither had I. It's not too complicated and I've made an effort to document the process so it should be easy to duplicate. There are two images with print settings I used. You can copy those settings. The one with the pause at height is for adding the fabric, the other is because I also paused early in the print for a filament change to make the face of the emblem white (for light diffusion) and the rest is transparent. That is entirely optional, but I like the effect it produced.
I have also uploaded blueprints for the design on a github repo here:
https://github.com/jjolley91/-Hallowearables-CyberWitcher/tree/main
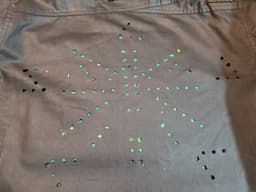
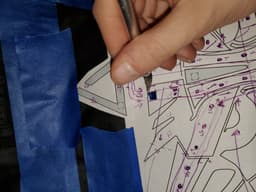
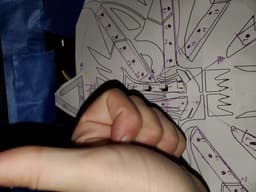
You can print the blueprints on paper, and glue them together. Then lay them on the back of the jacket to use as a template for cutting the holes if using leds.
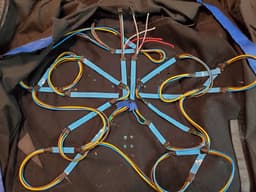
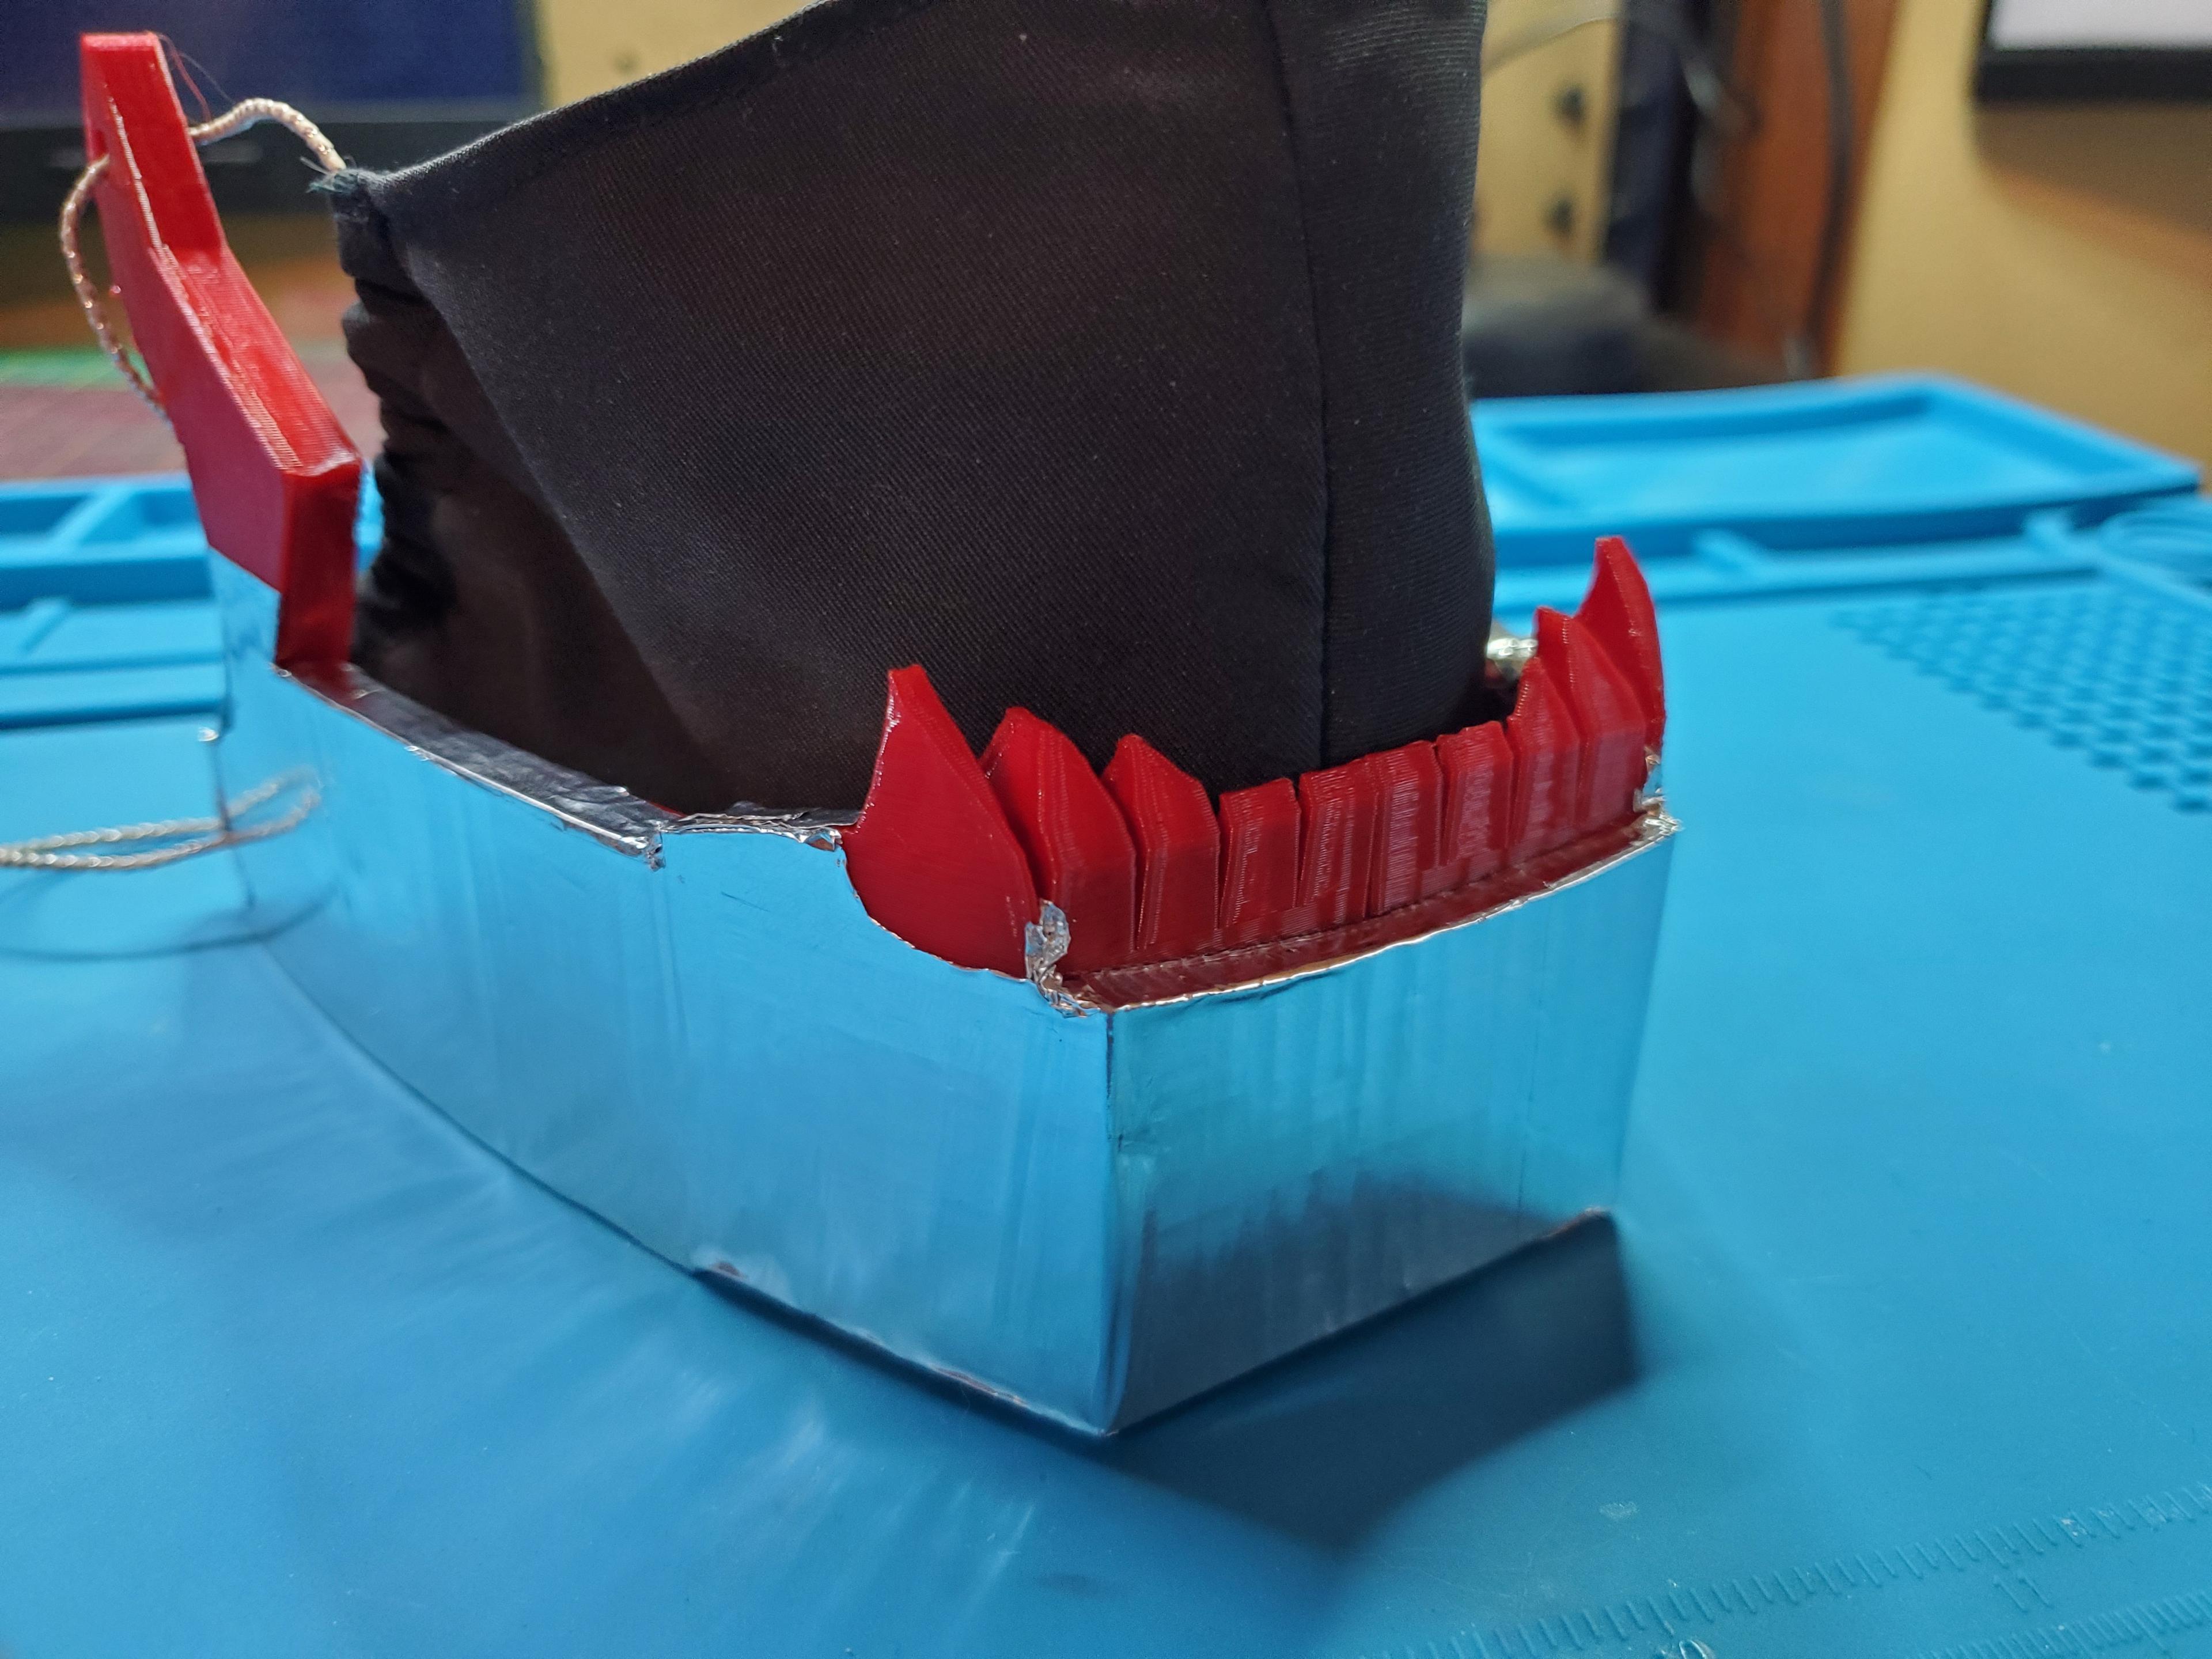
When I was making the jacket I laid out the blueprint, cut holes for the lights, attached the lights, and then sewed the emblem on. I do not recommend this order since the wiring for the lights made sewing a nightmare. Instead I would recommend cutting the holes for the lights, then attaching the emblem before attaching the lights.
The fabric I used for embedding into the print is called Toole. I had some laying around so I didn't need to buy any but it is quite cheap and works well.
You can buy in pretty much any color:
Toole: 6.99:
Jacket: I got mine at goodwill for 18$.
Here is a complete list of materials which I used for mine, not required if you are not adding the electronics.
Materials:
1 - 12v battery pack: 26.99: https://www.amazon.com/dp/B00MHNQIR2?psc=1&ref=ppx_yo2_dt_b_product_details
1- 5m strip 12v WS2811 (neopixels) 22.99: https://www.amazon.com/Aclorol-Addressable-300LEDs-Flexible-Non-Waterproof/dp/B07FVYR84H/ref=sr_1_3_sspa?dchild=1&keywords=12v+ws2811+non+waterproof&qid=1635631635&sr=8-3-spons&psc=1&spLa=ZW5jcnlwdGVkUXVhbGlmaWVyPUFJRFZYRTBFRDgyVlgmZW5jcnlwdGVkSWQ9QTA1NzEzODEyU1Y1M1pITFdMTU0xJmVuY3J5cHRlZEFkSWQ9QTA4NzYxMDcyVDNJNExUVkhTVVVJJndpZGdldE5hbWU9c3BfYXRmJmFjdGlvbj1jbGlja1JlZGlyZWN0JmRvTm90TG9nQ2xpY2s9dHJ1ZQ== Note: If you also make the sword you don't need two 5m strips. Just one should be enough for both projects.
Some wire, if you don't already have some 10.90: https://www.amazon.com/dp/B08HK6CLY9?psc=1&ref=ppx_yo2_dt_b_product_details
Some connectors for the battery if you don't have some 8.99: https://www.amazon.com/dp/B01ER6QWAY?psc=1&ref=ppx_yo2_dt_b_product_details
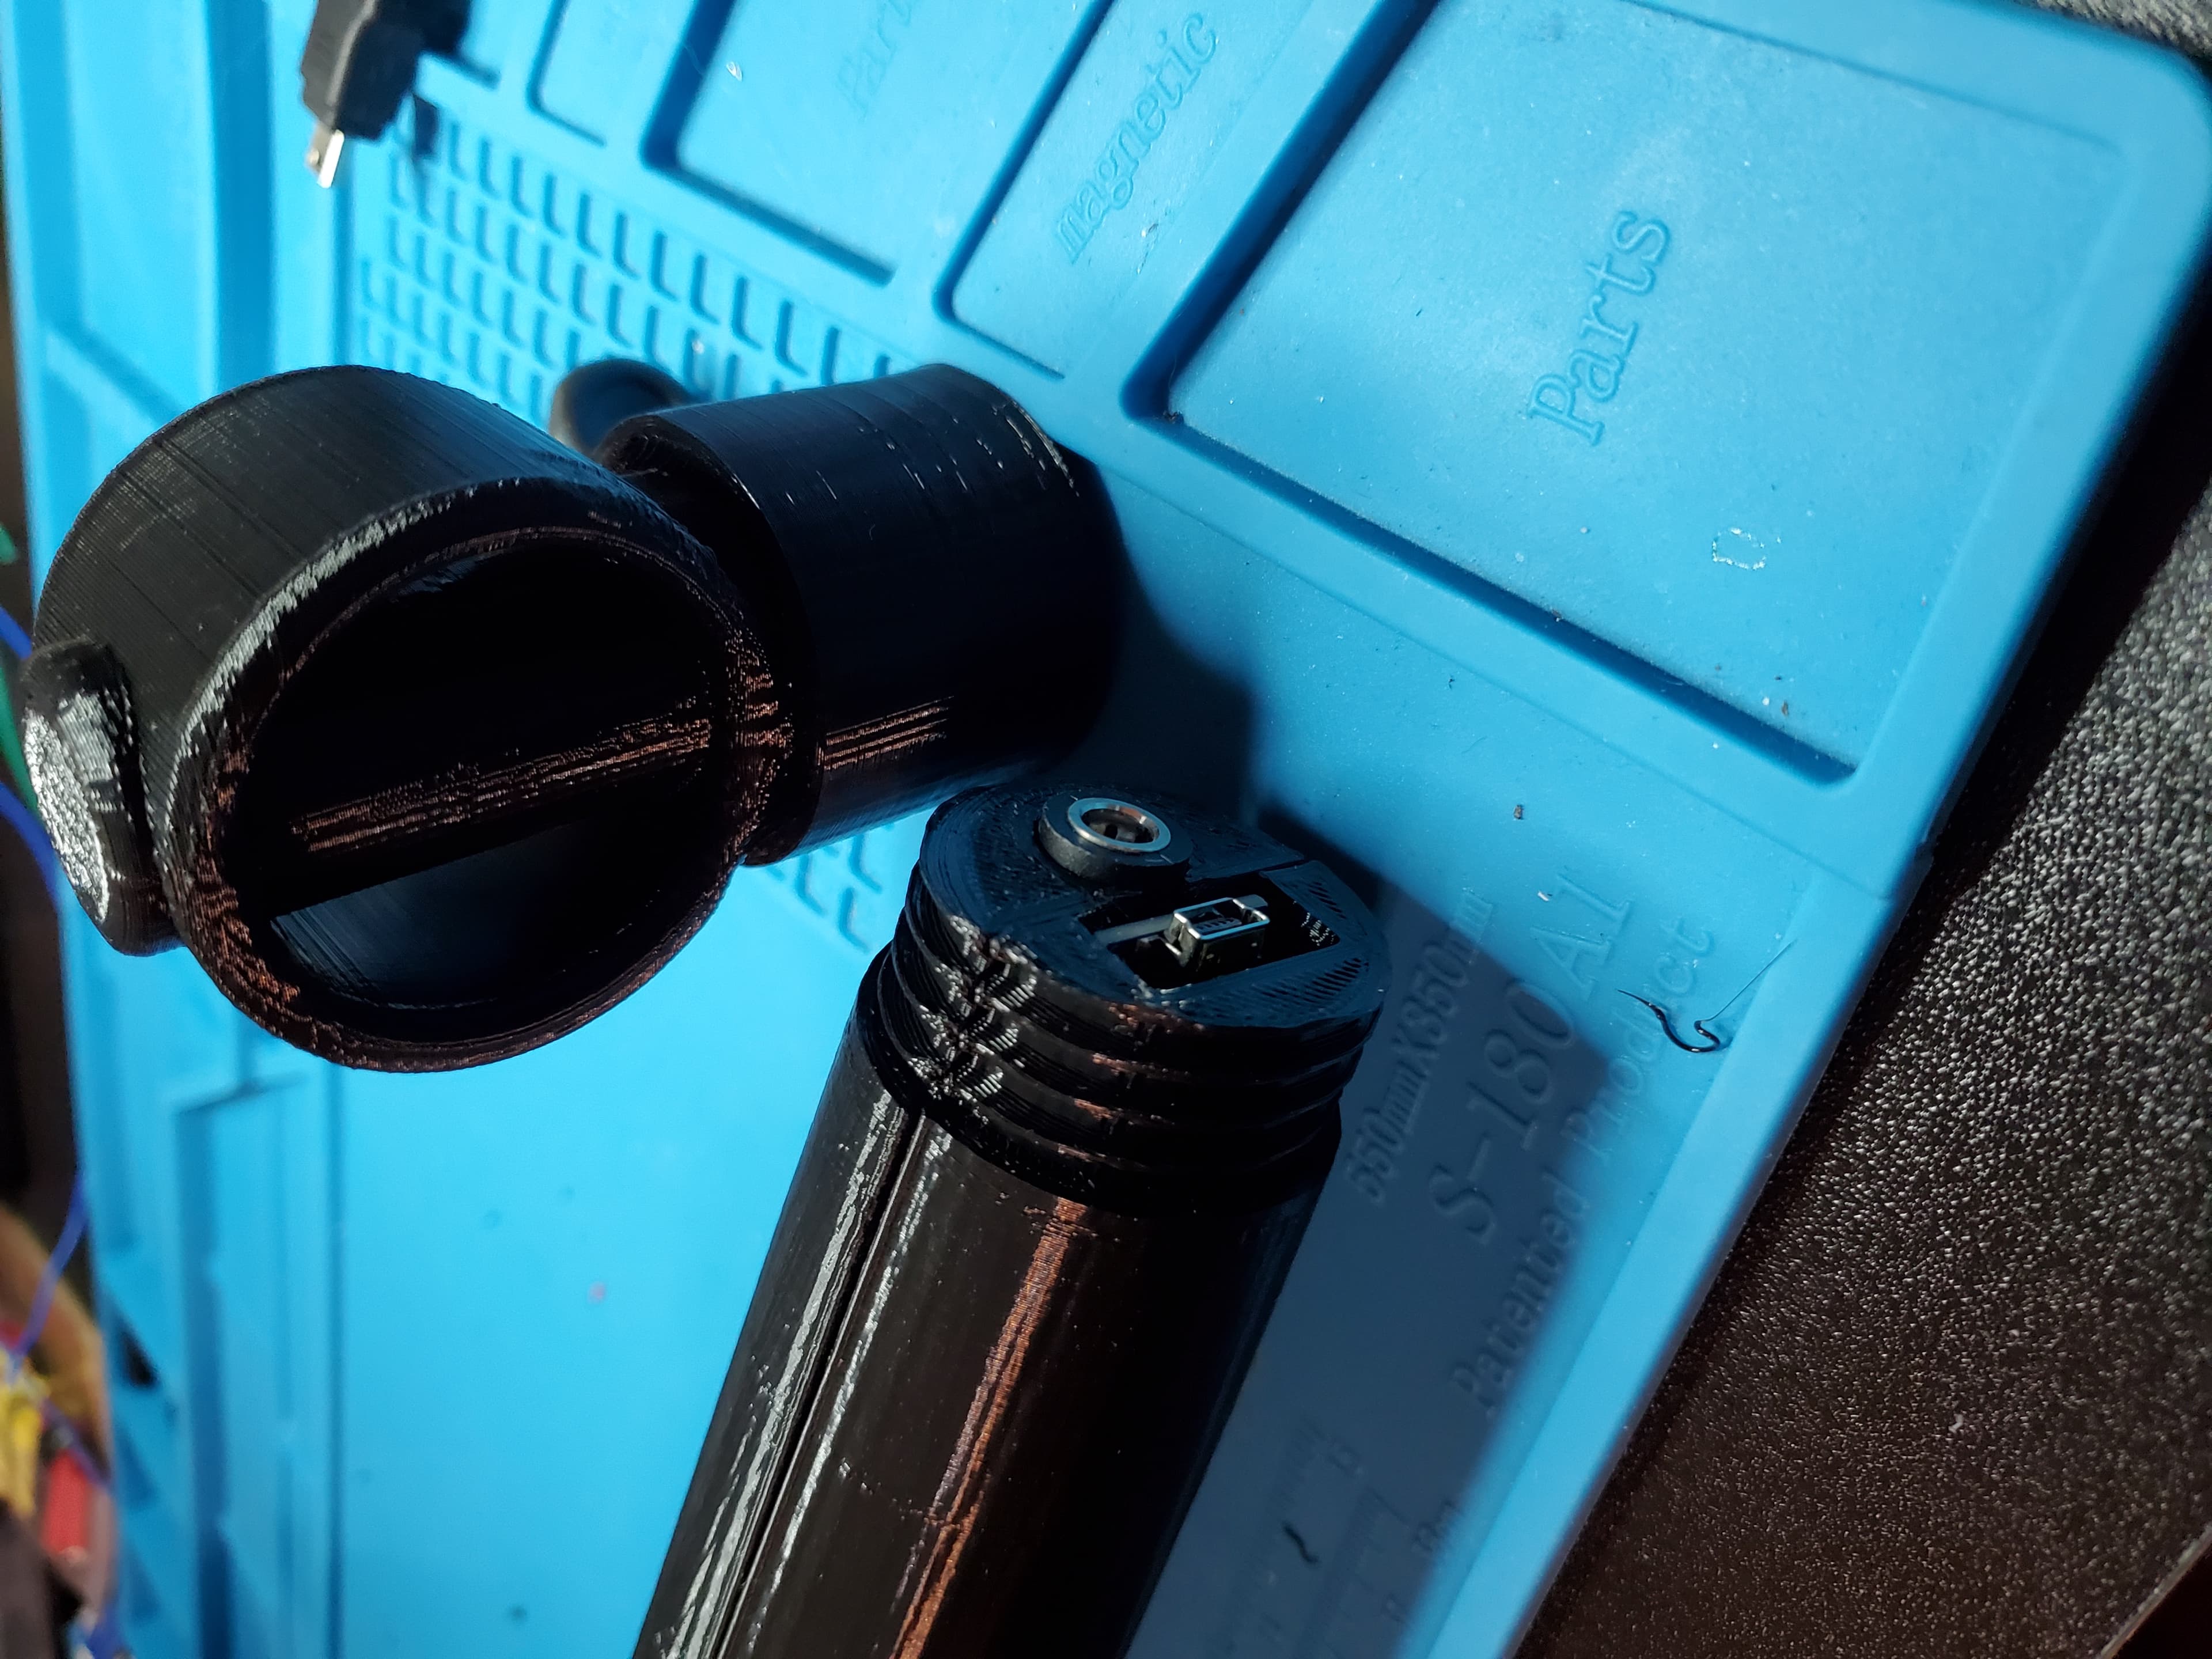
1- microcontroller **I was using a nano for this as well as the sword, but I accidentally bricked during testing Pay attention to your wiring!! The only controller I had left was an Adafruit Huzzah You can easily use a nano if you purchased the 3pack I linked with the sword.
Adafruit 2821 Feather Huzzah with ESP8266: 19.64 - https://www.amazon.com/dp/B019MGW6N6?psc=1&ref=ppx_yo2_dt_b_product_details
Total cost if you need to buy all optional materials: ~96$
#Hallowearables: CyberWitcher- Jacket
#Hallowearables: CyberWitcher- Silver Sword W scabbard
#Hallowearables: CyberWitcher - Mandible
spider v61 #hallowearable .stl

Wearable Spine
Snap Fit Scale mail #Hallowearables
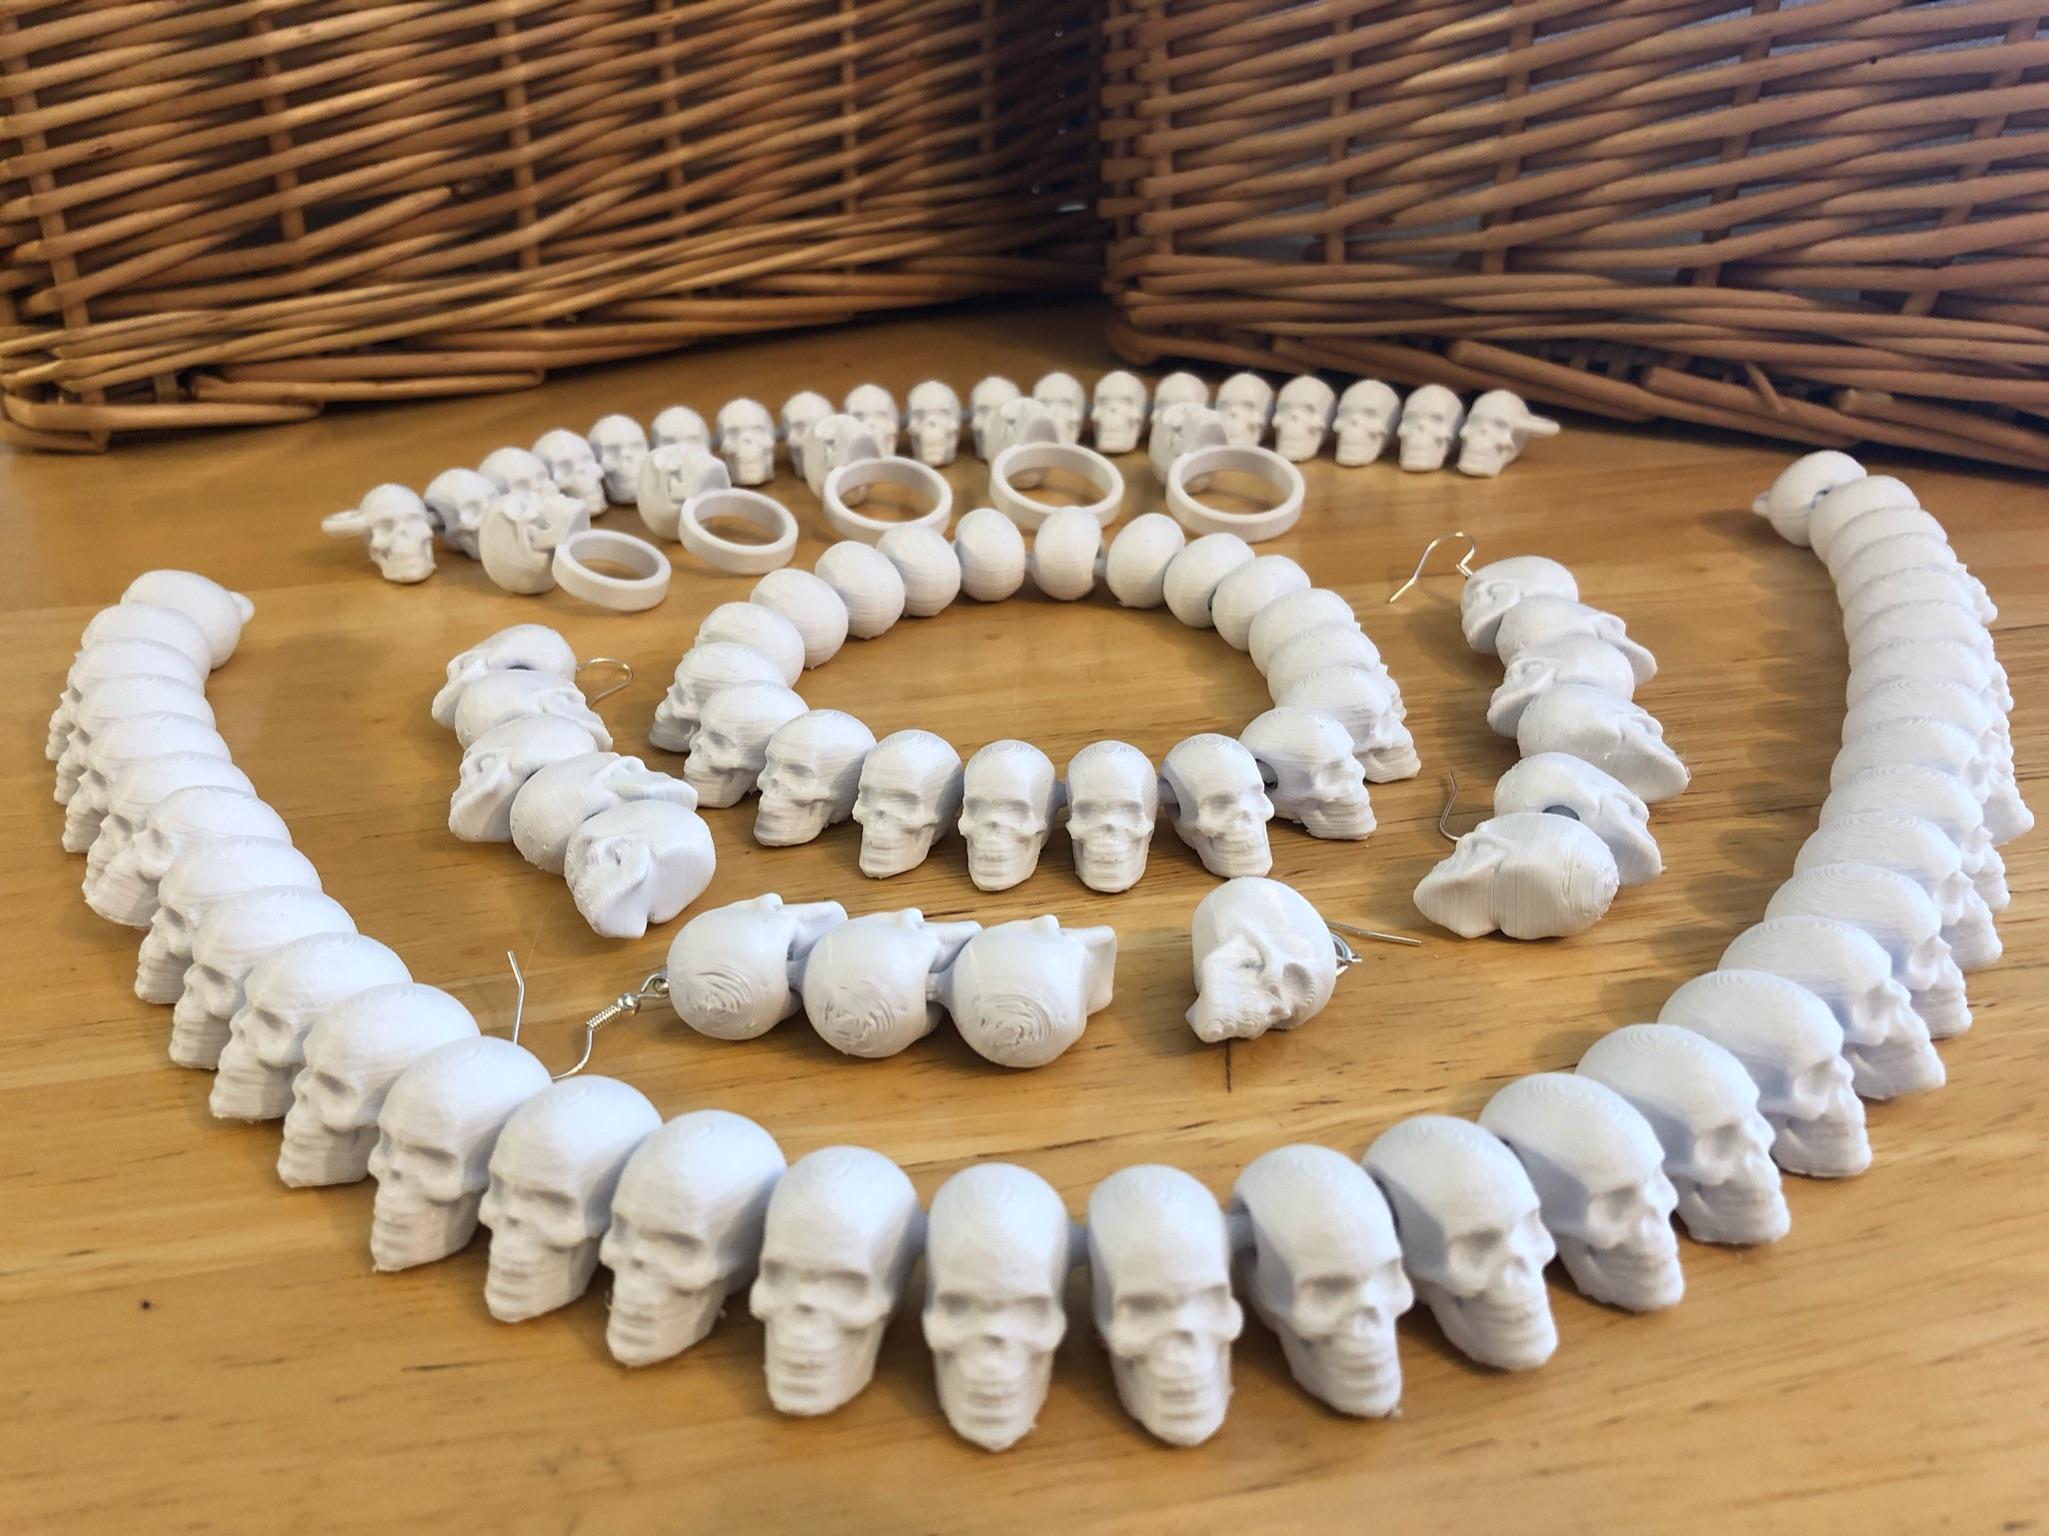
Skull Jewelry Set
.png&w=3840&q=75)
JACKET PEN HOLDER

Futurama Philip J. Fry Collectible Action Figure

Book Nook Halloween Special - Jack from Nightmare Before Christmas Checking things Out

Cat Paw Wall-Mounted Headphones Holder
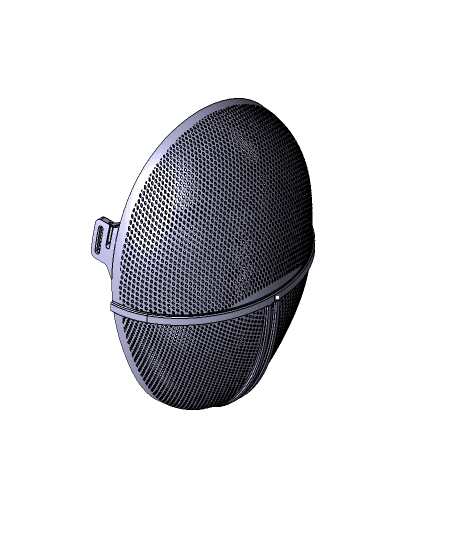
Squid Game Mask
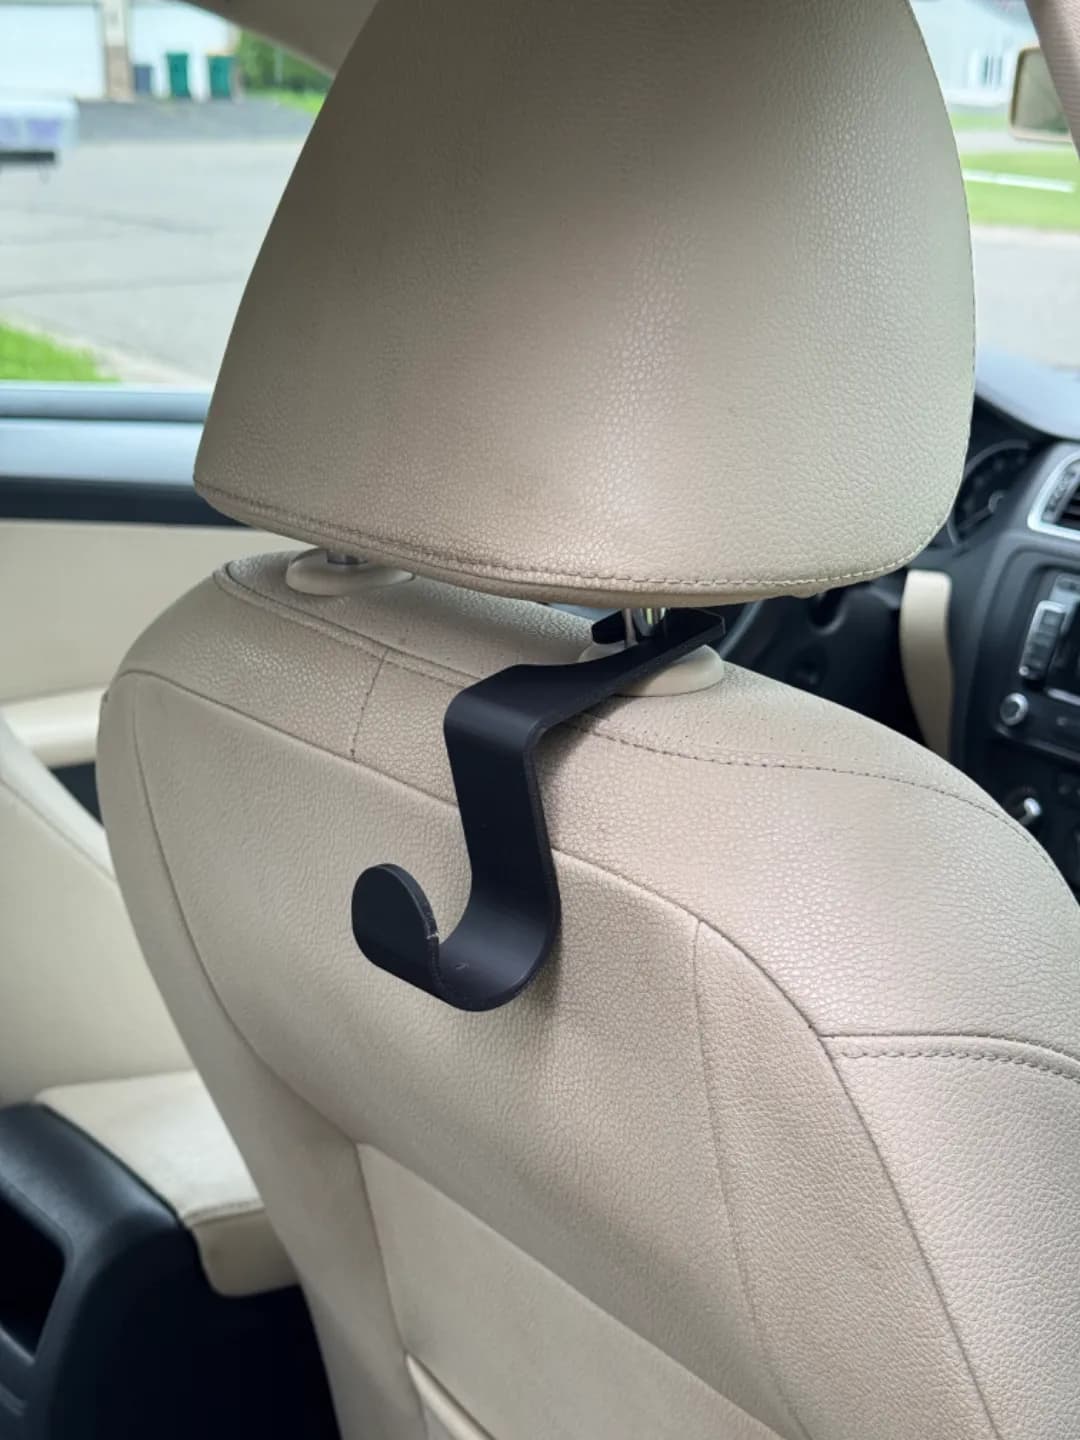
Car headrest hook
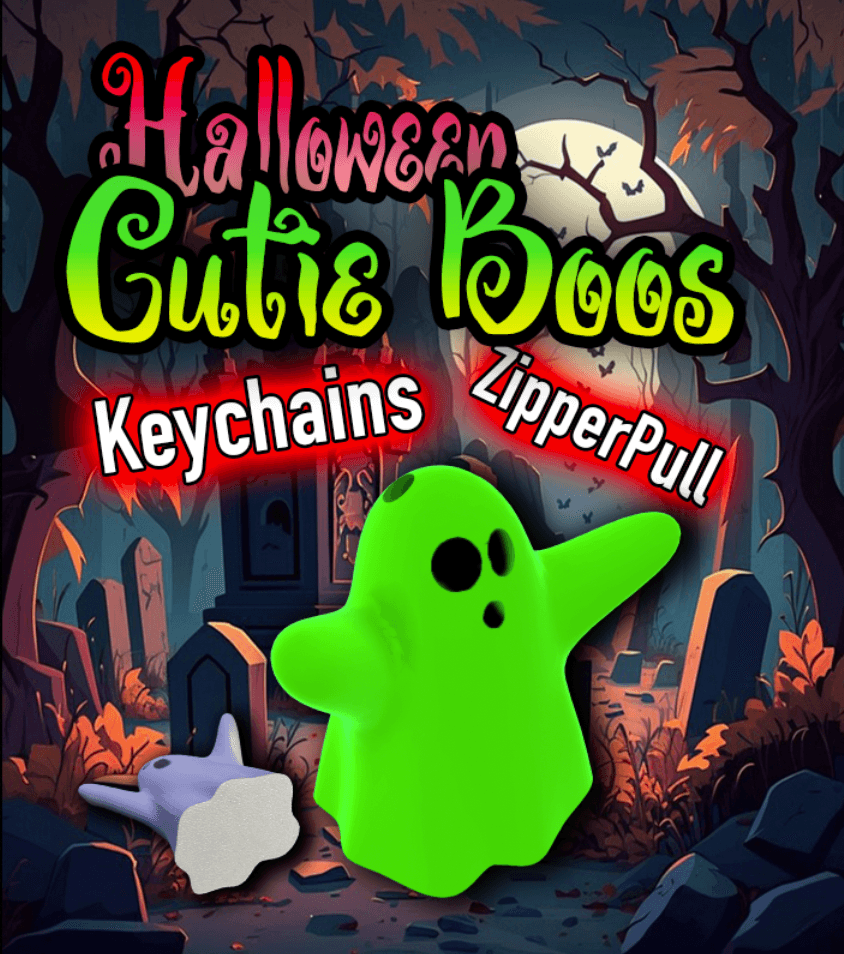
Cutie Boo Keychain
Key & Towel Holder Bunny - Wall Bunny - Funny and Cute Organizer and Hanger STL
Squid Game Mask STLs

Not So.. XL April showers Goose, for smaller build plates, below 300x300x300
Wendigo Mask 2

Not So XL Grinch
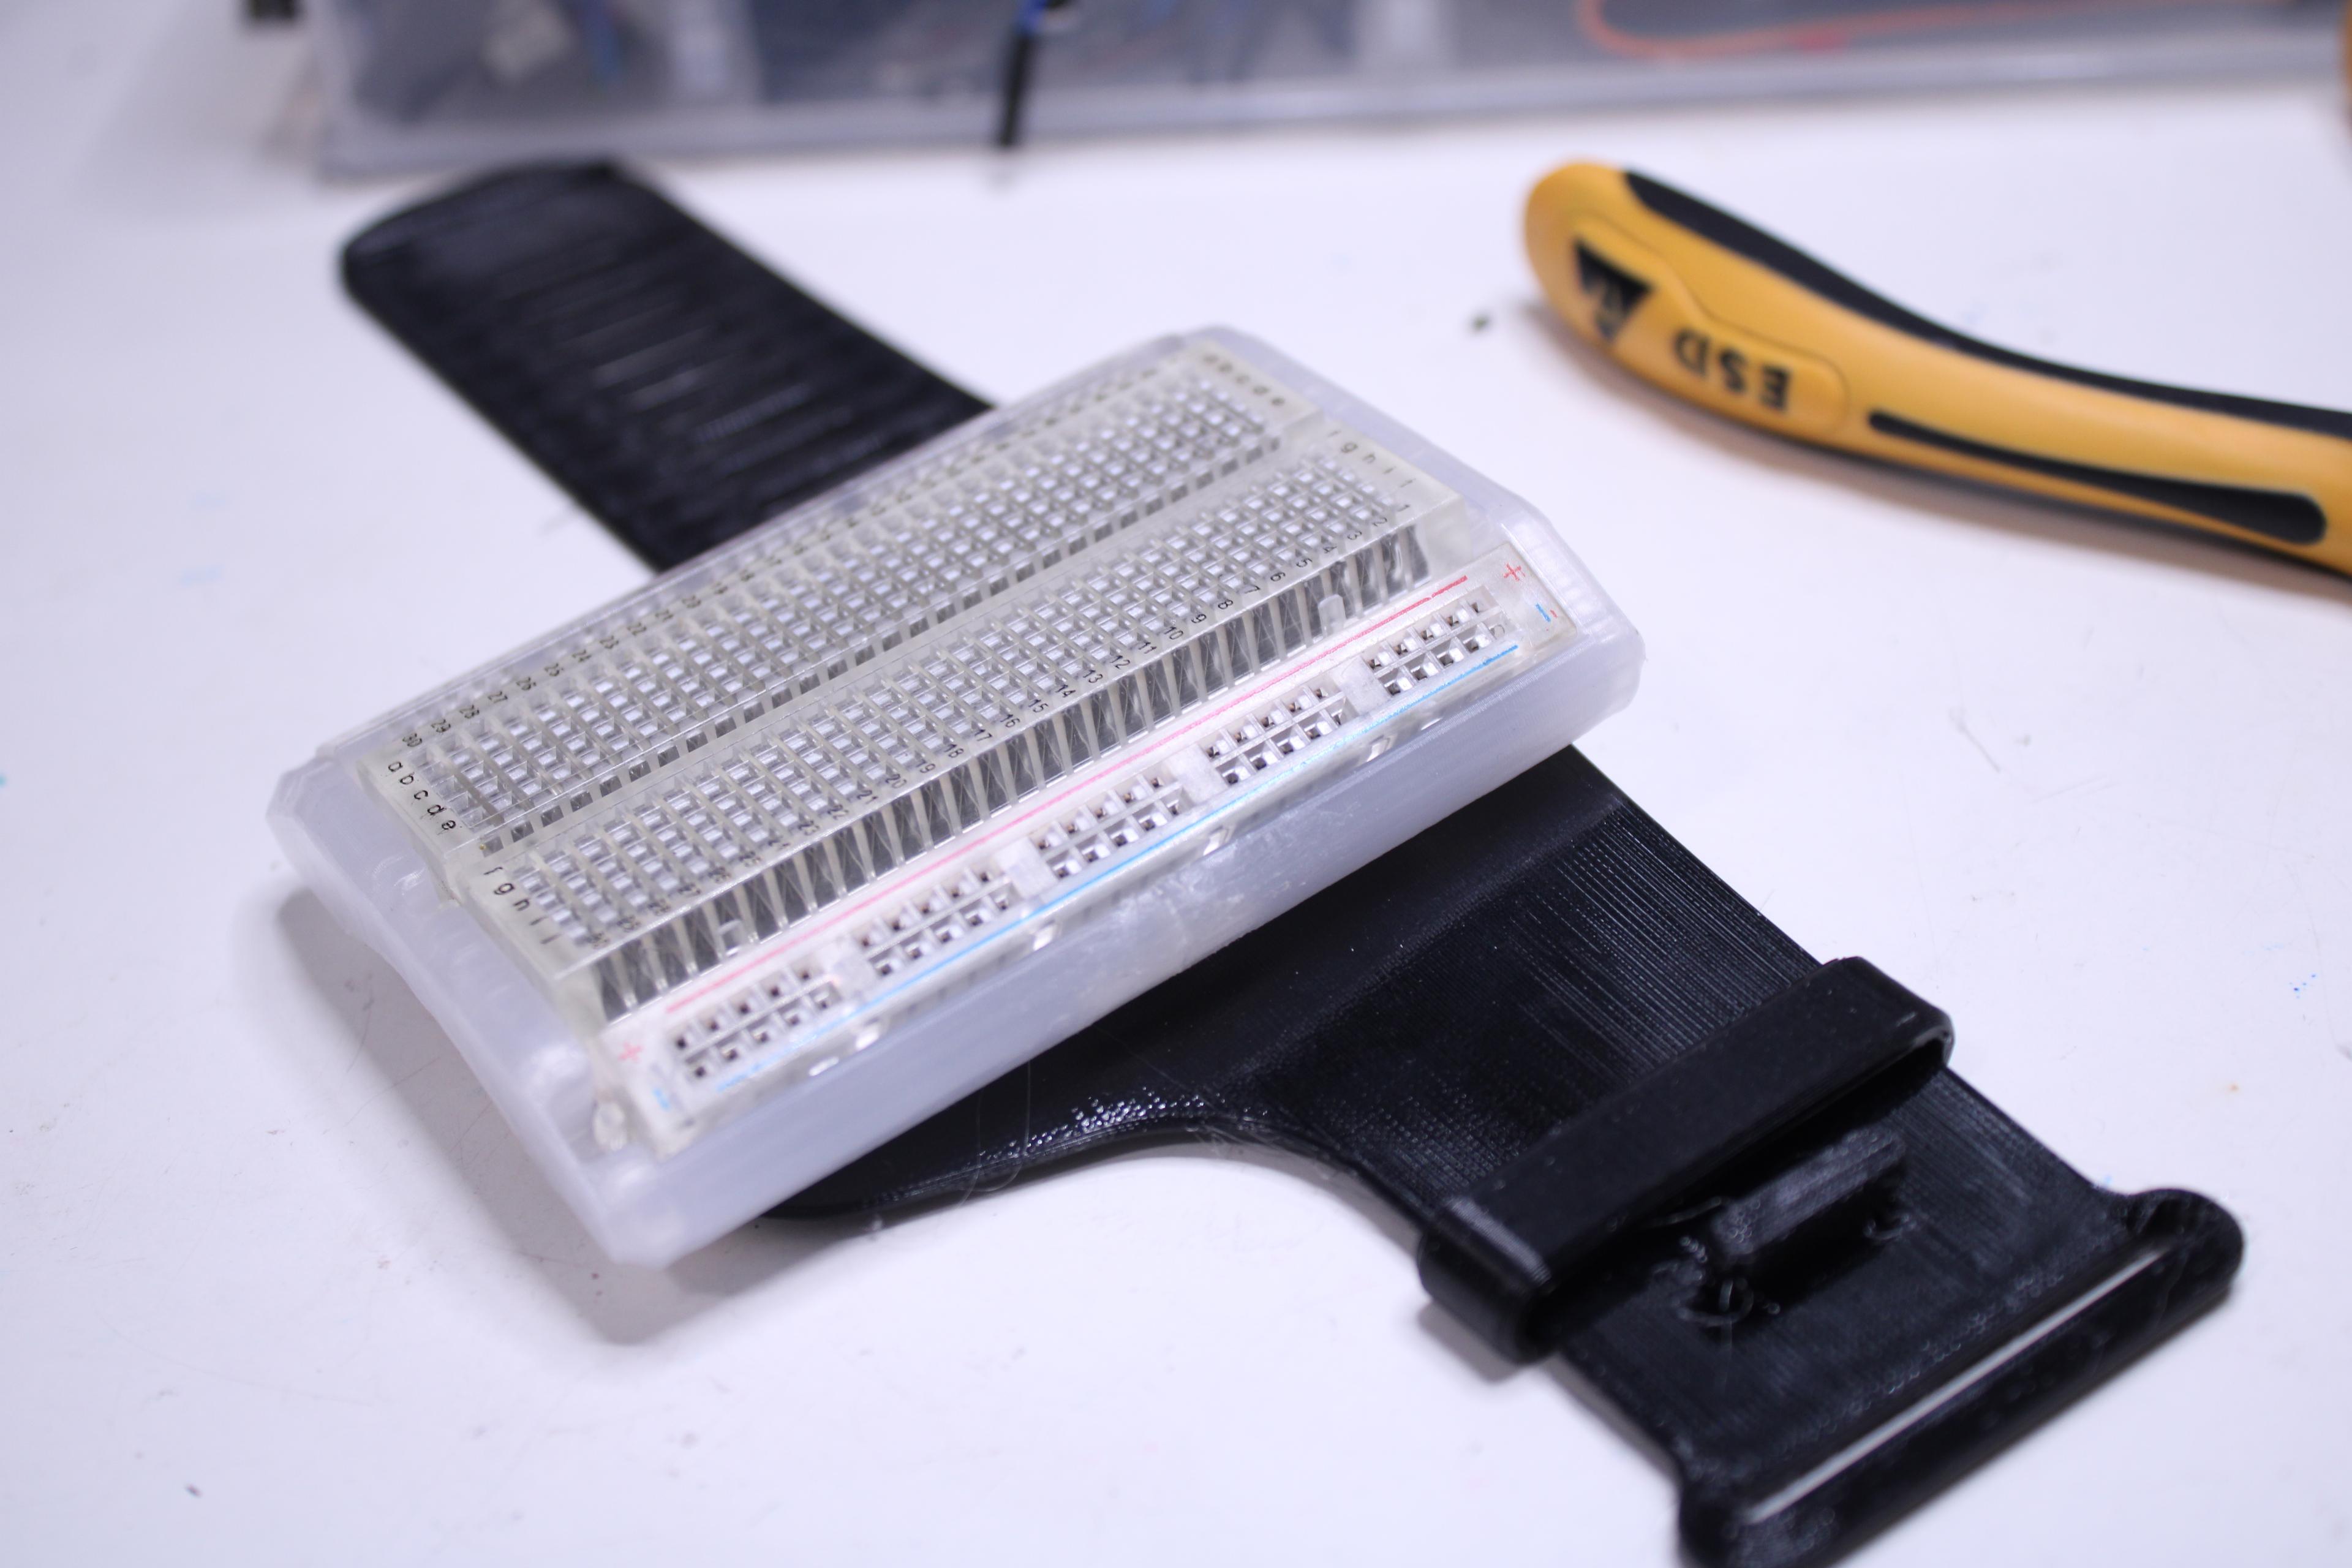
WearaBreadboard - Breadboard On Your Wrist
