


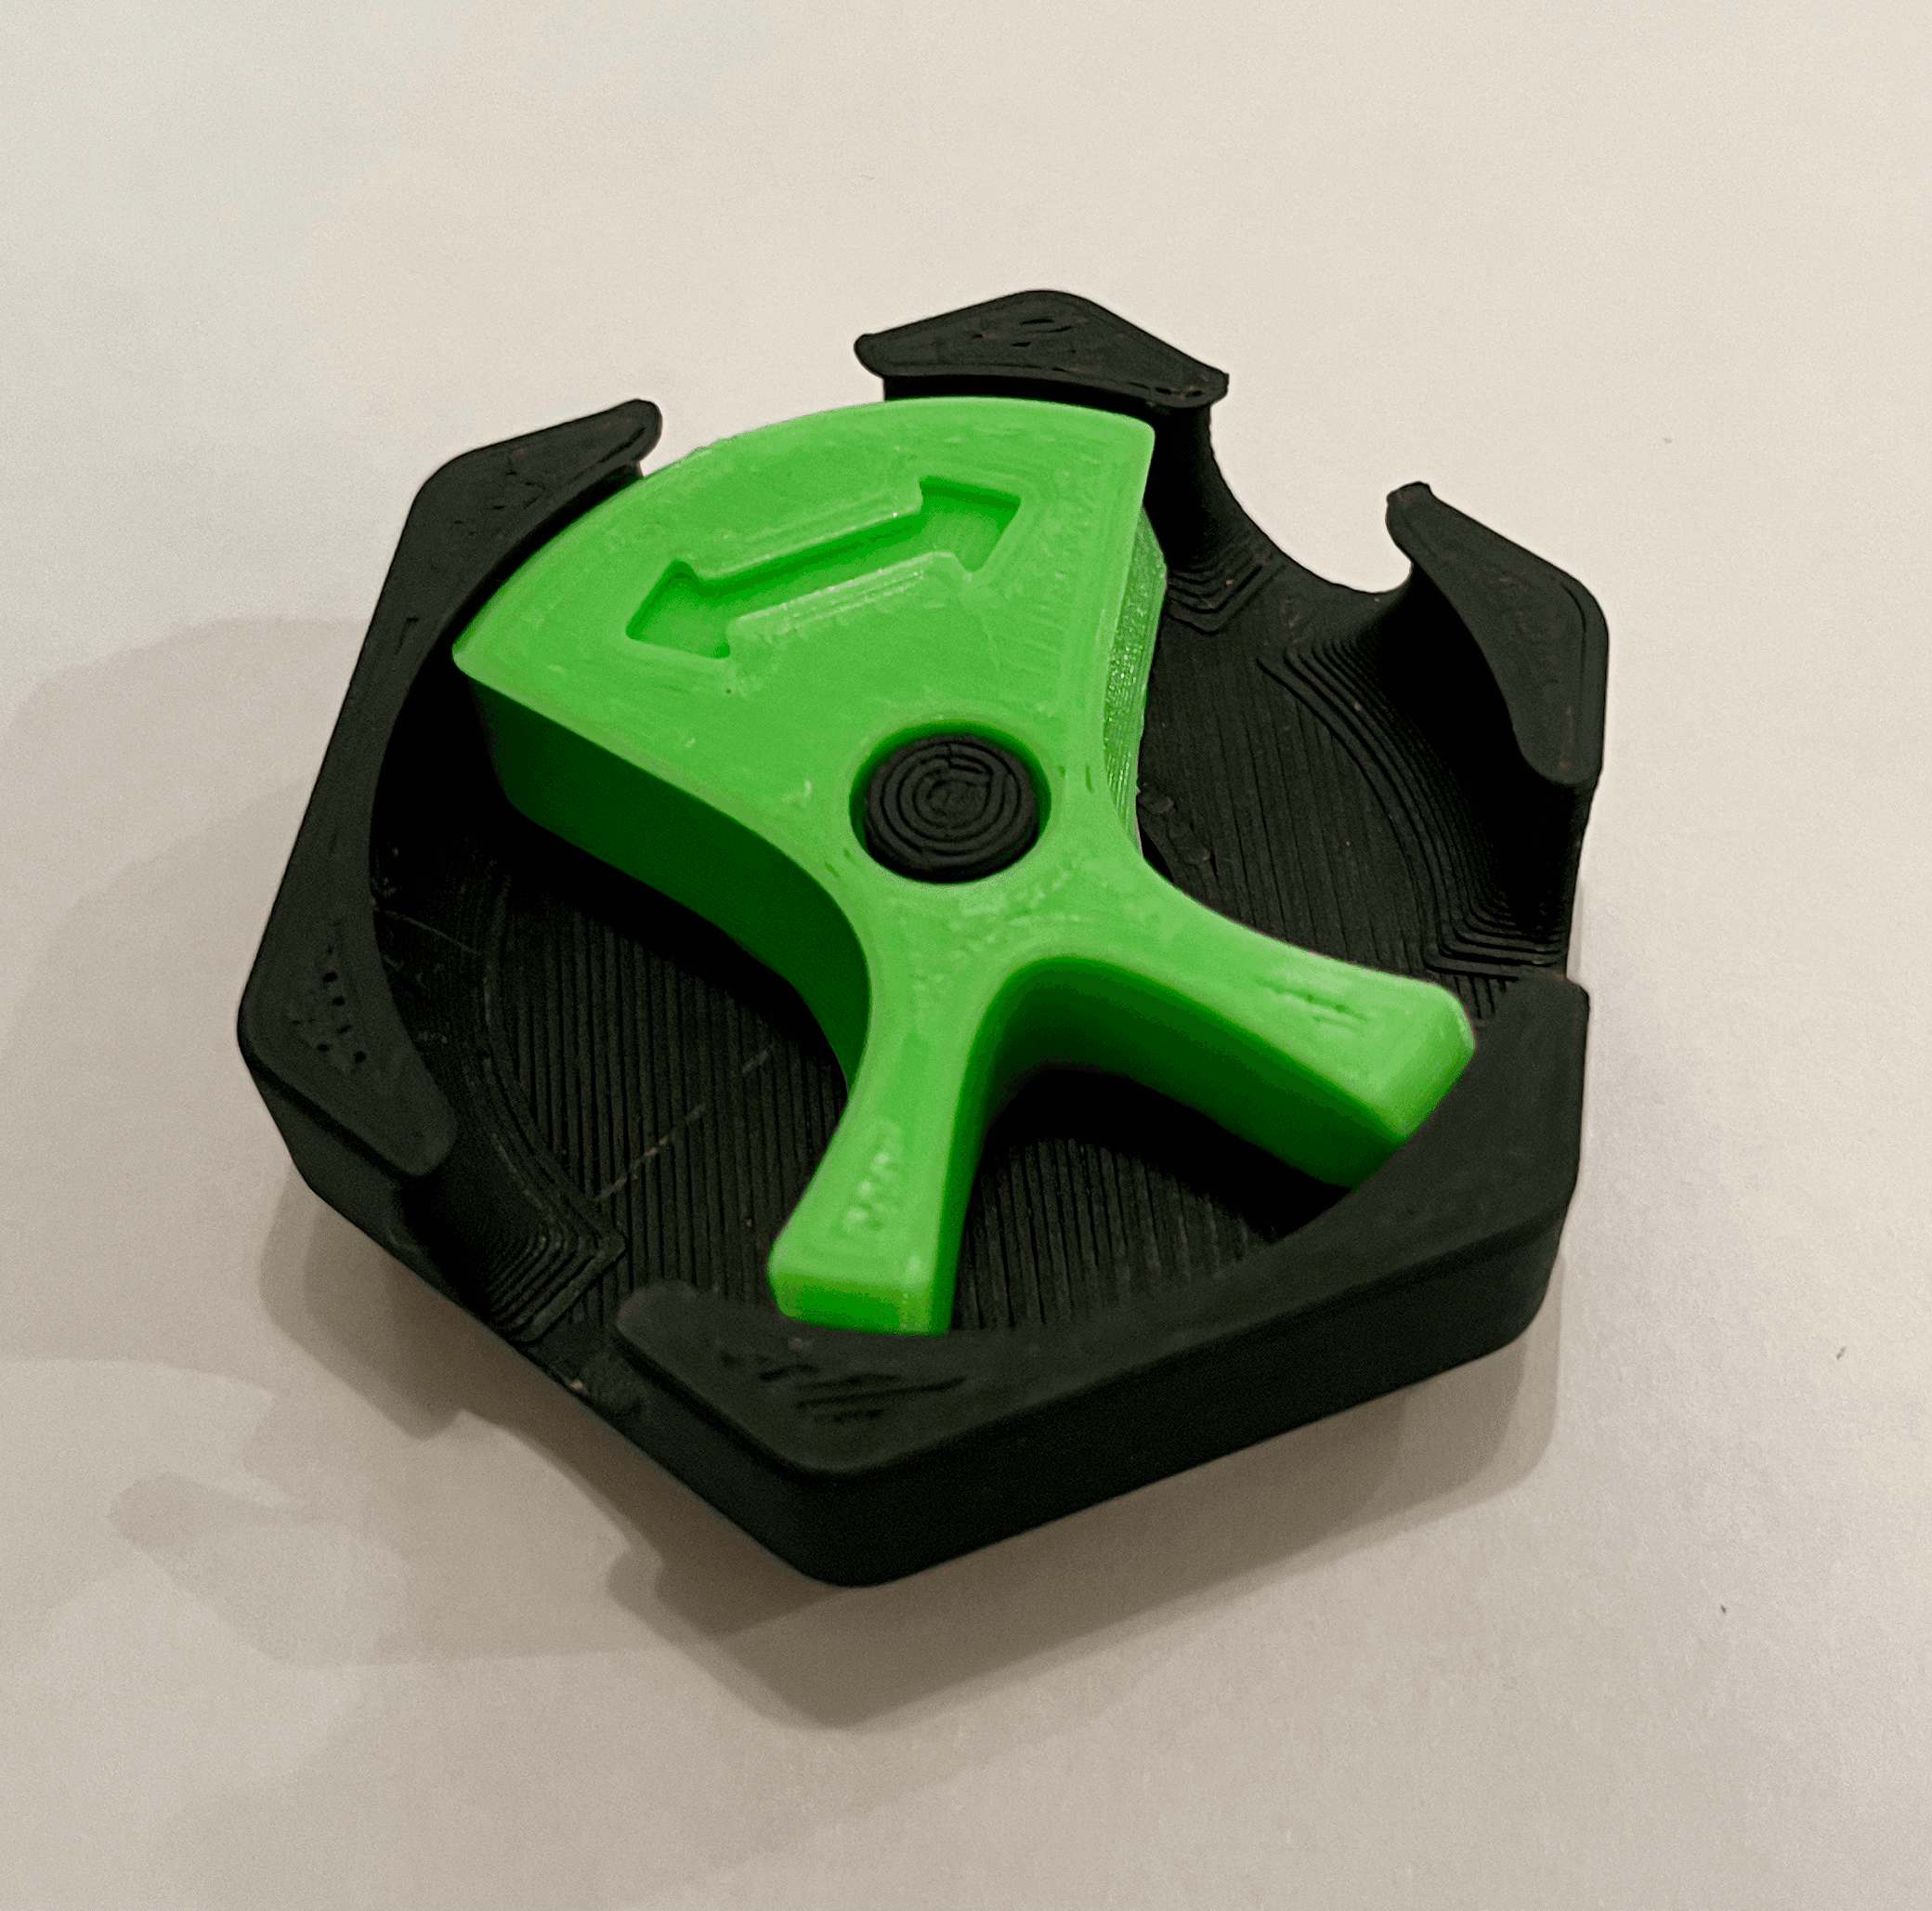
Hextraction Tri-Switch Tile
109 downloads · 1 year ago · Similar to the T-Switch but does two 60 degree rotations. Watch the video to see it in action.
**Ha
Similar to the T-Switch but does two 60 degree rotations. Watch the video to see it in action.
Hardware / Printing
- One M3x12 screw (or longer)
- One M2x12 screw
- One M3 washer
- PLA, 2 walls, 10% infill
- Base requires supports (Structure = Normal, Placement = Everywhere, Overhang Angle = 50+)
- Flipper prints with no supports
Assembly
- Remove supports from the Base. Deburr and sand if necessary.
- Insert an M3x12 screw into the flipper, stack a washer on the screw, then install the flipper loose. Must insert the flipper into the base at an angle.
- Align the flipper’s rotation lock slot with the hole in the base. Install an M2x12 screw into the base.
- Tighten the M3 screw until the flipper doesn’t rotate. Slowly back out the M3 screw 1/8th of a turn. Repeat until the flipper freely rotates.
This tile is part of my Mechanical Flippers Pack. Check the others out.
- 180 https://than.gs/m/1116280
- Alternator https://than.gs/m/1116292
- Bounce Flop https://than.gs/m/1327656
- Follower https://than.gs/m/1228246
- I-Flop https://than.gs/m/1288093
- JL Flop https://than.gs/m/1327657
- Omni-Flip https://than.gs/m/1228247
- Side Flop https://than.gs/m/1116295
- T-Switch https://than.gs/m/1116307
- Trident https://than.gs/m/1228248
- Tri-Switch https://than.gs/m/1288137
- XC Flop https://than.gs/m/1327667
Hextraction Tri-Switch Tile
109 downloads · 1 year ago in and

Hextraction T-Switch Tile

Hextraction 180 Tile

Hextraction Alternator Tile

Hextraction Follower Flipper Tile

Hextraction Trident Flipper Tile

Hextraction Tour Zu Tile

Hextraction JL Flop Tile

Hextraction Bounce Flop Tile

Hextraction XC Flop Tile

Hextraction Side Flop Tile

Hextraction I-Flop Tile

Hextraction Omni-Flip Tile

Hextraction - Switch Tile
.JPG&w=3840&q=75)
Hextraction Kill Switch Tile
Hextraction Kill Switch Tile
Hextraction Railroad Switch Tile

OLD Hextraction - Bishop Tile Chess Tiles

Hextraction - King tile Chess Tiles

OLD Hextraction - Rook tile Chess Tiles