


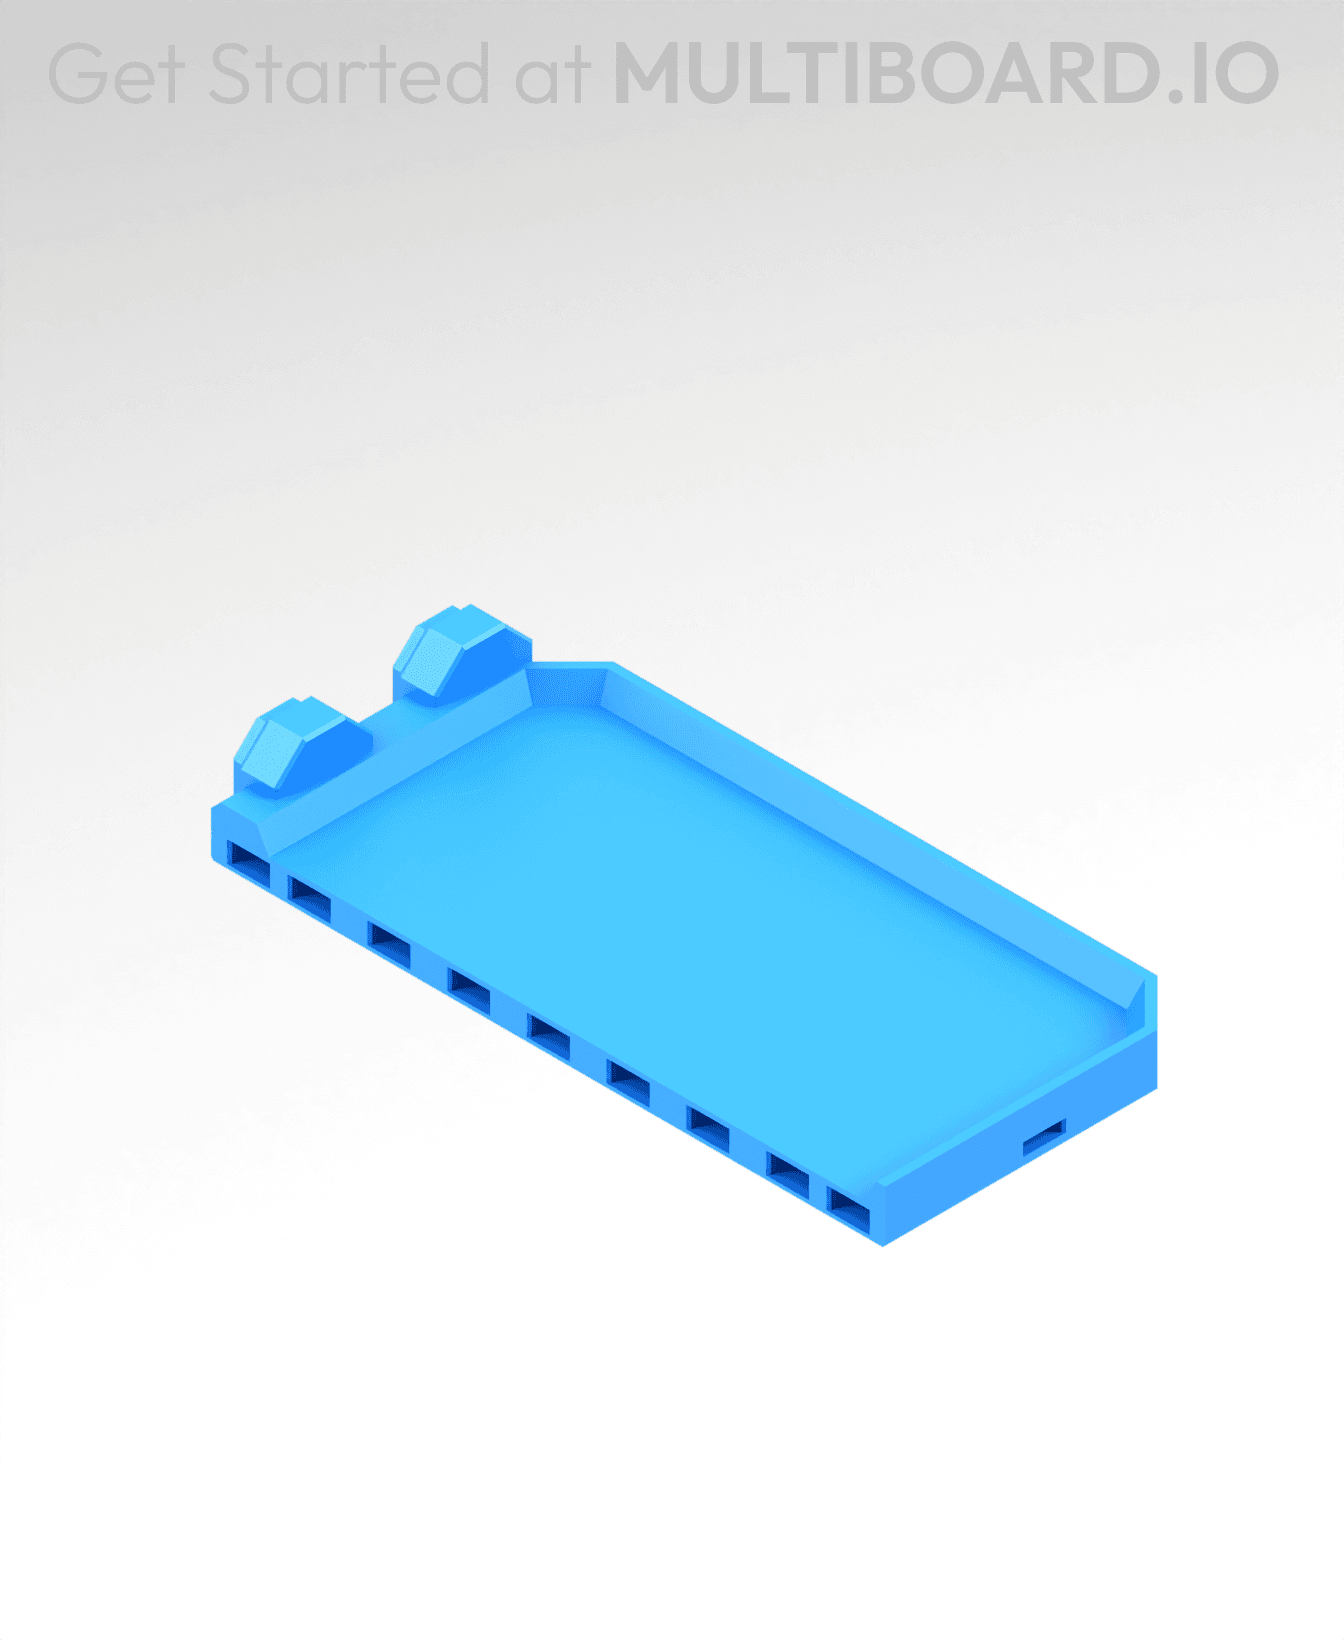
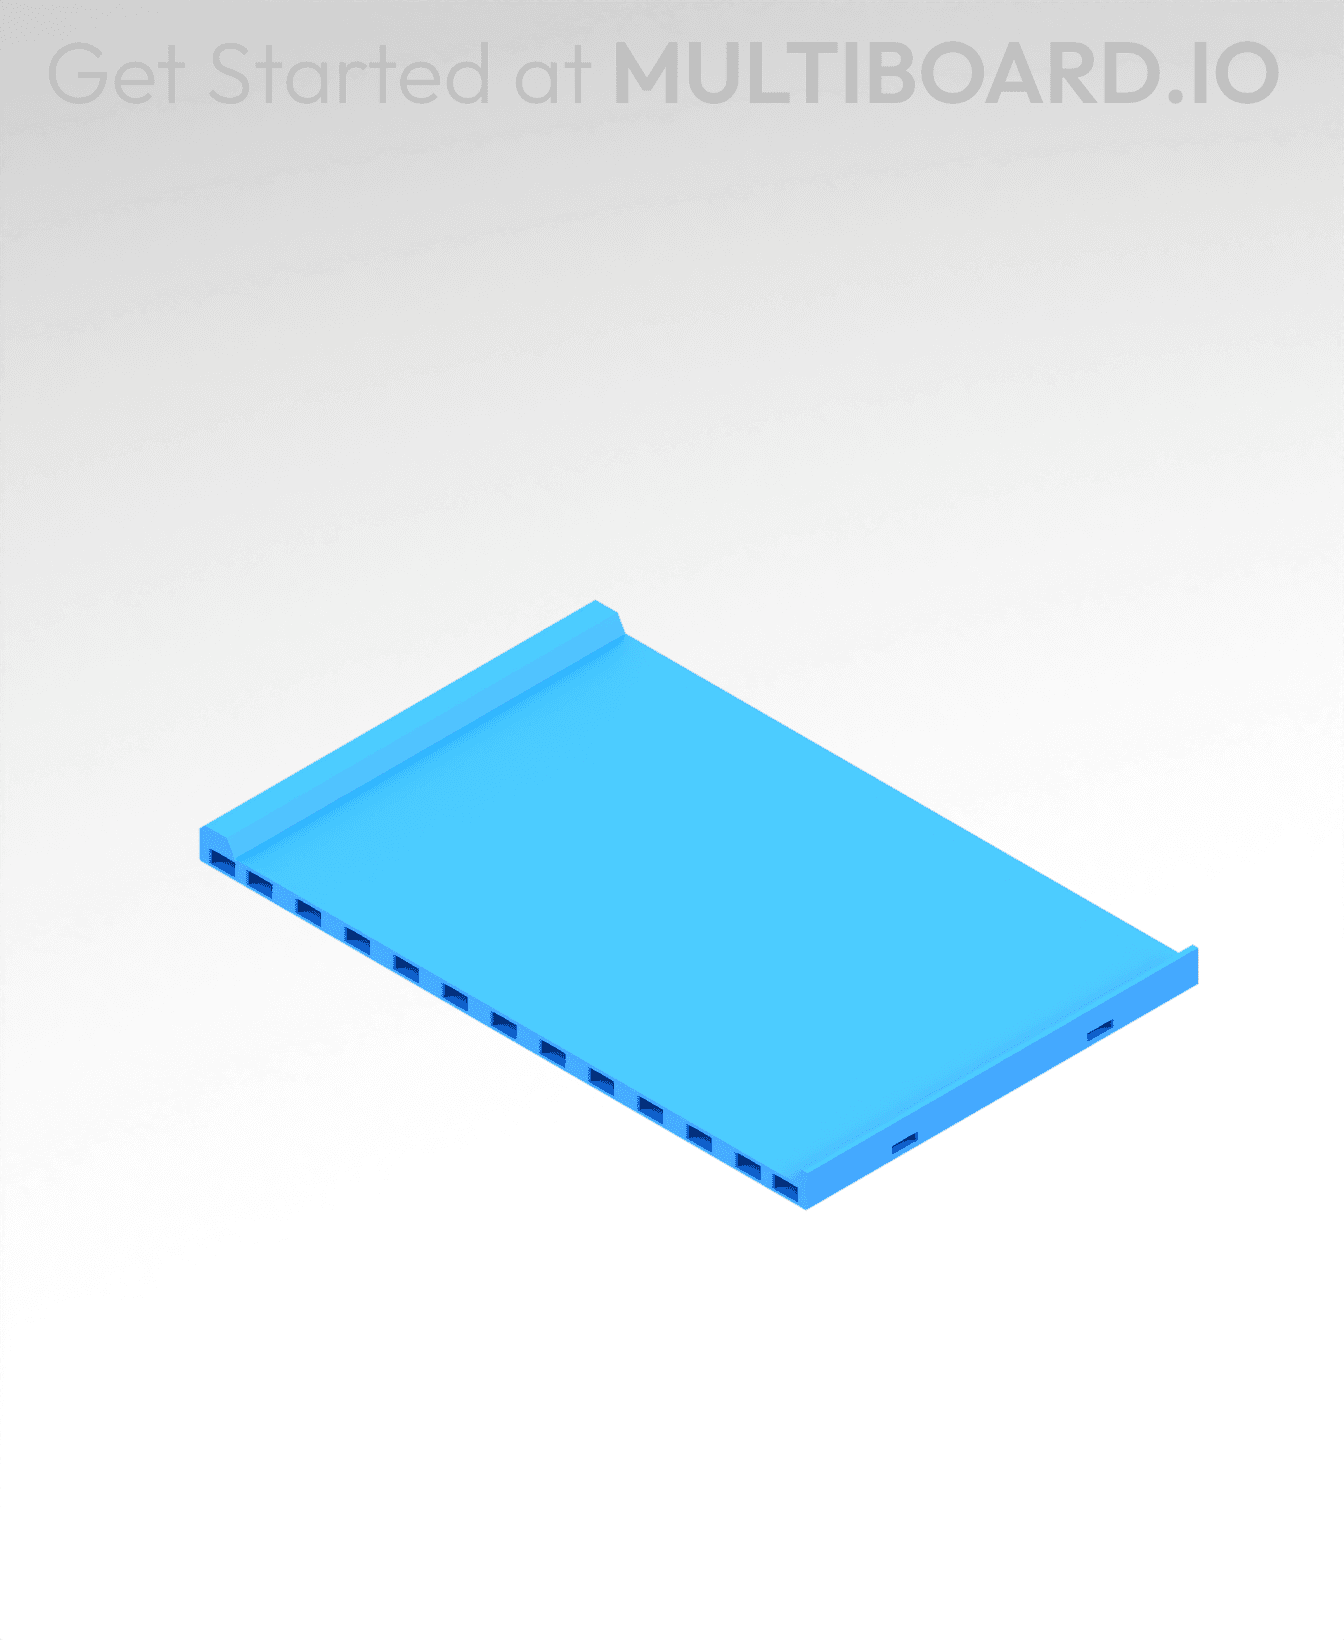
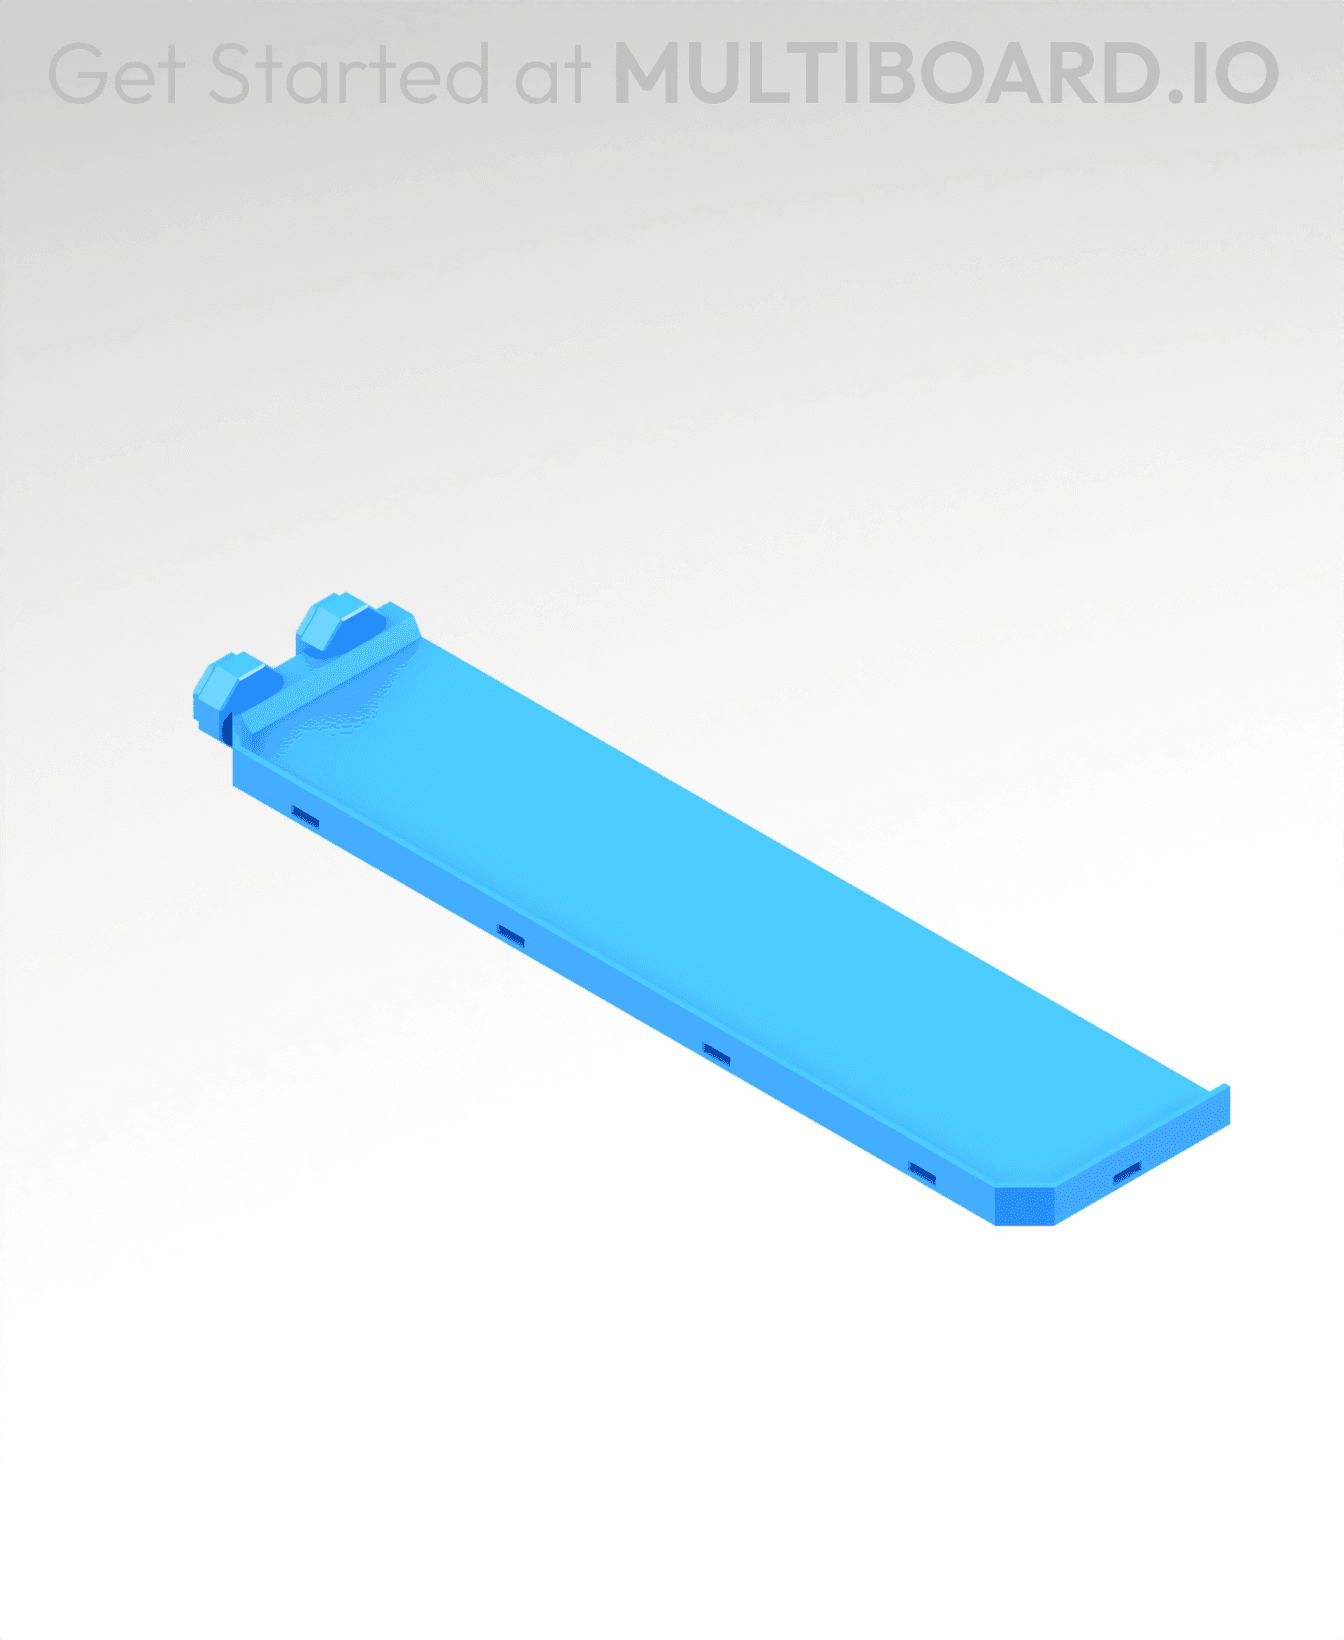
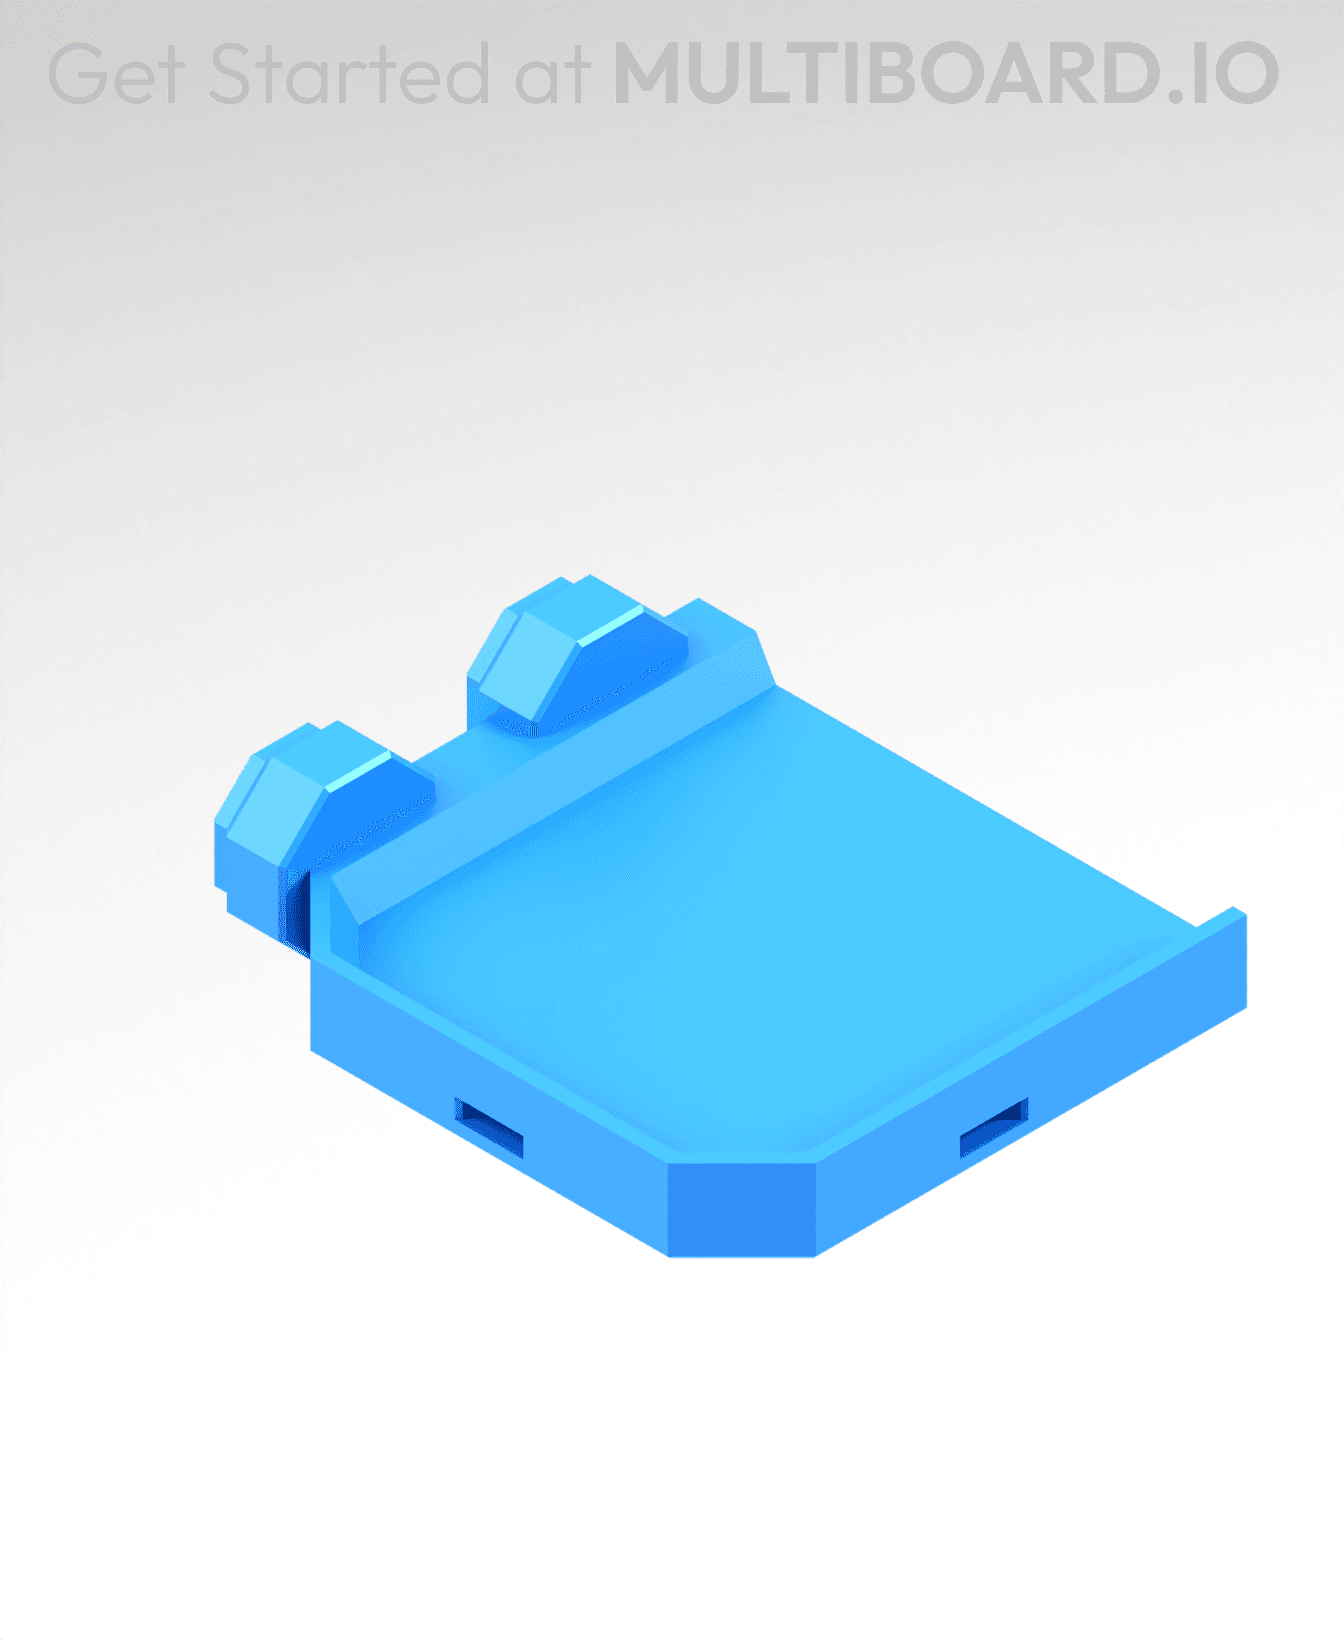
Thread Foot
Use “Thread Feet” and Rods to make your Multiboard stand by itself, it’s an alternative to the Free-Standing Foot.
The advantage of the Thread Foot is that you can extend the length of the rods and make your free-standing Multiboard taller.
To set it up, screw a Big Thread Rod into your tiles, then screw a Thread Foot on both ends of the rod, and finally secure it into place using Big Thread Nuts.
Learn more about this part at https://multiboard.io/knowledge-hub
Printing Guidelines:
The printing orientation is as provided in the file. The print has been designed to be “3 wall perimeters” in wall thickness. Printed at a layout height of 0.2 mm. It doesn't need printing supports. Use the default 15% infill. This part has been designed with a tolerance of 0.25 mm. Your printer will need to be able to bridge gaps of up to 30 mm for some designs.
—
This object is part of Multiboard, a FREE "all in one" organization system with 700+ parts, that combines pegboard holes, honeycomb snaps, Gridfinity like bins, threads, brakes, and much more.
Explore and build the coolest, most adaptable workshop at https://multiboard.io
Thread Foot
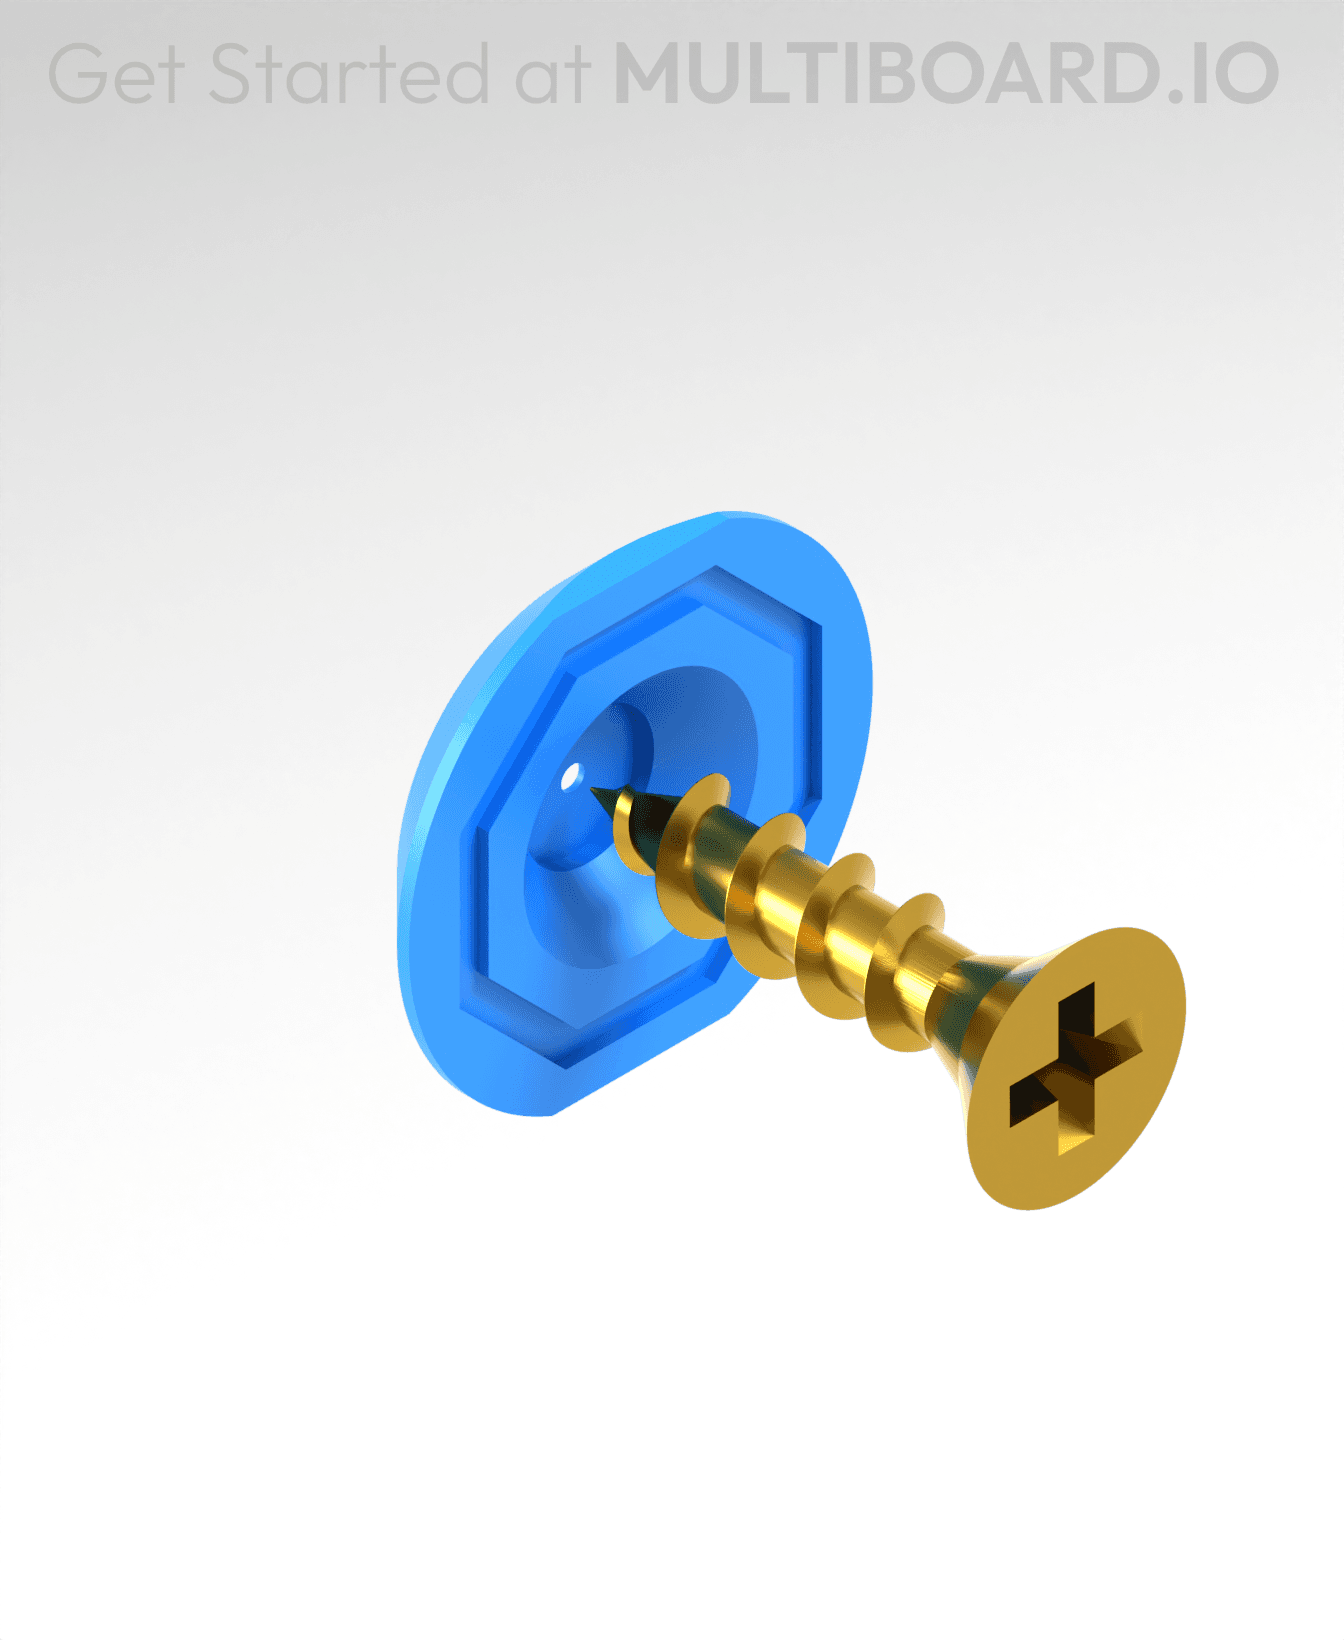
Fix Point to Countersink Adapter

Flush - Small Hole Center Marking Tool
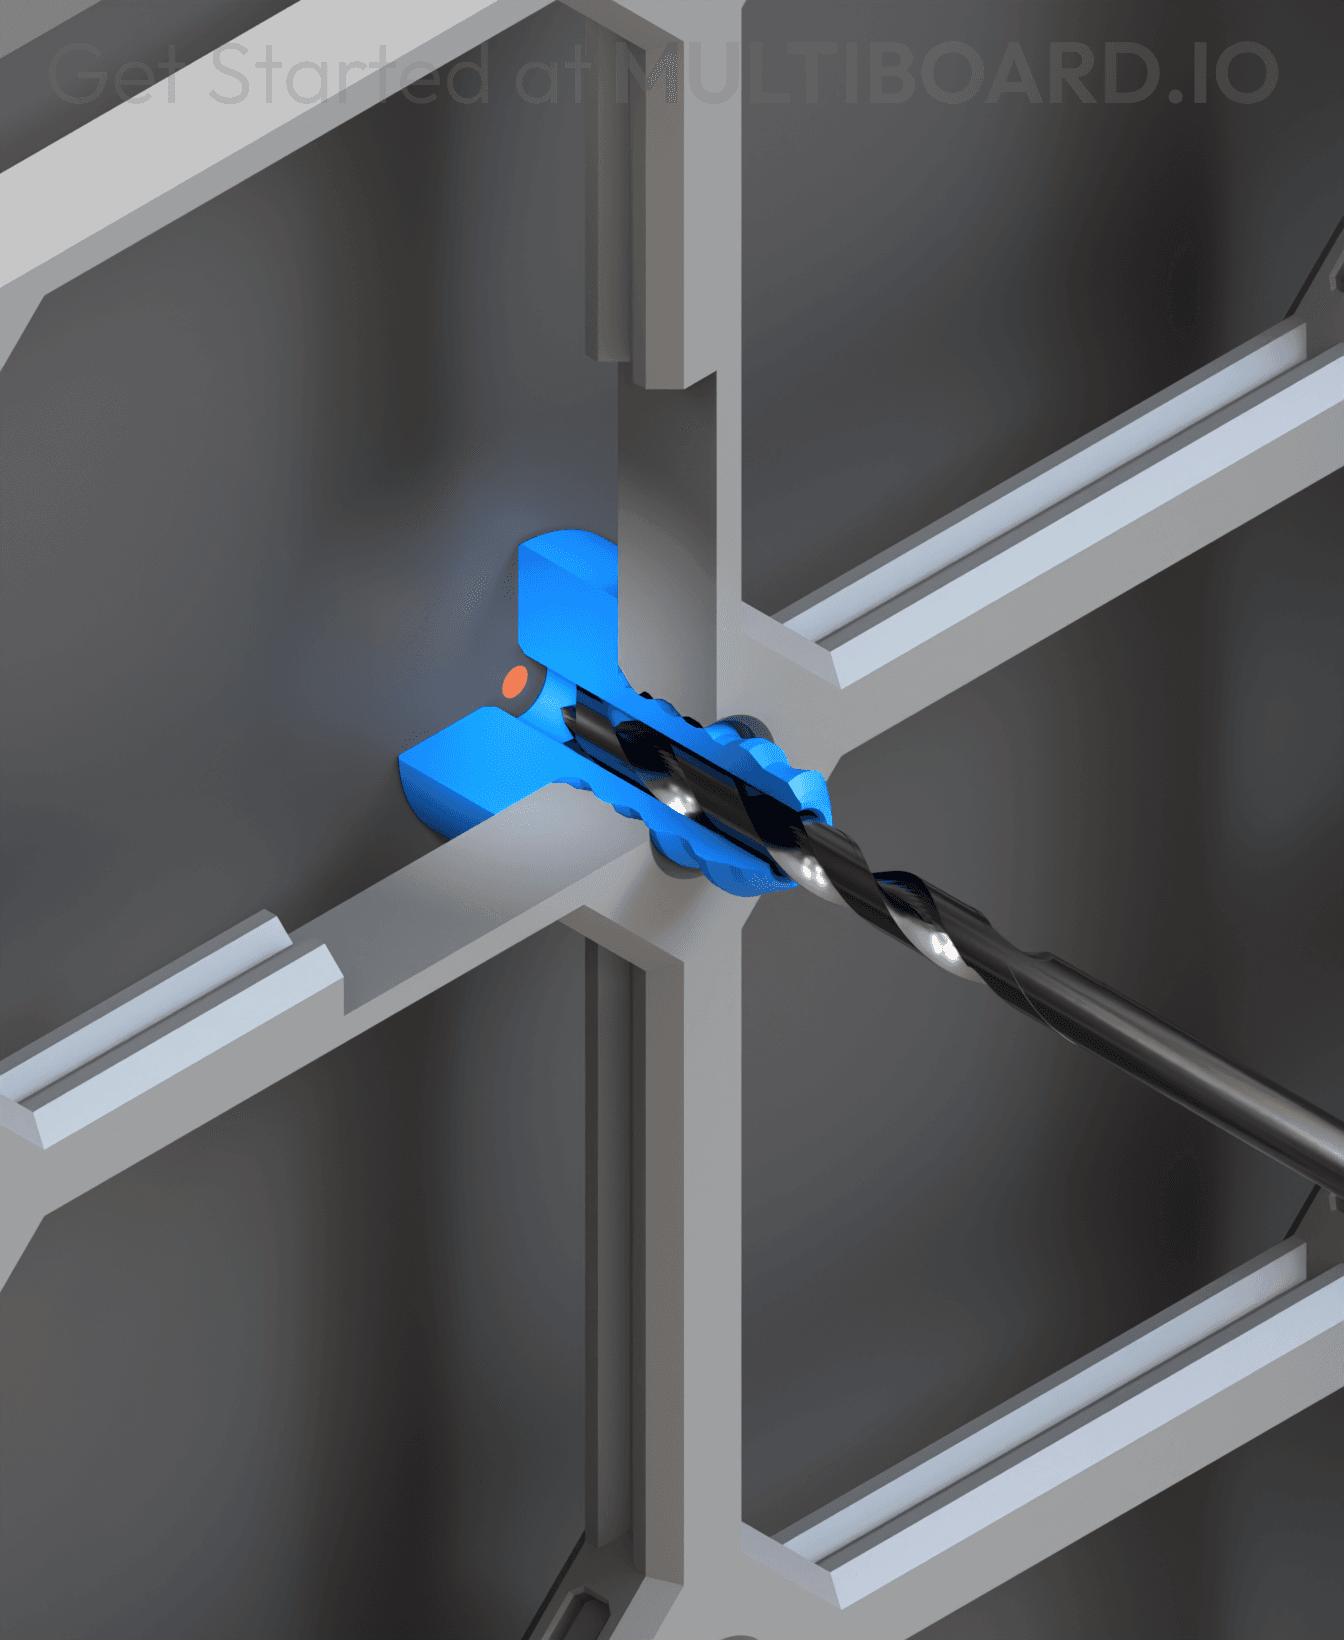
6.25 Offset - Small Hole Center Marking Tool
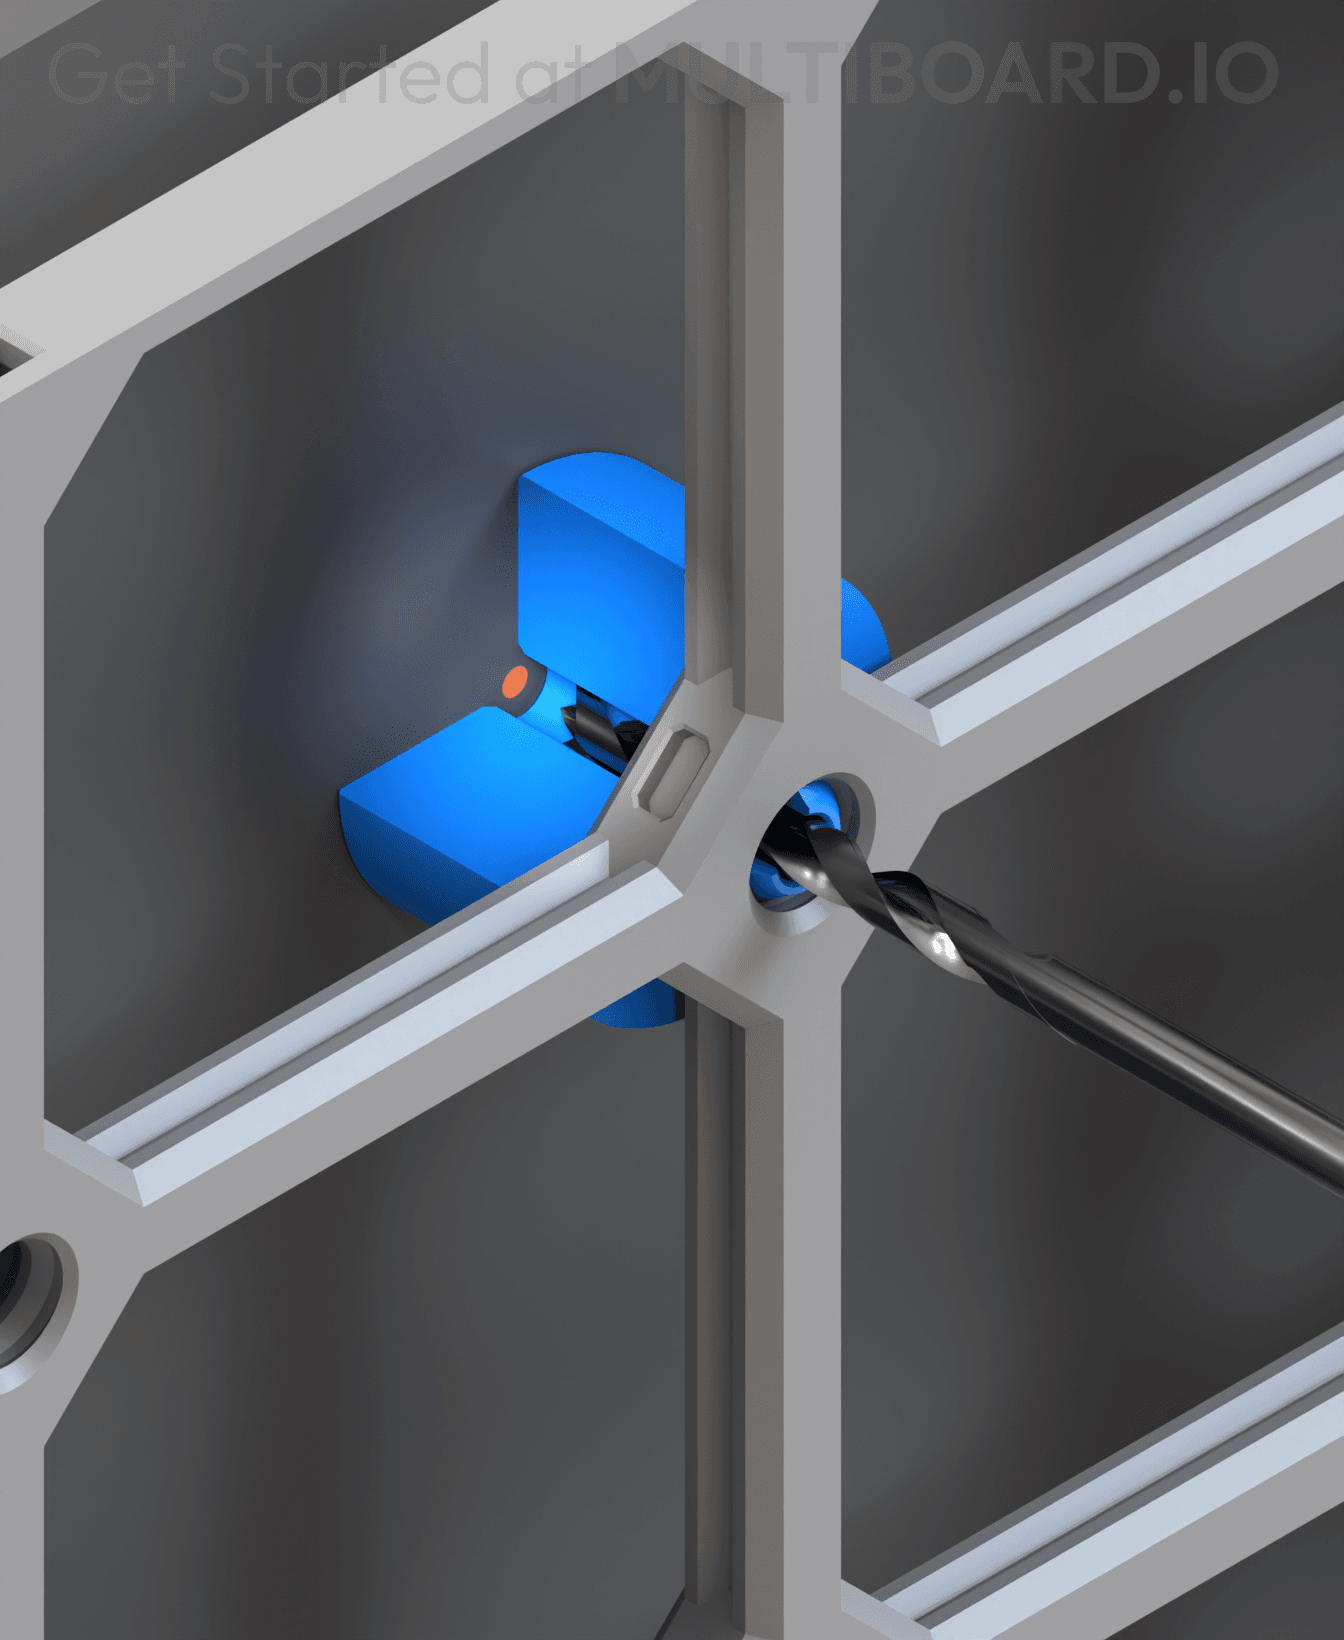
12.5 Offset - Small Hole Center Marking Tool
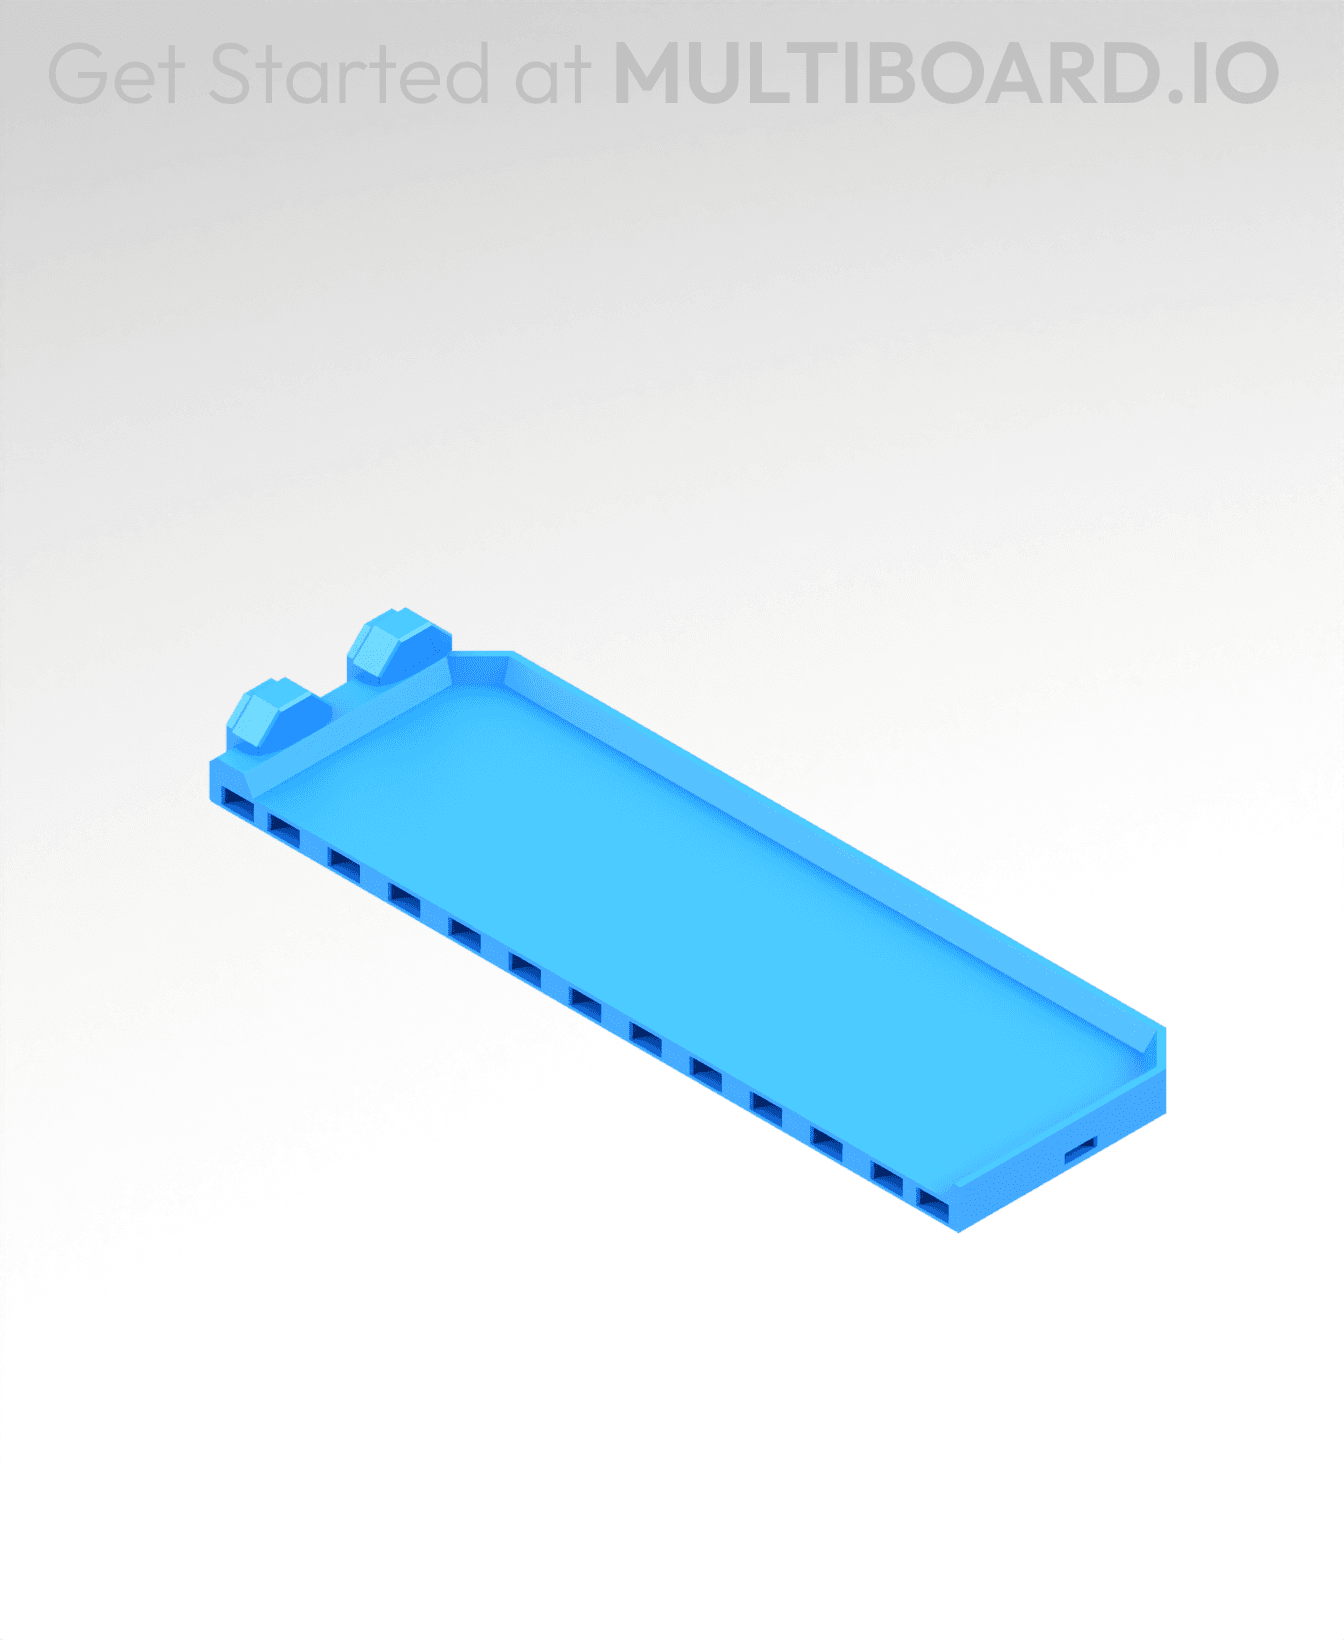
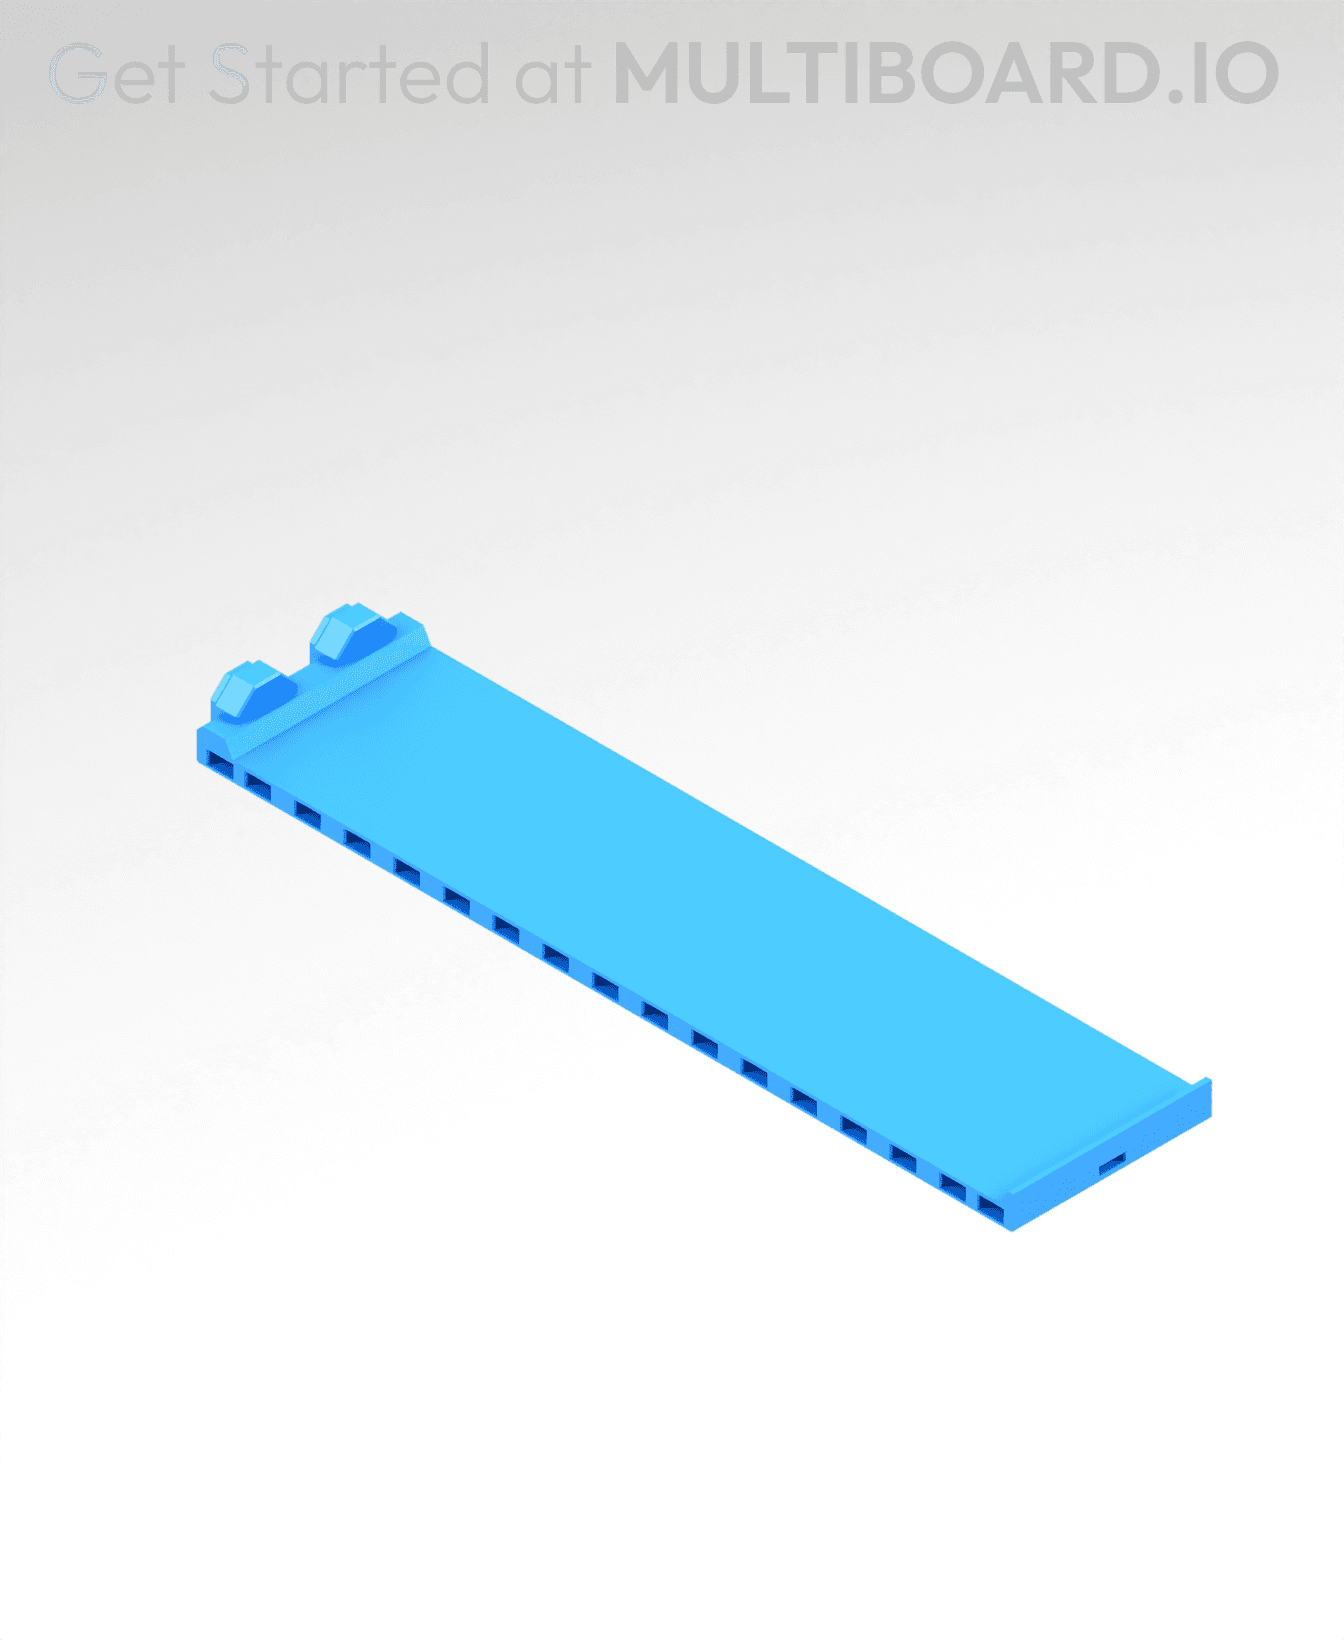
2x6 MU - Right Support End - Modular Bolt-Locked Shelf
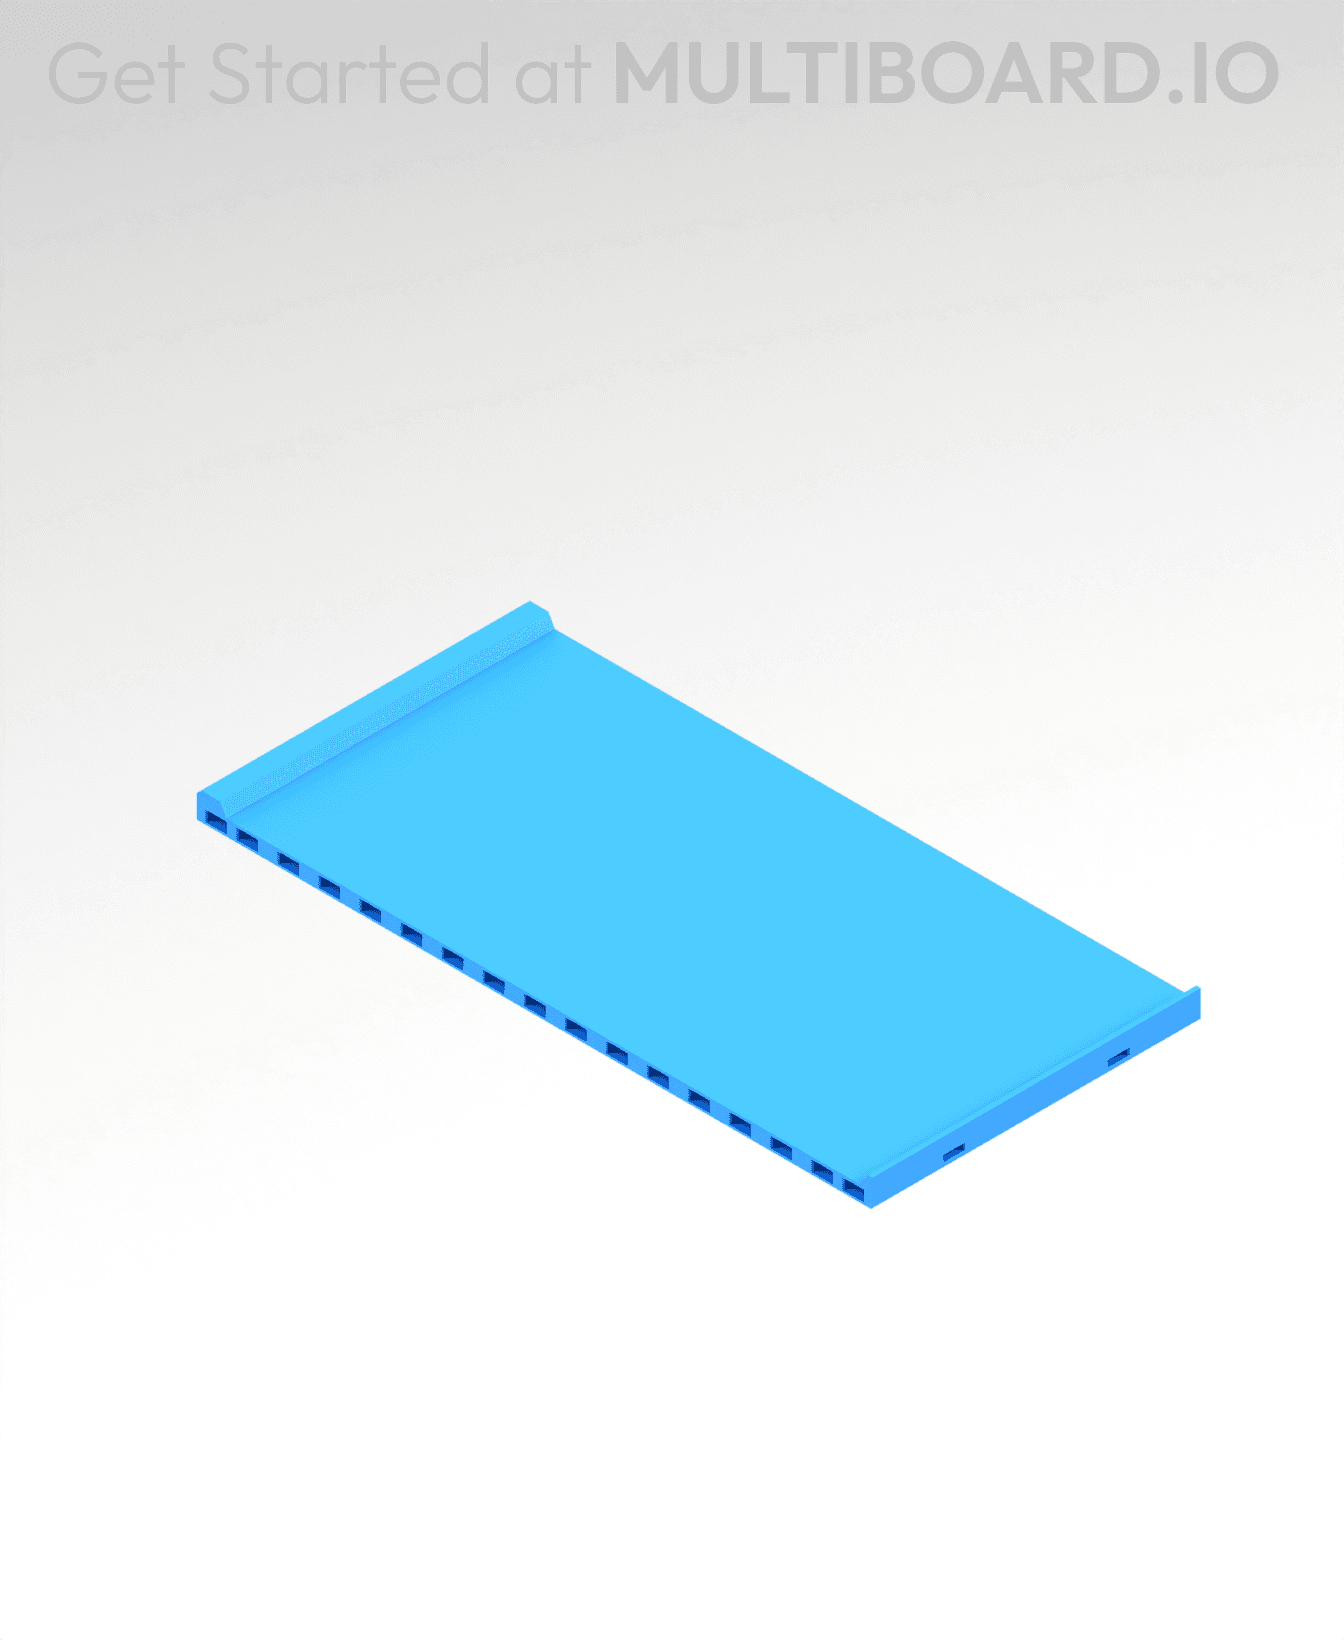
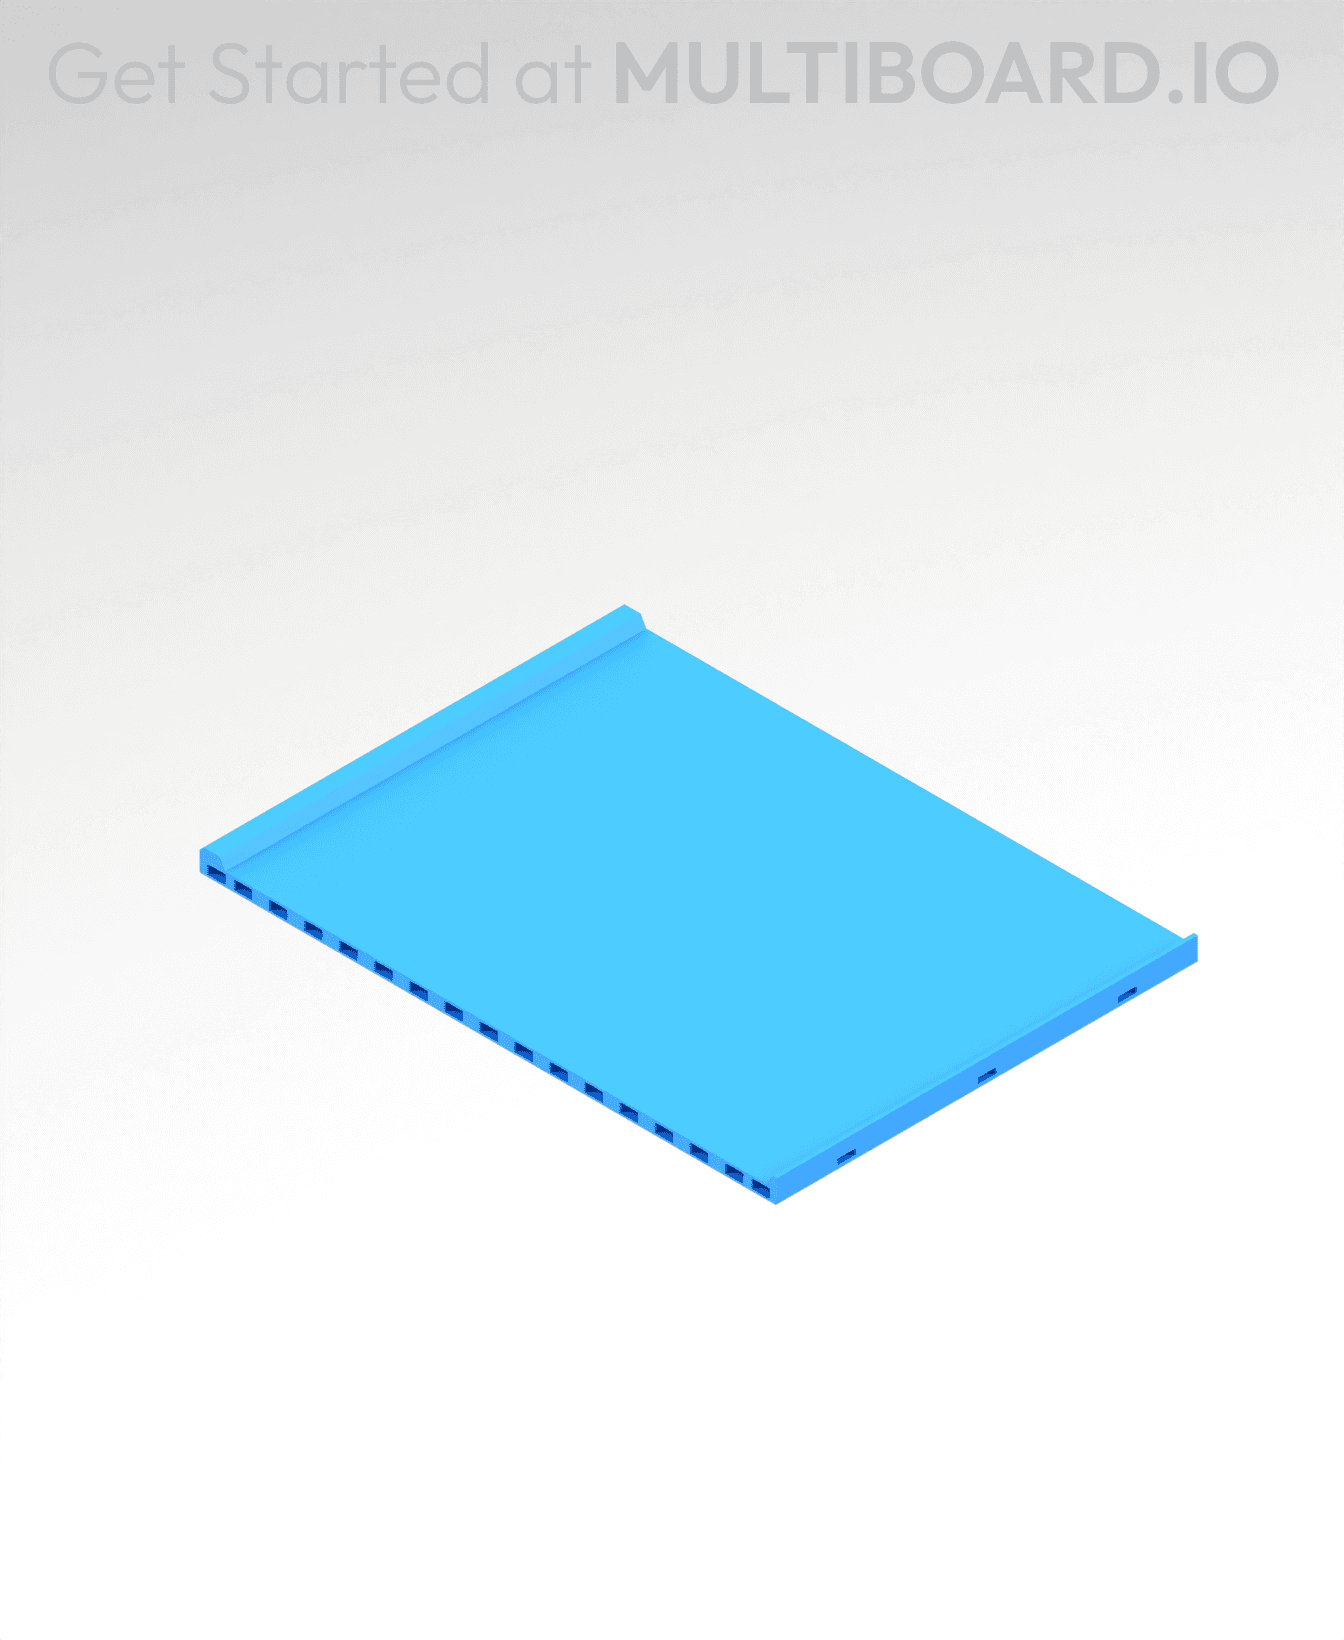
4x8 MU - Center - Modular Bolt-Locked Shelf
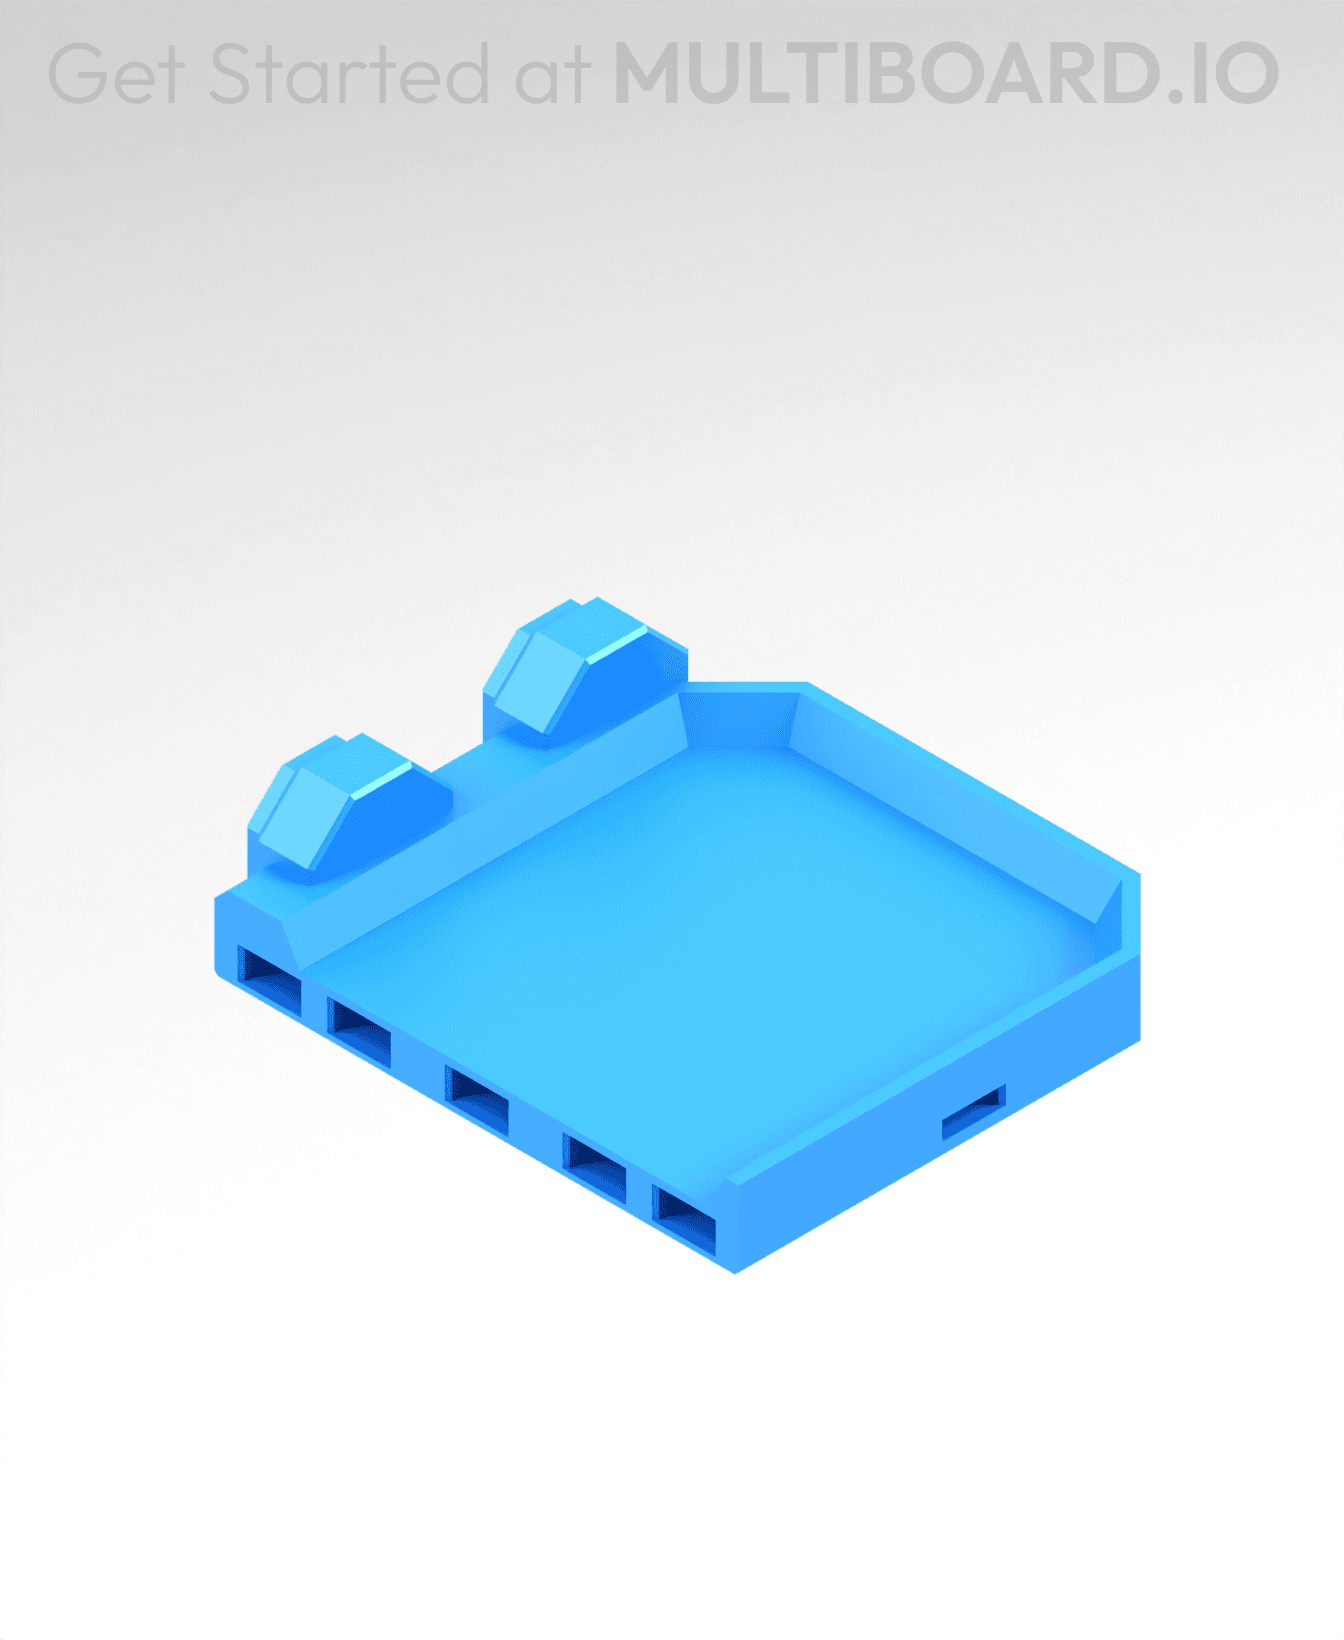
2x2 MU - Right Support End - Modular Bolt-Locked Shelf
2x6 MU - Left Support End - Modular Bolt-Locked Shelf
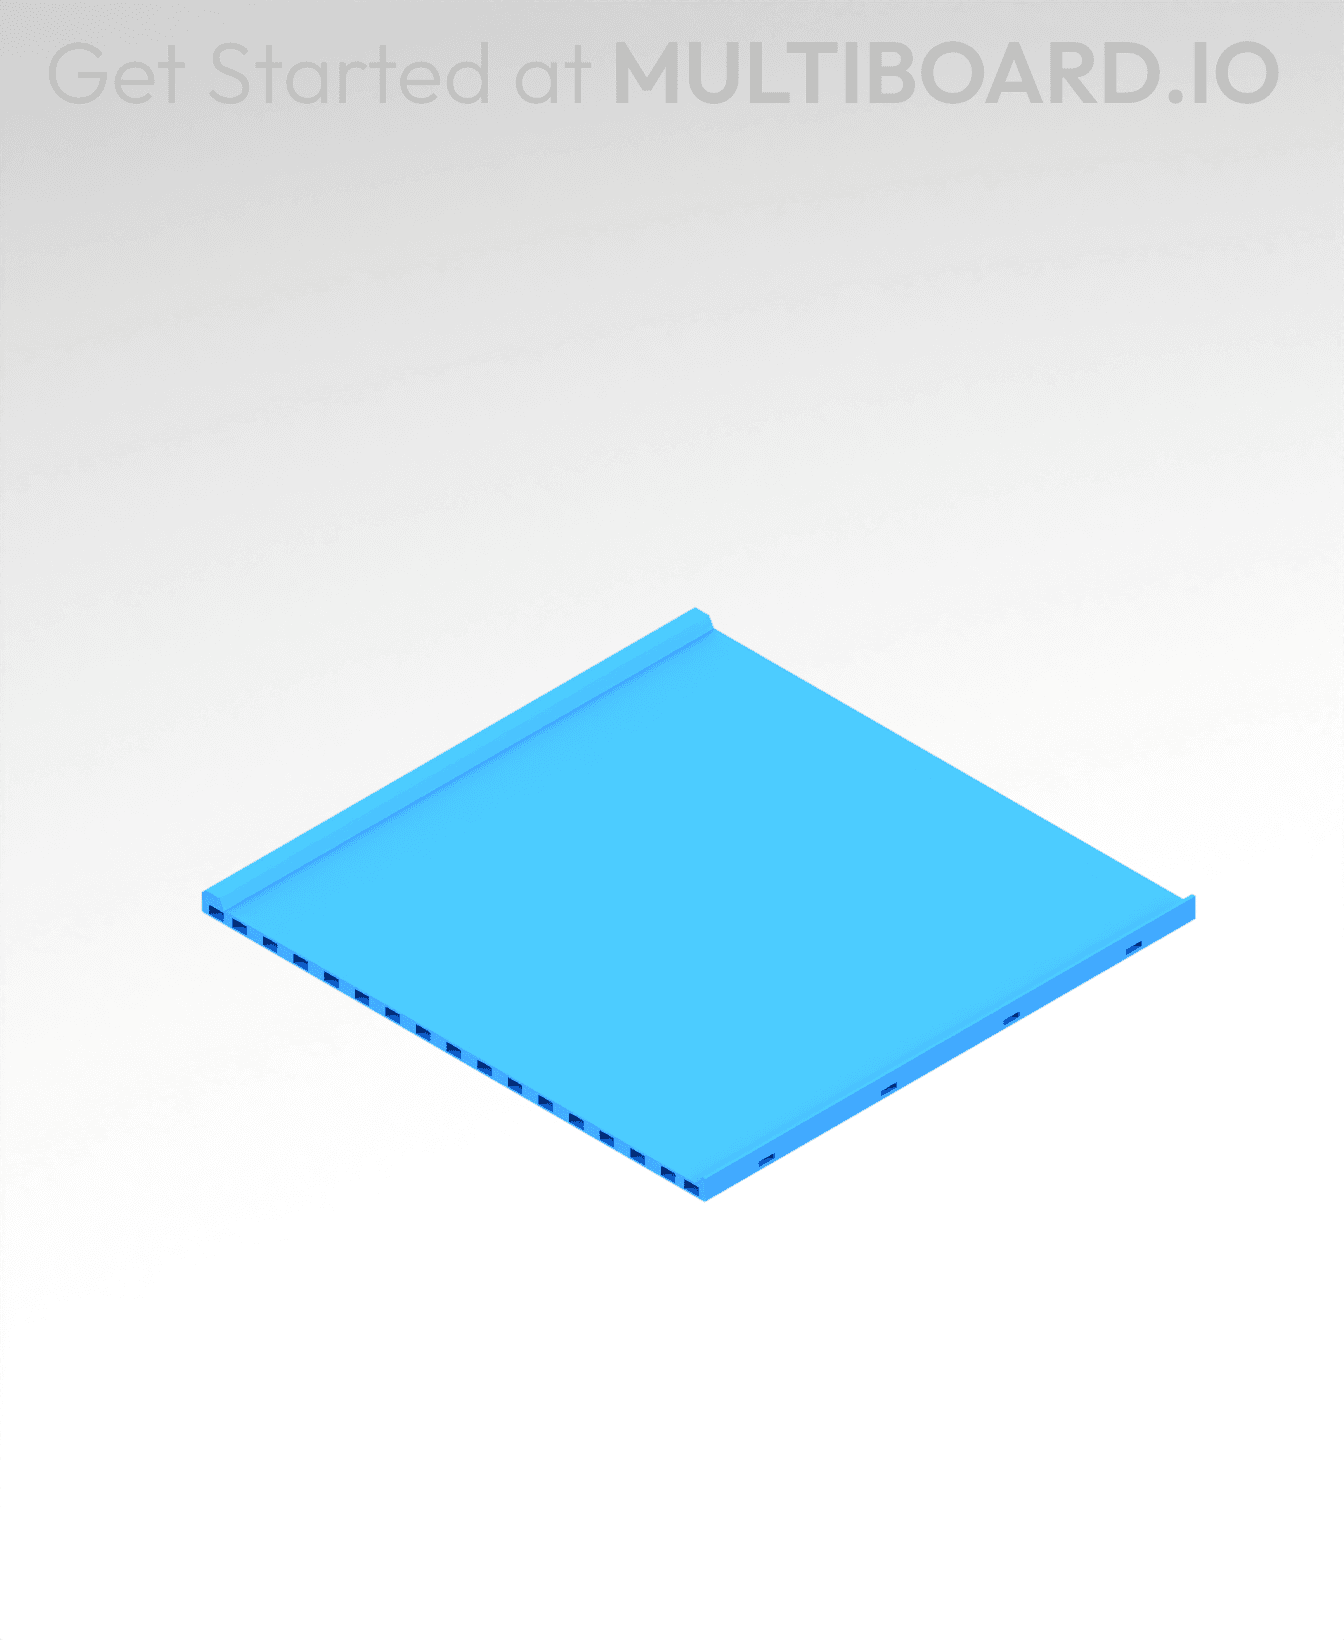
8x8 MU - Center - Modular Bolt-Locked Shelf
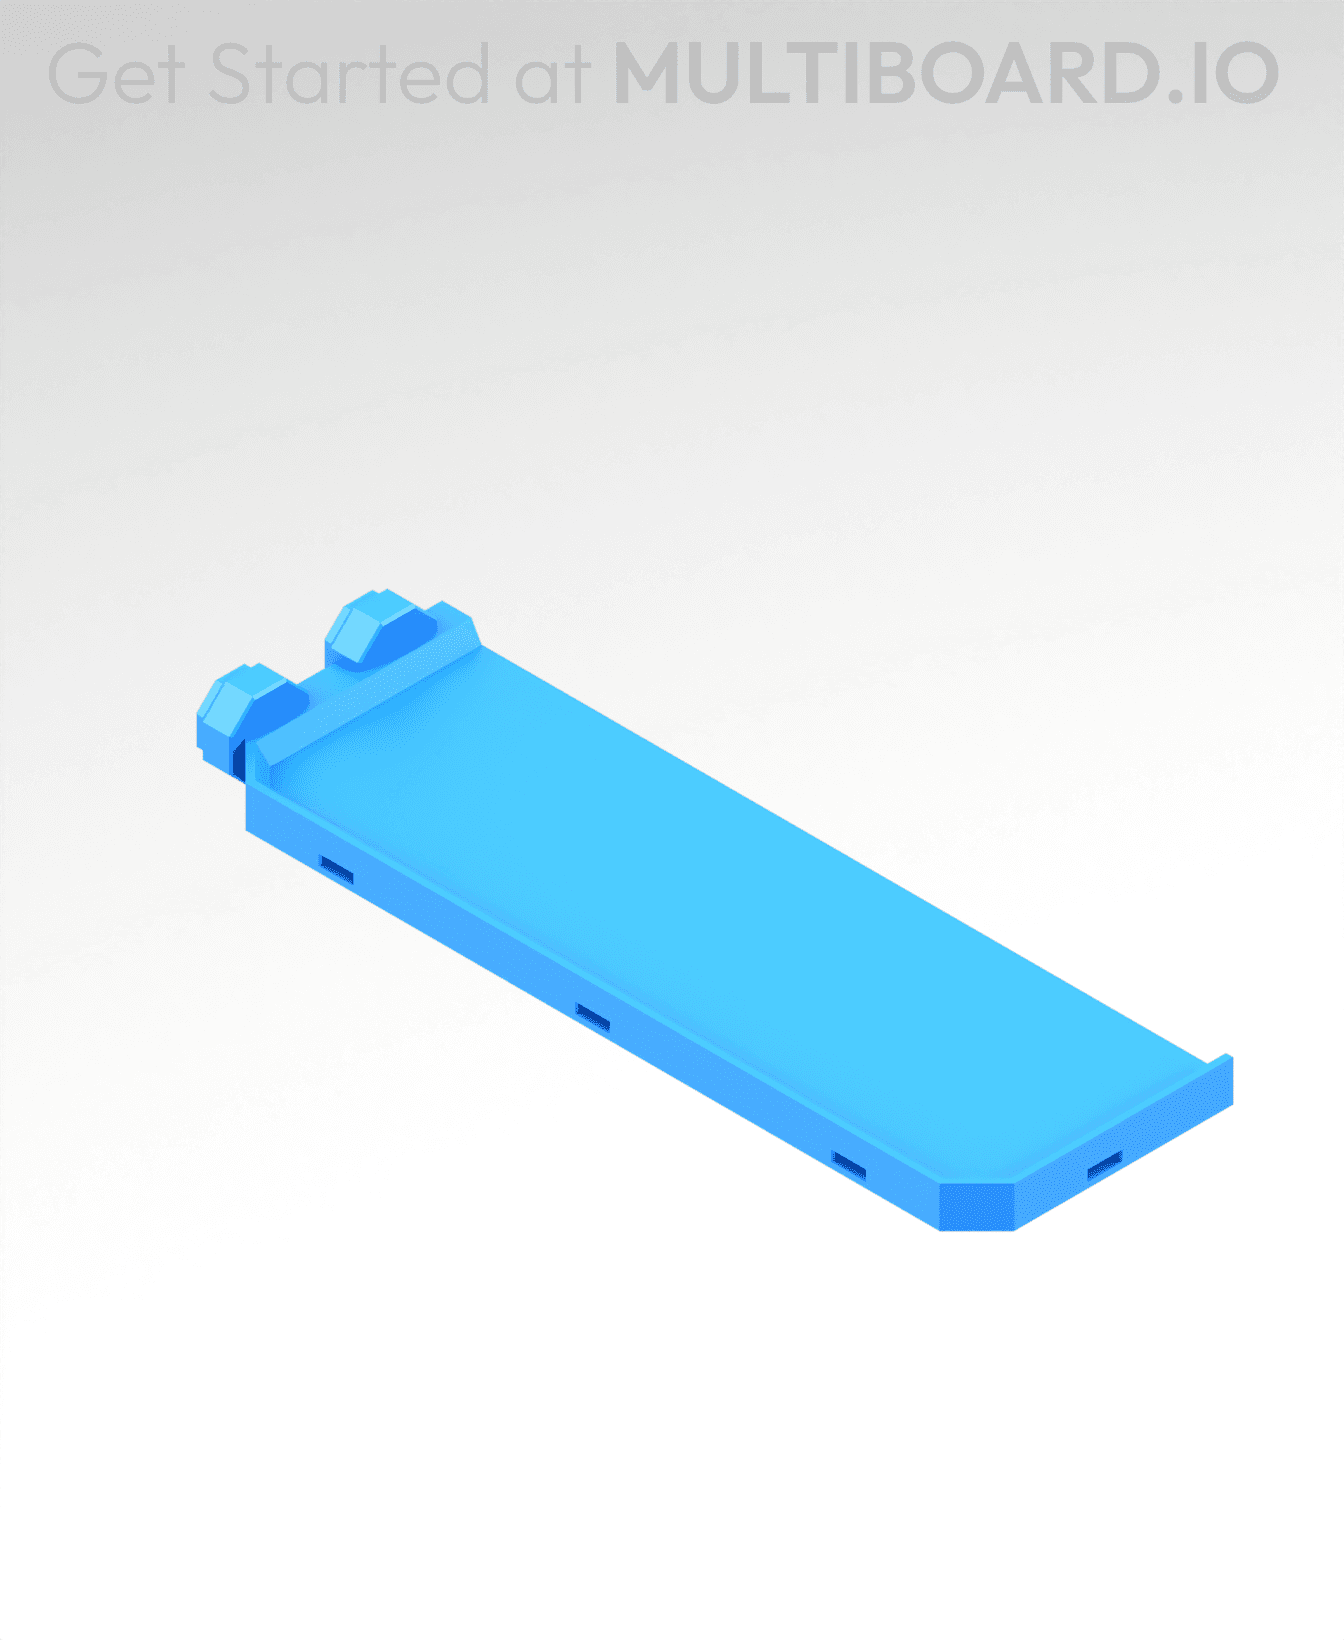
2x4 MU - Right Support End - Modular Bolt-Locked Shelf
4x6 MU - Center - Modular Bolt-Locked Shelf
2x8 MU - Left Support End - Modular Bolt-Locked Shelf
2x2 MU - Left Support End - Modular Bolt-Locked Shelf
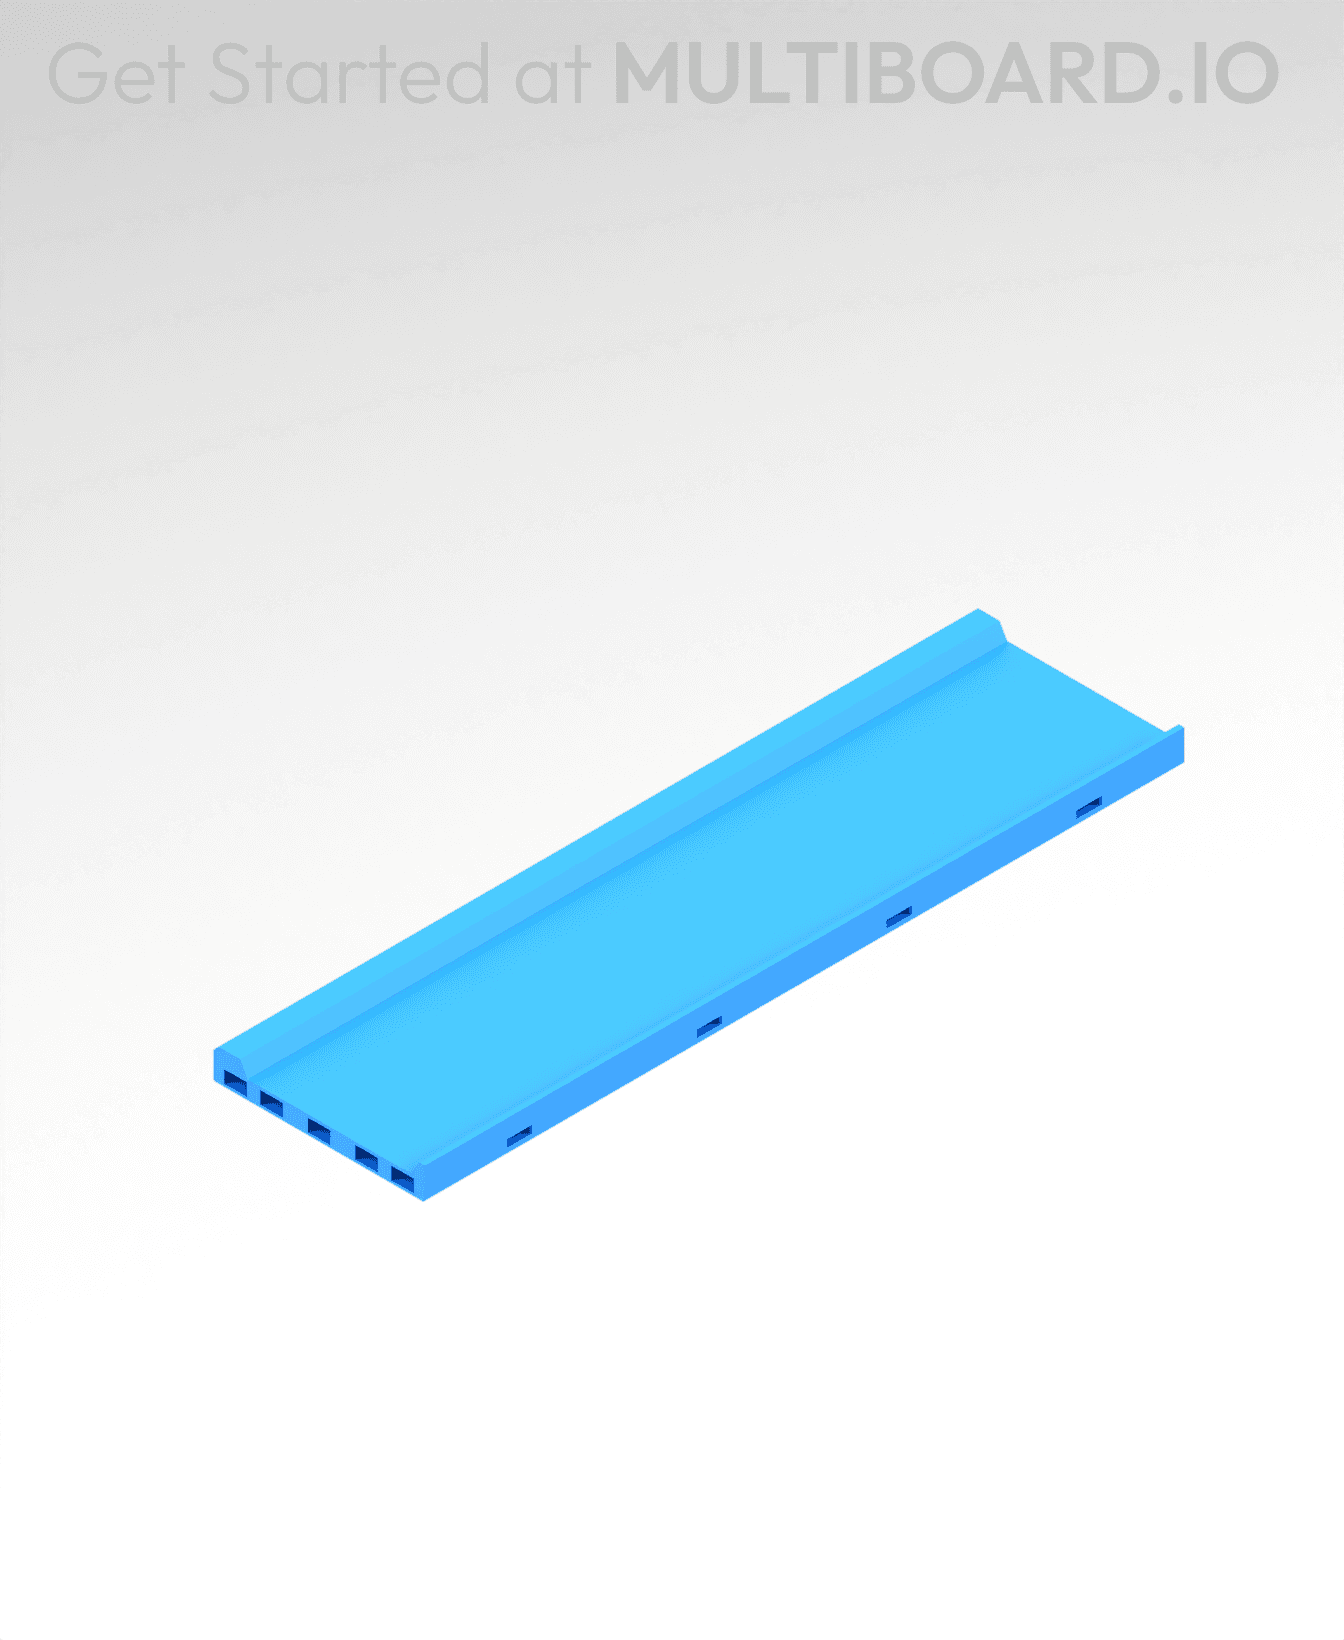
8x2 MU - Center - Modular Bolt-Locked Shelf
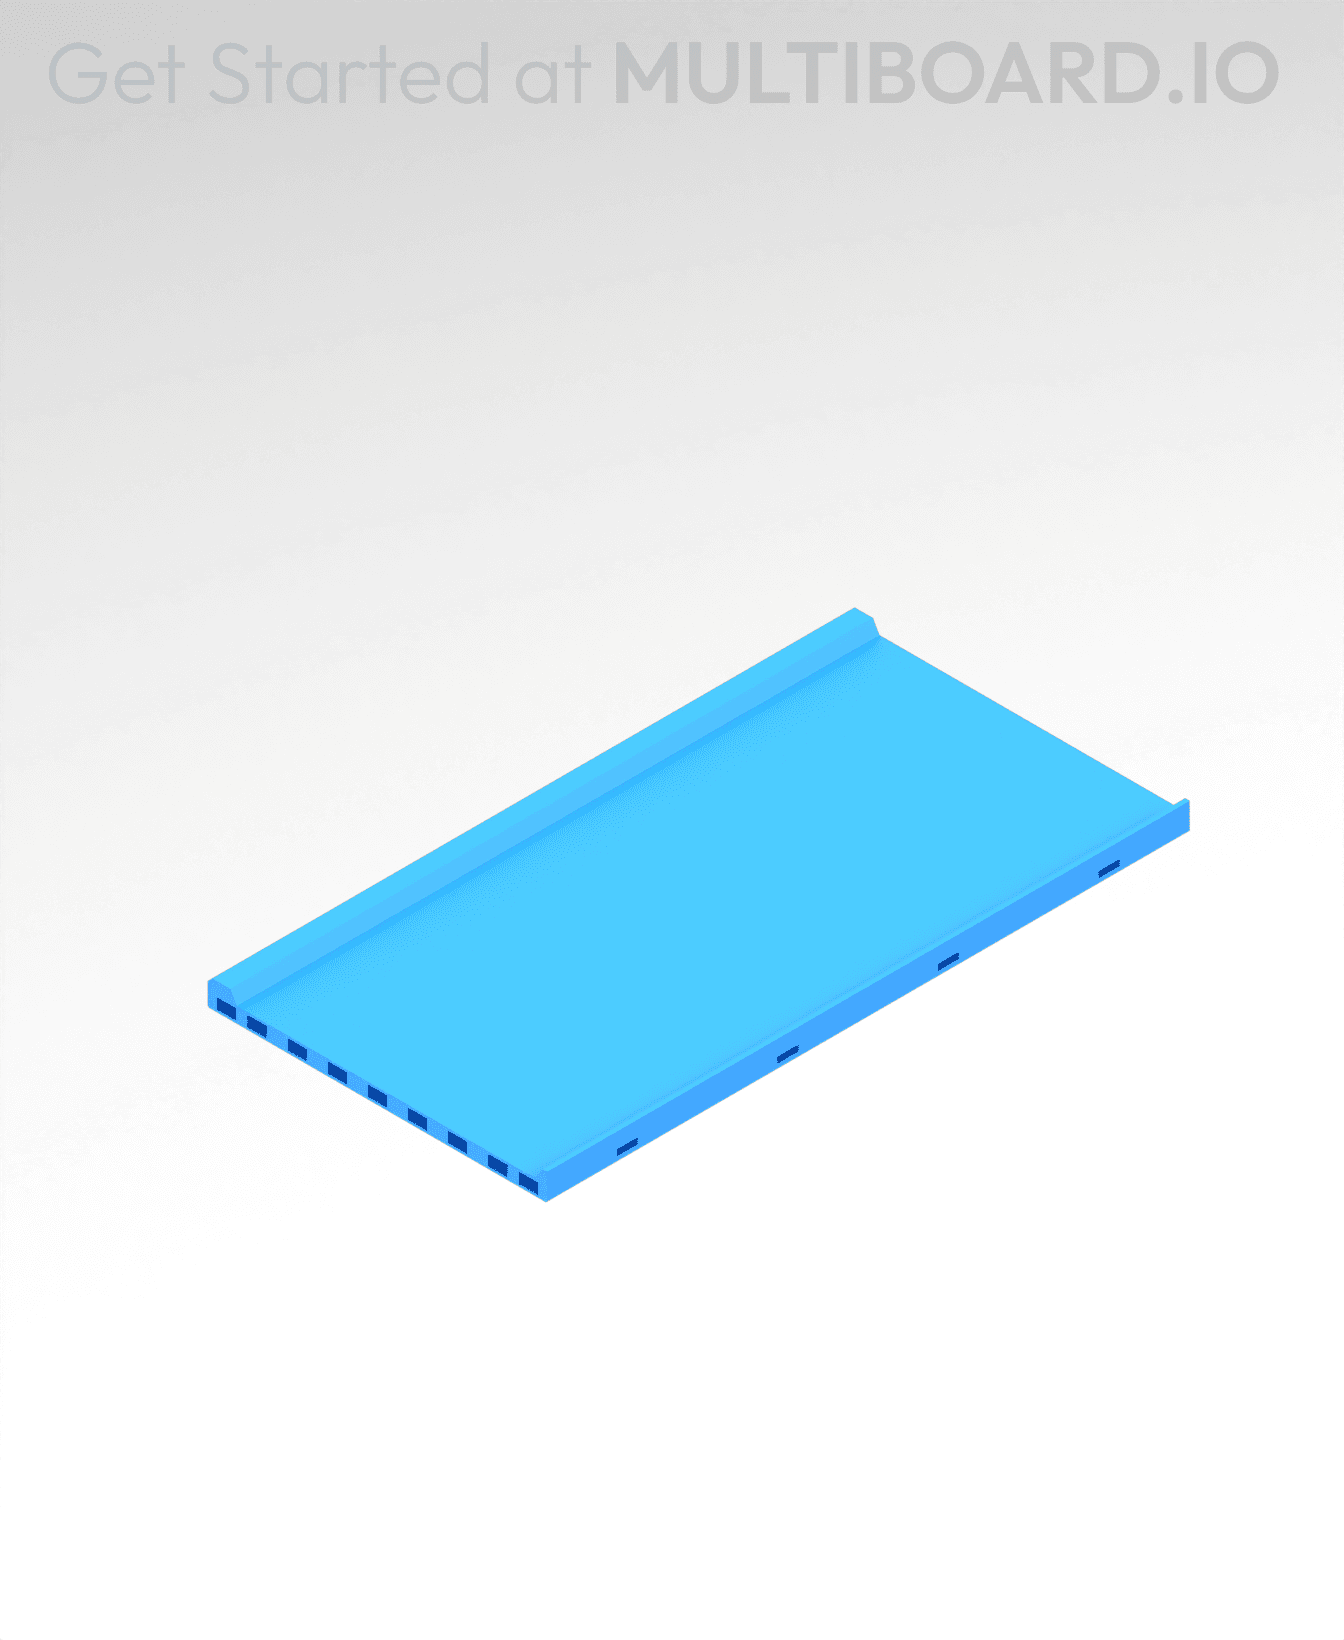
8x4 MU - Center - Modular Bolt-Locked Shelf
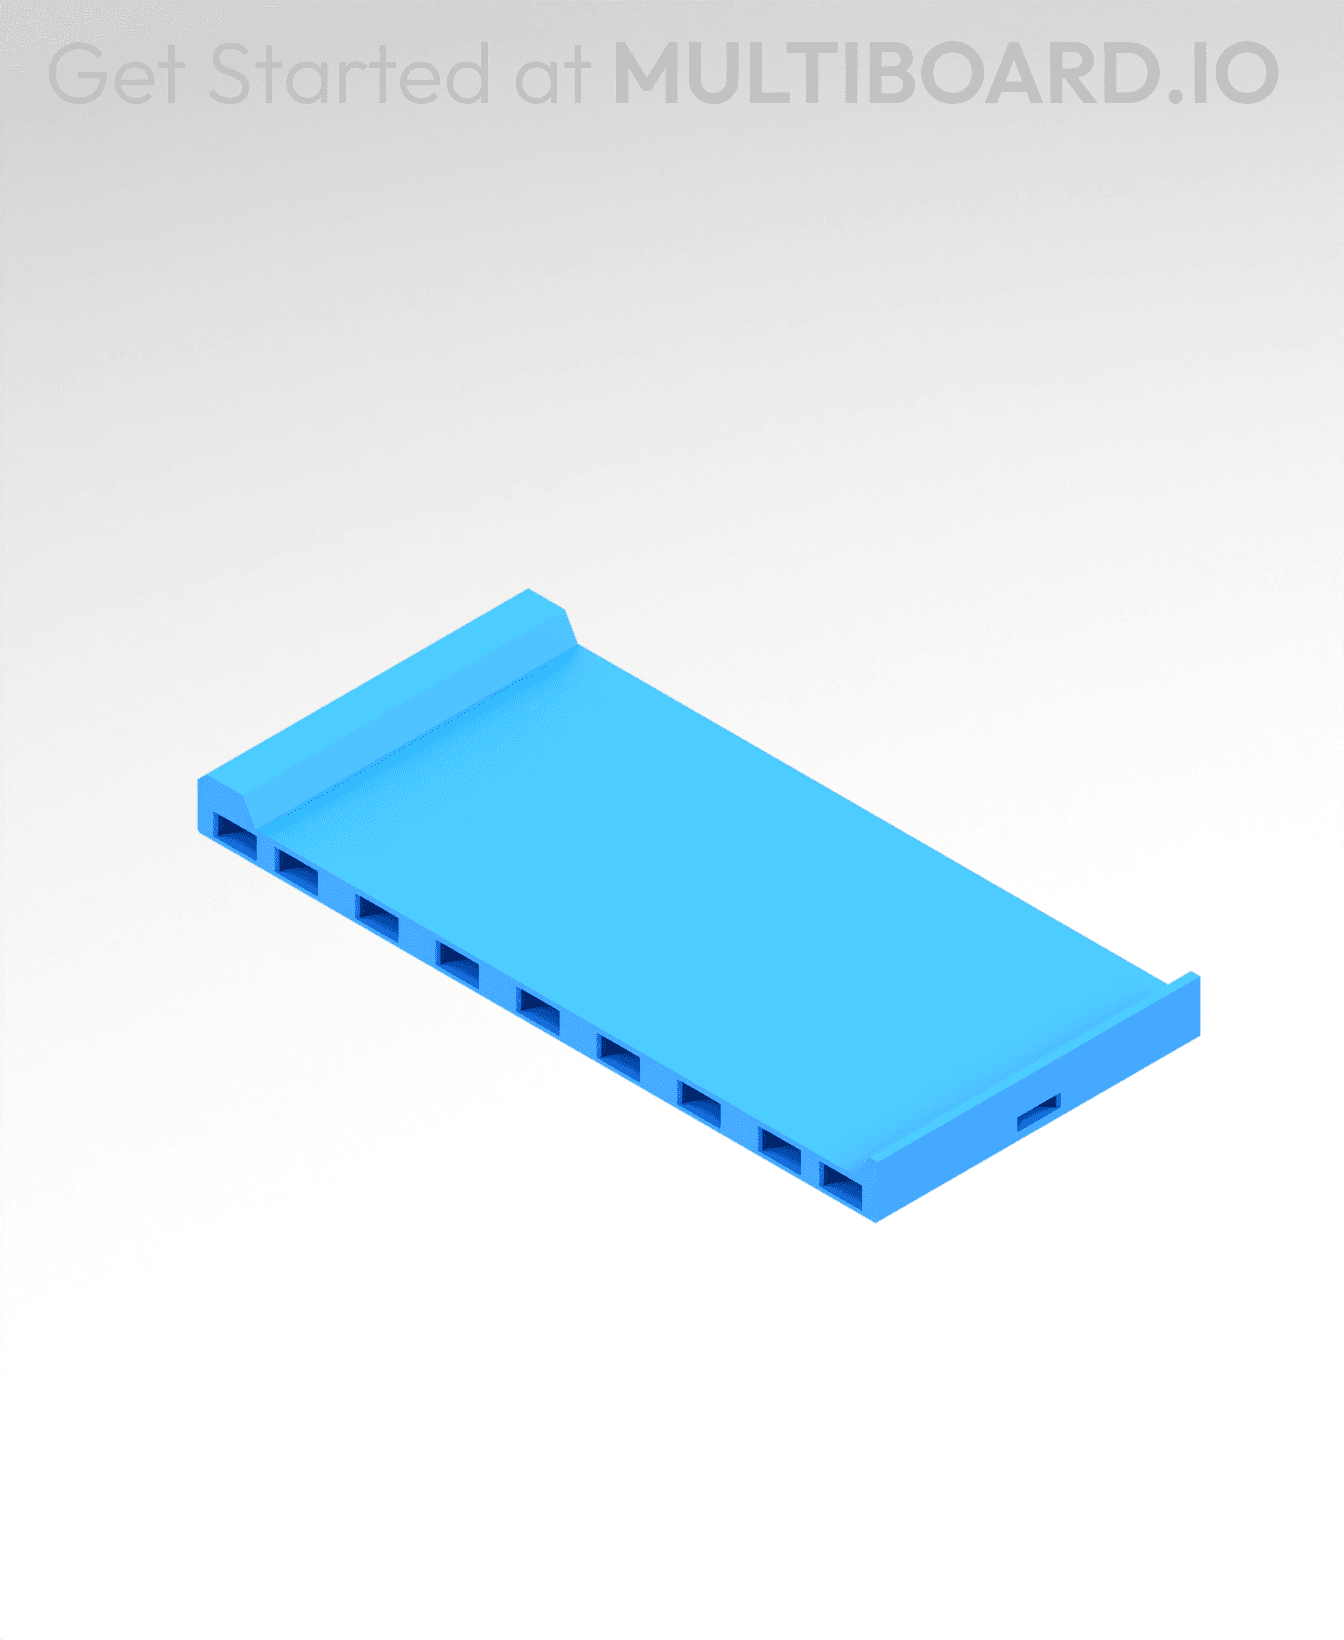
2x4 MU - Center - Modular Bolt-Locked Shelf

2x8 MU - Right Support End - Modular Bolt-Locked Shelf
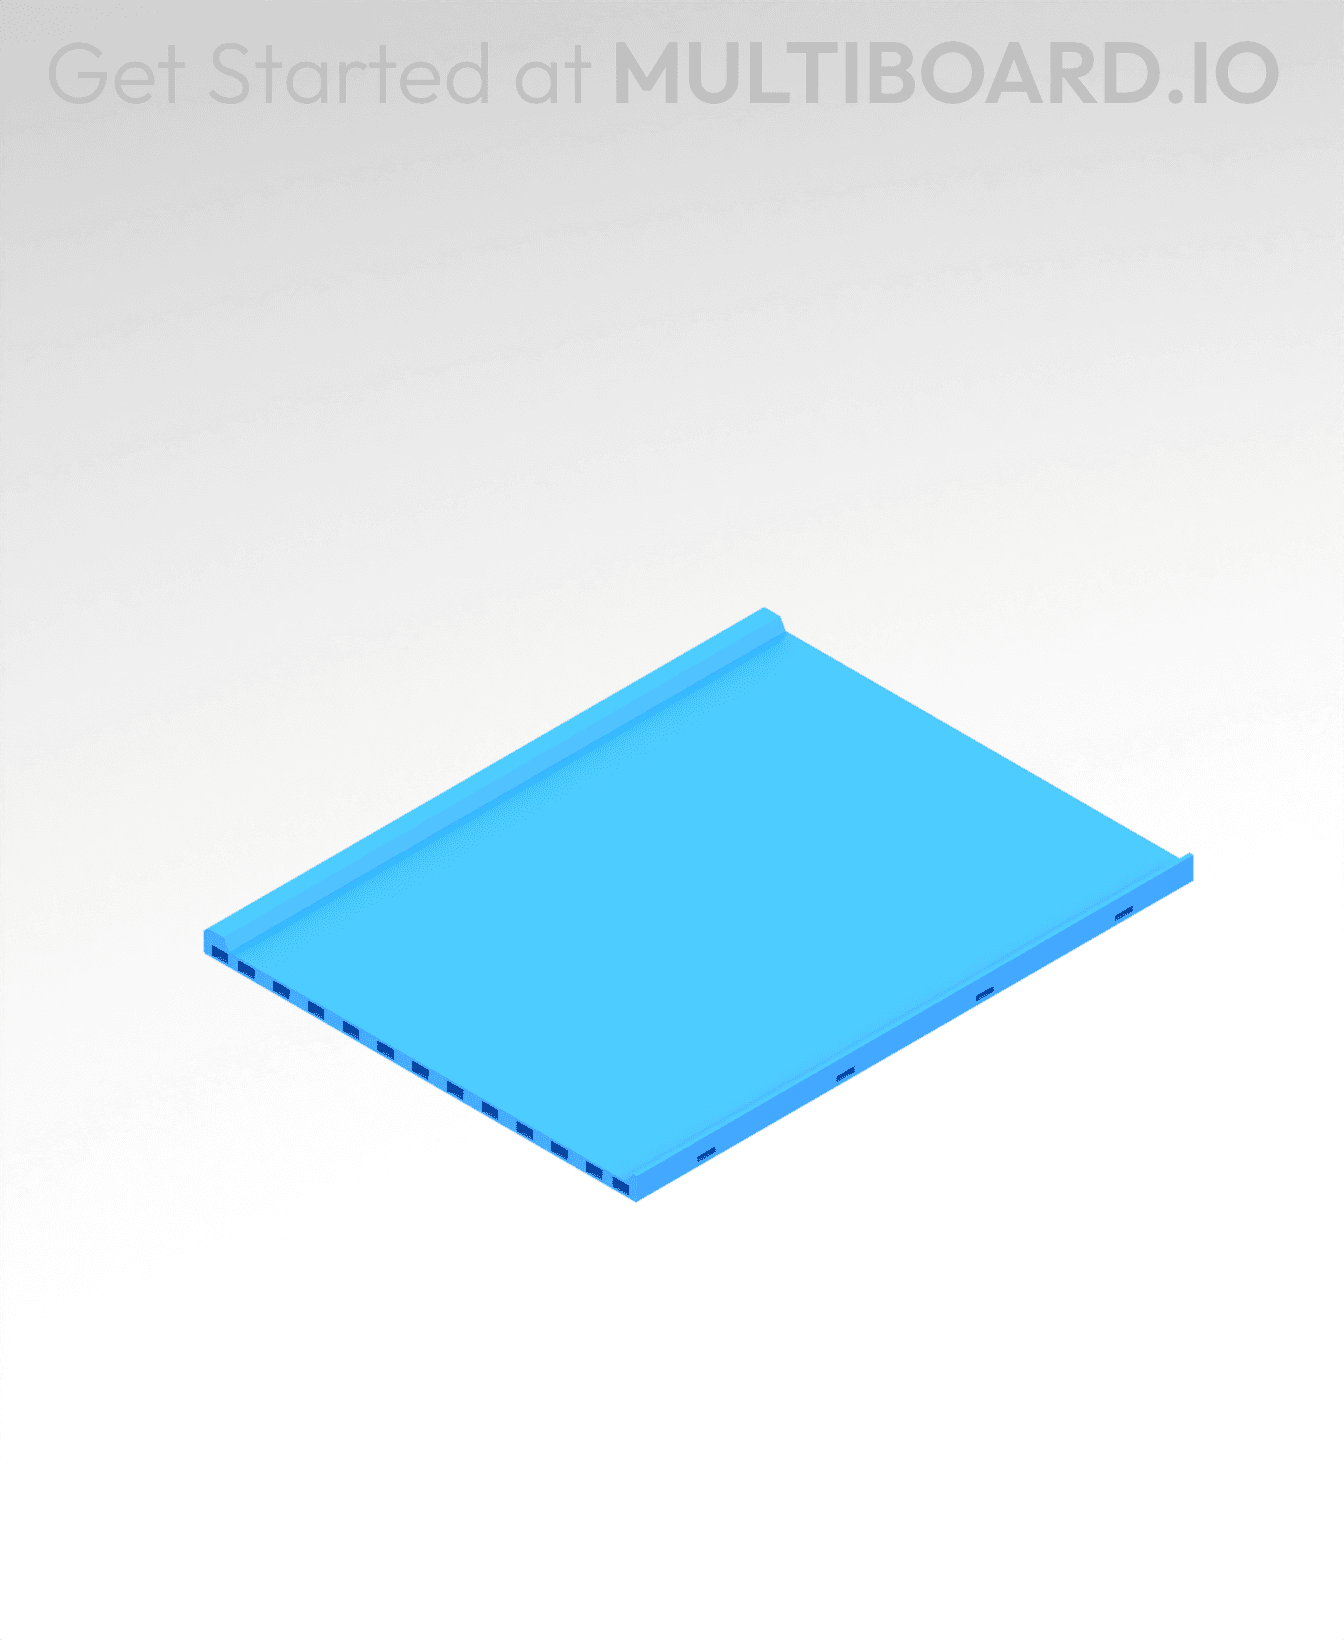
8x6 MU - Center - Modular Bolt-Locked Shelf
2x8 MU - Center Support - Modular Bolt-Locked Shelf
Description suggests going to the website to understand what the part does, but the website linked me here. As a result, I'm having a really hard time figuring out what parts I would need and how much time and material would be involved to get something going.
im in the same boat. the description says use a threaded rod and then two of these and nuts to secure it, but seems a bit much without some sort of understanding of orientation. or HOW you adjust it.
Agreed, links to the specific parts or even the parts-library would be more useful than the knowledge-hub overview. I haven't made this yet, but here's my read on it: