
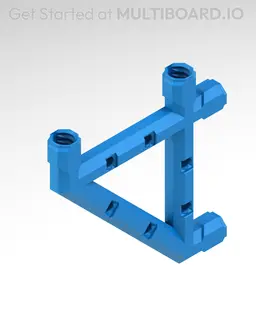


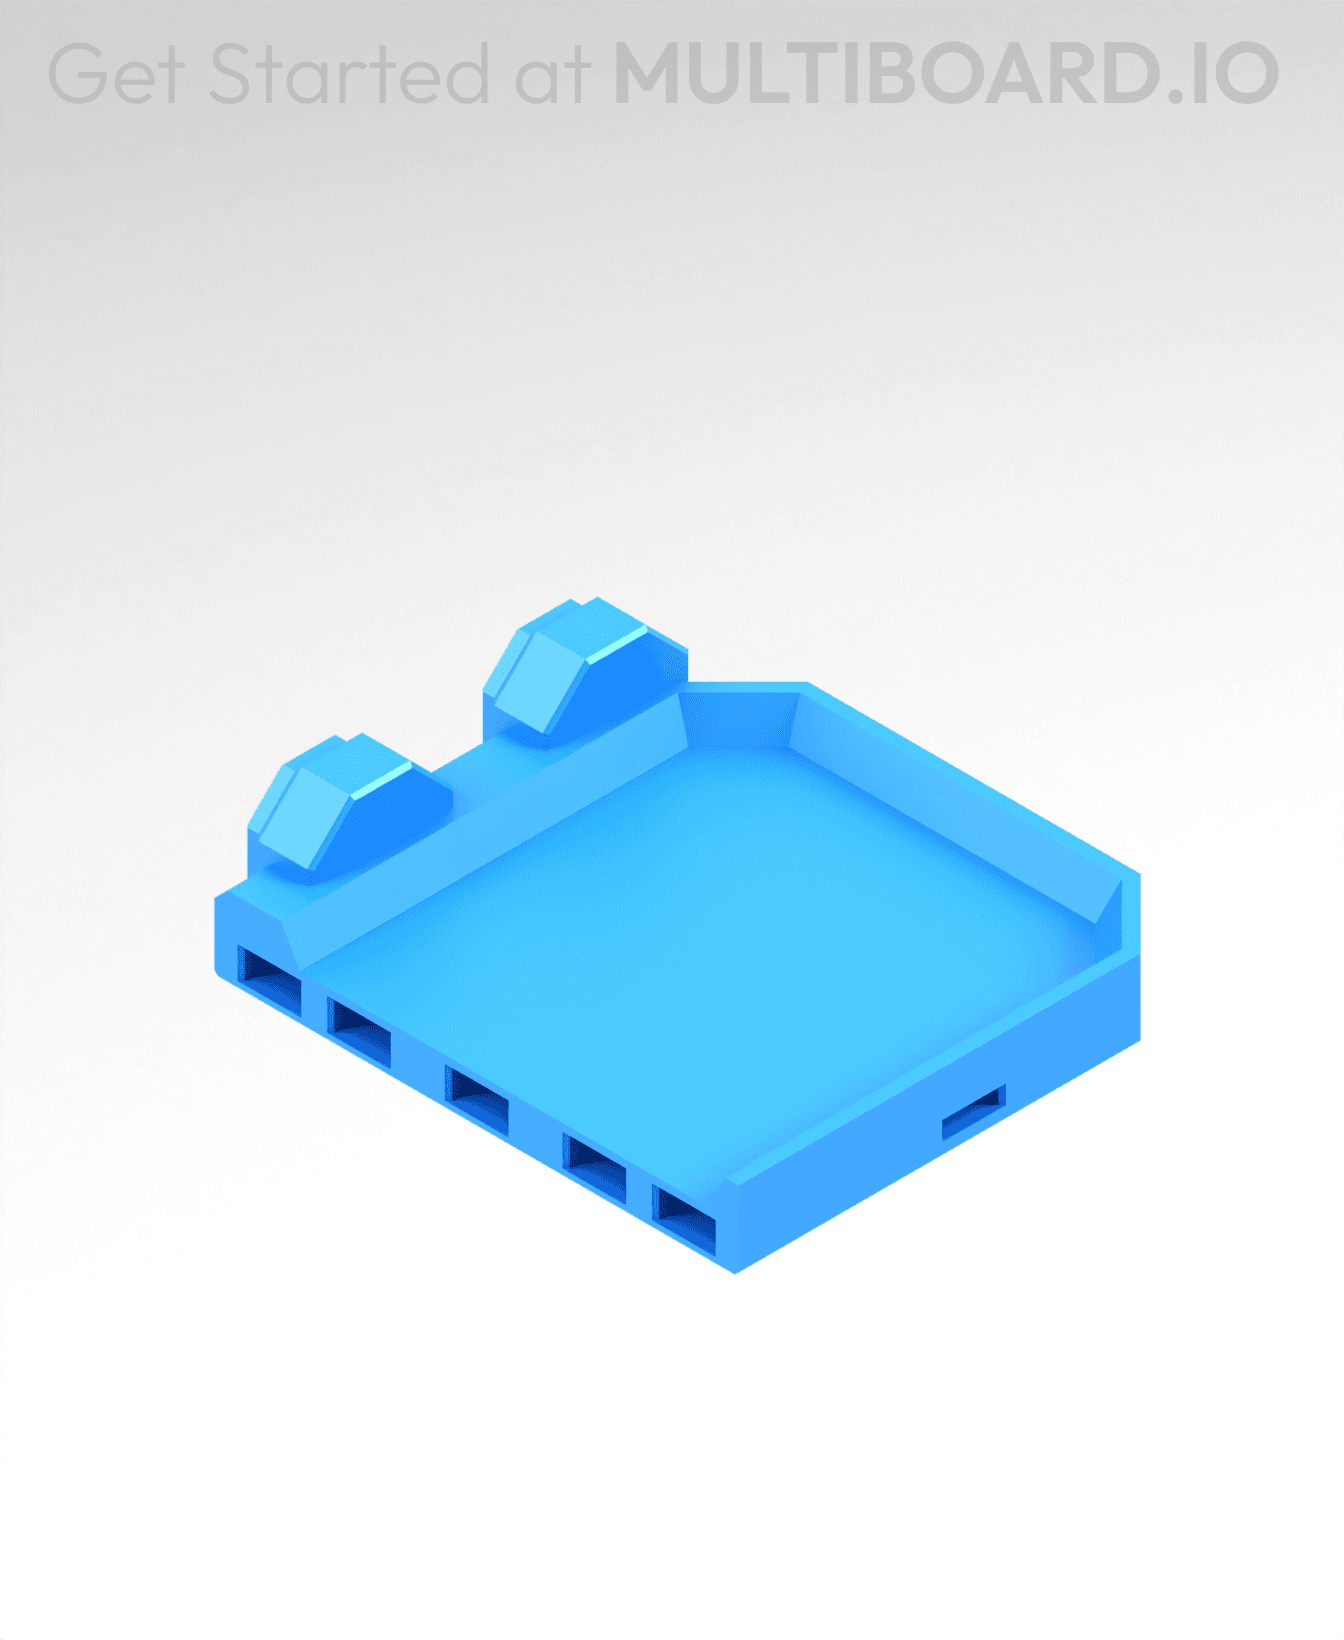
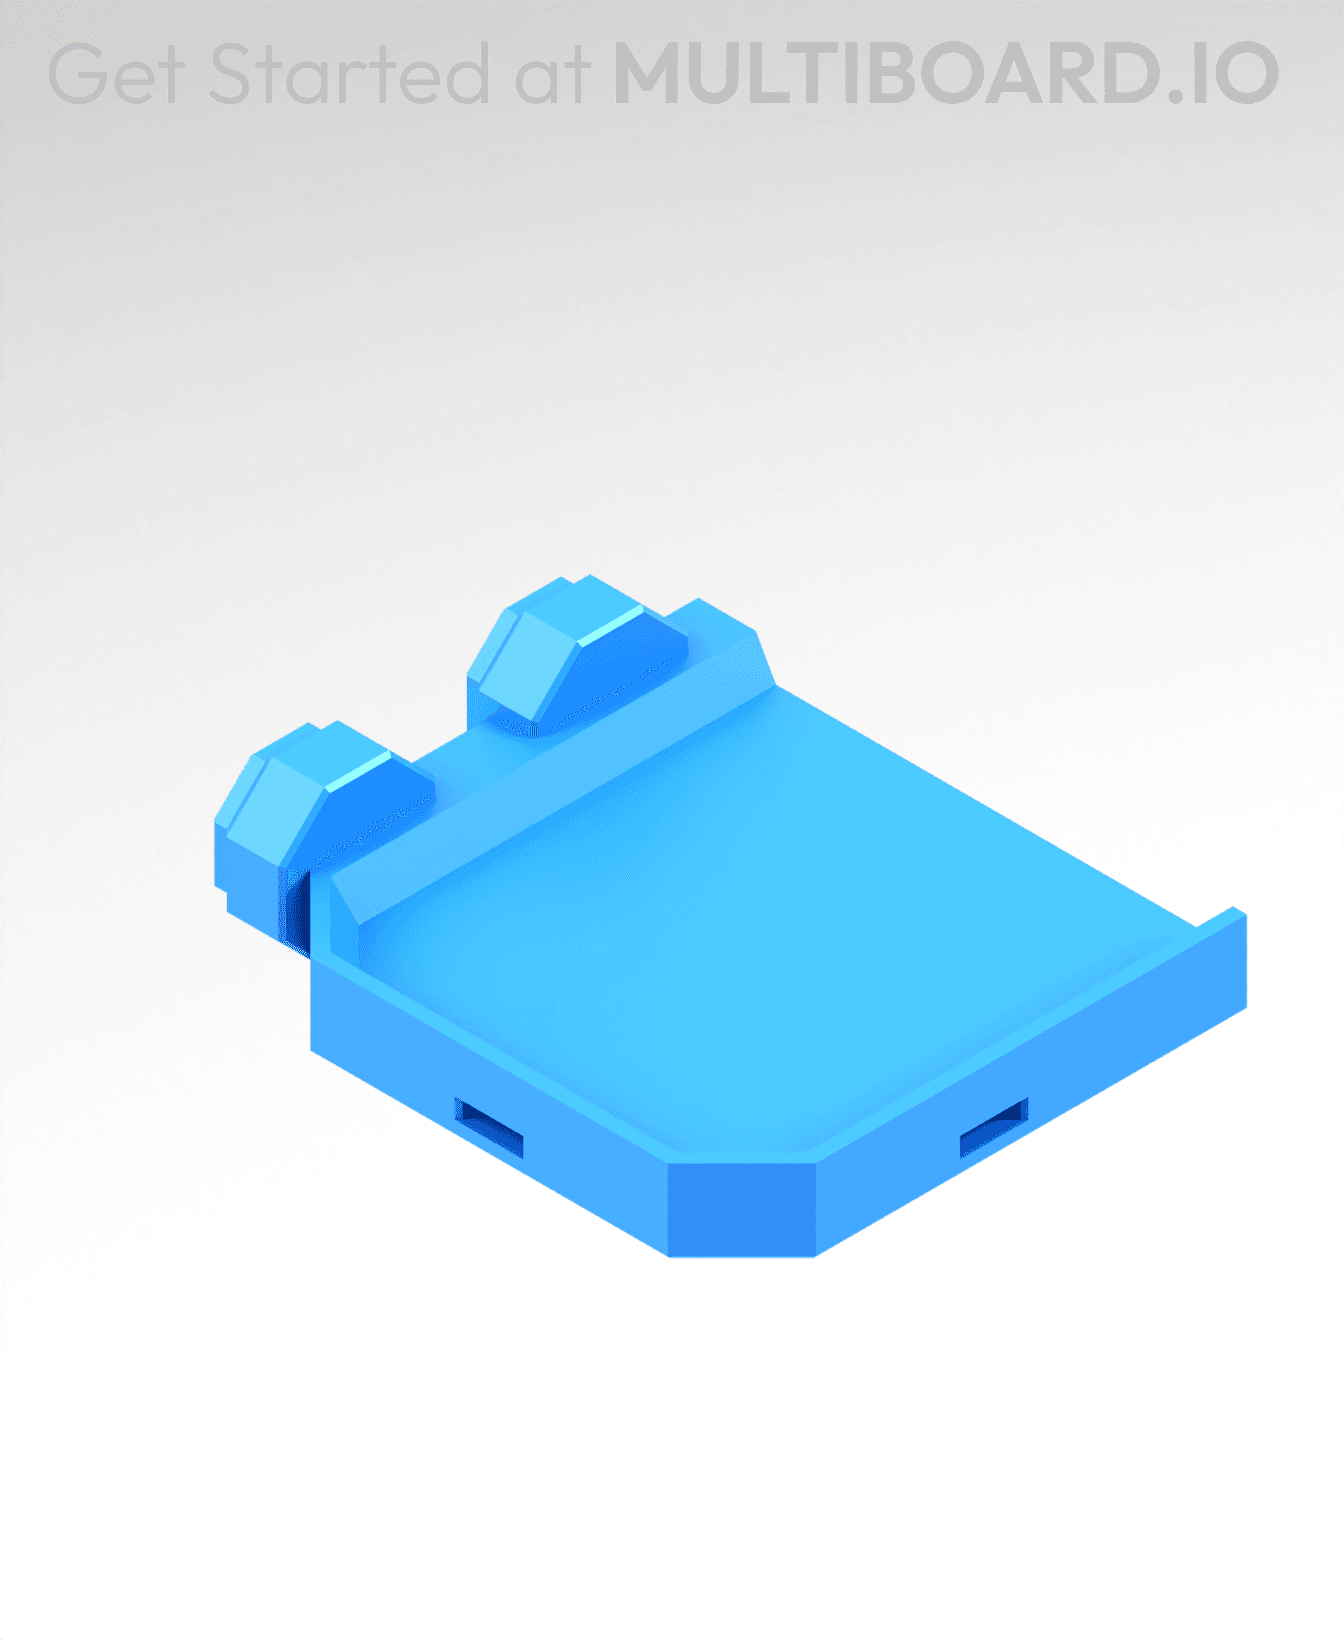
4x4 MU Bracket - Bolt-Locked Inserts
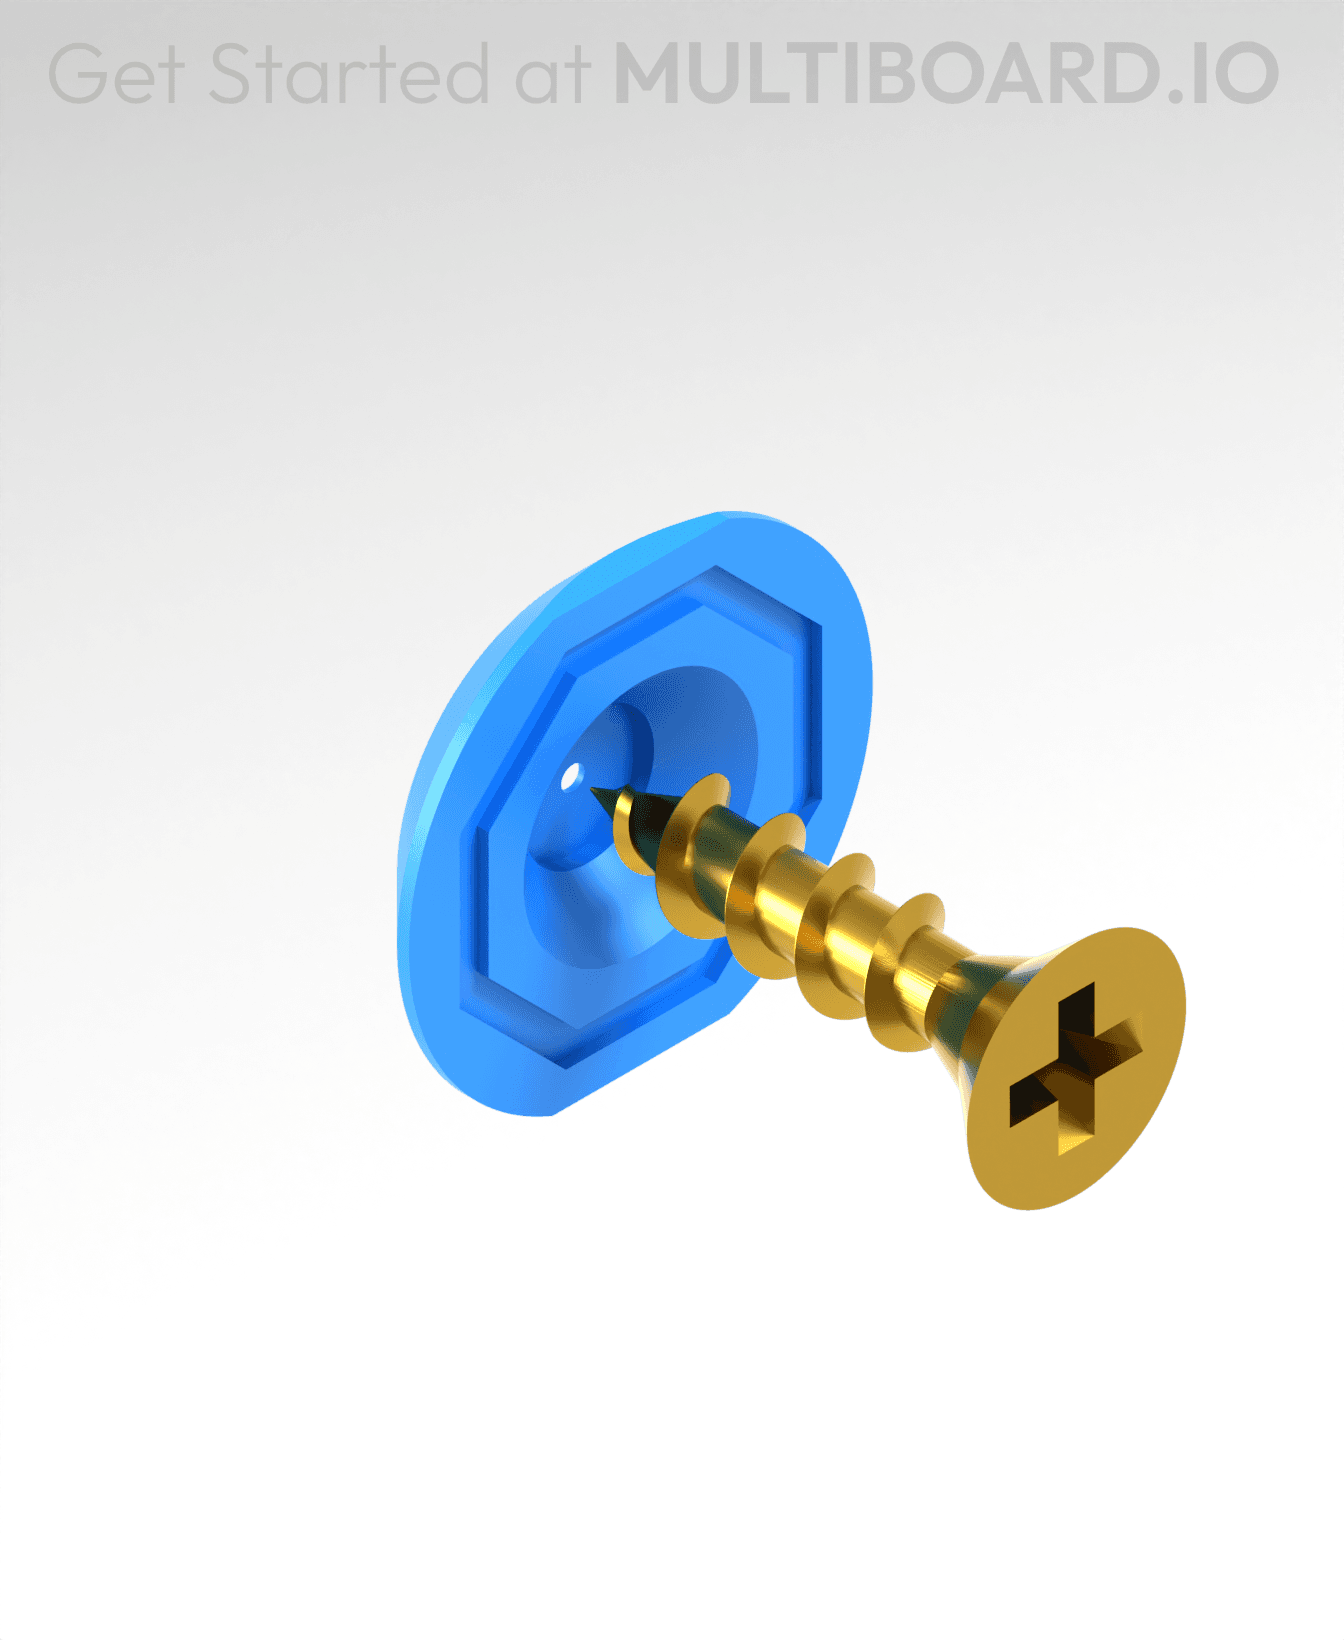
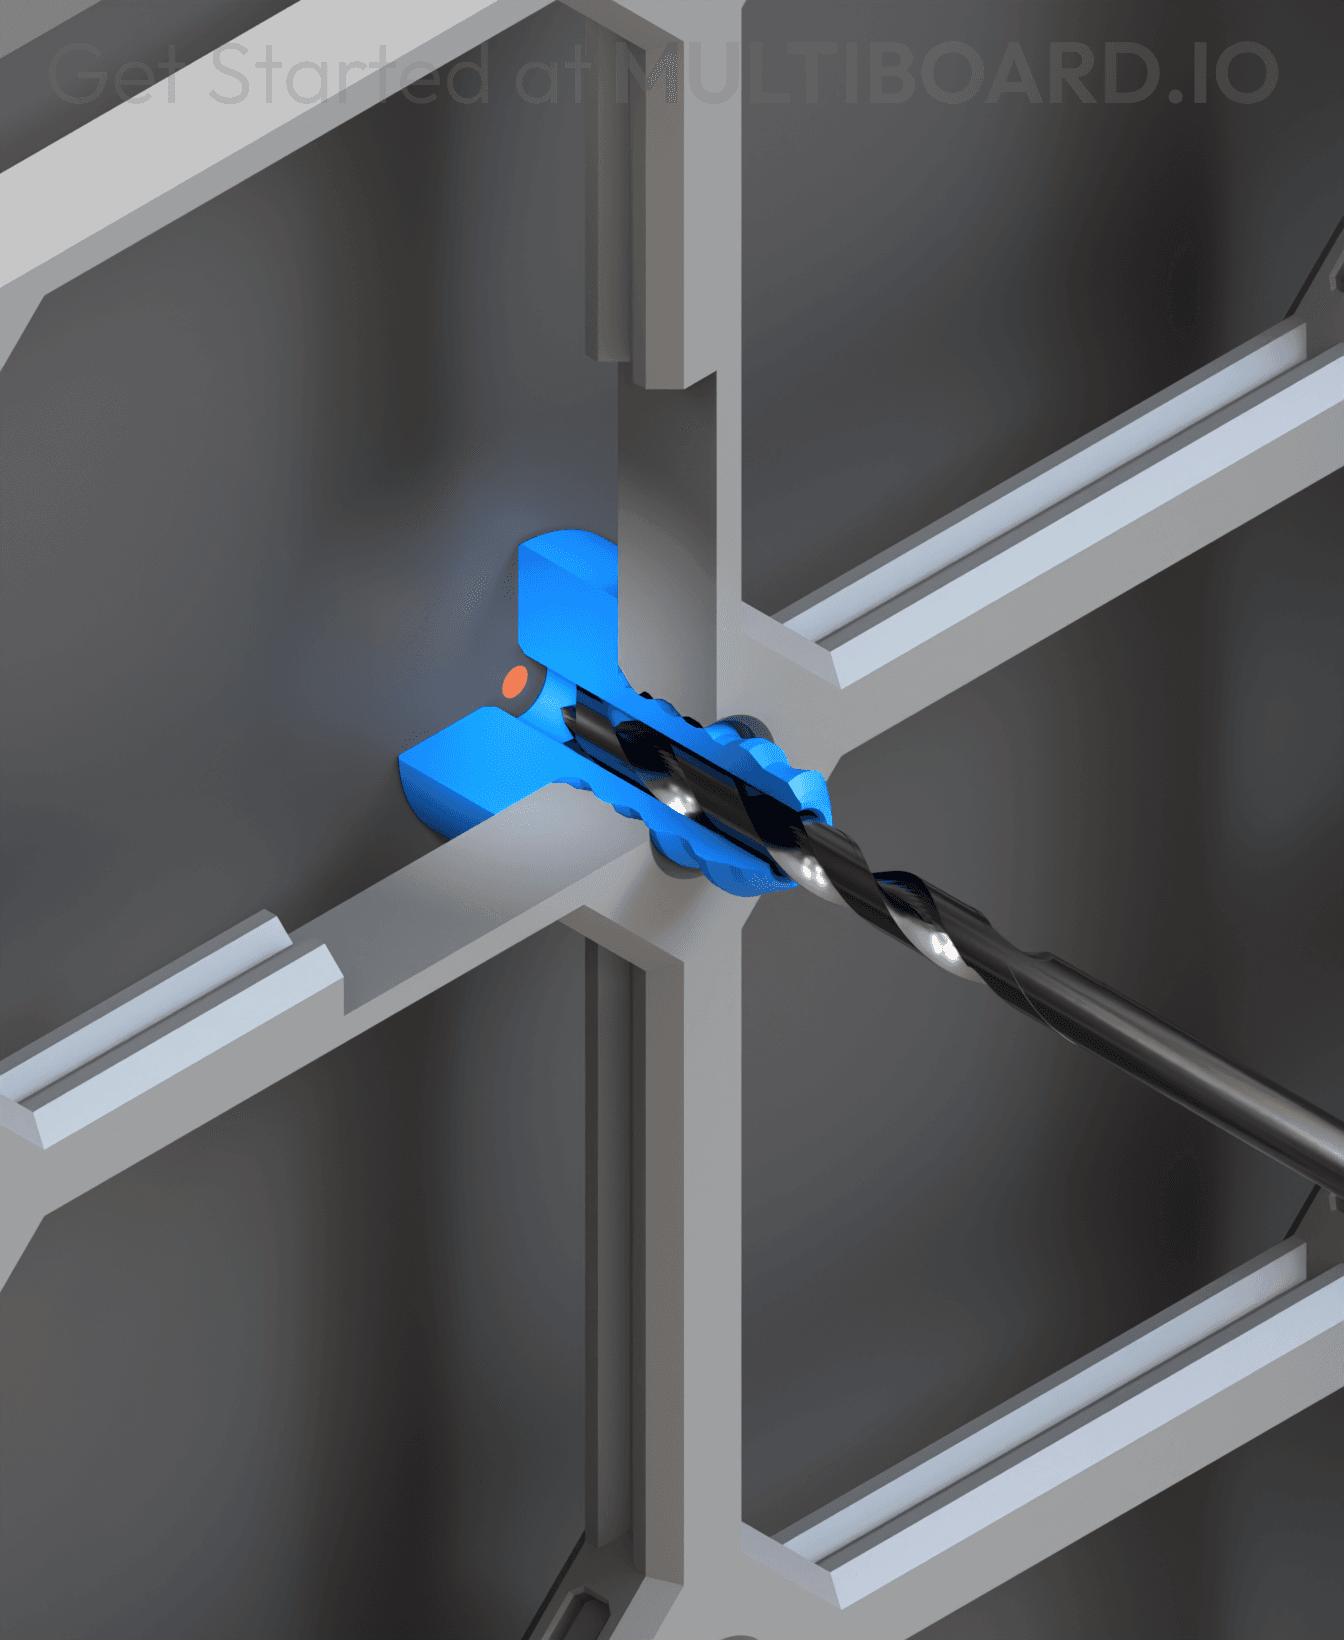
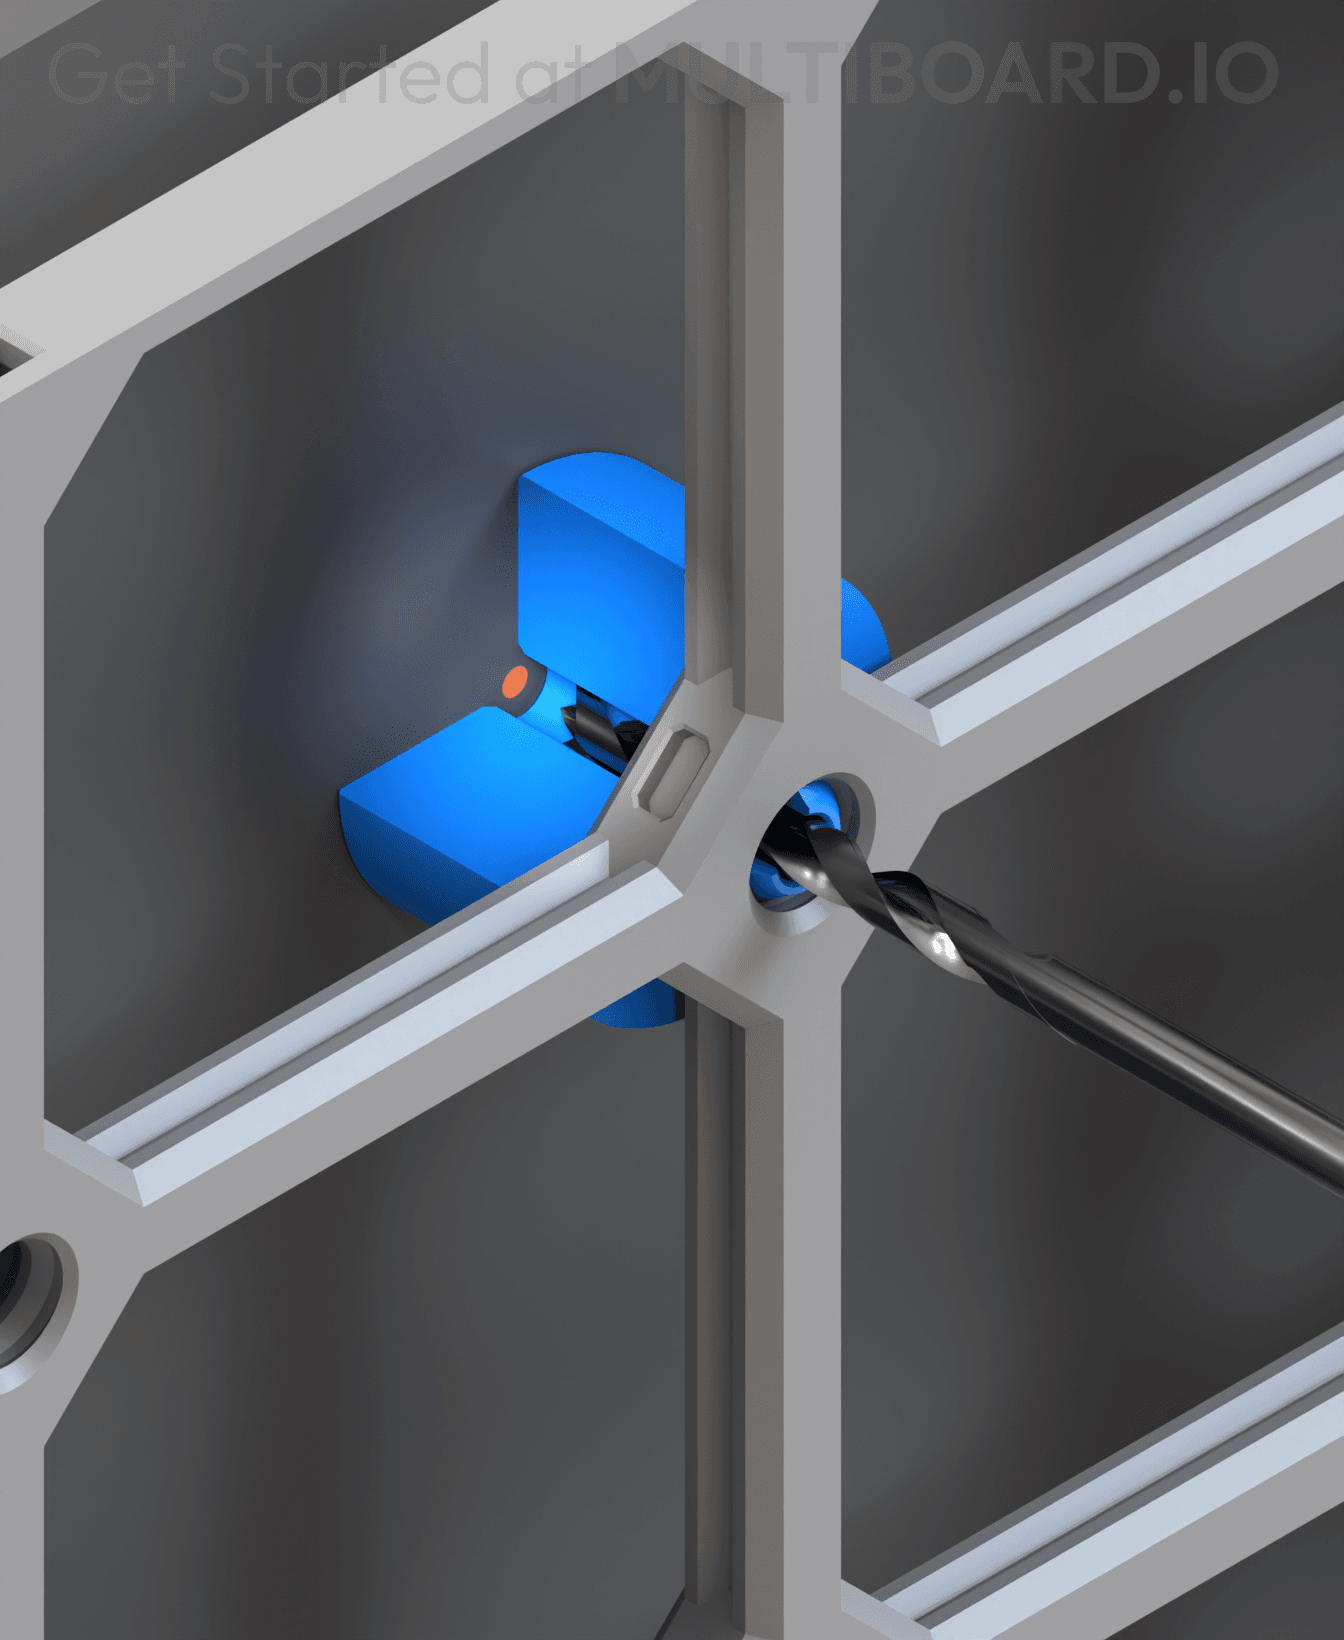
Connect these brackets to your tiles using Multiboard Snaps (use a Weight-Bearing Snap at the top), and lock into place using Locking Bolts.
Brackets can hold another Tile, a Multibin Base Plate, or a Tray:
-
Holding a Tile: Connect your Bracket and Tile together using Snaps (facing down). Then lock using Locking Bolts.
-
Holding a Base Plate: Place the Base Plate on the brackets and lock using Locking Bolts.
-
Holding a Tray: To hold a Tray, use Bracket-Multipoint Joins, you will also need a Multipoint and a Locking Bolt.
Printing Guidelines:
The printing orientation is as provided in the file. The print has been designed to be “3 wall perimeters” in wall thickness. Printed at a layout height of 0.2 mm. It doesn't need printing supports. Use the default 15% infill. This part has been designed with a tolerance of 0.25 mm. Your printer will need to be able to bridge gaps of up to 30 mm for some designs.
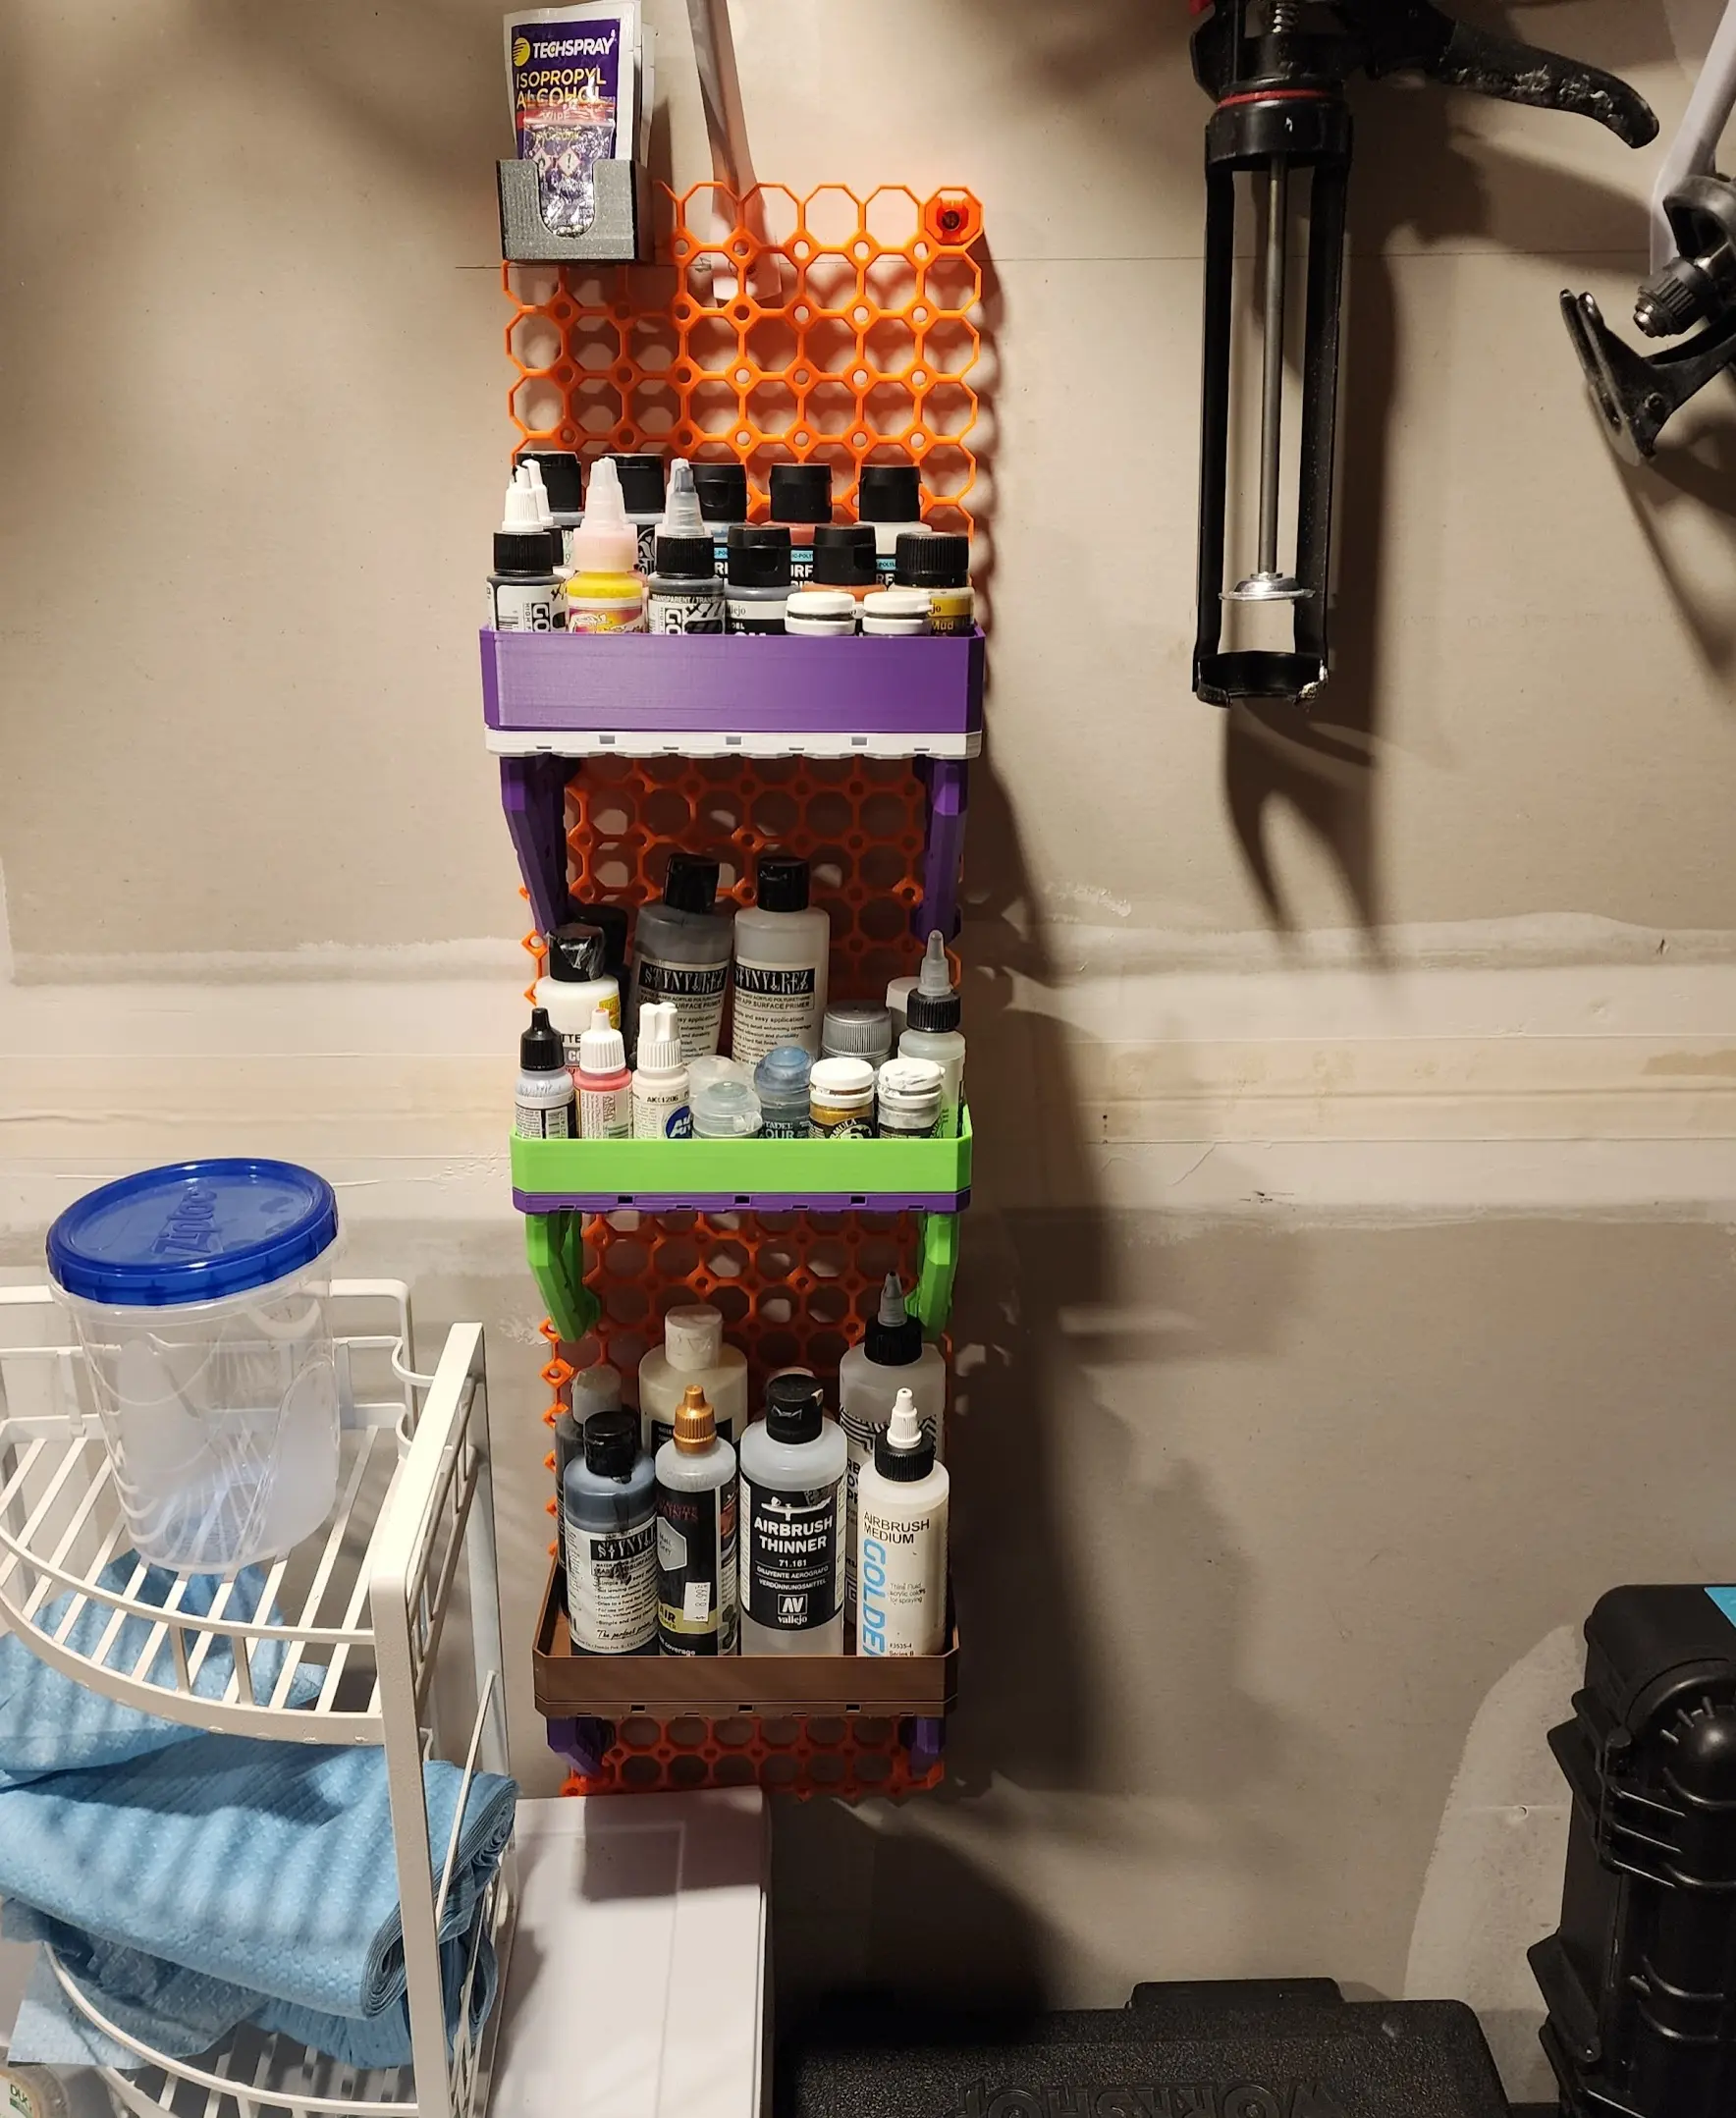
This object is part of Multiboard, a FREE and ridiculously modular organization system with thousands of parts, for creating the most adaptable workspace possible. Learn more and find ALL the parts at https://multiboard.io

4x4 MU Bracket - Bolt-Locked Inserts
Fix Point to Countersink Adapter

Flush - Small Hole Center Marking Tool
6.25 Offset - Small Hole Center Marking Tool
12.5 Offset - Small Hole Center Marking Tool
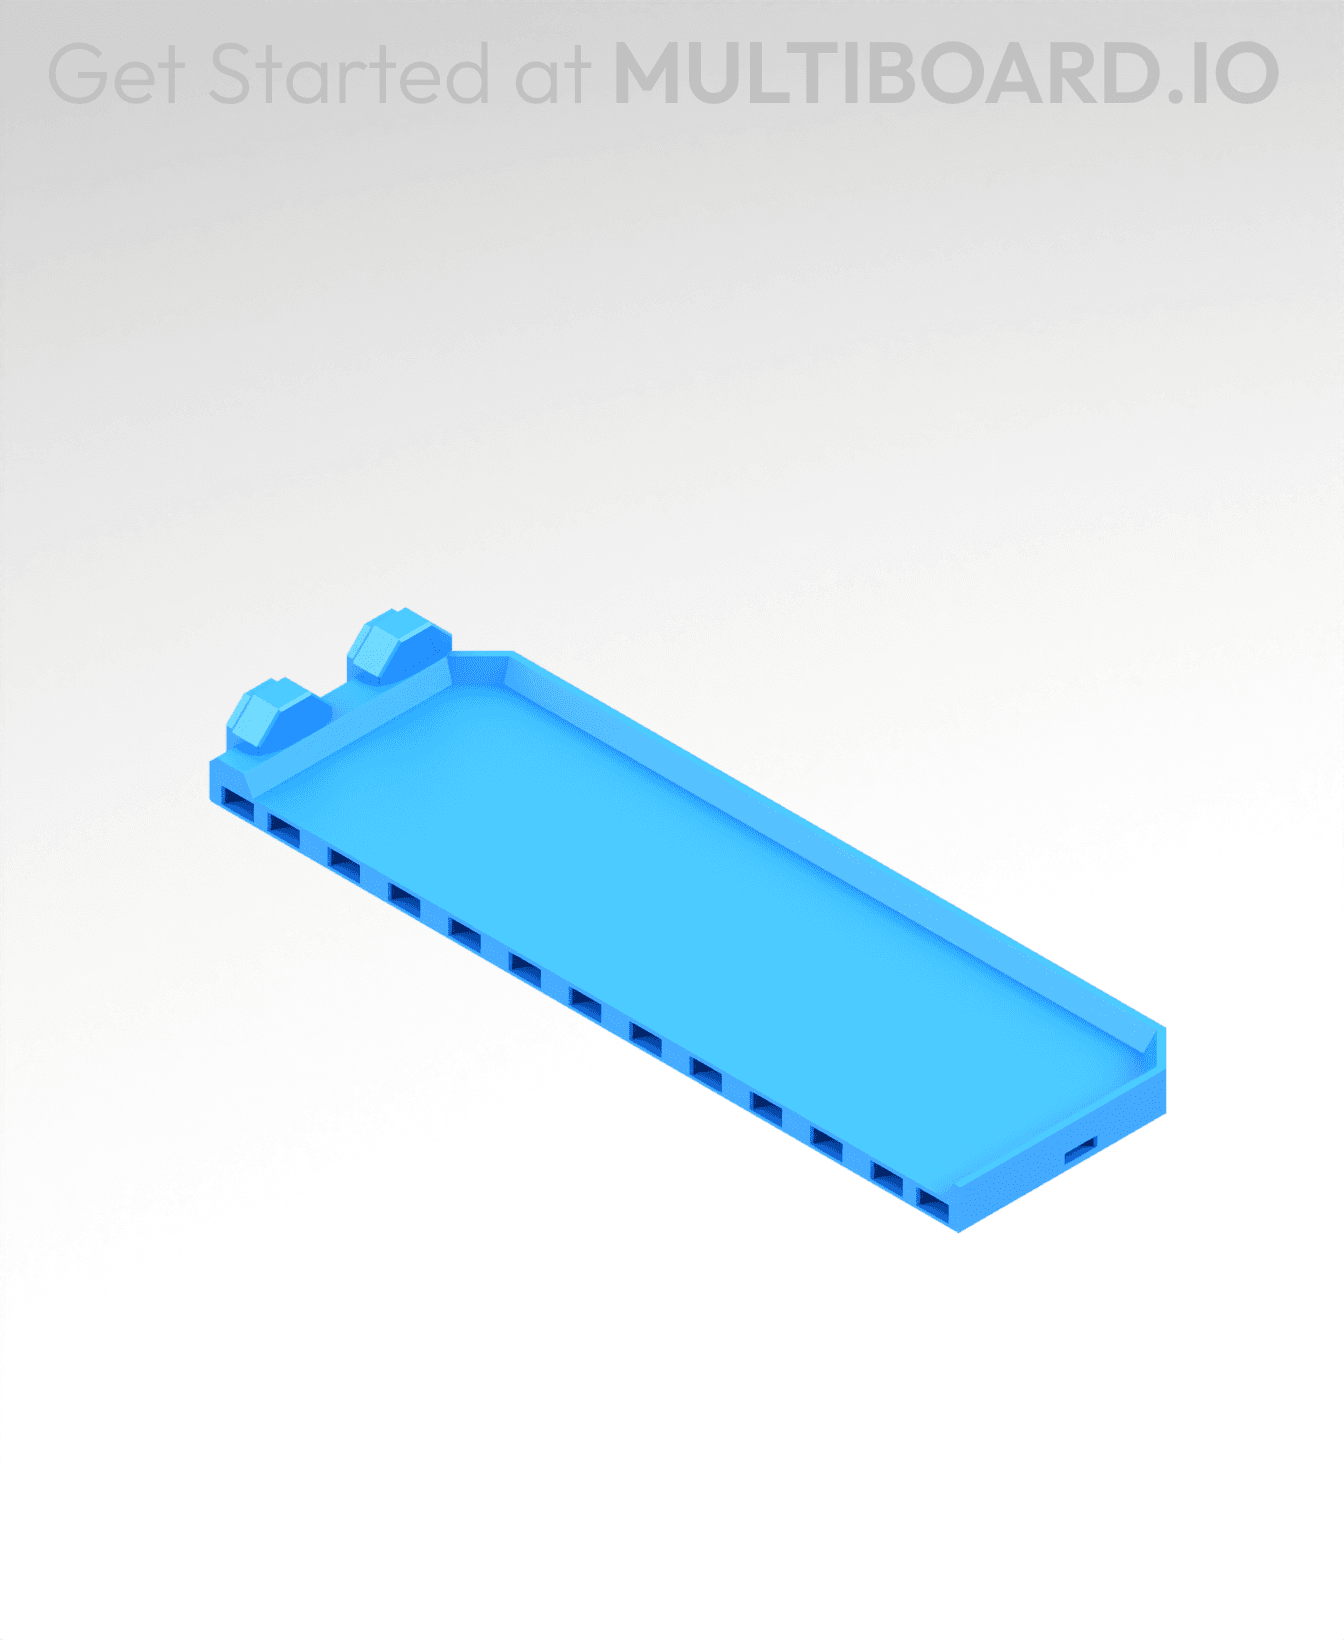
2x6 MU - Right Support End - Modular Bolt-Locked Shelf
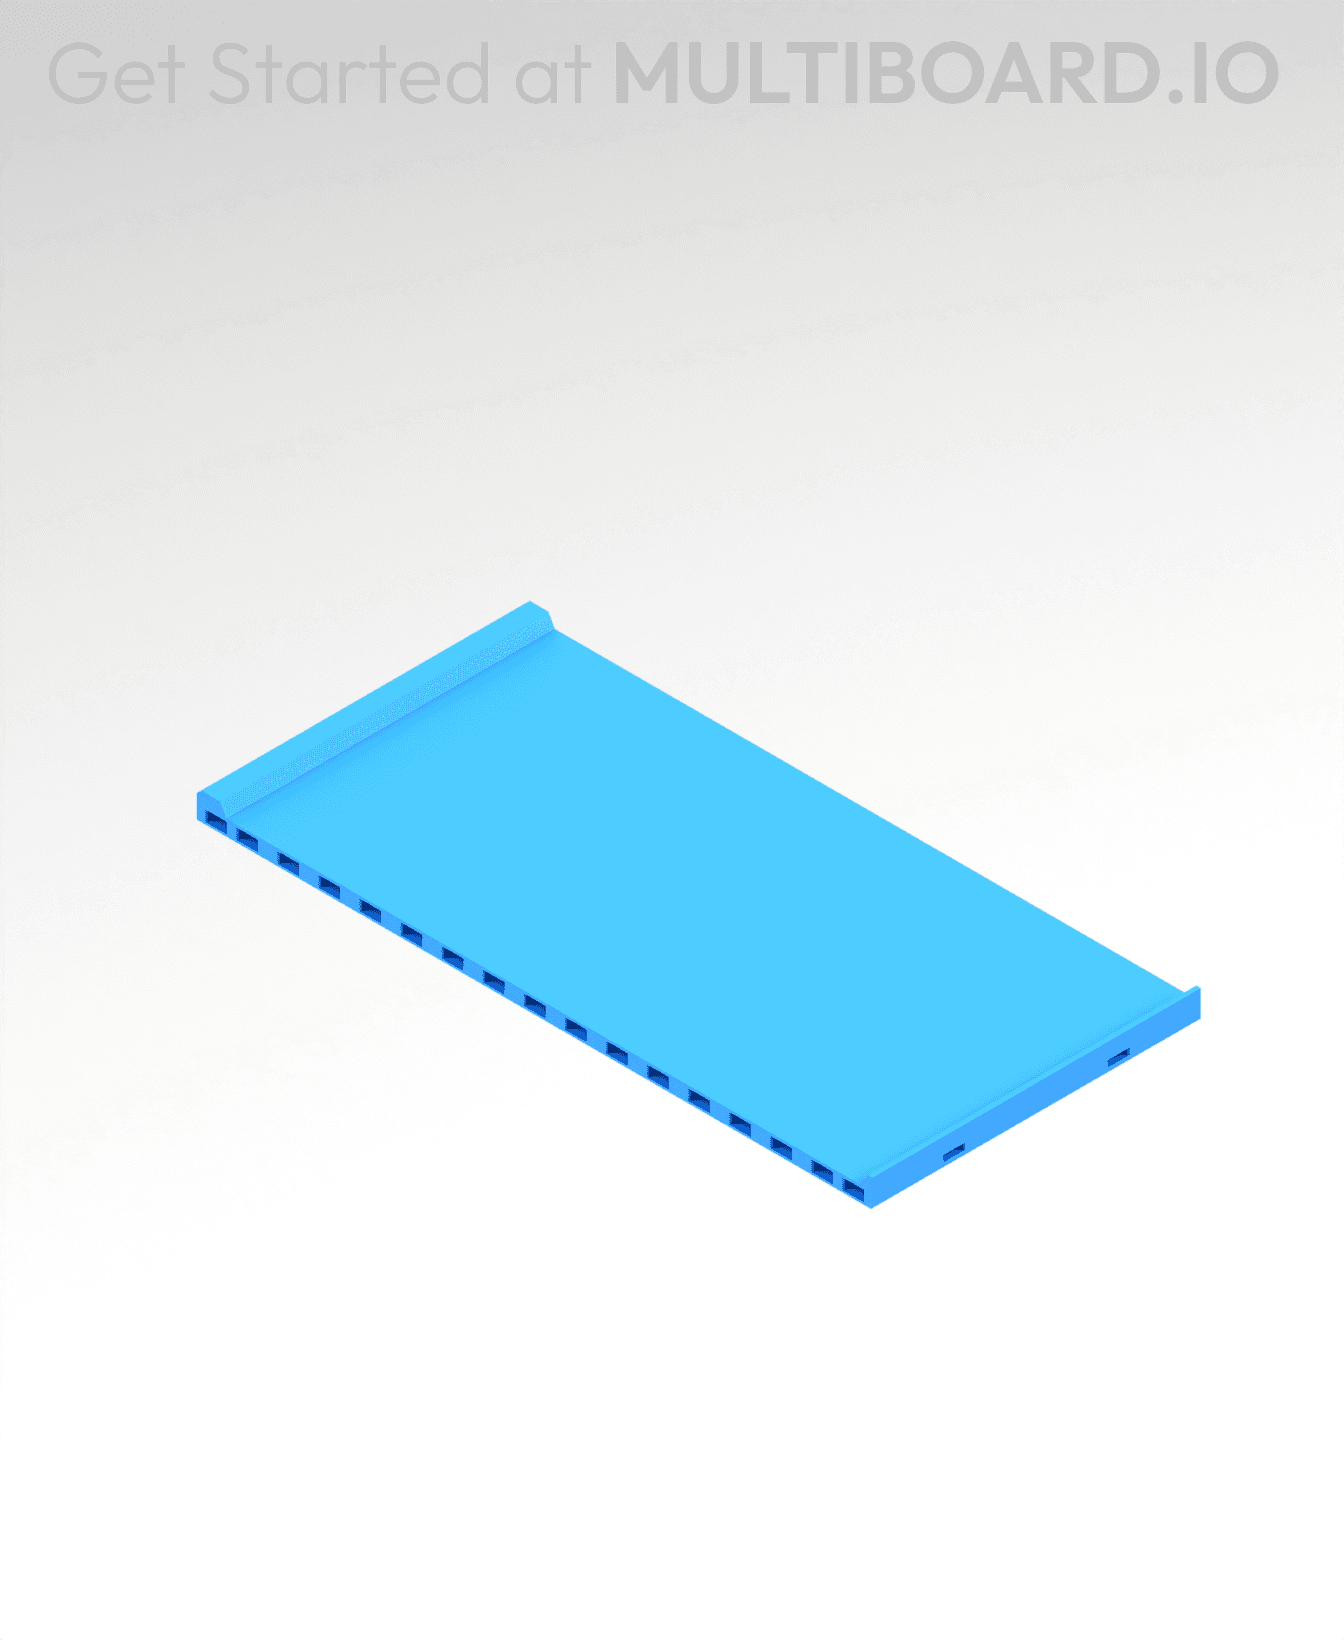
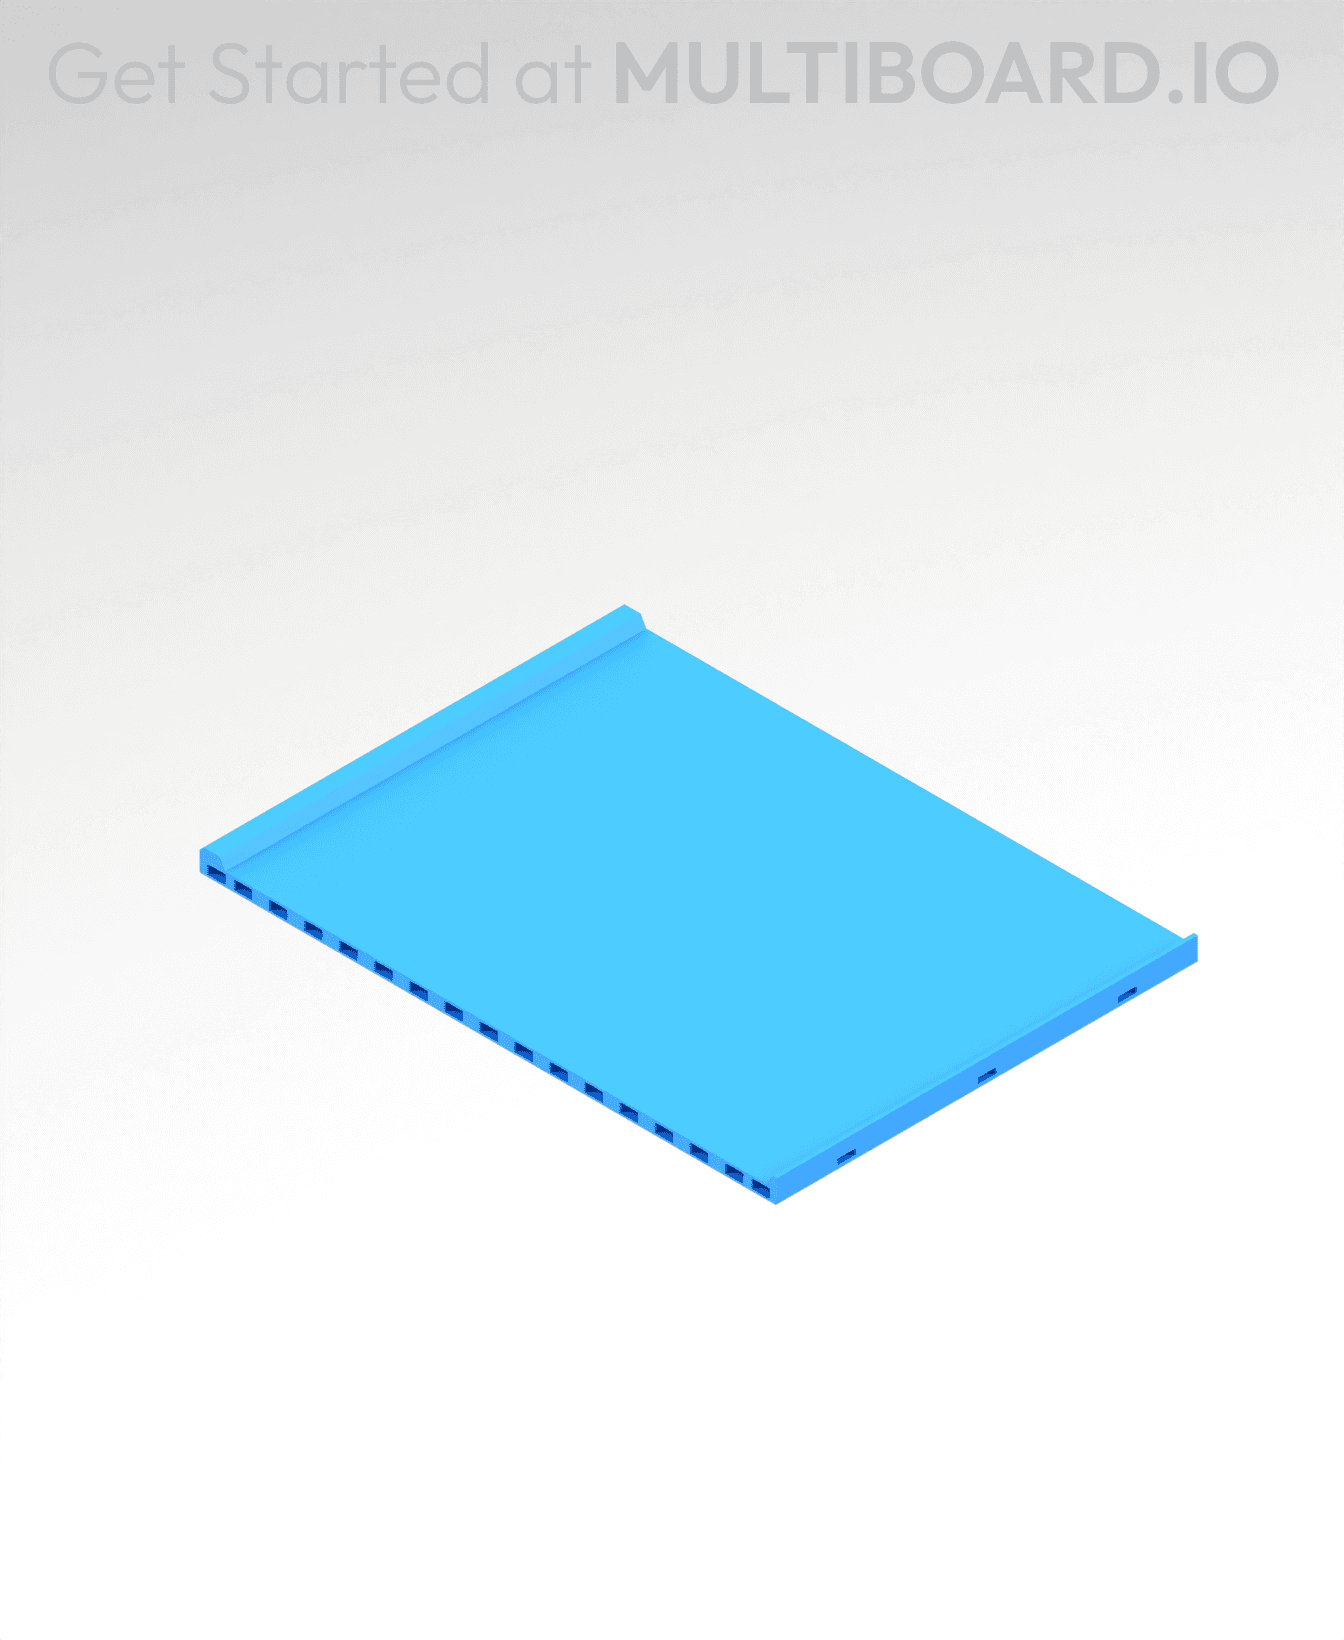
4x8 MU - Center - Modular Bolt-Locked Shelf
2x2 MU - Right Support End - Modular Bolt-Locked Shelf
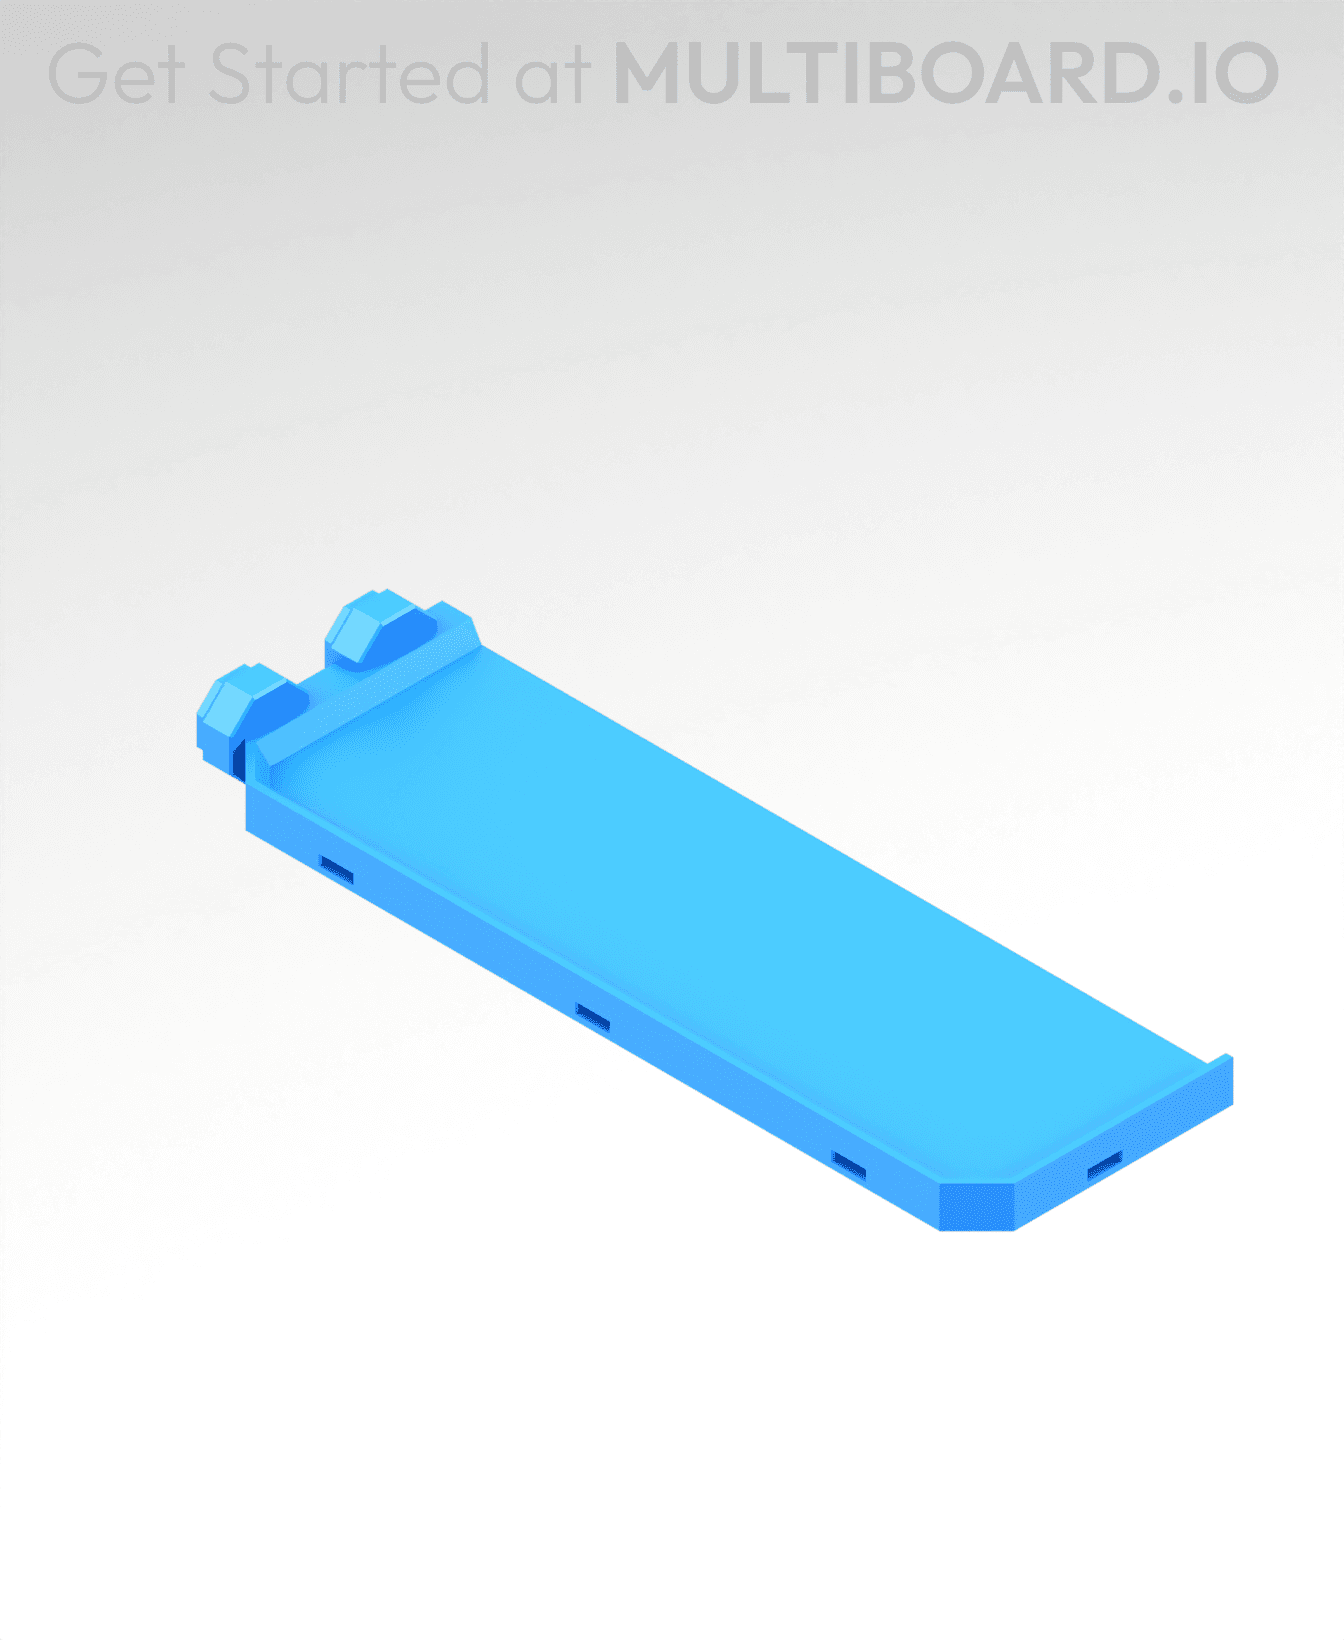
2x6 MU - Left Support End - Modular Bolt-Locked Shelf
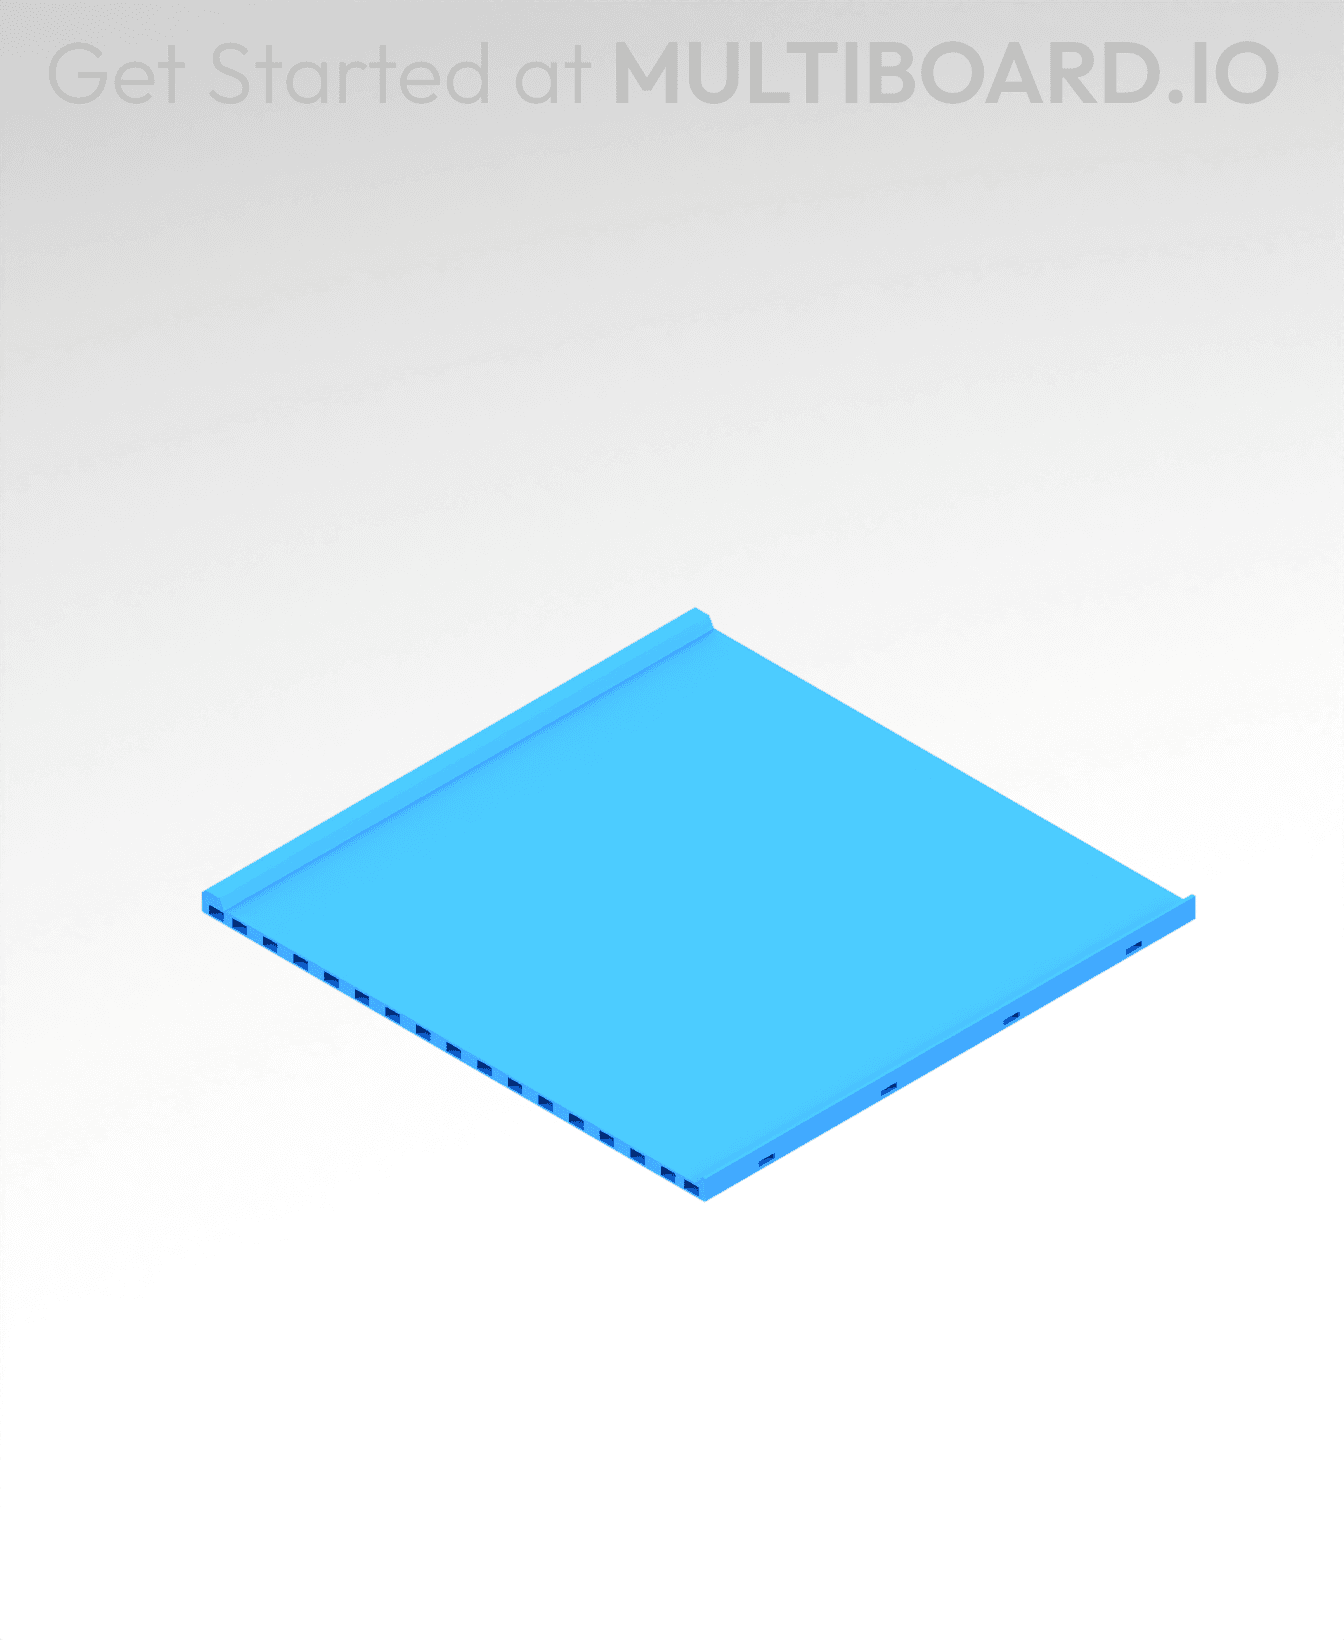
8x8 MU - Center - Modular Bolt-Locked Shelf
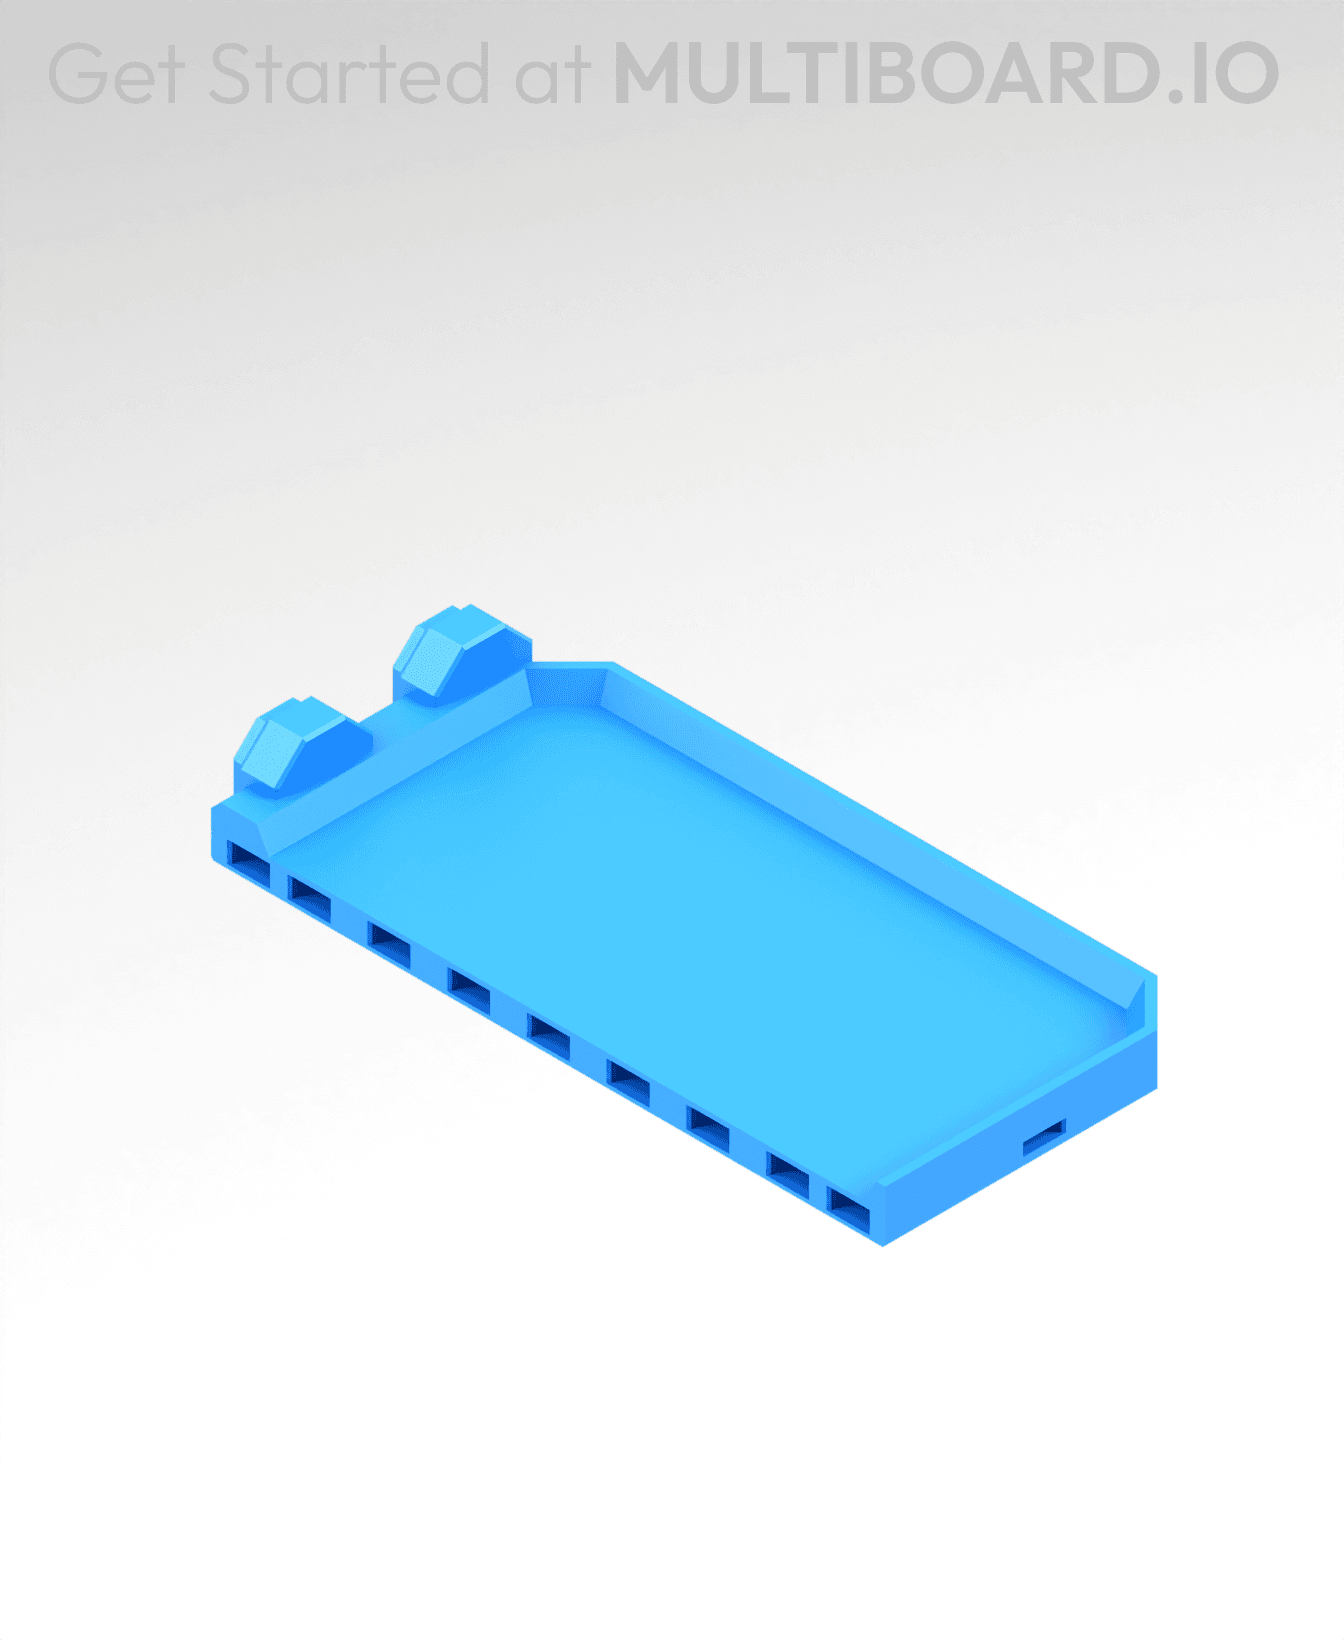
2x4 MU - Right Support End - Modular Bolt-Locked Shelf
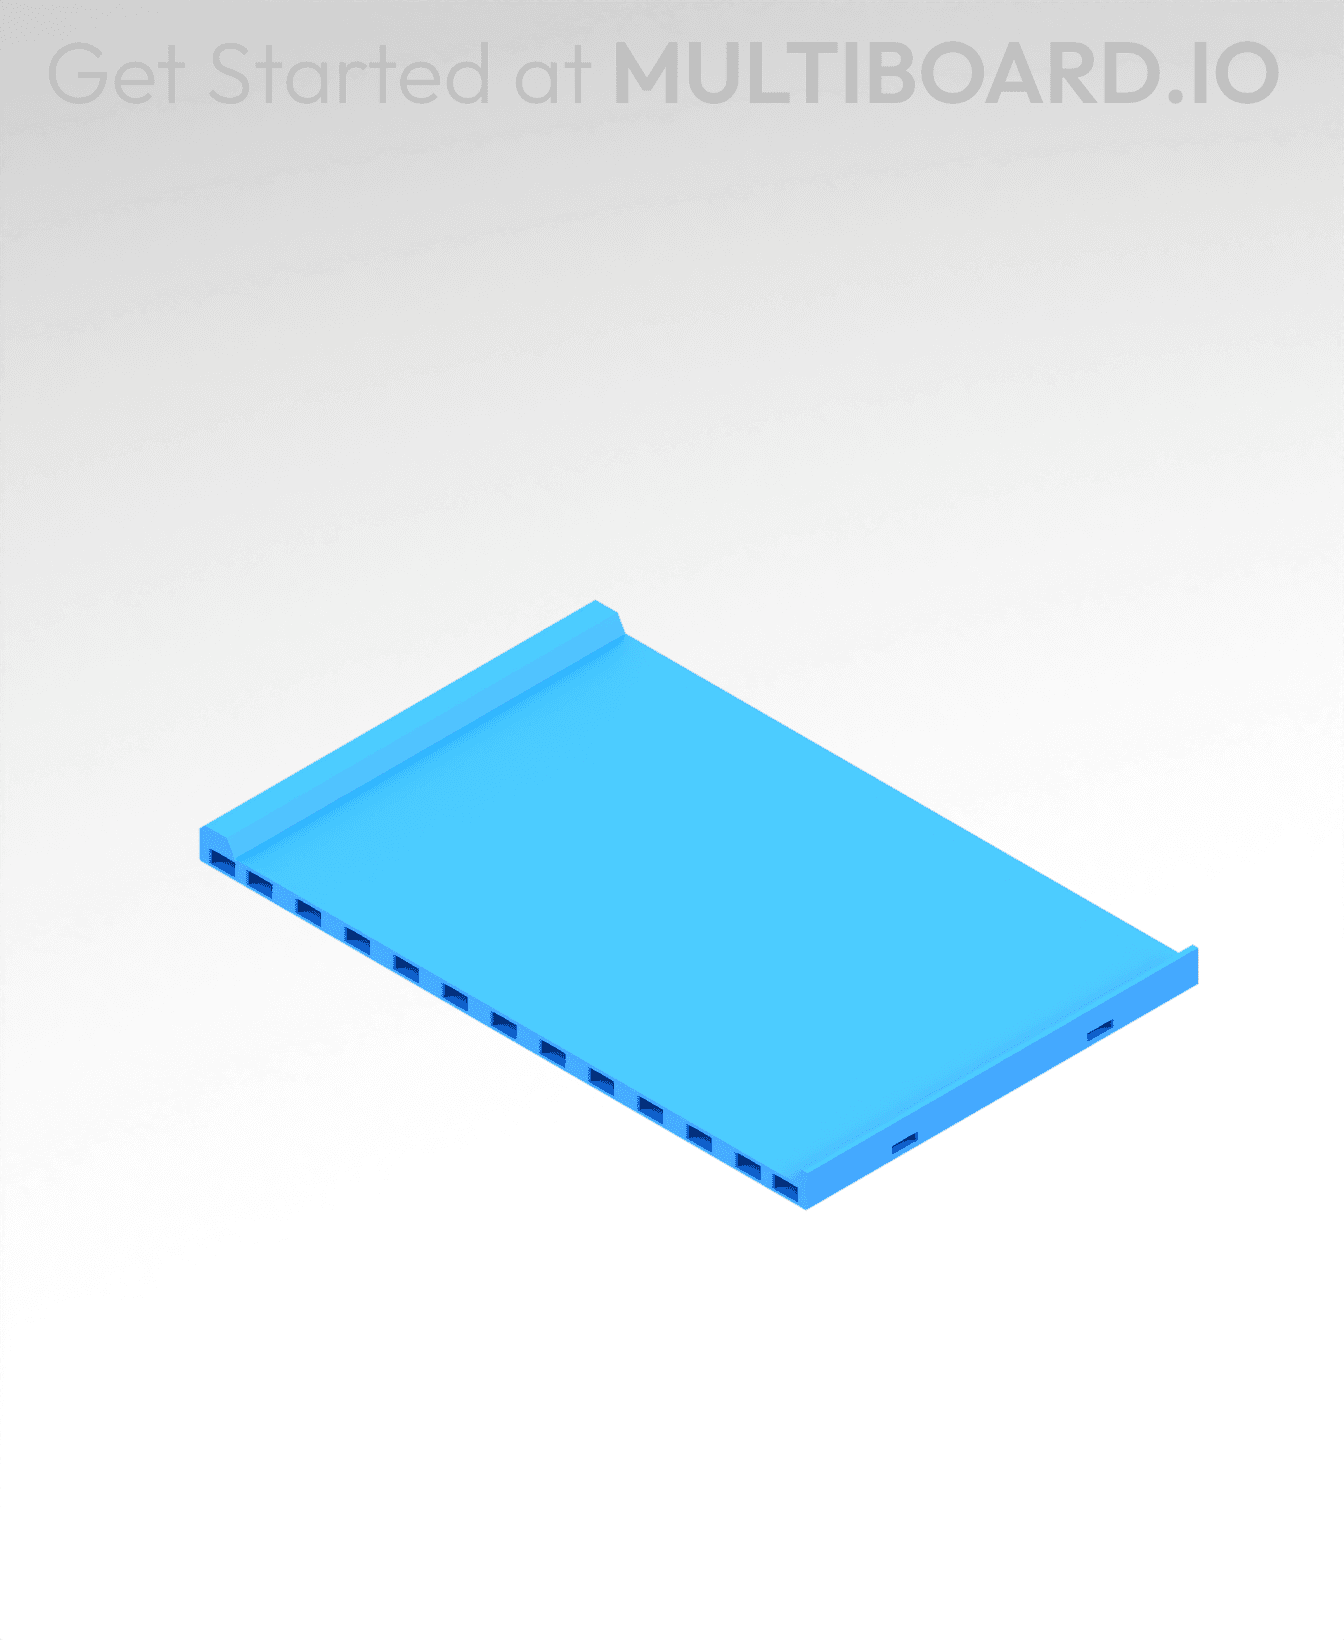
4x6 MU - Center - Modular Bolt-Locked Shelf
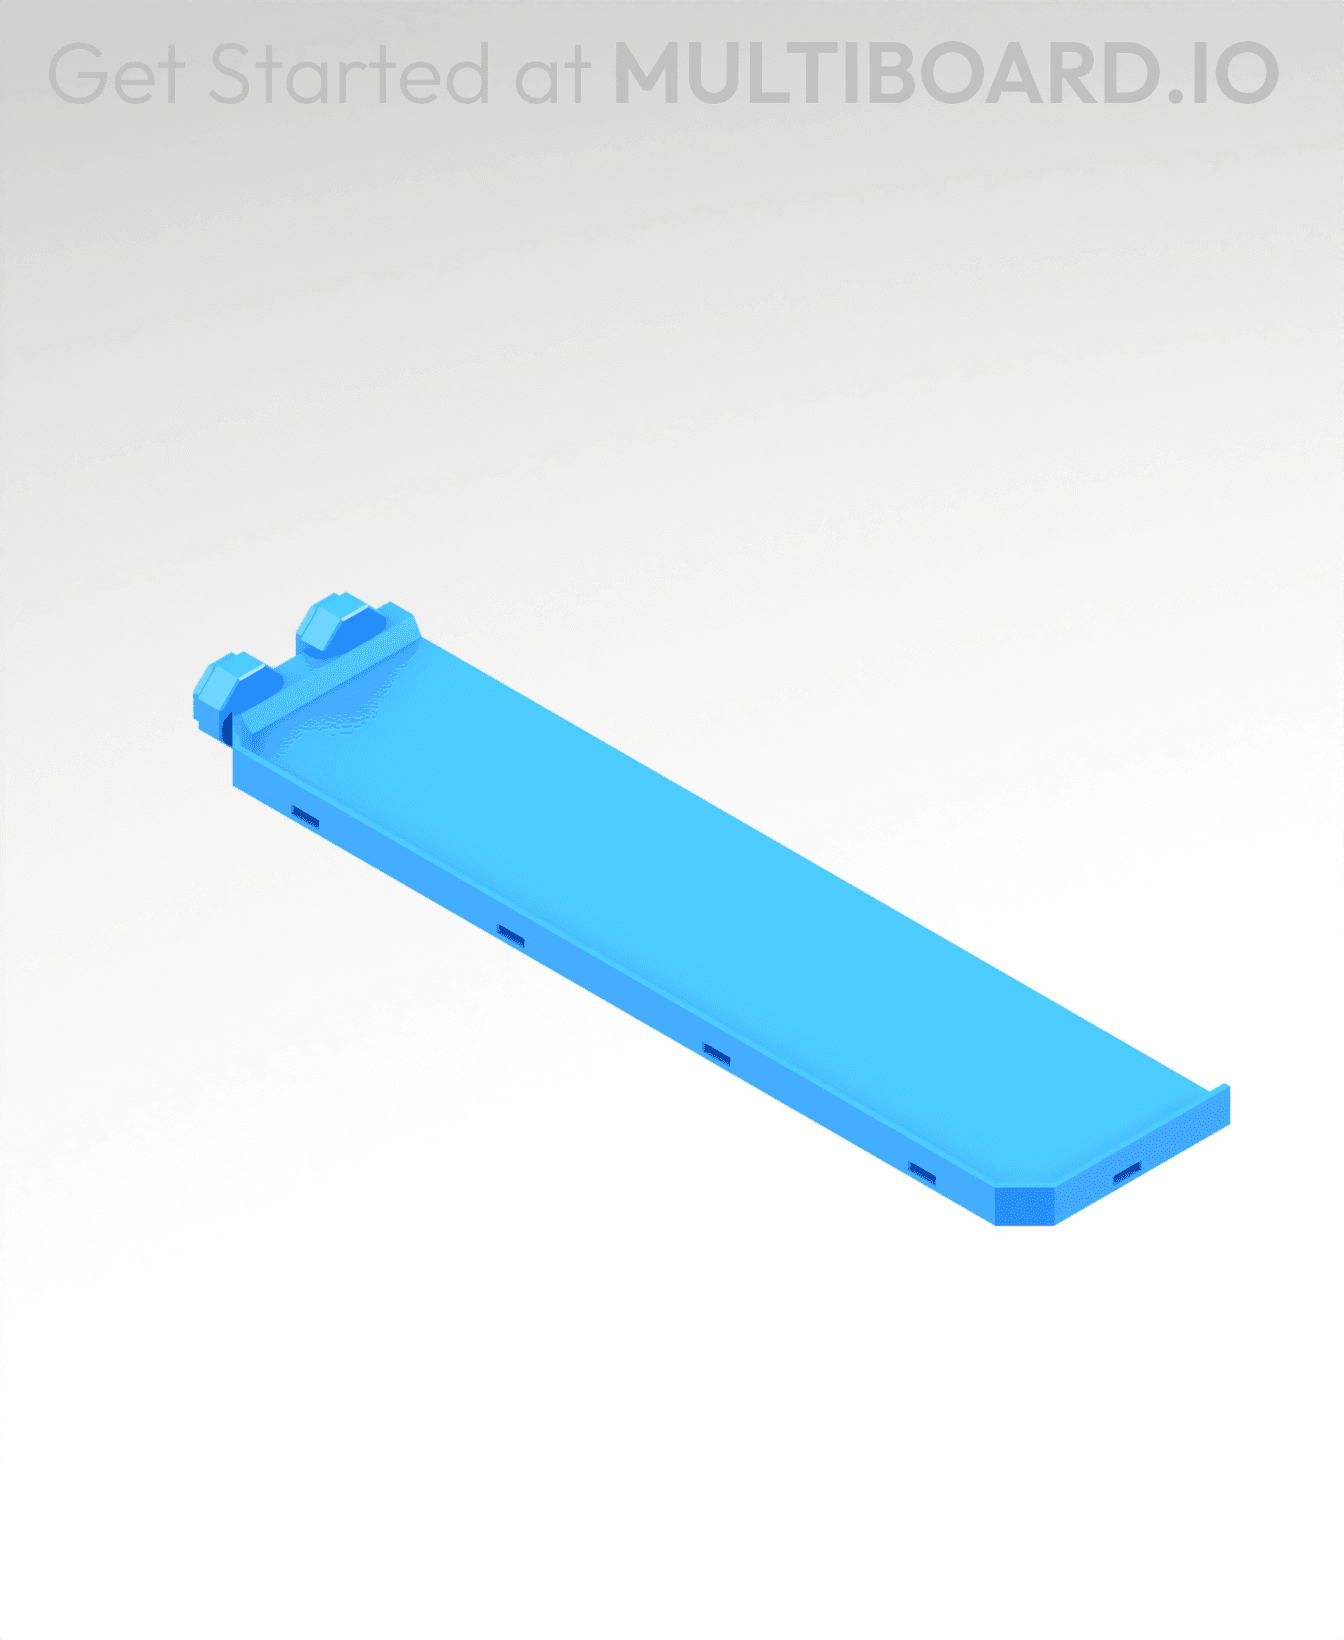
2x8 MU - Left Support End - Modular Bolt-Locked Shelf
2x2 MU - Left Support End - Modular Bolt-Locked Shelf
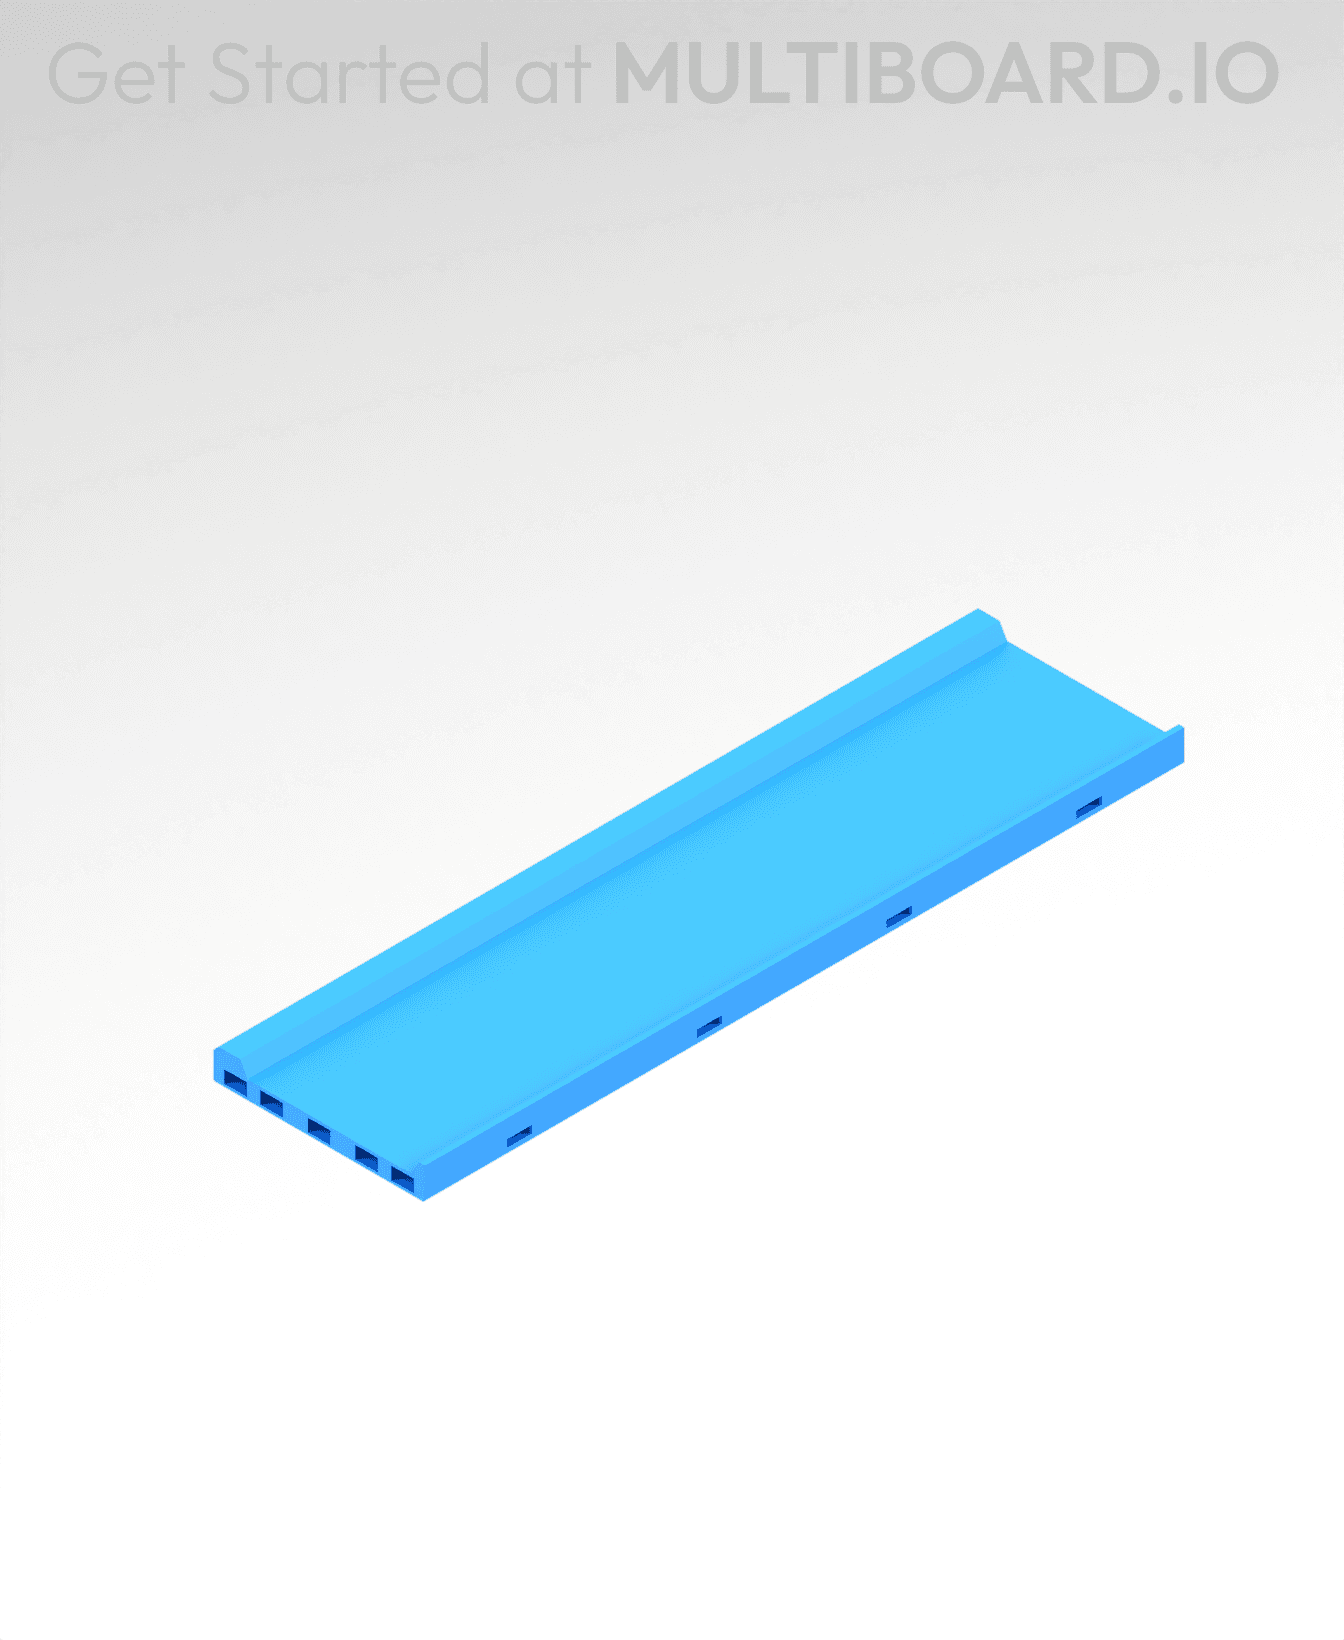
8x2 MU - Center - Modular Bolt-Locked Shelf
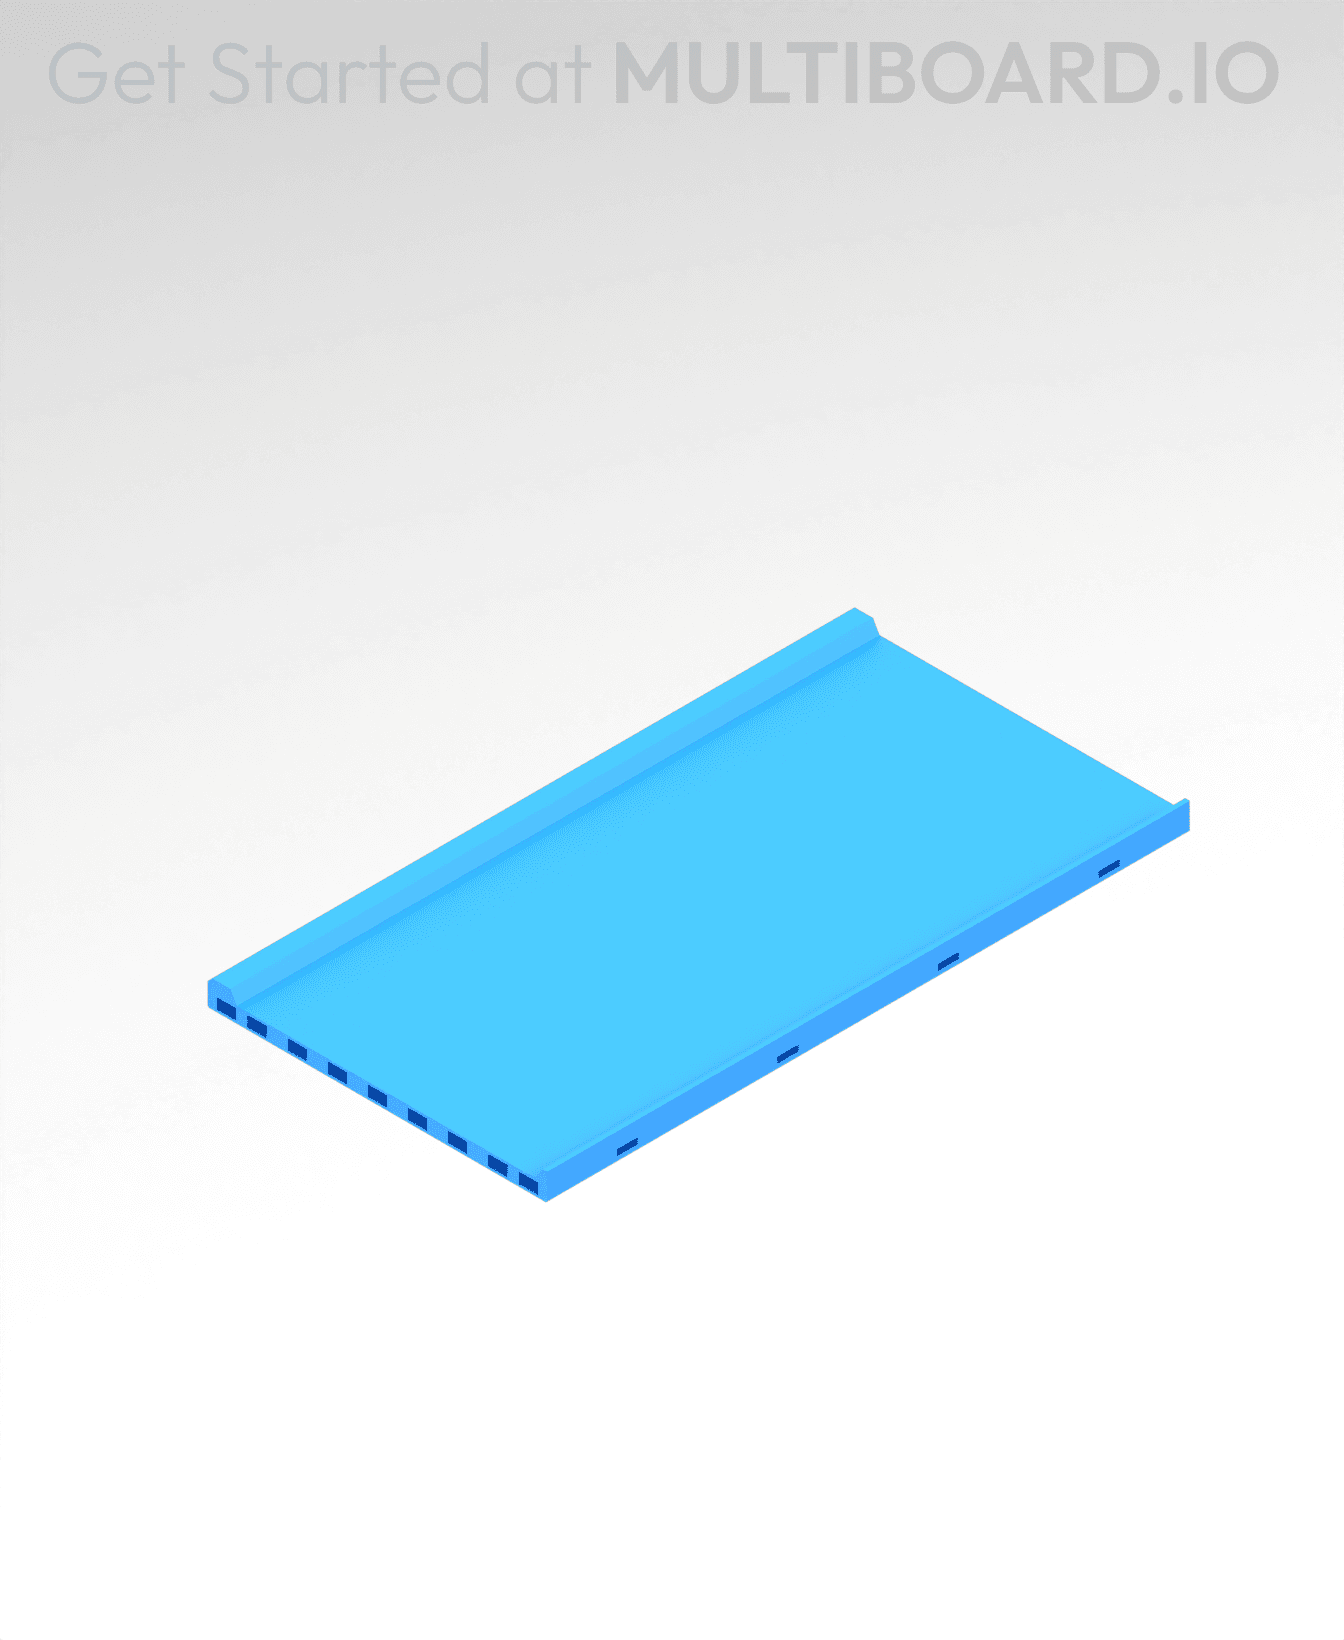
8x4 MU - Center - Modular Bolt-Locked Shelf
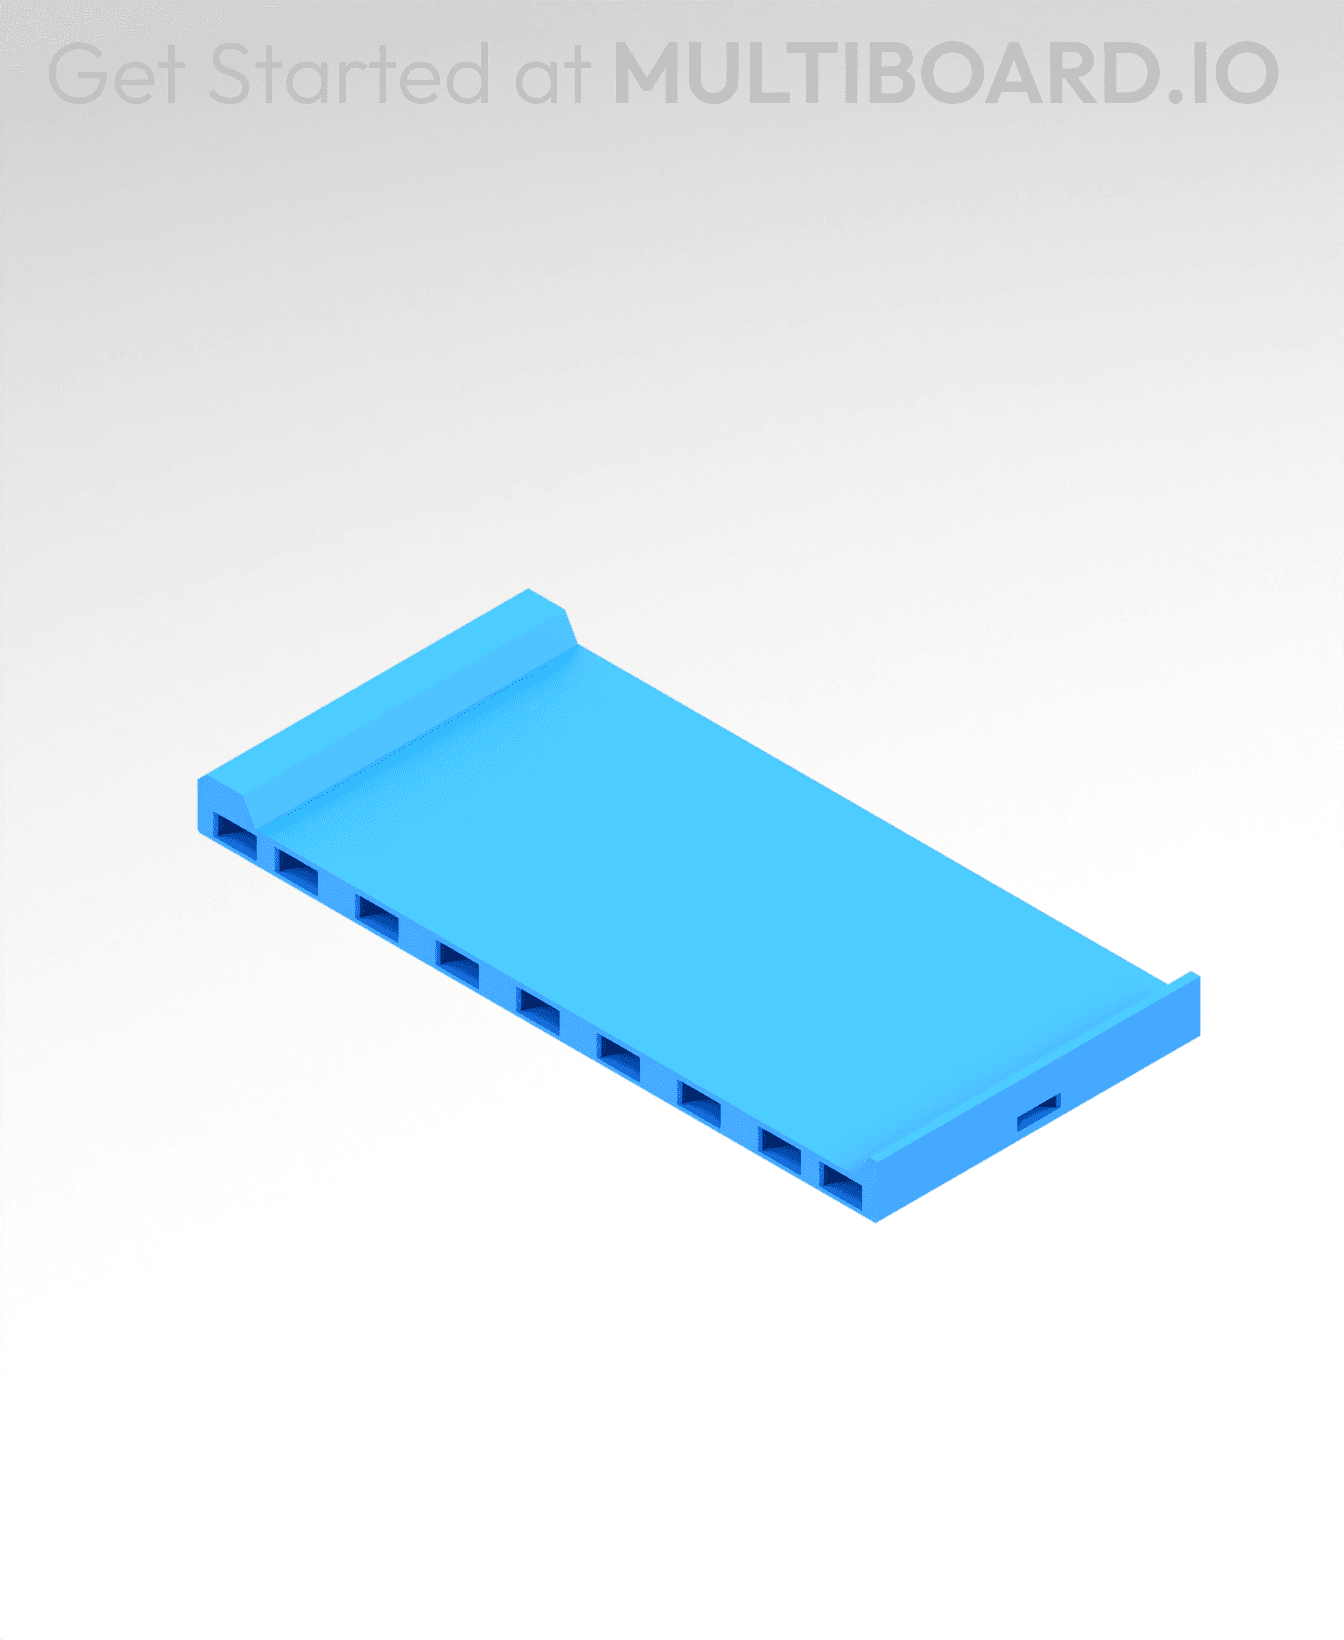
2x4 MU - Center - Modular Bolt-Locked Shelf

2x8 MU - Right Support End - Modular Bolt-Locked Shelf
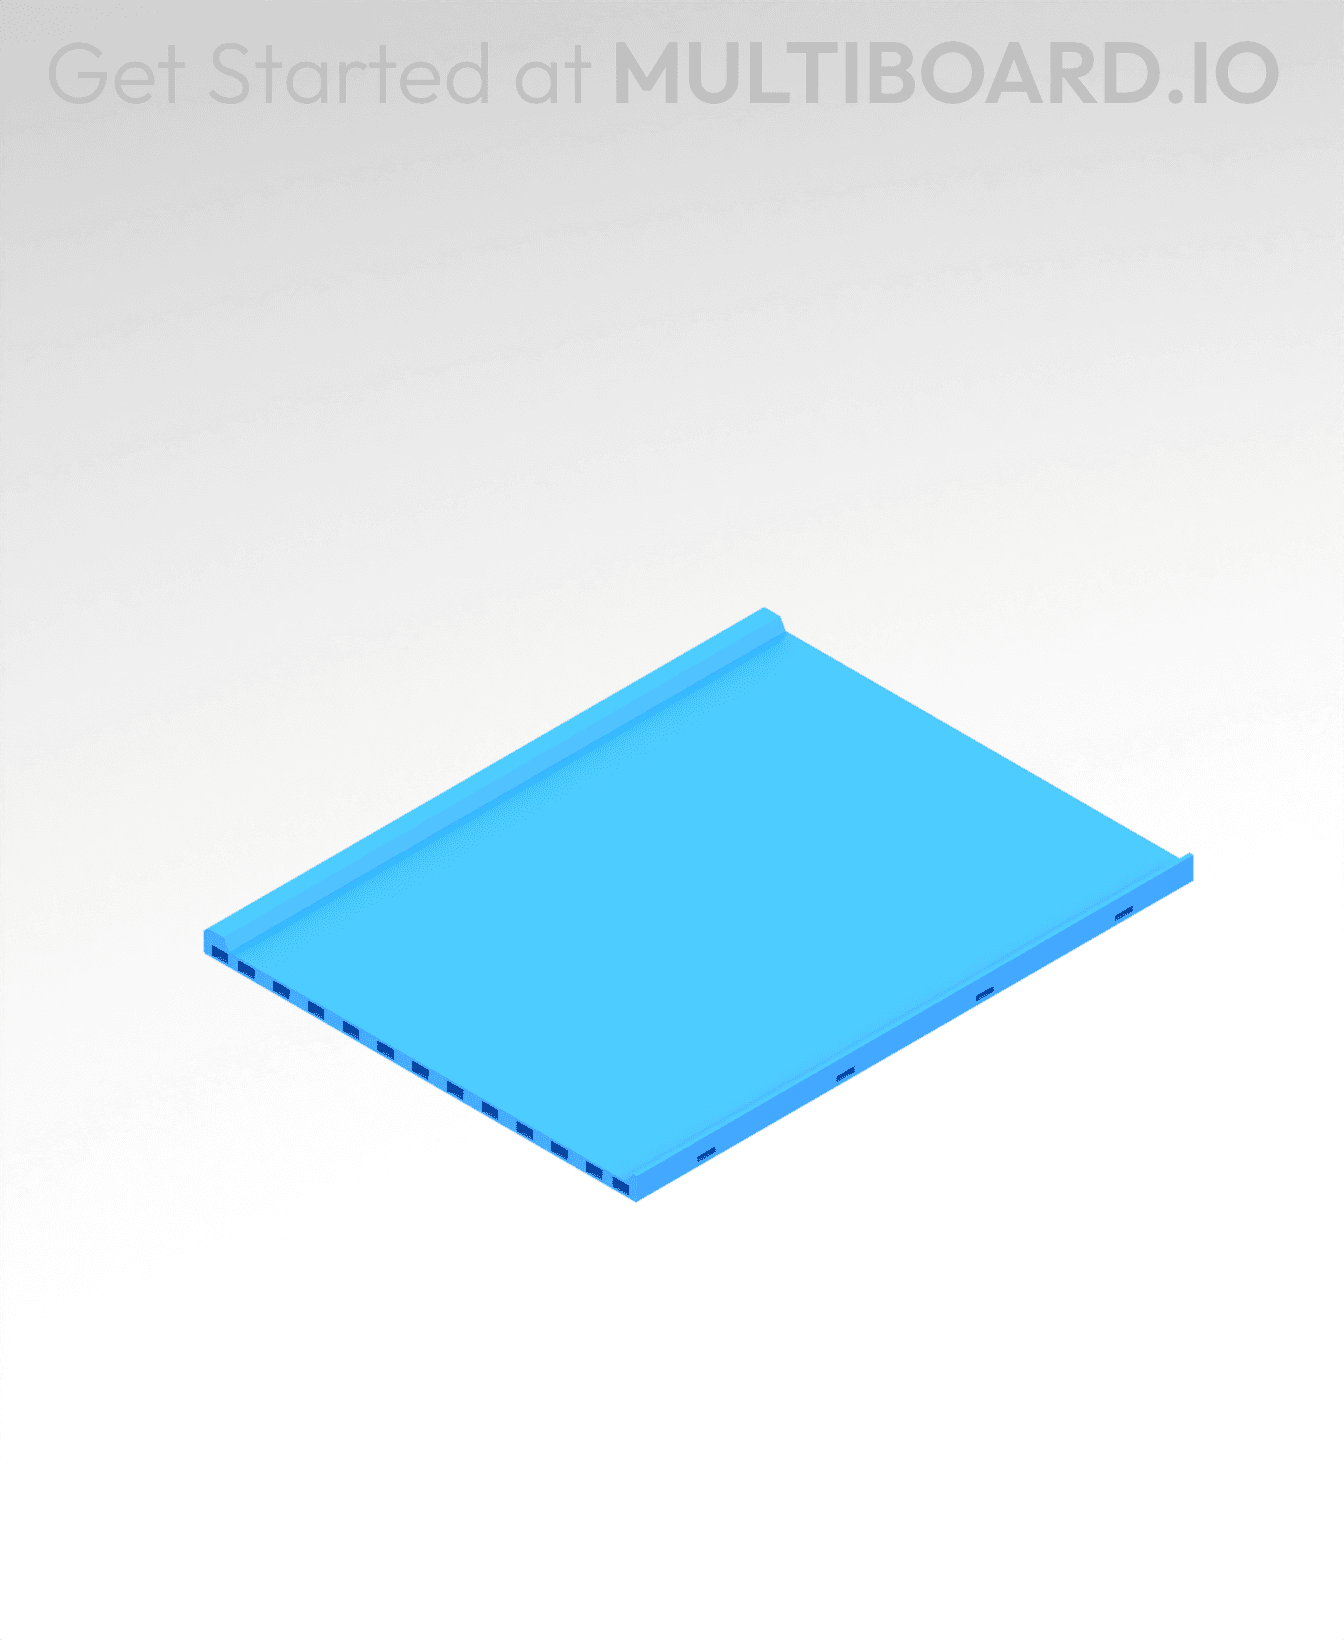
8x6 MU - Center - Modular Bolt-Locked Shelf
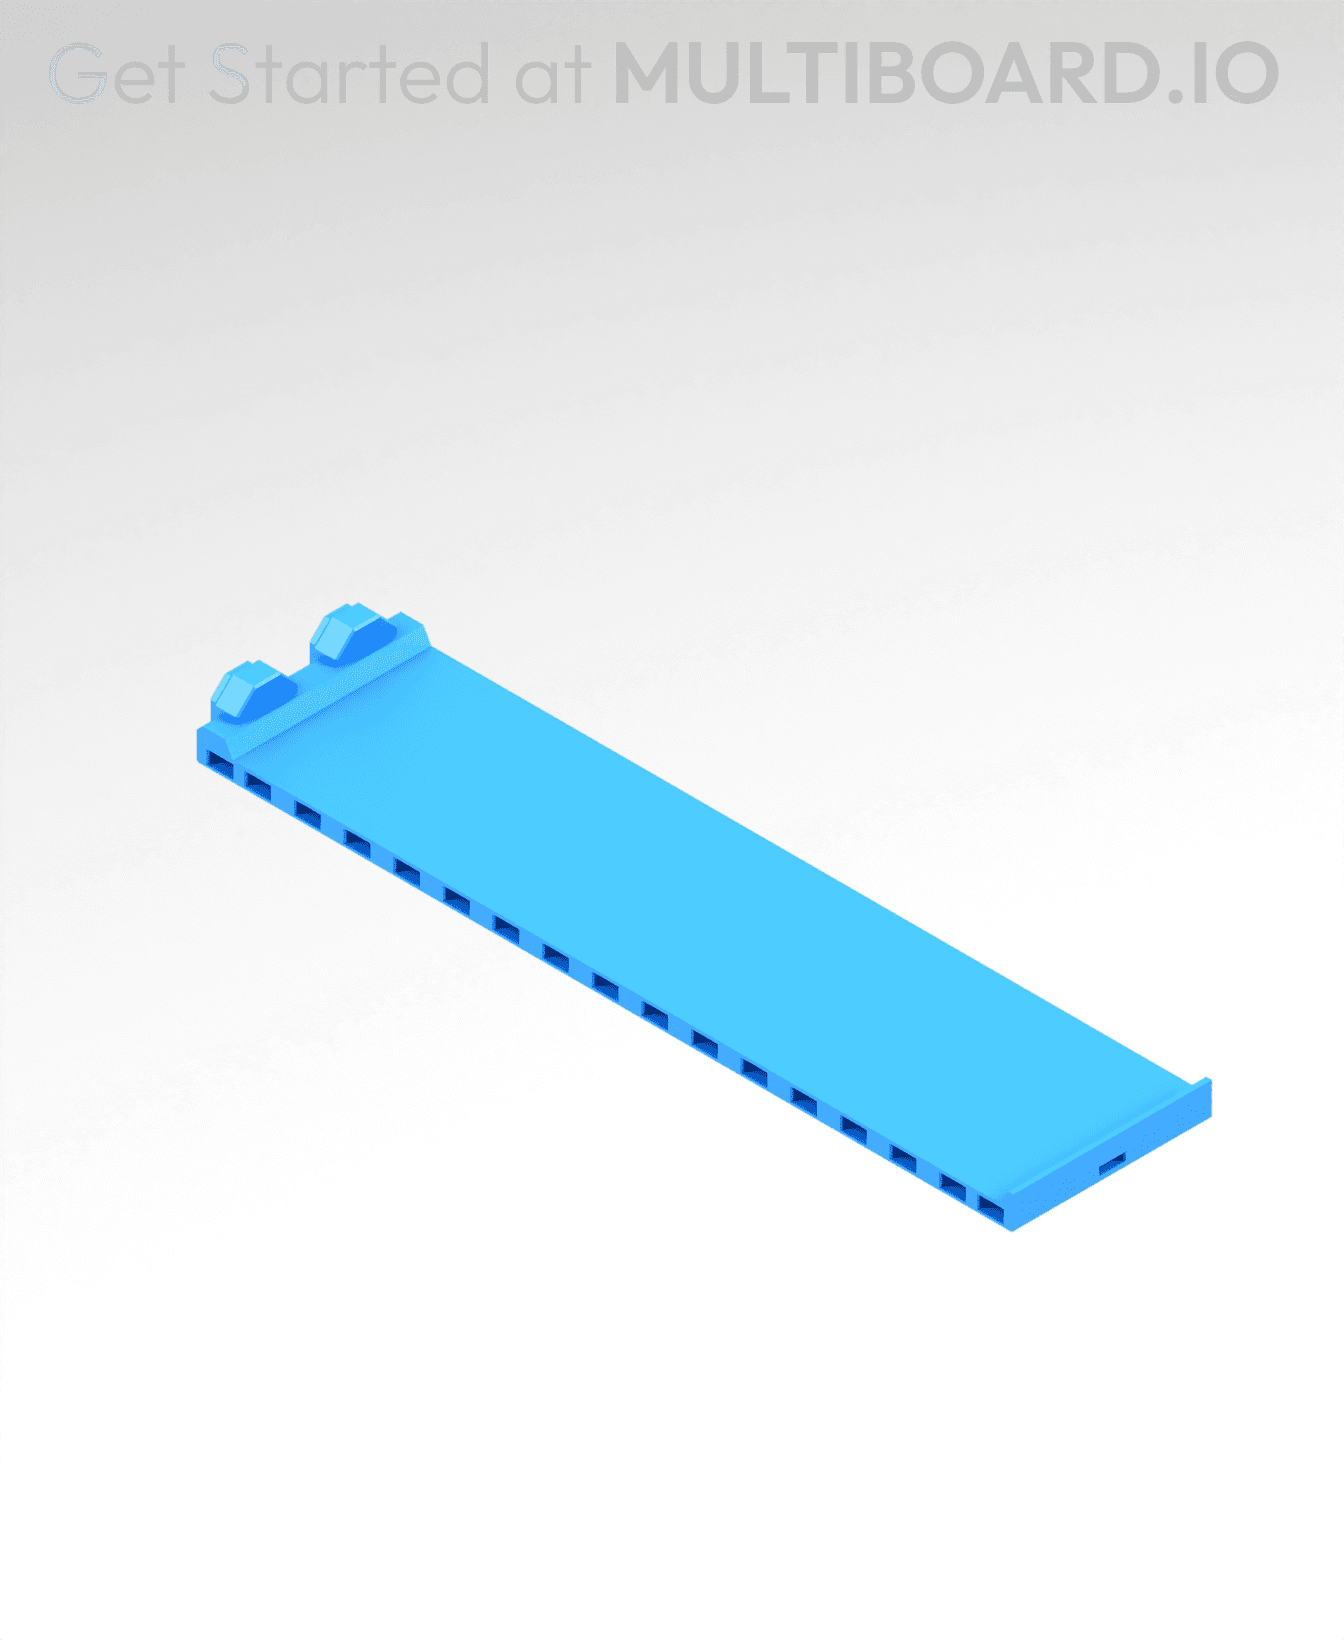
2x8 MU - Center Support - Modular Bolt-Locked Shelf
Maybe I'm missing something but the description says "This part comes with two versions:" push fit and bolt lock, when i download, i only get one file (bolt lock). Am I missing something here? lol
Estou ajustando. Em breve coloco à disposição. I'm adjusting it. I'll make it available soon.
20mm small thread T bolt is what I used to connect the bracket to the push in snap incase anyone else was wandering like I did.
I love this! One picture shows a 4x4 grid attached to the side of the bracket, what small screw model will attach it, I can't seem to find one long enough.
Nevermind...it is in the description if I would have read it! Great job!
How can the Small Thread T Bolt be added when the panel is fixed to the wall?
Drill a clearance hole from the other side of the wall :-D
install it before inserting the snap into the wall? i havent printed it yet, but from the picture it seems that could work
that is what I did, on the top using those new weight bearing snaps then sort of hinged it in. Top in first, bottom in last