


Ducky Clicker
As I work on the next design I have a fun little clicker drop for you! Sorry for the long post in advance! I am a little nervous releasing clicker designs as they require hardware to function. I did spend sometime trying to figure out a 3d printed clicker but nothing compares to the actual switches and the clicky noise they make.
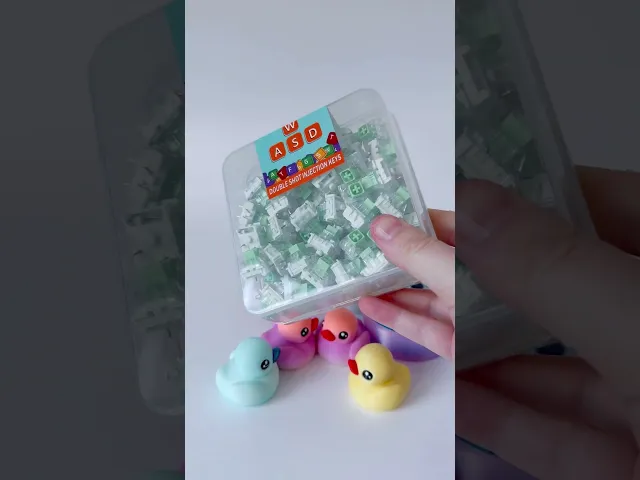
I tested out about 5 different clicker brands that I ordered from amazon. ca which I believe are also available on amazon. com. All of them fit perfectly! If you have not yet looked into getting the switch that is required to make clicker designs I highly recommend it! Having did a bit of research they are getting really good feed back in the market, and they make great quick gifts! I will list the exact switches I used near the bottom of the post.
The ducky clicker should not be scaled as it is made to fit the switches. It prints in a few parts and I created a quick youtube short on how to assemble it below -
Important:
✨ I recommend clipping off the metal prongs at the bottom of your switch as seen in the clip above. They are sharp and unless the switch is glued into place it could potentially come out of its housing. Please be careful when clipping and clip with the pins facing away from your face and downwards. Clipping isn't necessary for the clicker to work, you can keep the clicker as is and it can function as a holder for a spare switch for your keyboard.
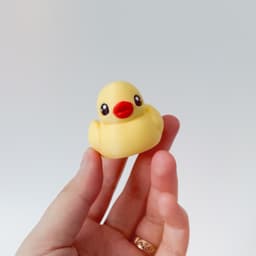
✨ The cap will require a bit of force to fully seat it into the switch. Please make sure you place the switch into its housing first before attempting to insert the ducky onto the switch, it is much easier this way.
✨ Make sure when you are pushing the ducky into the switch that you are keeping it straight in order to avoid breaking the cap by bending it.
✨ Make sure you are checking your z seam placement in your slicer!! The z seam should be placed to the back of the ducky or else it will put the seam right over top of the eye!
Also Make sure that when you are editing the 3MFs that you are NOT painting the eyes with the paint tool. They are split to parts and painting them will create uneven paint lines. Instead please assign color to them from object list located in the left side panel.
This is the exact switches I got from the Canadian amazon (I'm in canada), these switches are the loudest of all of the switches I tried - Kailh Switches you should be able to find the same ones in your amazon stores as well! other brands shouldn't have any issues fitting into this clicker unless they are a specialized switch that has a different fitting. If you want them to be loud make sure the switch is labeled "clickly" (the links above are not affiliated)
Shout out to Jazzy who allowed me to remix her clicker! You can find the original clicker below with personal use and one time commercial license option as well -
⭐As with all of my designs, I strongly advise that the printed models are not to be handled by children under 3 without proper supervision⭐ + + 📌This model is for PERSONAL USE ONLY, to sell prints of these designs you will need to SUBSCRIBE TO THE MERCHANT PLAN available from my profile page - Click here📌


Ducky Clicker

Pumpkin Shelf

Spooky Piggy boops

Tin container

Piggy Boops

Donkey boop
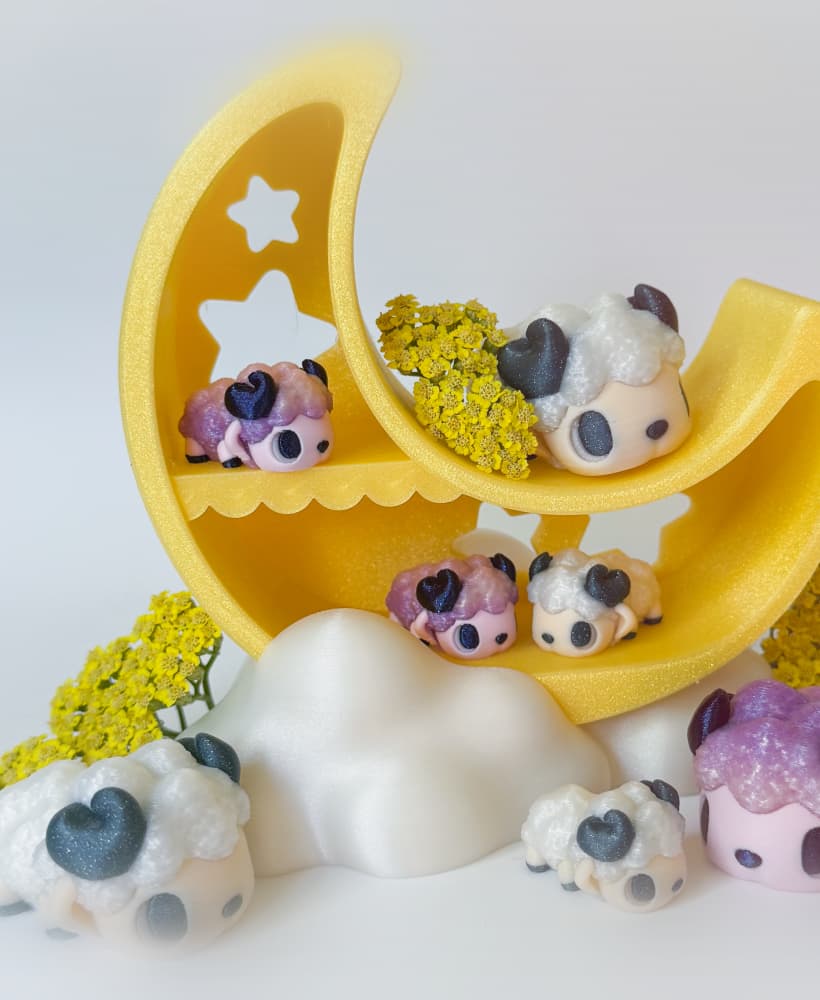
Sheep Boops with Moon shelf

Cellphone clickers

Strawberry Shelf

Sweet Cow Boops

Milk carton Container

Cow and Highland cow Boops

Jam clicker and paperclip

Lady bug Pixie

Gnomes with Homes

Post mark Caddy

Kitty Bookmarks
![[updated] Klickers 3d model](/_next/image?url=https%3A%2F%2Fstorage.googleapis.com%2Fproduction-thangs-public%2Fuploads%2Fenhanced_images%2Fv1%2F9973a6b4-3ab1-4feb-8ad3-4f91fc42ad24%2FKlickers%2520(1).png&w=3840&q=75)
[updated] Klickers
.png&w=3840&q=75)
Mountain Book Tracker with Book mark

Fish Flexi
