


Stained Glass Clock
Print Instructions: 0.16mm Hight Quality
Print the glass pieces first.
Glass: Top surface Pattern: Hilbert Curve Bottom Surface Pattern: Hilbert Curve Internal Solid Infill: Hilbert Curve
Next print the Frame.
Frame: Top surface Pattern: Monotonic Bottom Surface Pattern: Monotonic Internal Solid Infill: Monotonic
Frame Instructions: Pause the print before the top layer starts and insert the glass pieces make sure they are flush with the frame (see image), then continue the print. The frame was hand drawn so and is not entirely symmetrical; if a piece does not fit correctly on one side it probably belongs to the other side.
For the stand use variable layer height where needed.
Clock Back Cover: Insert the clock face into the frame and then cover the back of the clock with the back cover.
Note: I put the different color glass pieces on their own plate because my printer was complaining and it seemed to not give me any trouble this way. If you like you can put all the glass on one plate and they will print as separate objects. I have also created an additional plate with the glass pieces so you can design with you own colors, if not just disregard the plate.
You can purchase the clock insert here: https://www.amazon.com/dp/B0DHZ5CCY3
Stained Glass Clock

Gingerbread Factory

Stained Glass Dragon STL File for 3D Print

Royal Lovers Stained Glass Display

Gothic Lanterns and Stained Glass Clicker Keychain Fidget Toy Bundle

Virgin Mary Stained Glass Light Box

Deadpool Stained Glass Light Box

Wolverine Stained Glass Light Box
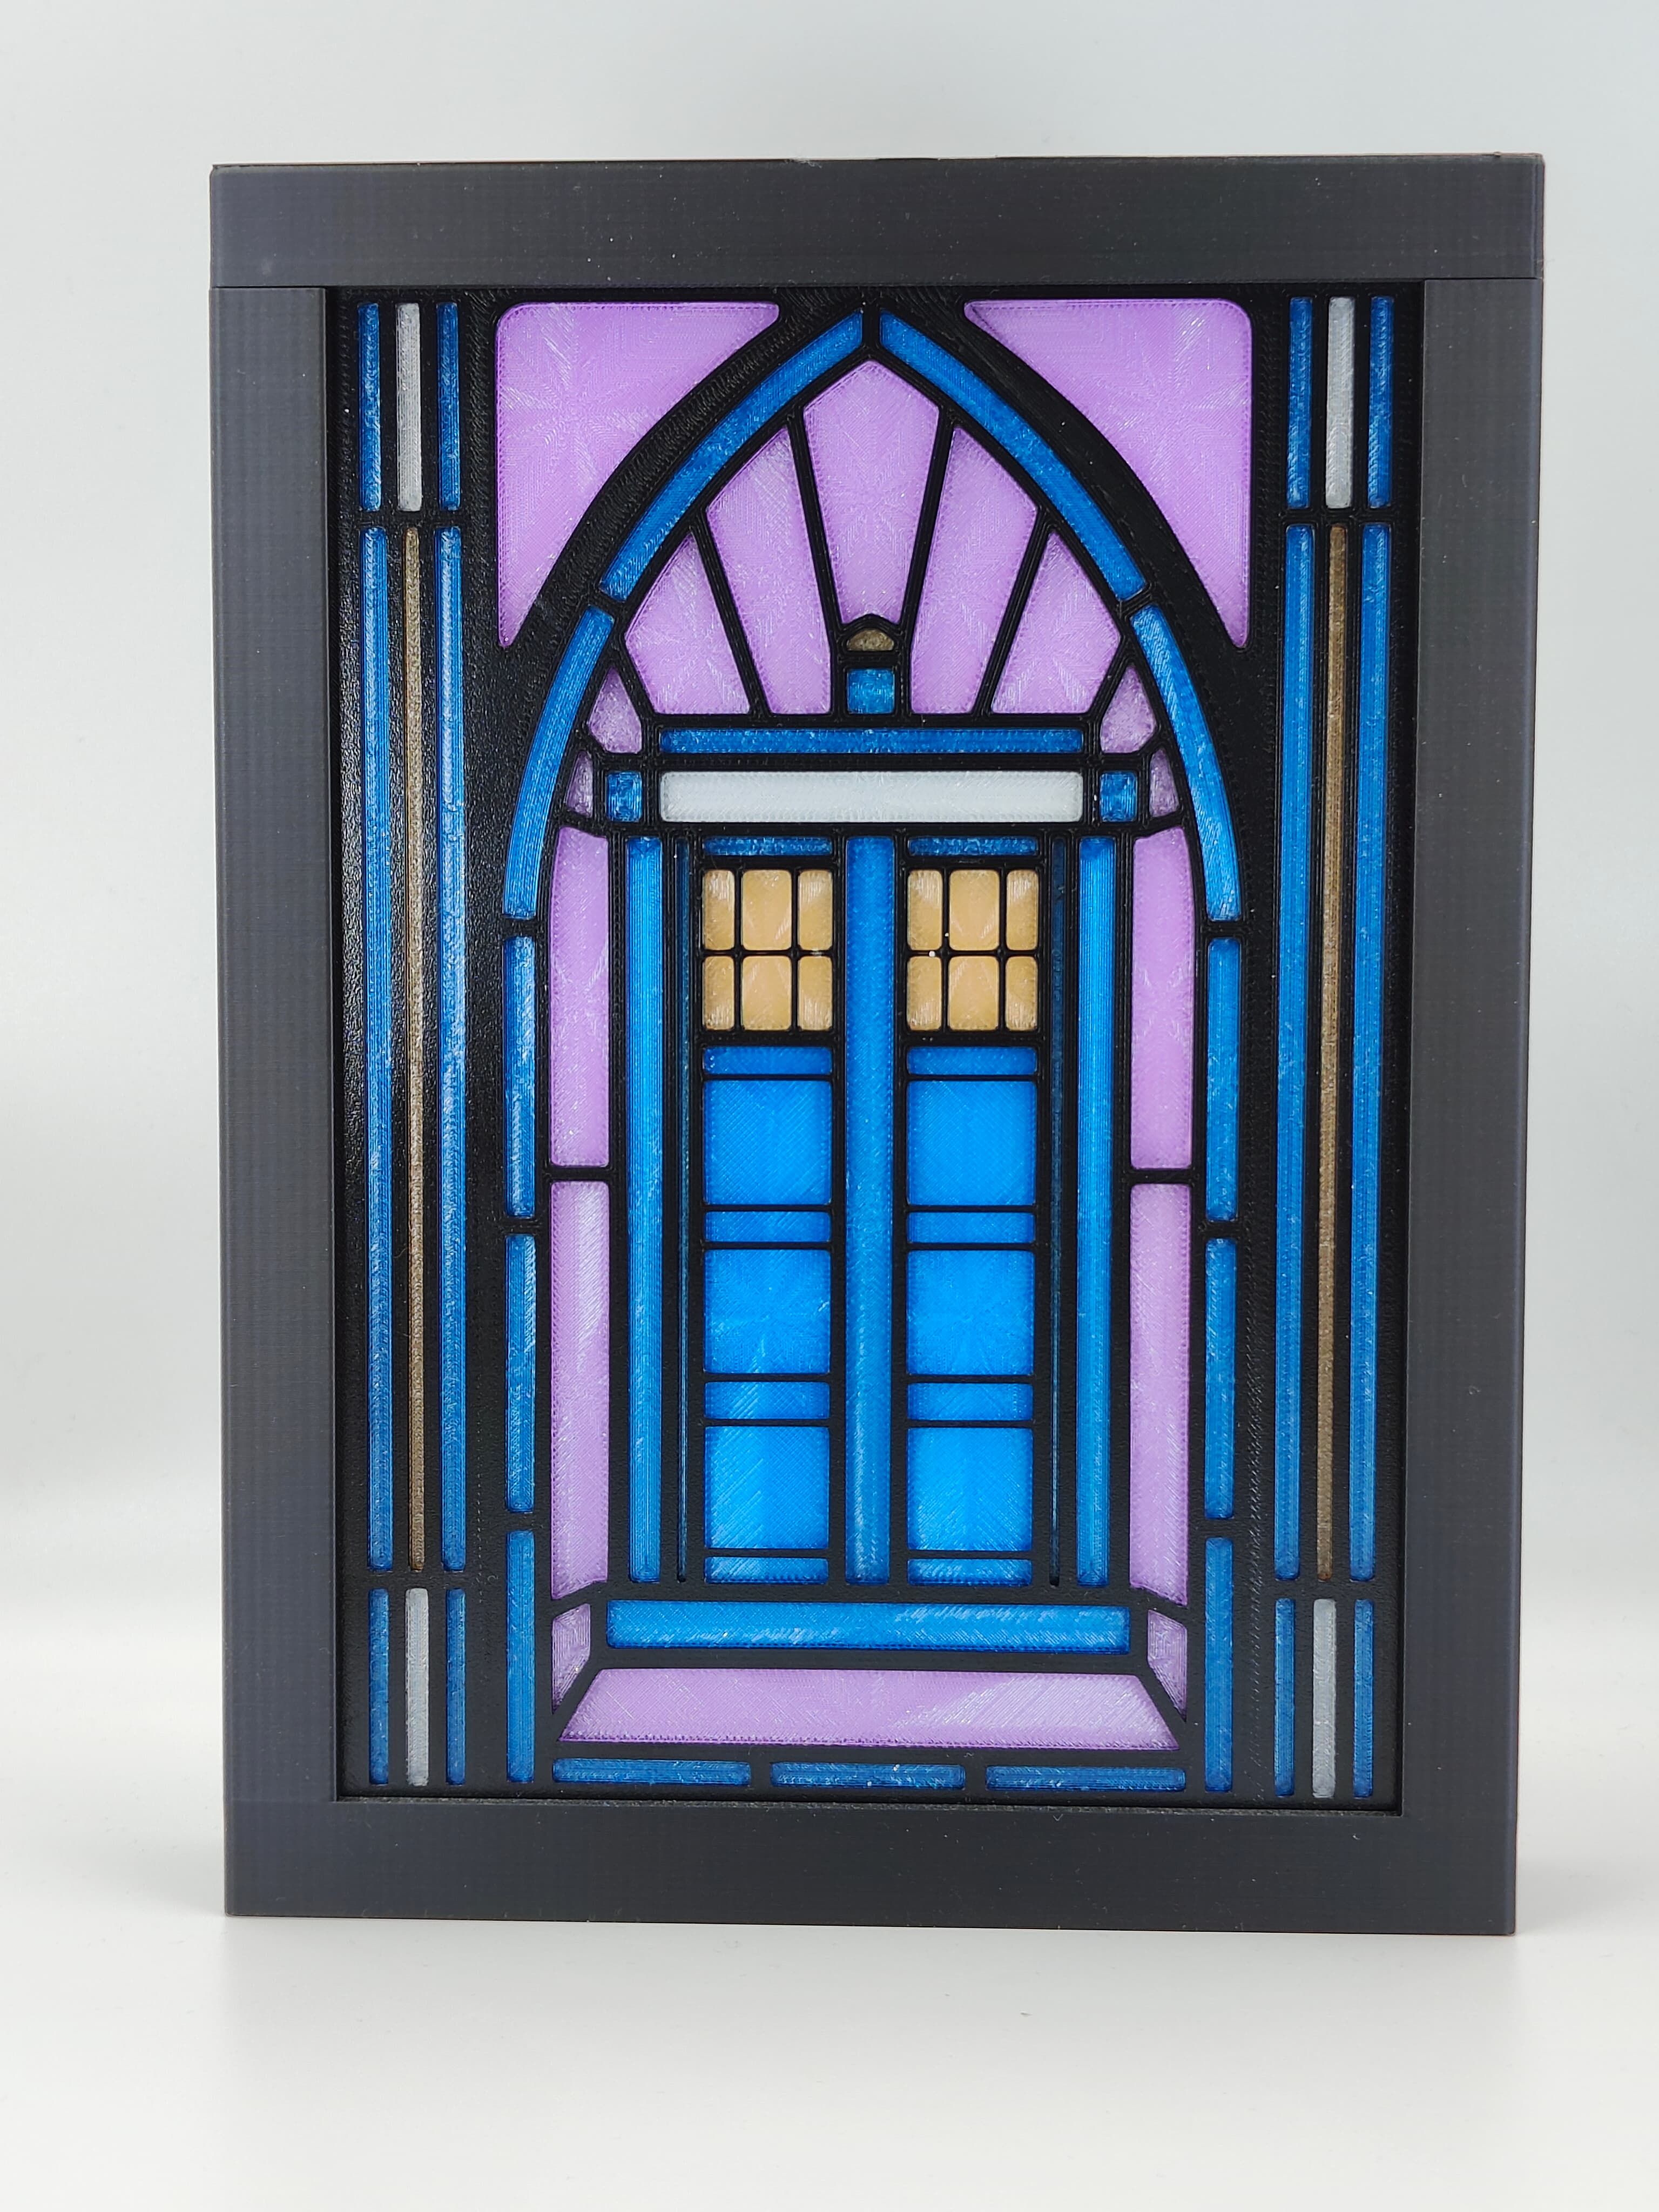
Doctor Who's TARDIS Stained Glass Light Box

Firefly Serenity Stained Glass Light Box
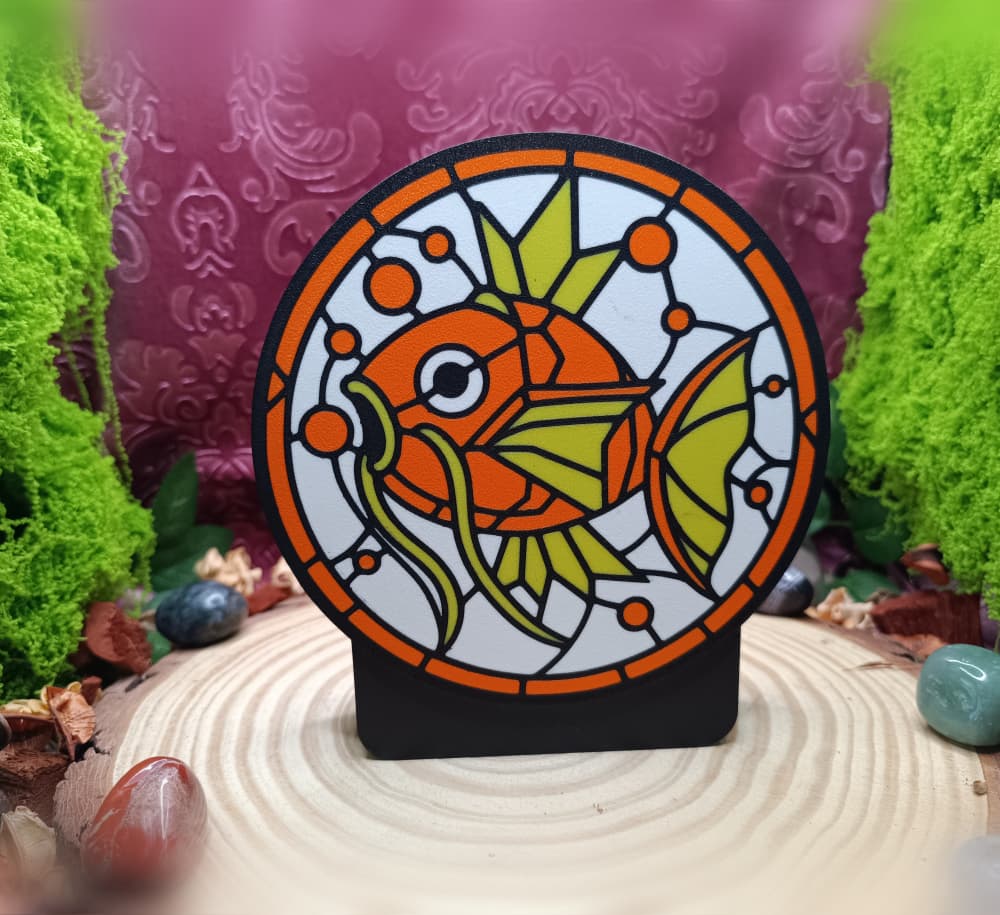
Magikarp – Stained Glass Lightbox Front

Stained Glass Window Ornament

Spiderman Stained Glass Light Box

Death Star Mandala – Stained Glass Style Panel

Stained Glass

Harry Potter Bathroom Stained Glass Window

Arcane Silco's Window Stained Glass
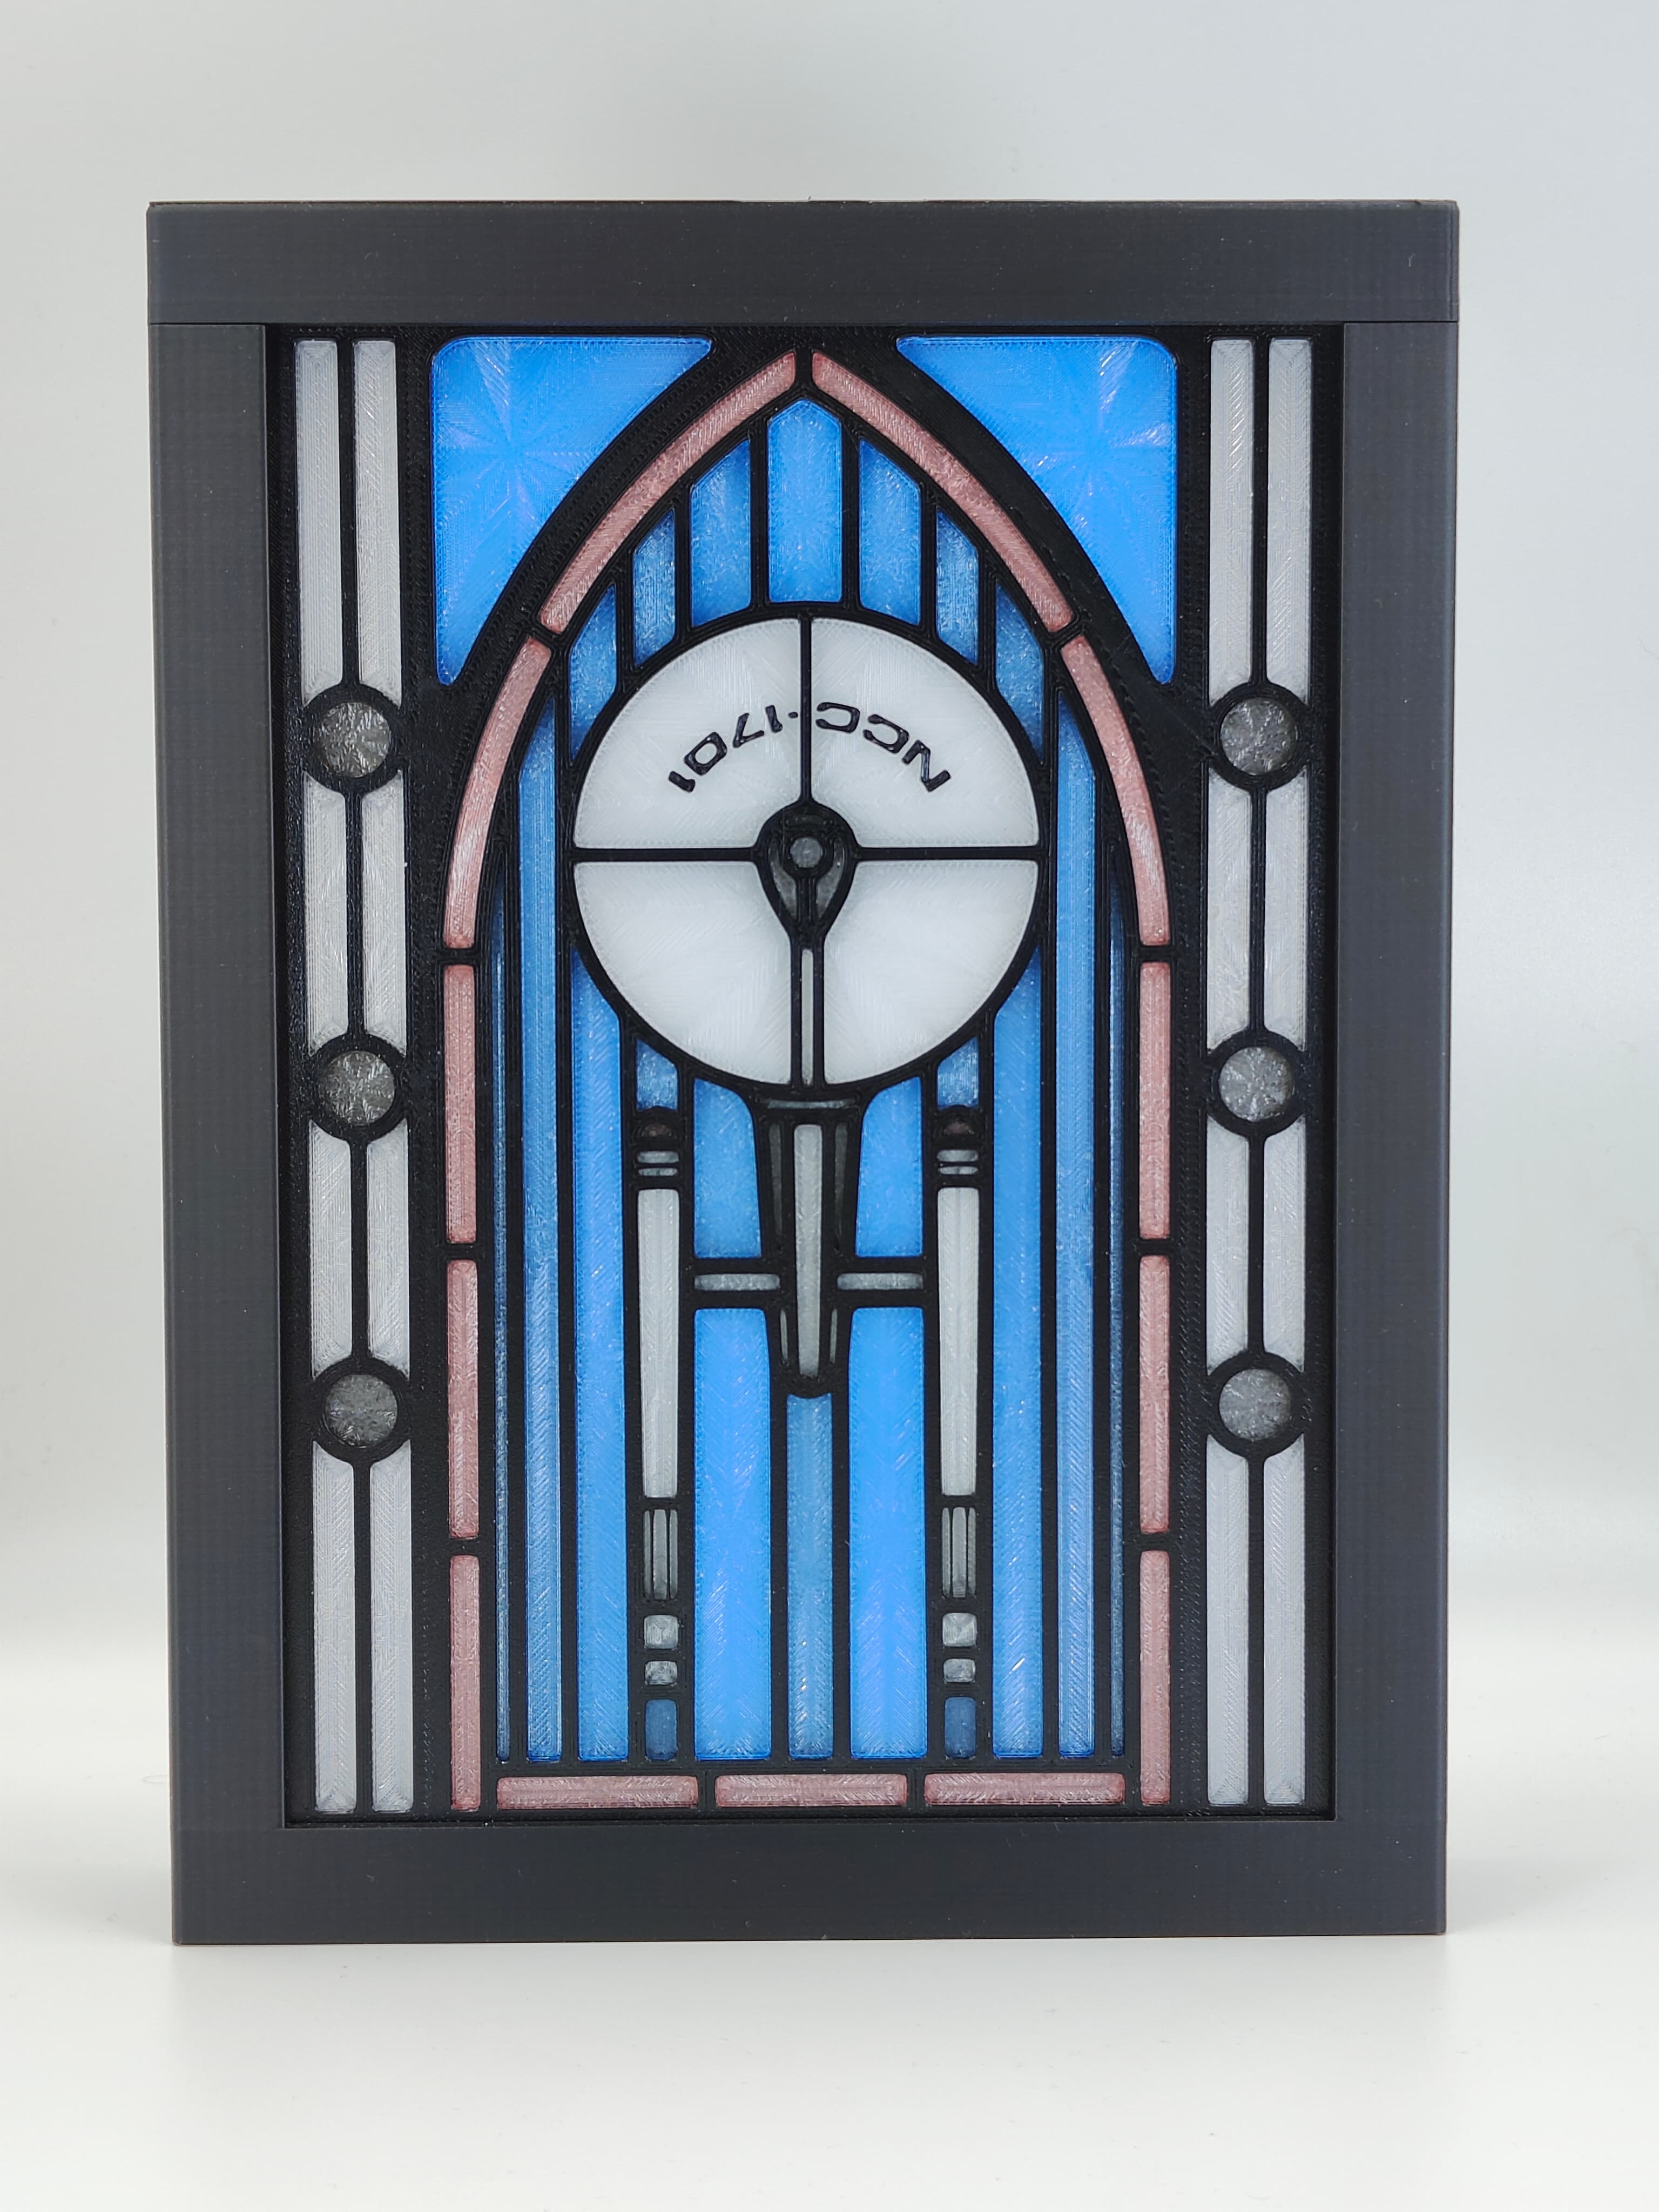
Star Trek Enterprise Stained Glass Lightbox

Elden Ring Stained Glass Decorations
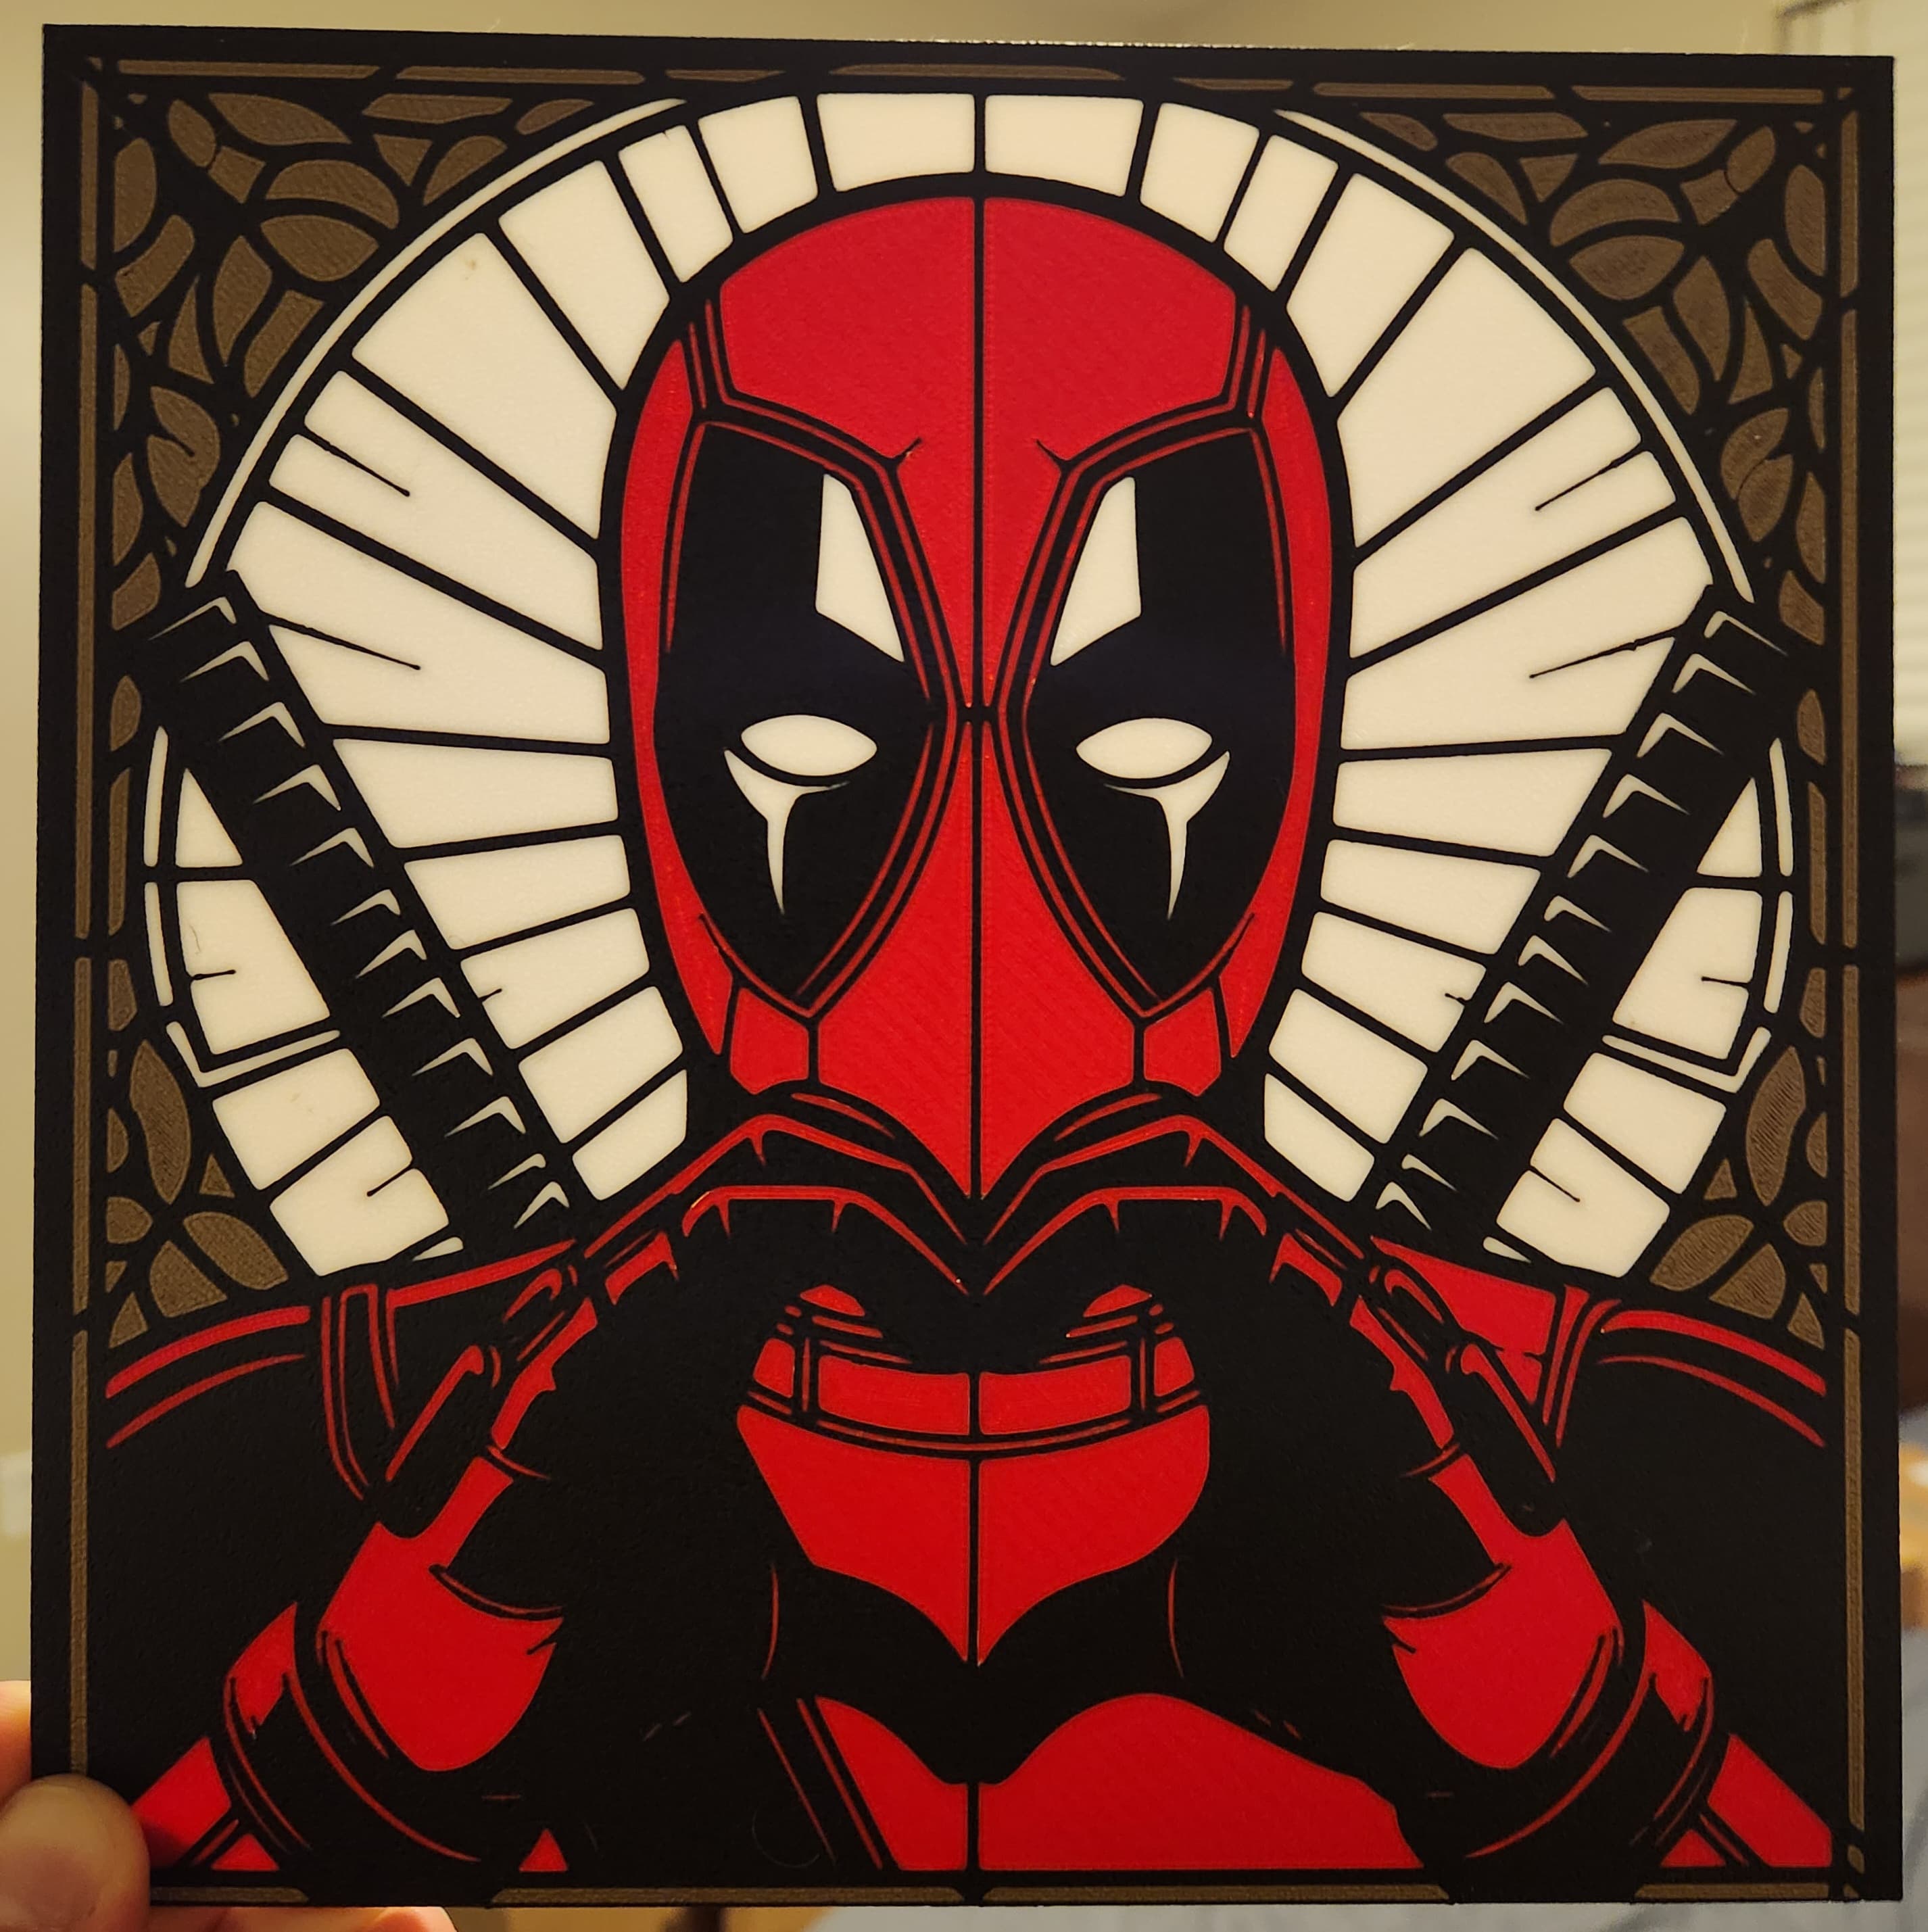
Deadpool Stained Glass
