


Pieds de rangement vertical de Wheel Stand / Wheel stand feet
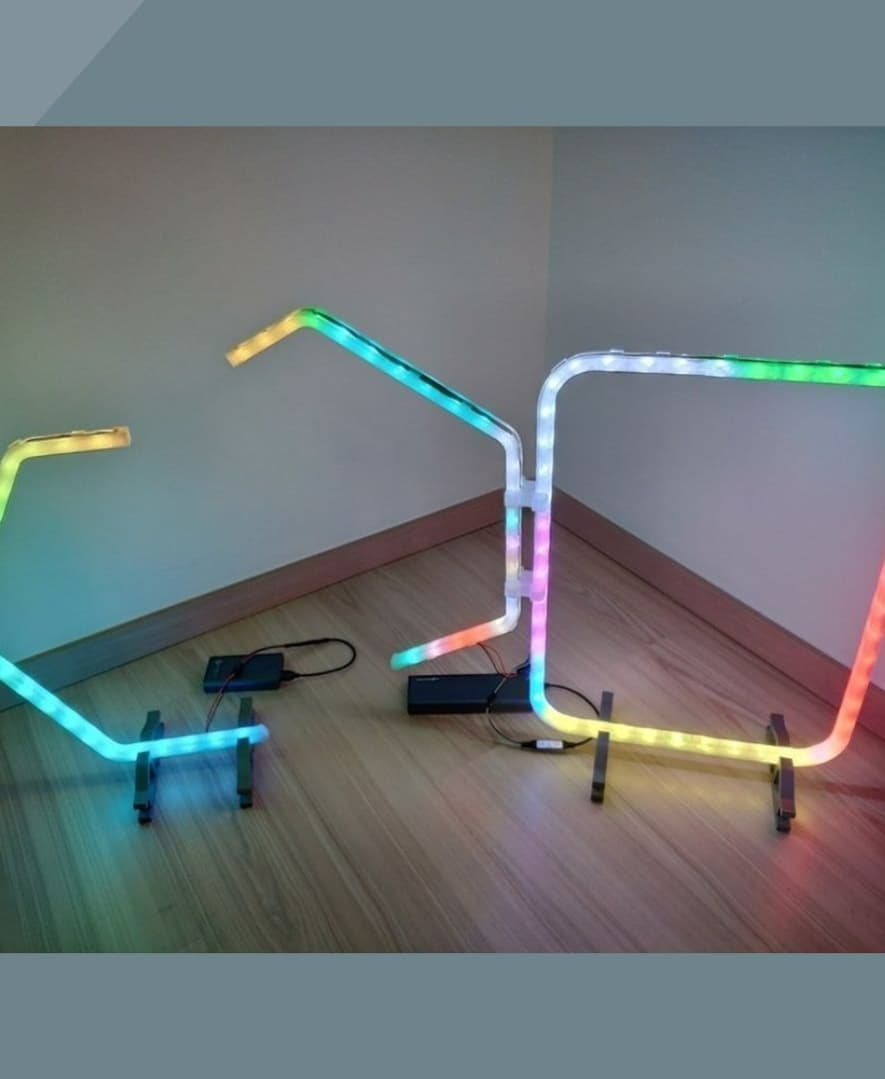
3 downloads · 1 year ago · Pieds supports pour un wheel stand Vevor ou équivalent, afin de pouvoir le ranger verticalement.
Fa
This model is restricted by licensing terms.
View license.
Pieds supports pour un wheel stand Vevor ou équivalent, afin de pouvoir le ranger verticalement.
Fabrication :
- PETG
- 30% de remplissage
- qualité normal (couche de 0.20)
Matériel :
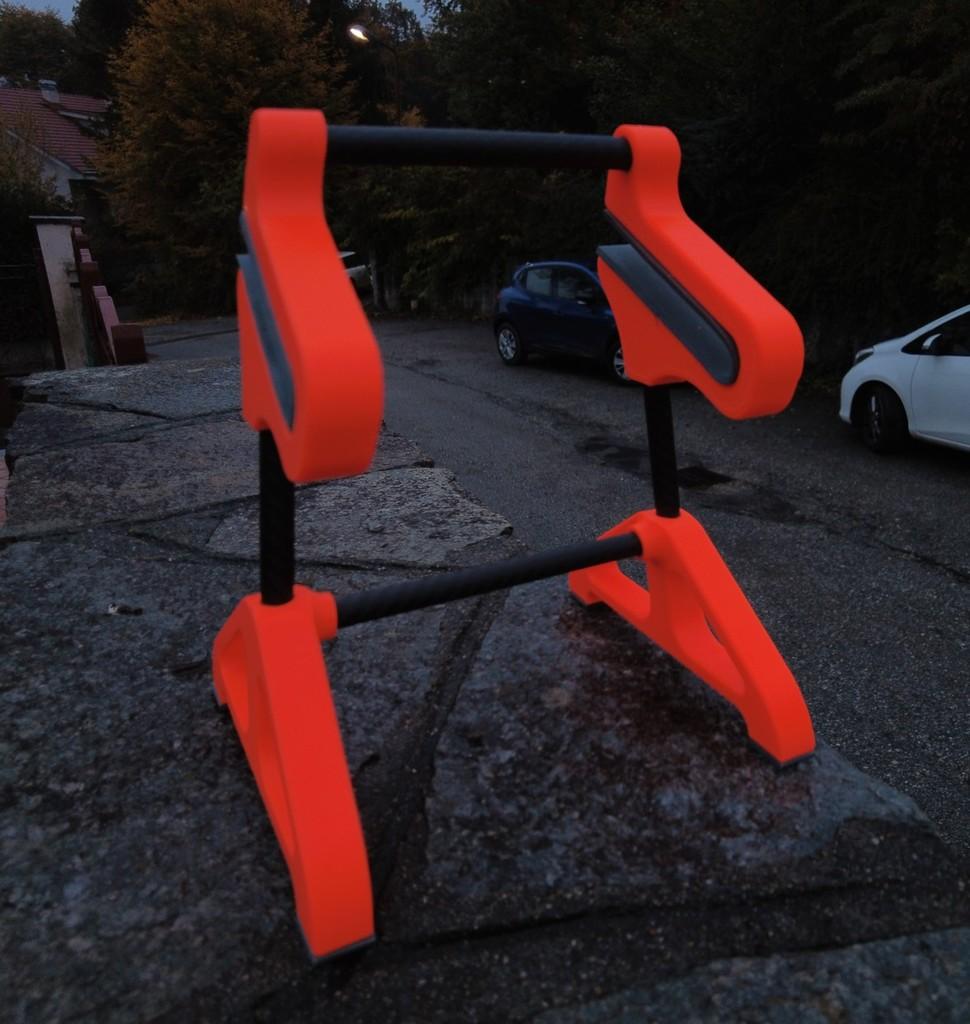
- 2 pieds imprimés
- 2 boulons hexagonal diam. 8mmx60mm
- 2 embouts de chaise diam. 25mmx26.5mm (en GSB, ex. LM)
- 2 écrous hexagonal freinés diam. 8mm (attention : 13mm entre les plats)
- 2 rondelles larges de diam. 8mm
- une perceuse
- un foret acier de diam. 4mm
- un foret acier de diam. 8.5mm
Installation :
- repérer sur le châssis la position des perçages pour installer les pieds.
- pré-percer le châssis à 4mm. Je recommande de le faire en 2 fois, une fois de l'extérieur et une fois de l'intérieur, pour avoir un bon alignement.
- percer à 8.5mm (toujours en 2 fois).
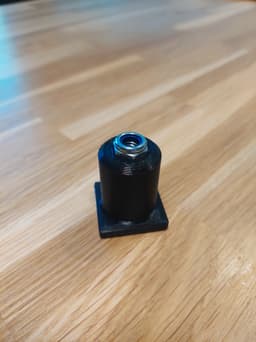
- insérer un écrou dans chaque pied (le boulon est assez long pour attraper le filetage quand le pied est monté).
- rentrer en force l'embout de chaise sur chaque pied, il doit être serré, sinon le coller.
- visser chaque pied sur le châssis.
Support feet for a Vevor wheel stand or equivalent, for vertical storage.
Manufacture:
- PETG
- 30% filling
- normal quality (0.20 layer)
Materials:
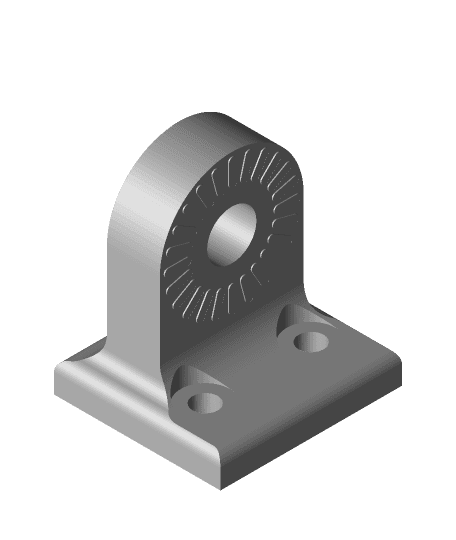
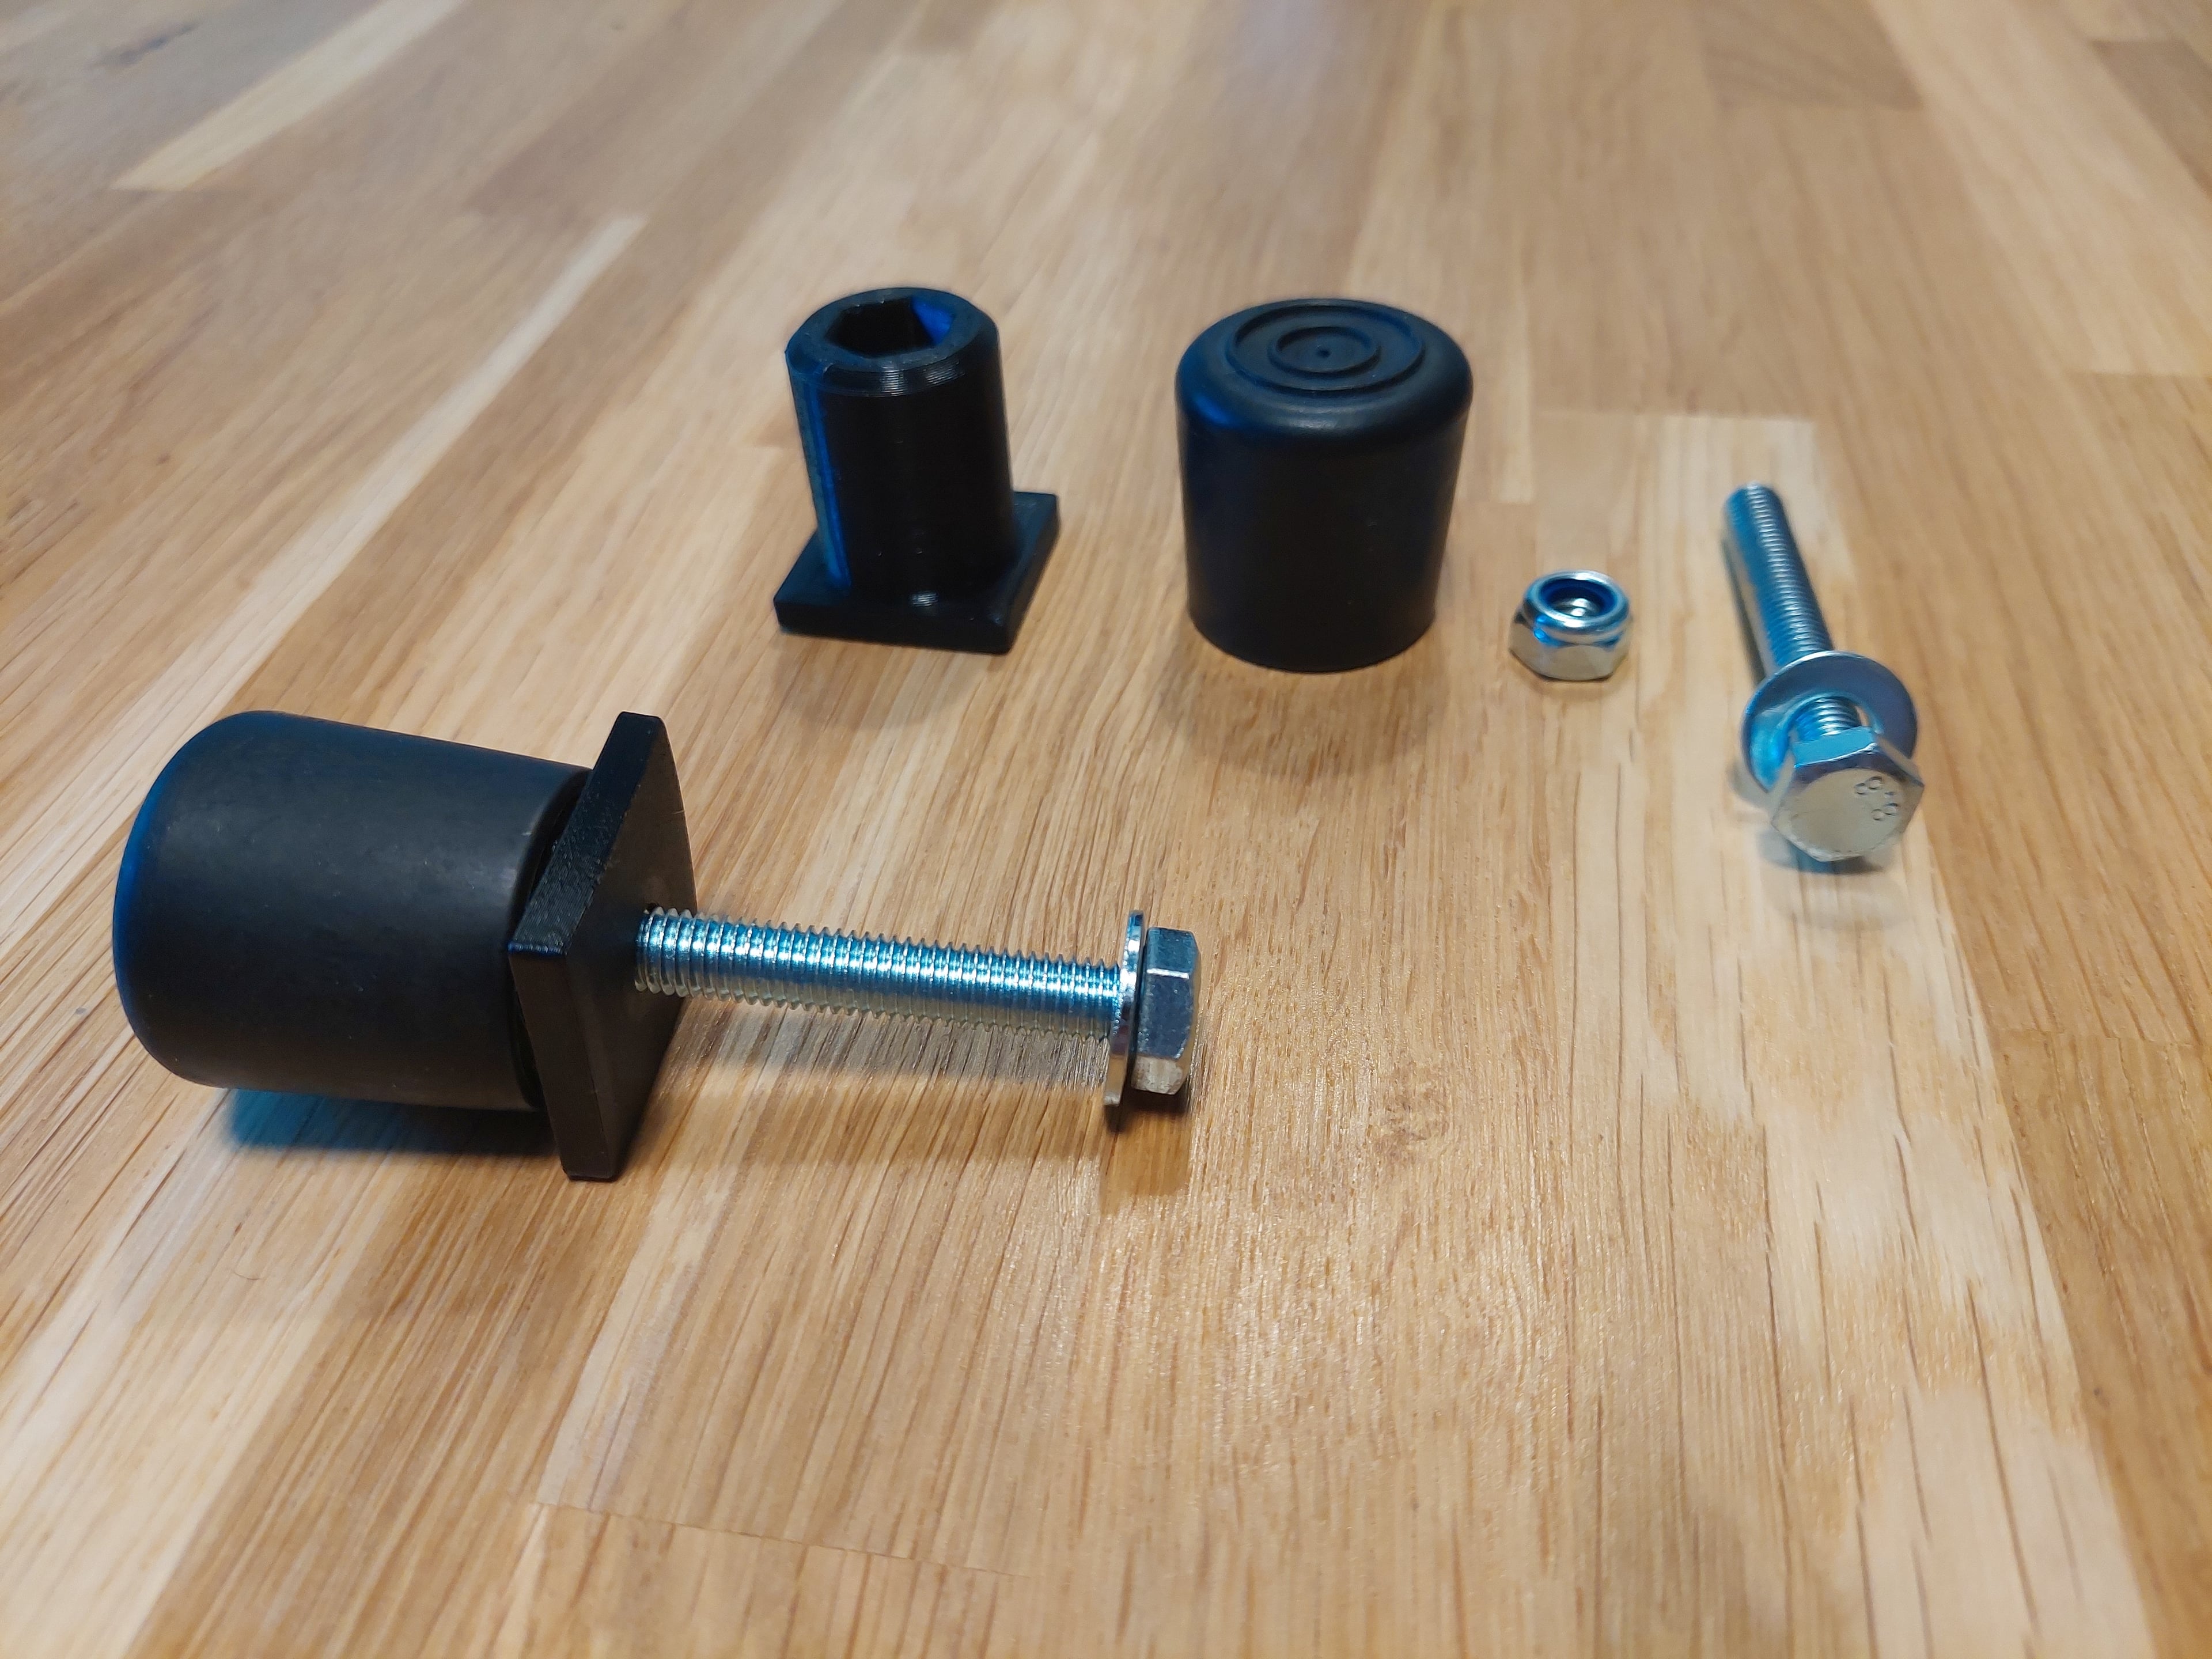
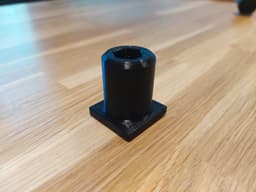
- 2 printed feet
- 2 hexagonal bolts diam. 8mmx60mm
- 2 chair ends diam. 25mmx26.5mm
- 2 hexagonal lock nuts diam. 8mm (caution: 13mm between flats)
- 2 large washers diam. 8mm
- a drill
- a steel drill diam. 4mm
- a steel drill diam. 8.5mm
Installation:
- mark the position of the holes on the chassis to install the feet.
- pre-drill the frame to 4mm. I recommend doing this in 2 stages, once from the outside and once from the inside, to ensure correct alignment.
- drill to 8.5mm (again in 2 stages)
- insert a nut in each leg (the bolt is long enough to catch the thread when the leg is mounted).
- press the chair end onto each leg, it must be tight, otherwise stick it.
- screw each leg onto the frame.
Pieds de rangement vertical de Wheel Stand / Wheel stand feet
3 downloads · 1 year ago in
This model is restricted by licensing terms.
View license.
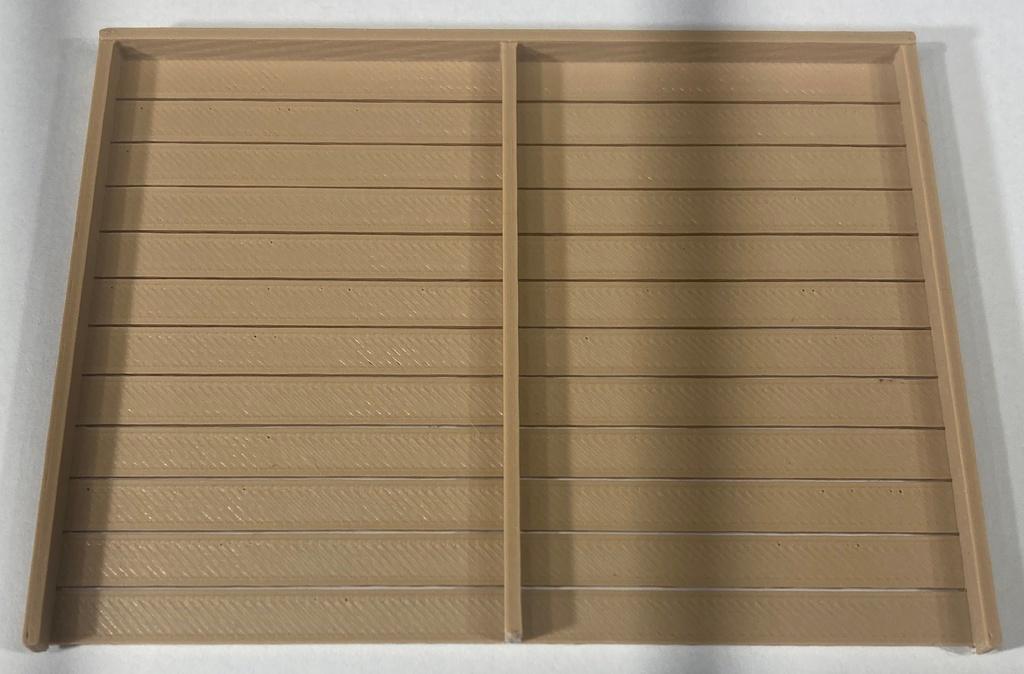
Horizontal Wood Fences & Gates

FLOPPY CLICK | THE RETRO-TECH COASTER HOLDER

Cannon spotlight lamp
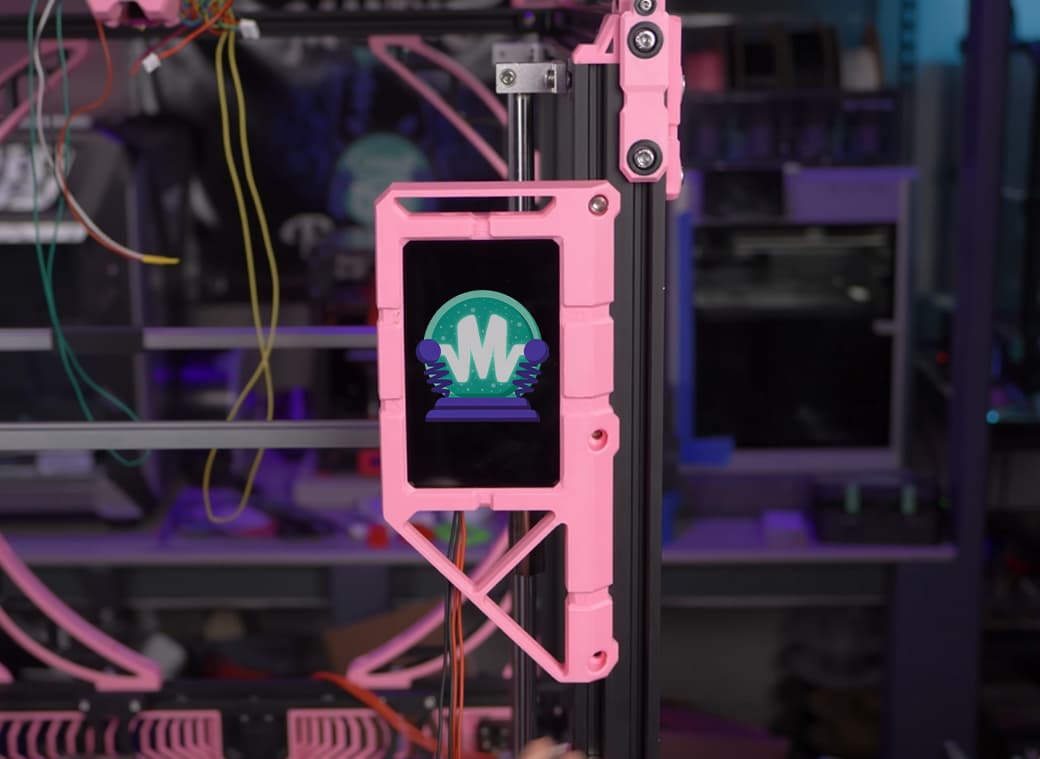
Vertical PiTFT50 Screen Mount
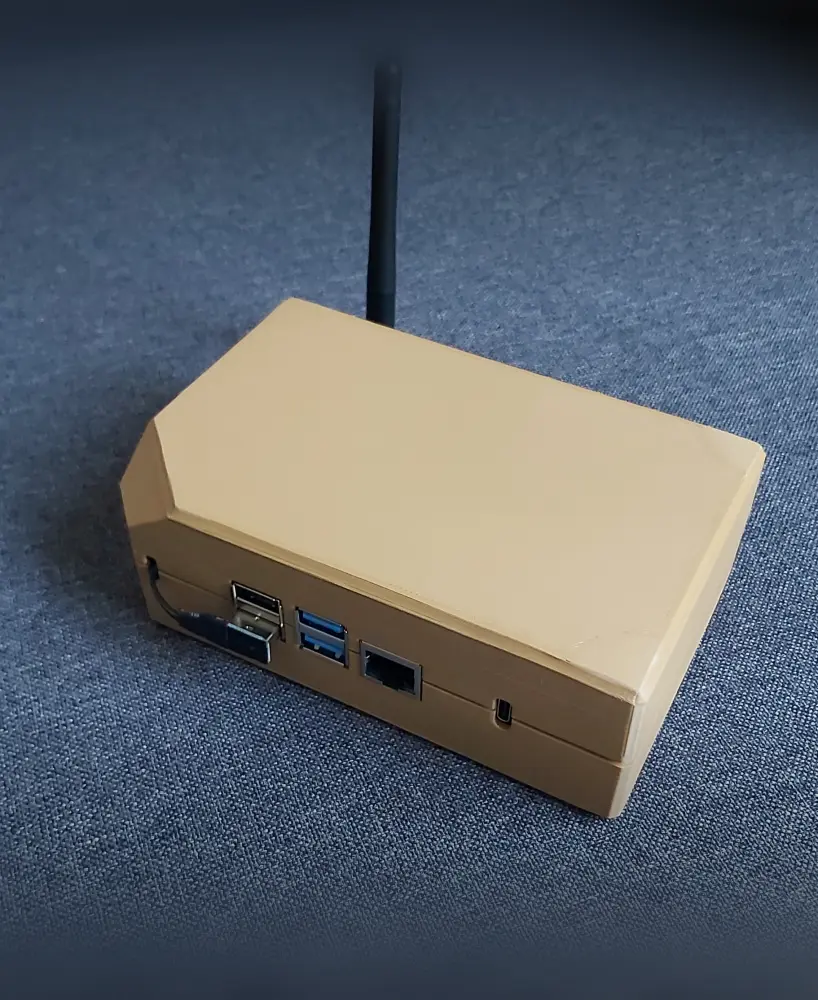
Home assistant raspberry pi case
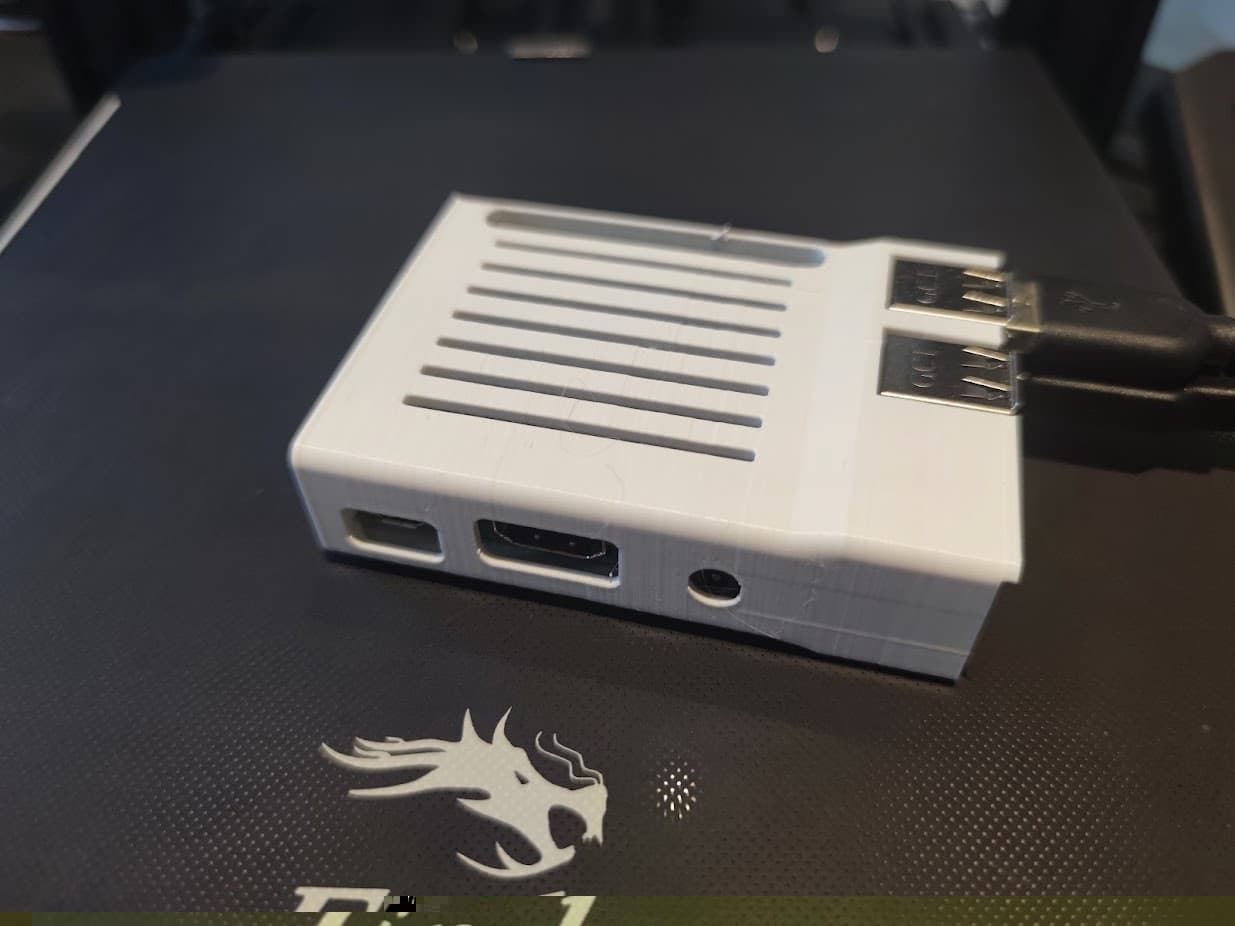
Boltless Raspberry Pi 3B+ case (3, 2 & B+ also fit) - More Cooling, Less Material Used, Printer Mounting Rail

Customizable birth announcement frame
Prusa Official Enclosure Mounts

CHILL PHONE | ADJUSTABLE PHONE HOLDER
Rainbow Vertical Laptop Stand
Vertical Mini NES Cartridge with Tree Supports

Gridfinity Raspberry Pi Model 4B Case
Ender 3 V2 Electronic Box Extension Mainborad Silent fans (v1)

Dell XPS 13" Laptop stand

Teenage Engineering OP-1 | OP-1F | OP-XY Stand
WHOOP Drone Gates - Modular System
F3K model stand

Gridfinity Raspberry Pi Model 4B Case V2
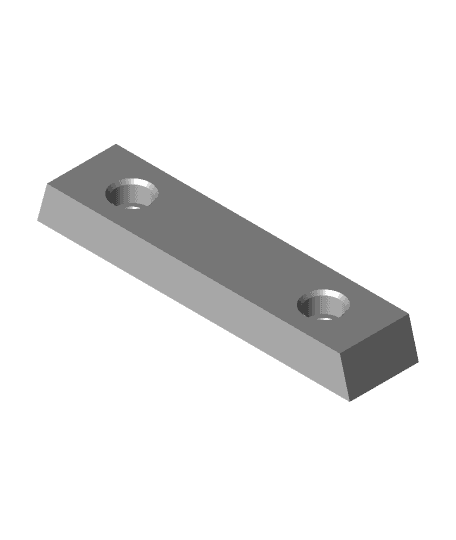
furniture_feet.stl