


Hana‑Akari Lamp (花あかり)
This Cherry Blossom Shoji Lamp is a decorative lantern designed to work with the Bambu Lab Lamp Kit 001 or any compatible LED lamp kit. Each panel features a stylized cherry blossom tree set against a circular moon backdrop, creating a soft, diffused glow when illuminated. The lamp also produces a natural projection effect on the ceiling, adding a subtle pattern that enhances the atmosphere of the room.
The model is designed for straightforward FDM printing. The panels print cleanly without supports, while the outer frame does require supports due to its overhangs and internal channels. Once printed, the panels slide into the frame, and the lamp kit installs directly into the base cavity.
Features:
-
Compatible with Bambu Lab Lamp Kit 001 and similar LED kits
-
Shoji‑style translucent panels with cherry blossom artwork
-
Circular moon diffuser behind each tree
-
Built‑in ceiling projection effect
-
Modular construction for easy assembly
-
Panels print support‑free; frame requires supports
3D printing settings:
Resolution: 0.20mm All Line Width: 0.45mm First Layer: 0.50mm Seam Position: Back Wall Generator: Arachne Infill: 13% - Gyroid First Layer Speed: 50mm/s First Layer Infill Speed: 50mm/s Outer Wall Speed: 60mm/s Inner Wall Speed: 180mm/s Small Parameters: 45% Support: Yes, Main Body and Foot - Tree/Organic, Build Plate Only.
Materials:
Overture Bubble Gum Pink for panels (Cherry Blossom Flowers) Regular Black PLA for panels Overture White PLA for panels and main body. Bambu Labs or compatible LED Light Kit 001 60mm LED light. Look on Amazon, Alibaba, etc. Many places carry these lights or compatible ones. _ Note: I used PETG-GF Black for the lid and foot on the prototype in the photo. It has a natural sparkle to it and textured surfacing; it also resists warping very well. It is not required. The lid also does include a surface strip you can color in if you like._
Instructions:
-
Print parts. a. Color in the panels in slicer. Print them facing down to the bed. The slicer will include the different colored areas into the same first layer. b. This will need multi-color printing. You may be able to do it with an Elegoo Centauri Carbon as I understand you can still color in slicer but it will just pause and want you to switch them out like a human color engine.
-
Insert Panels into slots, channels, and into base. Leaving the rear panel (where the cord comes out), so you can glue in the light.
-
Glue in the light with the cord going out the channel in the frame then drop in the last panel.
-
Glue the main body to the foot.
-
Put the lid on it.
-
Turn it on. :-P
Hana‑Akari Lamp (花あかり)
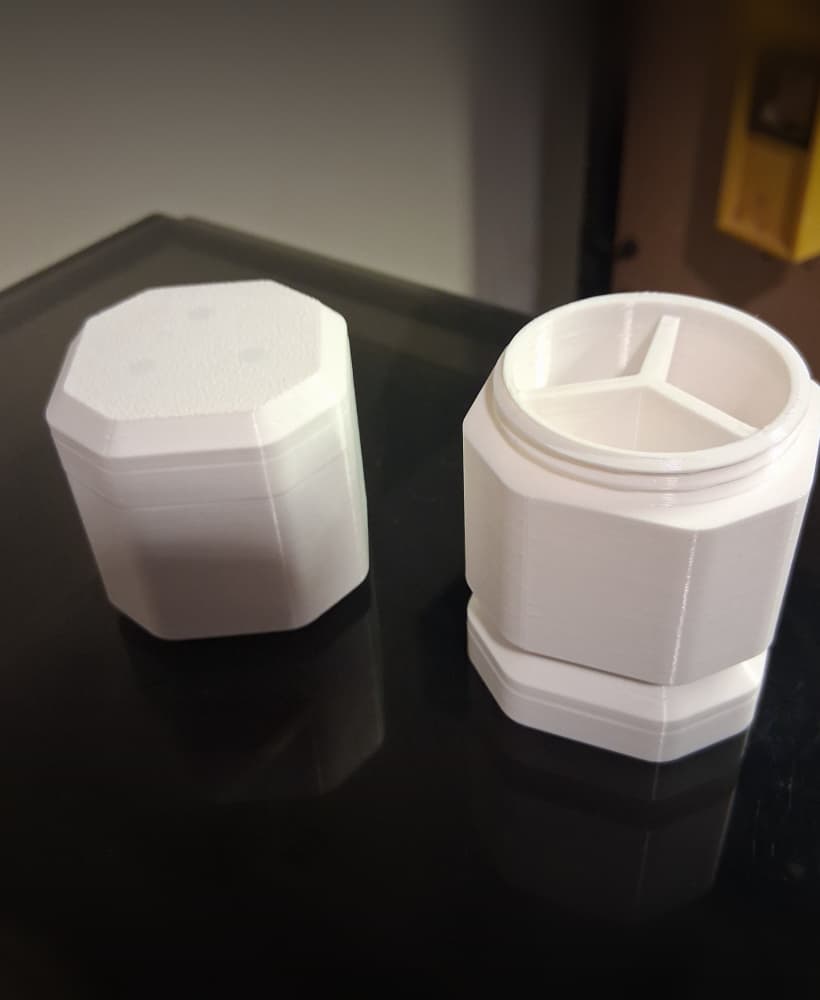
Stackable Magnetic Medicine Container
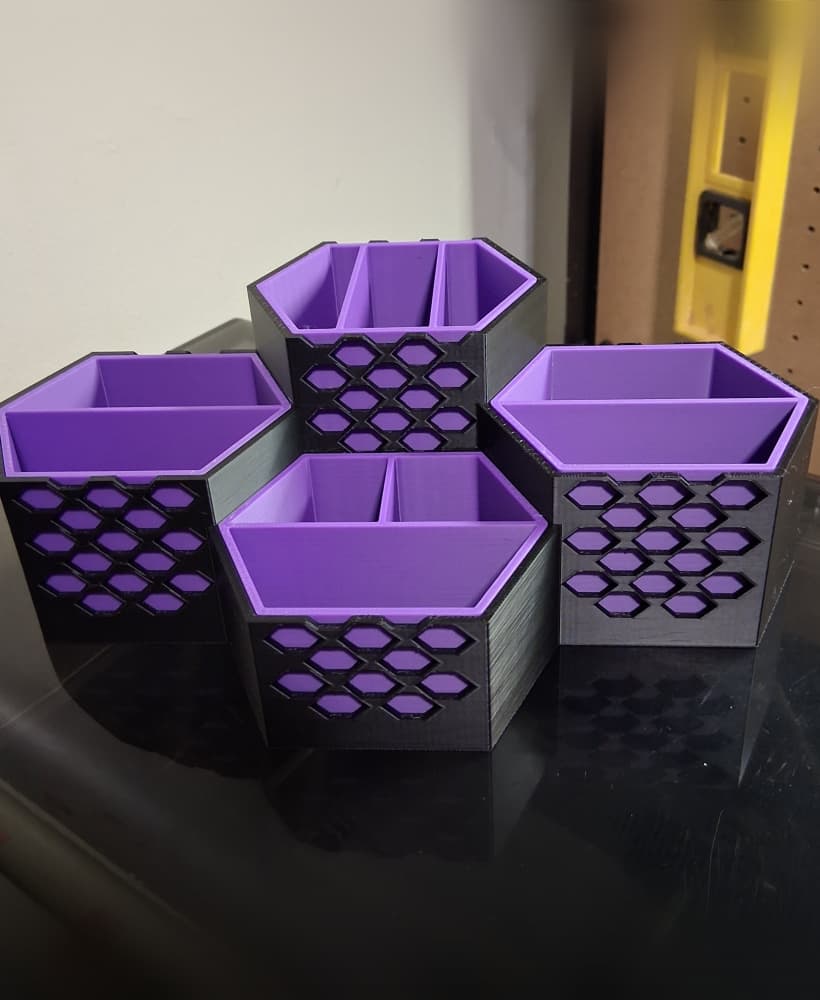
Hex Desk Organizer
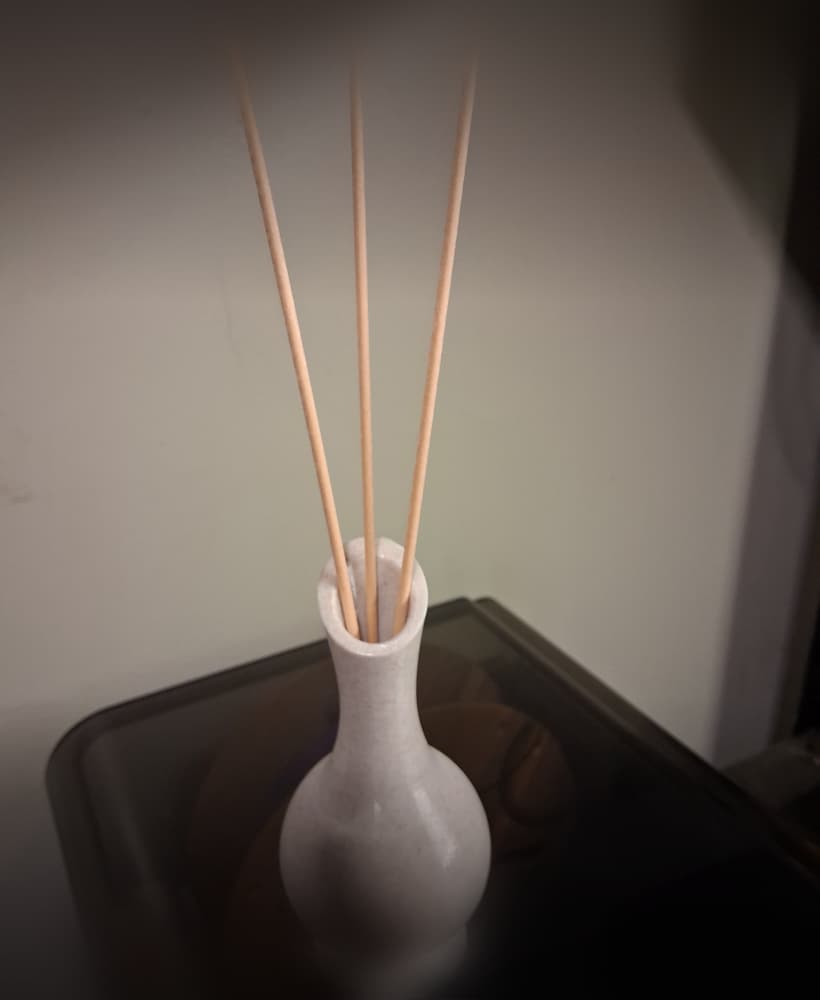
Art Deco Essential Oil Diffuser Vase
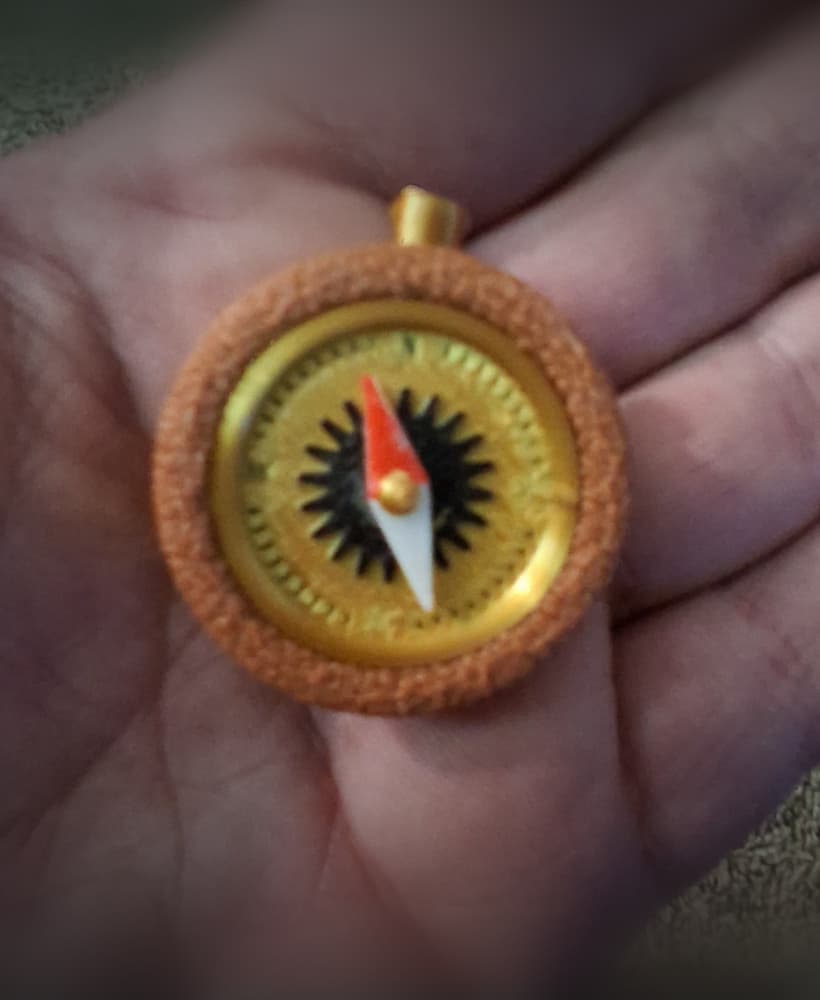
Fallout Rip Daring Adventure Compass – 3D Printable Prop

Googie Rocket Wing Desk Totem (Ornament)
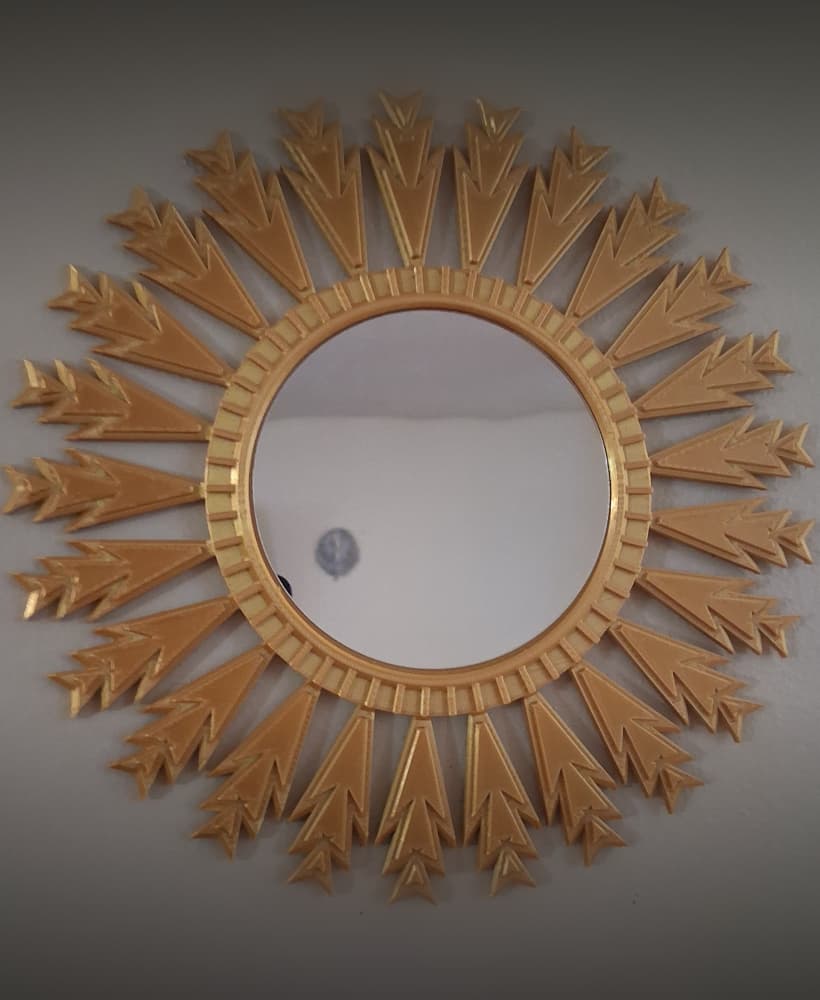
1950s Art Deco Star Burst Wall Mirror
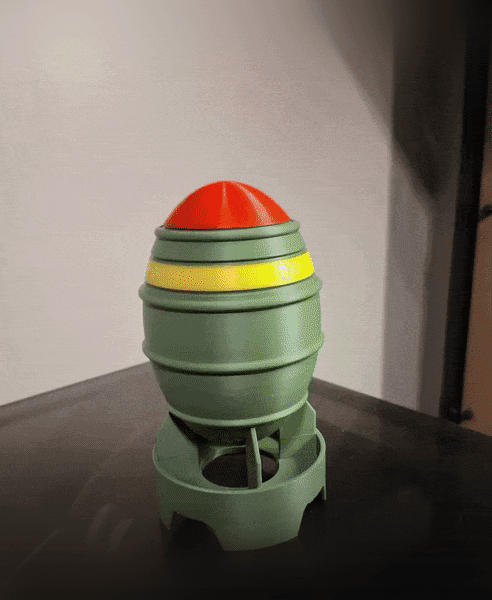
Cracked Fallout FEV Canister - Fallout 3

Alien Reactor Light
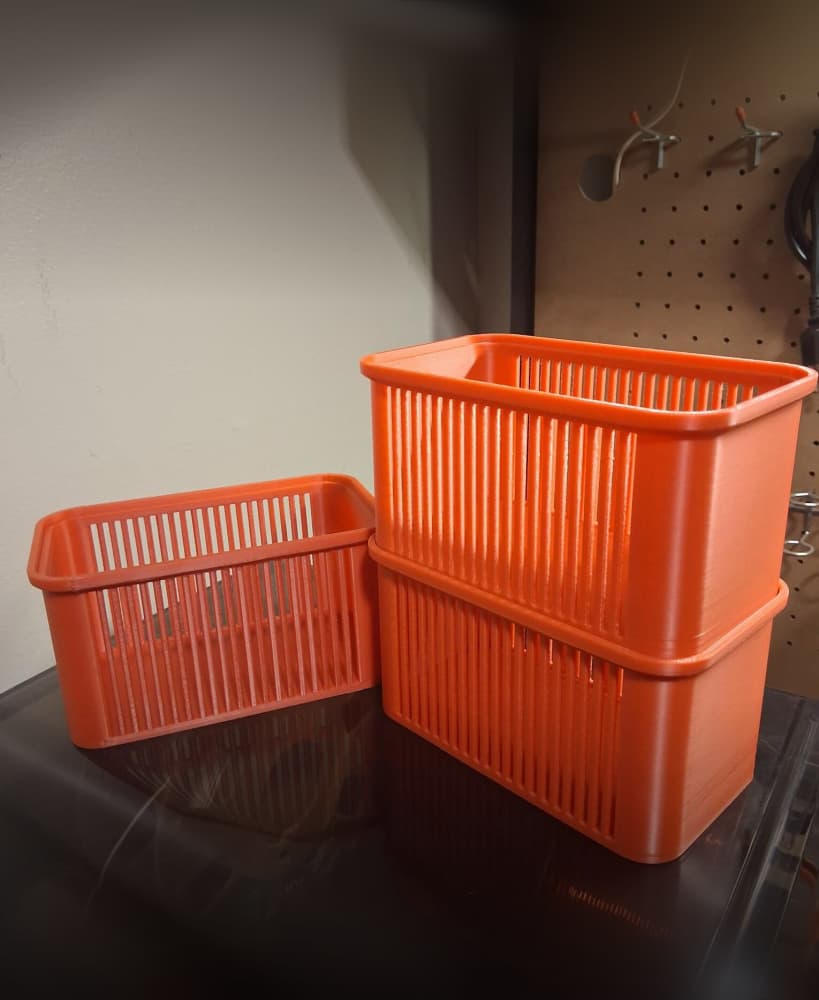
Stackable Basket
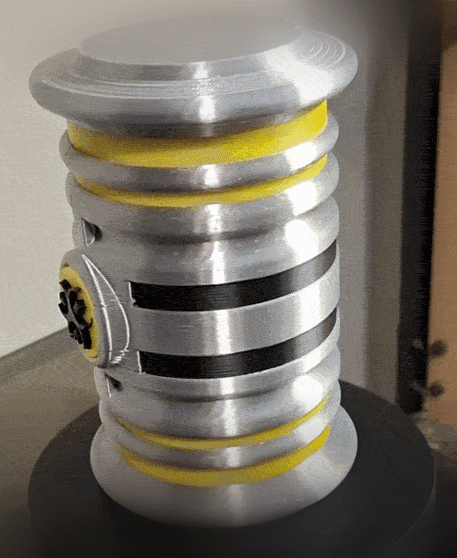
Fallout Mini Nuke
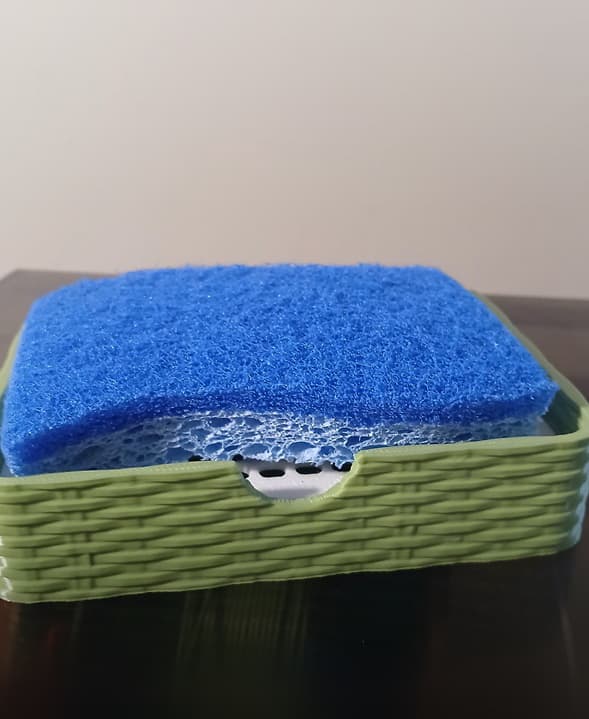
Woven Sponge Rest
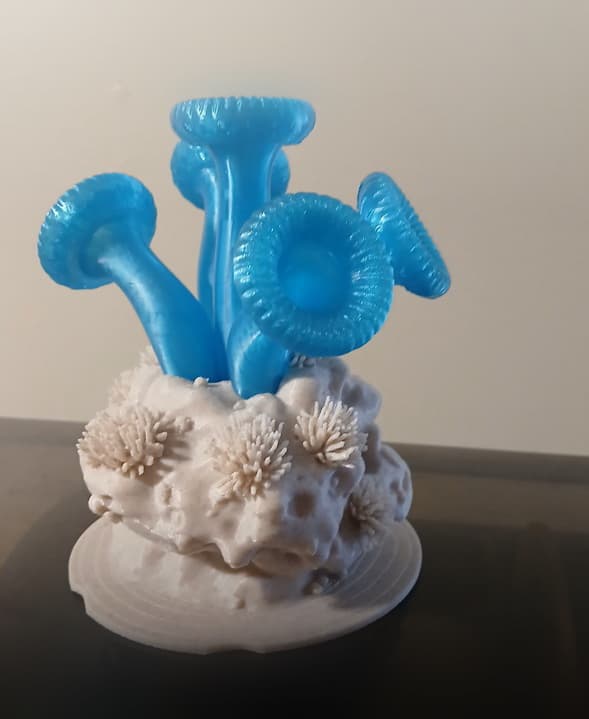
Aquarium Dendogyra Coral Decoration
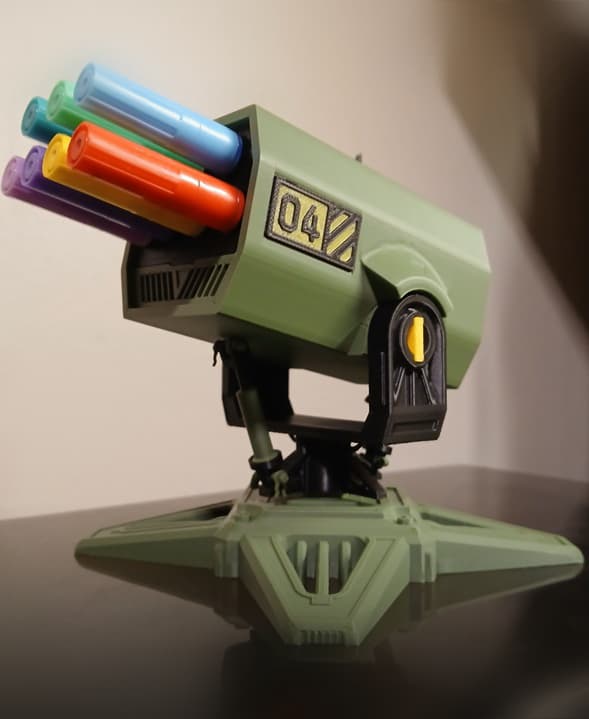
Articulated Missile Battery Pen Holder
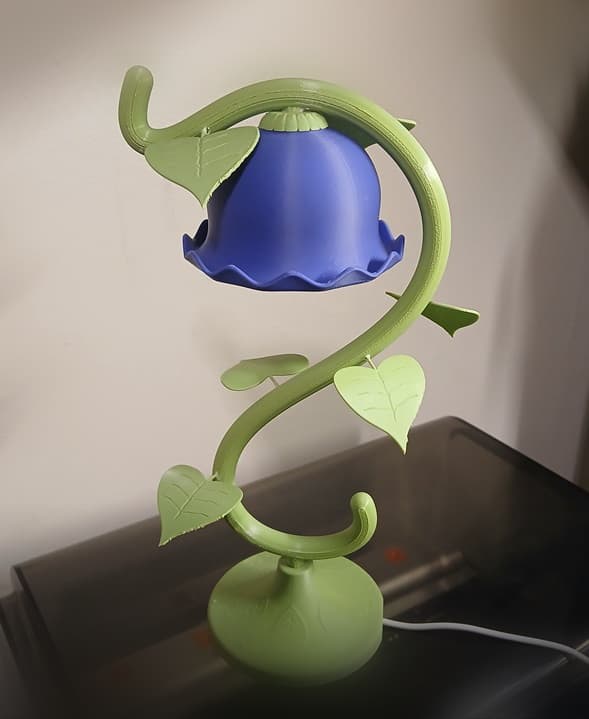
Lumen Lilly Lamp

Fallout Emergency Break Glass Box
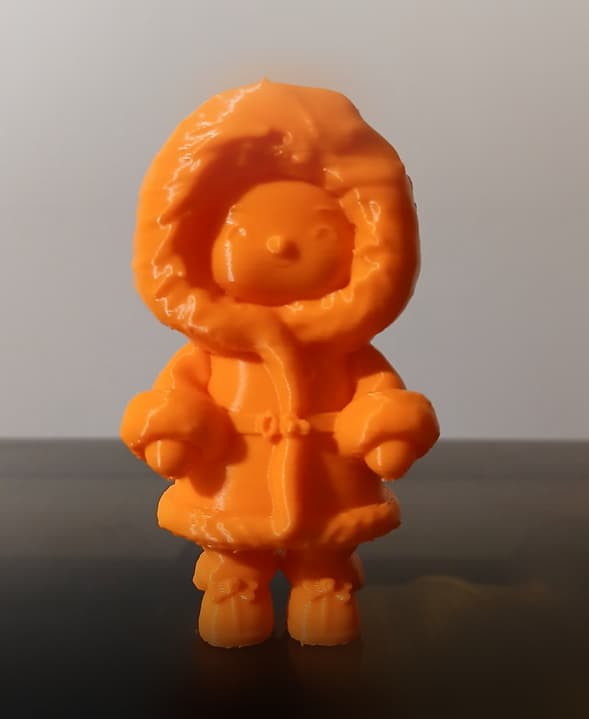
Eskimo Pie Figurine

Black Cat Wall Art – Retro Atomic Style Decor
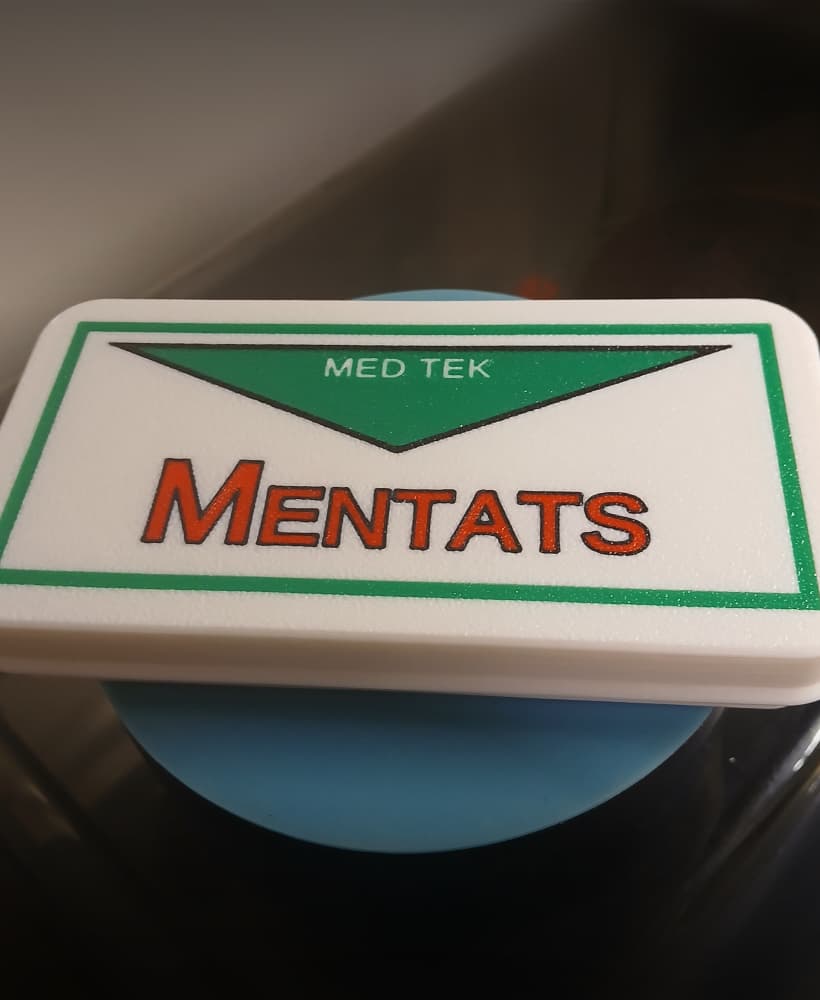
Fallout MED-TEK Mentats Container

Nuka‑Cola Victory Stash Box - 3-COLOR
