


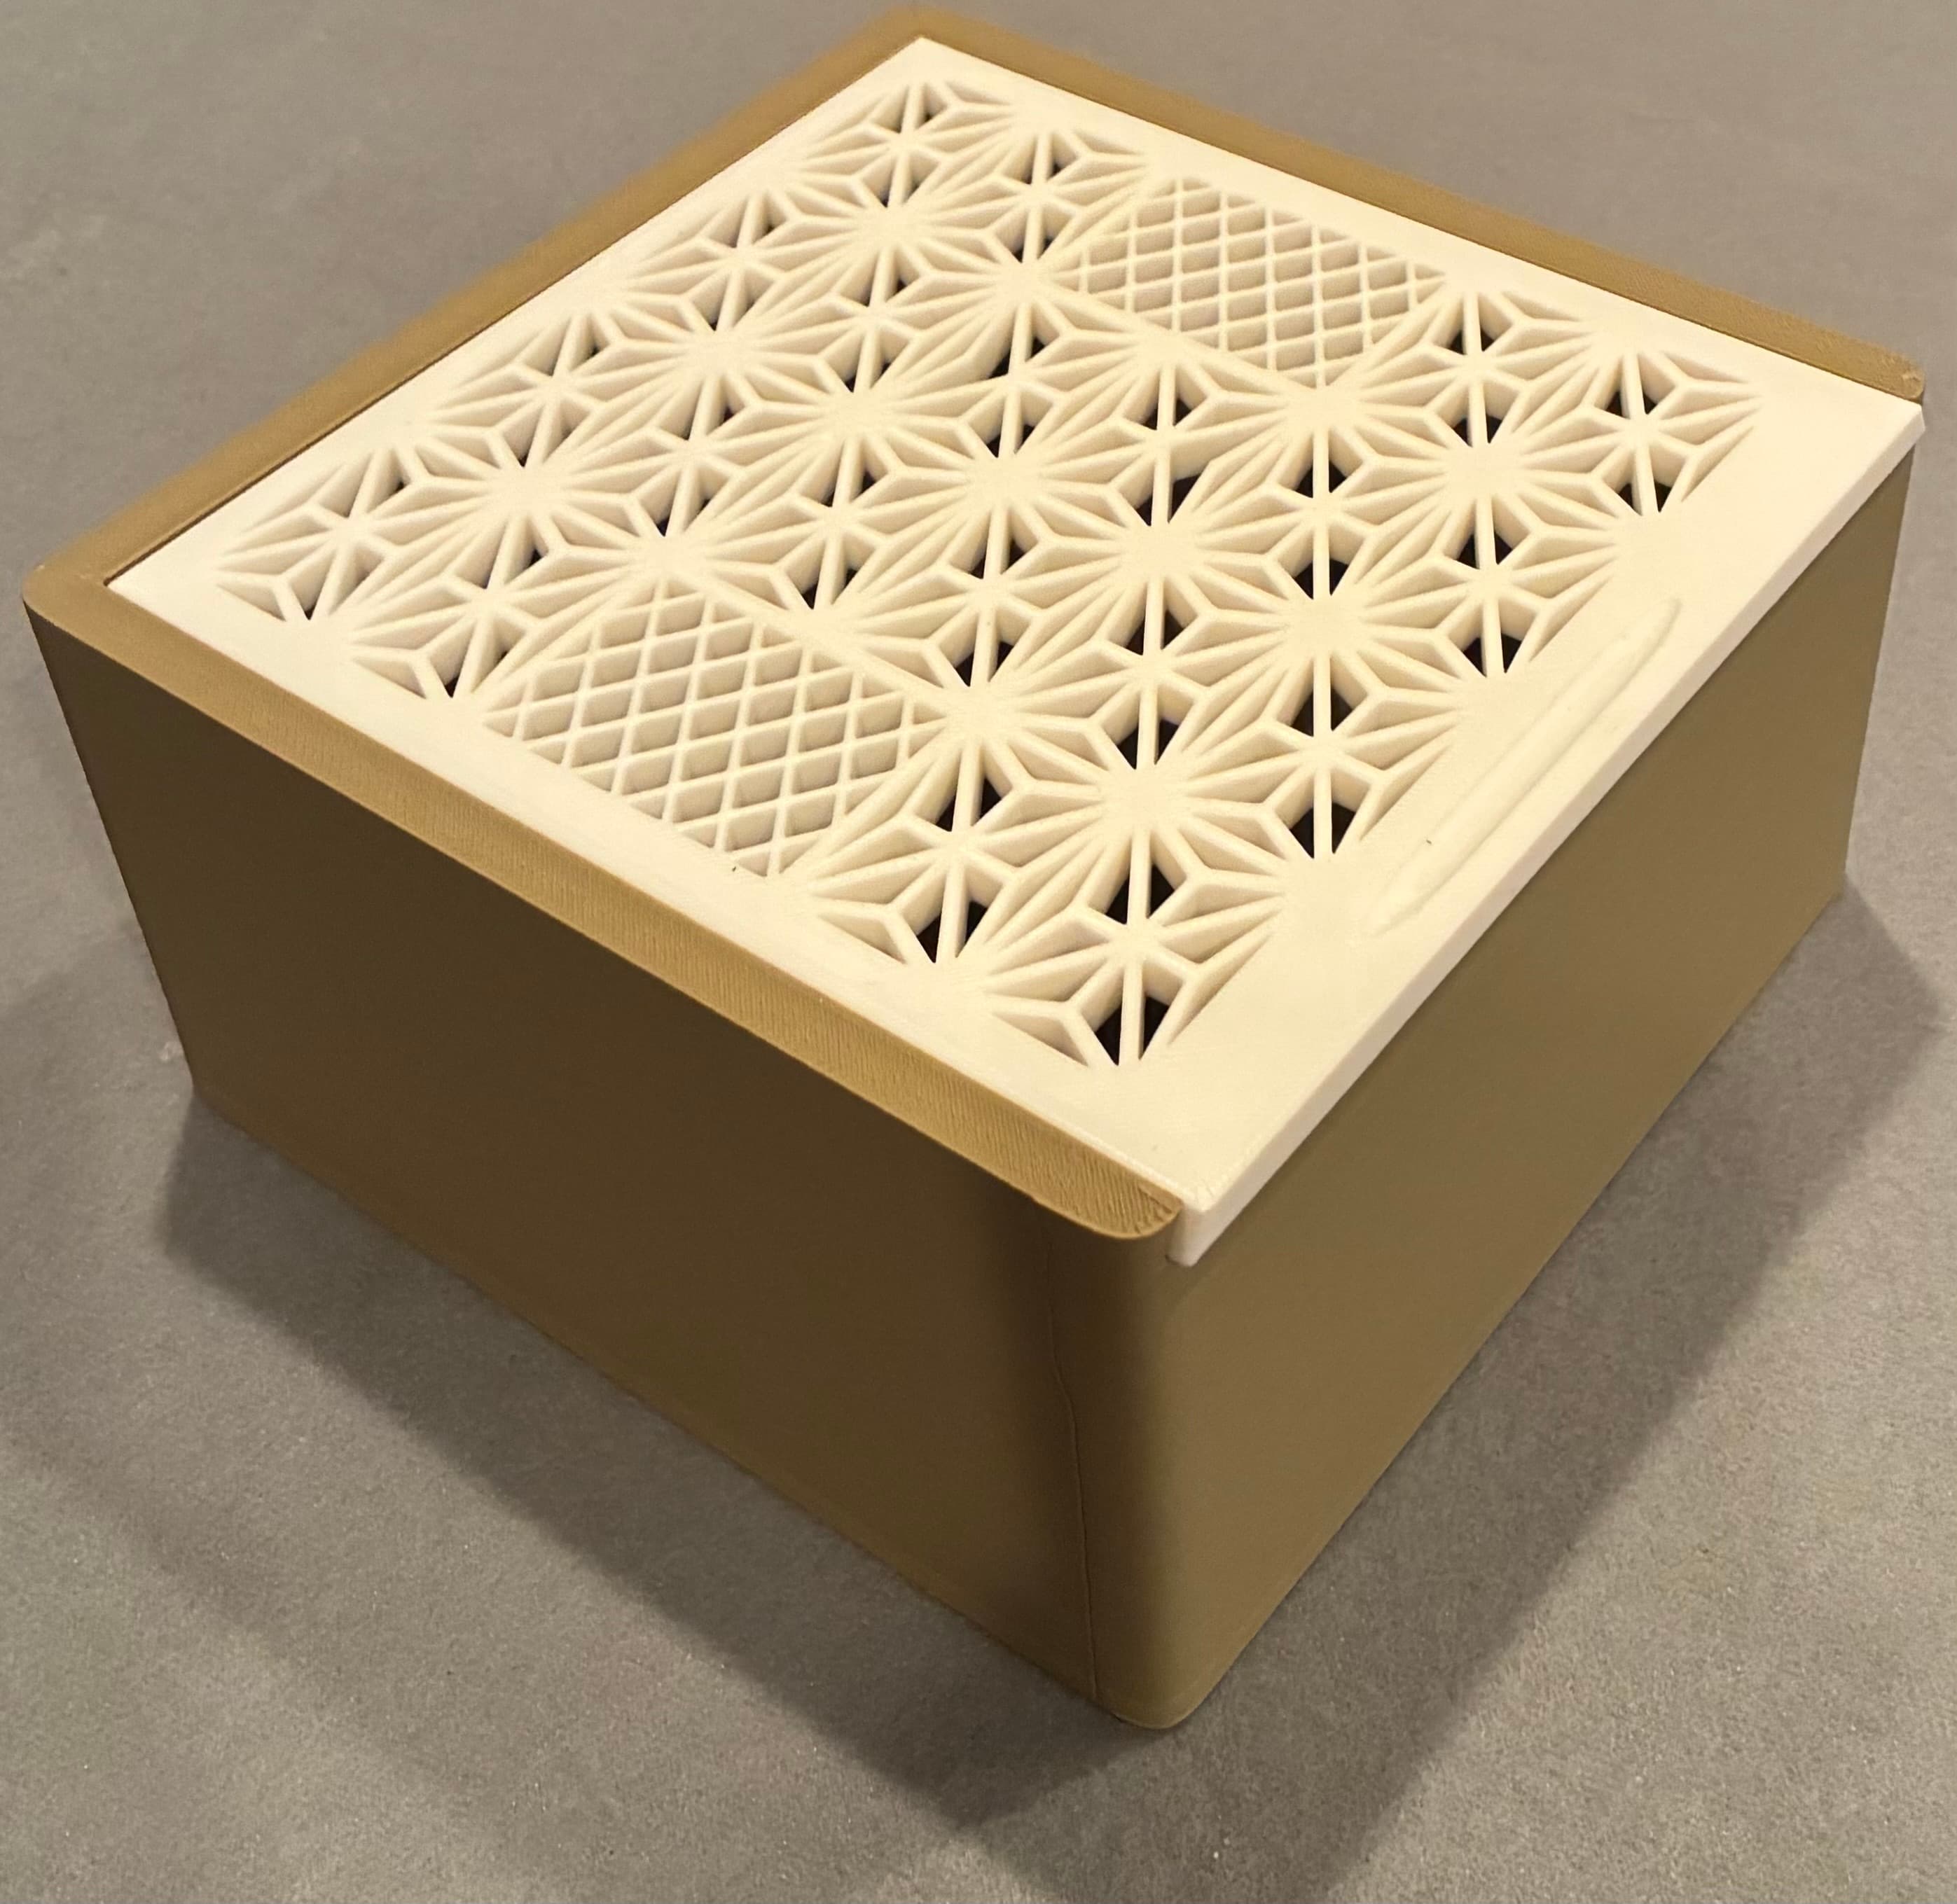
Lattice Pattern Tea Box - Divided Organizer
This is a simple, functional tea box designed with a bit of flair on top. The base is divided into four compartments, making it easy to keep different types of tea bags or small items organized. The standout feature is the lid, which has a detailed geometric lattice pattern that sits nicely on top of the frame. It’s got a clean, modern look that fits well on a kitchen counter or a shelf. The rounded corners give it a softer feel than a standard square box. It's a straightforward print that looks great in two contrasting colors like the brown and white shown here.
I test all my models with default Bambu Lab slicer settings: 0.2mm layer height, 10% infill, tree supports. No complex tweaks needed. If a model requires special settings, I include a prepared 3MF file (rare).

Lattice Pattern Tea Box - Divided Organizer

SpongeBob Gary the Snail Inspired Desk Organizer

Ocean Wave Vase - Blue Sea Foam Decor

Holding Hands Vase - Romantic Sculptural Decor

Lace Vase with Intricate Floral Design

Blue Leaf Lace Vase - Decorative Cutout Flower Holder

Fan Shell Vase with Sculptural Backdrop

Dryad's Hands Flowerpot – Nature-Inspired Planter

Sunflower Vase - Charming Yellow Summer Decor

Red Lattice Vase - Modern Decorative Flower Vase

Popcorn Bucket Vase - Fun and Whimsical Decor

Jute Fabric Bag Vase - Cozy Natural Decor

Celestial Tarot Card Box with Mystical Design

Cherry Vase - Vibrant Summer Vibes Decor

Orange Loop Vase - Contemporary Geometric Design

Lobster Seashell Vase & Pot - Coastal Decor Planter

Forest Mountain Pot & Storage Box - Nature Relief Decor

Bamboo Organizer - Modern Decorative Storage Solution

Pikachu Inspired Planter Pot - Pokemon Succulent Holder

Adventure Time Jake Inspired Bowl & Succulent Pot

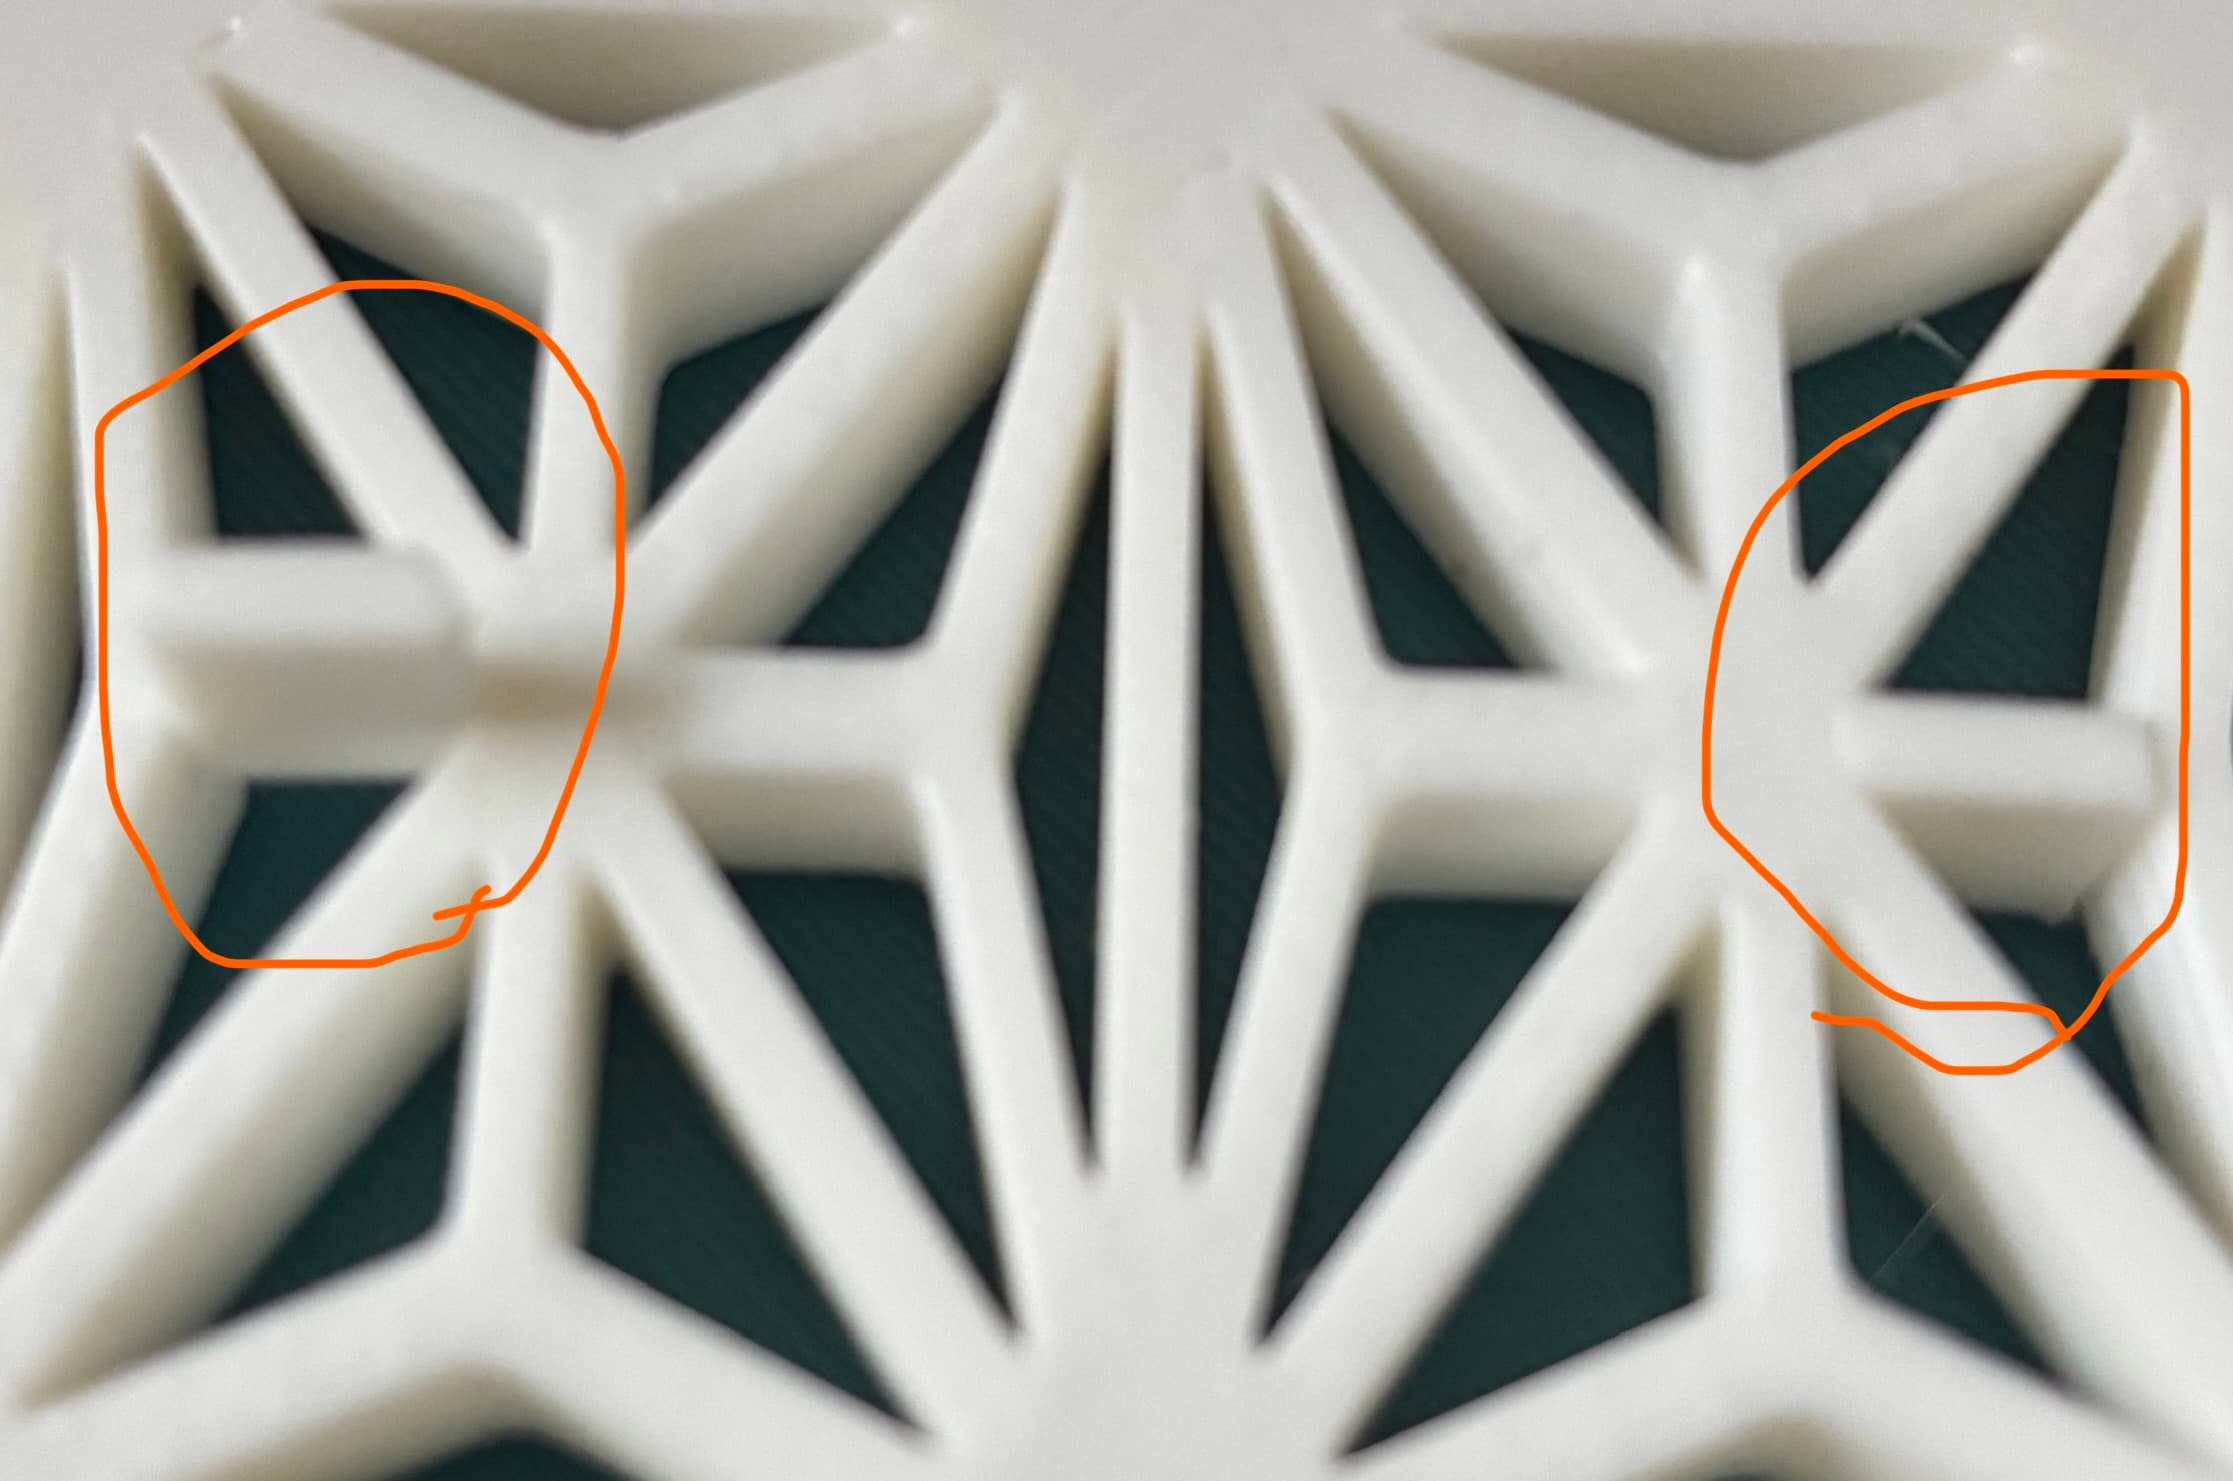
There is a very small error in your distribution files for both the 2x2 and 2x3 lids. One connector is missing from two of the central design elements. Your sample photos show the error in image #2 (but not image #1). I show the location in my "make" in red.
Thank you for bringing this to my attention! I really appreciate you taking the time to provide that detailed feedback. I've looked into the issue and will be updating the files shortly to address the missing connector you noticed. Please feel free to reach out if you have any other questions or concerns - your support means a lot! Happy printing.
I added another pseudo-Make to show how I fixed it without spending another 3 hours printing a new plate...