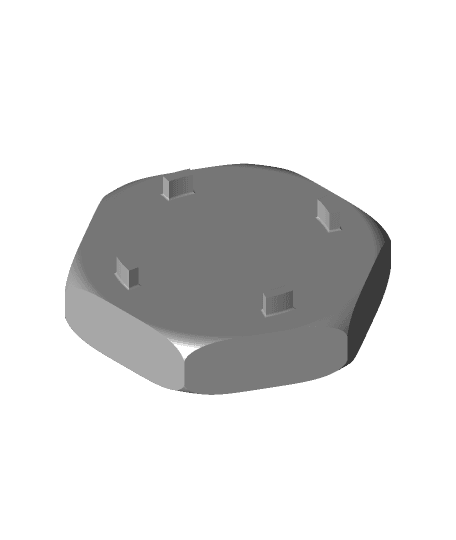
We all have that friend/co-worker that can't keep their hands off your 3D prints. Now you can prank them into thinking they broke your latest print!
Prank box works by using the power of a rubber band to squeeze the walls out at rapid speed. The top holds it all together, until it is removed (lifted off) or rotated counter-clockwise which triggers the release. The box breaks apart or 'explodes', surprising your unsuspecting victim! The unique exterior design will be sure to peak the curiosity of your next prey. They simply can't resist the urge to find out what it is or what's inside. Great for parties or April Fools Day! Or place on your desk and keep a running list of who you pranked! My office white board has a list of 'Prank Victims' for all to see!!
Instructions: Make sure to download all parts (Top, Base, Walls, Tensioner). Print four of the Walls and one each of Top, Base, and Tensioner. Requires a rubber band to hold tension between the Base and Tensioner. Loop rubber band through hook in Base, then thread through hole in Tensioner. Secure rubber band to Tensioner by cutting a short length of wooden skewer and inserting through rubber band and locking it into place in channel in Tensioner. If rubber band doesn't have enough tension (ie: too long), switch to a shorter one, or double/triple loop the rubber band around the hook in the Base. Assemble by aligning a couple Walls in place, lifting the Tensioner up and over, and holding with one hand. Add the rest of the Walls and hold in place. Line up tabs in Top with channels in Walls to secure it all together.
Print parts with at least 3 perimeters and 20-25% infill. Only the Walls require supports for the locking cutout at the bottom. No supports required for the other parts. Requires a rubber band and short length of wooden skewer (about 25mm long and less than 3 mm diameter).
Video of Prank Box assembly and 'exploding' can be found here: https://youtu.be/fHzVzTMuovw
