


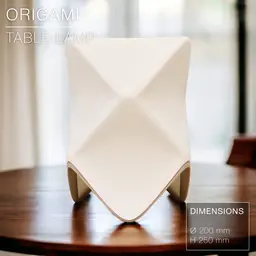


ORIGAMI | Table Lamp E14, E26, E27
ORIGAMI | Table Lamp E14, E26, E27
(NOTE: this original ORIGAMI version has been entirely replaced by the new Origami STILT version, fixing some design issues and adding some cool features. Enjoy!)
Here is a long-awaited update of the print-in-place ORIGAMI table lamp:
- First, I reworked the design so there wouldn't too sharp edges, which caused some print defects in the the previous versions.
- Then, I added 2 bases that can be be "fixed" on the shade (the shade would just rest on the base in previous versions).
- the bases have thicker legs than before, no sharp edges anymore, and print very nicely.
- These bases come in low and tall versions*.
- Also, the shade comes in 2 sizes, to fit on most printers out there.
You can use the shade with or without the base. If without without the base, just mount your E14 or E26 or E27 bulb sockets directly where the shade's inner shell narrows into a mounting neck in the middle. Or mount the shade on a base and, if you fancy, even mount it all on some table lamp stand or floor lamp stand from IKEA.
2 shade sizes available:
- Large version (height 250mm)
- Small version (height 209mm) to accomodate smaller printers.
Both sizes work with either E14, E26 or E27 sockets. The middle opening fits the E26 / E27. For E14, just print 2 adapter discs (STL provided) , and place them above and below the narrow neck inside the shade.
You can get the power cords from Amazon here: For Europe: E27 cord: https://amzn.to/3OVrZjK E14 cord: https://amzn.to/3TchBqs
For the US: E26/E27 cord: https://amzn.to/3U0Xyvy
Happy printing!
DIMENSIONS (Large) | Ø200 mm x H 250 mm
DIMENSIONS (Small) | Ø168 mm x H 209 mm
3D PRINT SETTINGS The shade and the base print upside-down. (STL files already oriented properly).
SHADE: The shade prints in standard mode, not vase mode. No supports required. No infill required.
Wall line count: 2 top layers: 2 Bottom layers: 3 Resolution / Layer Height: 0.2mm/layer Infill: None (0%) Build adhesion type: Brim 4 to 6mm Supports: None
In Bambu Studio:
- make sure to untick "ensure vertical shell thickness" in Speed settings or you'll end up with extra thickness here and there.
- set "Wall Generator" to "Arachne" mode in Quality settings, or you'll end up doubling the print time.
The shade on the pictures was printed with some “fuzzy skin”.
- fuzzy skin thickness: 0.3mm
- fuzzy skin point distance: 0.8mm
BASE/STAND: The base must be printed upside-down, so with the round face for the E14 or E27 socket flat on the printing bed. No brim or supports needed. You can push the infill to 30% or 40% to get a super clean print.

ORIGAMI | Table Lamp E14, E26, E27

SINE | pendant light E27/E26

COROA | pendant light E27/E26

MALLA | woven fruit bowl

MALLA | key bowl
FALDA | Pendant Light E26/27

MALLA | Woven String Art Deco

SAKURA | Pendant Light E26/27

SAKURA | Scalable Pencil Holder

MALLA | nut bowl
![SAKU[MINI] | Table Lamp E14 & E26/27 3d model](/_next/image?url=https%3A%2F%2Fstorage.googleapis.com%2Fproduction-thangs-public%2Fuploads%2Fenhanced_images%2Fv1%2F421bb906-ca95-4bc9-9dba-a6fd01fd6885%2FSAKU%255BMINI%255D_table-lamp_perspective-ON.jpg&w=3840&q=75)
SAKU[MINI] | Table Lamp E14 & E26/27

SAKUMI | Table Lamp E14 & E26/27

SYZYGY | Heart Vase, scalable
TRAMA | Wall Clock
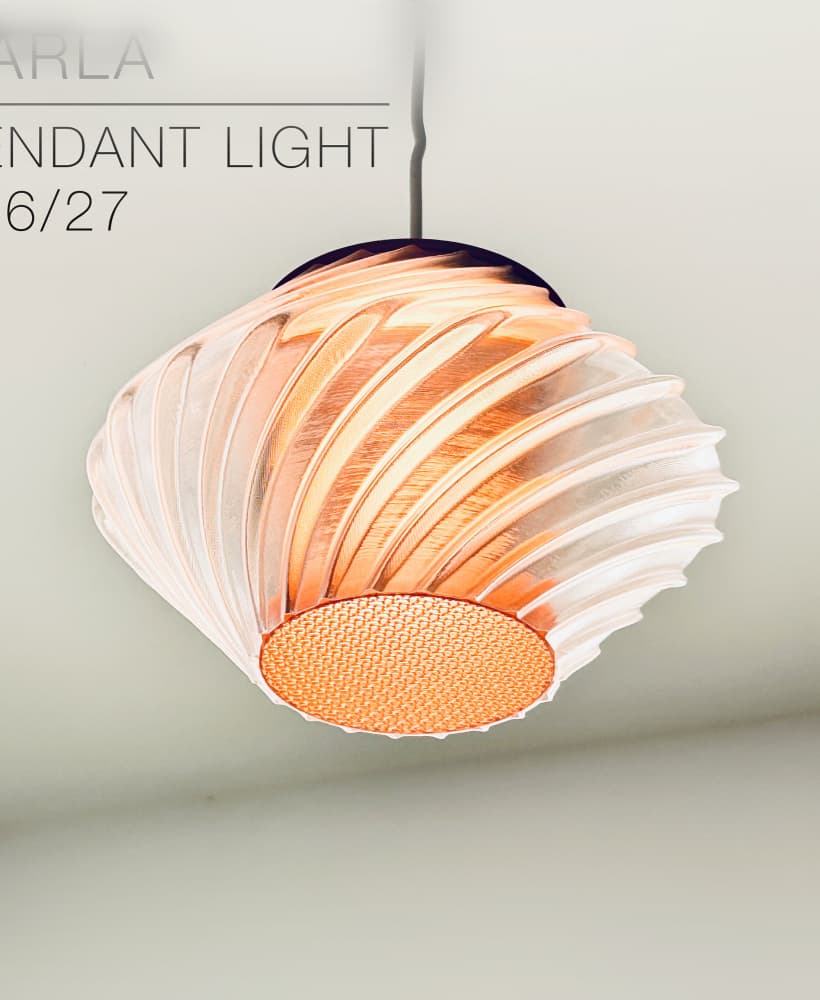
CARLA | Pendant Light E26/27

ORB XY | String Art Pendant Light

NINA | Toothbrush cups

PICA | Brush, print-in-place

MORPH | Stackable Egg Cup

ARYZ Divide | Pendant light E26/27

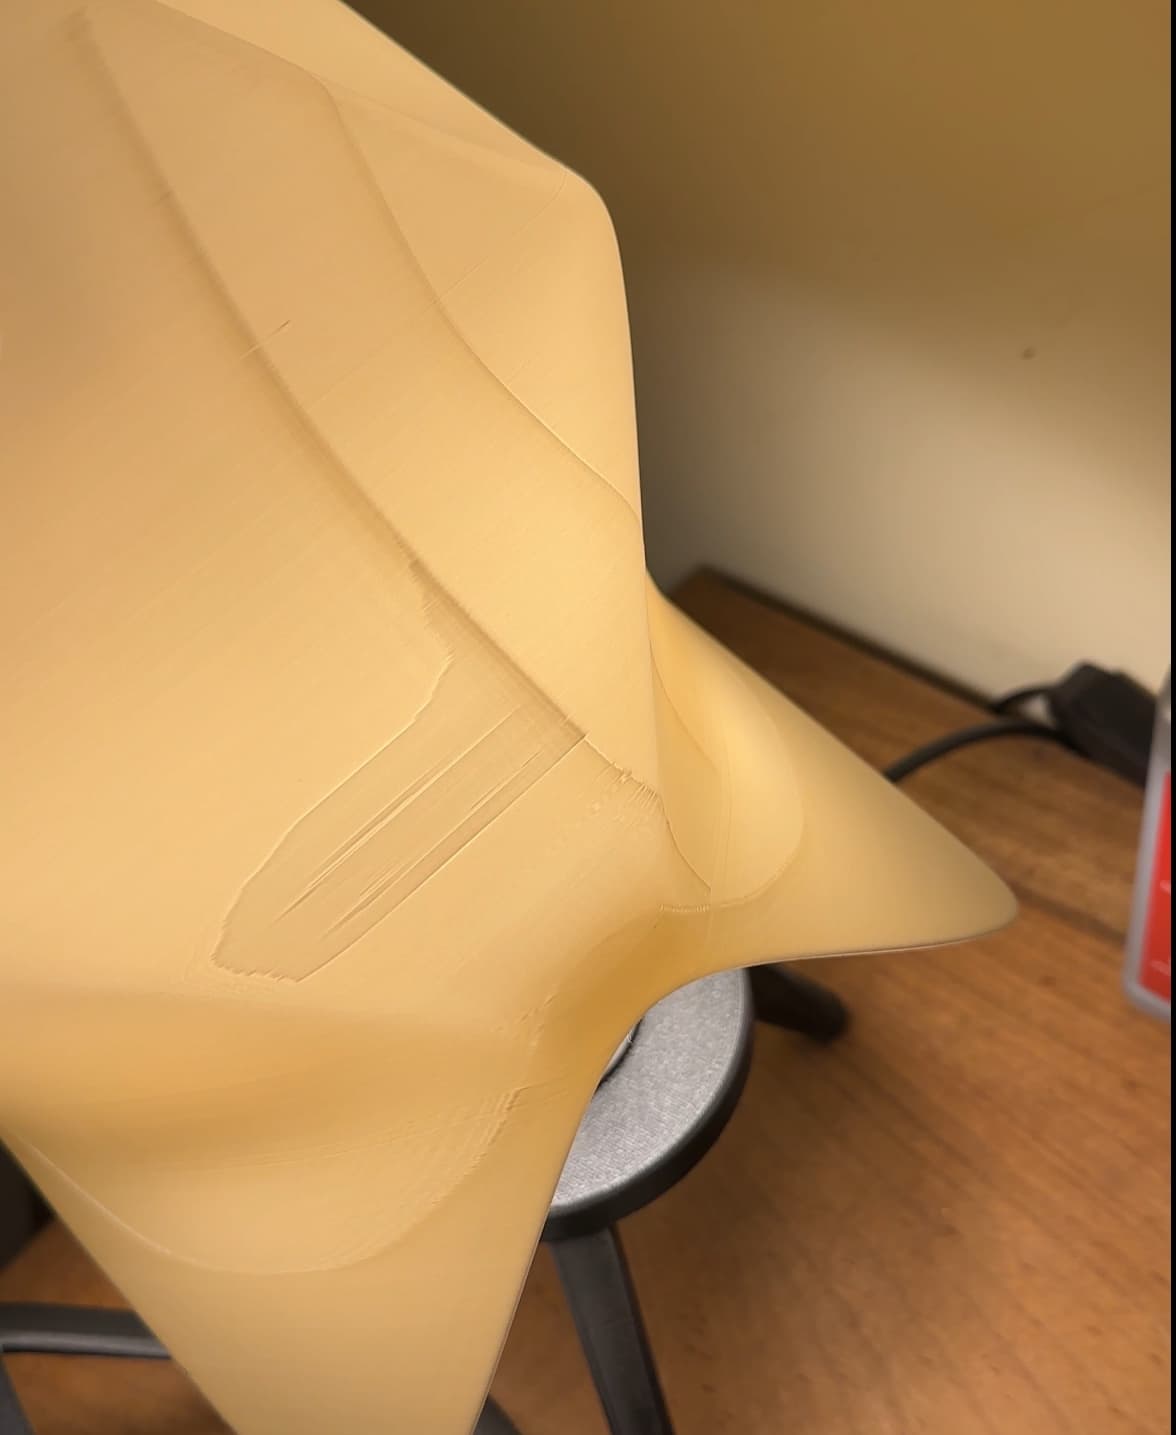
I printed the small and large options following the recommended settings on my Bambu Lab X1, but both have this strange stain on all sides. I was checking the file on the slicer after printing it, and I could see that for some reason what caused it was the "intern solid infill" line. I don't know if @CharlesRegaud or anyone who printed it could help me figure out the reason for this because it doesn’t look nice. :/
Hi! You can try reducing the amount of "top layers" or "bottom layers" until these extra lines disappear.
too many defects on this model. It is not good for selling, but the idea and design on the screen looks beautiful!
Thanks! It's a bit of a tricky print, indeed. The one on the pictures was printed with Polymaker PLA, which works great on my printer, and turned out perfect. The first attempt, however, was with some Creat3D PETG and had a few defects and some stringing. So use a filament that you are sure works great on your printer and it should give you a clean print.
actually, I used cotton white on PolyterraPla. I tried a few times again and got a better result, but I still have the visible lines when it is on. It's such a beautiful model, but can't make it without effects. However, I have to upload images of the dropped elegance model it looks awesome!!
There are no suitable base files for the small version. All the bases are for the large version.Can you add a suitable base for the small lamp?
Do you mean for the small version of the PIP (print in palce) version? The print in place version doesn't need a stand. The light bulb socket can be mounted directly in/on it. Only the original (not PIP) version needs a stand (available in lage size only, and for E27 or E14).
Up
I am curious if there is plans to make a base for the smaller one? I would like to be able to have it as an accent piece for the lamp, and my printer cannot print the larger one
Will you use it as a table lamp, or fixed on top of a floor standing lamp stand? As a table lamp, the PIP print-in-place version comes in 2 sizes and doesn't need a stand. The light bulb socket can be mounted directly in/on it. The original (not PIP) version only comes in large size and needs a stand to mount the light socket.
I would have it be free standing. I have the pip downloaded but I just like the way the base looks. Is there any way to modify the base to not have the light socket and just use it as an accent?
That's a good idea. I'll see what I can do.
Printing these right now! cant wait. I already have e26/7 bulbs and strips ready. Excited to see how they will look in my home office!
With or without fuzzy skin? A few guys have tried with fuzzy skin already, with great results. It gets rid of most possible printing defects.
without fuzzy skin!