


.jpg&w=256&q=75)
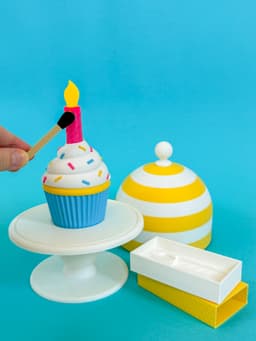


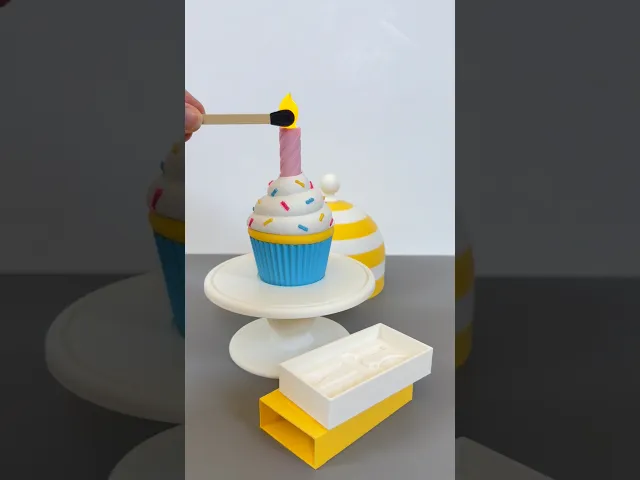
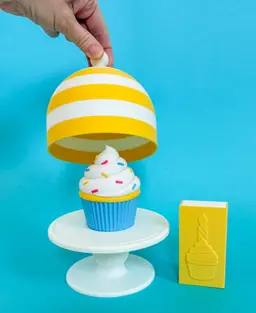
Cupcake & LED Candle Set (with Cupcake Stand and Magnetic Match)
Happy Birthday! Happy Anniversary! Happy Friday! Whatever the celebration, you will need this Cupcake Set to properly celebrate 😊 Fun features in this set include:
- Cupcake (2 styles with and without sprinkles) with a center that allows you to insert a candle and then take it out
- Candle that light ups (turn on and off) with magnetic match
- A cupcake stand complete with domed lid
- A matchbox for the match and candle
Please note you will need to purchase the following components: (1 Single White LED Magnetic Control Switch Lights (Warm) https://us.store.bambulab.com/products/single-led-magnetic-control-switch-light?id=42865579753608
(1) 1.4 x 16mm Rubber Bands (RA001) https://us.store.bambulab.com/products/rubber-bands?id=42614449766536
(If these are out of stock in Maker Supply they can also be purchased here: https://amzn.to/4u7ck2l )
NOTE: you will also need (1) 8x2 neodymium magnets BUT each LED light comes with a 8x2mm magnet so you do not need to purchase these separately.
General 3D Printing Instructions: PLA Basic or Matte works great 0.2mm layer height (except a couple items - see below) 15% Infill Supports and brims needed on some parts (see below)
Note: I have included (two) 3mf files. The first one was created in Bambu Slicer and has all of the pieces of this design. This 3mf is titled Cupcake & Candle Set (complete). The second 3mf file was created in Snapmaker Orca and is specifically for the Sprinkled Cupcake design. It is titled Cupcake with Sprinkles & Cupcake (plain). If you have a Multi-Toolhead 3D Printer I recommend using this file for the Cupcake bodies to save filament and time.
Cupcake & Candle Set (complete) 3mf Project File details:
Plate #1 (Cupcake body_plain): 3 color, supports added, Arachne wall generator selected Plate #2 (Cupcake body_with sprinkles): 4 colors, supports added, Arachne wall generator selected Plate #3 (Frosting tube):1 color, layer height 0.12mm (this is done to make finer layer lines for that this part isn’t as noisy when it’s moving up & down in the chamber) Plate #4 (Cupcake Chamber, ‘Bowtie’ Latch and Peg): 1 color, supports added to chamber Plate #5 (Candle_flame & Candle_body): print by object activated for this plate (Candle_flames): 1 color, 0.16mm layer height, Arachne wall generator selected ‘on’ (Candle_body): 1 color, 0.16mm layer height, Arachne wall generator selected ‘on’ Plate #6 (Match_tips): 1 color pause print added at layer 23 (layer height 4.6mm) to insert 8x2mm magnet into each tip (after magnets are inserted resume the print) Plate #7 (Match_sticks): 1 color, supports added Plate #8 (Matchbox_tray): 1 color, brim ears added to corners Plate #9 (Matchbox_cover): 1 color, brim ears added to corners Plate #10 (Cupcake Stand_lid): 2 colors, Arachne wall generator on, outer & inner line width 0.6mm, outer wall speed 50 mm/s, 100 mm/s, supports added Plate #11 (Cupcake Stand_plate): 1 color Plate #12 (Cupcake Stand_base): 1 color
Cupcake with Sprinkles & Cupcake (plain) 3mf (for Multi-Toolhead Printers): Plate #1 (Cupcake body_with sprinkles): 4 colors, 0.2mm layer height, supports added, flushing volumes for filament change set at 0.9 Plate #2 (Cupcake body_plain): 3 colors, 0.2 layer height, supports added, flushing volume for filament change set at 0.9 Plate #3 (Frosting Tube): 1 color, layer height 0.12mm Plate #4 (Cupcake Chamber, Bowtie Latch & Peg): 1 color, supports added to chamber
How to insert the magnets into the Match Tips when printing: When the print is paused, insert a 8x2 mm magnet into each tip. After magnets are inserted resume the print (orientation does not matter for these magnets).
How to Assemble the Matches: Remove the supports off the end of the Match Stick and then push the Match Tip onto it. Use a small drop of superglue if needed to secure it into place.
How to Assemble the Candles: Insert an LED light (facing up) into the base of the Candle Flame and then screw the Candle Body onto it.
How to Assemble the Cake Stand: Fit the cake stand base into the underside of the cake stand plate
See Photo for How to Assemble the Cupcake 🧁
This model has been partially created with the help of AI generation (specifically the general shape of the cupcake only).
I really hope you enjoy printing the model!! 🤗 Erin
Cupcake & LED Candle Set (with Cupcake Stand and Magnetic Match)

Twisty Fidget Tree (2 Styles)

Alphabet Layered Fidgets

Big Beads: Sports Themed
Spill the Tea Fidget

Football Layered Fidget

Potted Flowers and Watering Can

Flower Stand for Potted Flowers with Watering Can

Pixel Flower Fidget (2 sizes) with Stems, & Vases (3 styles)
.JPG&w=3840&q=75)
Fidget Fabric Fried Egg Set (play or coaster set)

Twisty Pint Fidget (2 Styles)

Clicky Phone Fidget (2-in-1 Fidget)

Fry Pan, Spatula and Fork

Green Eggs (requires mesh fabric), Slinky Ham and Plate

Number & Symbol Big Beads (for Horizontal and Vertical Stringing)

Big Letter Beads
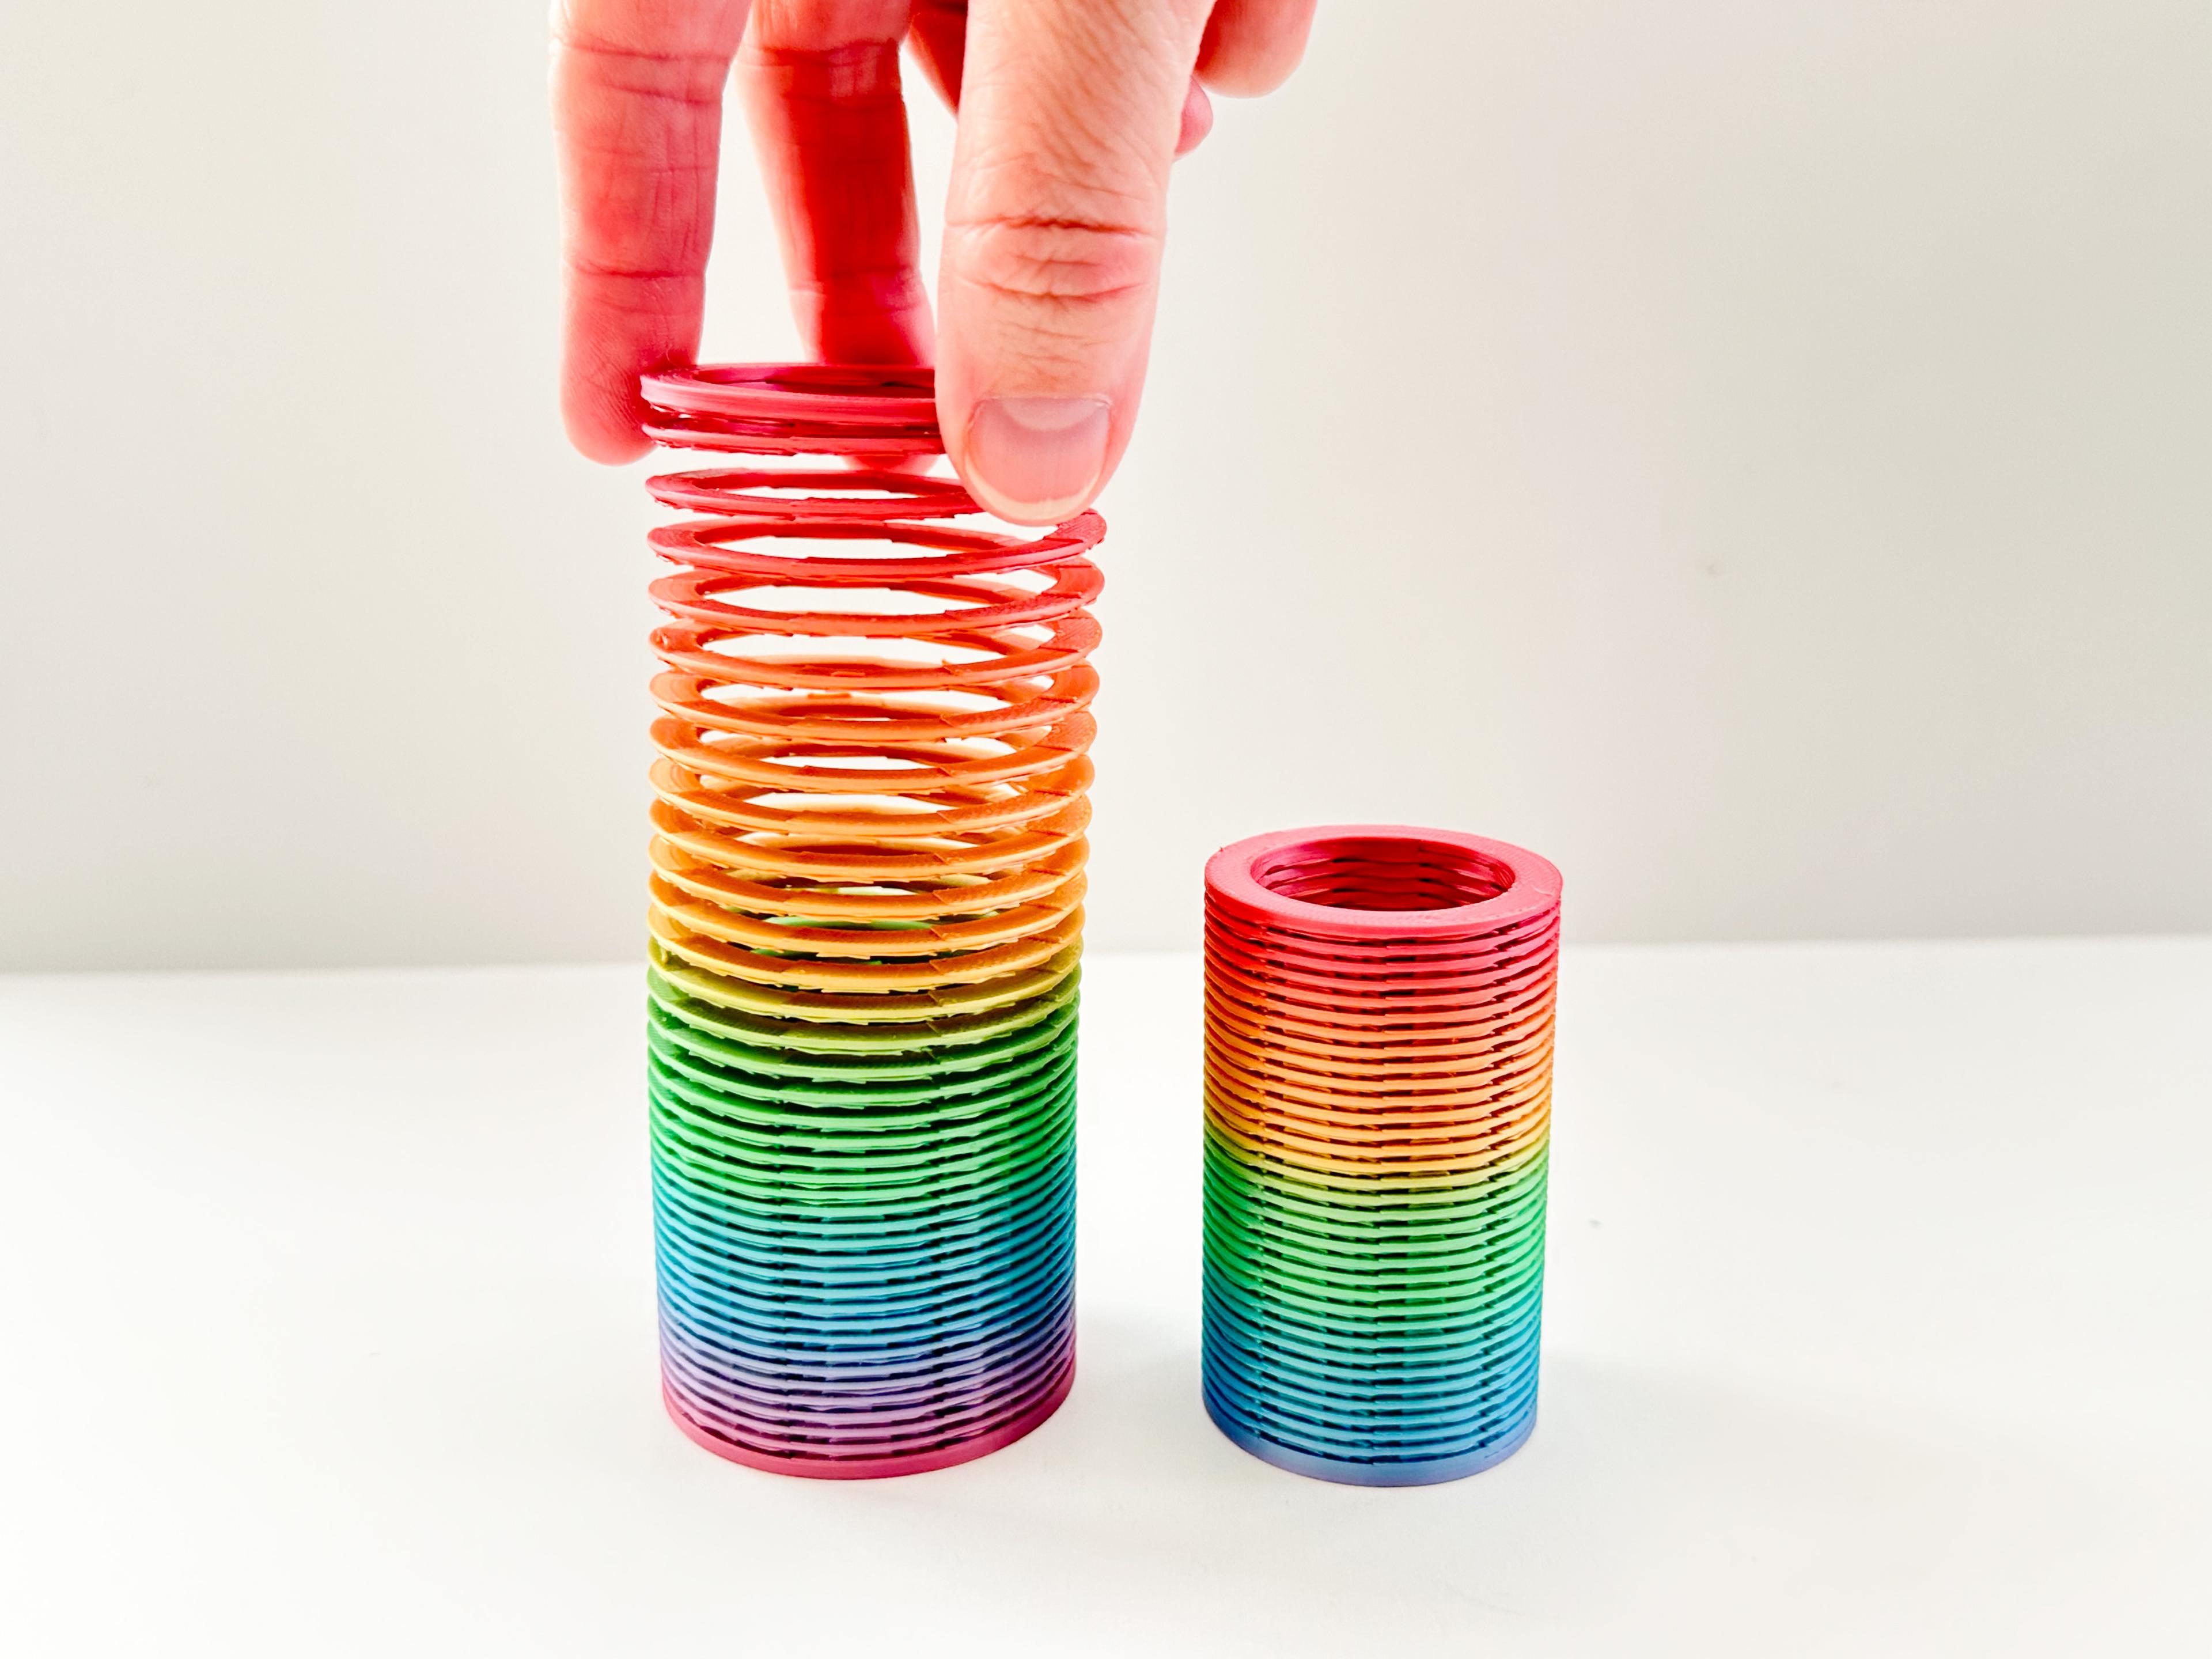
Slinky (2 sizes)

Pear Spinner Fidget
.JPG&w=3840&q=75)
Carrot Garden (2 sizes)
.JPG&w=3840&q=75)
Planter Box and Dirt Bed for All Veggie Fidget Garden (2 Styles)
.JPG&w=3840&q=75)