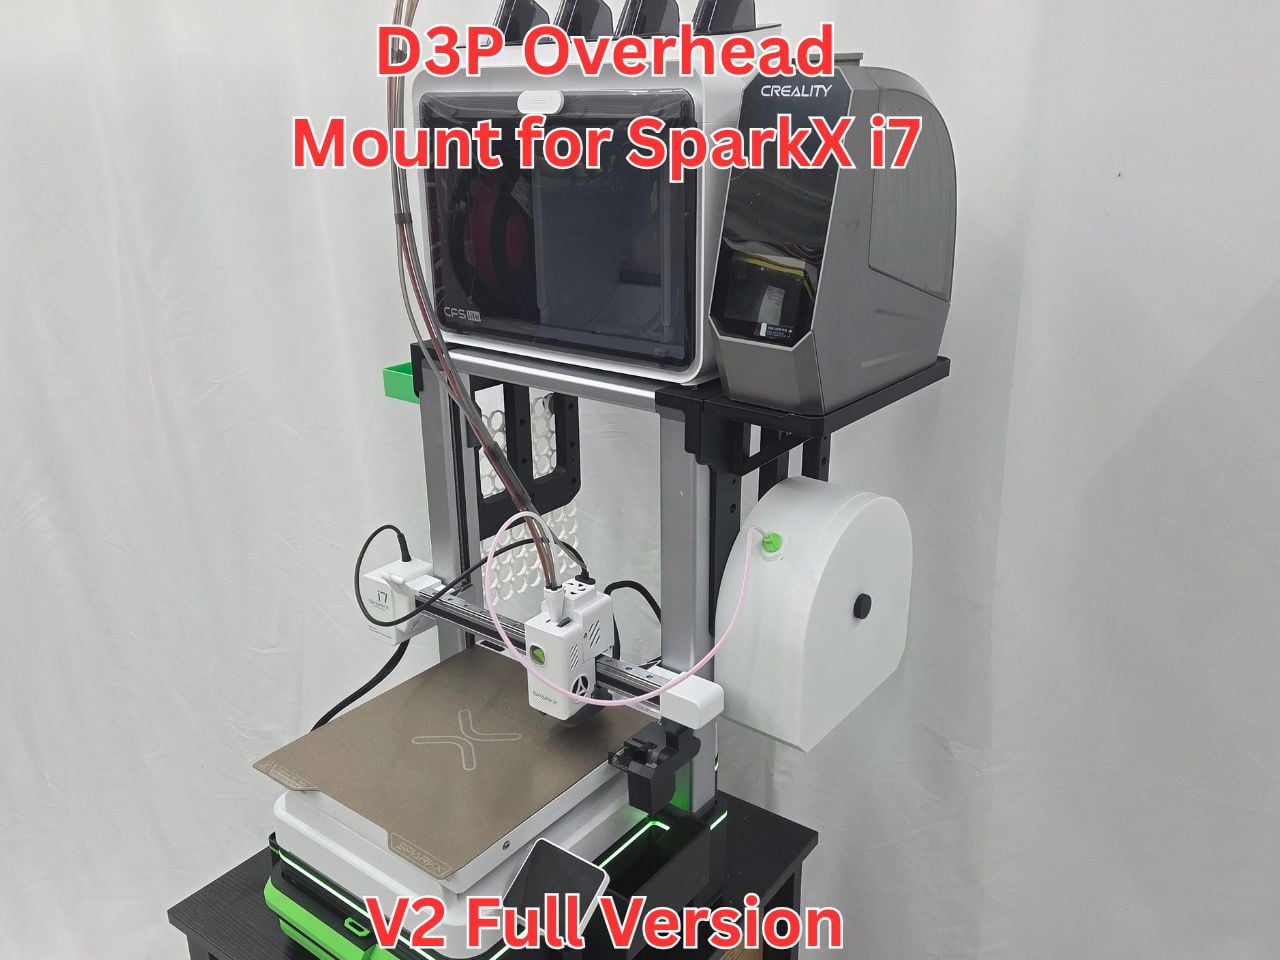


Creality SparkX i7 D3P overhead mount
D3P OVERHEAD MOUNT FOR CREALITY SPARKX i7 by Darren 3d Print
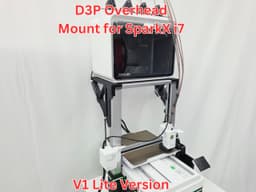
Two versions of the overhead are available and included. A LITE (V1) and a FULL (V2).
The full V2 version is the suggested one as it offers more features. Make sure you use the correct 3mf print setting as there is one for each.
FEATURES
Features of the SparkX i7 D3P LITE (V1) overhead mount:
• Space saving CFS lite mount;
• External spool holder - can be installed on either side;
• LED LIGHTS - the overhead features slots to install 3 slim 30 cm (12 inch) LED strips (see addons below);
• cable clip system - a customizable cabling clip system to arrange the cables of the SparkX i7 D3P overhead mount;
• Sturdiness and filament efficiency - the design minimizes filament use while maintaining structural strength;
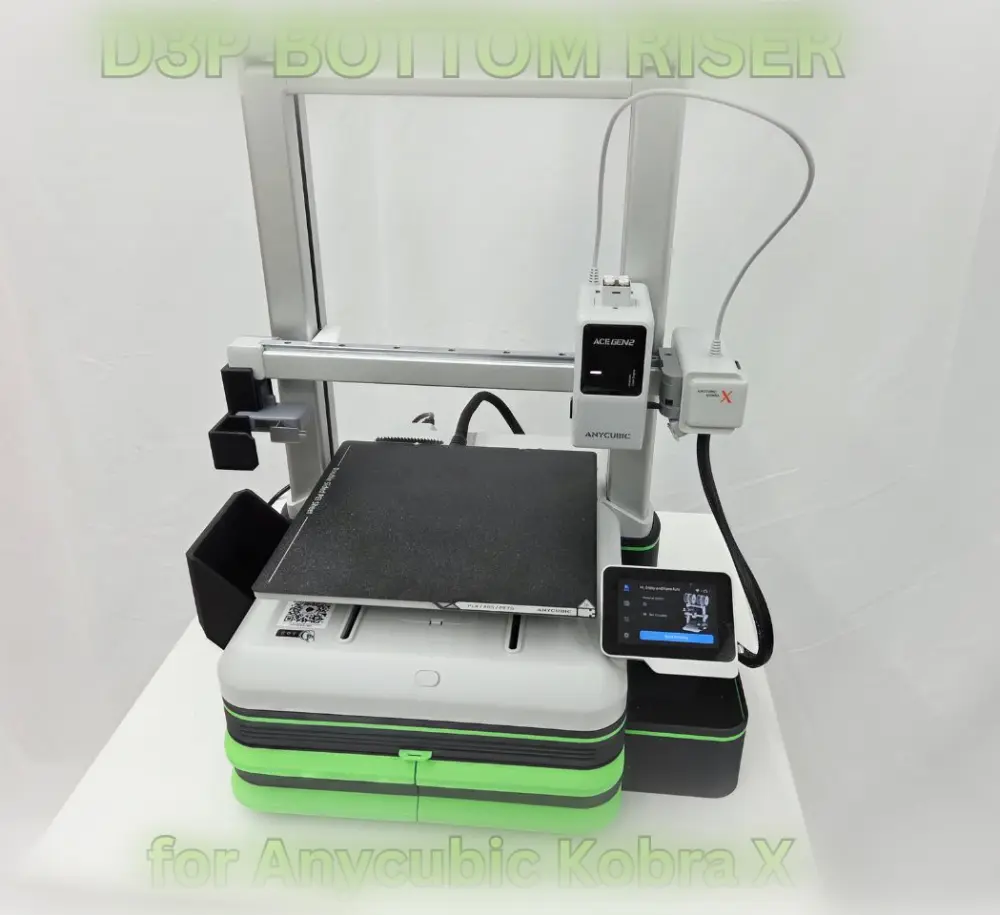
• Modular integration with the SparkX i7 D3P bottom riser. The SparkX i7 D3P bottom riser is interchangeable and can be used with my Kobra X D3P overhead mount system;
• Detailed pdf instructions with pictures and steps;
• Printing requires little or no support.
Features of the SparkX i7 D3P LITE (V1) overhead mount:
All of the above plus:
- Dry box attachment;
- Multiboard mounting system;
- Modular tool tray mount;
IMPORTANT: The D3P SparkX i7 overhead mount model is only for the overhead mount. The D3P SparkX i7 bottom riser is a separate model. Both models can be used separately or together.
To find out more about the SparkX i7 D3P bottom riser click here:
D3P SparkX bottom riser
MULTIMEDIA
Introduction video (D3P overhead FULL and D3P bottom riser): https://www.youtube.com/shorts/CVxGjHkpyvU
Introduction video (D3P overhead LITE and D3P bottom riser): https://www.youtube.com/watch?v=BRP7ik6L2w8
Assembly video by MikesQuestLog for the D3P overhead LITE V1: https://www.facebook.com/reel/975211898646091
https://www.facebook.com/reel/975211898646091
EXTERNAL COMPONENTS
The following external components are optionally required. Links and further details are provided in the assembly instruction pdf:
1x - 12 inch LED strip lights - 3 pack.
INTELLECTUAL PROPERTY
This work is licensed under the standard digital file license. You are prohibited from sharing, sub-licensing, selling, renting, hosting, transferring, reproducing or distributing the digital file or 3d printed versions of this object, as well as any other derivative work in either digital or physical form (including remixes or copying/reproducing the design by any means).you are not allowed to use the objects in any manner that involves charging money or collecting fees without permission.
ADDONS
The model features numerous add-ons that are free to download:
LITE VERSION ADDONS
Side spool holder: https://www.crealitycloud.com/model-detail/spool-holder-d3p-overhead-mount-sparkx-i7?source=22&profileId=6a03c272158250ad6546cbbd
V1 LITE spool holders
FULL VERSION ADDONS
Modular tool tray
Multiboard mounts
Multiboard grid link https://Thangs.com/designer/MultiBuild/3d-model/10x10%2520Multiboard%2520Side%2520Legacy%2520Tile-977715
Single dryer shelf
Side spool V2 (required for dry box)
I will be adding to these so be sure to check back from time to time.
TECHNICAL SPECIFICATIONS
For the SparkX i7 D3P overhead mount (approximates):
Filament: LITE: 400 g FULL: 560 g
Approximate print time: LITE: 13h 55 minutes FULL: 18:42 minutes
Height added by D3P bottom riser (separate model): 10 cm (4 inches)
Height with CFS lite (without D3P bottom riser): 81 cm (32 inches)
Height with CFS lite (with D3P bottom riser): 91.5 cm (36 inches)
The D3P overhead does not materially increase the depth or width of the footprint of the printer
PRINT SETTINGS
IMPORTANT I upload a print setting files for all my models. The print settings has the parts positioned for correct printing.
I strongly recommended you use my print setting file. If not, I will not be able to assist you if there is an issue when printing. From experience, many of the issues with printing my models are on account of users not using my print settings.
CHANGELOG
If there are any changes to the STL files or print settings I will list them here. I recommend looking at this section prior to printing as it is the only way I can inform users of changes.
3D PRINT SETTINGS
I use the following settings and materials to print this model:
Infill % : 15% (no need for more)
Nozzle diameter: 0.4 mm
Layer height: 0.2 mm standard
Material: PLA or PETG. If you plan on using a dryer on the shelves then PETG is suggested as PLA may deform
ASSEMBLY AND INSTRUCTIONS
A detailed instruction and assembly guide with steps and pictures is available for download with the model files.
MikesQuestLog released a great assembly video for the overhead LITE
TROUBLESHOOTING
All parts and the assembly have been tested multiple times (both printing and assembly).
• Make sure your build properly cleaned and free of grease and oils before printing. This is the cause of adhesion.
• Make sure you use my print profiles/settings (the .3mf file that has multiple plates with all the parts) and that you enable support as indicated for each build plate on the build plate description.
• Filament and printer will affect tolerances however all should fit. If unsure proceed slowly and cautiously.
• If there are any changes I list them in a changelog on the model page. Please have a look at it prior to printing in the event there are any changes.
I am available to assist with any issues with this model.
The best way to reach me is through Facebook messenger - my user name is "Darren 3d print".
I thank you for your support and hope you like this model.
Creality SparkX i7 D3P overhead mount

D3P RISER FOR QIDI MAX 4

Creality SparkX i7 D3P bottom riser
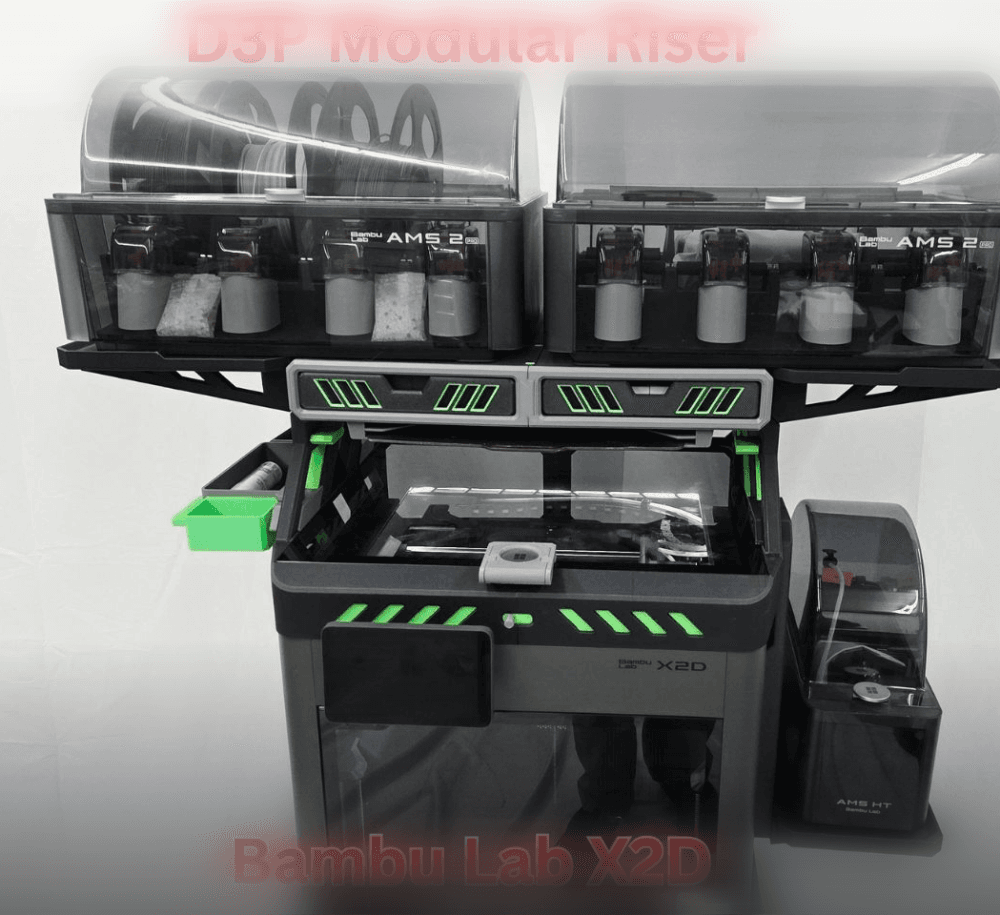
D3P riser for Bambu Lab X2D
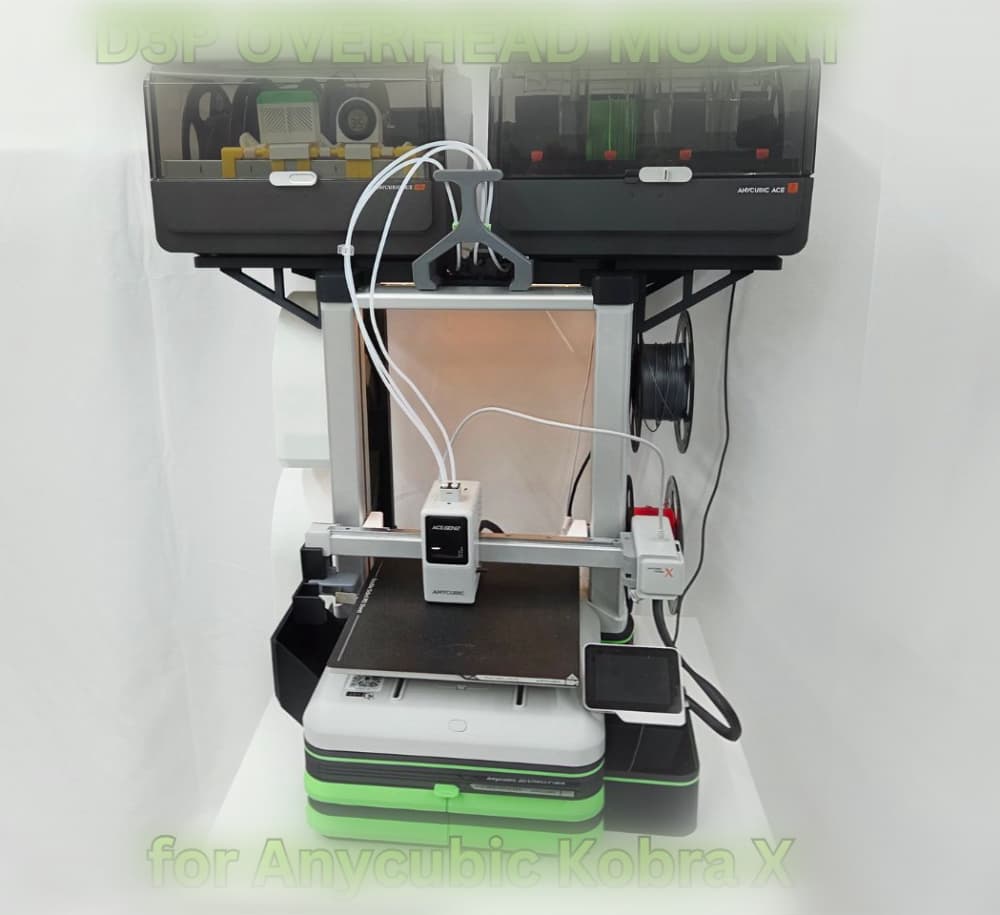
D3P Overhead mount for Anycubic Kobra X and Kobra 4
D3P Bottom riser for Anycubic Kobra X and Kobra 4

D3P riser for the Anycubic Kobra S1 Max

D3P riser for K2 SE
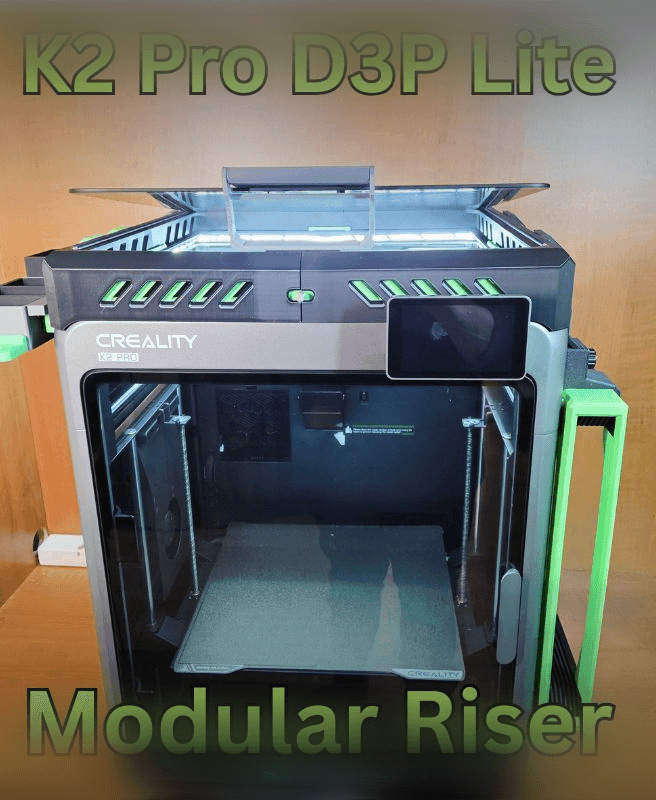
K2 PRO D3P RISER LITE
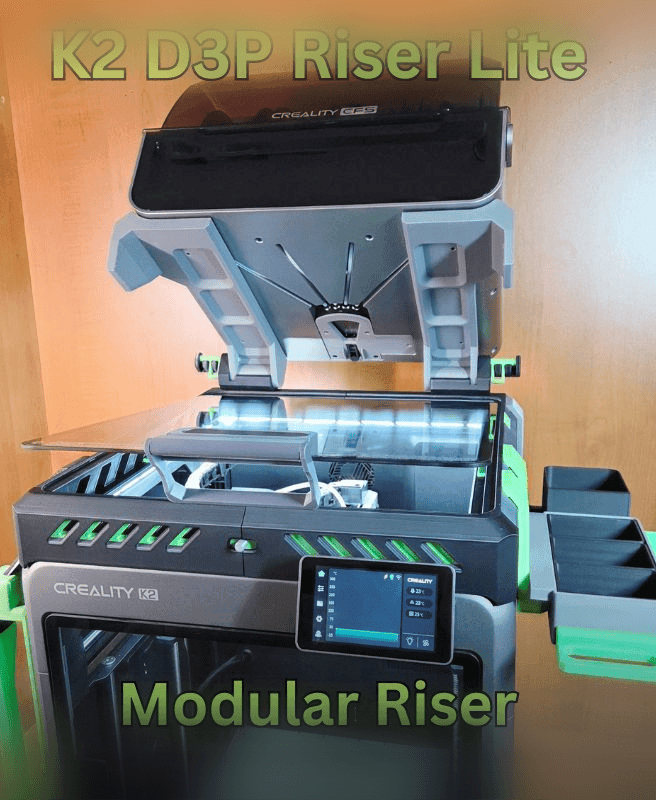
D3P K2 LITE RISER
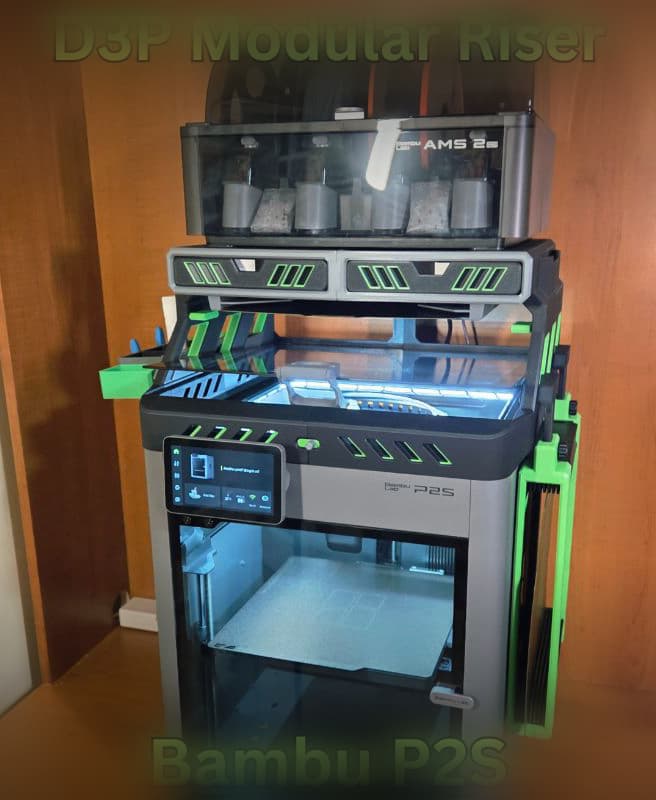
D3P riser for Bambu Lab P2S
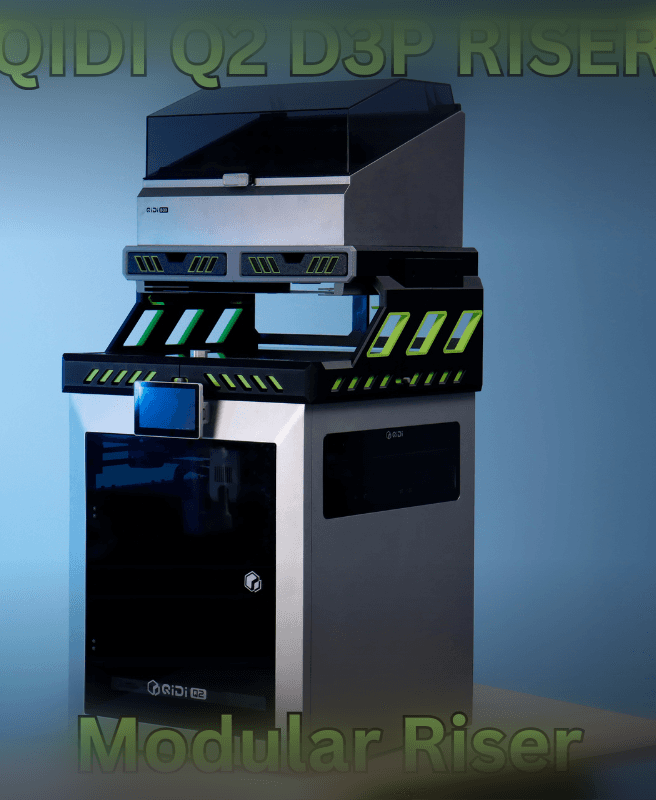
Qidi Q2 D3P Riser
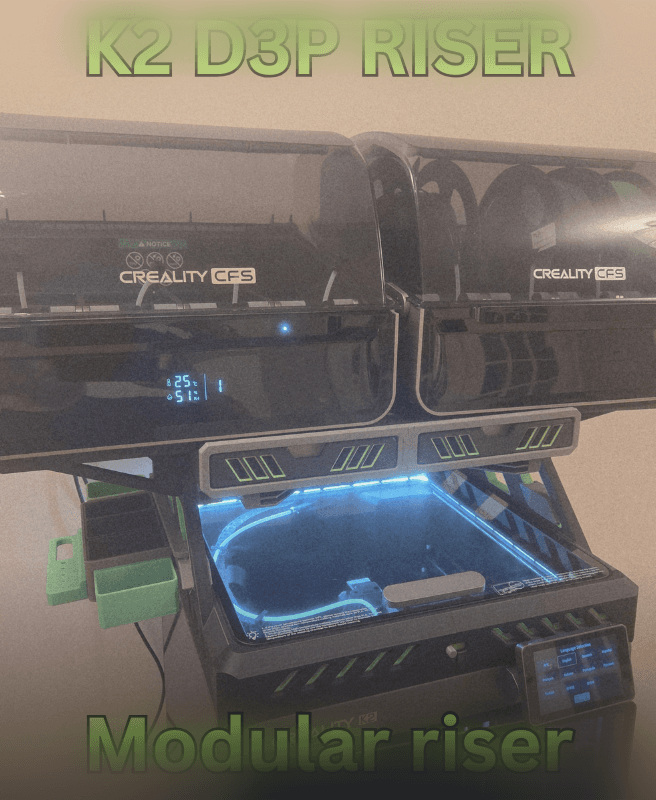
Creality K2 - D3P riser
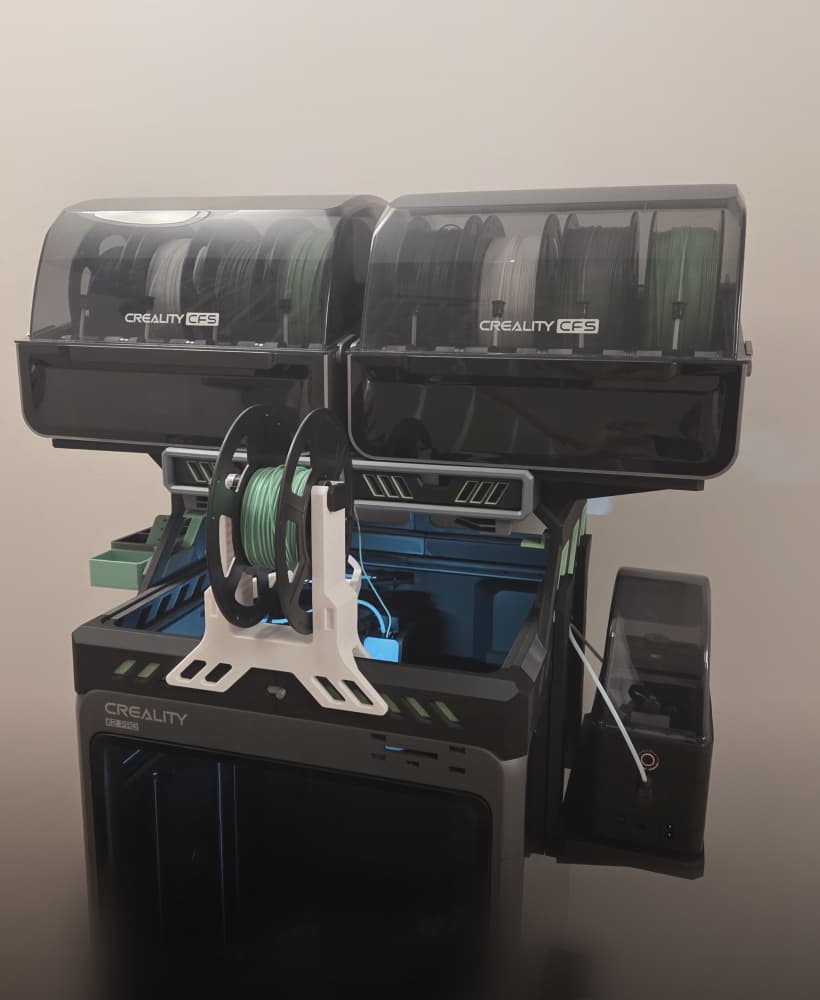
CREALITY K2 PRO D3P RISER
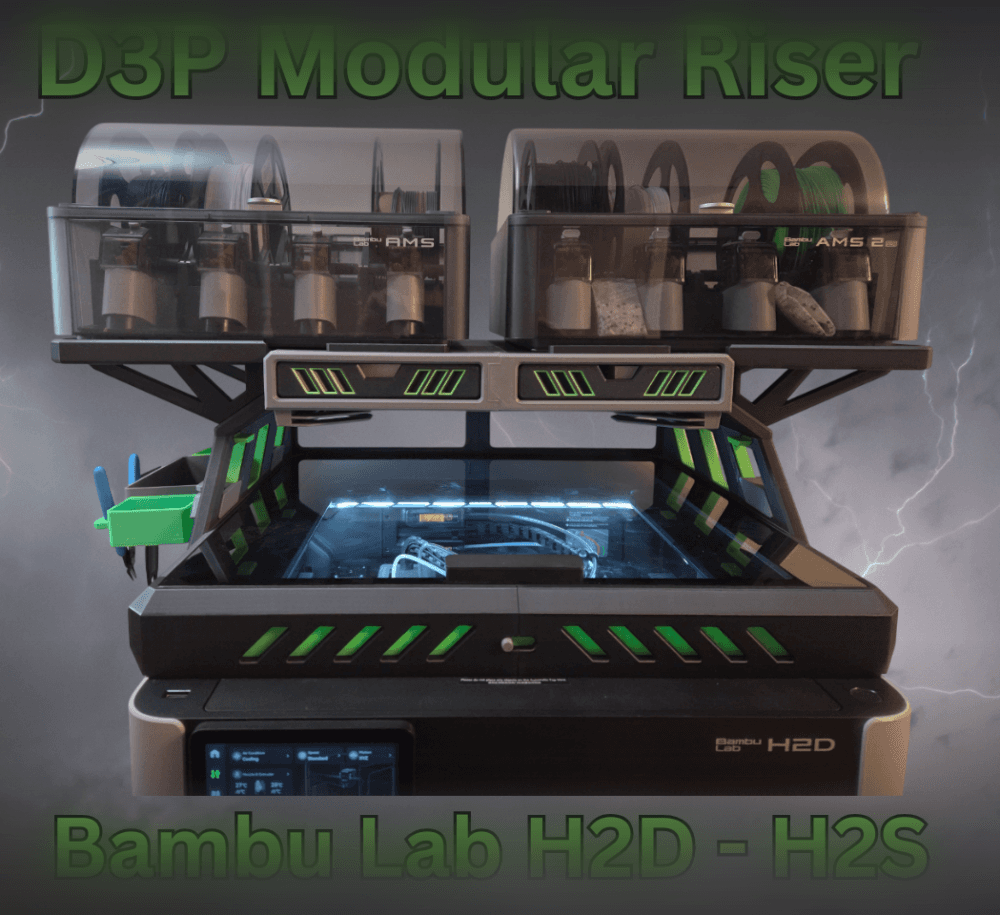
Bambu H2D H2S H2C D3P Riser

D3P riser for K1 K1C K1E
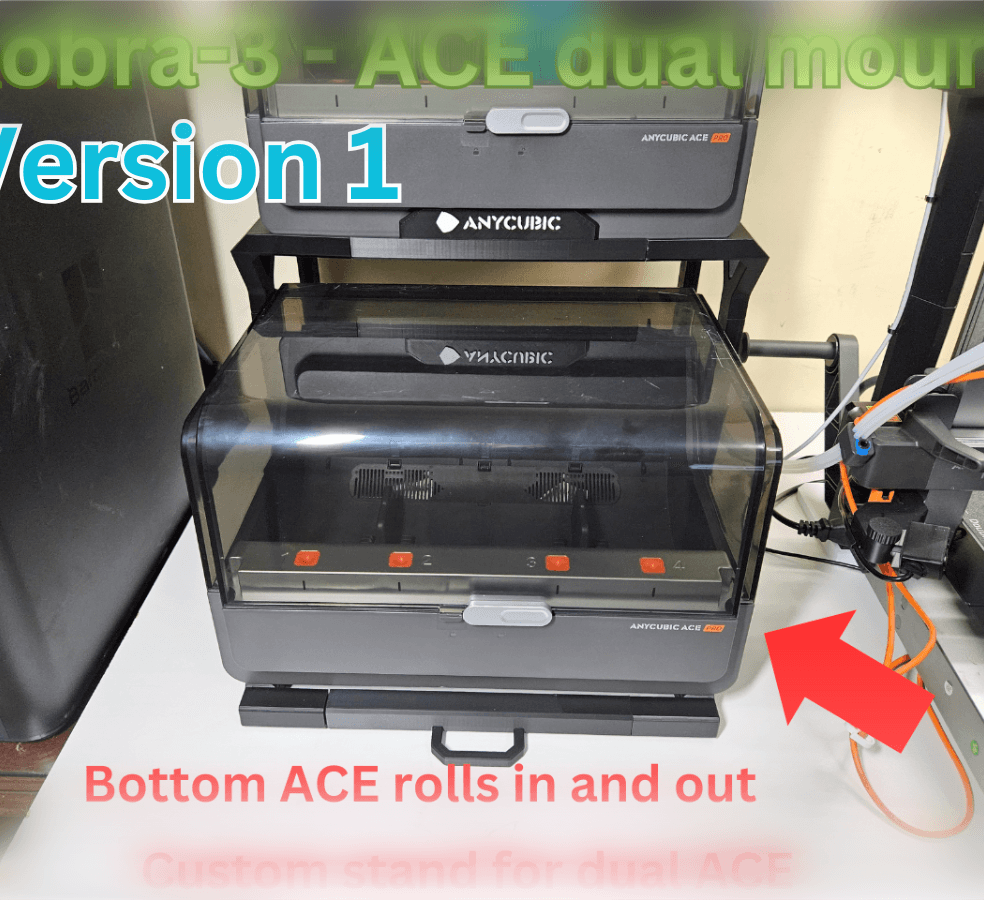
KOBRA-3 DUAL ACE-PRO STAND
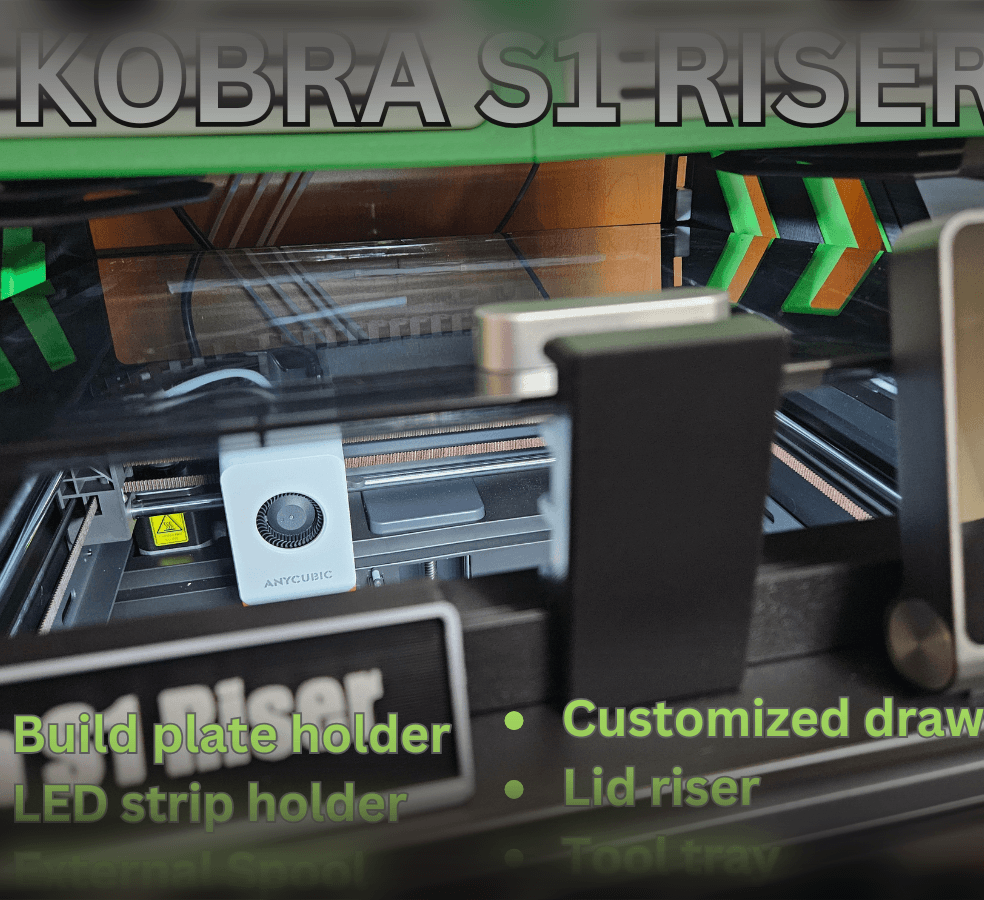
Anycubic KOBRA S1 RISER

Anycubic Kobra S1 Riser LITE

Kobra S1 Riser DUAL ACE PRO - Ace pro 1 and Ace pro 2
