


Edge Band Trimmer for Trim Routers
A purpose-built, router-mounted edge band trimmer for clean and controlled trimming of edge banding on wooden panels. Designed for compact trim routers and optimized for dust extraction, modular compatibility, and 3D printing by experienced users.
KEY FEATURES
- Designed specifically for edge band trimming
- Tested with DeWalt and Makita trim routers
- Modular adapter-based system for future compatibility
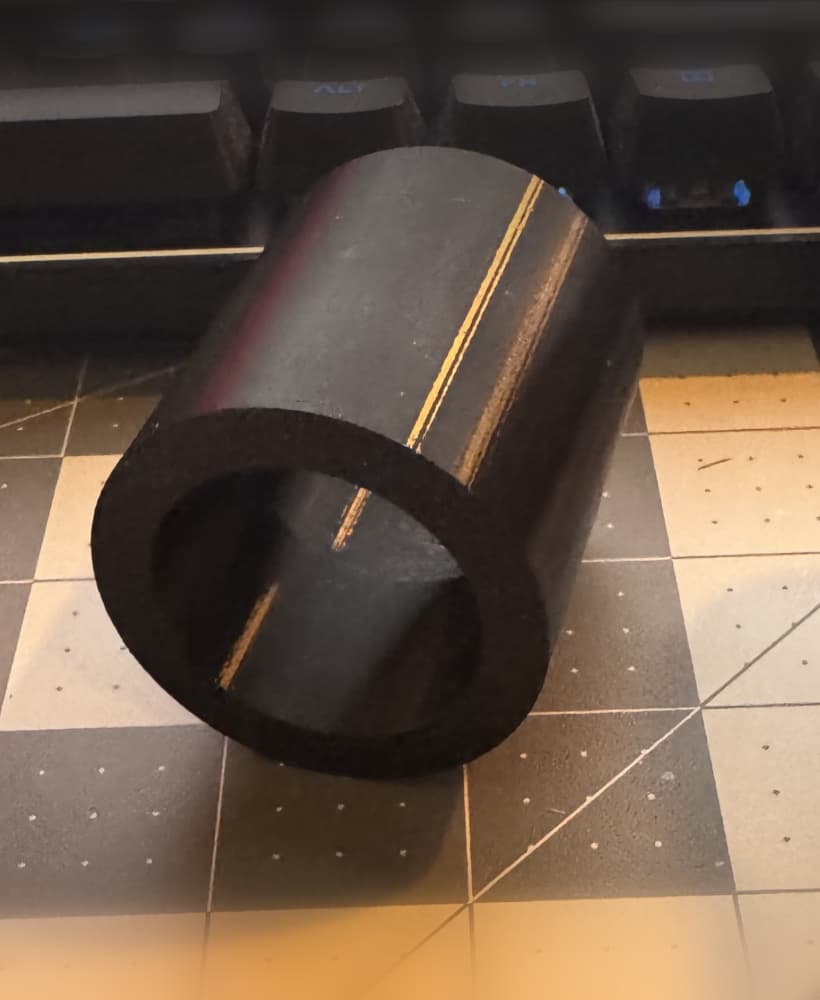
- Integrated dust extraction with M24x3 right-hand thread
- Inspired by professional tools such as the Festool MFK 700
- Fully 3D-printable using high-strength materials
DESCRIPTION
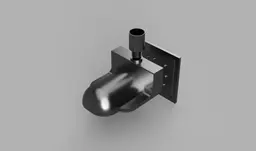
This edge band trimmer is a router-mounted accessory intended for trimming applied edge banding on plywood, MDF, and solid wood panels. It provides stable guidance along the panel edge while maintaining good visibility and control.
While conceptually similar to the Festool MFK 700, this design is intentionally limited to edge band trimming only. This focus allows the tool to remain compact, efficient, and well-suited for 3D printing.
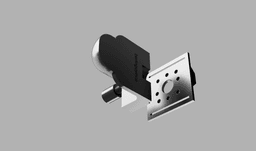
The system is modular and uses replaceable base plates to support different trim router models.
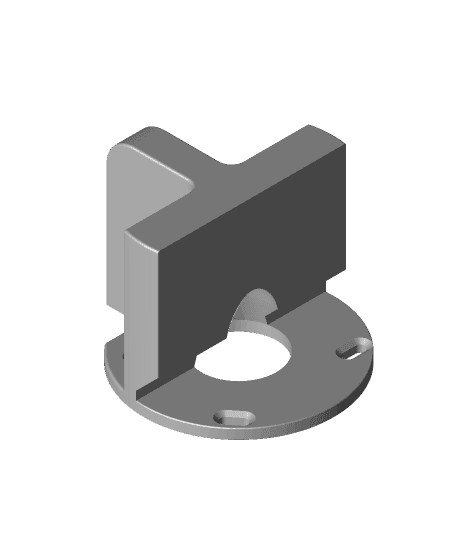
WHATS INCLUDED
This assembly consists of three modular components.
- Router-specific base plate for different trim router models
- Dust extraction adapter with M24x3 right-hand thread
- Edge band trimmer body that guides the router bit along the edge banding
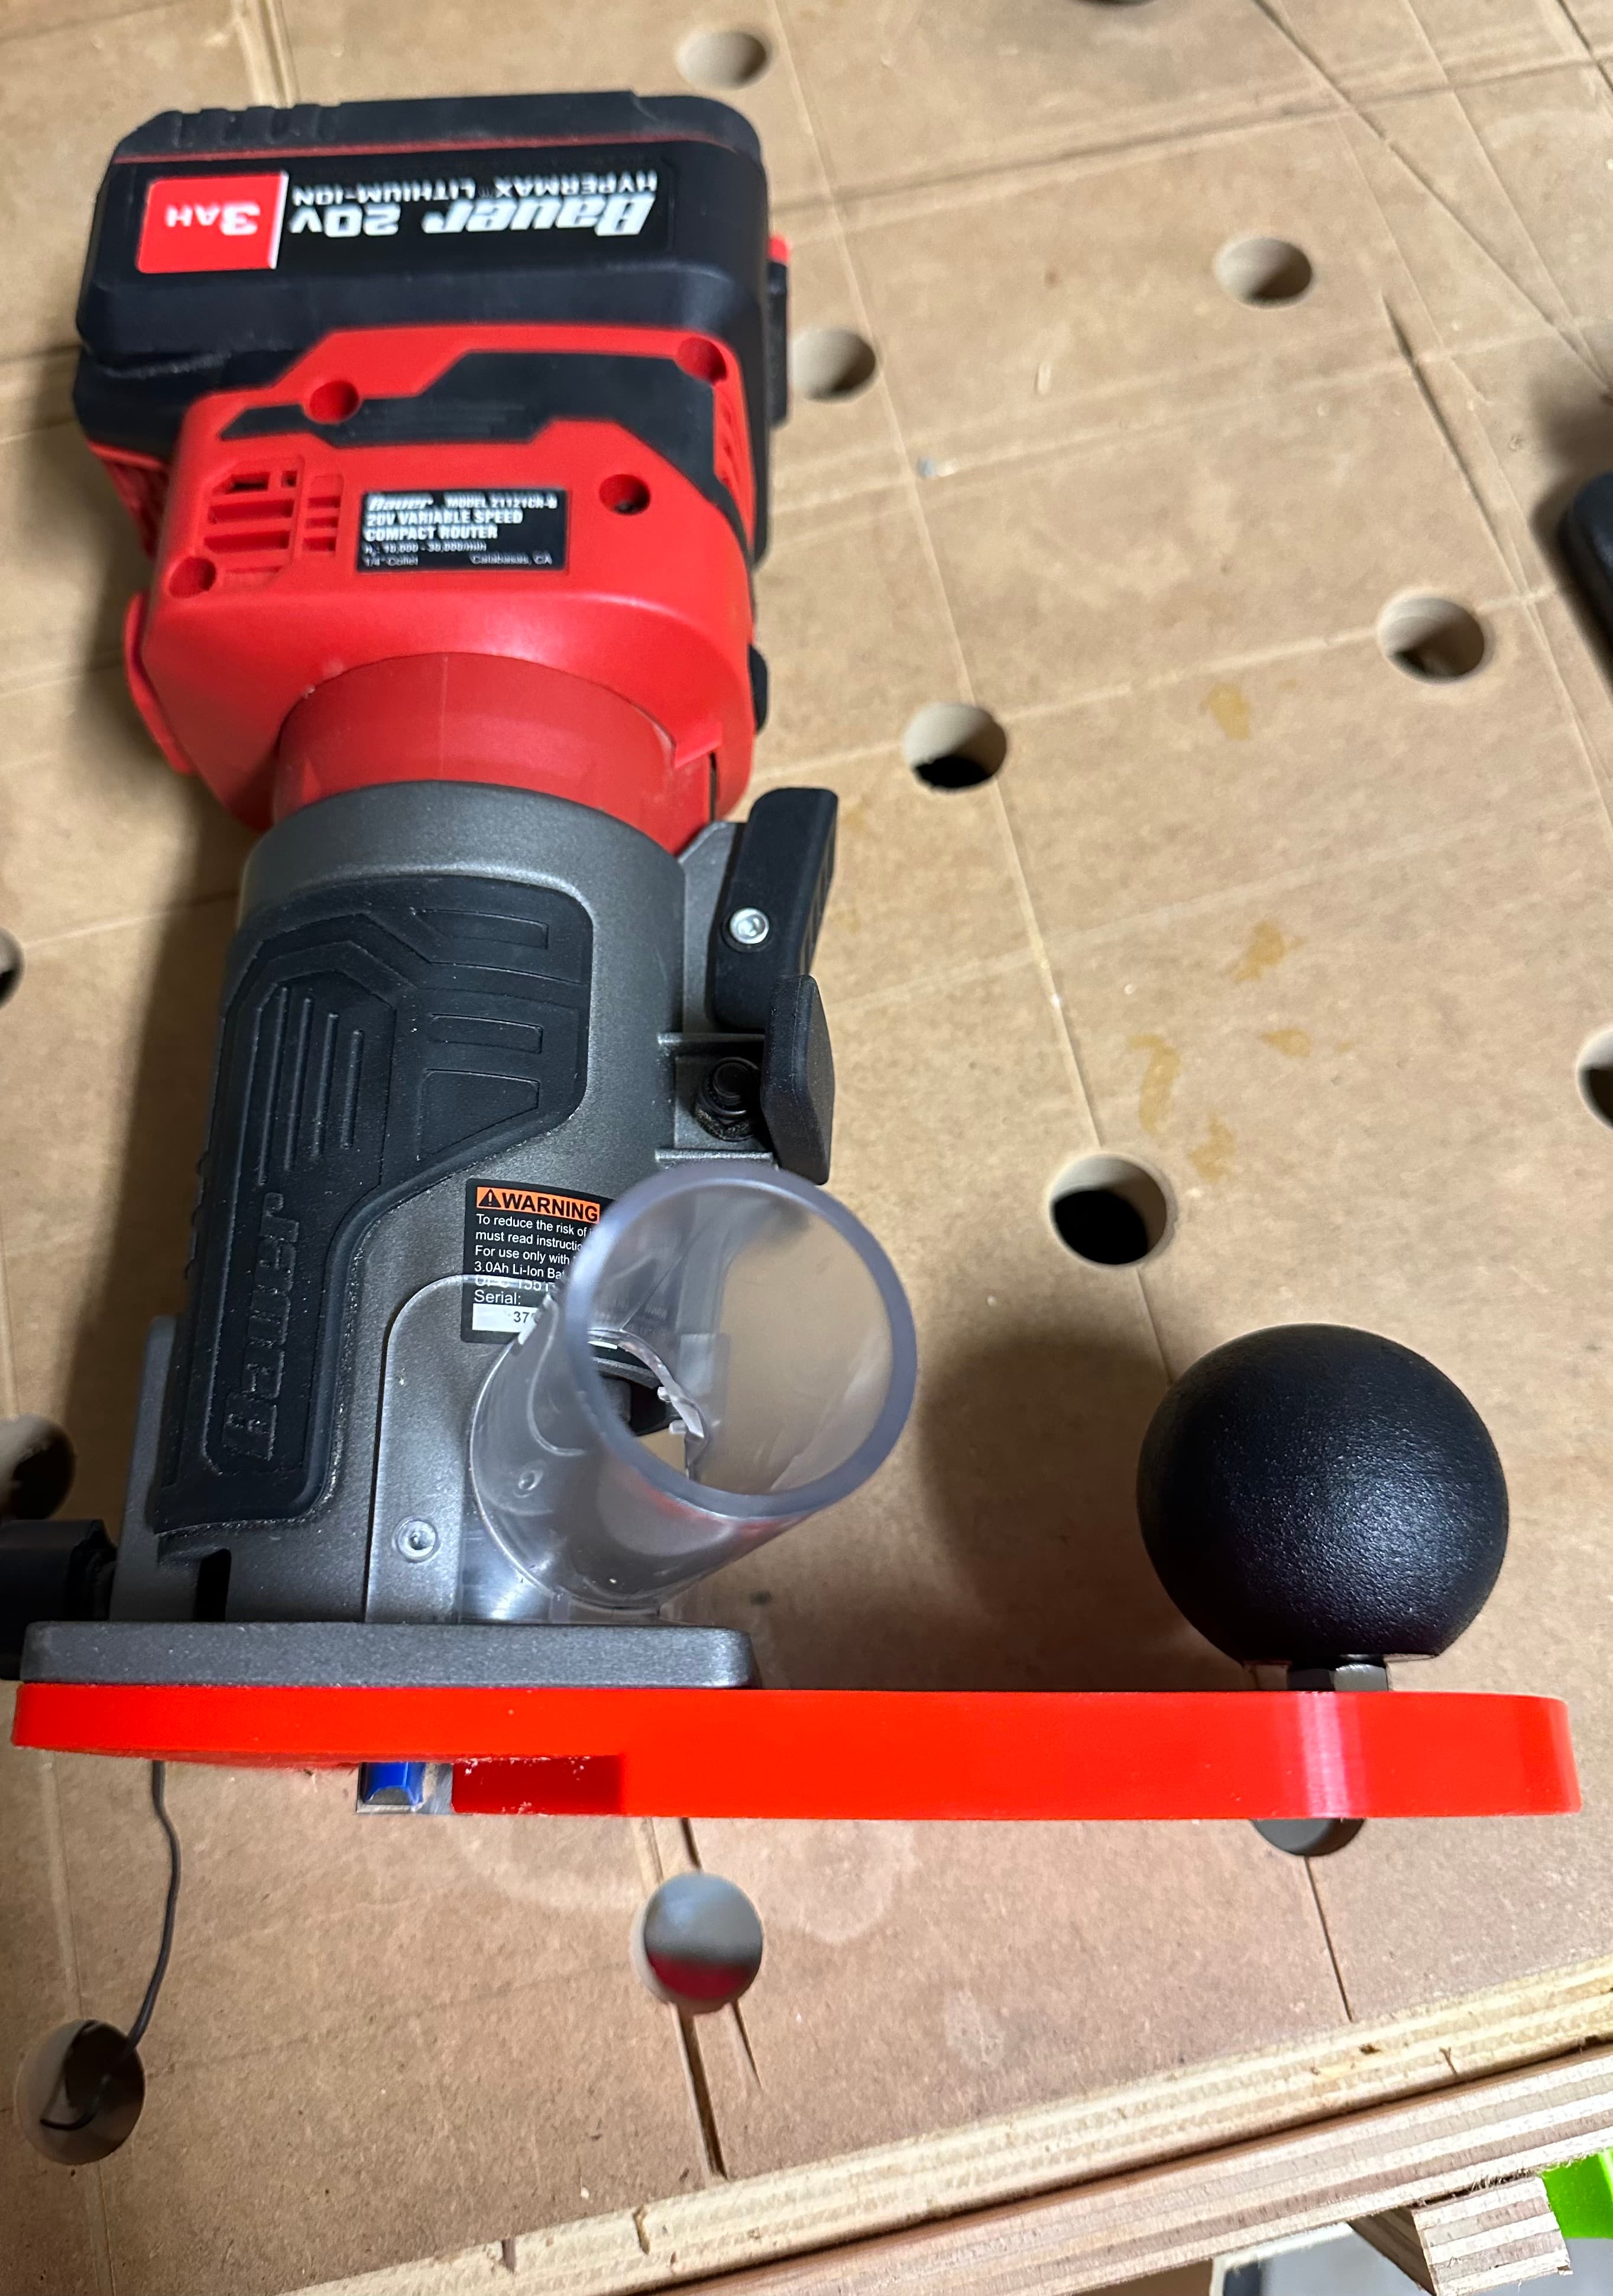
ASSEMBLY
Parts required.
Two M5 knobs
Two M5 x 25 mm bolts with washers
Two heat-set threaded inserts, size RX-M5S x 5.8 mm
ASSEMBLY STEPS
Heat each threaded insert using a soldering iron.
Carefully press the heated inserts into the mounting holes on the side of the edge band trimmer body. Ensure they are fully seated and straight.
Attach the base plate to your trim router using the router’s original mounting screws.
Align the edge band trimmer body with the base plate.
Secure the trimmer body to the base plate using the two M5 bolts.
Attach the knobs to the bolt heads using a small amount of super glue, or leave the bolts bare and tighten them with an Allen key as needed.
Allow any glue to fully cure before use.
USAGE AND ADJUSTMENT
Place the router with the edge band trimmer attached on a flat surface. Install a flush trim router bit.
Make sure the trimmer body is resting flat on the surface.
Tighten the two M5 bolts or knobs to lock the position.
Perform a test cut on scrap material.
If the cut is too aggressive or not flush enough, slightly loosen the bolts and adjust the trimmer position. Tighten again and repeat the test cut until satisfied.
TIP FOR QUICK SETUP
For a nearly perfect flush cut, place two sheets of paper under the trimmer body and rest the router bit bearing on the surface. This creates a small offset that usually results in a clean, flush trim.
ROUTER COMPATIBILITY
The following routers have been tested.
- DeWalt trim routers - tested
- Makita trim routers - tested
- Other trim routers - supported via additional adapter plates available on request
3D PRINTING RECOMMENDATIONS IMPORTANT
Trim routers operate at 18000 RPM or higher and place significant stress on printed parts.
Strongly recommended.
- Near-solid infill between 80 and 100 percent
- High wall and perimeter count
- Tough impact-resistant filament such as Nylon, glass-filled Nylon, ASA, PETG-CF, or equivalent
- Print orientation optimized for maximum layer strength in load-bearing directions
Low infill, brittle materials, or poor print quality significantly increase the risk of part failure.
QUICK SAFETY CHECKLIST
Before each use.
- Inspect all printed parts for cracks, delamination, or deformation
- Ensure the router is securely fastened to the base plate
- Verify the router bit is undamaged and properly tightened
- Wear eye protection and keep hands clear of the cutting area
- Stop use immediately if excessive vibration, flex, or unusual noise is detected
SAFETY AND LIABILITY DISCLAIMER
This design is provided AS IS, without any express or implied warranties, including fitness for a particular purpose or merchantability.
The user assumes full responsibility for material selection, print quality, assembly, inspection, and safe operation. 3D printed components used with high-speed rotating cutting tools may fail unpredictably. Material failure, improper printing, incorrect installation, modification, or misuse may result in serious injury, death, or property damage.
Always use appropriate personal protective equipment, including eye protection.
By downloading, printing, or using this design, you acknowledge that you do so entirely at your own risk. The designer, distributor, and platform assume no liability for injuries, damages, losses, or claims arising from the use or misuse of this design, to the maximum extent permitted by law.
Edge Band Trimmer for Trim Routers

CTS to Festool Adapter - Split.stl

CTS to Festool Adapter.stl
Vertical Edge Banding Baseplate for Bauer 20v Trim Router
Makita banding trim attachment
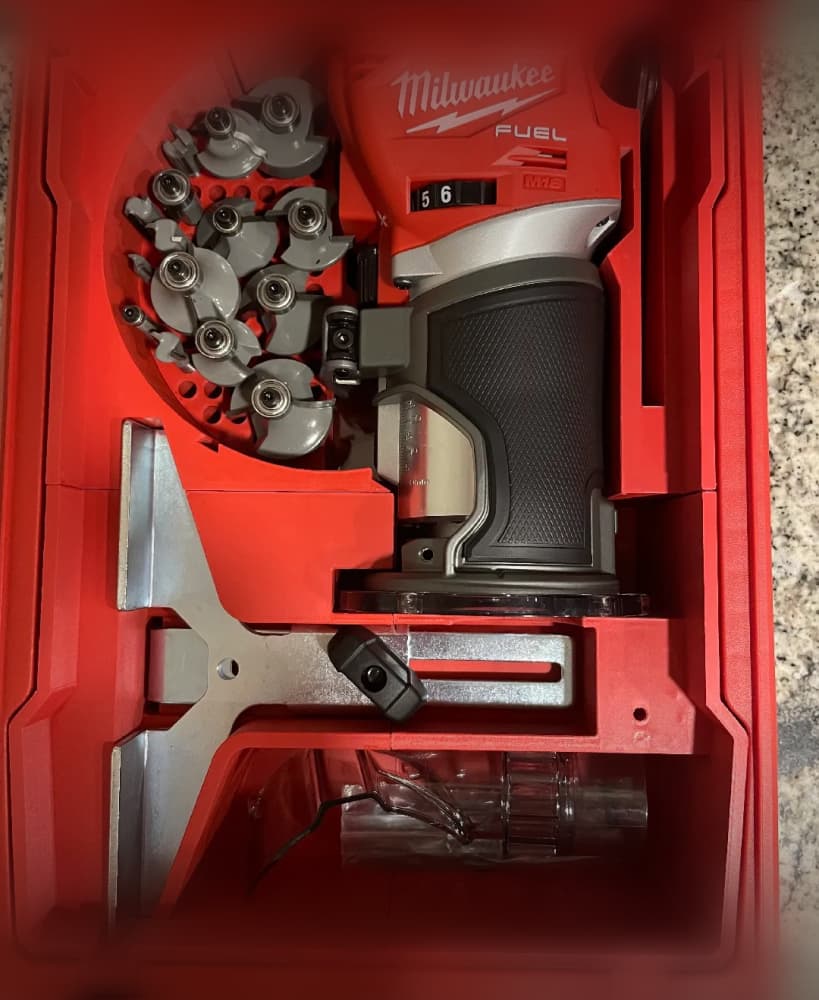
Milwaukee Packout Compact Organiser - Trim Router Fuel M18 FTR-0X 2723

Bosch Trim Router plunge base dust collector

Ferret - Articulated Figure
SIFF S Glider-01a v5.stl

Keychain Clay Tools
SIFF Glider-02 Simplified v2.stl
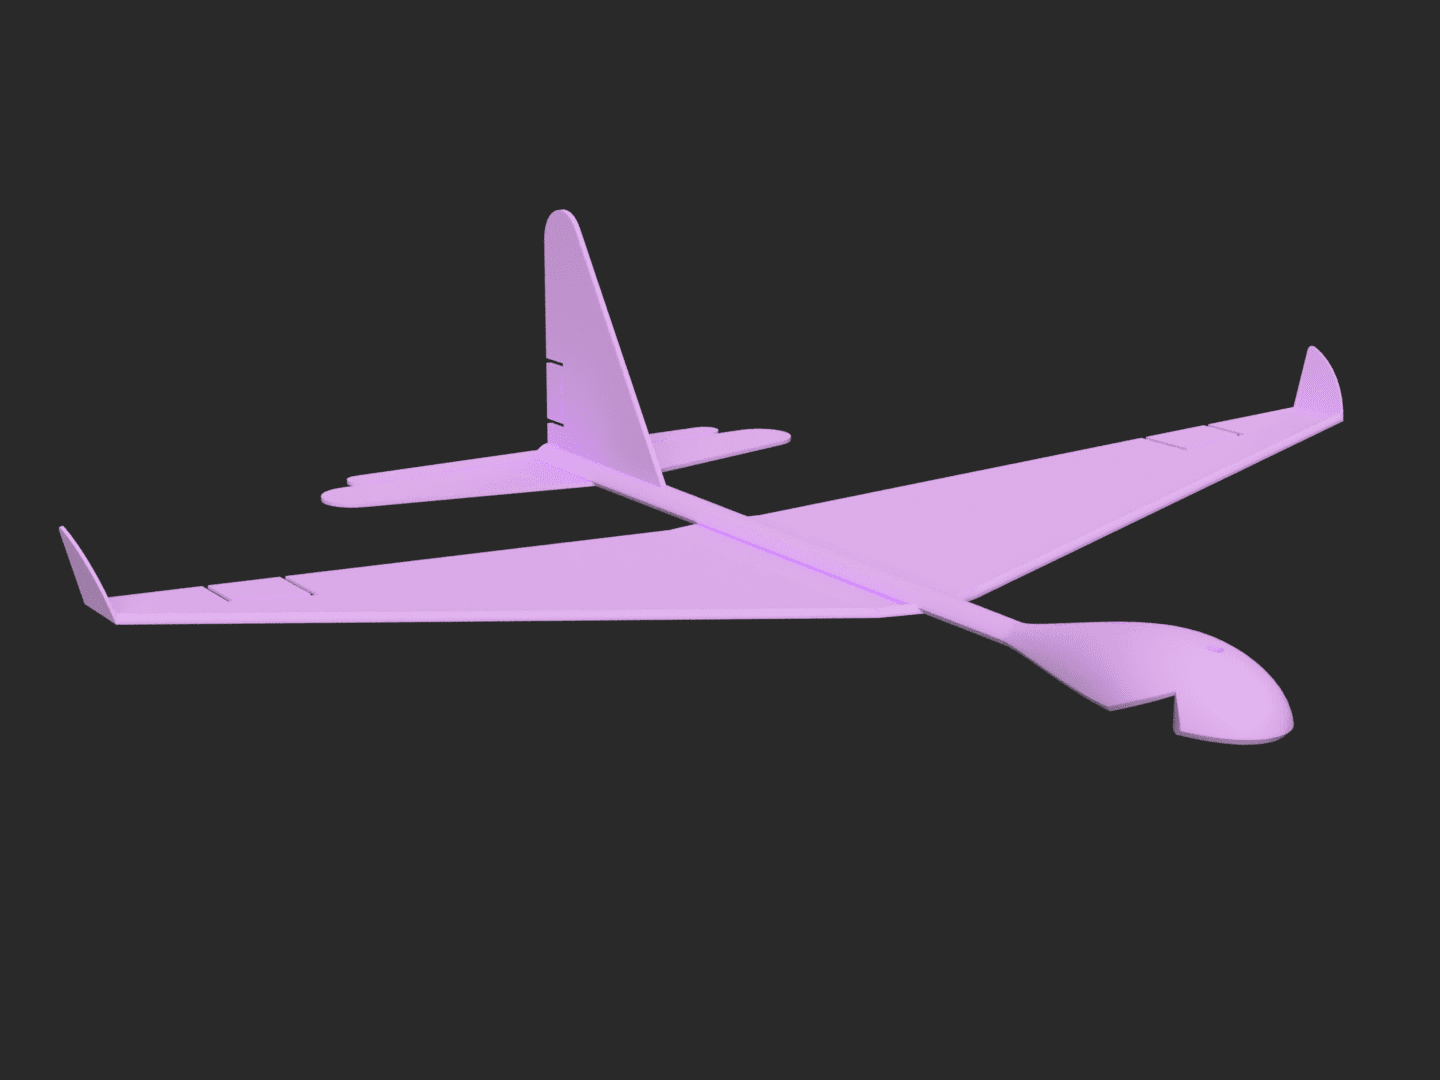
SIFF Glider-02f v10.stl

Posable Penguin Fidget

Bosch Makita RT700 Vacuum Adapter v3.stl

4in Female Twist Quick Disconnect for Dust Collection/Fume Extraction

4in Male Twist Quick Disconnect for Dust Collection/Fume Extraction
Fuwamoco Twins Choker

Open Notebook

M18 Router Insert v2 - 5-Compartment Organizer (Precut).stl
Router jig FCSII fin plugs