


XS kiss lock clutch for currency or reading glasses
This is an extra small sized 3D printed fabric clutch with 3D printed hardware and a kiss lock closure. The included textile pattern is a perfect size for currency or reading glasses... Whatever you'd like!
Things to note -
-The photos used were using a houndstooth textile found here - https://than.gs/m/1456669 - The pattern included in this file is a basic square grid pattern. -There are two attachment styles, one that can be glued (that is a solid piece) and one that has holes in it for hand sewing. -If you would like the hand sewn finish, pair up the hardware with holes with the textile with holes. You can use the included "inside covers" to both protect the inside threads, and give it a little pop of color on the inside. I use E6000 to glue these directly onto the stitches.
There are both versions with and without hooks for a chain or strap. The hardware and the textile can be printed on the A1 mini, although there is an option to print both sides at the same time on a larger build plate (256x256) -There are a simple premade grid pattern included in the 3mf, in addition to the negative part modifiers where you can customize the textile that you'd like to use for your clutch. Please refer to the included PDF guides for further instructions. If you are starting from scratch, here is the process. Please refer to the included PDF guides for additional instructions.
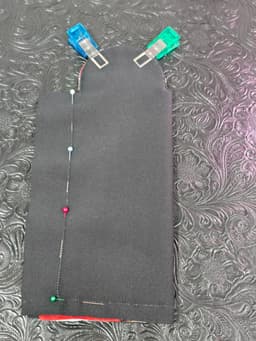
Open a base textile (the example photos are using the snakeskin textile found here - https://than.gs/m/1249683) followed by modifying the textile with the included medium clutch negative modifier. Center the modifier and verify it's scaled to 400mm x 400mm x 20mm, and it's z value is set to 0 (so it's intersecting the textile). Load in the textile clutch top STL onto the same plate, center, and move the Y value up so there is a uniform gap above the negative modifier. The last step is to add a pause command at layer 2, where fabric and magnets will be added. I print the hardware at a .16mm layer height, and the fabric at a .24mm layer height. Refer to the included PDF guides for more info.
Print the included hardware at a .16mm layer height. I print this with 25% honeycomb infill and 4 wall perimeters for added closure strength. Printing with silk PLA may lower the durability. After removing the supports and sewing your 3D textile fabric together (see guides) You now have the option to use some E6000, or hand sew them in with the hand sewn version.
This requires basic sewing skills - a straight stitch, a zipper pressure foot, a 3d printer, some mesh fabric, and about 30-60 minutes of assembly time depending on skill level. There is a PDF guide to show you step by step on how to print and assemble this purse, in addition to many other guides to help you further modify the design.
If you have any questions, please don't hesitate to contact me at Kaizen3DPrints@gmail.com
License Summary: Personal use only unless you hold a Commercial License. No resale or sharing of files. Selling printed models allowed only with an active Commercial License.
XS kiss lock clutch for currency or reading glasses

Abstract art #2

Hand sewn vertical wallet

256x256 PFLAT sheet holder

Massage Roller

Spinning gear fidget ring
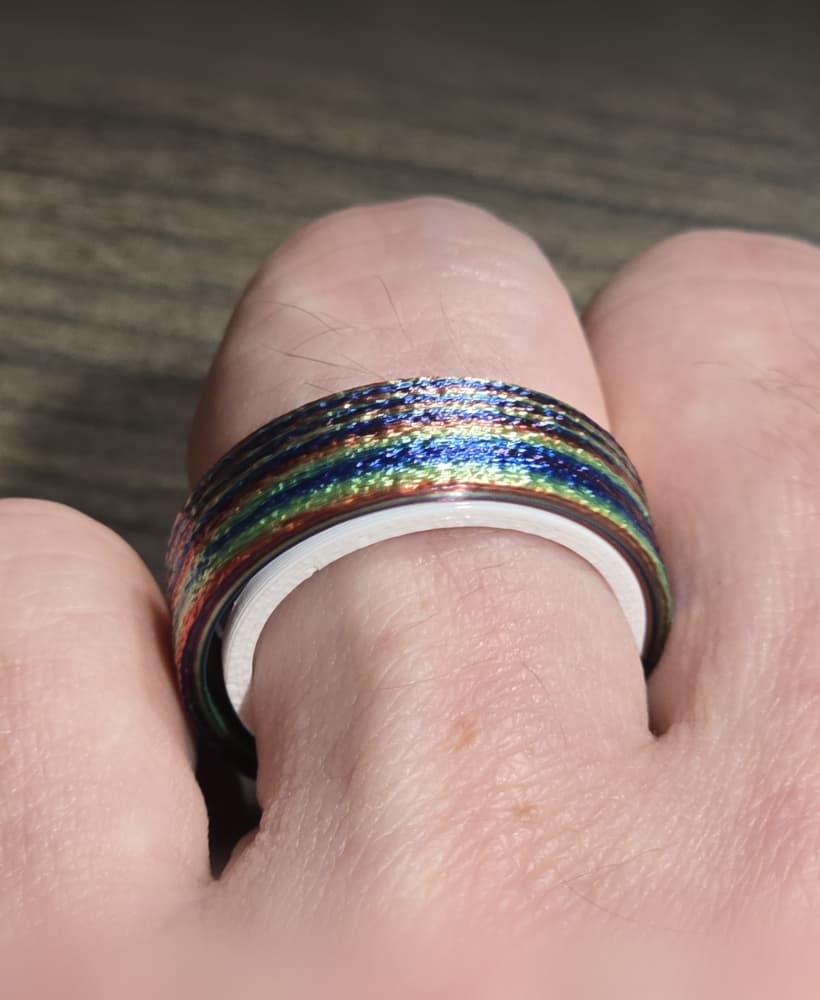
Flat band fidget ring

Large TPU foldover bag

Adjustable Strap (48"/122cm max length)

Small Foldover Bag
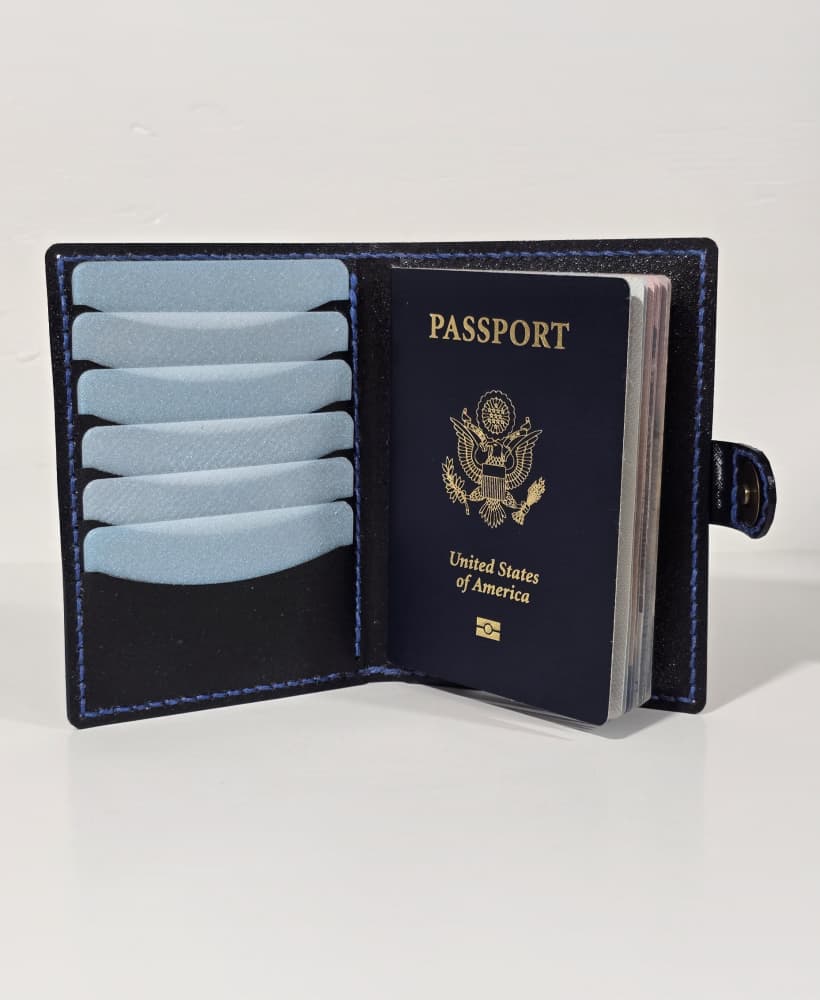
Customizable Passport Wallet

Tall TPU Bifold Wallet for sewing

Vertical Wallet for Chicago Screws

Square Grid Negative Modifier

Hex Grid Fabric Modifier

Heart Pixel Pattern Textile and Modifiers

Vertical TPU wallet with rivets and grommets

Flippy heart textile and modifiers

Foldable TPU bag sized for Snapmaker U1

Crossed Basket Weave Textile / Modifier
