


Peaqcock 1 Two Part PETG 150 mm
[Free non-commercial use version downloadable at Makerworld and printables]
This is a two-part Peacock lithophane in a stained-glass style, as suggested to me by someone. The first part has the white, greens and blues of the foreground with the reds blanked out. The second part blanks out parts of the bird and provides the reds and yellows for the background. In the second part the green parts are maintained and some are made lighter to permit some yellow to occupy those areas. These areas blend with blues when the two parts are mated to make green in the completed model. The image halves are tailored to yield green leaves. Though there is green filament included in the 3MF file, it is actually optional. Two layers are suggested in the front part to blend with the blue for some turquoise effects, but they can be omitted or blue substituted for a bluer result.
Feel free to substitute your filaments, but seek to use ones with similar transmission distance (TD) values. The base layer should be the most transparent white filament you have (TD > 10, suggested), like a natural or transparent. The design assumes PETG for thermal resistance, but PLAs can be used, if the risk of exposure to very strong sunlight is low.
IMPORTANT NOTE Both parts have very thin base layers, so special care is needed to remove them from the print bed. It is probably best to cool them completely before trying. A few minutes in a freezer and/or some glue stick as a release agent is wise.
When joining the two parts be sparing with the adhesive, especially in the lighter parts. The adhesive will change the colors if it is not behind the darker parts. I just used some around the dark parts and around the very edge to keep the glue from showing. If spread thin and uniformly, it should not show too much.
The 3mf file was created using the Bambu Studio slicer which has the swaps already defined. If necessary the STL files can be used in other slicers with the swap information provided below.
Part 1, Blue & Green (optional)
Project: Peacock_1_BG_PETG.hfp Print at 100% infill with a layer height of 0.08mm with a base layer of 0.16mm
The Model is 150x150mm in size You may print at higher layer heights below the Base Thickness of 0.16mm The Max allowed Thickness is 0.96mm and the Actual Thickness is 0.96mm
Filaments Used: PETG GeeeTech Transparent Transmission Distance: 100 PETG BambuLab Basic Green Transmission Distance: 1.7 (Optional) PETG Kaaber Blue Transmission Distance: 3.3 This print uses 3 unique filaments
Swap Instructions: Start with Transparent At layer #2 (0.24mm) swap to Green (Optional) At layer #4 (0.4mm) swap to Blue for the rest.
Part 2: Red & Yellow
Project: Peacock_2_RY_PETG.hfp Print at 100% infill with a layer height of 0.08mm with a base layer of 0.16mm
The Model is 150x154.23mm in size You may print at higher layer heights below the Base Thickness of 0.16mm The Max allowed Thickness is 1.2mm and the Actual Thickness is 0.8mm
Filaments Used: PETG GeeeTech Transparent Transmission Distance: 100 PETG Bambu HF Yellow Transmission Distance: 4 PETG Kaaber Red Transmission Distance: 6.5 This print uses 3 unique filaments
Swap Instructions: Start with Transparent At layer #2 (0.24mm) swap to Yellow At layer #7 (0.64mm) swap to Red for the rest.
Peaqcock 1 Two Part PETG 150 mm

Woodpecker in Two Parts, PETG, 150 mm
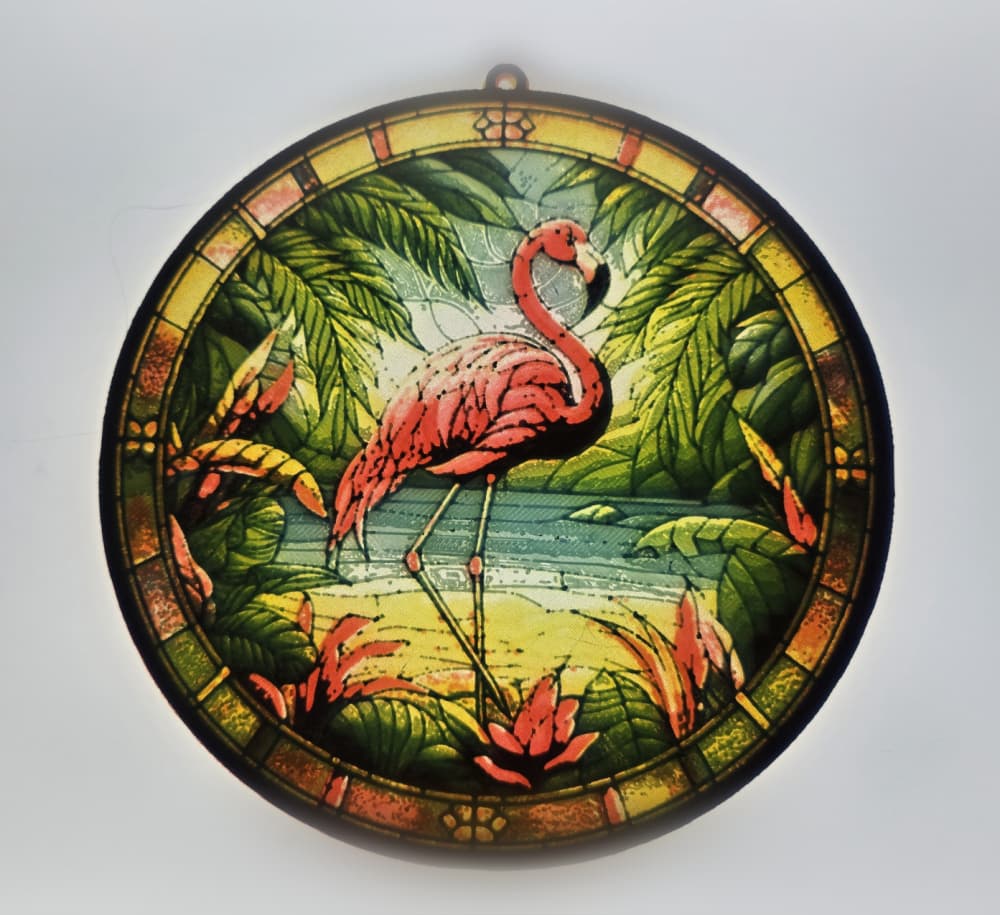
Flamingo Lithophane in Three Parts, PETG, 150 mm

Butterfly3 Three-Part PETG 150x149 mm

Macaw 2 Part PETG 150x167 mm

Hummingbird, Stained-glass Commercial Access, PETG 150x150 mm

Cardinal Stained-Glass Styled Two Part Lithophane
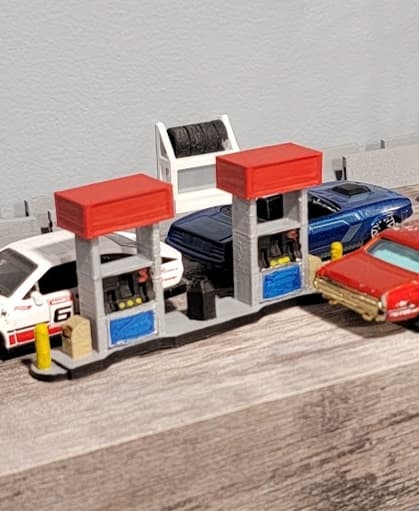
Gas Bar Island v2 - 1:64 Two versions of topper 1:64

USS Fletcher DD 445 1;150 scale
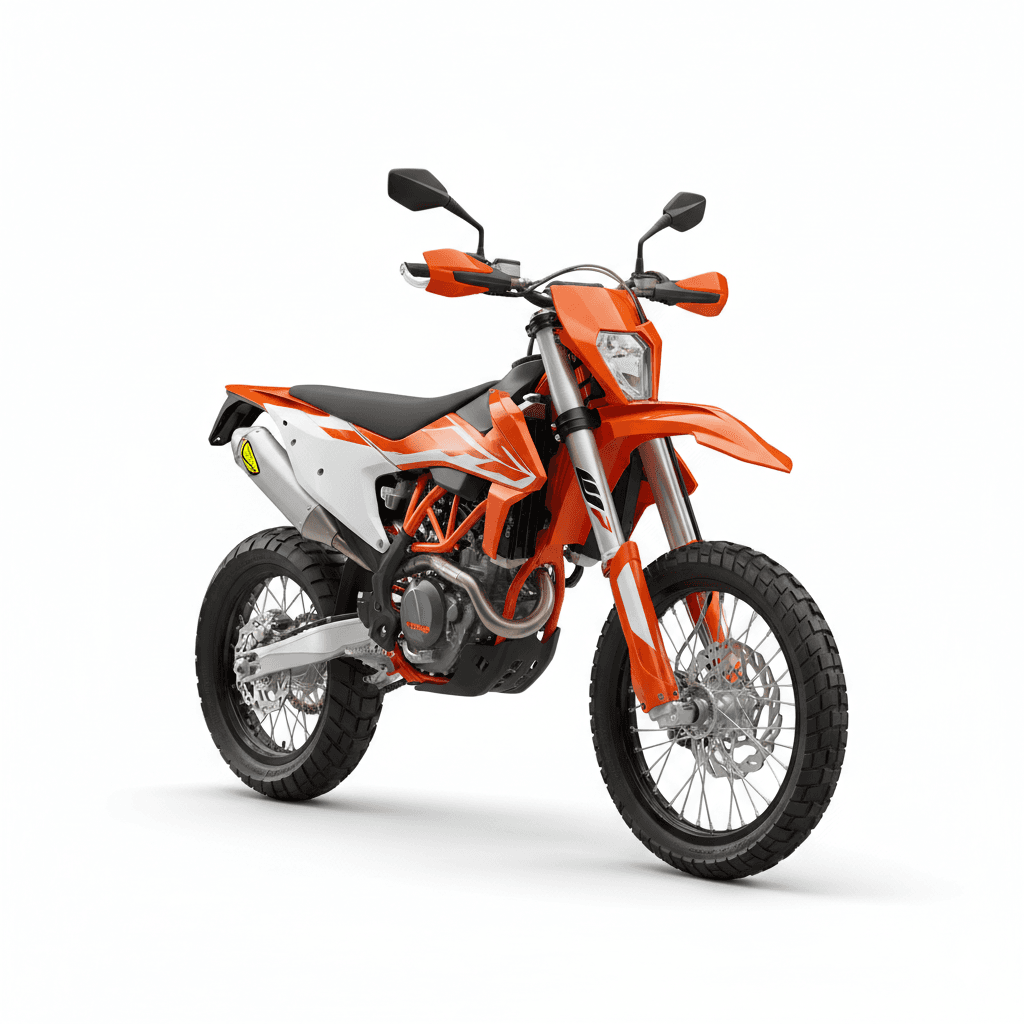
KTM 150 EXC Two Stroke Motorcycle

Djembe - two sizes (1:18 scale)

Basic Two Piece 1
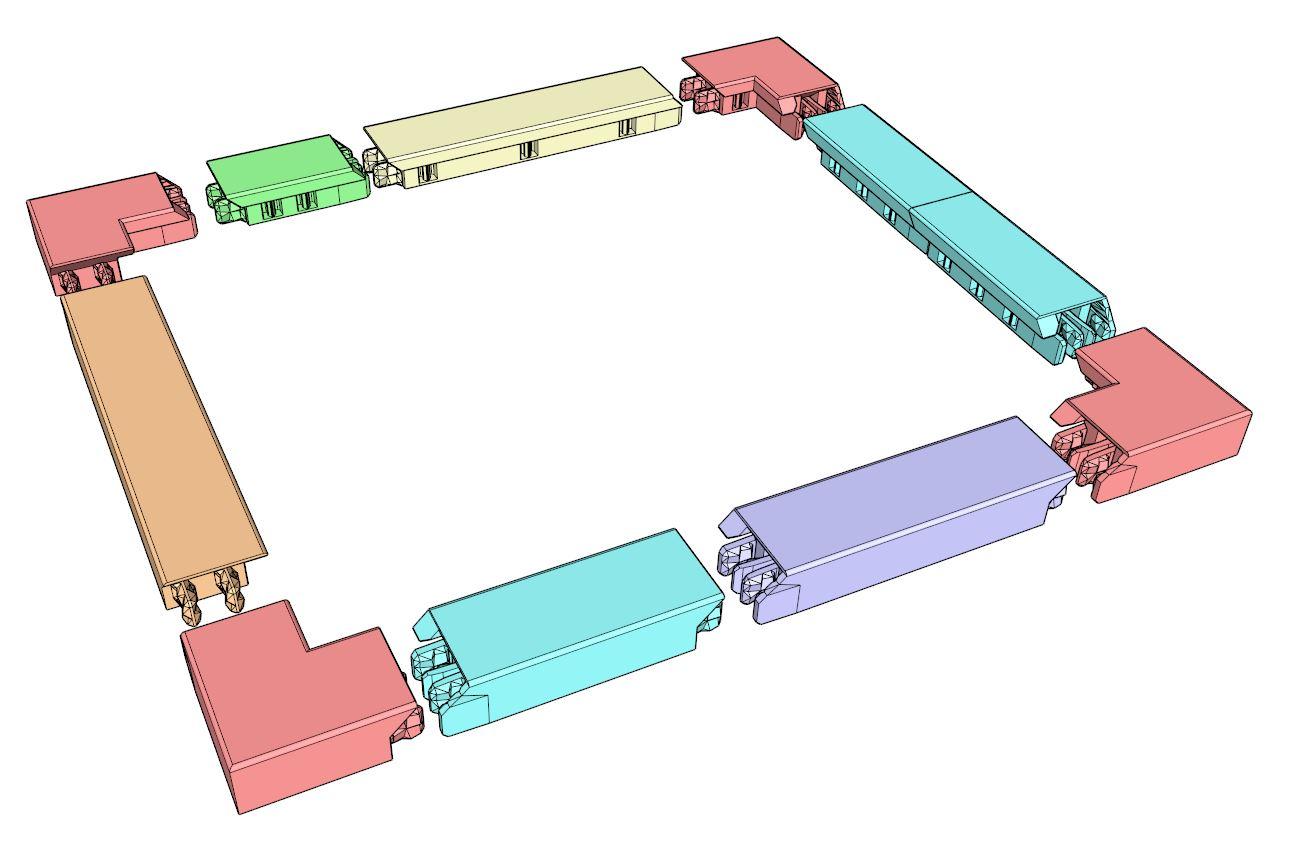
Two Handed Sword 1 Kit | No Supports, No AMS, No Glue

Two Handed Sword 1 Modular Sword Skin - Cosplay Prop Kit | No Supports, No AMS, No Glue

1:144 Sopwith Dolphin (Two Lewis)

1:144 Nieuport 12 (Two-gun)

1:144 Sopwith Triplane (Two-gun)
Snap-Together Modular Picture Frame - Fits Any Size Picture

Not So XL Millie the garden Gnome, for smaller build plates below 320x320x320

XL Millie the garden Gnome. For larger build plates above 320x320x320