


Helldivers 2 R2 Amendment Marksman Rifle Gun Replica Prop Cosplay 3D print printable
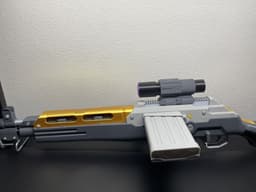
The R-2 "Amendment" is a semi-automatic ceremonial marksman rifle equipped with a bayonet. Used for blasting enemies of managed democracy, and for conducting ceremonies paying tribute to the fallen heroes of Super Earth!
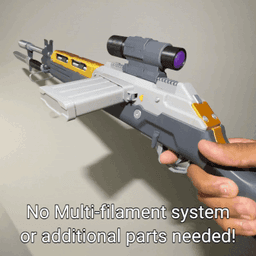
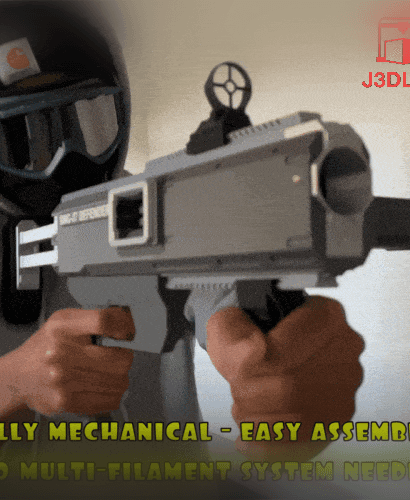
The model is designed to be printed in different colored filaments without the use of a multi-filament system (like AMS). The model consists of four main parts - the stock, receiver and the base split in two. Details like screws can easily be inserted into their corresponding holes and glued to create a multicolored model. The replica in the pictures did not use a multi-filament system. Everything is separated by colour! The models have their corresponding colour in the end of their file name as well as the number of them you need, which simplifies the printing experience.
Zero additional parts like rods, screws or nuts are needed for this model! The dynamic replica includes functional mag releasing, bolt racking and trigger mechanisms, which imitates the in-game model and adds to the replica's complexity. All parts that are needed to make the mechanisms work can be 3d-printed and are easily assembled, but if you're unsure how to assemble the mechanisms, use the listing's pictures and following instruction:
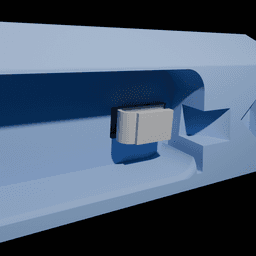
Magazine release First insert the "Magwell" into the corresponding hole in the "Receiver". Then insert the "MagReleaseSpring" into the receiver's hole (behind the "Magwell") with the spring's square facing towards the "MagReleaseTrigger"'s hole. Insert the "MagReleaseTrigger" into the "Magwell"'s hole and secure it with "MagReleaseTriggerPin". Use pictures for reference and glue to secure the mechanism. I recommend not printing the magazine in matte filament due to it's high friction - the magazine will slide in and out smoother with normal filament.
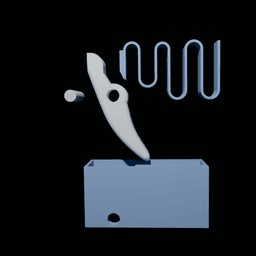
Trigger First insert the "TriggerSpring" in the "TriggerBox". Then insert the "Trigger" through the hole in the bottom of the "TriggerBox" and secure it with the "TriggerPin" by driving it through the box and trigger. Make sure the trigger's curve is going towards the box. Use pictures for reference and glue to secure the mechanism.
Bolt racking First insert the "BoltSpring" into the corresponding hole in the "Receiver". Then insert the "Bolt" into the "BoltSpringCover" and place the cover into the corresponding hole in the receiver. I recommend using grease to reduce friction between the racking bolt and the guiding rail. Use pictures for reference and glue to secure the mechanism.
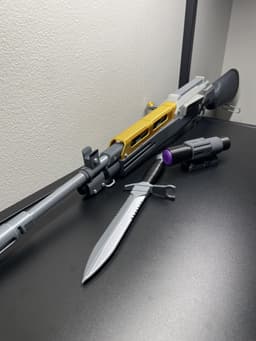
The bayonet can be attached and de-attached to the barrel if you were to glue the "BladeConnector" and "HandleConnector" to the knife instead of the rifle.
At 100% scale, the model is 87x15x17cm, which corresponds to the in-game model. The part of the grip where your pinkie, middle- and ring finger go is 6.8cm long, so you may need to scale the model up or down, if you want it to match your hand size.
The model uses approximately 45g of black, 80g of silver, 269g of dark gray, 58g of light gray, 3g of purple, 47g of golden and 8g of yellow- which is very cheap in comparison to a multi-coloured model printed with a multifilament system. You can always reduce the amount of colours the model consists of and still get an awesome looking replica.
If a part is missing or there is something wrong with it, then please contact me and I will resolve the issue quickly:)
The knife/bayonet is not sharp and is harmless
Helldivers 2 R2 Amendment Marksman Rifle Gun Replica Prop Cosplay 3D print printable
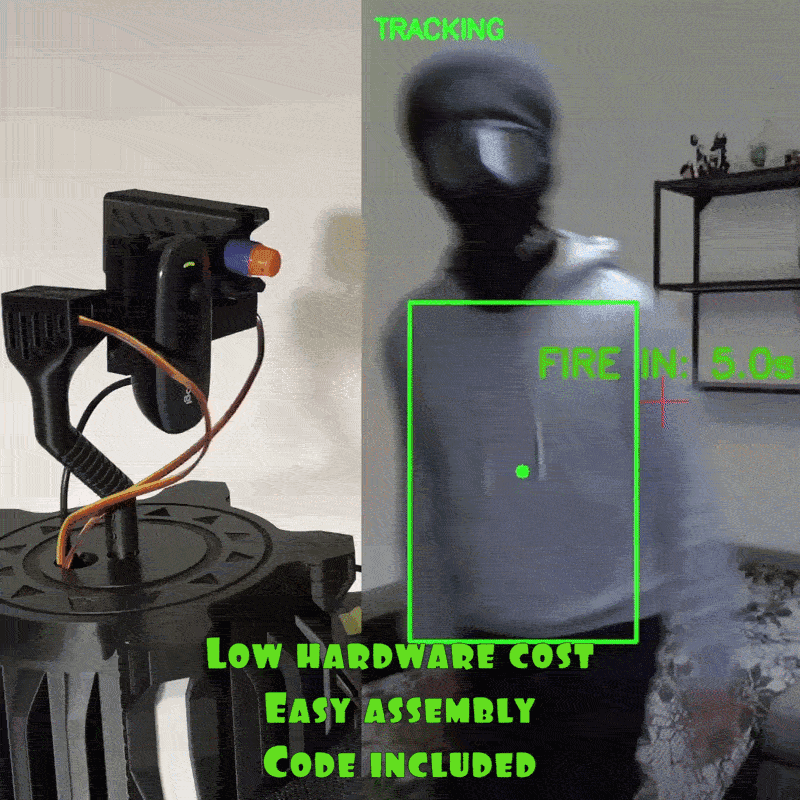
Sentinel Auto turret - Arduino Raspberry Autonomous Mechanical Nerf Blaster DIY Maker Project
.gif&w=3840&q=75)
Dart Blaster Helldivers 2 SG-225 Breaker Shotgun Prop Cosplay Replica Mechanical Toy DIY Rifle Pisto
.gif&w=3840&q=75)
Dart Blaster Helldivers 2 Talon Revolver Pistol Mechanical Replica
Dart Blaster SMG Helldivers 2 Defender Nerf Cosplay Rifle Replica Firearm Mechanical Gift

Dart Blaster SMG Onyx Nerf Cosplay Rifle Replica Firearm Mechanical Gift

Helldivers 2 P-92 Warrant Pistol Sidearm Replica Prop Cosplay 3D print printable

Helldivers 2 LAS-58 Talon Revolver Pistol Sidearm Replica Prop Cosplay 3D print printable

Cyberpunk 2077 Grenade Bundle V3 / Prop Military Replica Decoration 3d print 3mf
.gif&w=3840&q=75)
Cyberpunk 2077 Grenade Bundle V1 / Prop Military Replica Decoration 3d print 3mf

Helldivers 2 SMG 32 Reprimand Machine Gun Rifle Replica Prop Cosplay 3D print printable

Helldivers 2 PLAS-15 Loyalist Pistol Sidearm Replica Prop Cosplay 3D print printable

Seawolf Class Submarine 1/432 / Military Nuclear Navy USA US Model 3d printing Replica

Helldivers 2 G-50 Seeker Grenade Replica Prop Gadget Cosplay 3d print

Helldivers 2 G-142 Pyrotech Grenade Replica Prop Gadget Cosplay 3d print

Helldivers 2 G4 Gas Grenade Replica Prop Gadget Cosplay 3d print

Helldivers 2 TED-63 Dynamite Grenade Replica Prop Gadget TNT Cosplay 3d print

Sturgeon Class Submarine Hawkbill / Display Military Navy US Model 3D printer

Minecraft Articulated Flexi Wolf Dog Print In Place Toy
.gif&w=3840&q=75)
Mechanical Box Container Cyberpunk 2077 Arasaka
