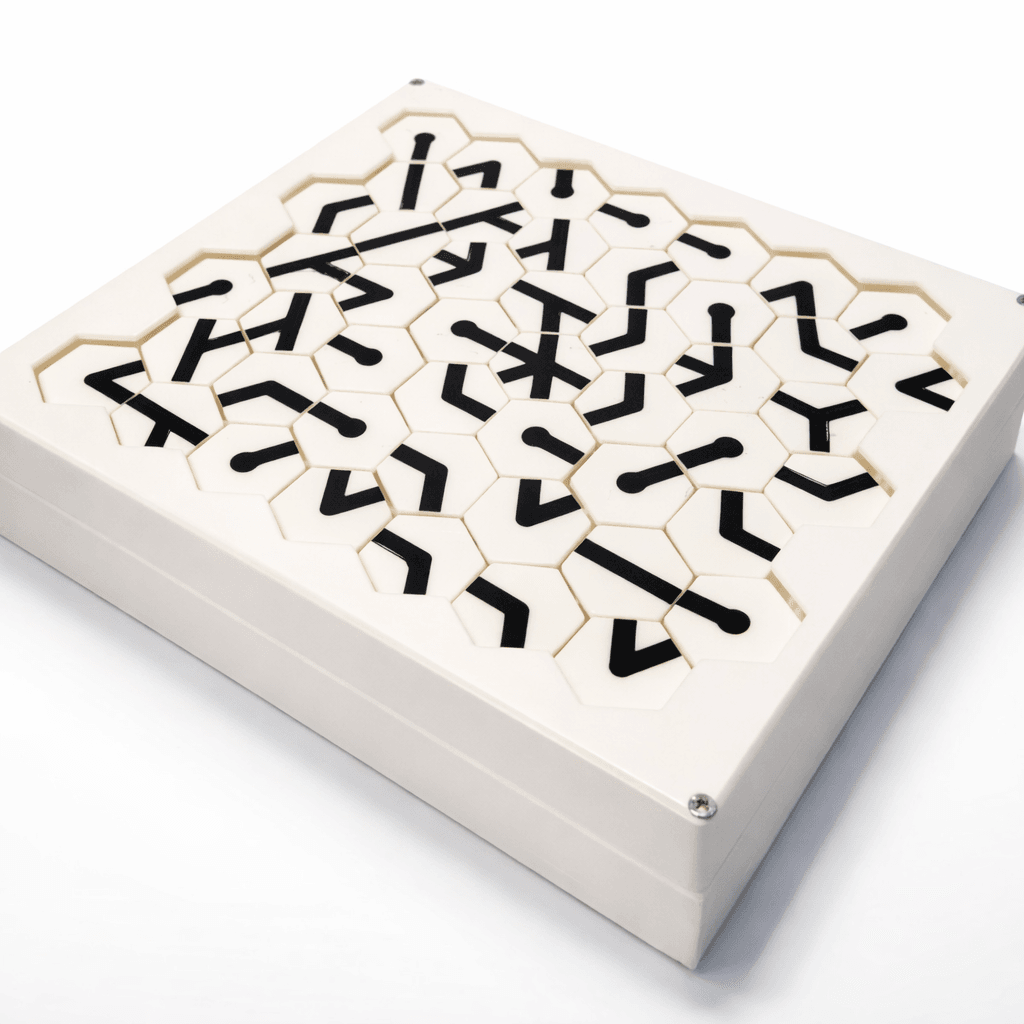


Puzzle Pipes, a fun articulating desk toy for everyone!
Puzzle Pipes is an original design on a classic game! The goal is to connect all the source bulbs together into one mesh network of pipes. Each hexagonal tile is modular, offering endless possibilities for creating new configurations. What makes this 3D model even more engaging is the press-to-spin feature on each tile, making it effortless to manipulate and solve. The mechanism is easy to assemble and only requires a few extra components. Find the instructions and BOM below:
Instructions for printing: Plates 1&2 (Bottom and Top) -- No supports necessary, simple print at 0.2mm layer height. Beware of the corners lifting if you are printing with a warping material. Feel free to add dog ears to the corners in the slicer! Plate 3 (Midplate) -- Supports necessary, grid recommended but organic is fine too. Plate 4 (Spindles) -- Supports necessary, organic recommended here, but grid works as well. There are 25 spindles on the plate and the box needs 49 total, so print this plate twice. Plate 5 (Blank Tiles) -- These are here in case you want to paint your own designs onto the tiles or need blanks for any reason. Feel free to skip. Plate 6 (Tile Types) -- One of each type of tile possible. Added for alternate configureations, feel free to skip. Plate 7 (Config 1 Tiles) -- Each tile necessary to complete the configuration seen in product photos. This can be done with or without an AMS, just note that without an AMS, you will need to do a single manual filament swap during the first layer.
BOM: Springs (necessary) -- 4mm x 30mm pen springs, 0.4mm wire diameter or similar, need 49. Pack of 100 can be found here (non affiliate): https://www.amazon.com/dp/B08FMJN2P9 Screws (necessary) -- M3x30mm screws for the corners Magnets (recommended) -- 5x2mm (49) + 6x2mm (49) -- alternatively you could glue the tiles onto the spindles after assembly or simply press fit the tiles on, but I don't know how secure they would feel. Glue (recommended) -- necessary for magnets. I use B-7000, but CA or any multipurpose glue will work.
Assembly Instructions: 1. Glue magnets on spindles and tiles if desired. 2. Flip the midplate jaw side up and place each spindle followed by the springs. 3. Place the bottom onto the midplate being careful not to dislodge the springs, then flip over the whole apparatus. 4. Place the top onto the midplate and screw in each corner. 5. Following the provided image, place each tile onto it's appropriate spindle. 6. Solve! Just press down on a tile and it will automatically twist into the next position!
Additional configurations of the puzzle can be made/found here: https://hexapipes.vercel.app/octagonal/7
Puzzle Pipes, a fun articulating desk toy for everyone!

Kitsune Mask | 4 Color

Gridfinity Tabletop RPG Wooden Dungeon/Terrain Tiles

Welcome Garden Gnome

Ron Swanson Chunky Chibi | No support, No AMS, No glue

Aang the Last Airbender Chunky Chibi V2! | No support, No AMS, No glue

Aang the Last Airbender Chunky Chibi | No support, No AMS, No glue

Gridfinity Tabletop RPG Grass Terrain Tiles

3D Painting - Star Wars: A New Hope Poster | No AMS Required

3D Printed Painting - Year of the Snake | No AMS Necessary

3D Printed Painting - Bonsai | NO AMS NEEDED

3D Printed Painting - Flower Field | No AMS Needed!

3D Printed Painting - Tea Cup

3D Printed Painting - Ship at Sunset | No AMS Needed!
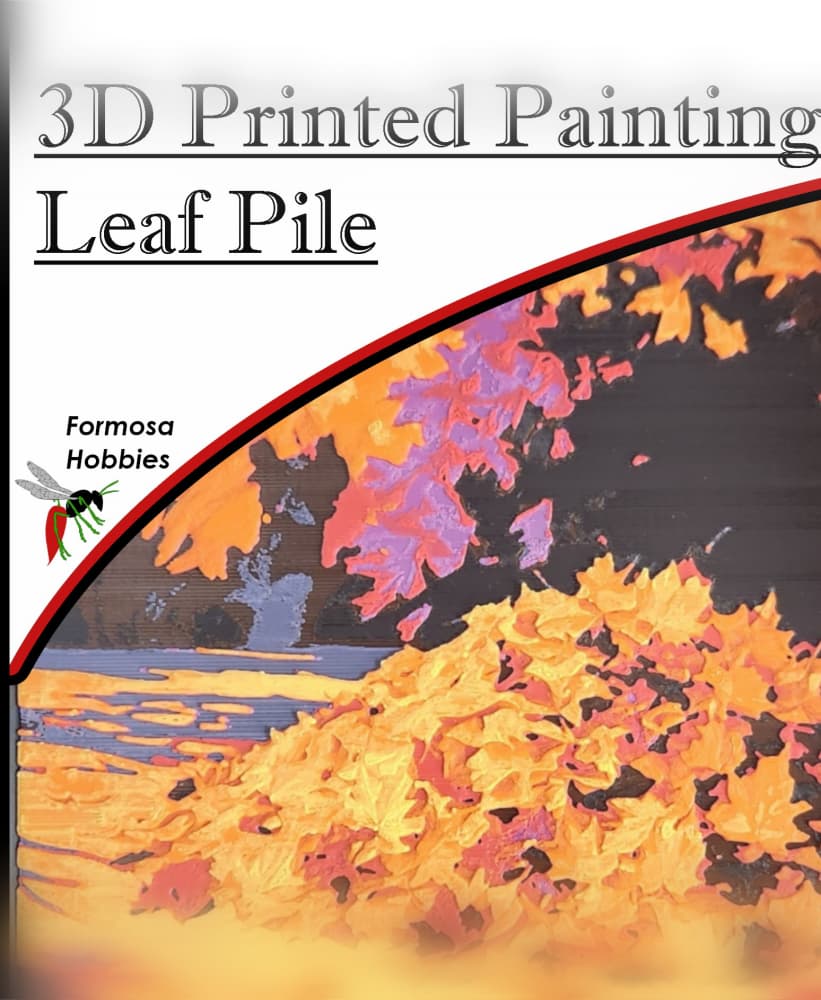
3D Printed Painting - Fall Leaf Pile

3D Printed Painting - Shells

3D Printed Painting - Robot Profile

3D Printed Painting - Koi

3D Printed Painting - Yggdrasil
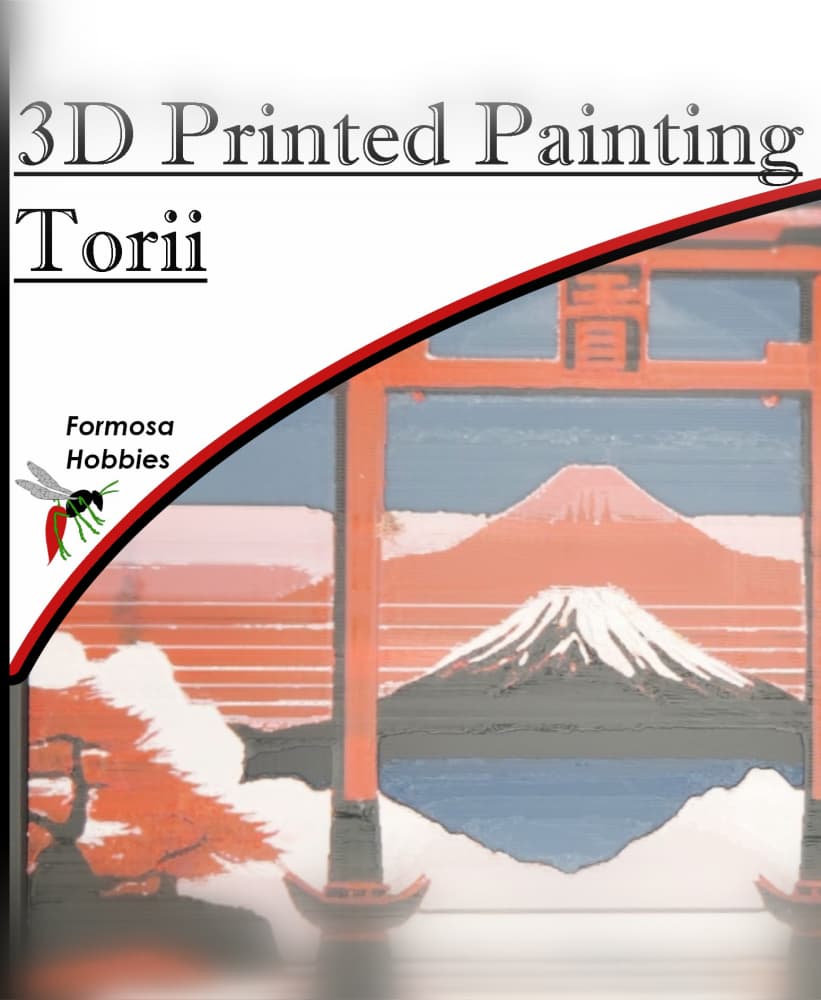
3D Printed Painting - Torii | No AMS Necessary
