%2520in%2520aciton%25202.png&w=3840&q=85)
%2520in%2520aciton%25202.png&w=256&q=75)
.png&w=256&q=75)
%2520in%2520aciton%25201.png&w=256&q=75)
_-_Standard.png&w=256&q=75)
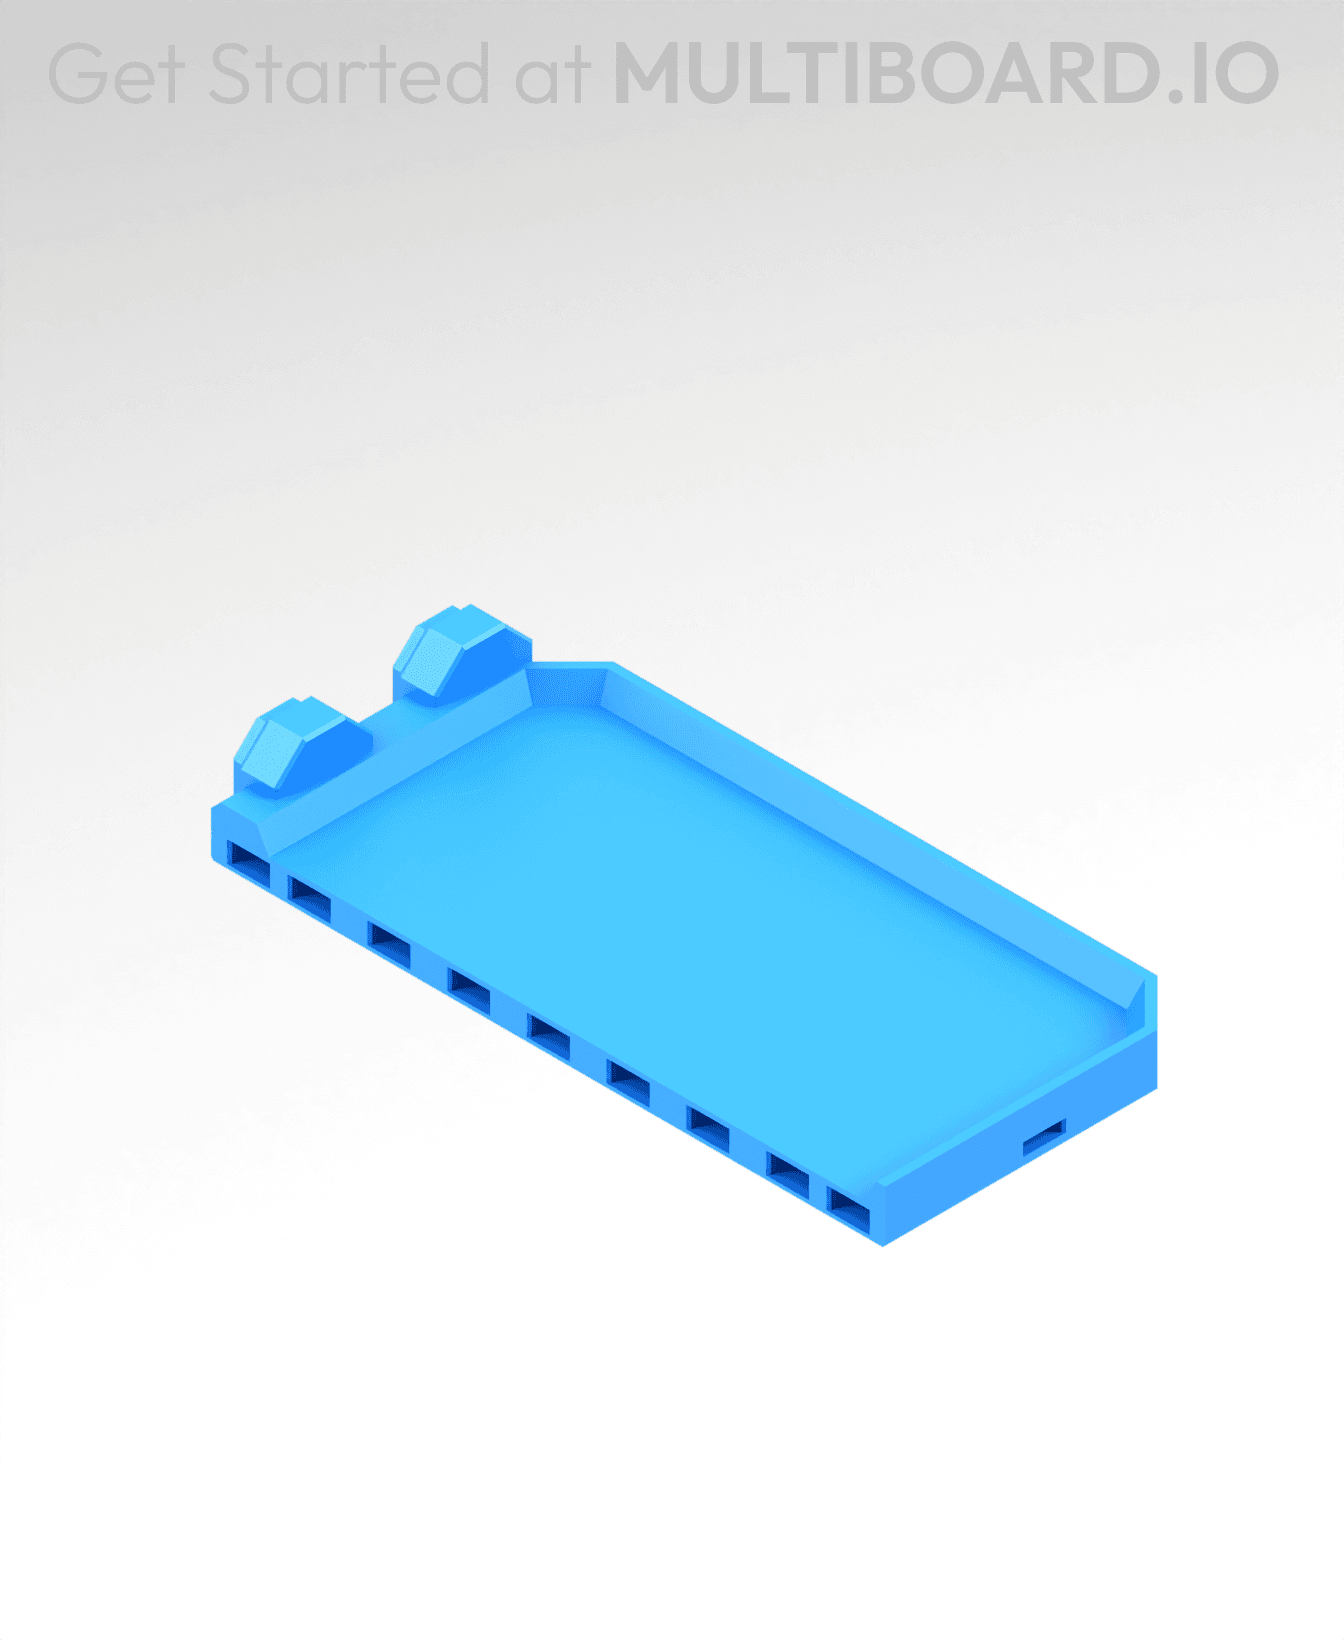
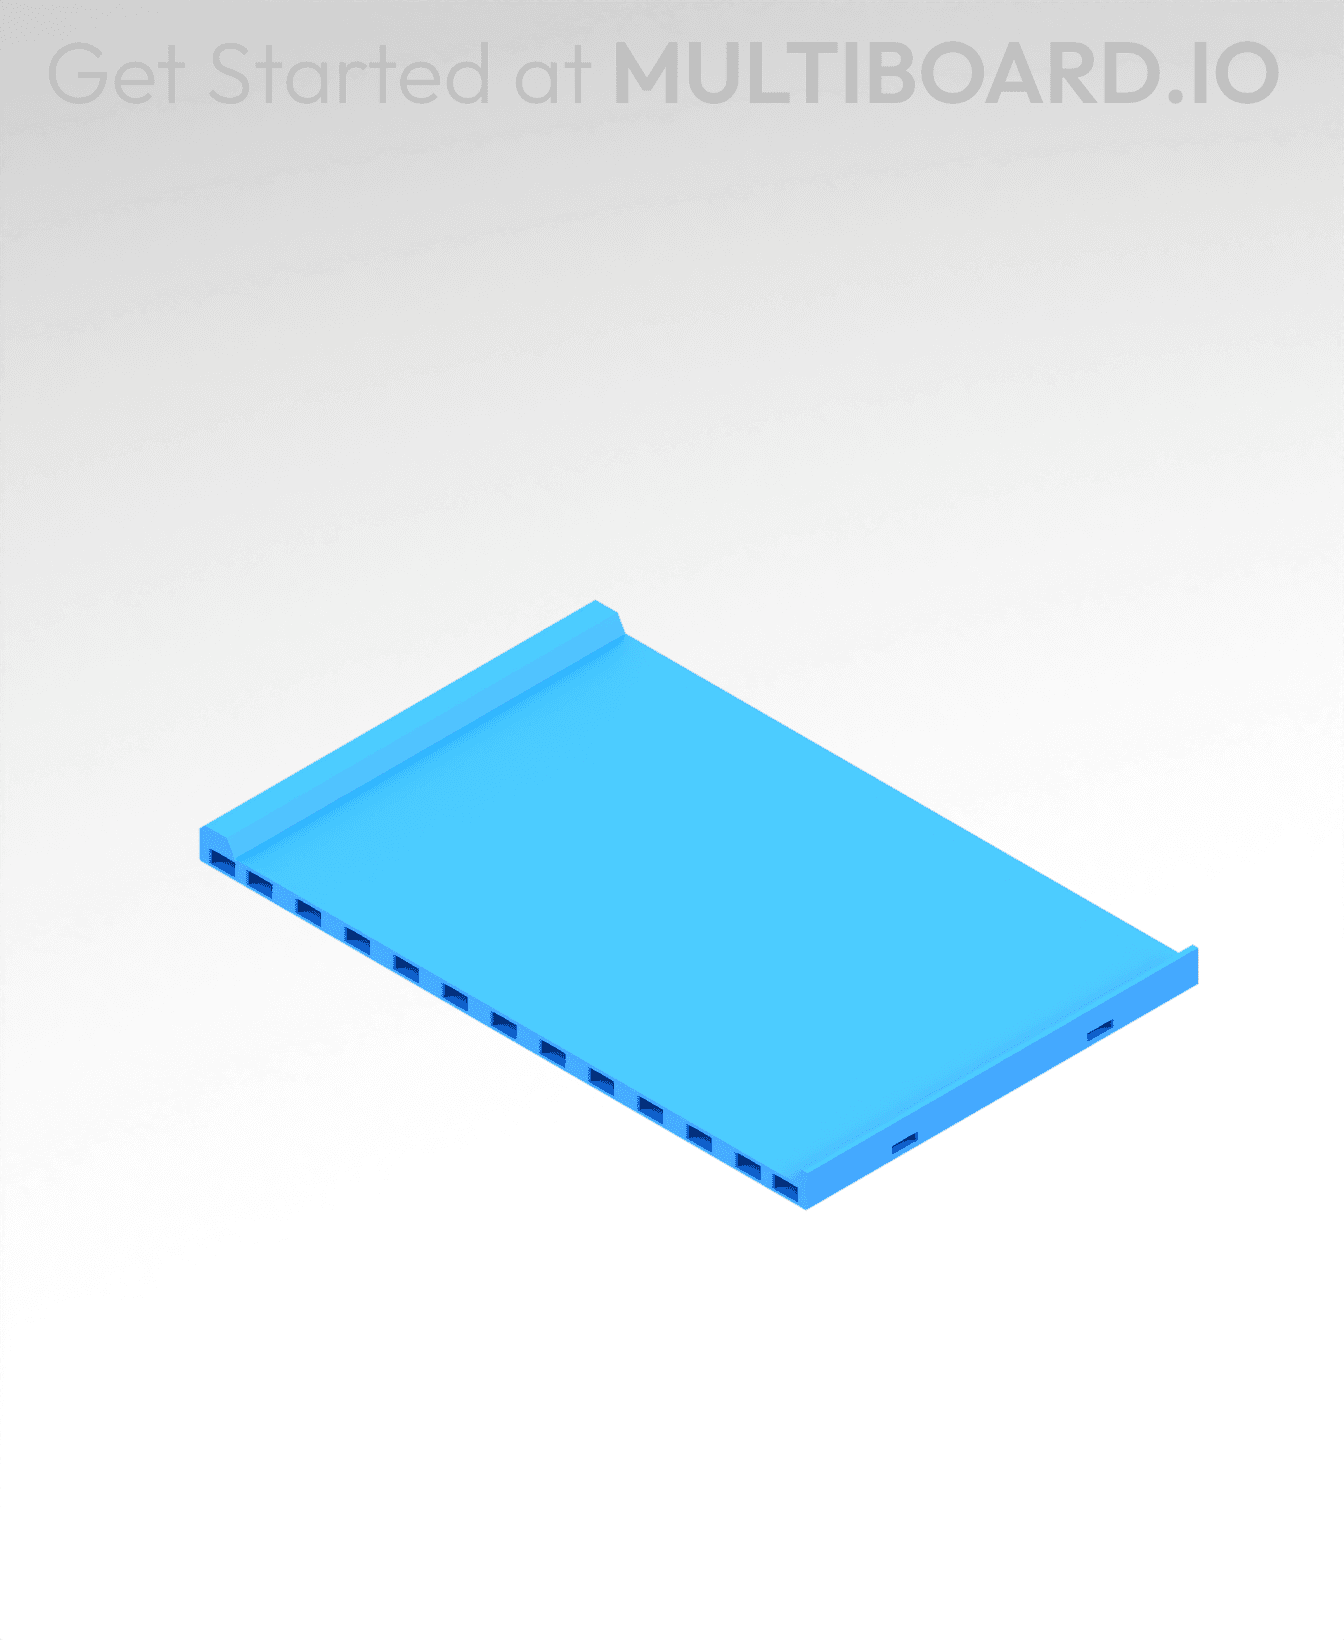
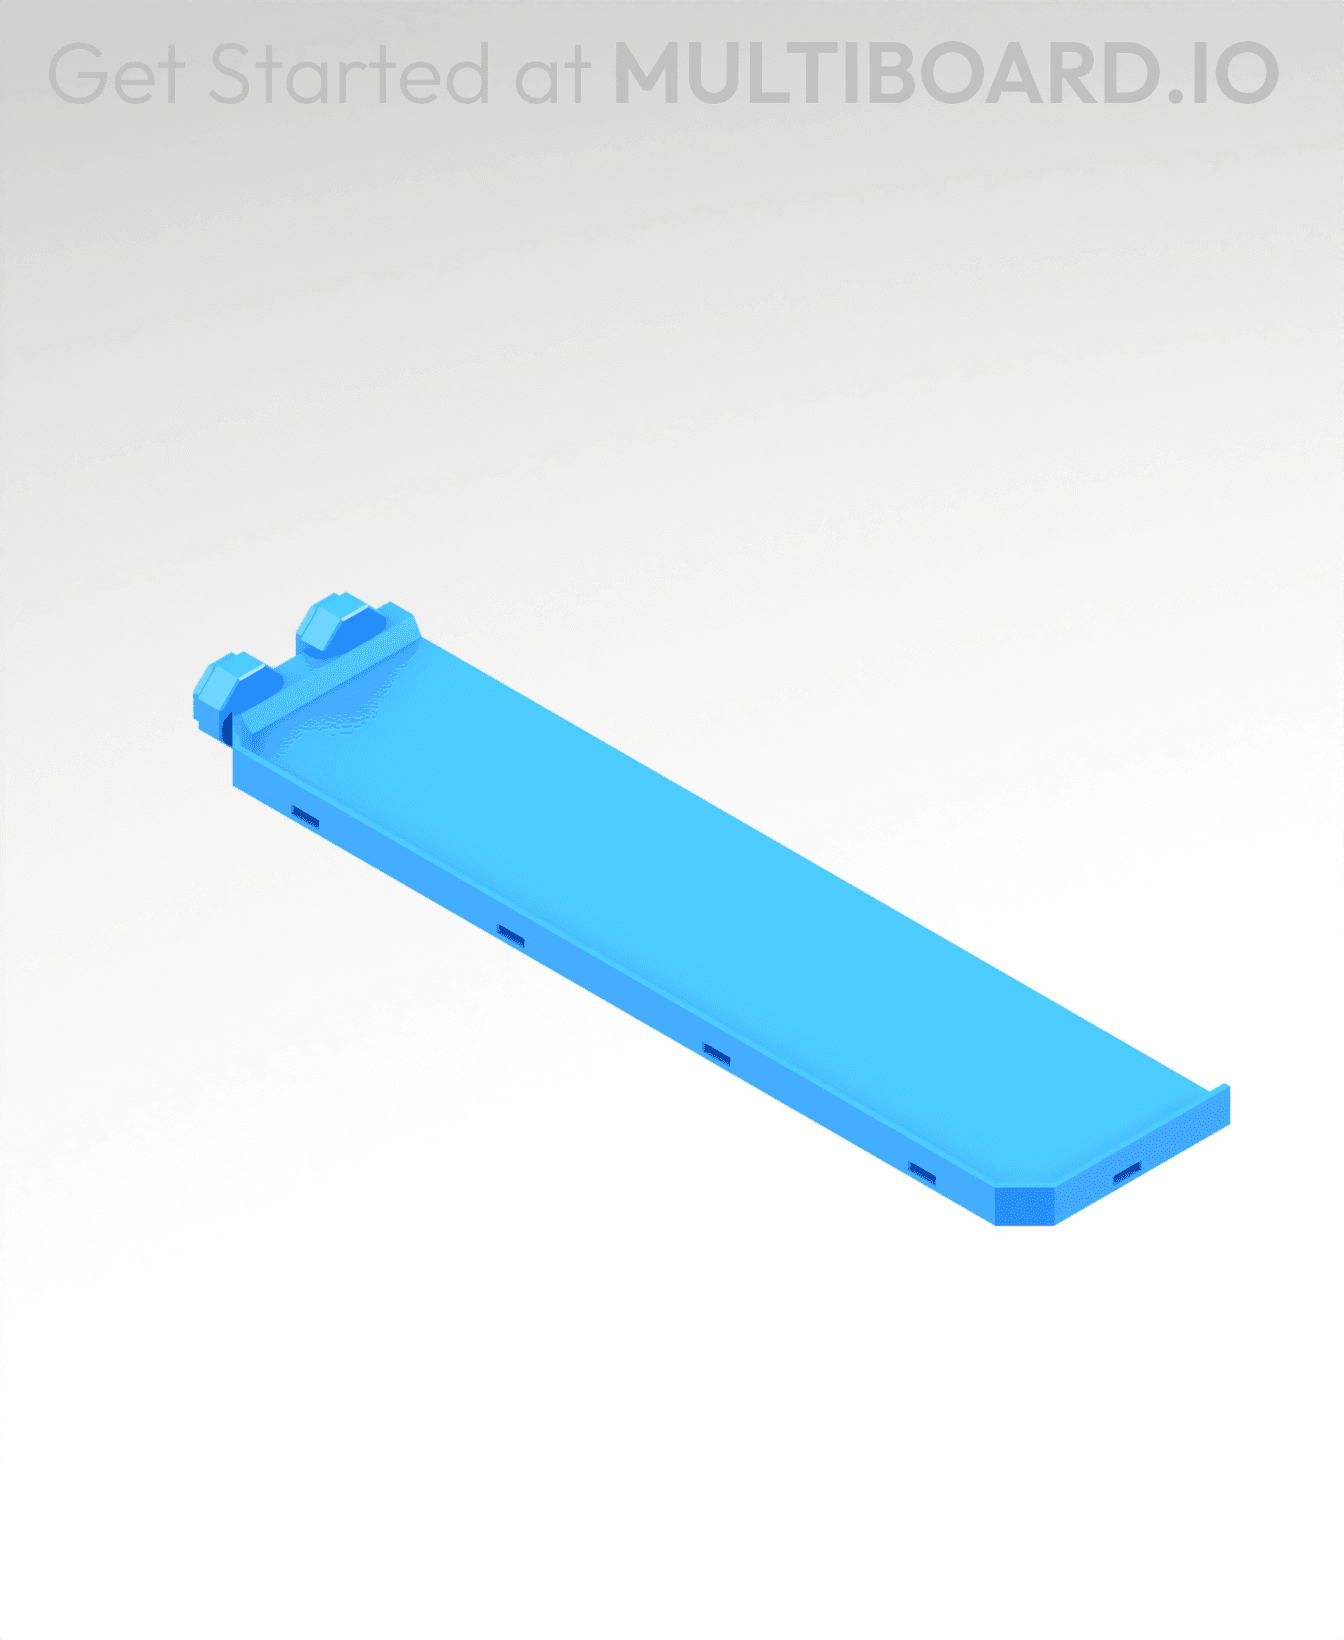
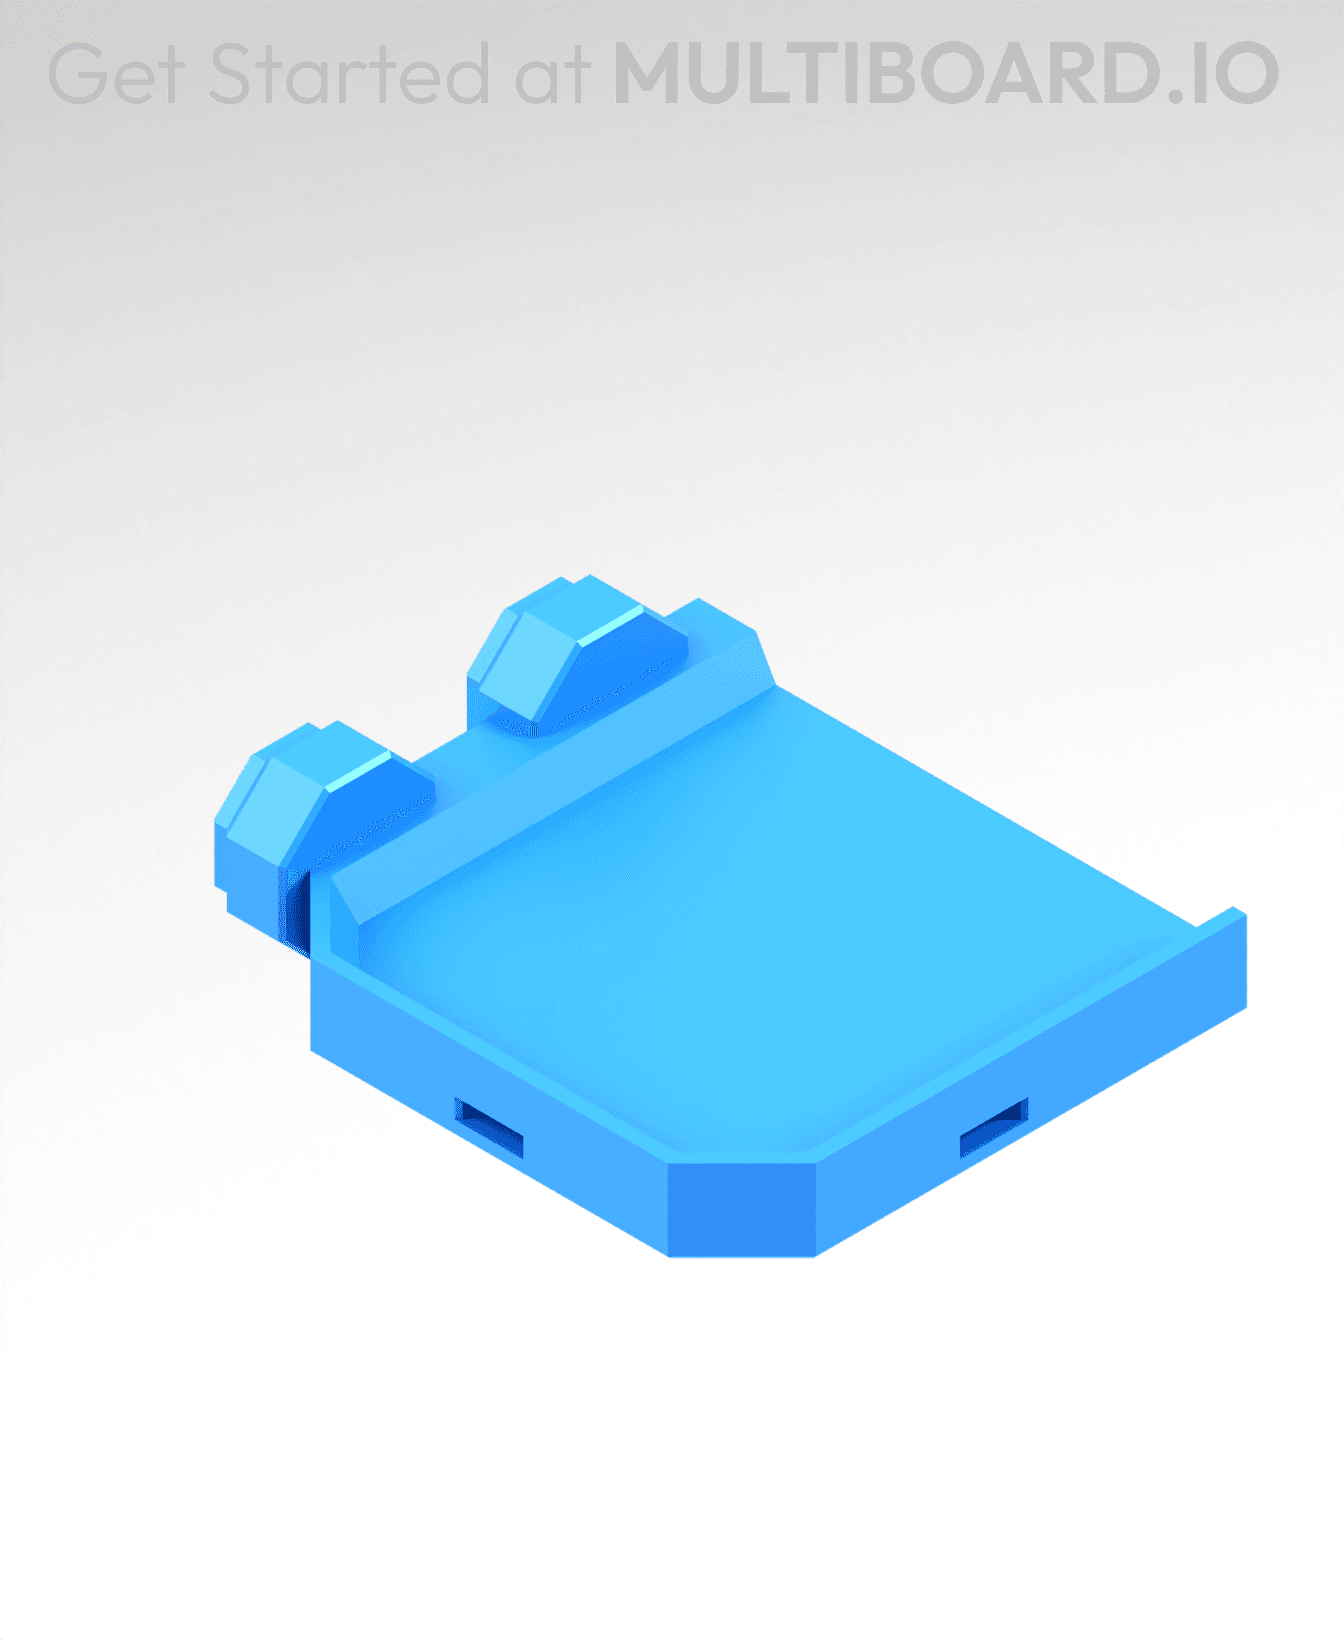
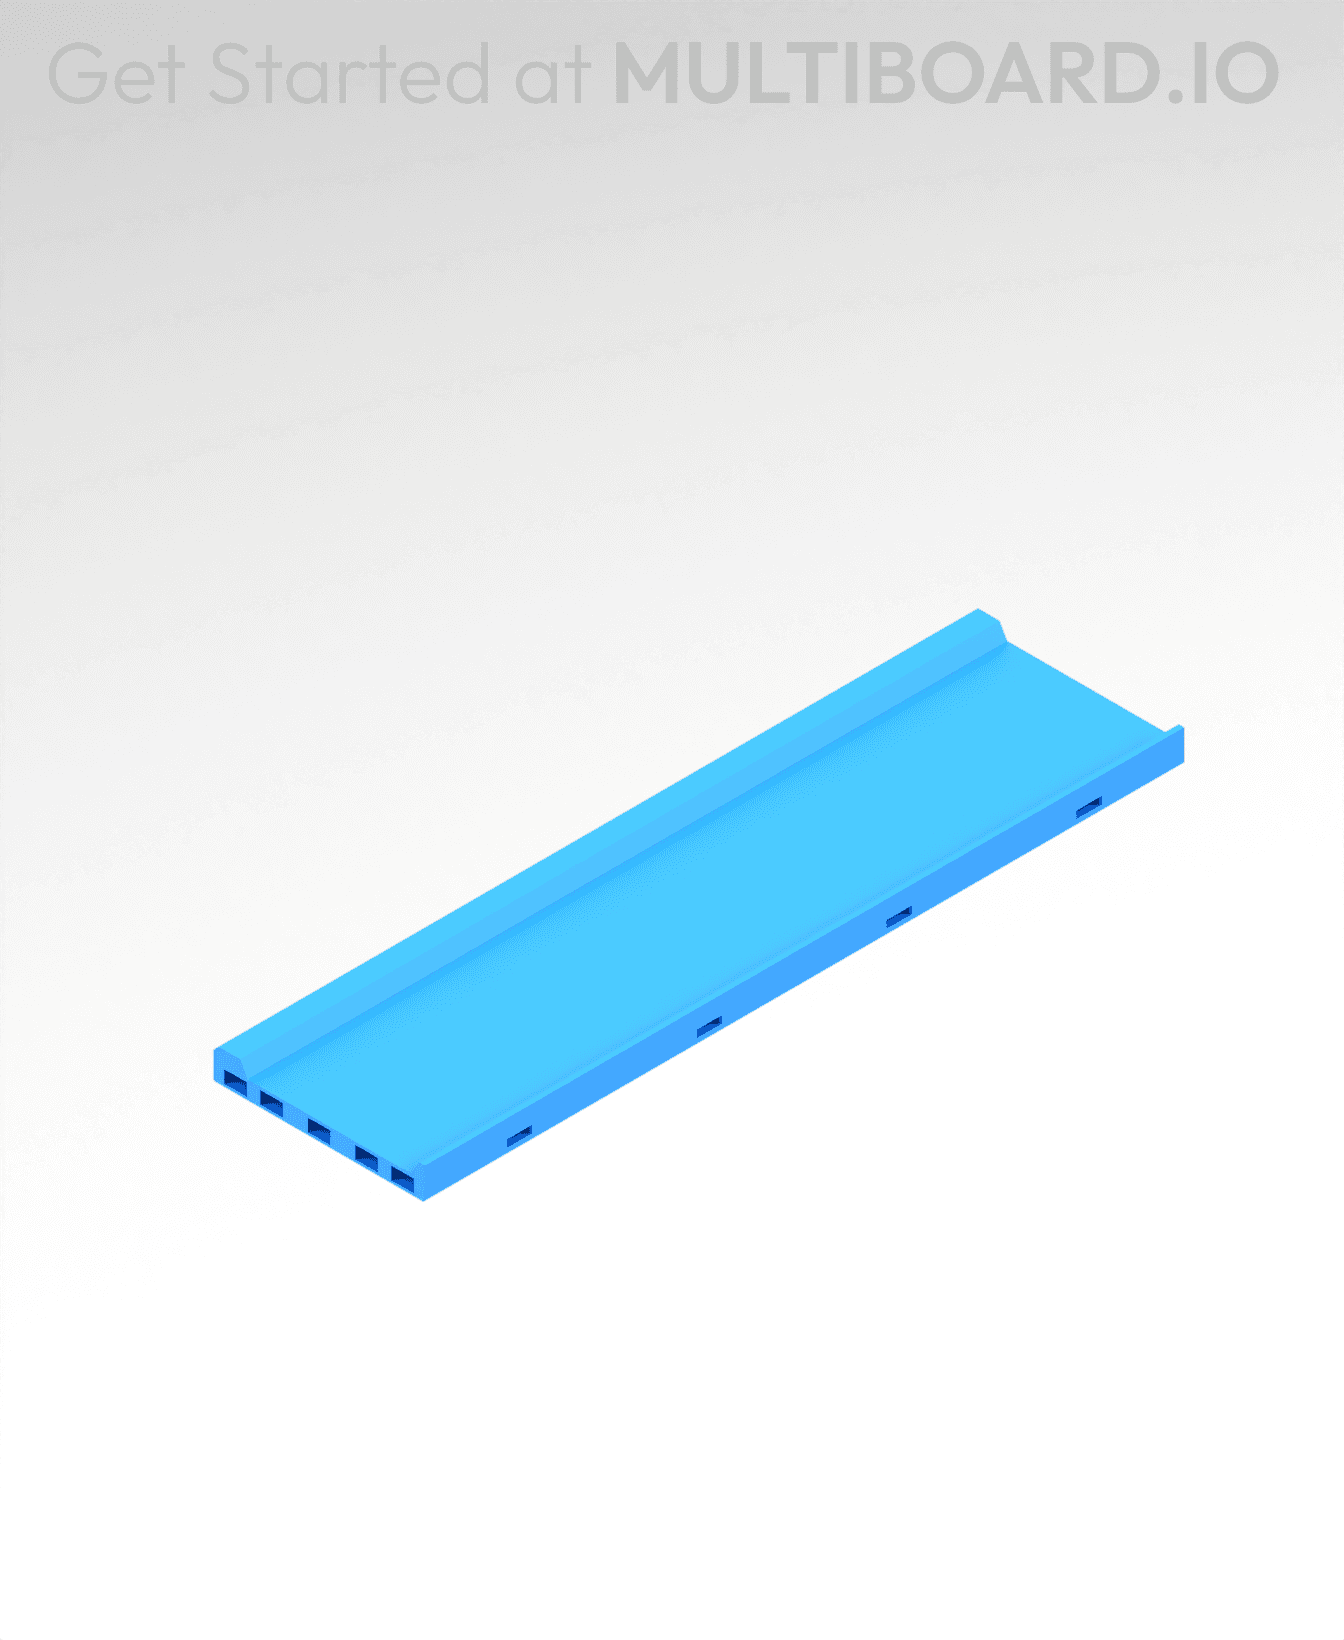
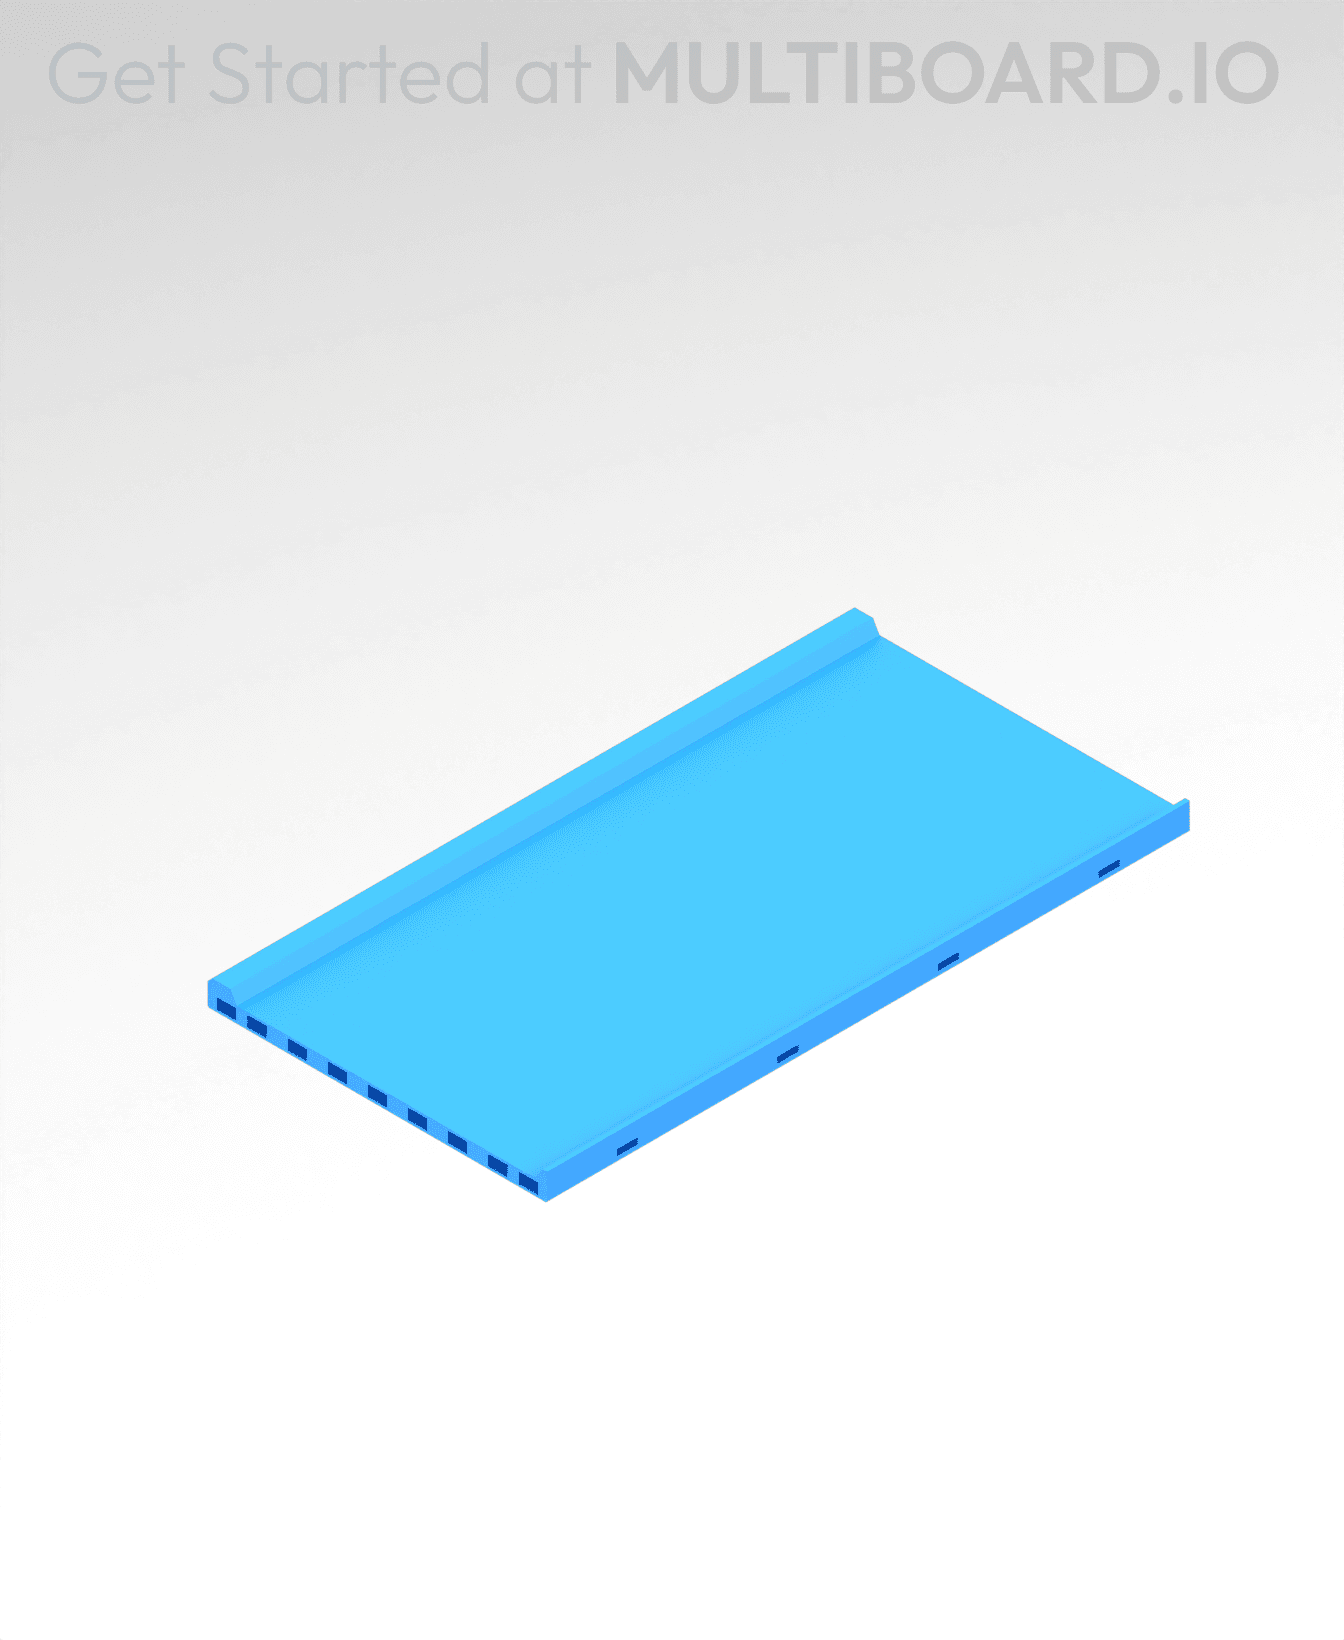
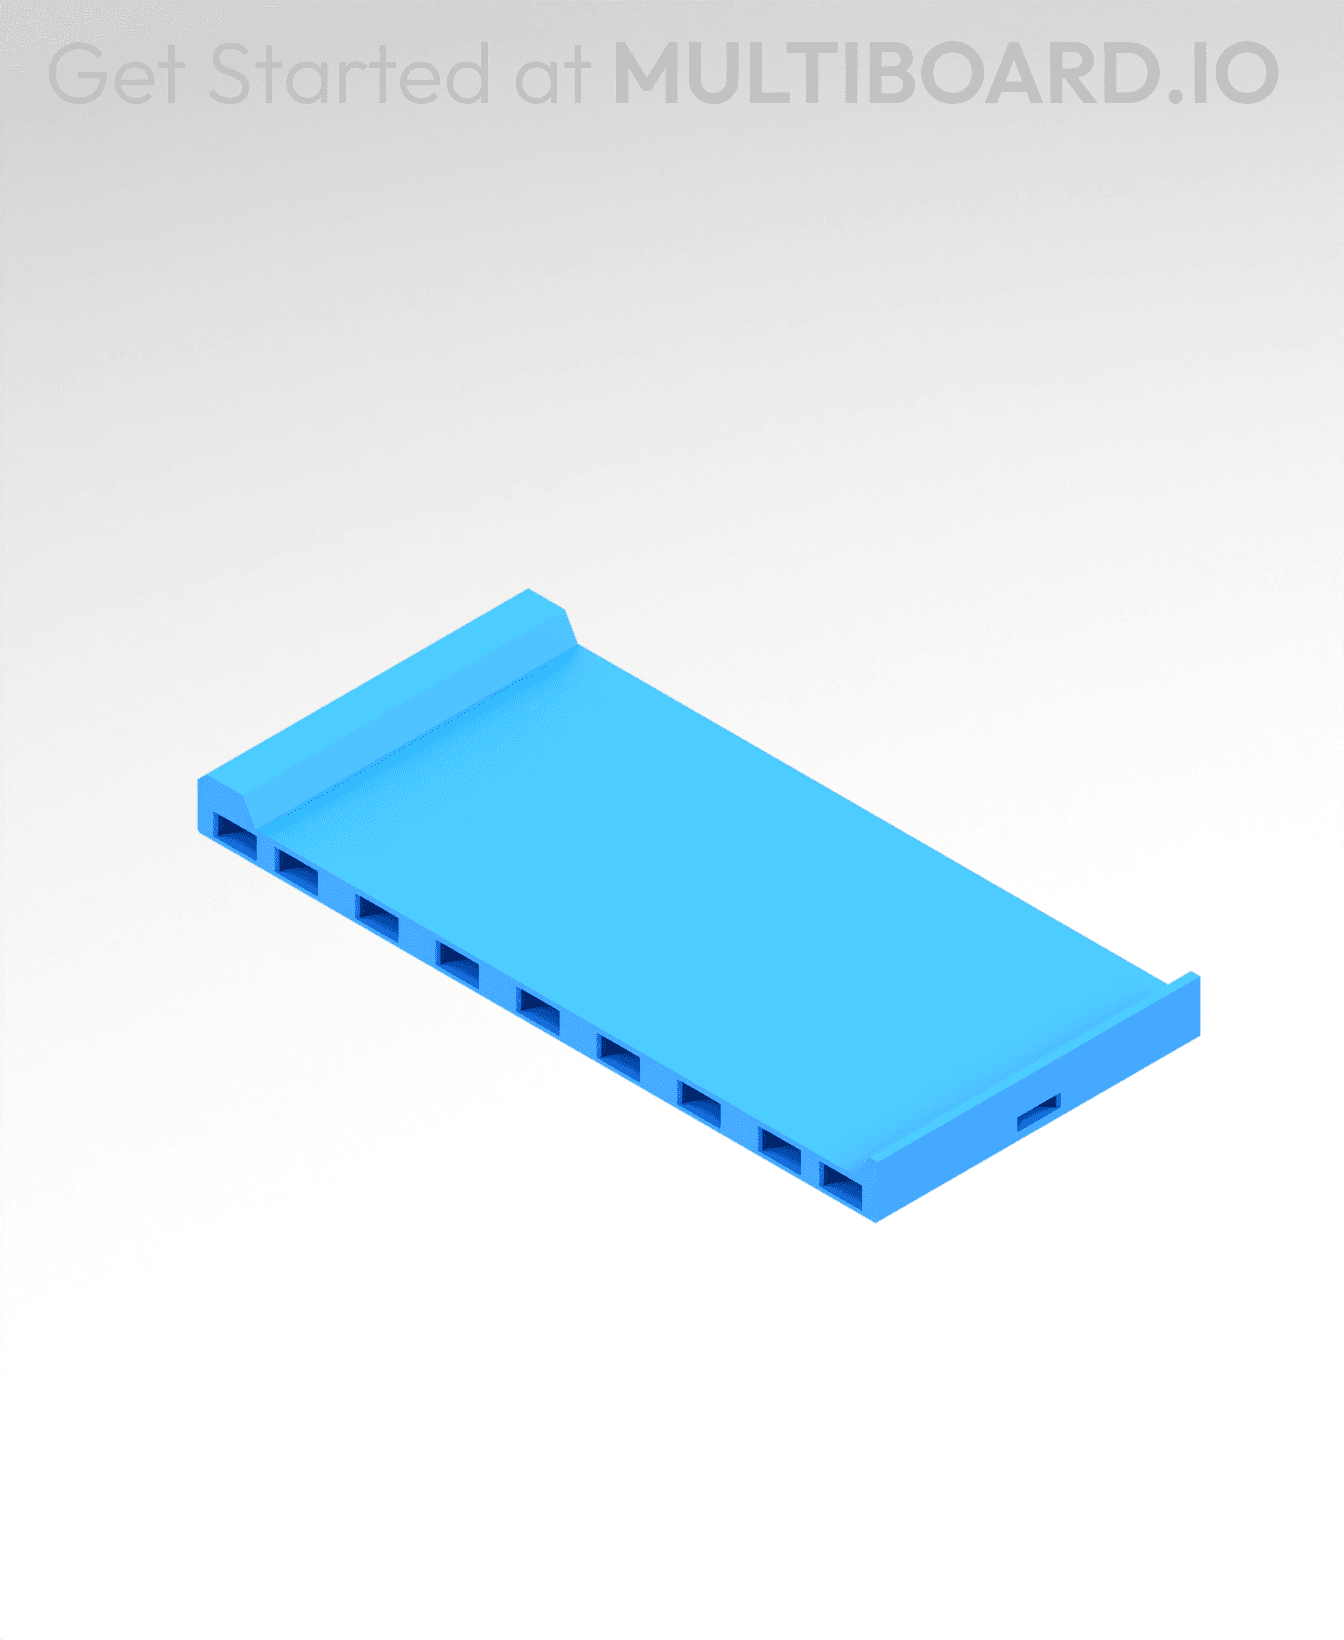
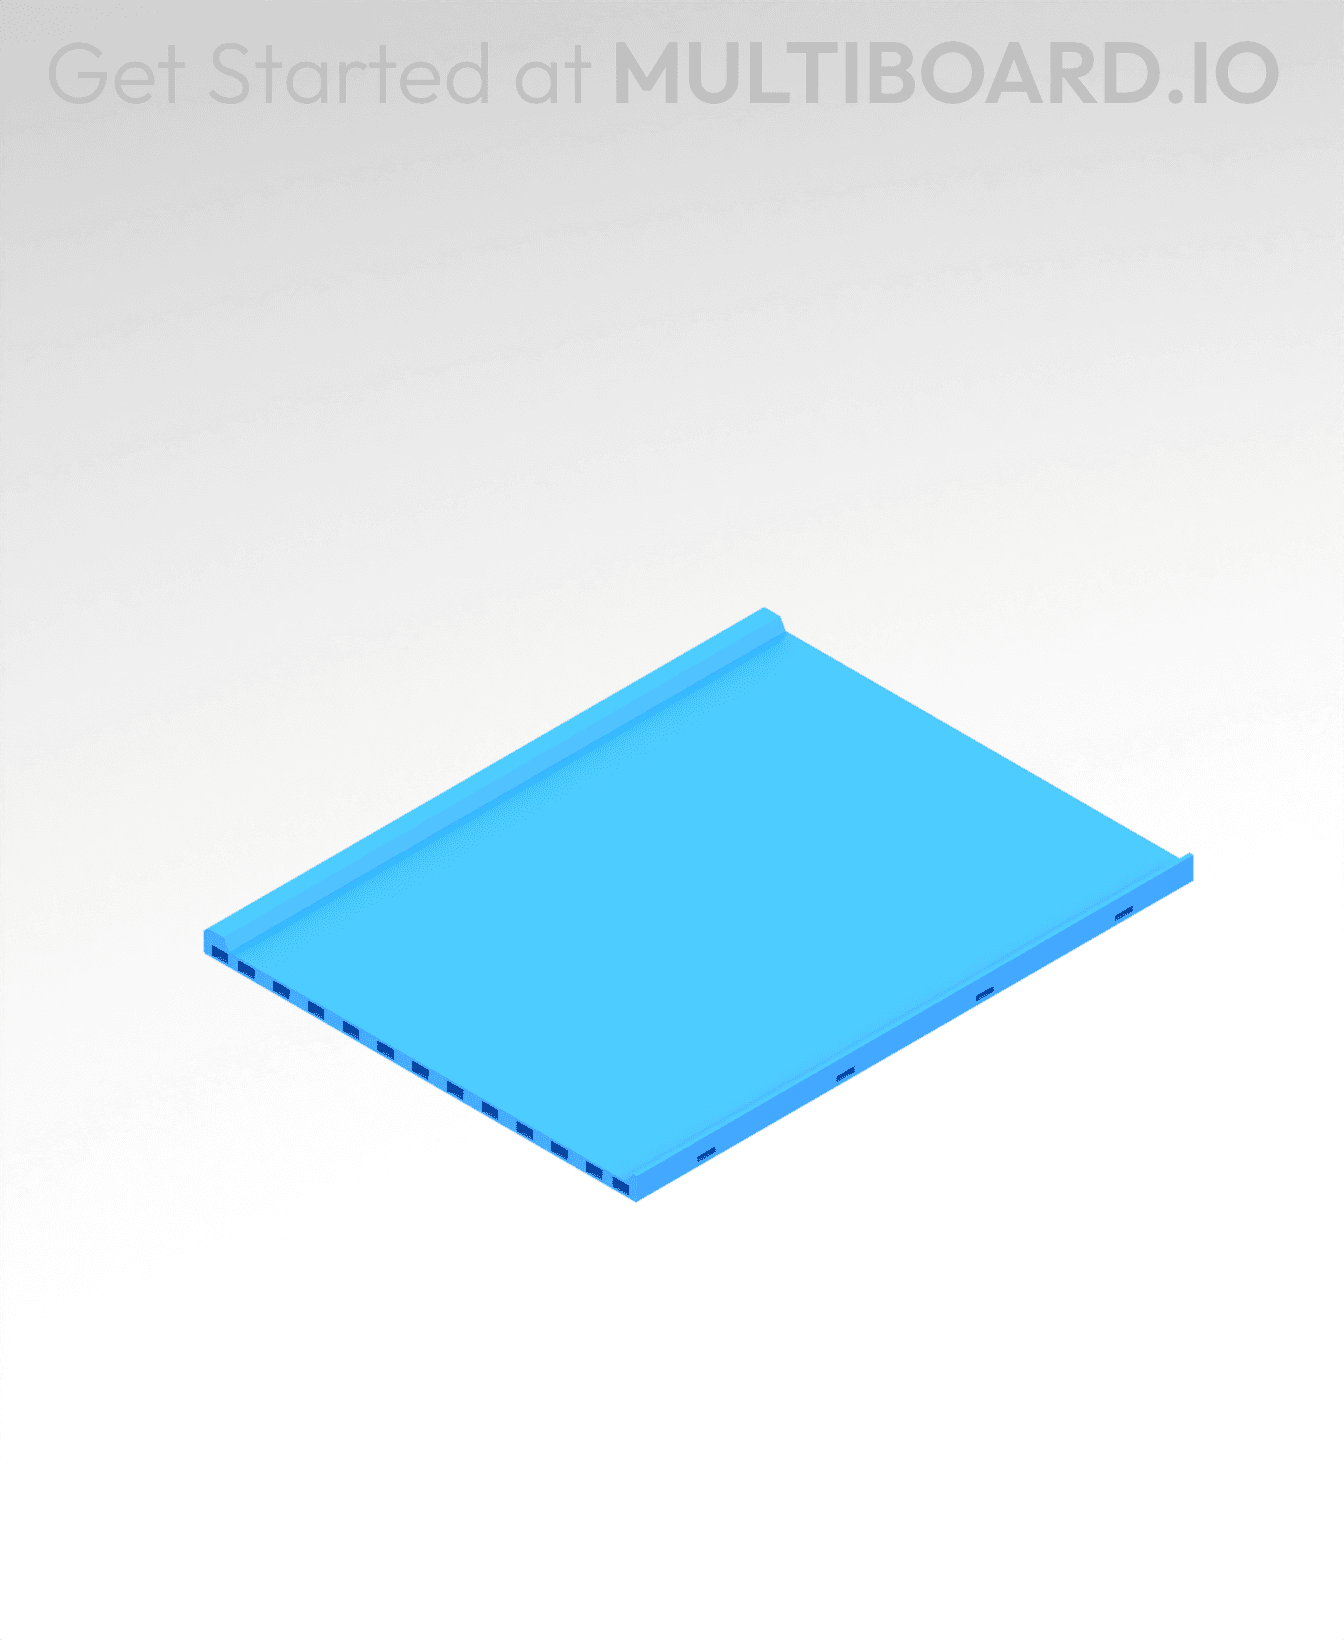
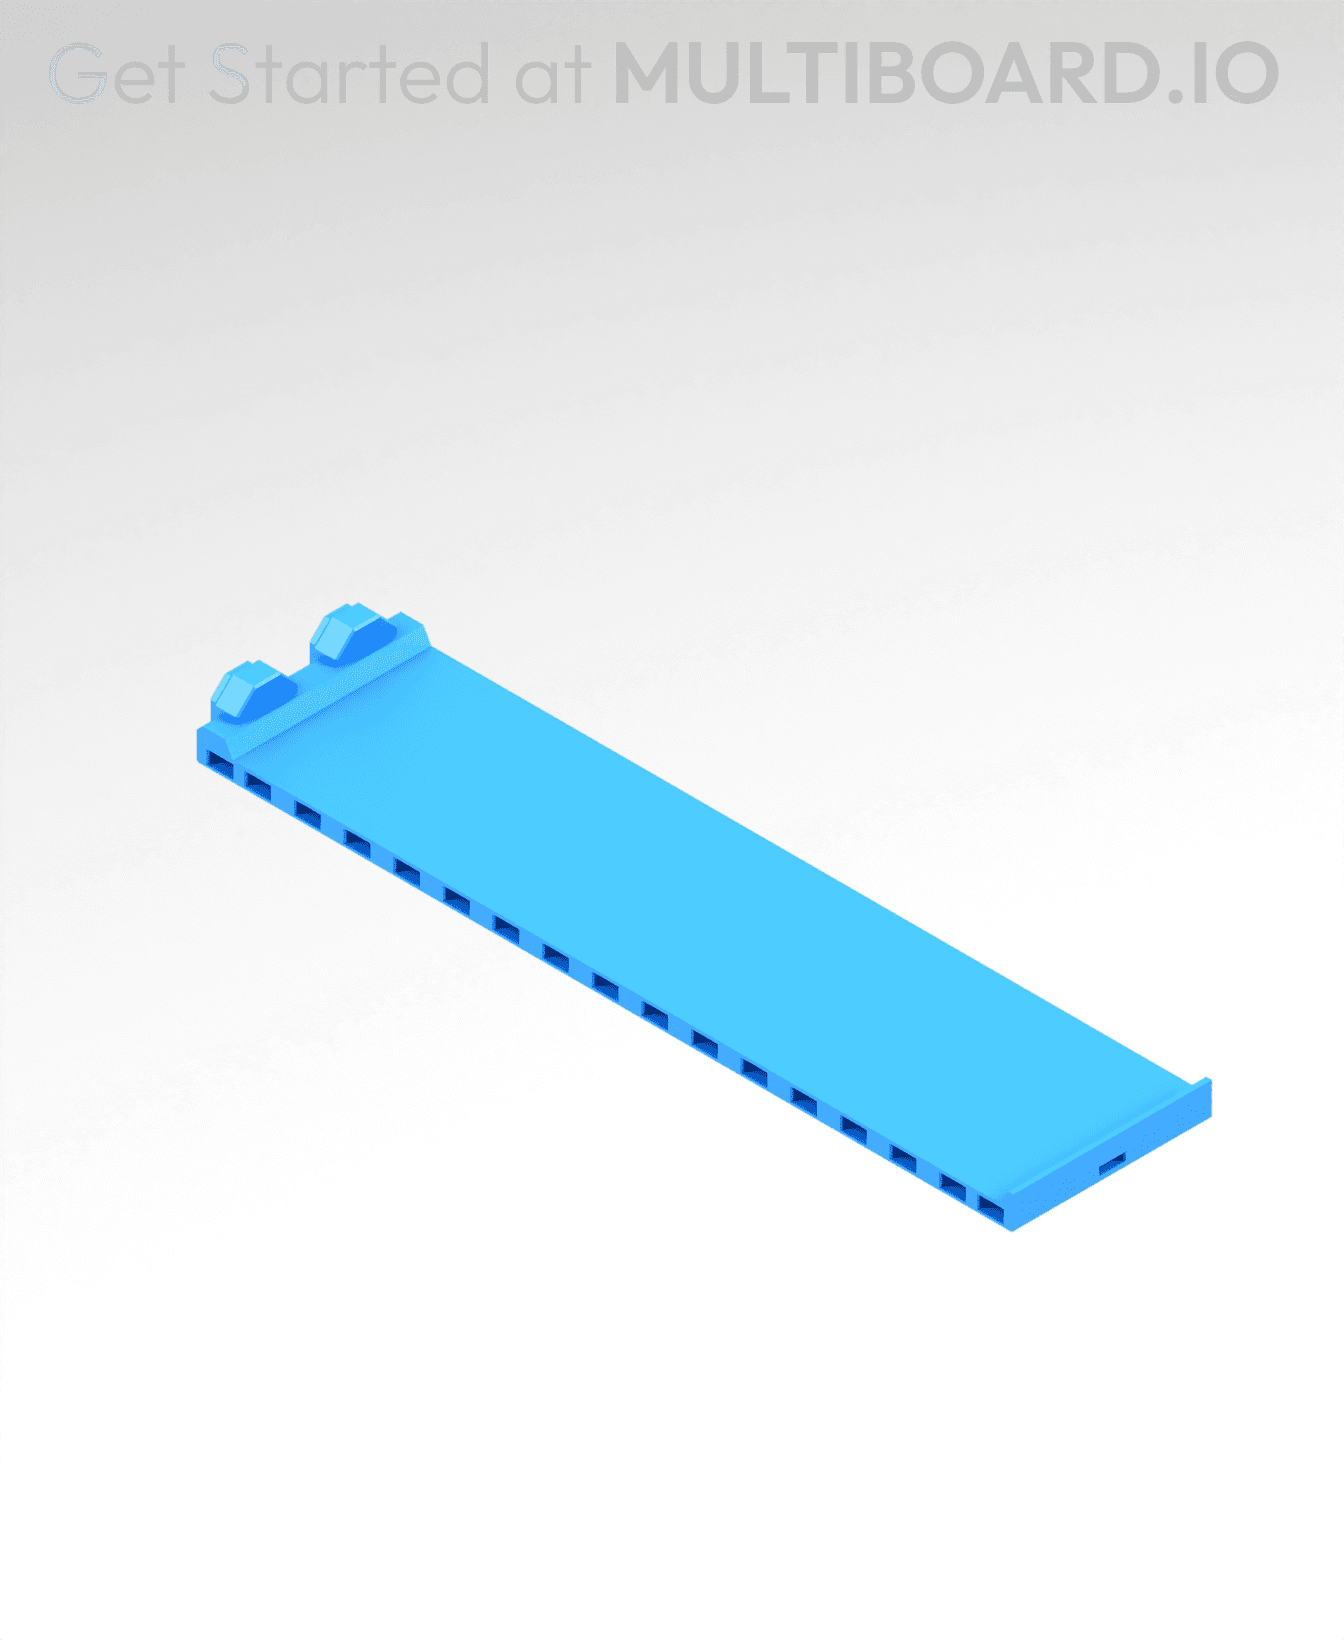
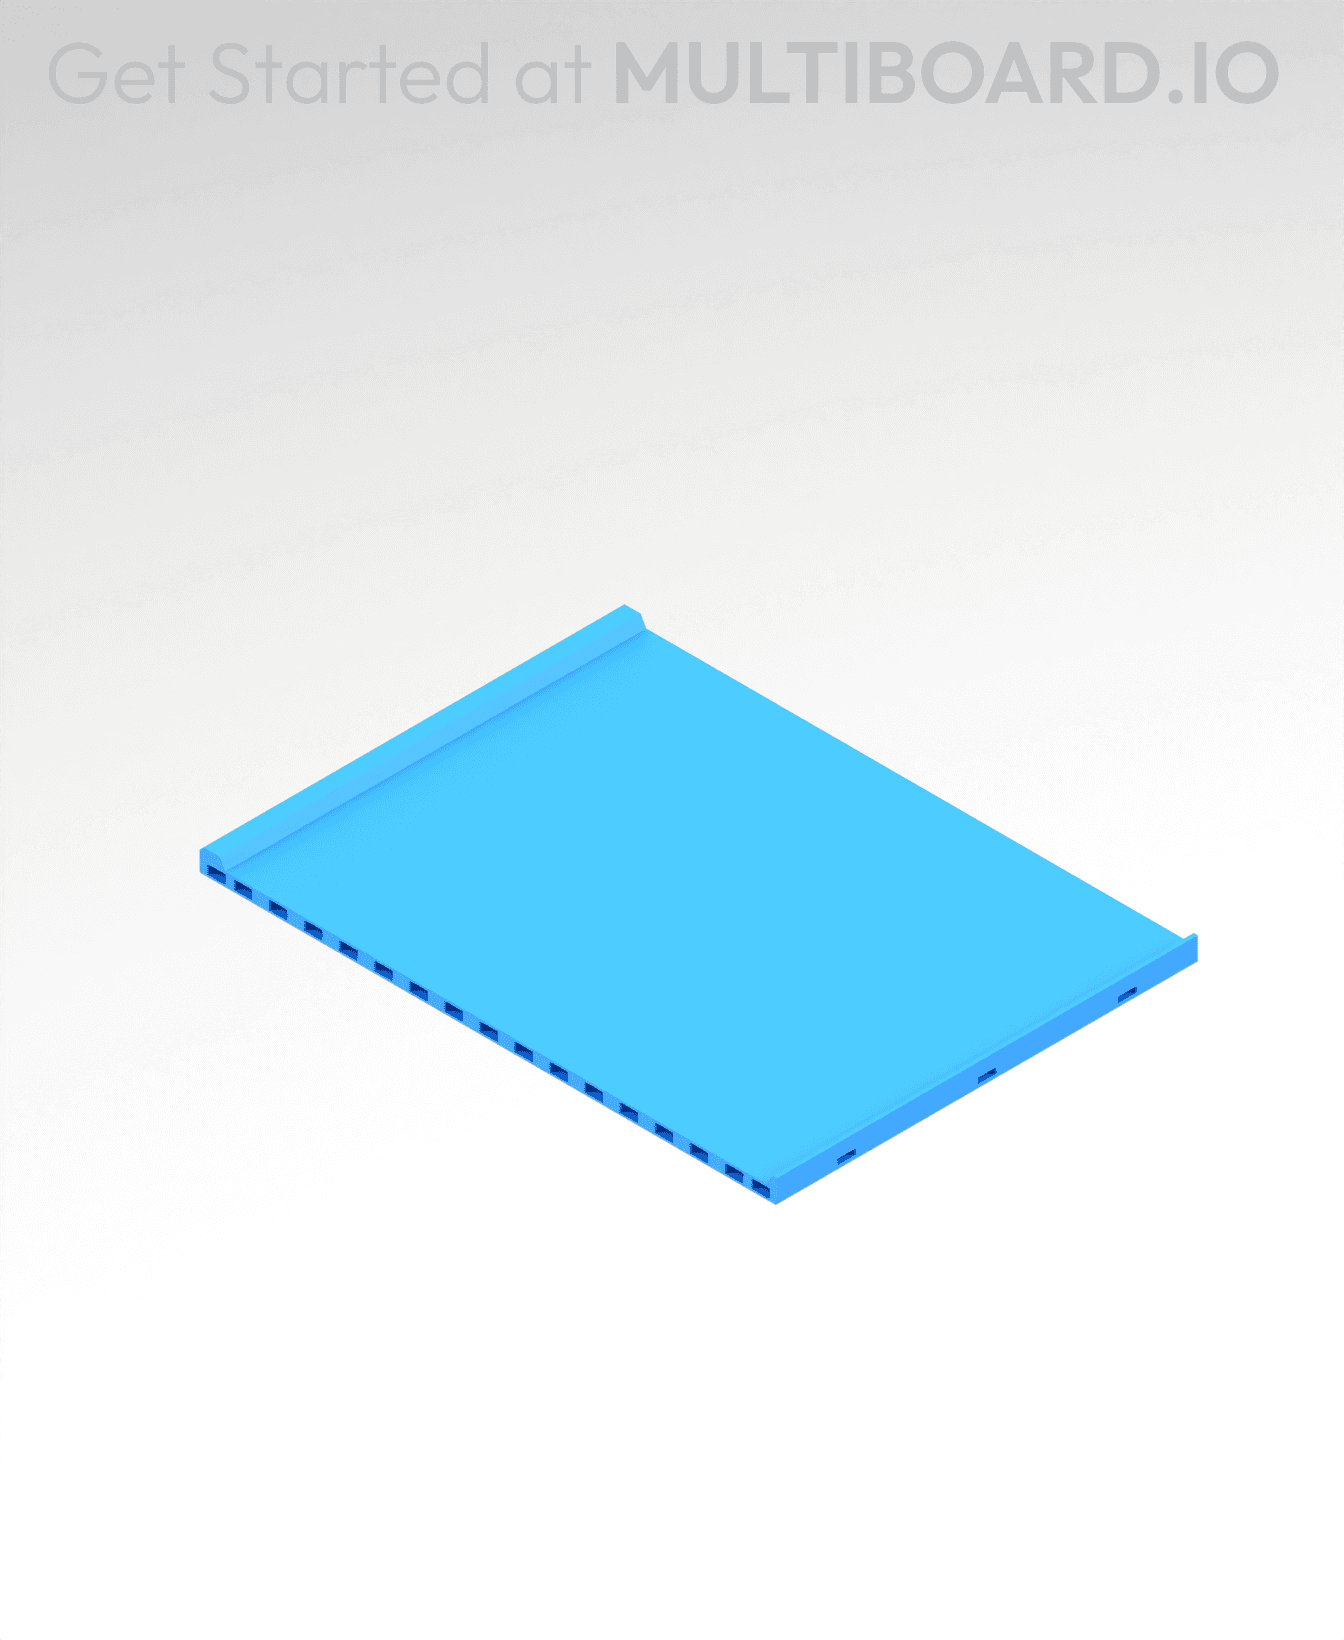
Snap (DS Part B)
27K downloads · 1 year ago · This is a "Part B" Double-Sided Snap that connects to any Part A Snap.
**Printing Guidelines:**
Us
This model is restricted by licensing terms.
View license.
This is a "Part B" Double-Sided Snap that connects to any Part A Snap.
Printing Guidelines:
Use 3 perimeter wall thickness, 0.2 mm layer height, 15% infill, and no supports. Apart from that, use your printer's default settings.
The printing orientation is as provided in the file. Make sure the downloaded files are .STL. This part has been designed with a tolerance of 0.25 mm. Your printer will need to be able to bridge gaps of up to 30 mm for some designs.
This object is part of Multiboard, a FREE and ridiculously modular organization system with thousands of parts to create the most adaptable workspace possible. Learn more and find ALL the parts at https://multiboard.io
This model is restricted by licensing terms.
View license.
Fix Point to Countersink Adapter

Flush - Small Hole Center Marking Tool
6.25 Offset - Small Hole Center Marking Tool
12.5 Offset - Small Hole Center Marking Tool
2x6 MU - Right Support End - Modular Bolt-Locked Shelf
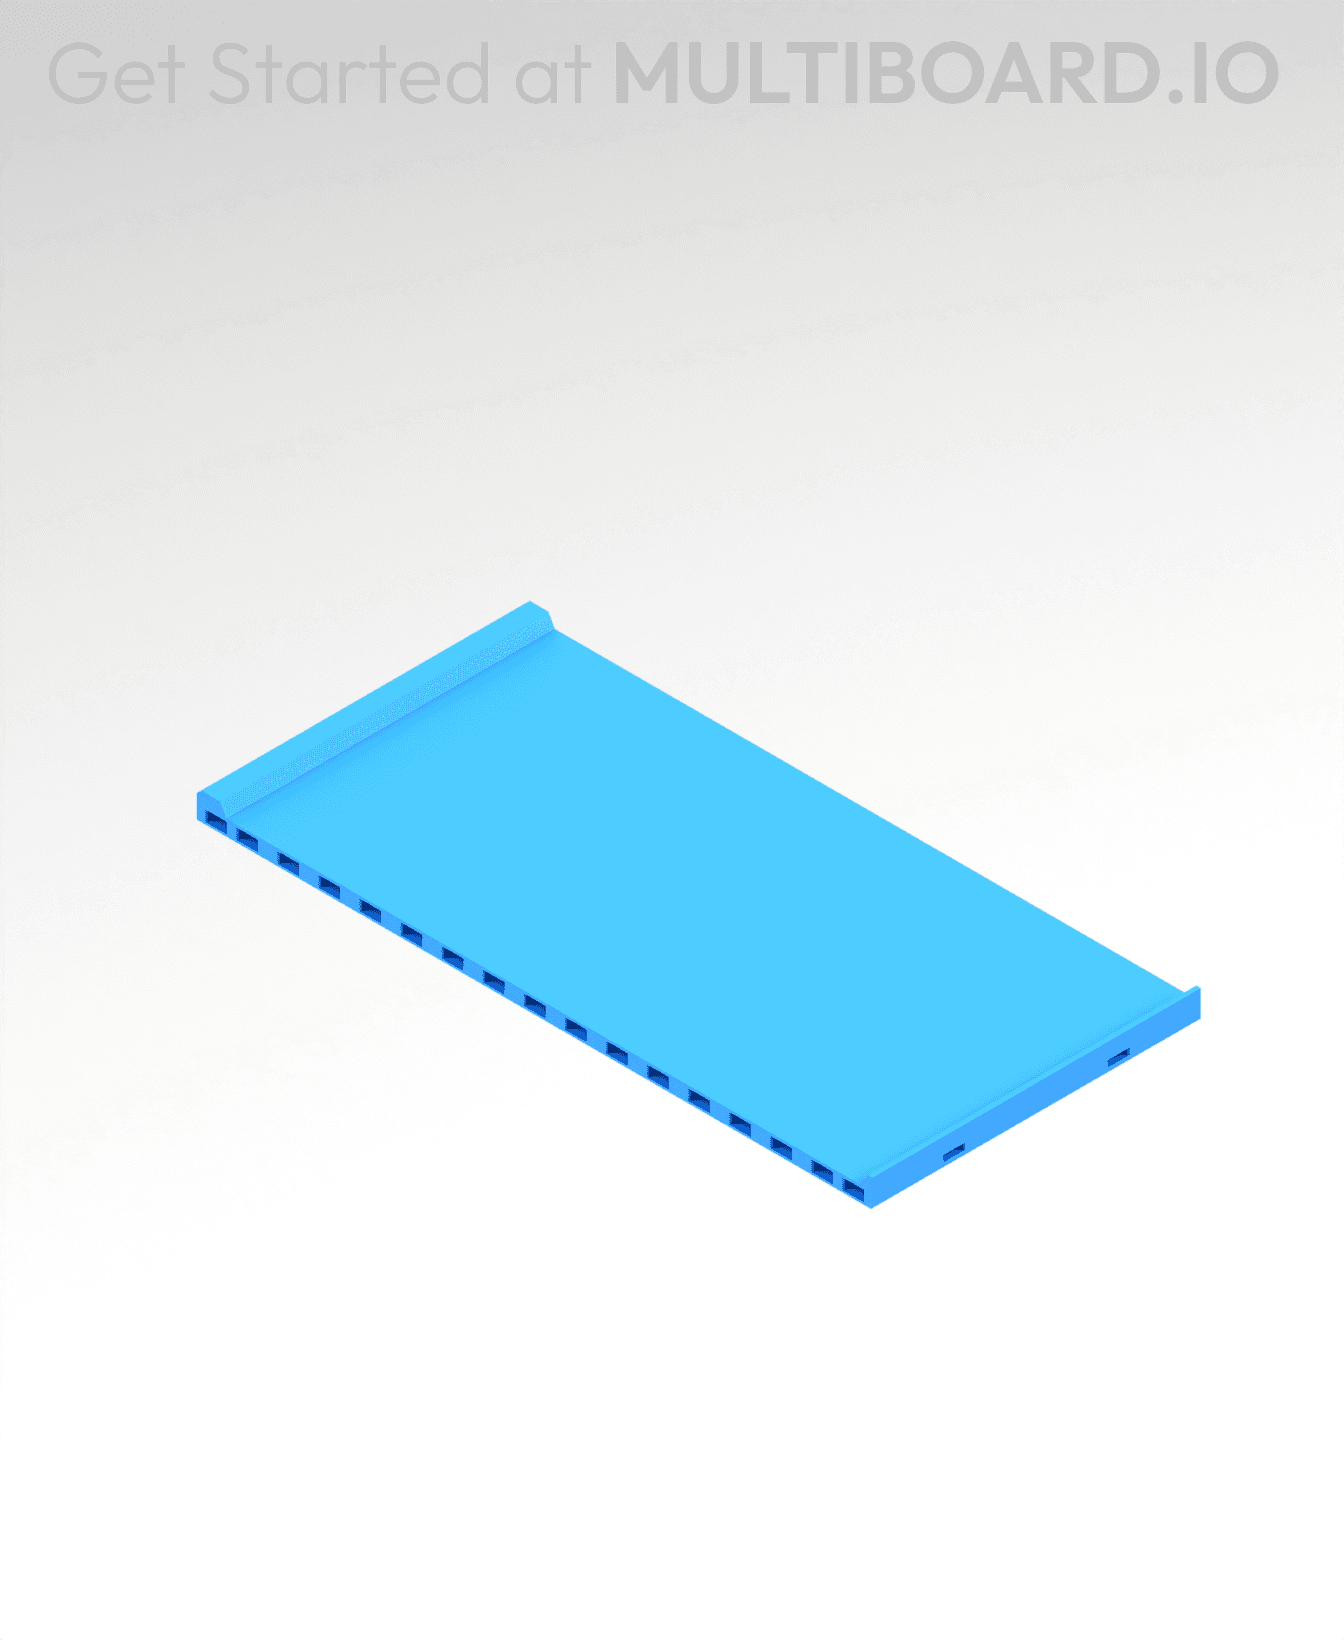
4x8 MU - Center - Modular Bolt-Locked Shelf
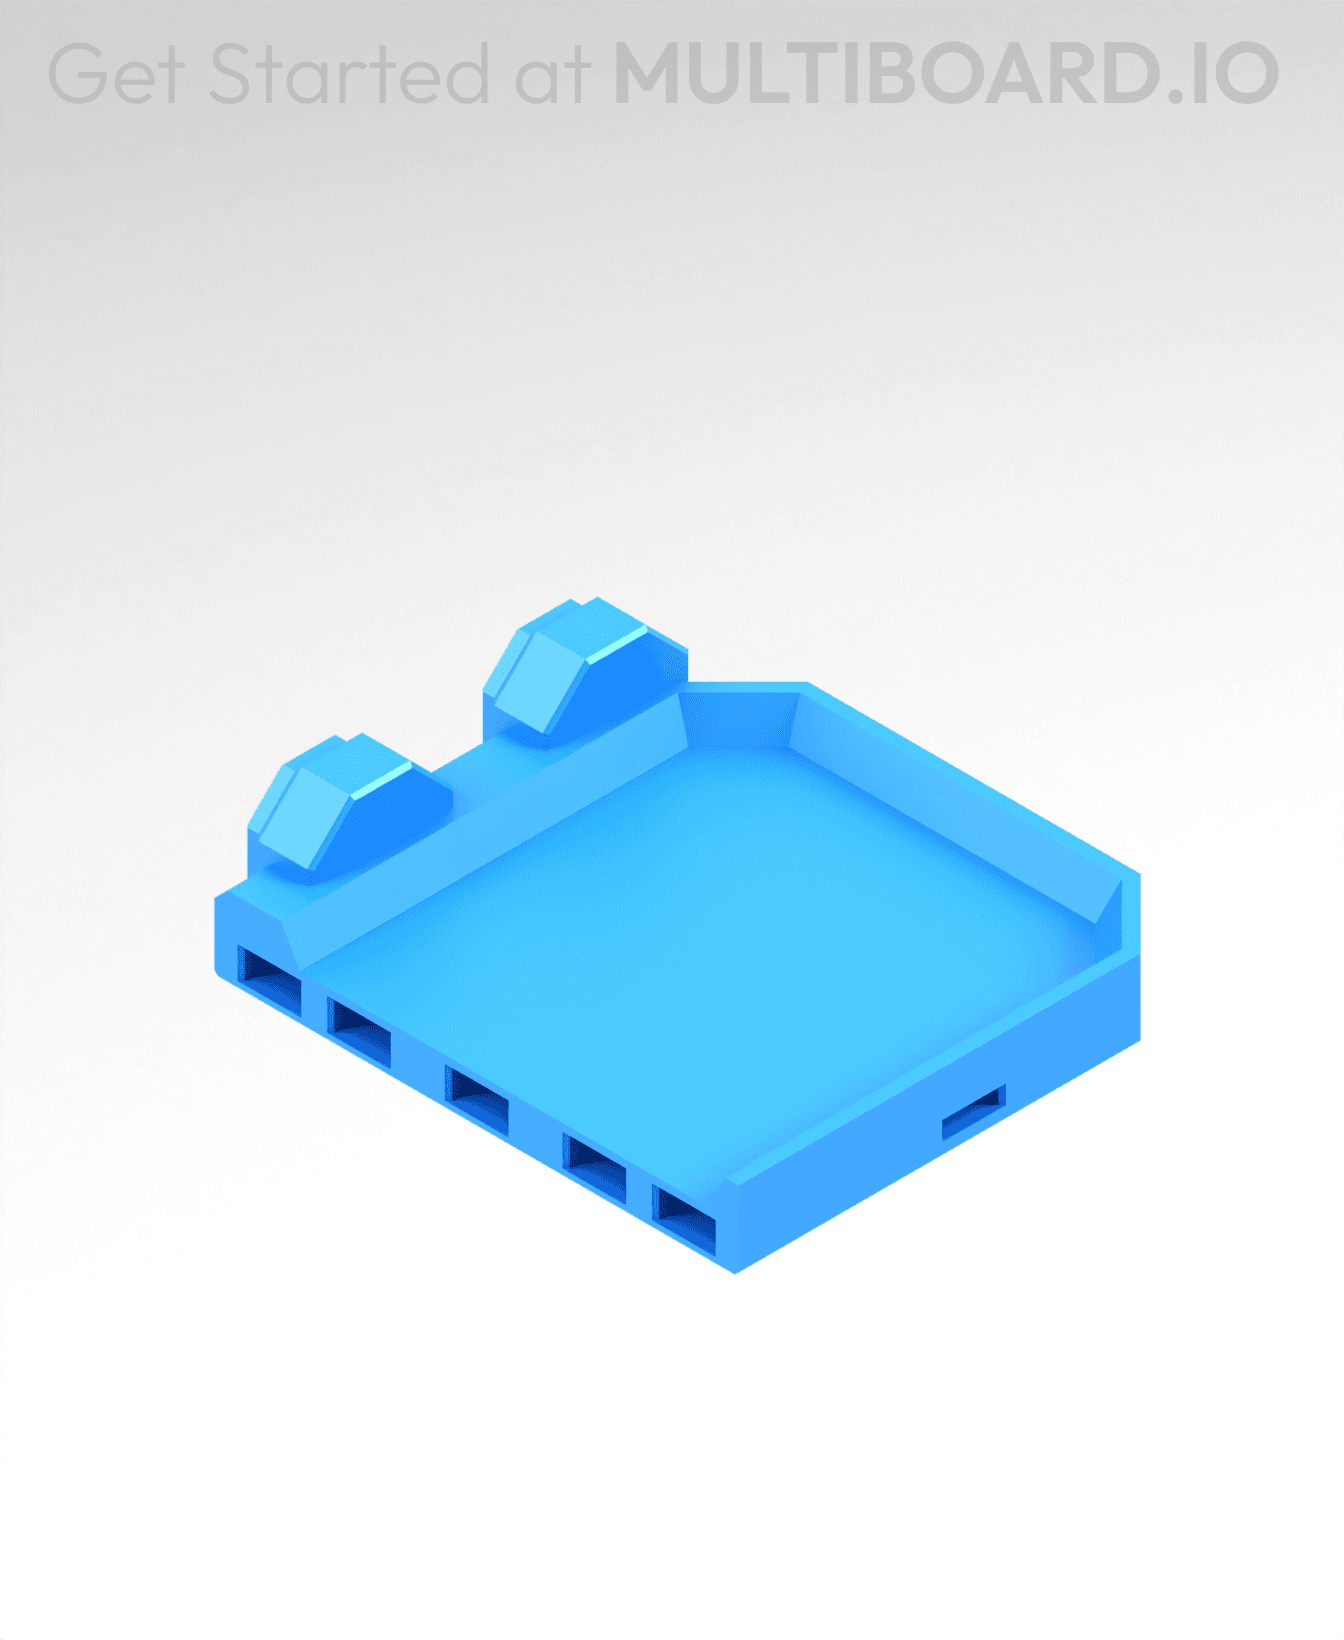
2x2 MU - Right Support End - Modular Bolt-Locked Shelf
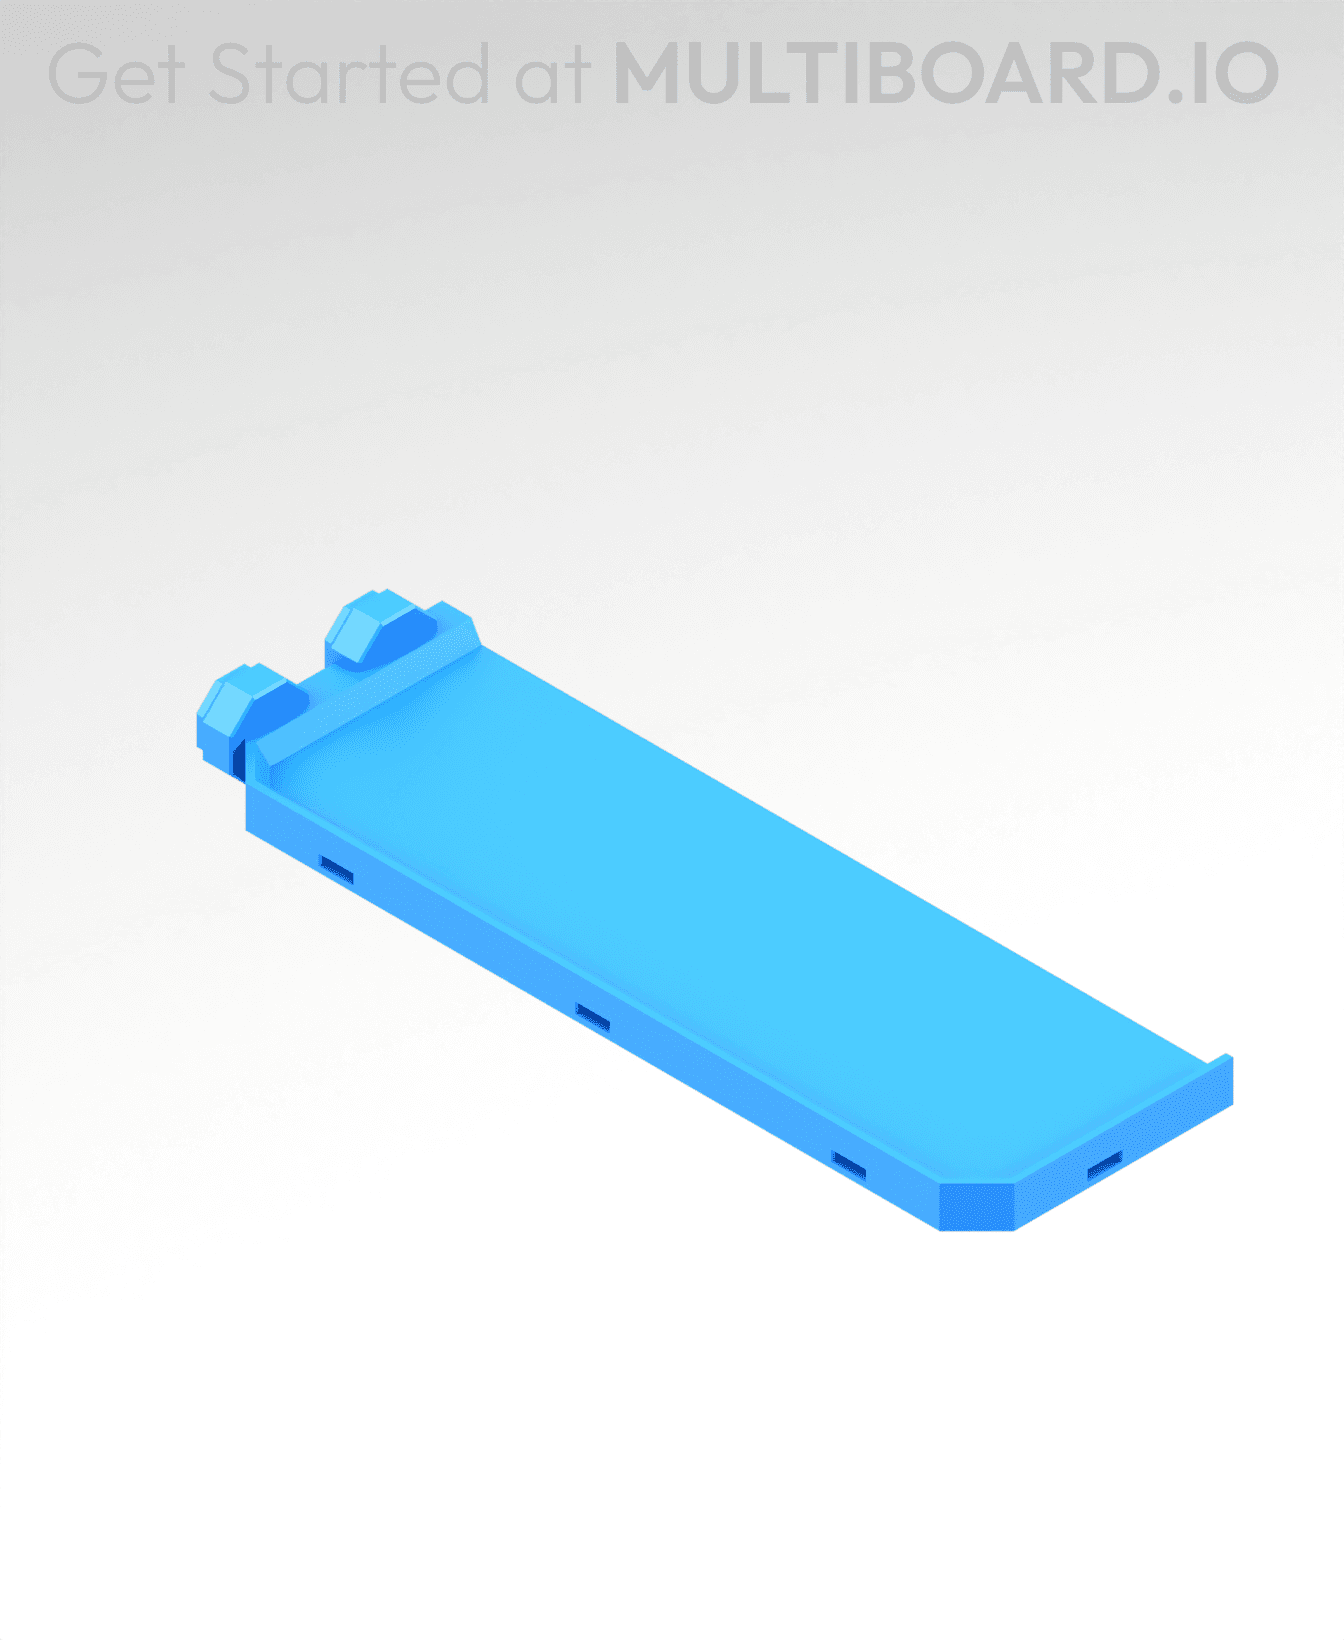
2x6 MU - Left Support End - Modular Bolt-Locked Shelf
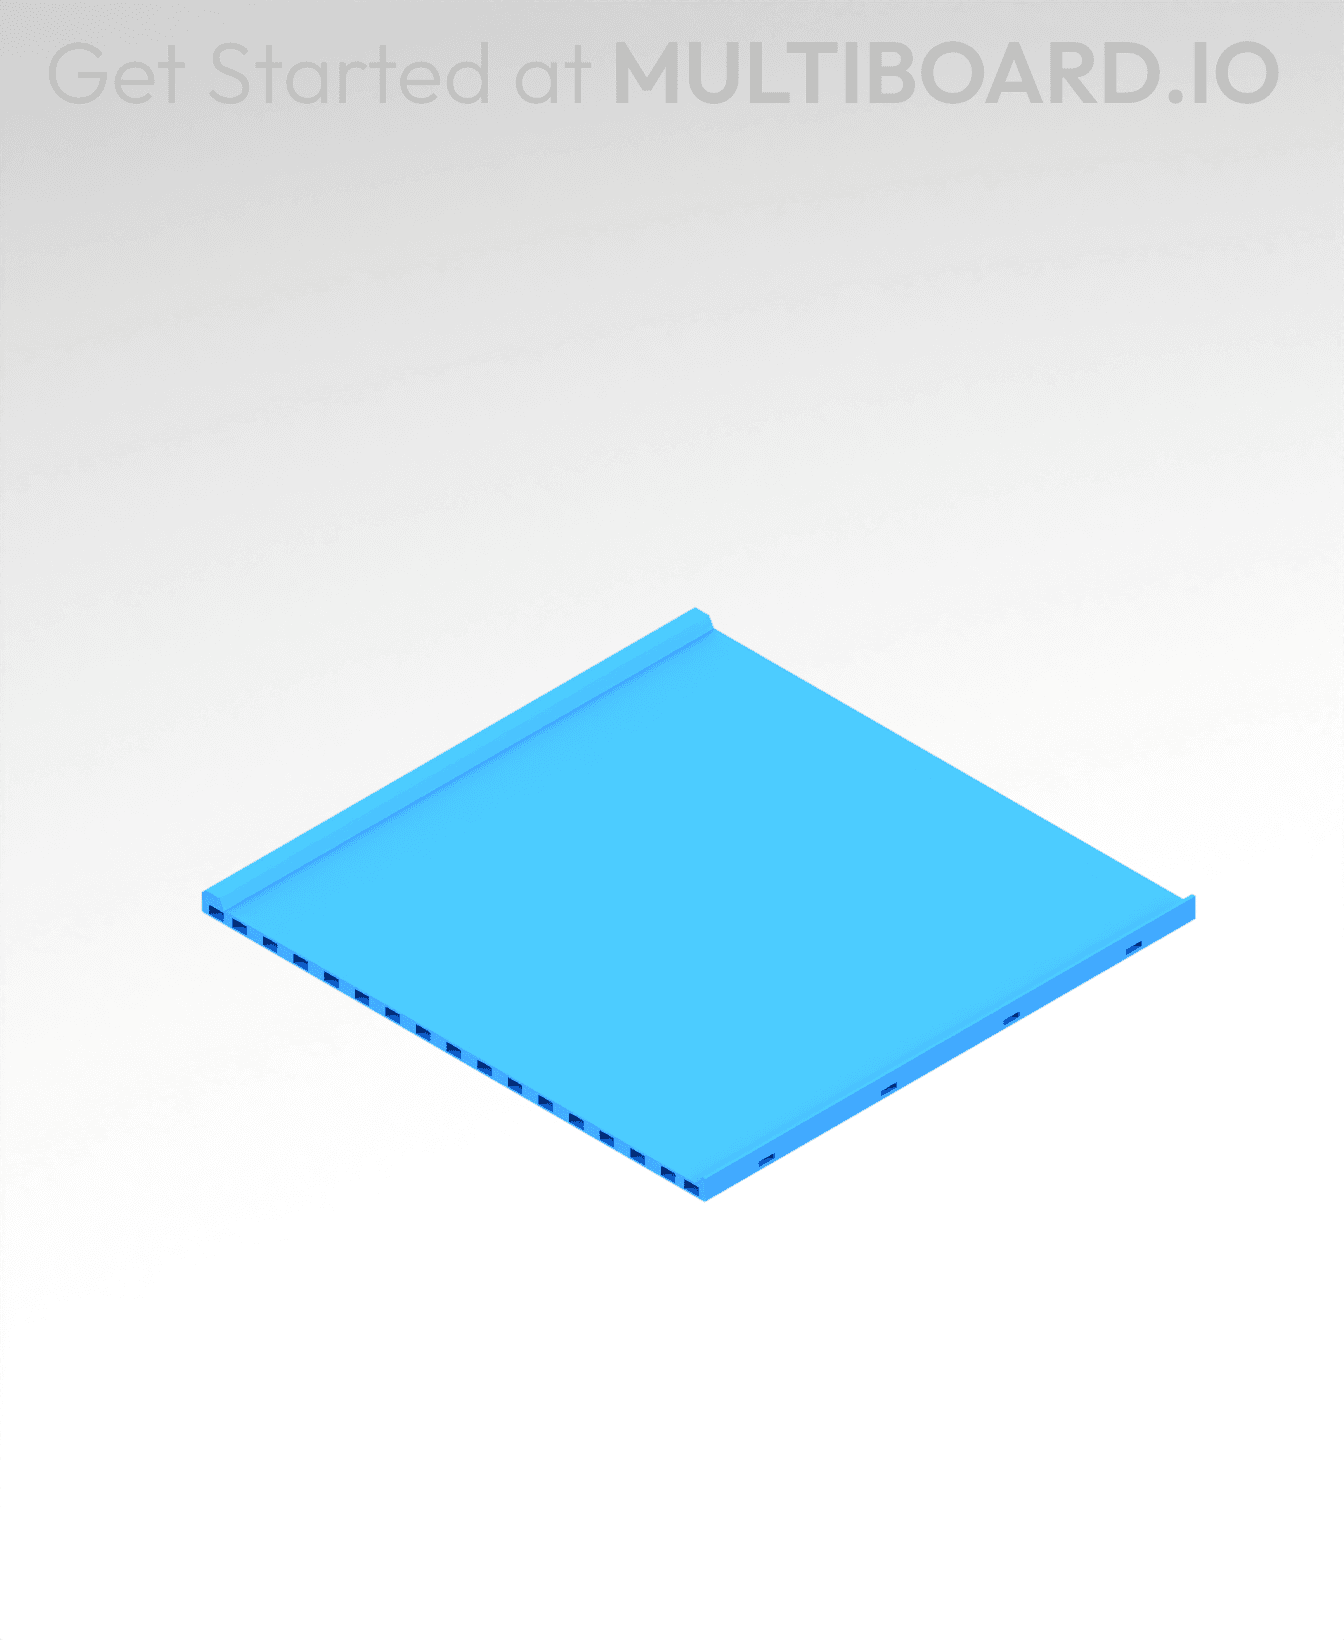
8x8 MU - Center - Modular Bolt-Locked Shelf
2x4 MU - Right Support End - Modular Bolt-Locked Shelf
4x6 MU - Center - Modular Bolt-Locked Shelf
2x8 MU - Left Support End - Modular Bolt-Locked Shelf
2x2 MU - Left Support End - Modular Bolt-Locked Shelf
8x2 MU - Center - Modular Bolt-Locked Shelf
8x4 MU - Center - Modular Bolt-Locked Shelf
2x4 MU - Center - Modular Bolt-Locked Shelf

2x8 MU - Right Support End - Modular Bolt-Locked Shelf
8x6 MU - Center - Modular Bolt-Locked Shelf
2x8 MU - Center Support - Modular Bolt-Locked Shelf
Is there not a dual and quad version for the flush snaps, like with the raised? I feel that having just a single flush in everything when mounting it to the wall will make it substantially weaker/less weight-bearing. Especially the quad. Having a 'tight' quad part B really locks the 4 tiles together nicely.
If you think about it that's not actually even possible to make. Because if the snaps were connected in any way then they wouldn't be flush anymore.
Oh duh... how did i not think about that? Haha. I guess they'd need to be "low profile" and not actual flush, but then at that point it'd be the lesser strength of the flush while still having an interference when trying to mount over it, so quite pointless/redundant.
has anyone encounter an issue with these snapping into place? it seems i might have a clearance issue. im using creality slicer and all the recommended settings
yes really bad fit
Yup. fit is horrible. I've broken ~80% of mine trying to get them snapped in. :/
I'm convinced there is a correct orientation to these. At the beginning i was having the same issue where I broke a bunch. Then when one side would either push in too quickly or wouldn't push in at all, i started to spin them and now they all fit. It's snug and my fingers hurt but I've been able to get the last 20 to fit with none breaking (although some have some bend lines in them.)
After reading through more comments I am apparently correct and the square on the A part should meet with the square on the B part. Information that is not clear anywhere on the Multiboard knowledgebase.
Crazy that they’re charging membership fees for this system and you have to go to the comments to figure out simple stuff like this.
Doesn't he explain it in the videos?
Yes he does
You're a lifesaver.
After reading your comment, I did the same thing that you suggested and it worked like a dream. Thank you for this comment.
I did until I dialed my printer in a little better and used the install tool to make sure I was getting even pressure while installing them
Yeah. I'm tweaking my slicer settings to try to figure out where it's going astray.
Just printed 16 of these with some part A's. No issue getting them off the bed in the morning (printed over night), however they appear to be to thin so they keep geting a crack line across them whenever you try to insert/remove them, they're still functional but not very nice to look at at this point.
Going back to the normal part B's for now.
I've pretty much come to accept that these are single use and will get wrecked when removing them even with the right tool. I'd say it's acceptable given how fast they print up and how little material they require.
There are some tools on printables that will let you push the snaps in with even pressure all around the snap so that it won't flex and crack when installing. The multiboard developer has also mentioned making an official version of such tool.
Can you link to the tool you mentioned on Printables? I can't seem to find one for installing these. Lots of them for removing snaps.
Never mind found it.
This is the worst comment on a forum ever. "Never mind, I am good and I won't care to let others know"... https://www.printables.com/model/1286790-multiboard-flush-snap-pusher
Yup my bad I should have linked it as soon as I found it sorry.
I forgive you.
Greetings from someone who appreciates you!
Ok so now it's my turn to ask for link.. Wasn't able to find it.
just in case you missed it, someone else replied with the link on printables.
They are very thin, meaning that if your mounts are slightly distorted from any sort of force on them (IE pulling on the mounts from two grids not being perfectly aligned but being forced in to the mount) then these snaps will essentially bend while you try and insert them. I've sort of accepted that, and you can use a rubber mallet to just smash them into place, it's fine. The bend is cosmetic really, as the flush face has no real structural value.
I understand the need for the thin ones, but I played around with them and even with the insert tool, they just aren't my cup of tea. They feel bad and I have changed my setup in my garage a few times and it would have been annoying to break/reprint them. I've worked around the raised issue well enough so far, so I'm also sticking to the raised and i'll revisit if I need.
I thought I would care more about the flush fit, but in reality I don't that much. I'll probably eventually replace all the flush ones with raised ones just for the extra cross-board strength.
Hi - I'm new to multiboard, so please treat me gently. I'm not clear from the comments what the alignment square does, I've not seen any guidance on this? Does this point upwards, like the arrows in the Part A?
I'll give these ones a try, but what is the alternative Part B that people are mentioning, as on Thangs it is only showing this as the Part B?
Thanks in advance!
The 2 squares are meant to be lined up with each other, the square on the Part B is really hard to see when printed but they are orientated in a certain way to make the threads line up. So if the square is on the left side of your single offset snap then have the Part B square also to the left.
I printed the standard fit ones and they are not the best so I am going to print the loose fit ones. Good thing about those they have 3 dots in the shape of a triangle which is much easier to line up
Letting the build plate cool and having them pop-off by themselves worked the best for me. If you try taking them off while the bed is warm, it'll bend. Putting the build plate in the freezer also worked. I'm using a Textured PEI bed at 65C with PLA
Same result as others - had been spoiled by every multiboard.io item being so well tested, that I assumed this too would print perfectly on my Bambu A1 (using the same PETG that I always use). These were nearly impossible to get off the plate, and all of them broke. Could possibly be improved with using non-standard print settings, but given it's a core component, I decided to stick with the originals until a fixed version is released. In my case they would still work if face was a bit thicker.
My Ender 3 has crazy plate adhesion. I found that letting the print cool down completely works best.
Getting these off the build plate and remain usable is a challenge. To get them off and actually look decent is likely beyond my skillset.
It seems that I had pigeon holed myself into thinking textured pei solves everything. Eventually, after some trial and error, I found that smooth pei with a glue stick works rather well with these.
I'm really not a fan of these, around 80% of the snaps broke while being pushed in, idk maybe im doing something wrong, but the old snaps were far stronger.
There are four versions in the download.
Which one should I use for what?
There are four differently named .stl files in the download, but they all appear to be the same? For something they make you pay for, the documentation is sorely lacking.
I found this in a Reddit post. Loose (0.65mm): These offer the most tolerance. Standard (0.5mm): The recommended "middle-ground" for most applications. Tight (0.25mm): A very secure fit that is difficult to remove, ideal for heavy items or areas where you don't want accessories falling out. Permanent (0.15mm): These are designed to be essentially locked in place, with very tight tolerances. They are often impossible to remove without breaking the snap.