


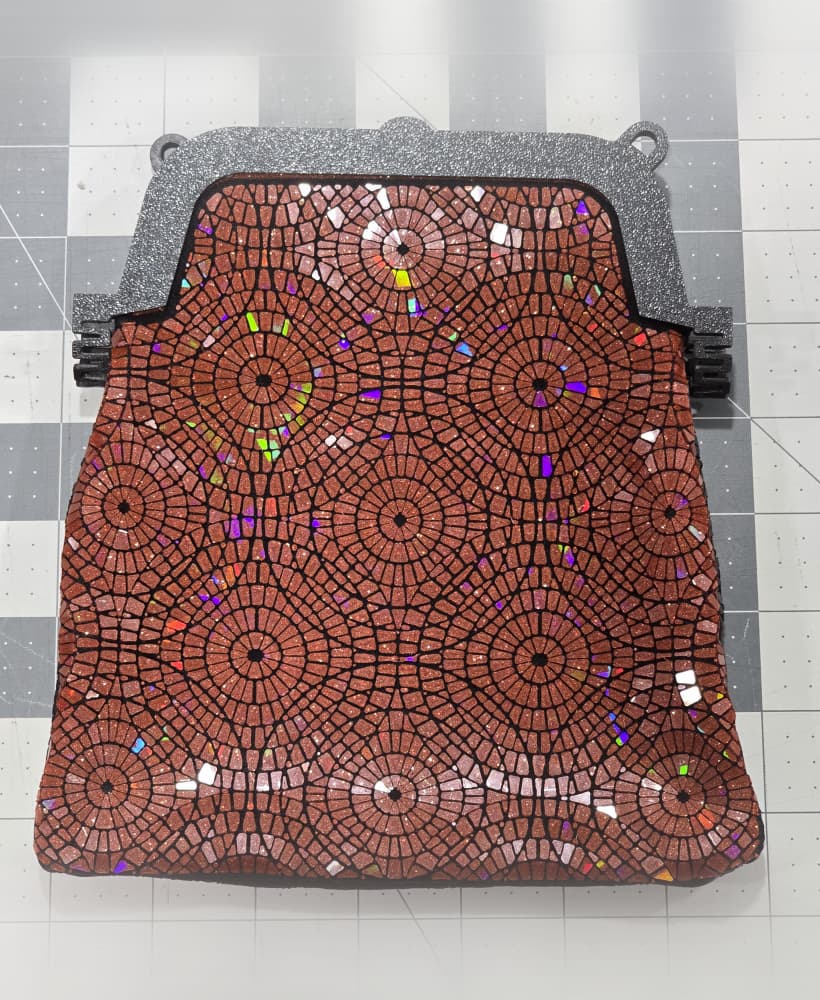
Polka Dot And Square Pattern Clutch Bag
Set the first layer to 0.10mm for better color infusion (if you are using filament like Esun PLA-Silk Mystic ,whic i used.) For the rest of the print, set the layer height to 0.22mm.
Add a pause at layer 3 to lay down the fabric and secure it with magnets.(https://www.amazon.com/dp/B096G9JN3X)
Add another pause at layer 16 to place the magnets. The magnet size is 20x10x2mm. When the print pauses at layer 16, place the 4 magnets for the lid.(https://www.amazon.com/dp/B0BMTZX4ND?th=1) Ensure all magnets are placed facing the same direction; otherwise, the lid will not close properly.
You can use the plate included with the file to cut the inner fabric of the bag (https://www.amazon.com/dp/B0BXSKQRZ4?th=1) Once the fabric is cut, place it inside the bag accordingly and glue it using Pattex Contact adhesive (plastic version) or E6000.
Before assembling the side parts of the bag, press the tip of a sharp knife into the hole to make an opening for attaching the D-ring. You need to pierce the fabric from the inside of the bag outward. If you try to pierce it from the outside in, the fabric might come apart—though I haven't tested this myself. It's best to follow the method I used. After making the hole in the fabric, you can super glue the side parts of the bag together. Once the bag is assembled, you will need these parts: https://www.amazon.com/dp/B0BM7D31RP?th=1 https://www.amazon.com/dp/B0CSN9CY8Y?th=1
I would like to extend my special thanks and respect to Kaizen3DPrints, who inspired me to create this model and allowed me to sell it as a model. I saw the clutch bag video on YouTube, and until that moment, the idea of 3D printing on fabric with an FDM printer had never crossed my mind. He showed me an entirely new ocean.
The video I added is the video of Kaizen3DPrints assembling the bag, and my version goes through the same steps. By watching his video, you can also assemble this bag, which will also help his videos get more views. The main reason I added his video is that my speaking isn't fluent. If I could speak more fluently, I would have made my own video. (At this point, I'm saving your ears from the pain)
Polka Dot And Square Pattern Clutch Bag

Polka Vase - Polka Dot Vase

Polka Dots Texture Roller For Polymer Clay, Dots Clay Texture Rolling Pin, Clay Tool, No: 1435
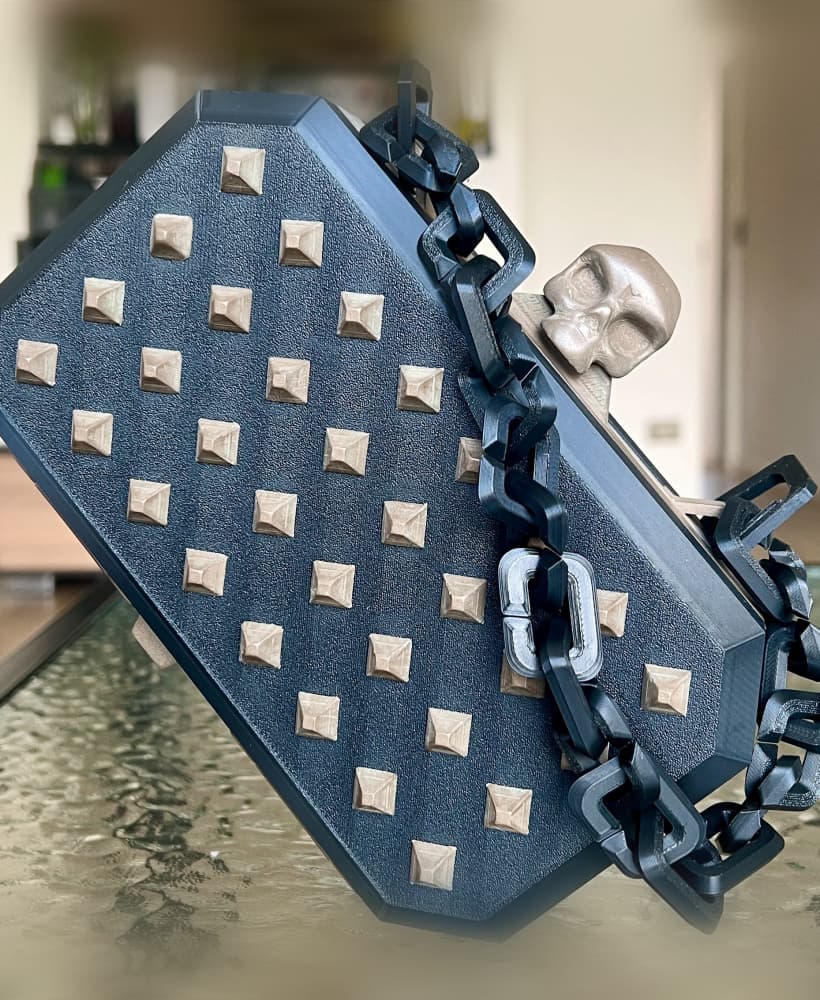
Skull Clutch Bag

Medium clutch / bag for A1 mini

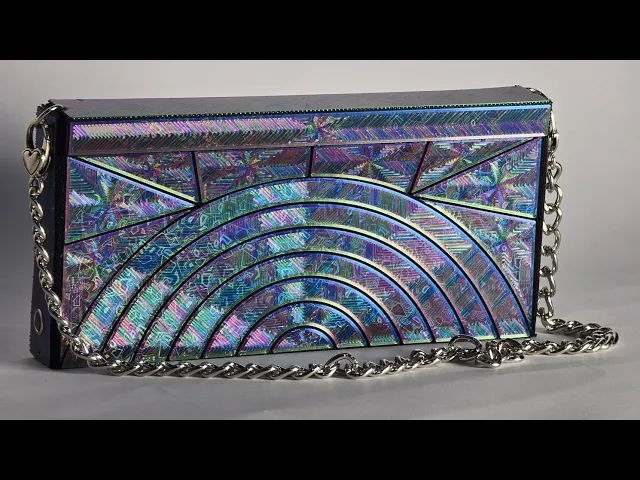
Clutch Bag
polka dot wall light

Fuzzy Polka Dot Planter

Polka Dot Heart.stl

Polka Dot Clover.stl
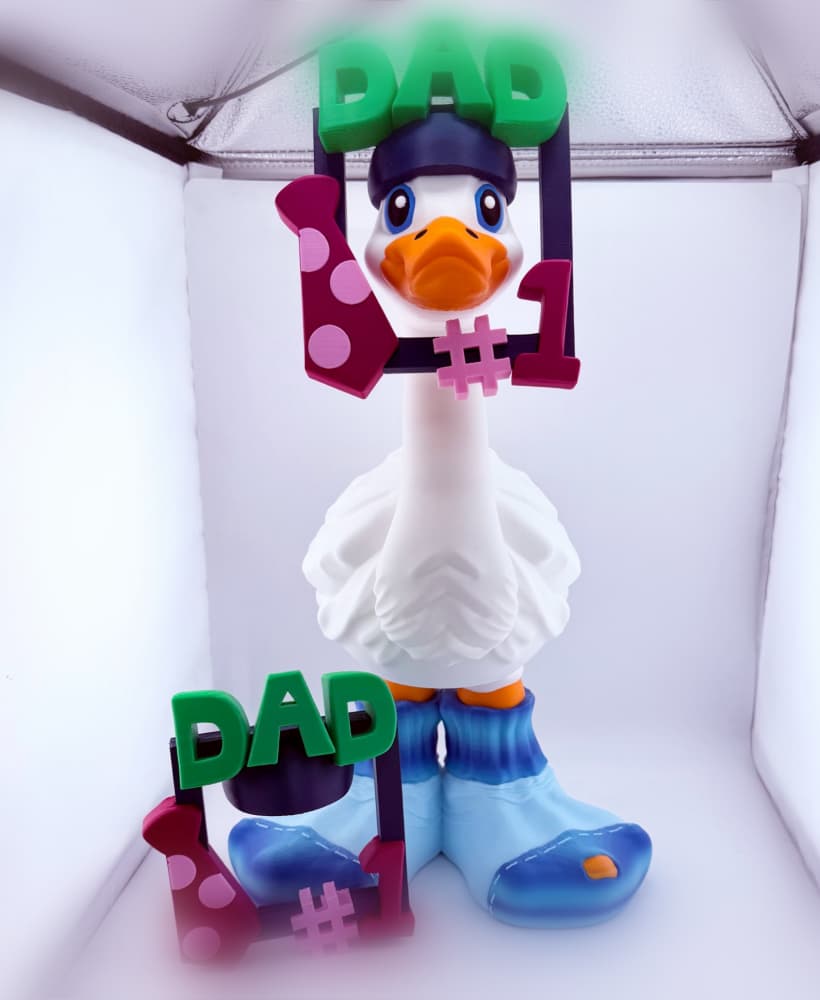
Number 1 Dad Goose Gear for Porch Goose
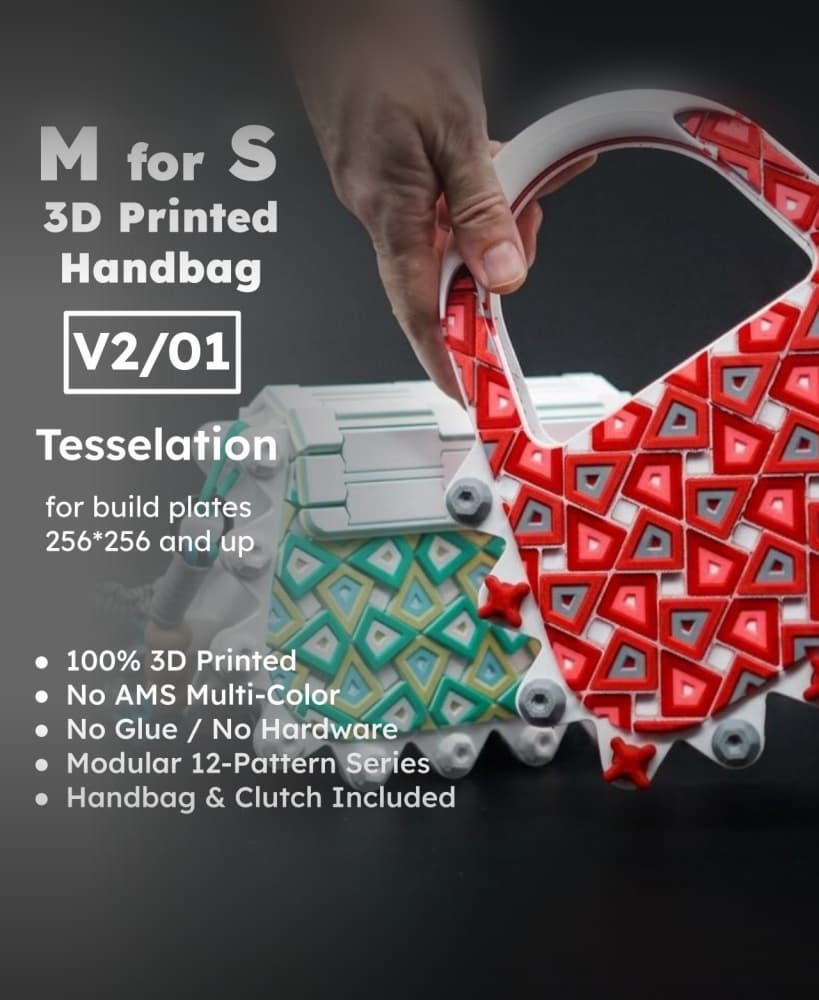
MforS 3D-printed Handbag & Clutch - V2/01 - Tessellation Pattern
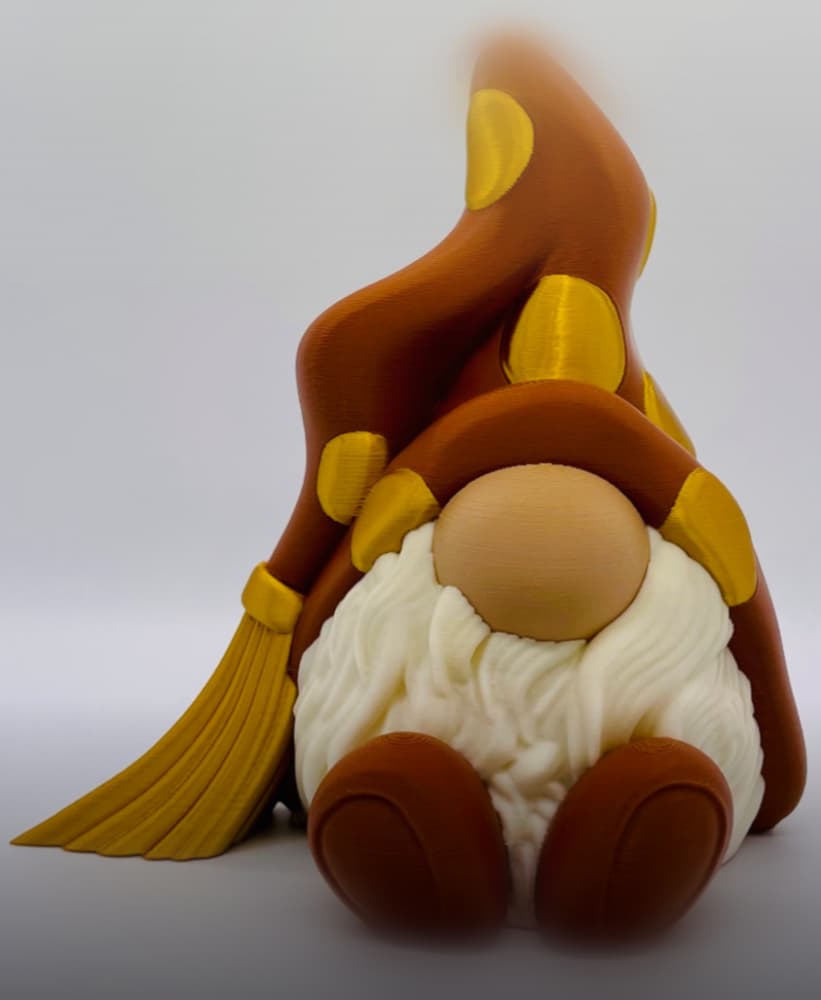
Fall Tassel Gnome

Plumage Vase - Layered Feather Vase

Large Square grid clutch
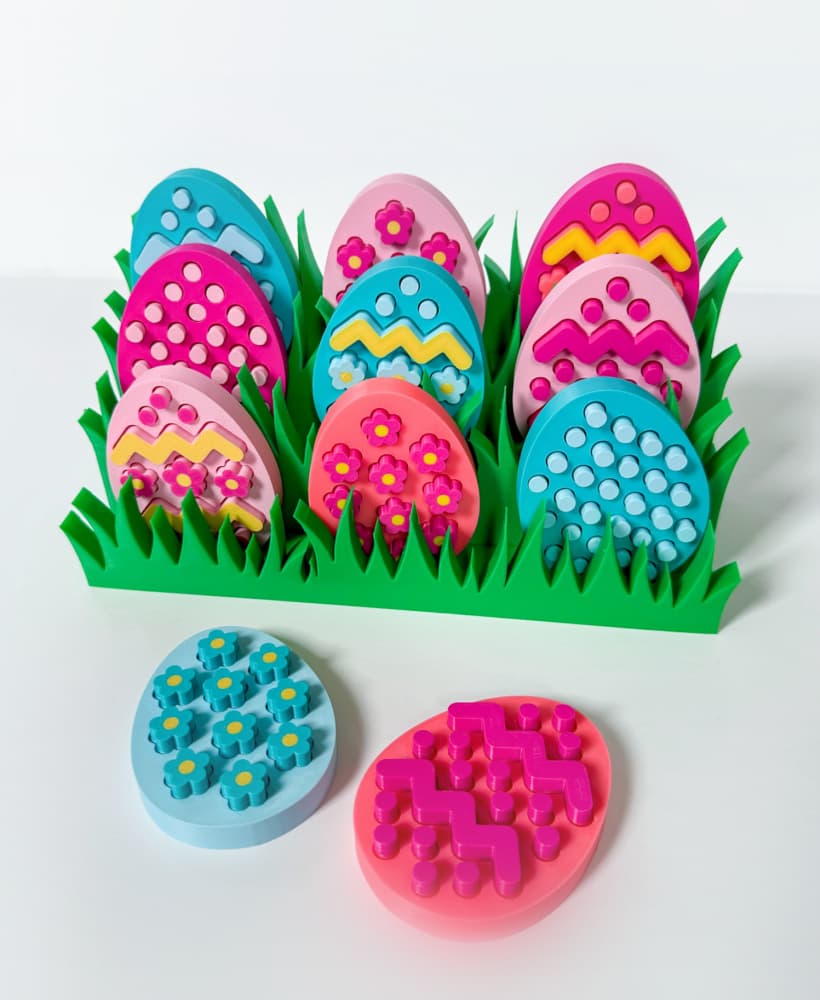
Easter Egg Fidget (2 Styles) plus Grass Display Stand

Small Square grid Clutch

Magnetic closure textile clutch
Large 3D printed bag with magnetic closure and living hinge

Snowman Ornament Set
