


Large 3D printed bag with magnetic closure and living hinge
I have just uploaded a kiss lock style here that uses the same negative part modifier as this one. https://than.gs/m/1462616
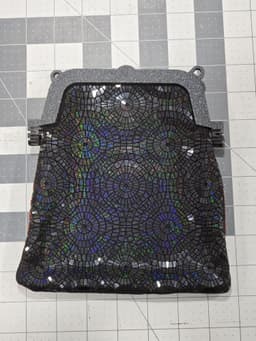
This is a large 3D printed fabric clutch with 3D printed hardware that has magnets embedded for the closure, and living hinges. I use 60mm x 10mm x 3mm bar magnets and a pause command to encapsulate them within the hardware. There is a second version that has been added which has chamfered edges to help with supports if the original version is giving you trouble. This is intended to be printed on a 256mm x 256mm build plate. The living hinges can be printed in PLA, but for ultimate longevity, should be printed in TPU. You can also print the hardware in PLA, but the hinge in TPU and attach them together for a hybrid finish. The 3MF has the pause commands, but if you are starting from scratch, here is the process.
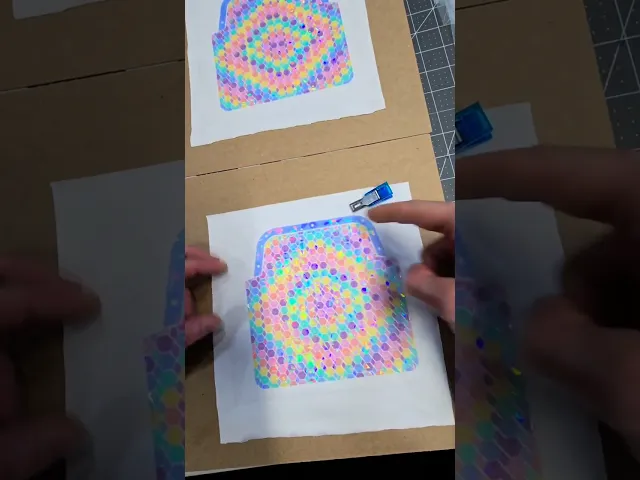
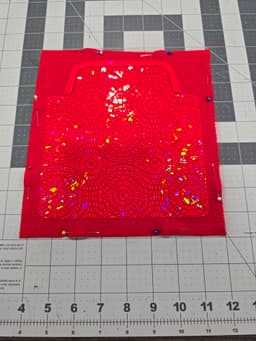
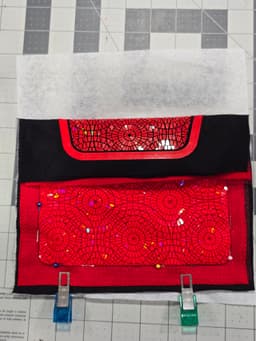
Open a base textile (the example photos are using the dragon con textile found here (https://than.gs/m/1368954), followed by modifying the textile with the included large clutch negative modifier. Center the modifier and verify it's scaled to 400mm x 400mm x 20mm, and it's z value is set to 0 (so it's intersecting the textile). Load in the textile clutch top STL onto the same plate, center, and move the Y value up so there is a uniform gap above the negative modifier (see PDF guides for an example). The last step is to add a pause command at layer 2, where fabric and magnets will be added. I print the hardware at a .2mm layer height, and the fabric at a .24mm layer height.
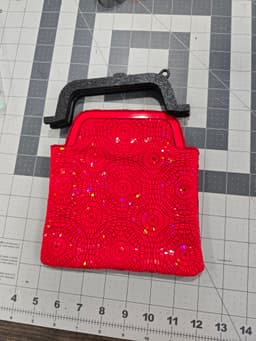
Print the included hardware at a .2mm layer height (.24mm first layer height), add a pause command at layer 41 to insert the magnets (a small amount of superglue may help keep it in place while it's being encapsulated). Remove the supports, and use some adhesive (I use e6000) inside the clutch hardware channel where the 3D printed textile portion slots into. Let it dry, and enjoy!
There is also a plain square grid version that you can start with before you attempt modifying other textiles.
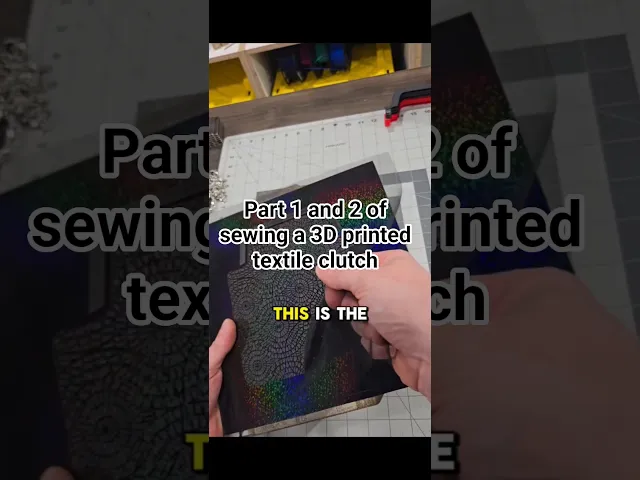
This requires basic sewing skills - a straight stitch and a zig zag stitch, a 3d printer, some mesh fabric, and about 30-60 minutes of assembly time depending on skill level. There is a PDF guide to show you step by step on how to print and assemble this purse, in addition to many other guides to help you further modify the design.
If you have any questions, please don't hesitate to contact me at Kaizen3DPrints@gmail.com
License Summary: Personal use only unless you hold a Commercial License. No resale or sharing of files. Selling printed models allowed only with an active Commercial License.


Large 3D printed bag with magnetic closure and living hinge

Spinning gear fidget ring
Flat band fidget ring

Large TPU foldover bag

Adjustable Strap (48"/122cm max length)

Small Foldover Bag
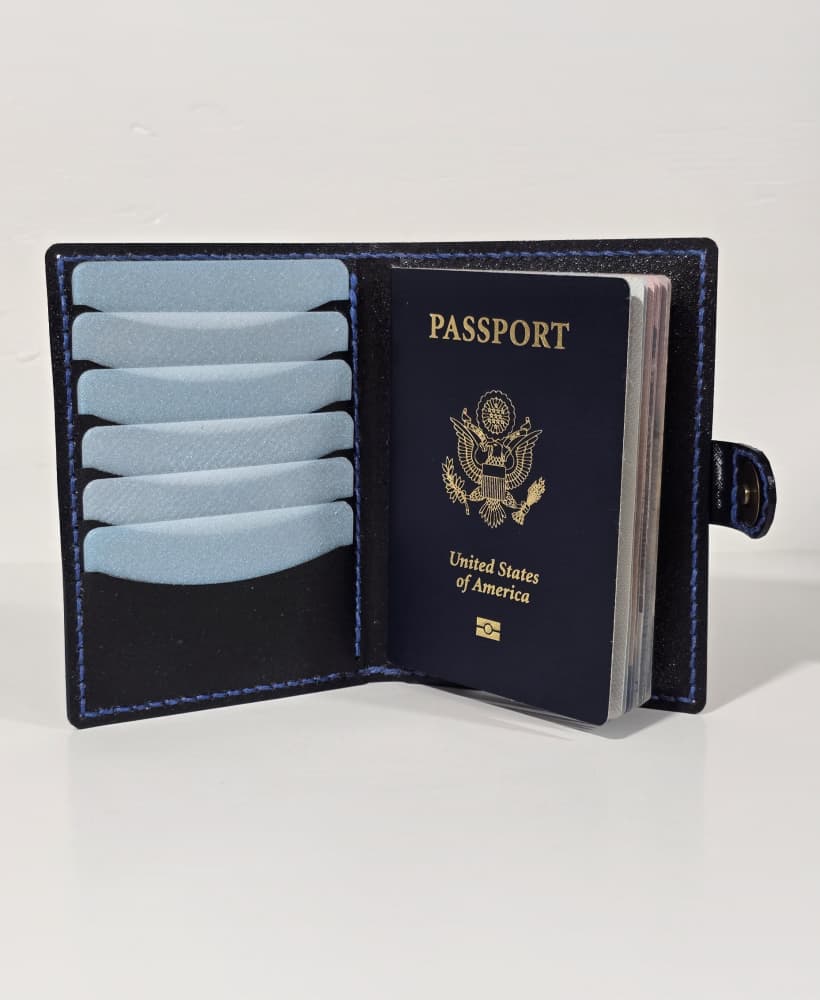
Customizable Passport Wallet

Tall TPU Bifold Wallet for sewing

Vertical Wallet for Chicago Screws

Square Grid Negative Modifier

Hex Grid Fabric Modifier

Heart Pixel Pattern Textile and Modifiers

Vertical TPU wallet with rivets and grommets

Flippy heart textile and modifiers

Foldable TPU bag sized for Snapmaker U1

Crossed Basket Weave Textile / Modifier

Thin Beaded Textile / Modifier

Magnetic closure textile clutch

Stranger Things inspired stained glass

Santa Claus Hat
