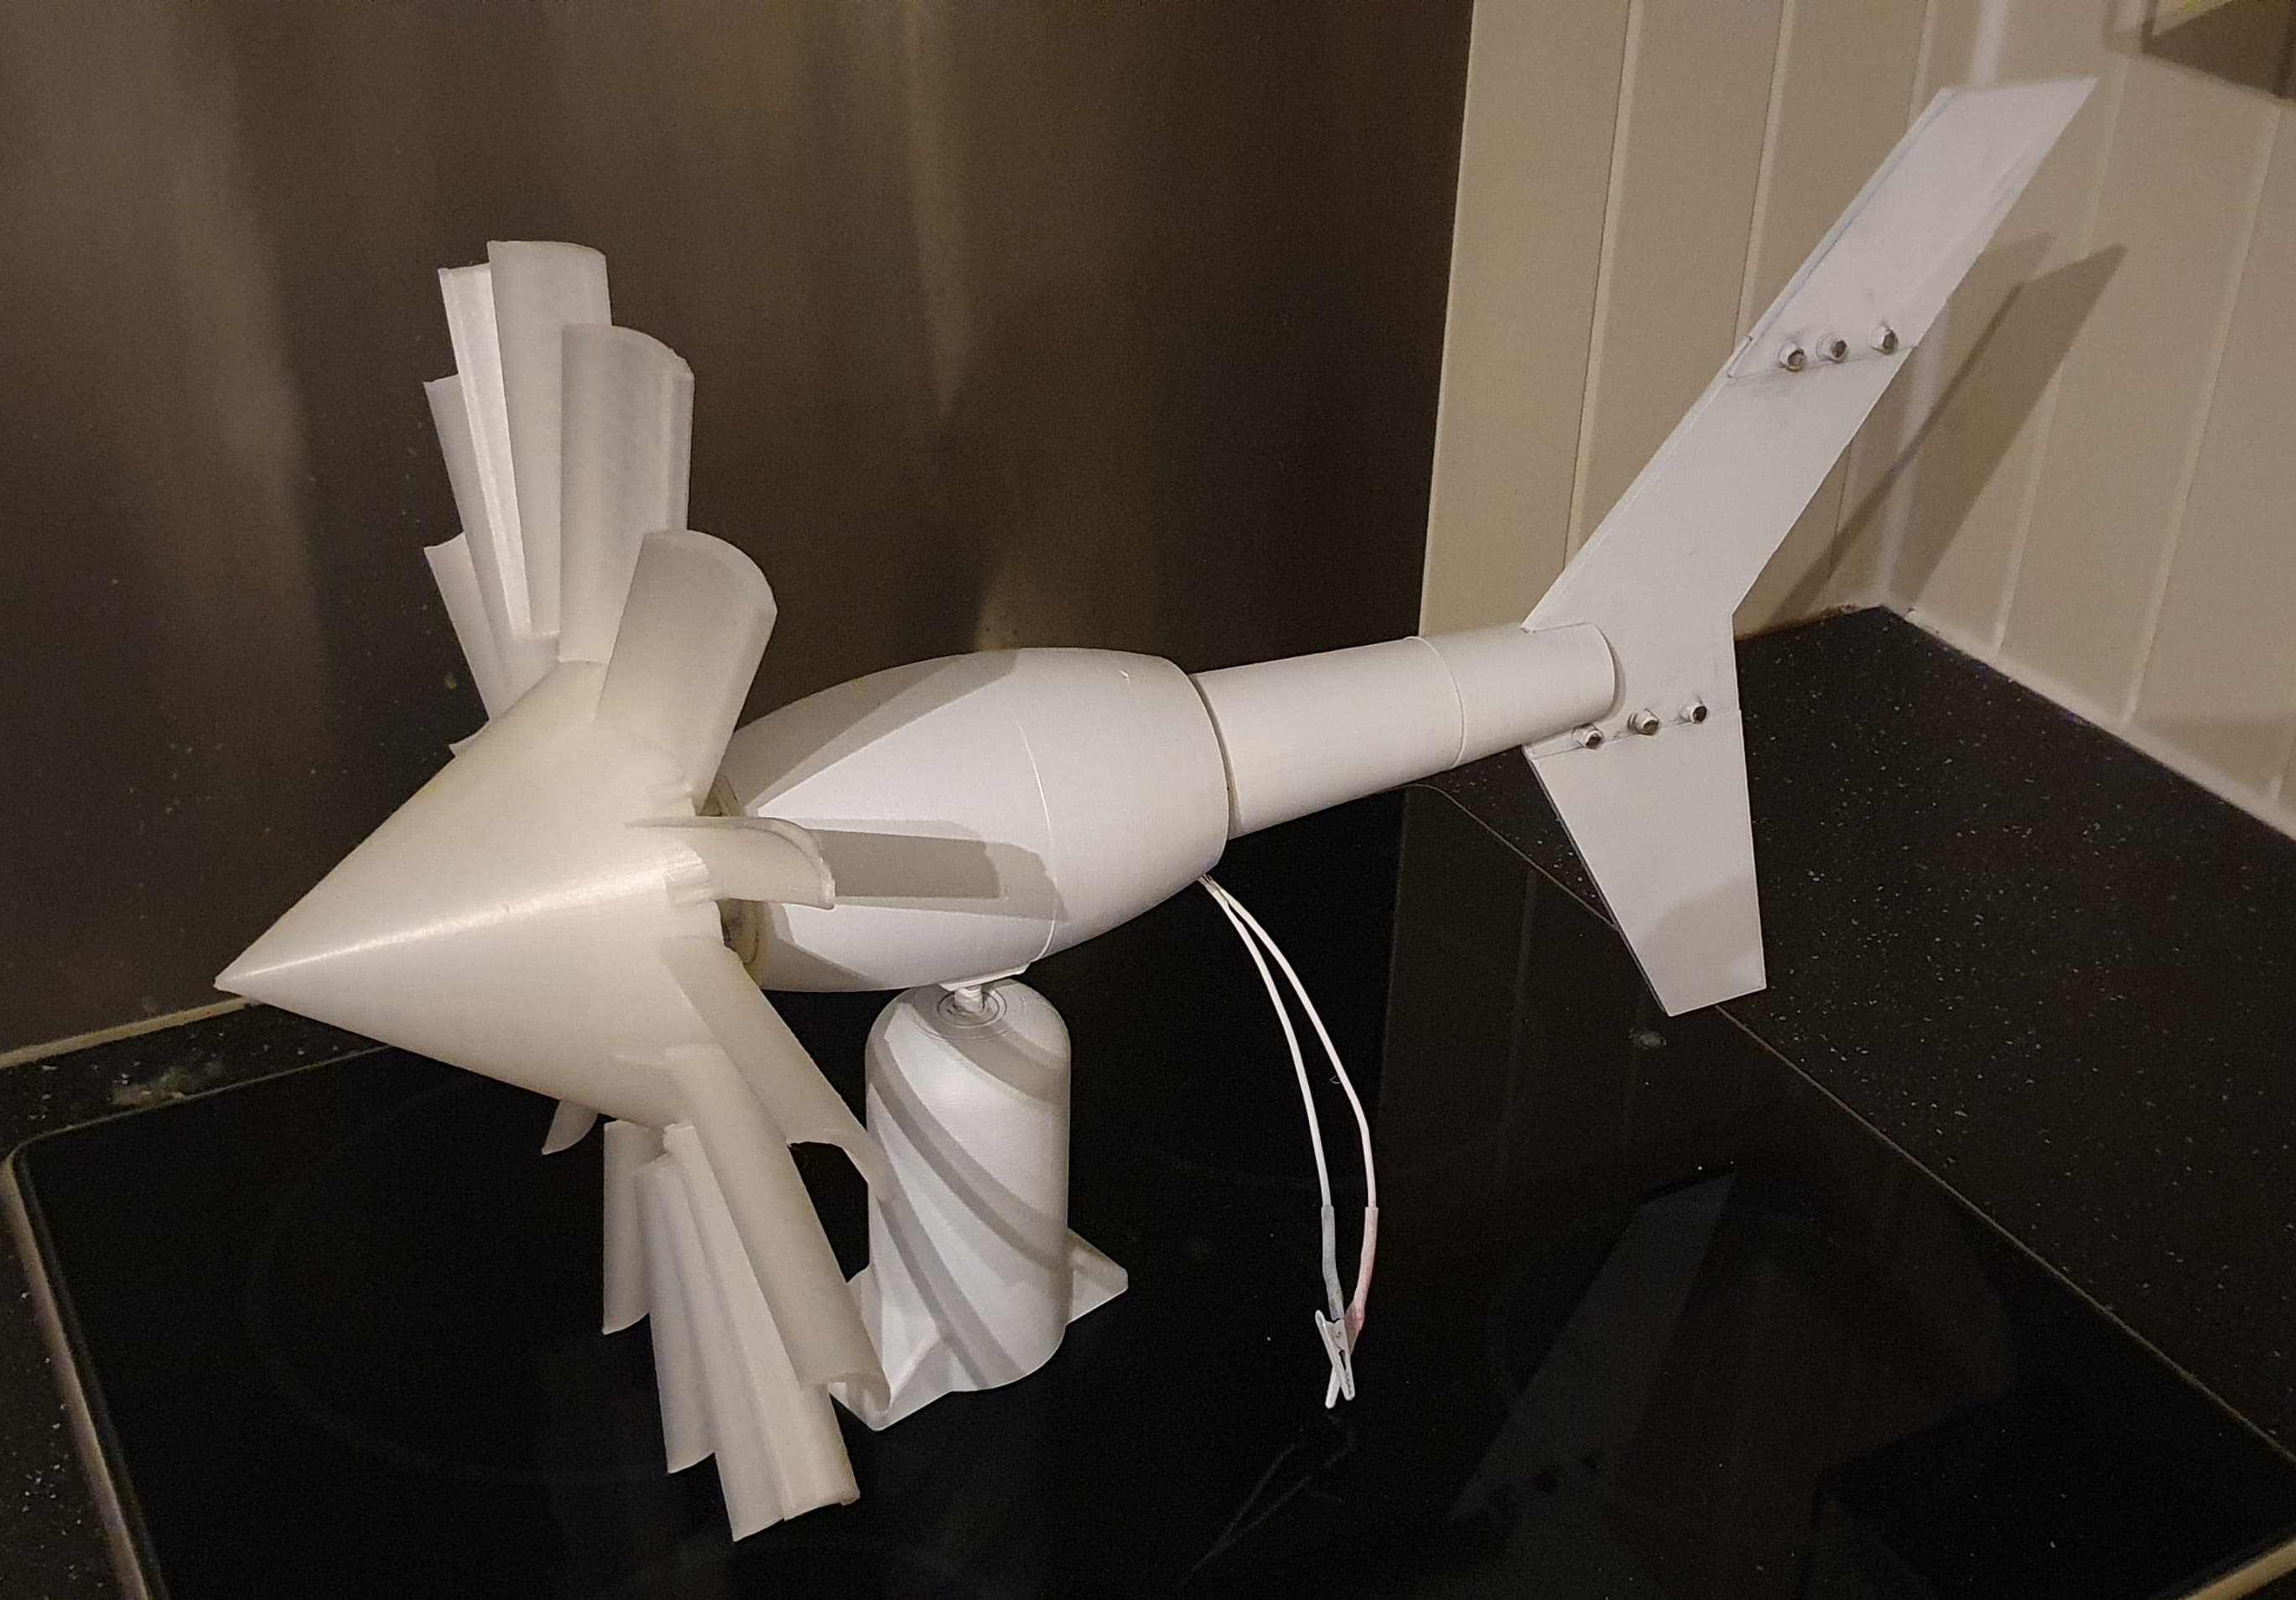
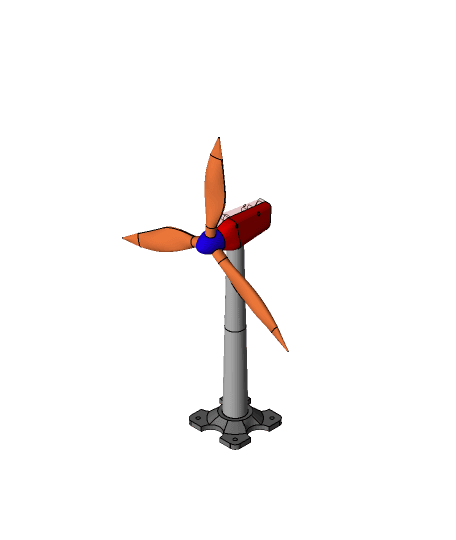
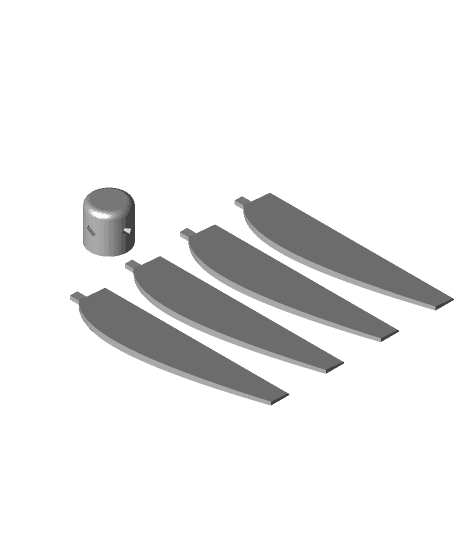
VAWT Vertical Axis Wind Turbine - Sinusoidal Blade using Pelton Effect
This is my best attempt yet at a wind turbine.... a small modular one that can generate 6v to 40v depending on wind, current yet to be gauged, it charges large ish batteries at present.
This is still in testing, but its up on the outhouse roof and it spins like fury, the magnets are pretty powerful, on a low wind day its over 6v, charging a 7.2v 5a battery, i left it 24 hours and was fully charged (RC battery), im playing with larger banks and buck converters now.
I need to get this project laid out better, with instructions etc, but for now its on here so you guys take take a look over it.
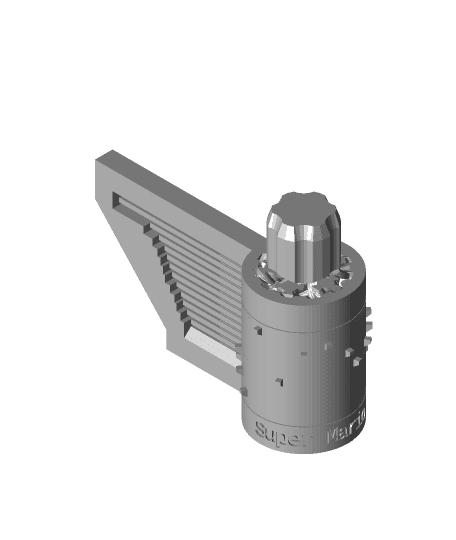
Its not tiny, stands about half a meter high, 250mm ish wide.
So lets give you some more information on this.....
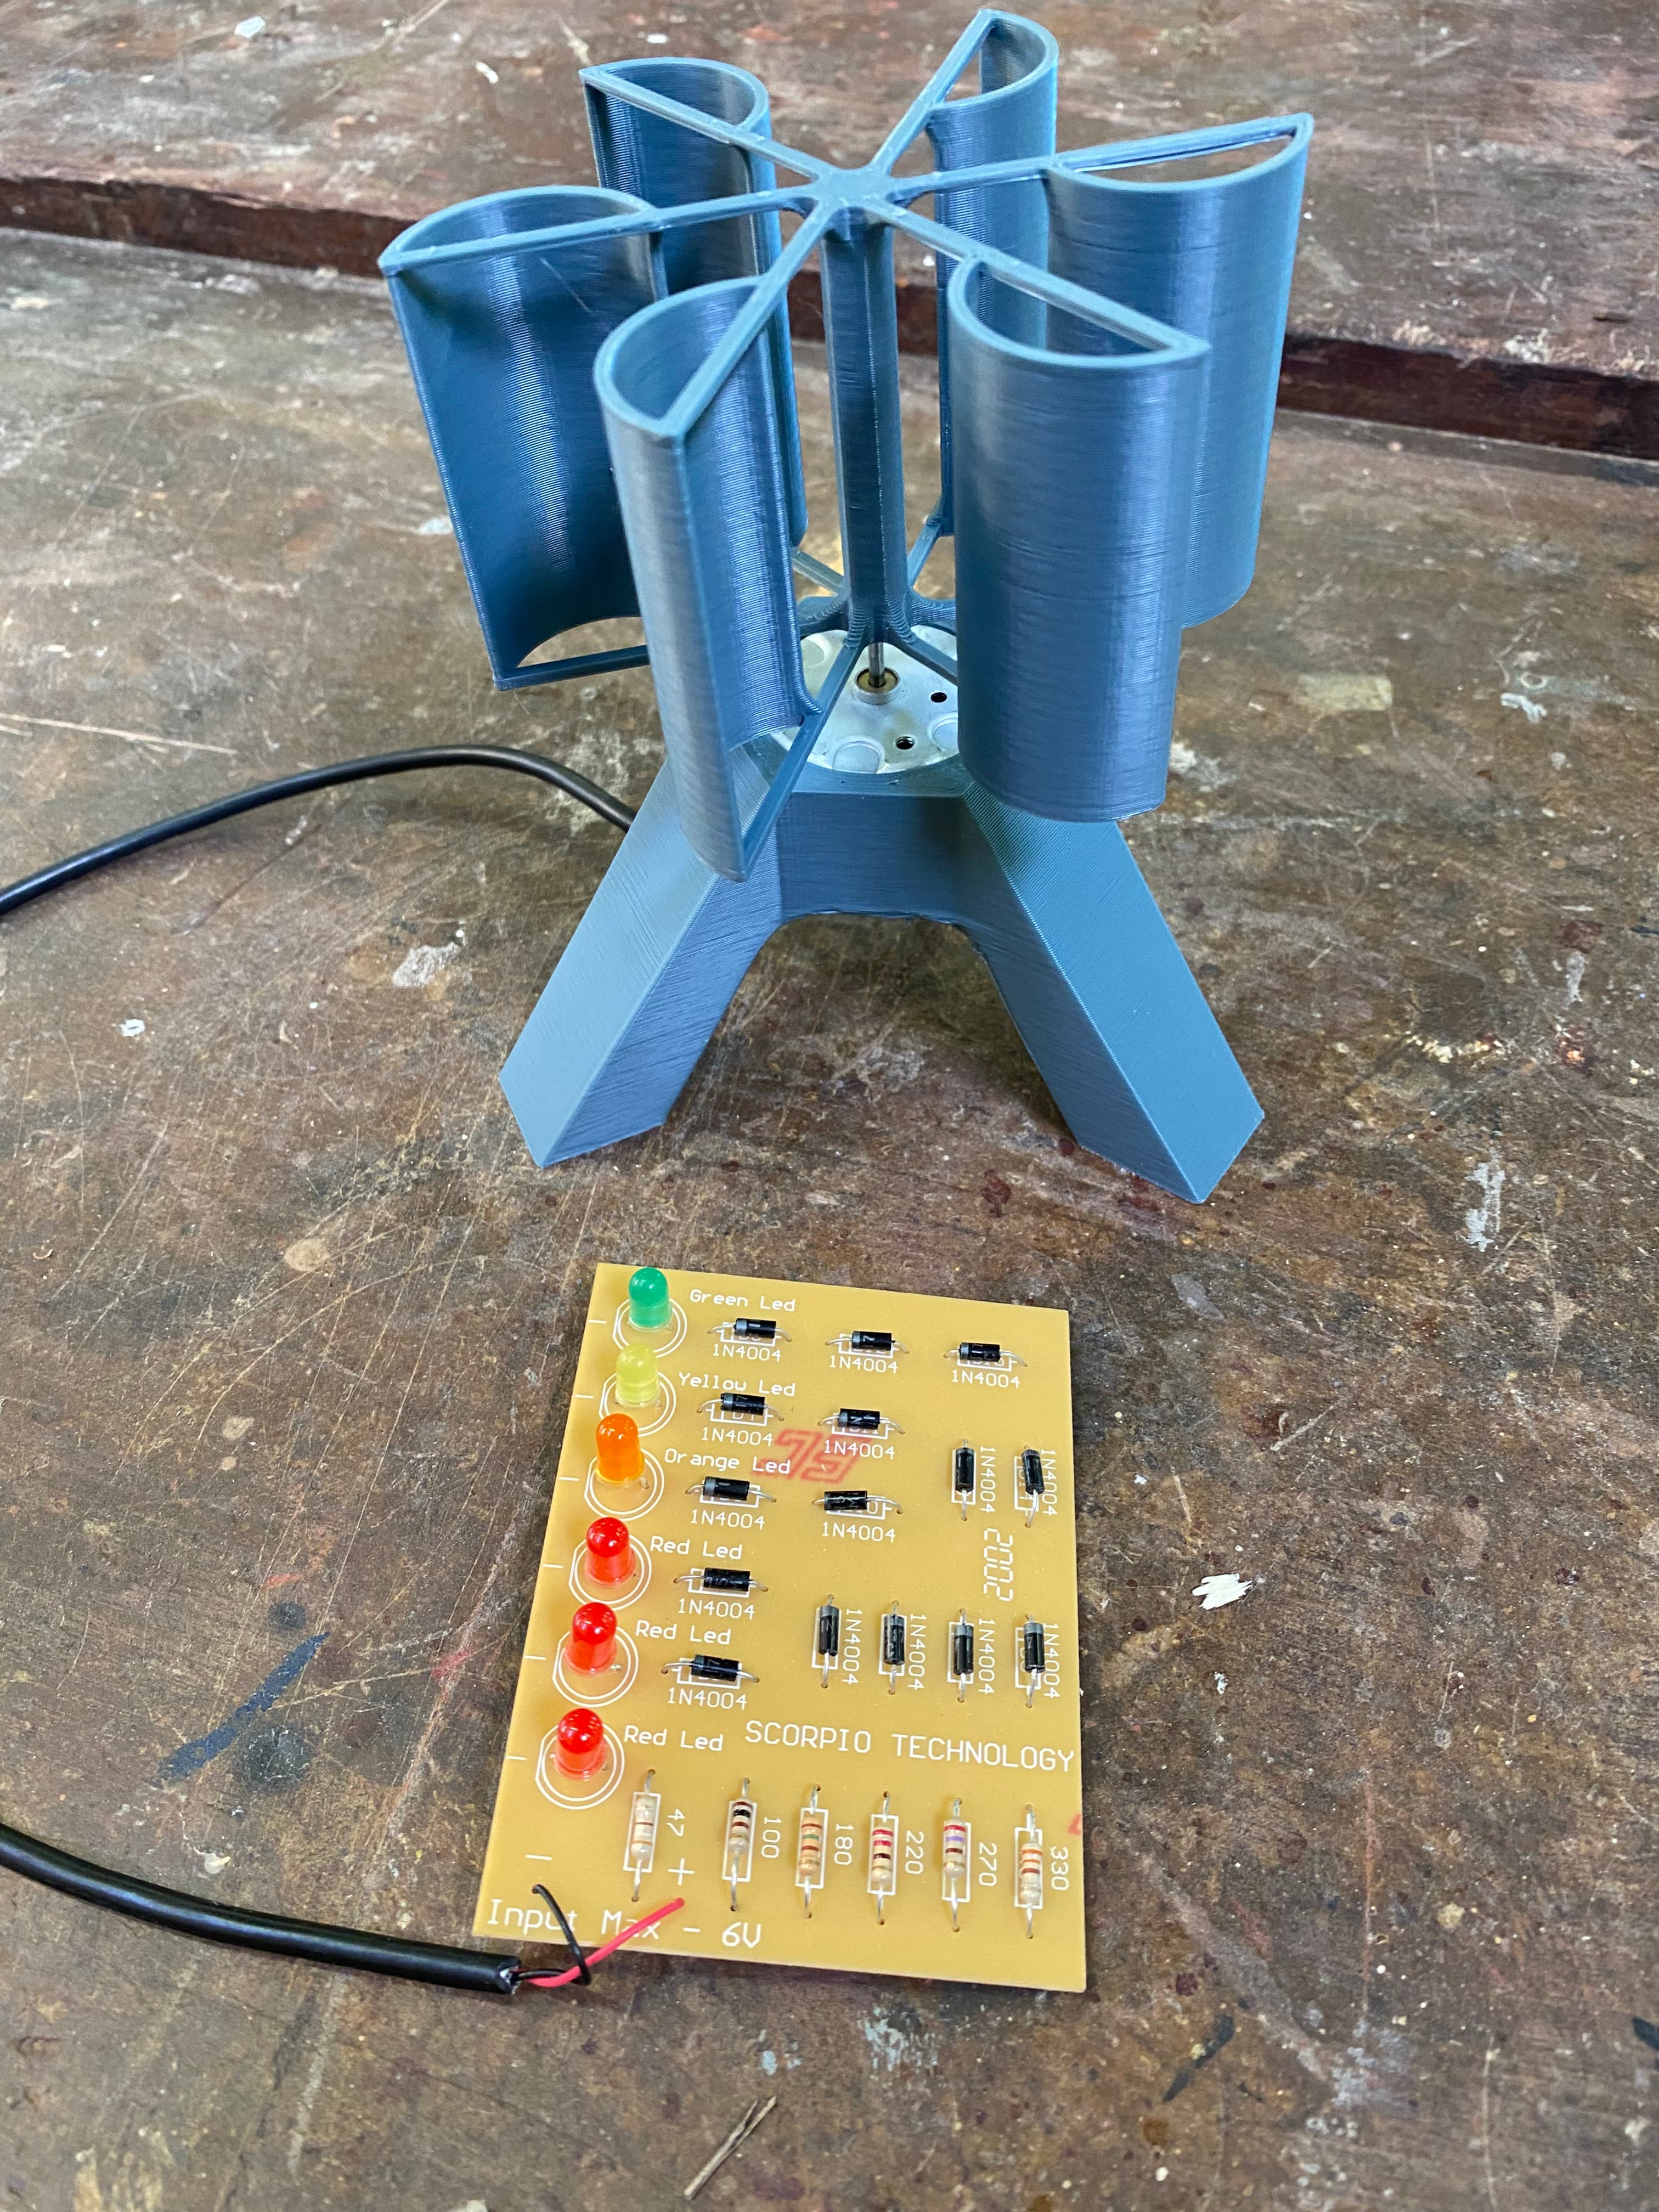
Latest tests show it to be pulling in about 50ma at around 8v for a low/med wind, i have it charging a 7.2v 10a battery stack with a boost converter permanently connected, its running through a simple 3 phase rectifier and a large cap before it gets to the batteries... The batteries then feed into the boost converter. this thing ran flat over 4 or 5 days with no wind at all, I came down this morning to find the boost converter on and going off now and then as the winds picked up here a little. The boost converter is pulling about 30-40ma, not converting anything but thats what its drawing doing its thing, and the wind is kinda sporadic as it dips and raises a little.
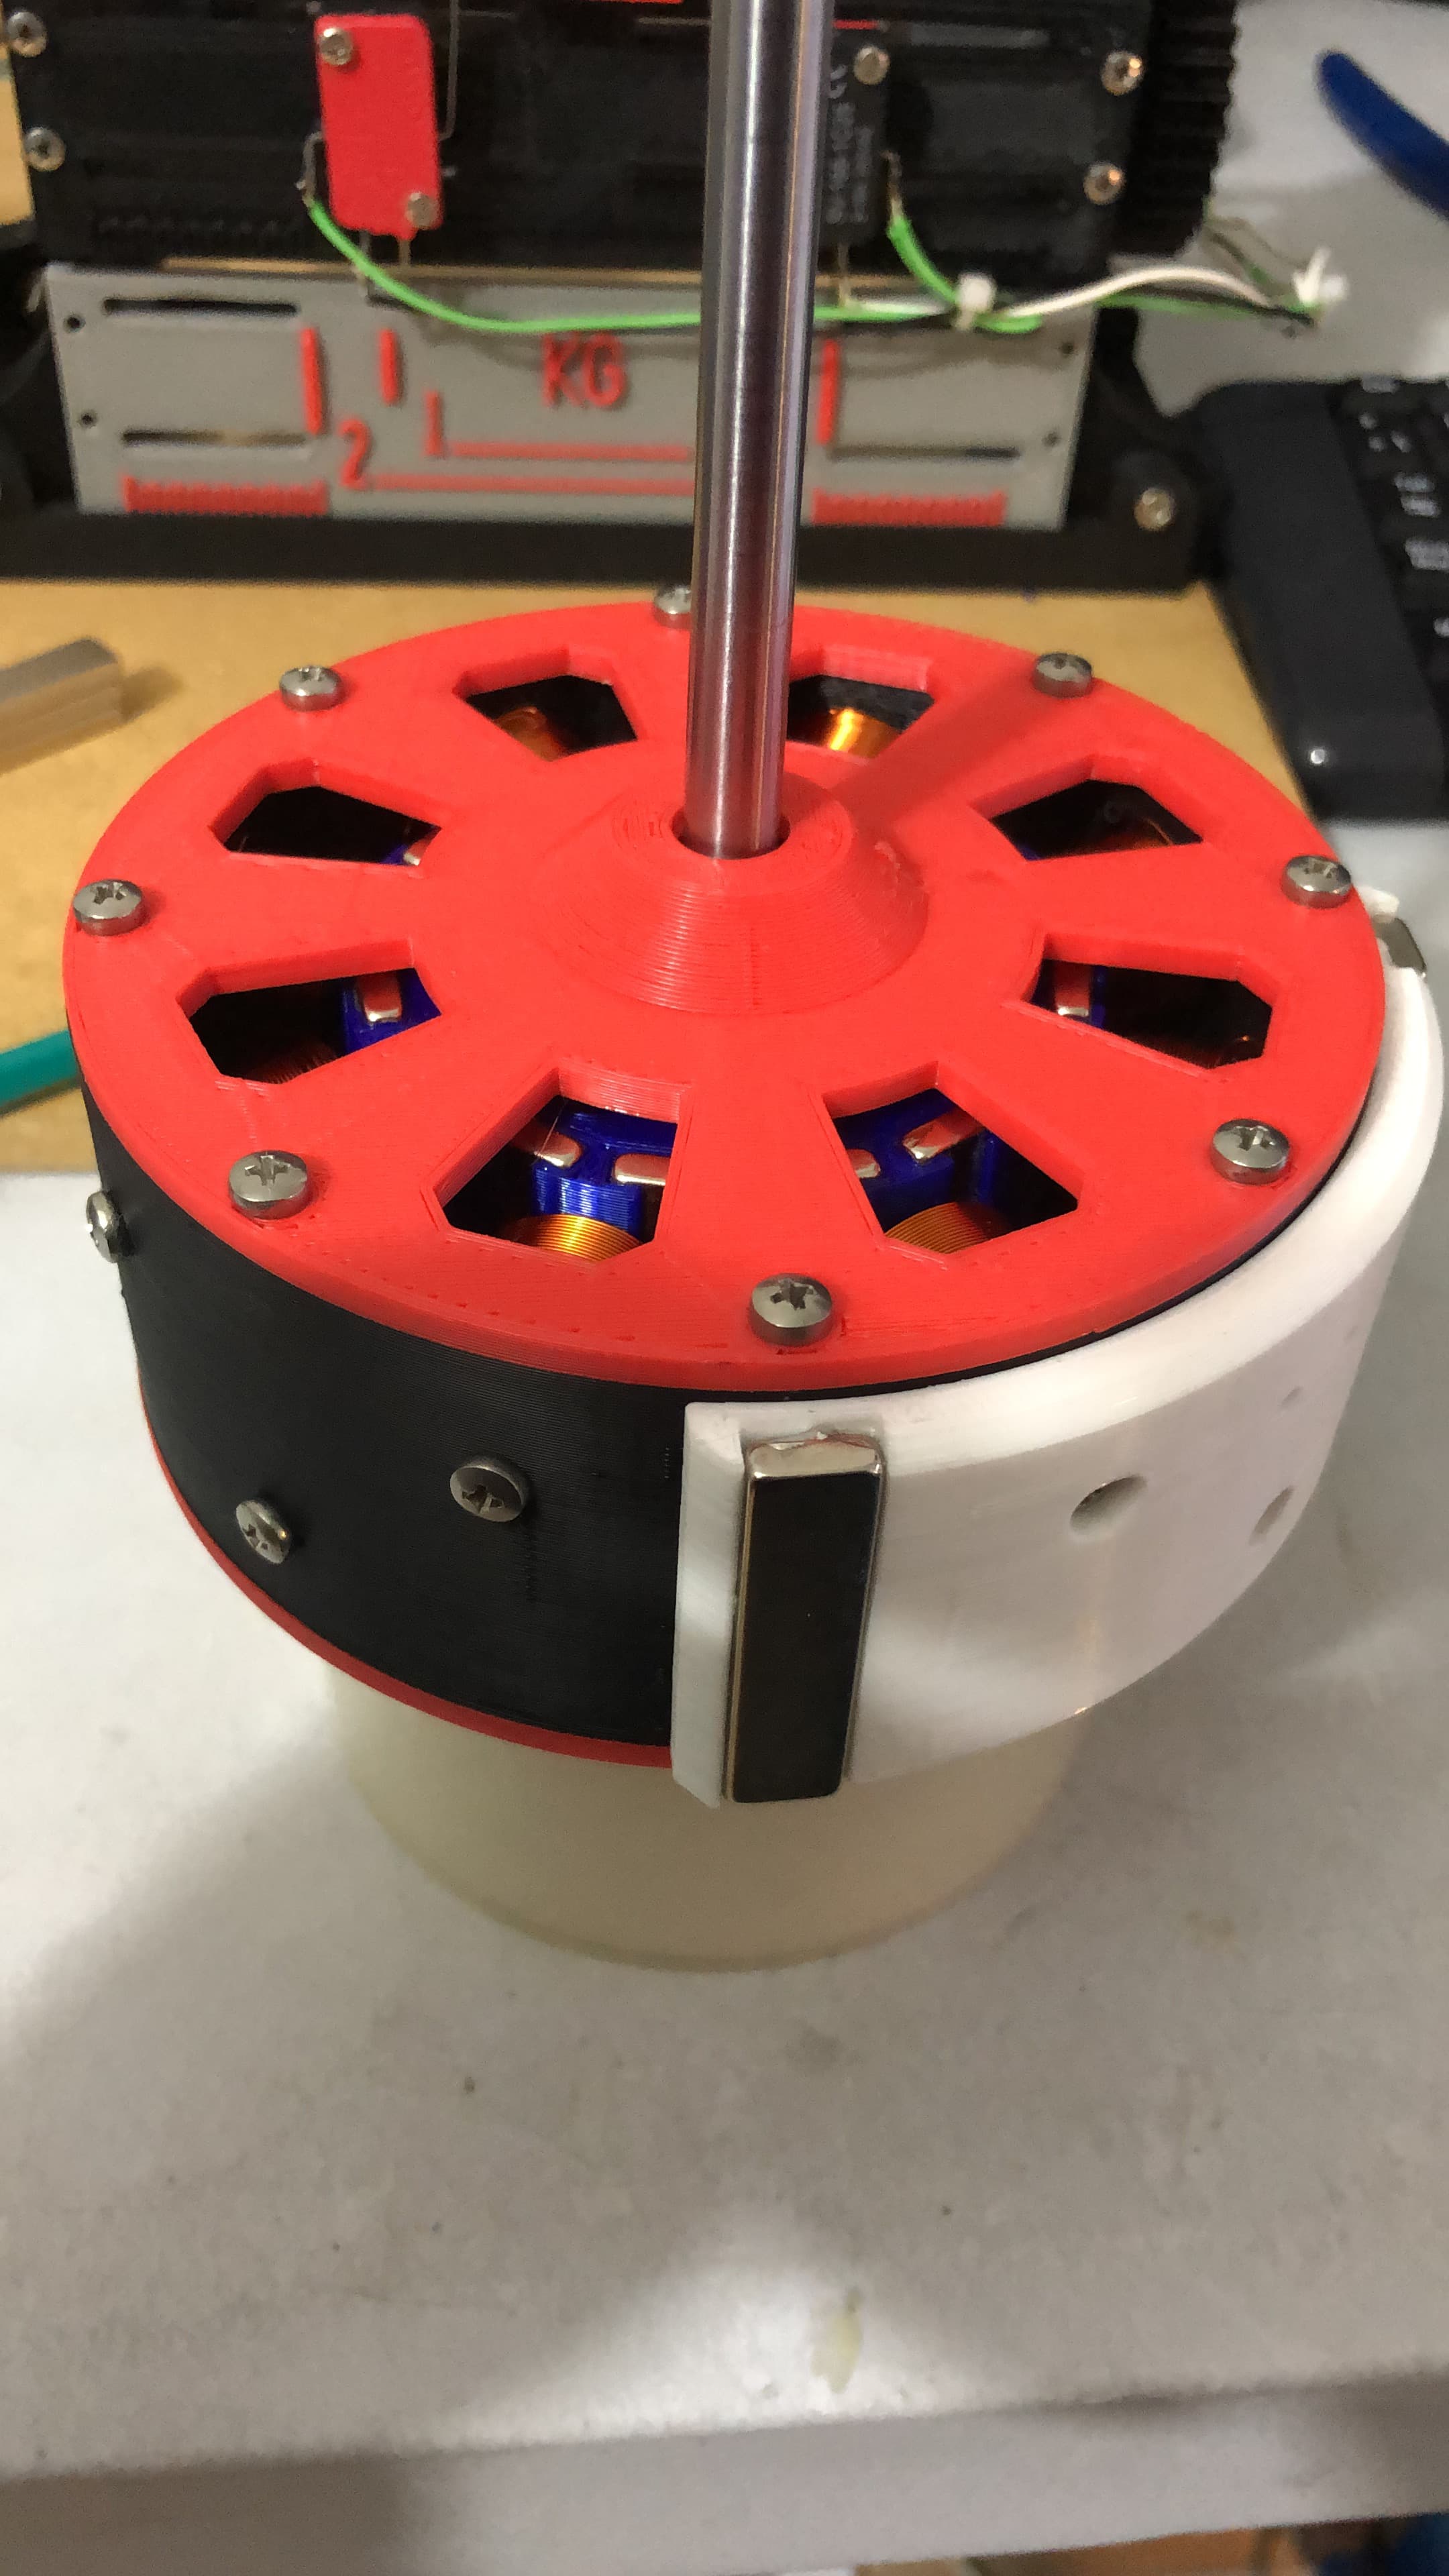
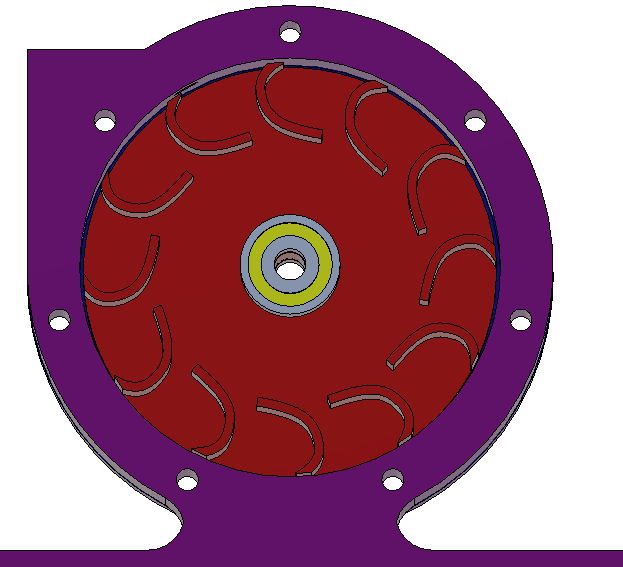
We have more options here, this thing was designed to be stacked, magnet rotor, coil, magnet rotor, coil and so on as much as you like. I am running this with two magnet rotors either side of a coil pack. you coild make a second coil pack and stack that too... two coil packs and three magnet rotors sandwiched. that would double your output.
Coil winding is important... we group the windings in 4's... daisy chaining them with the start being the phase terminal and the end being the common star join (so this gives us 3 single wires and the ends all connected together in star formation) as per photo. Coil winding direction is important, as is uniformed turns on each bobbin.
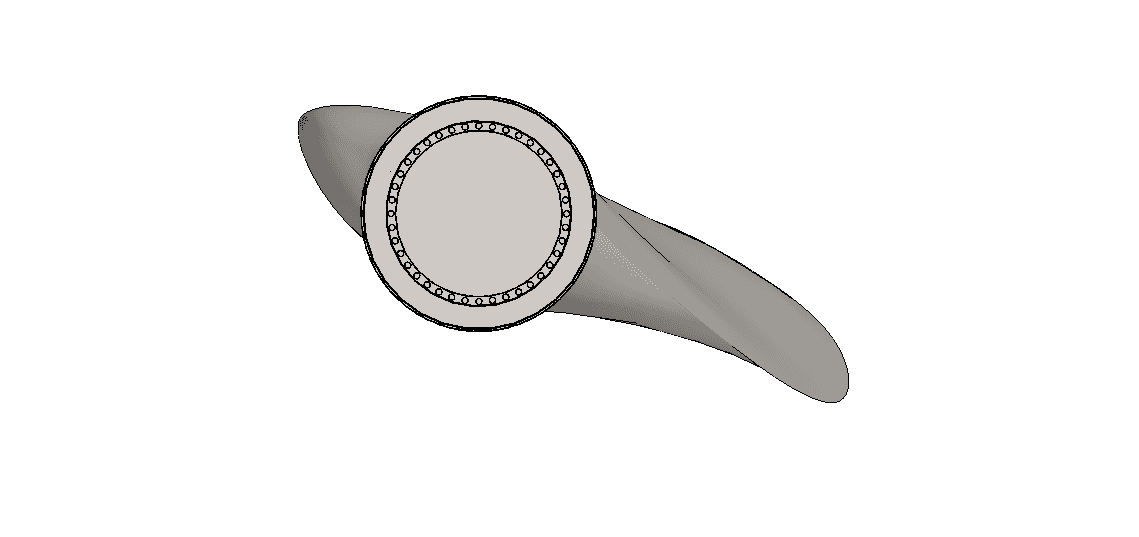
Magnet configuration is also important, as the magnets are paired to pull and push on opposite sides of each bobbin... but... we staggger the magnet pairs by a slot each time giving us 8 magnet pairs against 12 coils... now i did extensive testing on configurations to get the best output, and this works best out of all the formations i tried. See attached image. If you are going to use a second magnet rotor, one on top and one underneath, they need to be matched, so build your magnet rotors all the same and just stack them and line them up so the flux travels from rotor to rotor.. effectively the top rotor south should be facing the bottom rotor north which they will want to do naturally anyway. this added about 40% to my output... so another coil pack and rotor would increase again (you would then have two rectified 3 phase outputs)
I need to get this all better typed up but this should give you enough to go on.
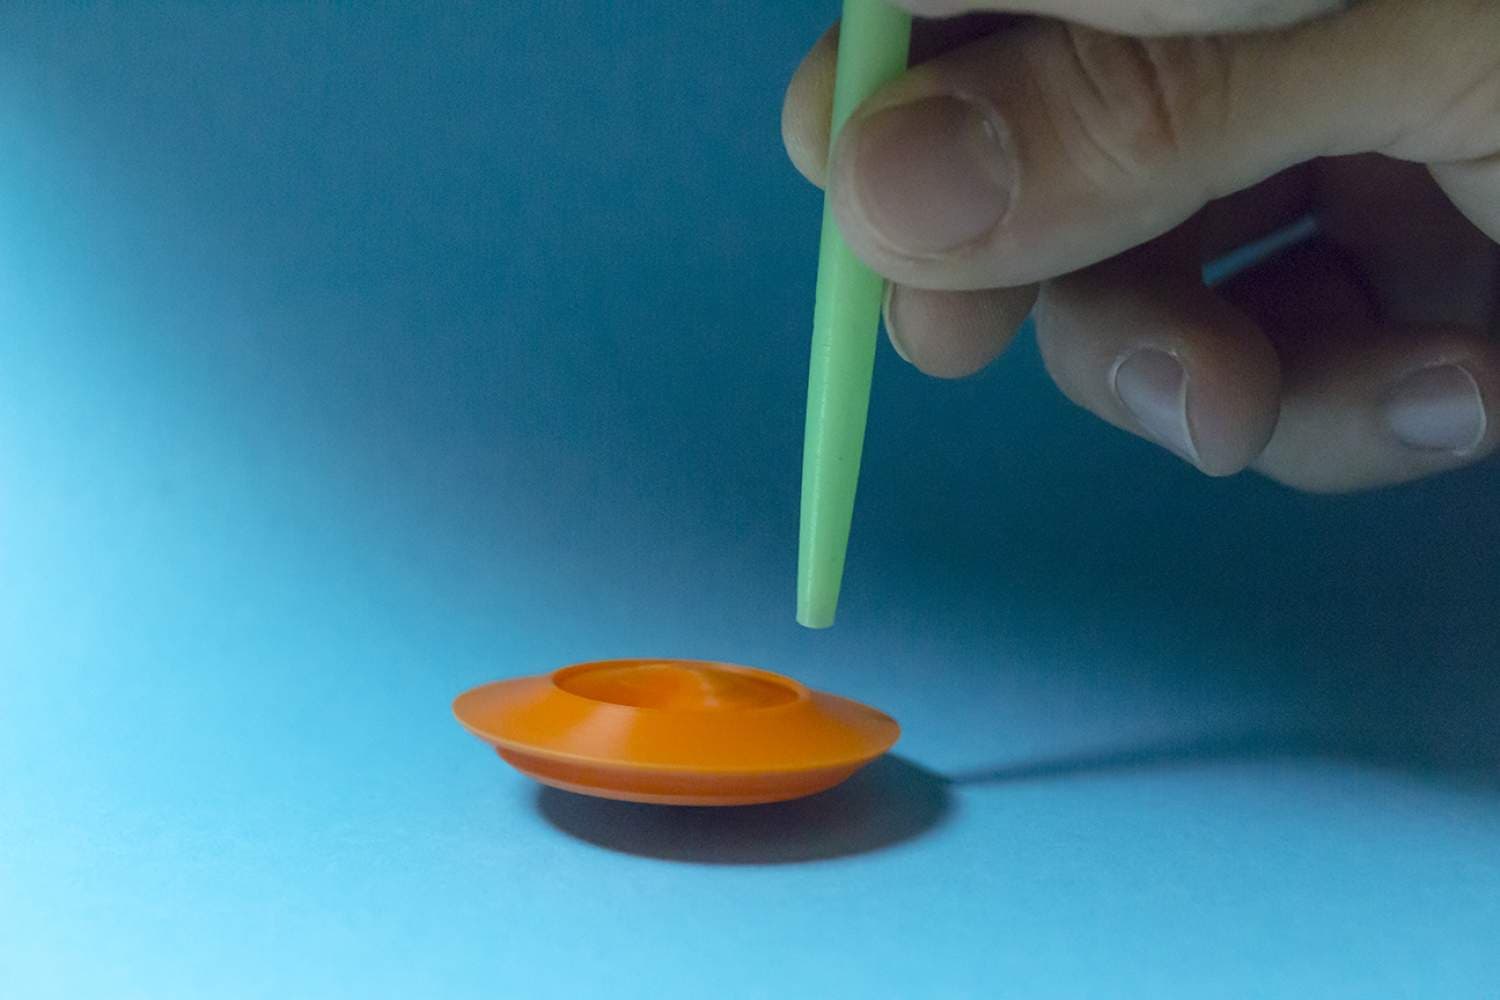
Bearings are standard skateboard bearings, and the magnets i used where 10x5x3 strong neo's
https://www.amazon.co.uk/gp/product/B0C28H23TN/ref=ppx_yo_dt_b_search_asin_title?ie=UTF8&psc=1
the wire i used was 0.28mm gauge copper wire, which i believe is about 29awg, you could go finer for more voltage, thi sis what i had in my den at the time, i was going to use 30awg but got up to 40v from the low speed of a drill so thought hey ho go with that... in reality im finding a low wind to be around 6v... med wind to be about 16v and so on.
VAWT Vertical Axis Wind Turbine - Sinusoidal Blade using Pelton Effect
Penciltop Ugrinsky Vertical Axis Wind Turbine VAWT

Generic Wind Power Turbine

Vertical Wind Turbine
Pelton Turbine
Small Wind Turbine
Wind turbine

Music Box Wind Turbine
Wind Turbine Blade
Wind Turbine Project
Wind Turbine

Wind Turbine stl
Wind Turbine
Big Flower rotating by wind
Wind generator
integza Steam Turbine 3D Printed eltallerdelucas remix v2.step
Print in Place Music Box

Candlelight Valley // Miniature Landscape Tealight Candle Holder

FHW:Turbine of Doom v1 Kit
test2.stl