

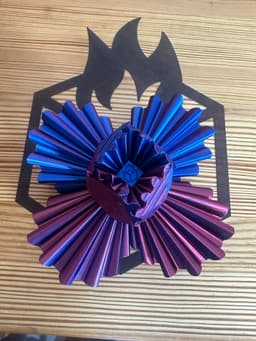
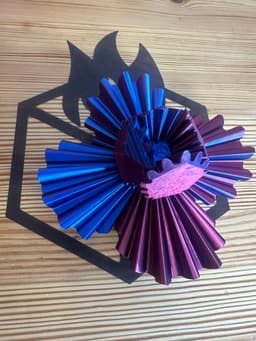
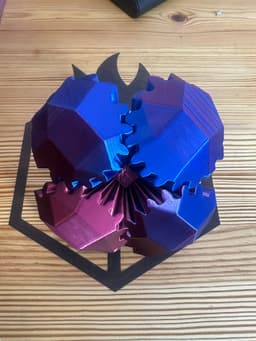

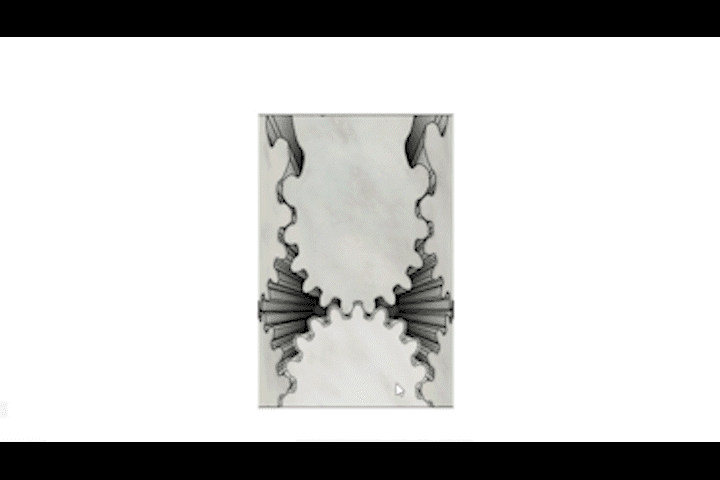
Gear Rhombo & Gear Rhombo JR by TNTBA
_THE ACTUAL FILES ARE LOCATED IN THE ZIP FOLDERS. _ This is the Gear Rhombo & Gear Rhombo Junior (Jr.) (the Spirit of Mini Gear Sphere). This is totally redesigned from the Gear Sphere by TNTBA. With this purchase you get:
- 3MF and STL files for all parts (Gear Rhombo & Gear Rhombo Jr)
- X1 Carbon & A1 Mini layouts
- License to print and sell this model - Forever!
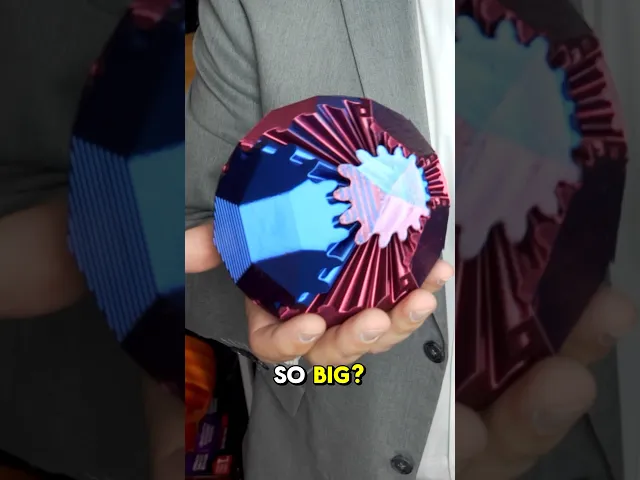
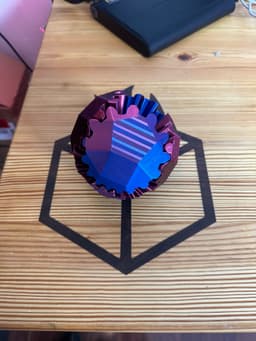
For Gear Rhombo: UPDATE June 9th, 2024: New clips have been added to provide the option of having a tight gear Rhombo or a smooth gear Rhombo. The new clips allow for smoother manipulation and play with the gears which people may enjoy more. TRY IT BEFORE YOU BUY IT Print time is approximately 6 hours. Approximate size of the Gear Rhombo is 122mm x 122mm x 116mm
Gears and Core can be printed in any material of your choice. Clips SHOULD be printed in PETG. Tool is not required for installation
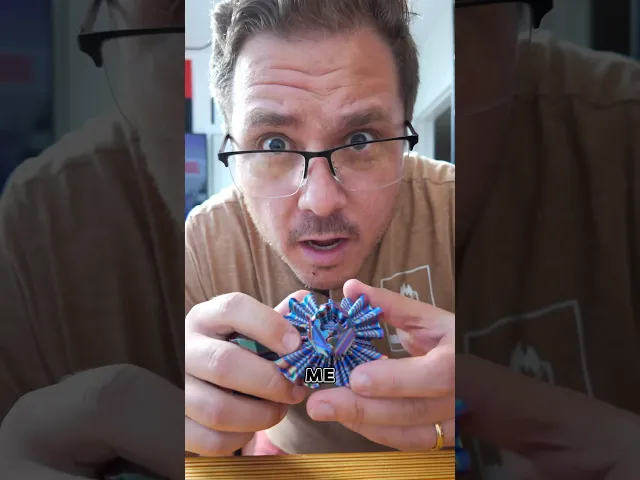
For Gear Rhombo JR: UPDATE June 9th, 2024: New clip tool has been added to the file to allow for easier assembly. This Gear fidget toy is a lot of fun and is now portable. TRY IT FOR FREE BEFORE YOU DECIDE TO BUY IT! Approximate size of this design is: 50mmx50mmx50mm.
The time to print and fully assemble is approximately 1 hour and 15-30 minutes.
Gears and core may be printed in any material. Clips should be printed in PETG. Tool can be printed in PLA.
Place the clip into the tool and use the tool to place the clips directly into the holes of the gears. Make sure you go directly into the hole to avoid splitting, breaking, or over-bending the clips. I would recommend that you print out additional clips to ensure you have extras when you mess up.
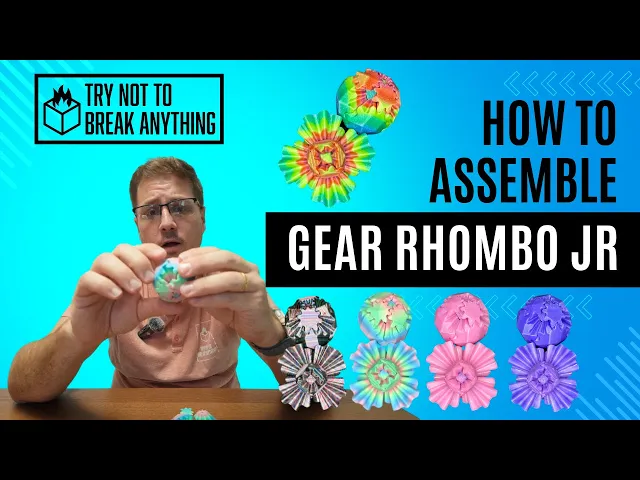
Once the clips are installed, you can place the gears following the numbering located on each gear and core side. Still having issues? Please watch this assembly video!
The mechanism to move this toy fidget was inspired by RuvenBals' Gear Ball and Emmett's Gear Cube.
Enjoy!

Gear Rhombo & Gear Rhombo JR by TNTBA
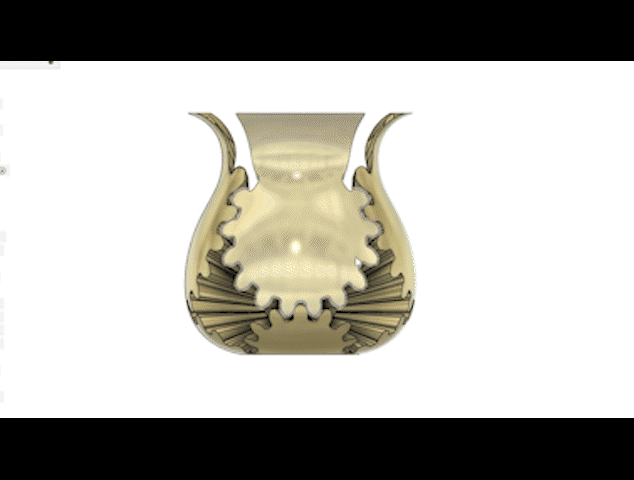
Gear Vase by TNTBA
Gear Cylinder by TNTBA
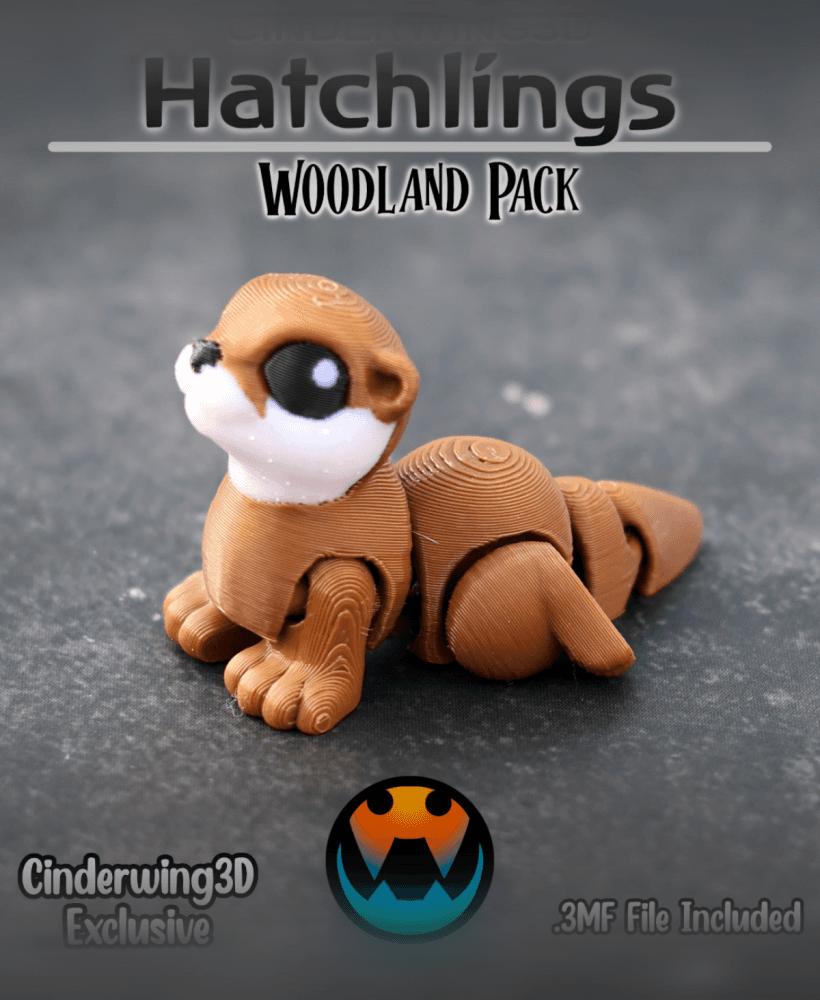
River Otter - Cinder Hatchling
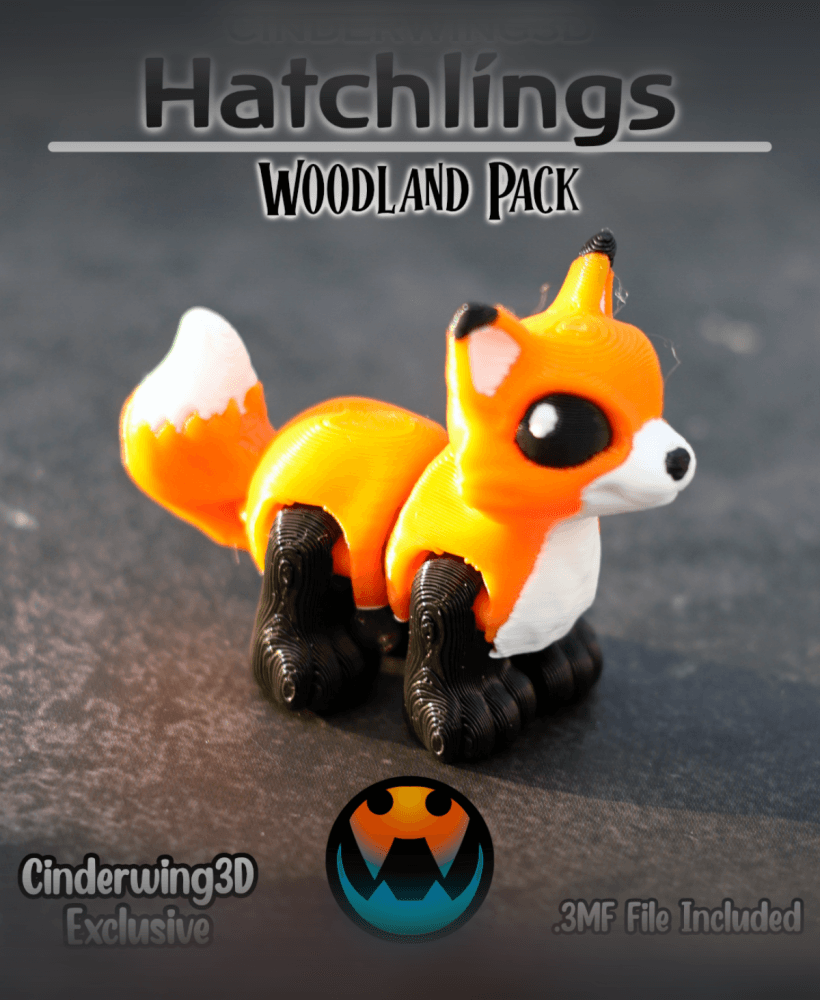
Fox - Cinder Hatchling

Flappy Head Dino - Hatchling

Snappy Water Dino - Hatchling
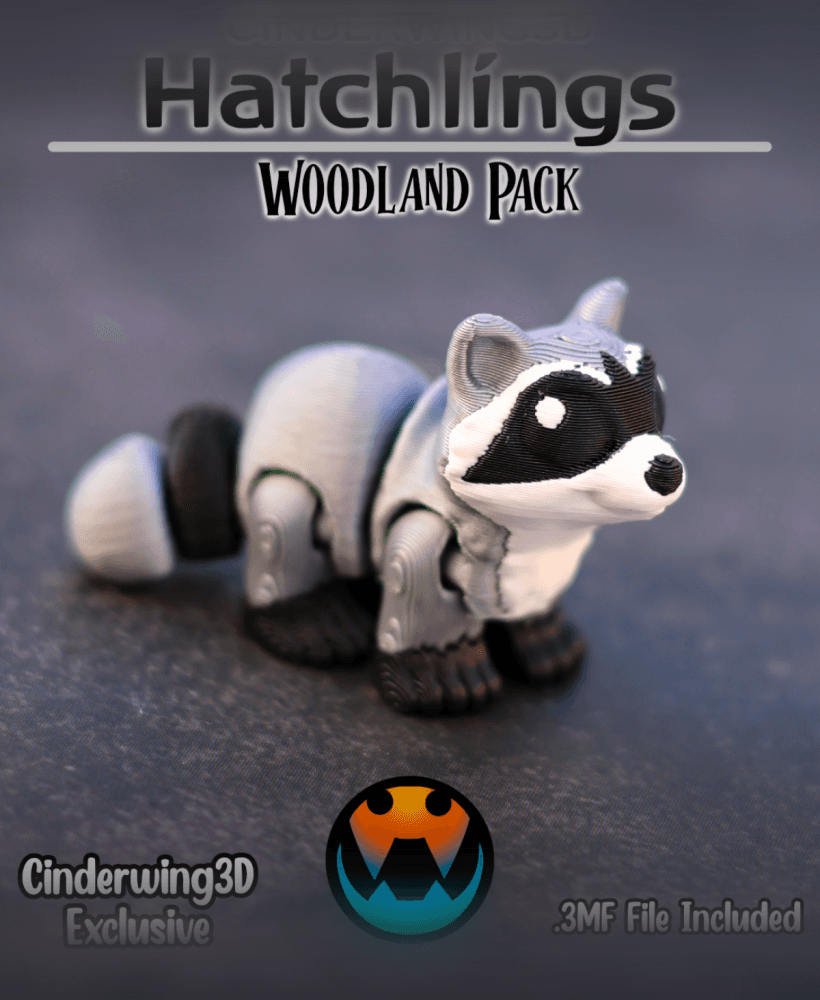
Racoon - Cinder Hatchling

PlayBook'd - Chess

Ducky Dino - Hatchling
![Tiny Mushroom Dragon/Wyvern and Mushroom Shelf [Gazzaladra Collab] 3d model](/_next/image?url=https%3A%2F%2Fstorage.googleapis.com%2Fproduction-thangs-public%2Fuploads%2Fenhanced_images%2Fv1%2F41421592-2019-4923-abae-c3e83a110400%2F0_2.jpg&w=3840&q=75)
Tiny Mushroom Dragon/Wyvern and Mushroom Shelf [Gazzaladra Collab]

The Rail - Tripod Attachment

Turkey - Cinder Hatchlin

Moose - Cinder Hatchling

Henriegga – The Chocolate Egg-Laying Chicken

Tiny Winged Wolf
.png&w=3840&q=75)
PlayBook'd - Four in a Row

Window Pikachu - Pokemon
.gif&w=3840&q=75)
Candy Creeper Pug - Candy Dispenser

Charmander Window - Promo Card - Pokemon

I have purchased and made both sizes and they came out perfect, great design. I was wondering if I scale the large one down or small one up will that work? I'm looking for something in between.
Sorry for the late reply here, but I did answer your e-mail as soon as it came in! let me know how it came out. :)
no problem, I will as soon as I make it this weekend. Thank you
Thanks for your help with the Brims...definitely worked! How can I buy the the larger Rhombo license?
re-download it. it's a new zip file that's been added! :)
I would like to scale either the JR up or the full size down to about 80mm which way would be my best option? Thanks for your help and this awesome model.
I've printed a few of these distinct gear balls and I'm really enjoying them The 2 main things I've noticed
So I've printed a batch of the smooth/speed pins as well as the tight pins in ABS. The speed pins brings new meaning to spead, it's suuper loose and spins very freely - If you pick it up by on gear it'll rotate as far as it can. It's also very easy to remove the gears from the core The tight pins are back to requiring intentional force to rotate it, and there's no squeakiness from the petg pins. I'm probably going to experiment with scaling the pins to get the required force to what I want.
I've made a few of these now with mixed instances of the ball staying together once connected. I'm using a PTEG for the connectors and a silk PLA for the gears. Any suggestions?
PETG is perfect for the clips.
Silk for the gears and Core are acceptable!
Hey!
So the clearances are very tight on the connectors. It's very likely that you've bent the tips of the clips as you were installing them. My best advice is to reprint the clips and ensure that you are 1) using the tool to install the clips; and 2) installing the clips directly (as best as you can) into the openings on the core of the model.
After all the clips are installed into the core, carefully (as carefully as you can) push the gears on to the clips as straight as you can. LMK.
I'm also wondering if the the remanence of the brim is causing the gears to pull away from the core as it turns. I tried getting as much of the brim off as possible, any suggestions to get all of it off?
Ok so I printed one without the brim and it definitely was easier to assembly and the movement of the gears is much smoother. Any advice on how to print with the brim with easy removal would be helpful. I am only weeks into my 3D printing adventure.
try doing a brim with a larger gap between the object and the brim. look for brim object gap and select brim type: "Outer brim only". If that solves your issue you're good to go. If it doesnt, then do "brim-object gap" and change it from .1mm to .5mm Maybe that will help?!
k thank you new to this just wanted to make sure also forgot to ask do you need supports?
Try using the Bambulab X1C Ready to Print.3mf file to see how i've laid out all of the files on the build plate.
There are no stupid questions with 3D printing. We were all there at one point. Thank you for your question as you may have helped someone else who reads this later.
Thanks -Erik (TryNotToBreakAnything)
(2/2) Make sure that the gear assemblies (Gears 1-8 in the 3MF or STL folder) are printed from the clip connection point resting on the build plate. No supports are required but I would recommend printing a brim to make sure the larger gears (1-4) do not fall over during the print or applying glue stick on your buildplate before starting the print.
Assembly is tricky and recommend 1000000% that you use the tool i've included (can be printed in PLA).
You don't need supports for this model. Since you're new let me try to help you out as best as I can.
I use the default print profiles for bambulab's printers usually. Clips are made with PETG filament at a .2mm layer height. You'll need 8 of them but please print additional clips in case you bend, break, or over flex the clips beyond their stress points. you'll know you messed up if the gear ball assembly is very loose or the cogs on the gears are not operating well. (1/2)
just purchased file i have ? so i cant print fully assembled and would just have to put clips in or have to print everything separate? and how many clips? I will be printing on bambu lab p1s
No - assembled is just for viewing and a Thangs requirement to start upload process. Look in zip folder for files and ready to print files. 8 clips total printed in PETG. Please print extra in case you aren’t successful in placing clips and break them.