


SOAR | Table lamp E14 & E27 & E26 fast print
SOAR | Table lamp E14 & E27 & E26 fast print
Want to buy a physical 3D print of this product? Head to Trajann online store.
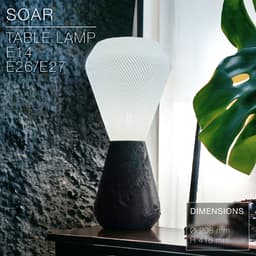
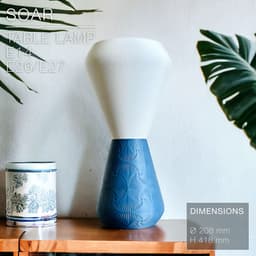
Textures, textures and textures again for this SOAR table lamp.
2 options for the shade:
- plain (looks great printed with some fuzzy skin)
- wicker weave with a twist (the weave pattern looks like it wraps around the shade in a spiral motion)
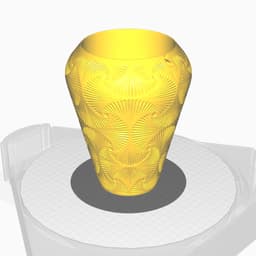
4 texture options for the base:
- Fan pattern
- Rocky pattern
- Oak pattern
- Tessellation pattern.
Any 3D printer can print it without exceptional print settings and a regular 0.4mm nozzle, but 0.8mm to 1mm nozzles would work too as I made the wicker weave 1mm thick. The weave on some of my previous designs was only 0.45mm thick, and so could break and tear easily. This new 1mm weave is much stronger and prints much cleaner. (See print settings below)
This lamp works for E27, E26 and E14 socket screw thanks to a custom adapter you can twist n' clip (STL file provided).
You can get the power cords from Amazon here: For Europe: E27 cord: https://amzn.to/3OVrZjK E14 cord: https://amzn.to/3TchBqs
For the US: E26/E27 cord: https://amzn.to/3U0Xyvy
Happy printing!
DIMENSIONS | Ø 208 mm x H 418 mm Shade height: 218mm. Base height: 200mm.
PRINTING | Shade ~3h | Stand ~2.5h
Bulbe socket | E14 or E27 or E26
Lightbulb socket hole diameters:
- E14: Ø28mm
- E27: Ø41mm
3D PRINT SETTINGS
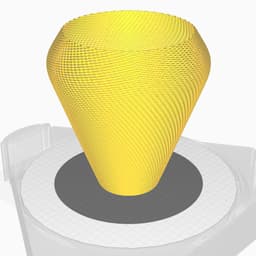
All STL files are already oriented properly.
The only trick for the shade is to set the layer height to 0.3mm, since each weave line is 1.2mm thick, so is made of 4 layers.
For BambuLab users, turn on "Arachne" mode in the "Wall Generator" settings. Otherwise Bambu Studio will detect some of the weave layers as empty.
BASE & ADAPTER: Infill: 10 to 20% Wall line count: 2 top layers: 5 Bottom layers: 3 Layer height: 0.2 to 0.3mm or less (the bases in the pictures were printed in 0.3mm/layer) Build adhesion type: None Supports: None
SHADE: The shade prints in standard mode, not vase mode. Layer height: 0.3mm Wall line count: 2 Build adhesion type: None. But you can add a 5~6mm brim if you have adhesion issue. Supports: None Infill: None
The plain shade in the pictures was printed with some "fuzzy skin". The settings were:
- fuzzy skin thickness: 0.2mm
- fuzzy skin point distance: 0.6mm
SOAR | Table lamp E14 & E27 & E26 fast print

SINE | pendant light E27/E26

COROA | pendant light E27/E26

MALLA | woven fruit bowl

MALLA | key bowl
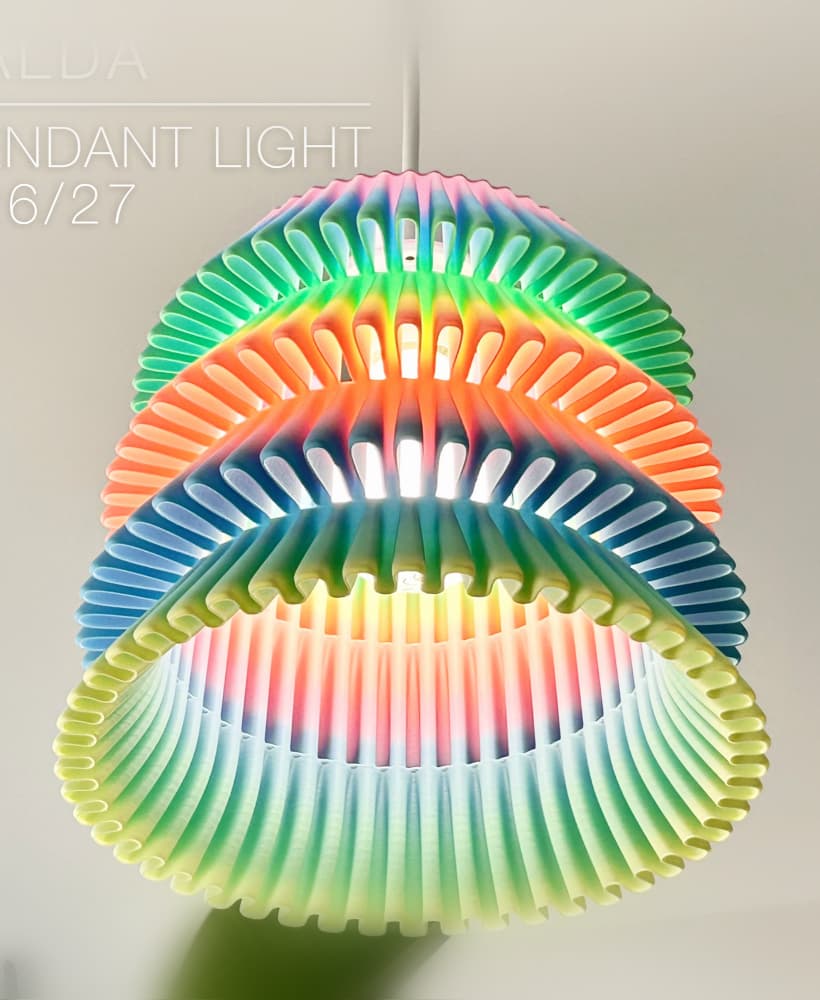
FALDA | Pendant Light E26/27

MALLA | Woven String Art Deco

SAKURA | Pendant Light E26/27

SAKURA | Scalable Pencil Holder

MALLA | nut bowl
![SAKU[MINI] | Table Lamp E14 & E26/27 3d model](/_next/image?url=https%3A%2F%2Fstorage.googleapis.com%2Fproduction-thangs-public%2Fuploads%2Fenhanced_images%2Fv1%2F421bb906-ca95-4bc9-9dba-a6fd01fd6885%2FSAKU%255BMINI%255D_table-lamp_perspective-ON.jpg&w=3840&q=75)
SAKU[MINI] | Table Lamp E14 & E26/27

SAKUMI | Table Lamp E14 & E26/27

SYZYGY | Heart Vase, scalable
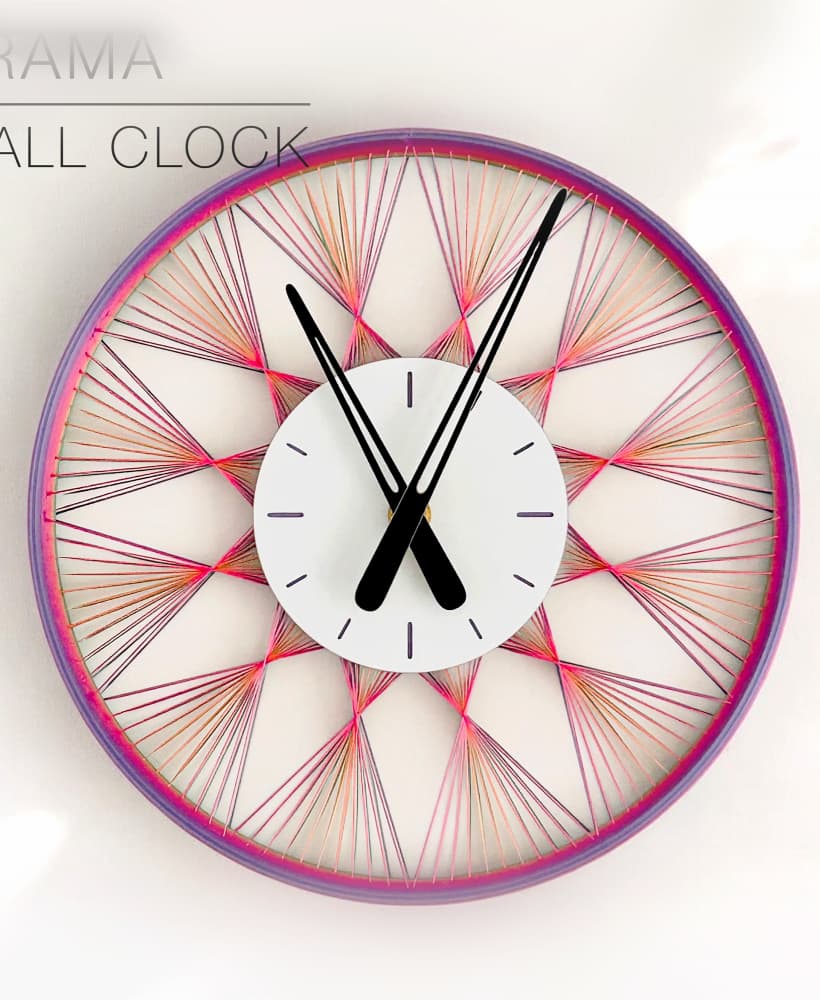
TRAMA | Wall Clock
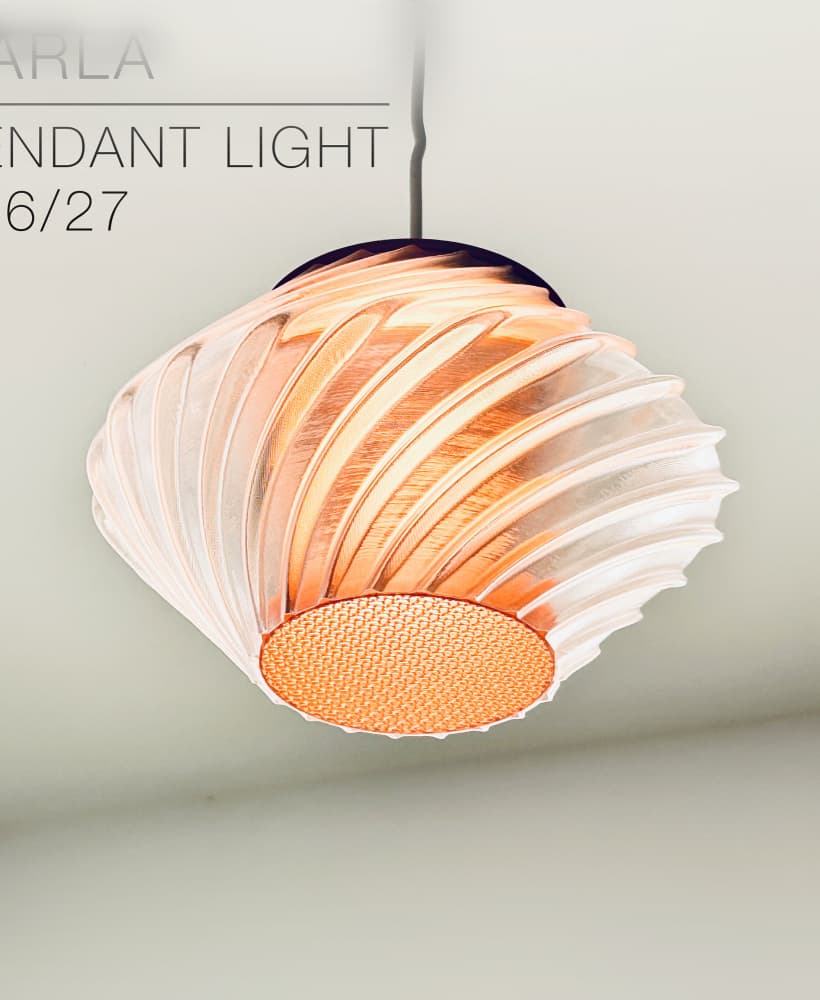
CARLA | Pendant Light E26/27

ORB XY | String Art Pendant Light

NINA | Toothbrush cups

PICA | Brush, print-in-place

MORPH | Stackable Egg Cup

ARYZ Divide | Pendant light E26/27

Hello! could you make a smooth base? i wan to add fuzzy skin
Hi! I just added a "plain" base. Enjoy!
I had problems with the last layers of the shade on the BambuLab A1. Any different settings to resolve? The last layers were all wrong.
Did you turn OFF "only one wall on top surface"? That might cause the problem. And make sure to turn OFF "slow down for overhangs" in speed settings.
Charles, the "only one wall on top surface" is in the "Top surfaces" option... is that wrong?
In the drop down menu of "only one wall on top surface", you can select "not applied" instead of "top surfaces".
Also, did you set the "wall generator" setting to "arachne mode"? It's probably what would make the most difference.
I have all the settings as you said but I continue to have problems in the final layers. They're coming off the edge in straight lines... I'm not sure I can explain it very well.
I just uploaded an updated version of the shade. I made the last weave (3 layers high) overlapping a bit more the weave underneath. So it should have more grip on it and not make straight lines. Fingers crossed... Sorry for the wasted filament! It printed fine on my printers.
It works.. thank you very much.
Glad it does. Thanks for letting me know!!
Yes.. the "wall generator" was correct... I will check the "only one wall on top surface" Thanks
I will check.. thanks
Hello Charles, your work is amazing! Could you kindly make the SOAR base a lightweight single-wall design, similar to the DELTA
Thanks! I tried doing a thin shell version, but since the textures appear outside and inside the base, it makes printing time twice as long as the original version. On the original version, the inside of the base are regular circles, only the outisde are textured. So it's much faster in the end.
Could you please confirm the layer height used for the SOAR plain shade with fuzzy skin? Additionally, is the fuzzy skin applied to the outer wall only or to all walls?
Layer height can be anything you want. I printed this one a long time ago but I think I went for 0.3mm/layer. And fuzzy skin is applied to inner and outer walls.
Could you clarify the seam configuration for the SOAR mesh shade?
Usually I set the seam to "align" or "back". If set to "random" I'm afraid it would leave little tiny imperfections randomly around the shade, whereas with "align" you get all the seams facing the same way, and they are not that obvious.
i need this
Hi charles there is only 3 textured bases the pavage model is missing can you upload it please. Amazing work love it!
Damn, you're right! The base with tessallation pattern was missing. I just uploaded it. Have fun!