


SAN | Pendant Light E27 & E26 fast print
SAN | Pendant Light E27 & E26 fast print
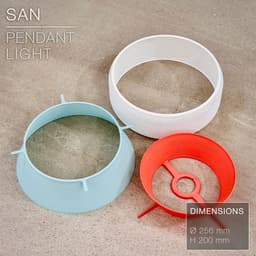
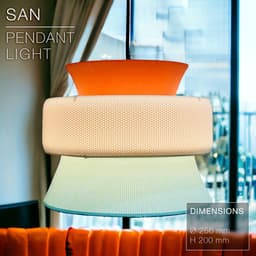
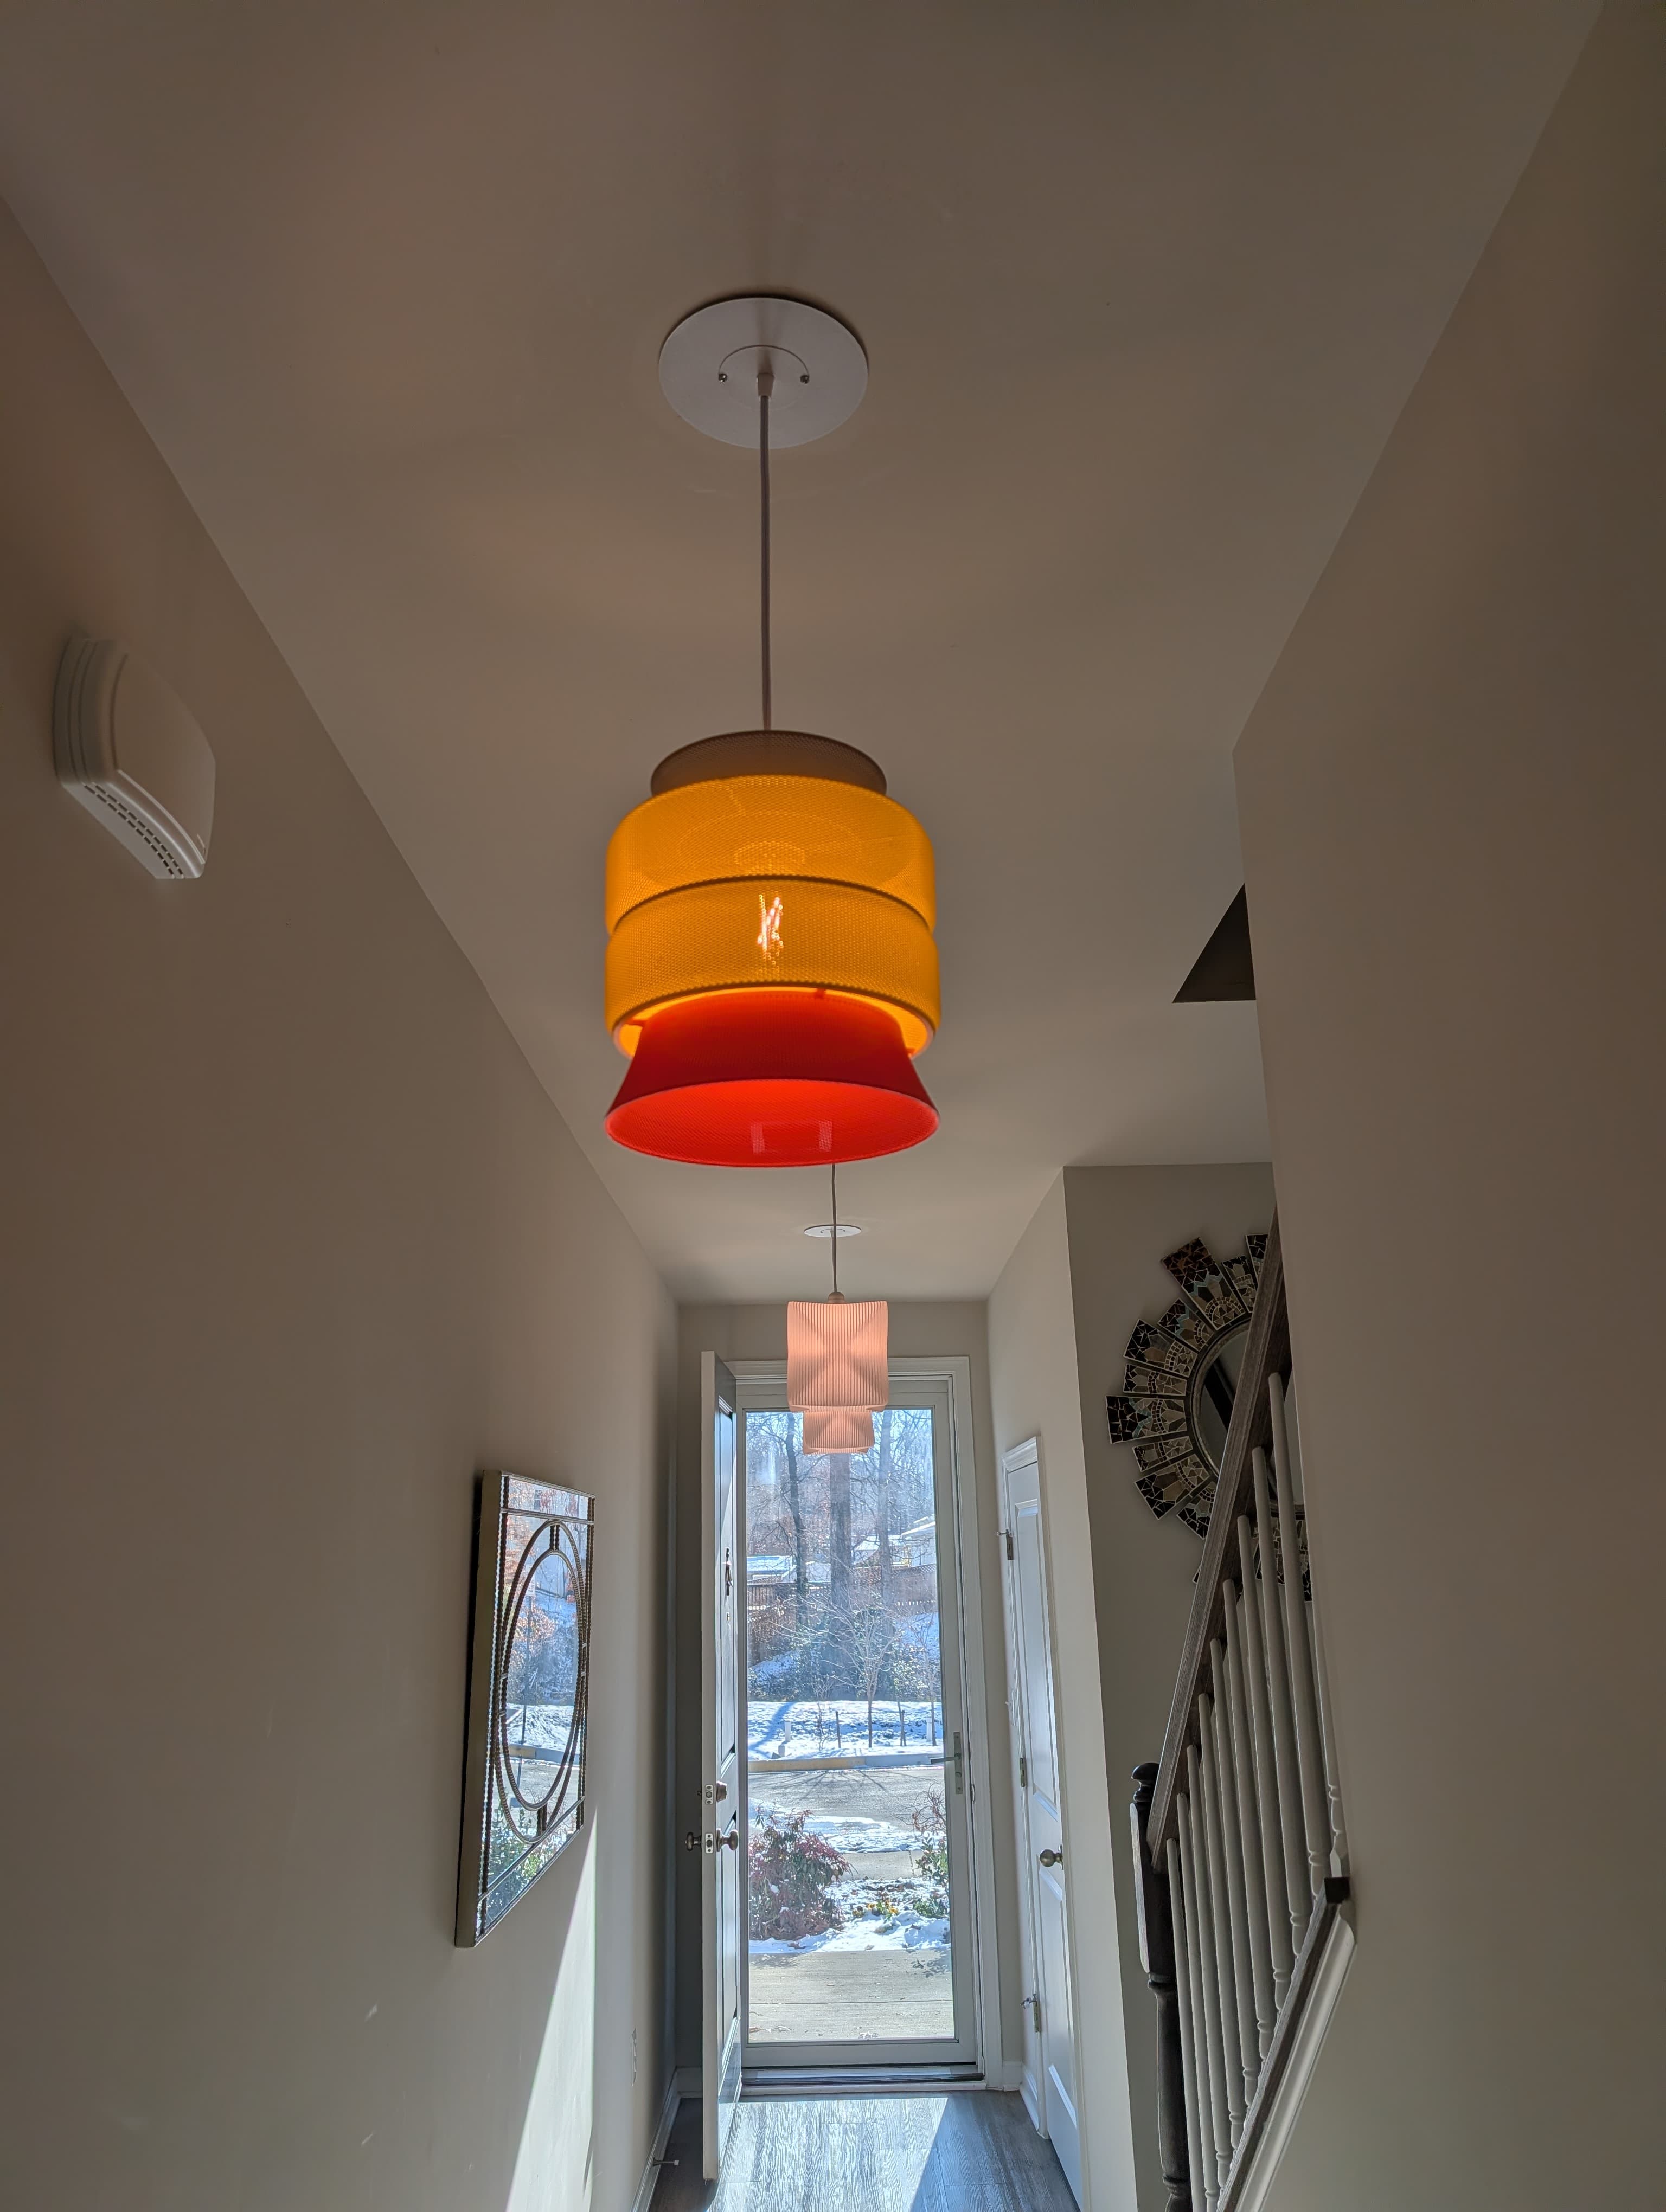
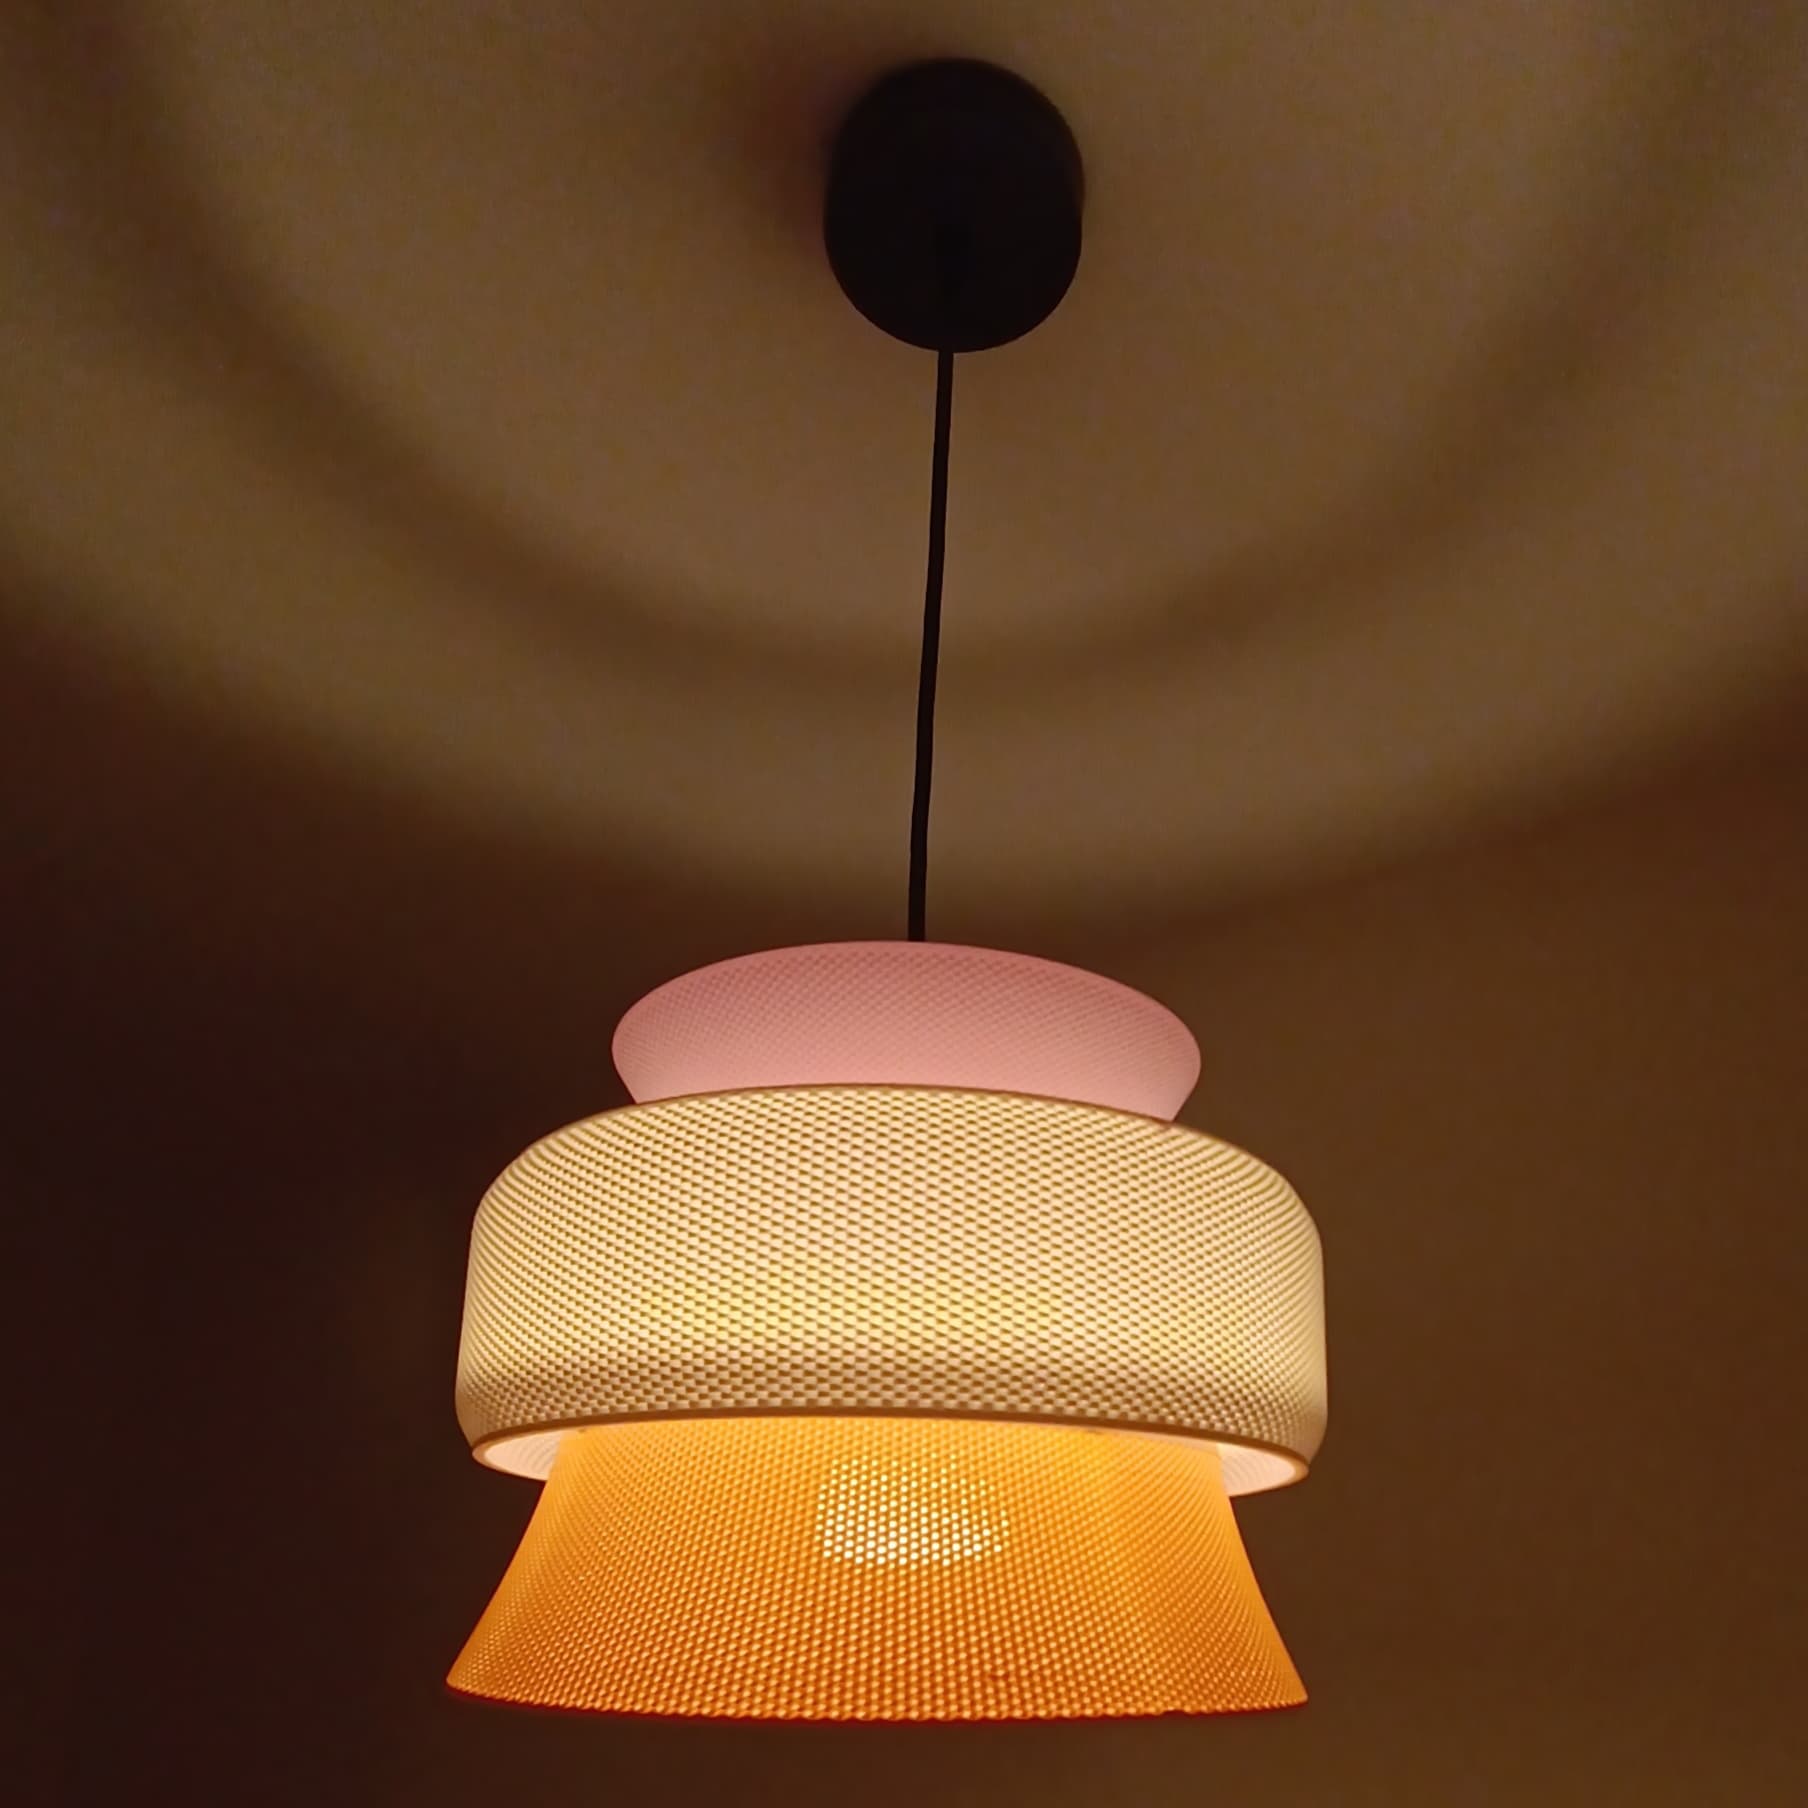
Meet the SAN pendant light, using 3D printed wickering technique. It is perfect as a dining room pendant.
Any 3D printer can print it without exceptional print settings and a regular 0.4mm nozzle. (See settings below)
This lamp works with E27 and E26 socket screws.
It comes in 2 version/sizes. The large one has a diameter of 256mm. The smaller one has a diameter of 208mm.
You can get the power cords from Amazon here: For Europe: E27 cord: https://amzn.to/3OVrZjK For the US: E26/E27 cord: https://amzn.to/3V5VYJB
Some of you will wonder why the ring for the light bulbe in the middle of the top section looks like two half circle interlocking each other. The reason isn't mechanical, but I designed it this way to have a continuous inner loop, so a cleaner first layer and faster print. The printer doesn't have to create several loops and jump between them, leaving blobs and causing printing issues. Instead, the inner loop is all uninterrupted and will give you a much cleaner and faster first layer.
Happy printing!
DIMENSIONS (Large) | Ø 256 mm DIMENSIONS (Small) | Ø 208 mm DIMENSIONS (Mini) | Ø 176 mm Total height (assembled) is about 200mm, but each part is less than 70mm tall.
PRINTING | ~1h for each part
Bulbe socket | E27 or E26
3D PRINT SETTINGS The top section prints upside-up. The middle and bottom sections print upside-down. (the STL files are all already oriented properly) No need for supports, infill or brim.
For BambuLab users, turn on "Arachne" mode in the "Wall Generator" settings. Otherwise Bambu Studio will detect some of the weave layers as empty.
Layer height: 0.2 or 0.3mm/layer (lamps in the pictures were printed in 0.3mm/layer) Wall line count: 2 Build adhesion type: None. If you have adhesion issues, you can add a 5~6mm brim. Supports: None Infill: None

SAN | Pendant Light E27 & E26 fast print

SINE | pendant light E27/E26

COROA | pendant light E27/E26

MALLA | woven fruit bowl

MALLA | key bowl
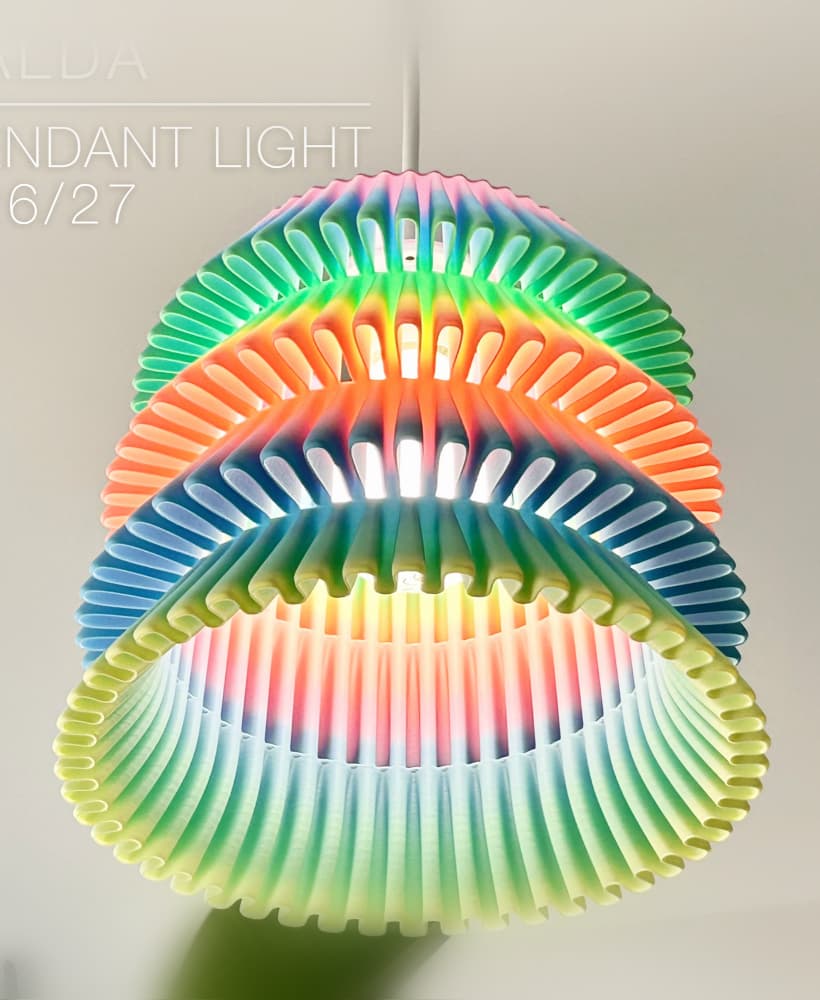
FALDA | Pendant Light E26/27

MALLA | Woven String Art Deco

SAKURA | Pendant Light E26/27

SAKURA | Scalable Pencil Holder

MALLA | nut bowl
![SAKU[MINI] | Table Lamp E14 & E26/27 3d model](/_next/image?url=https%3A%2F%2Fstorage.googleapis.com%2Fproduction-thangs-public%2Fuploads%2Fenhanced_images%2Fv1%2F421bb906-ca95-4bc9-9dba-a6fd01fd6885%2FSAKU%255BMINI%255D_table-lamp_perspective-ON.jpg&w=3840&q=75)
SAKU[MINI] | Table Lamp E14 & E26/27

SAKUMI | Table Lamp E14 & E26/27

SYZYGY | Heart Vase, scalable
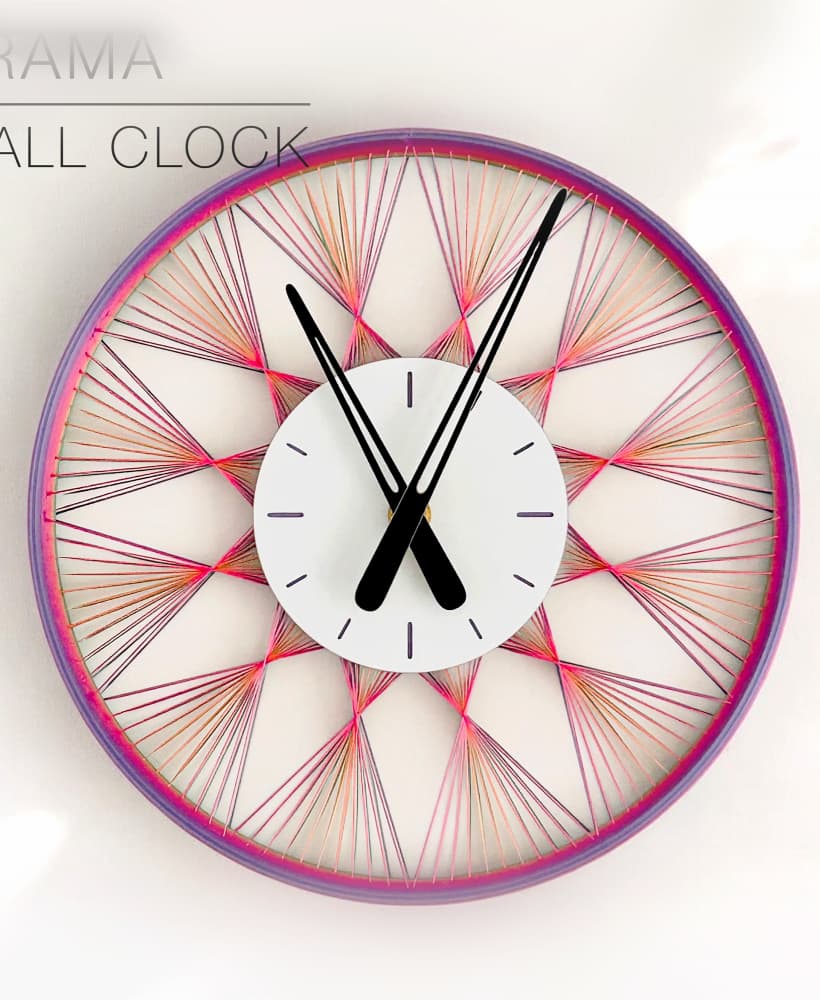
TRAMA | Wall Clock
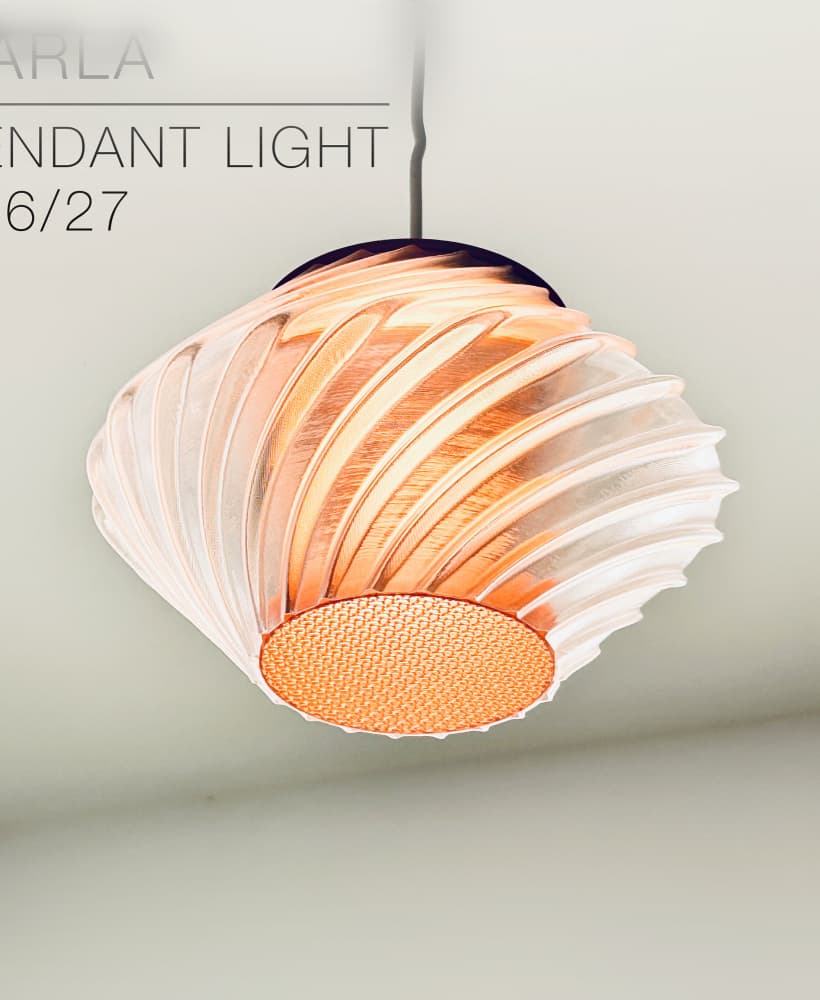
CARLA | Pendant Light E26/27

ORB XY | String Art Pendant Light

NINA | Toothbrush cups

PICA | Brush, print-in-place

MORPH | Stackable Egg Cup

ARYZ Divide | Pendant light E26/27

It's looking great! Thanks so much for sharing!
Hi! I just uploaded new versions of the lamp:
I also made the weave more "open" to let more light through.
And, of course, it comes in 3 sizes as before.
Hope that'll work better for you!
Can you print the large version on the p1s ? Couse i noticed that some of your models they need a bigger print volume,i was thinking to get the H2D but i wanna wait becouse is a chance that they might release a printer with the same print volume but just 1 hotend,this way you can use the full plate to print compared to the H2D
Yes! It fits "just right" on a P1S. The biggest part is the Middle Section, and it fits on a P1S print bed.
Hi everyone, am I supposed to glue these parts together? The 3 parts hold each other by gravity.
Hi! The 3 parts hold on each other, kinda with legs clipping onto the top or bottom rings of the other parts. Glue isn't necessary! But you can use some to make it more sturdy if you want.
Good day, what kind of fillament did you use in the example..?
Hi, I used Polyterra matte PLA filaments by Polymaker.
Thank you very much😊
The file "SAN_pendant-light_Small_Middle-Section_V2" is giving an error in Bambu Studio. Object can't be printed for empty layer between 2.8 and 78. May be the parts of the object at these heights are too thin, or the object has faulty mesh.
You just need to turn on "Arachne" mode in the "Wall Generator" settings. Sorry, I should have put that in the print settings for more clarity.
Let me know if it works!