


TELA | Table lamp E14 & E27 & E26 fast print
TELA | Table lamp E14 & E27 & E26 fast print
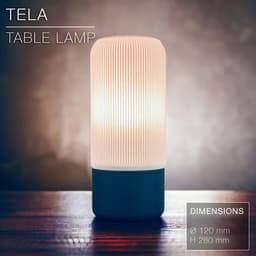
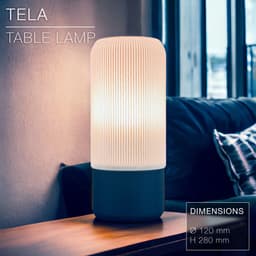
Give your space a radical modern and stylish vibe with this fast-print table lamp exploring 3D printing weaving techniques!
Any 3D printer can print it without exceptional print settings and a regular 0.4mm nozzle. (See settings below)
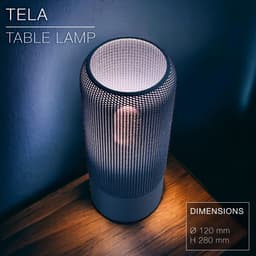
The shade is made of 1 wall line following a wavy pattern. It prints as fast as Vase-Mode (count 1.5h for the shade) but is mechanically much stronger thanks to the wave pattern.
This lamp works for E27, E26 and E14 socket screw thanks to a custom adapter you can easily clip on (STL file provided).
You can get the power cords from Amazon here: For Europe: E27 cord: https://amzn.to/3OVrZjK E14 cord: https://amzn.to/3TchBqs For the US: E26/E27 cord: https://amzn.to/3V5VYJB
Happy printing!
DIMENSIONS | Ø 120 mm x H 280 mm Shade height: 205mm. Base height: 90mm.
PRINTING | Shade ~1.5h | Stand ~2h
Bulbe socket | E14 or E27 or E26
Lightbulb socket hole diameters:
- E14: Ø28mm
- E27: Ø41mm
UPDATES: You can now pick between 2 versions of the shade and base. The shade comes with the original weave of 0.5mm thick, and a new version with a weave thickness of 1mm. Same print settings for both. To the original base (V2), I added a heavier version (V3) which weighs twice as much while only adding 20min to the printing time.
3D PRINT SETTINGS All 3 parts print upside-down. (the STL files are already oriented properly) The base prints with any of your favourite settings. I added an extra version for the base for a tighter fit (file called “base_tight-fit”), as it seemed the fit between the base and the shade was a bit too loose for some people depending of the printer and filament type they used. I printed the ones in the pictures with the original file (just called “base”) and it's tight enough. So maybe start with that one first.
The only trick for the shade is to set the layer height to 0.3mm, since each weave line is 1.2mm thick, so is made of 4 layers.
For BambuLab users, turn on "Arachne" mode in the "Wall Generator" settings. Otherwise Bambu Studio will detect some of the weave layers as empty.
SHADE: The shade prints in standard mode, not vase mode. It prints upside-down, its head flat on the printing bed. Layer height: 0.3mm Wall line count: 2 top layers: 5 Bottom layers: 3 Build adhesion type: None Supports: None Infill: 15~20% (although there isn't any need for it)
BASE & ADAPTER: The base must be printed upside-down, so with the round face for the E27 / E14 socket flat on the printing bed. Infill: 20% Wall line count: 2 top layers: 5 Bottom layers: 3 Layer height: 0.2mm or less Build adhesion type: None Supports: None
TELA | Table lamp E14 & E27 & E26 fast print

SINE | pendant light E27/E26

COROA | pendant light E27/E26

MALLA | woven fruit bowl

MALLA | key bowl
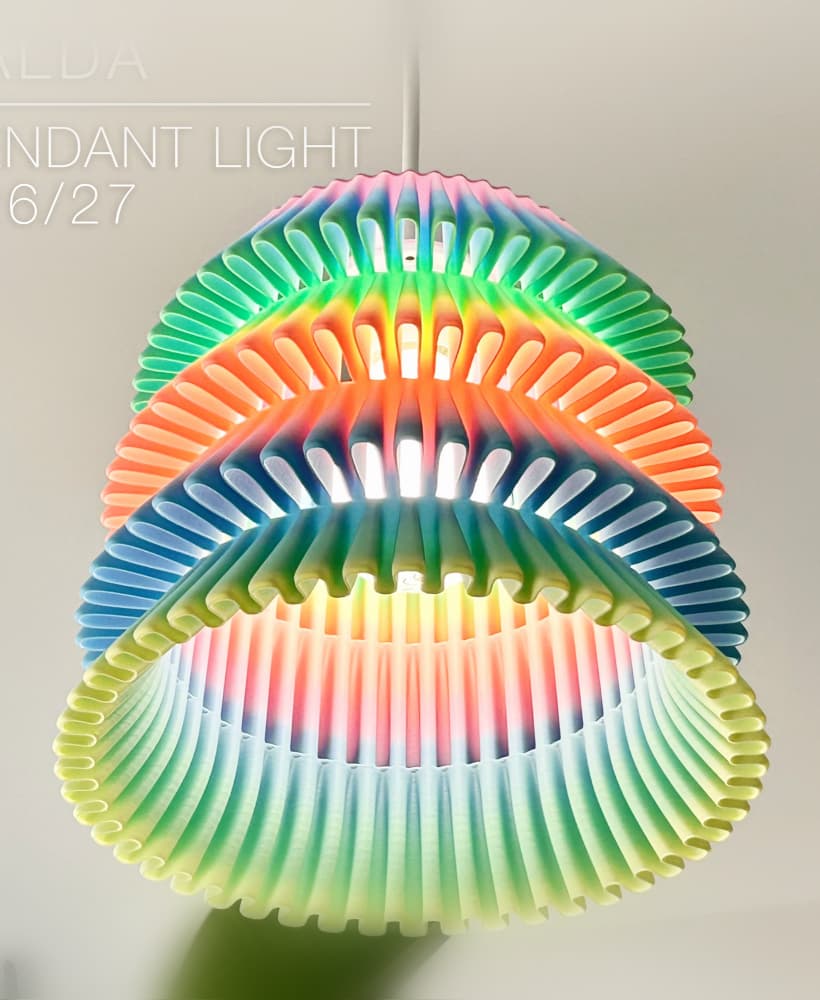
FALDA | Pendant Light E26/27

MALLA | Woven String Art Deco

SAKURA | Pendant Light E26/27

SAKURA | Scalable Pencil Holder

MALLA | nut bowl
![SAKU[MINI] | Table Lamp E14 & E26/27 3d model](/_next/image?url=https%3A%2F%2Fstorage.googleapis.com%2Fproduction-thangs-public%2Fuploads%2Fenhanced_images%2Fv1%2F421bb906-ca95-4bc9-9dba-a6fd01fd6885%2FSAKU%255BMINI%255D_table-lamp_perspective-ON.jpg&w=3840&q=75)
SAKU[MINI] | Table Lamp E14 & E26/27

SAKUMI | Table Lamp E14 & E26/27

SYZYGY | Heart Vase, scalable
TRAMA | Wall Clock
CARLA | Pendant Light E26/27

ORB XY | String Art Pendant Light

NINA | Toothbrush cups

PICA | Brush, print-in-place

MORPH | Stackable Egg Cup

ARYZ Divide | Pendant light E26/27

What settings are recommended for a 0.8mm nozzle? Printing on Bambu Lab P1S/P2S, thanks!
Hi! The settings are pretty similar to those with a 0.8mm nozzle. Just make sure to set the layer height to 0.3mm.
Although, with a 0.8mm nozzle you could try printing it in vase mode (spiral mode). You'd need to flip the shade in the slicer so it prints upward, with 0.3mm/layer and 14 bottom layers to print properly the clip at the bottom.
Thanks @CharlesRegaud for the prompt reply, I appreciate your help. Your suggestions worked very well. The only thing I want to add is that I had to attach a small outer brim because my first attempt ended up as spaghetti.
Yes... There isn't much contact surface for the first layer when printing upright in vase mode... That's why I desgned it to be printed upside-down. Maybe I should upgrade the design slightly so it would have enough contact surface whatever the orientation of the shade on the build-plate!
Hi,
In the description you mentioned printing speed of 1.5 hours and 2 hours for Shade and stand respectively. On my P1S (0.4mm nozzle/Bambu basic pla), when I slice the Shade with the described settings (including Arachne & Slow down for overhangs), the print time comes out to ~4:20 hours. While its not too bad, I still wanted to see if there's something I'm missing or misconfiguring which is leading to longer print?
Screenshot of slicing result: https://imgur.com/a/199hdXO
That's strange. Did you set the layer height to 0.3mm/layer? (ignore the warning that says it can't do more than 0.28mm) I just double-checked and the thin weave (0.5mm) version prints in 1.5h on a P1S, and in 3.5h for the thicker weave (1mm weave). I'll upload a .3mf file if you want, sliced in Bambu Studio (it won't open correctly in other slicers as Bambu 3mf files loose the print settings when opened in other slicers...).
I just uploaded the 3mf file.
4:21 h on my P1s. i just load the .3mf file (1 mm weave). Standar PLA
Sorry but for the shade, do we print with the locking tabs facing down? I followed your instructions but there are certain areas of the "mesh" with broken pieces. I printed it in vase mode with a 0.6mm nozzle after and it came out impeccable, but it failed at the very last moment where the "tabs" are. Would you be able to upload this without those tabs?
Thank you, I can't wait to share this on reddit once I get a better print. I will tag you as well if you'd like.
Hi!
The shade should print upside down, on its head with the locking tabs at the very top.
Did you print the 1mm weave or the 0.5? The 0.5mm weave can come out with some deffects. But the 1mm weave is made of 2 perimeter walls so it prints much nicer.
You don't need to print in vase mode. Just normal would do.
Set the layer height to 0.3mm/layer (ignore the 0.28mm/layer limit on your A1 printer). Also set the "Wall generator" to "Arachne" mode. And turn off "slow down for overhangs".
Also using a Bambu A1 btw