

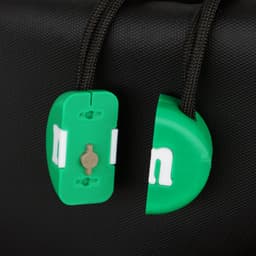


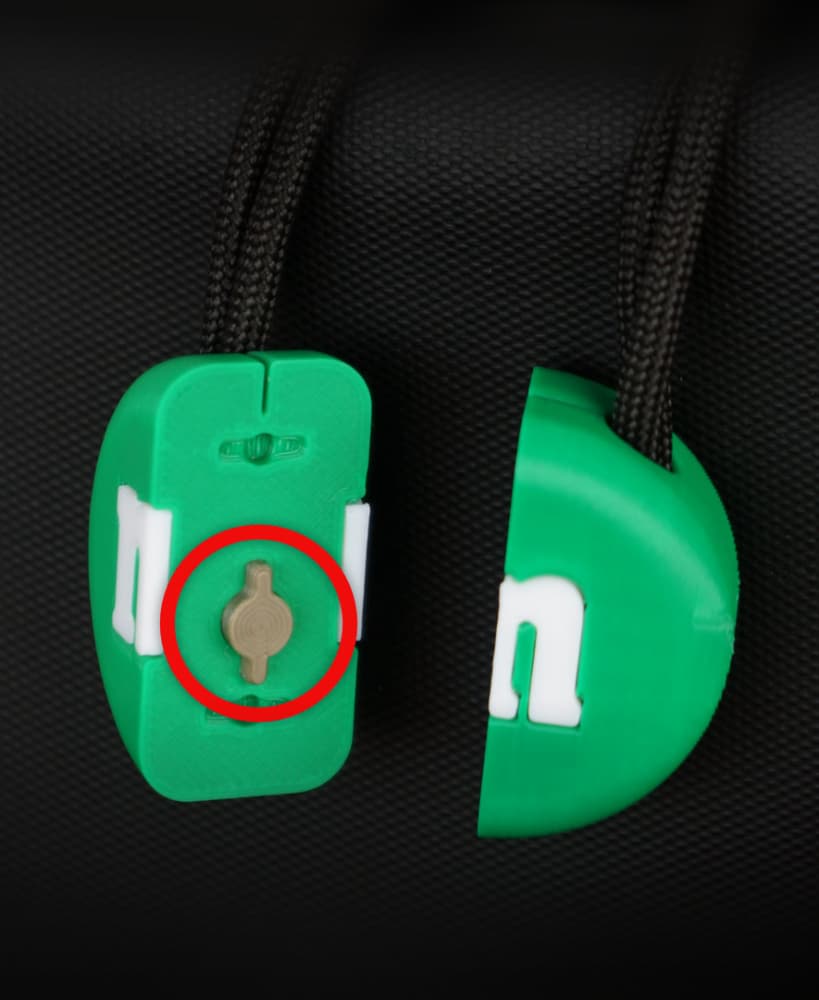
Zipper Pull - M&M
Boring zippers no more! Expanding the Zipper Pull collection - which colour is your favourite? 🔴🟠🟢🔵⚫
Items you need:
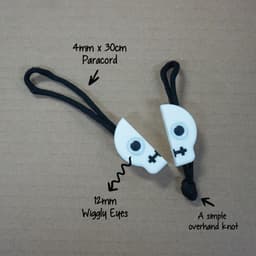
- 2 x “4mm x 30cm” paracord.
- *4 x “3mm (diameter) x 2mm (thick)” magnets (neodymium magnets are recommended for better holding power).
- Super glue (for M text and magnets).
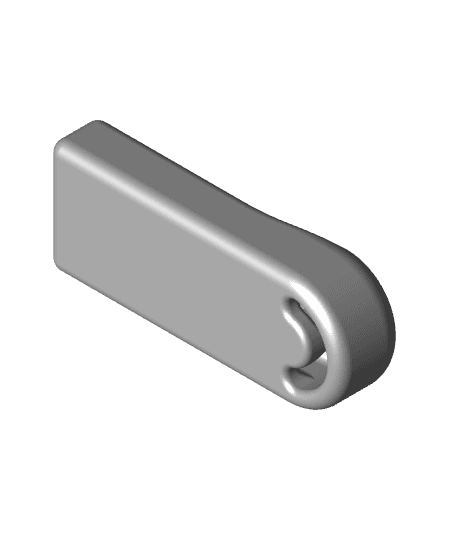
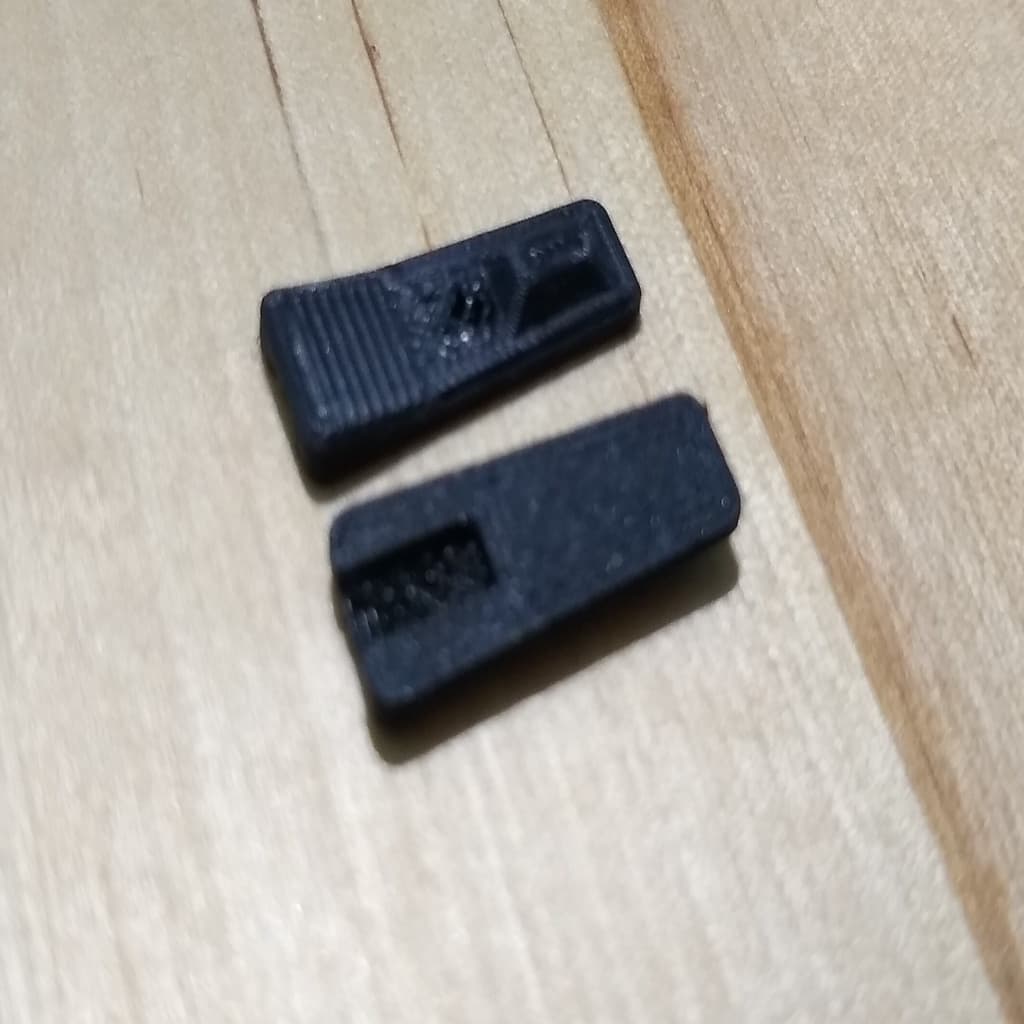
*If you do not have magnets, I have included a 3D-printed Connector.
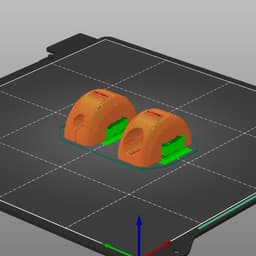
Suggested print settings for the Main Body:
- Layer height 0.2mm.
- Infill 30%.
- Position the print in a way that the joining face is facing downwards.
- Supports are needed around the overhang of the “M Text” area (refer to image).
Suggested print settings for M Text:
- Layer height 0.2mm.
- Infill 15%.
- Position the print in a way that the front (the side that is showing ) side is facing downwards.
- No supports needed.
ASSEMBLY Position the text with the smoother side (the side on the print bed) facing outward. Confirm that the text is correctly positioned and secure it in place with glue.
NOTE Most of our designs are printed and tested on a Prusa Mini and MK4, so tolerances may vary if you are using a different brand. While we strive for a smooth experience with our designs, we appreciate your understanding if tolerance issues arise.
This work is licensed under a Creative Commons (4.0 International License) Attribution—Noncommercial—Share Alike
Zipper Pull - M&M

Cute Flexi Baby Wolf Toy / Keychain - FREE
Cute Flexi Baby Panda Toy / Keychain - FREE
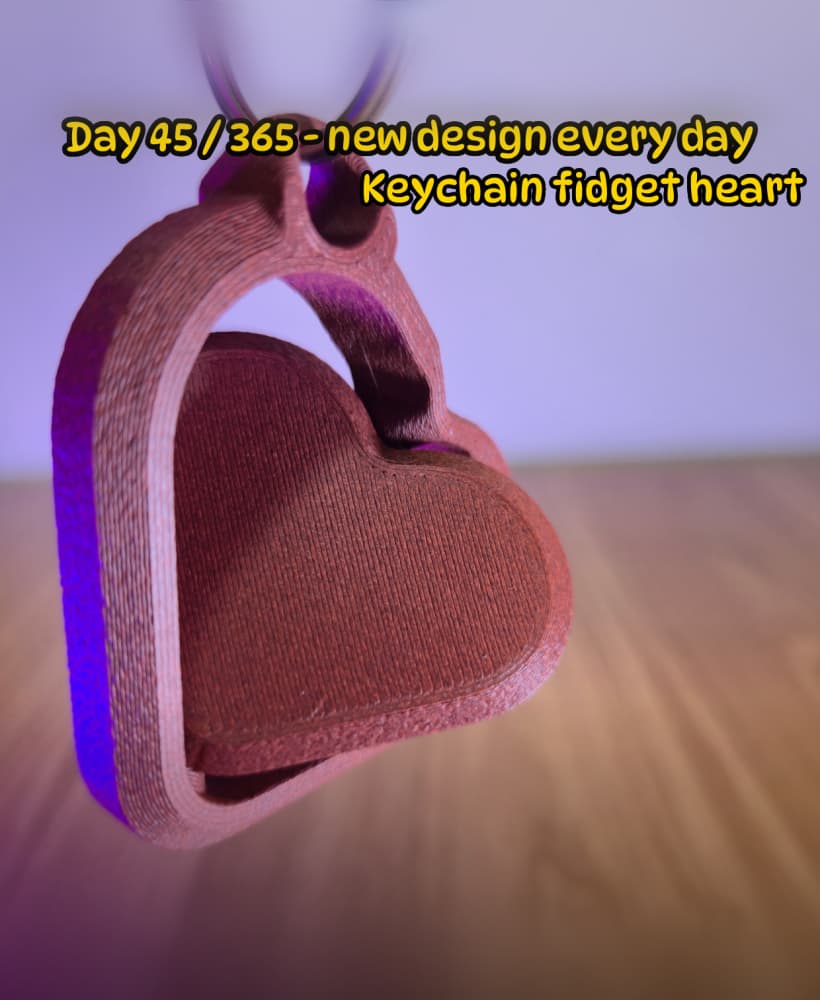
Heart Spinner Keychain – Interlocking Heart Fidget

SmallWhistle Loud Fast Print

Flexi Texas Fidget Keychain

Zipper Pull Generator

Squiggle Zipper Pull
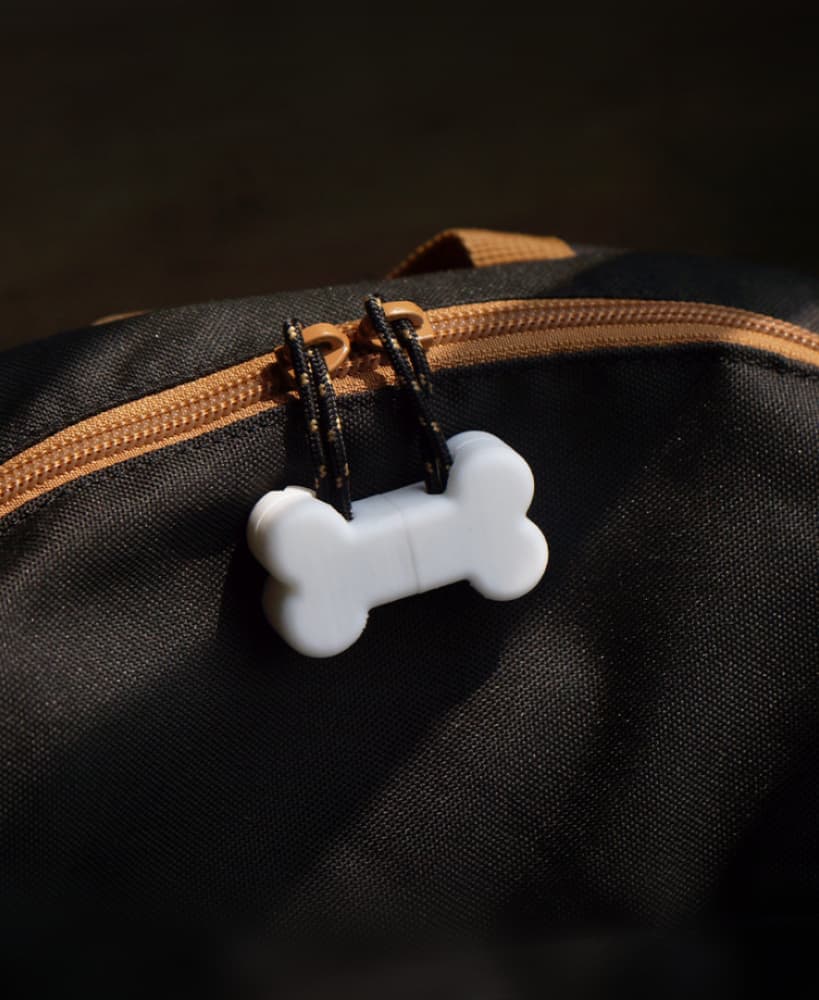
Zipper Pull - Bone
Zipper Pull - Connector
Removable Paperclip Zipper Pull Tab

Zipper Pull - Oreo

Zipper pull

Zipper Pull - Low Poly Heart

Zipper Pull - "Good Fortune" Chinese Coin

Zipper Pull - Super Star (Super Mario)

Zipper Pull - Gold Coin (Super Mario)

Zipper Pull - Double Happiness
Zipper pull

Zipper Pull - Skull Face
