
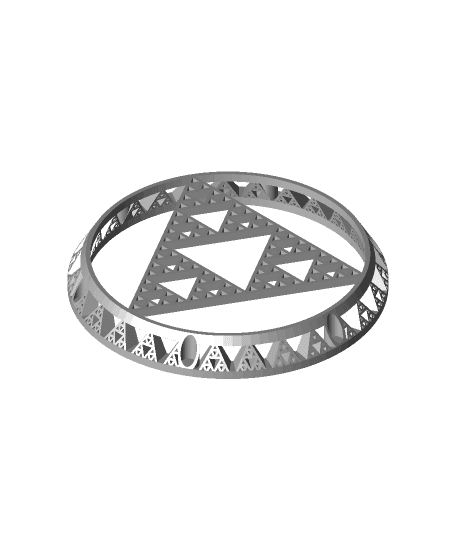
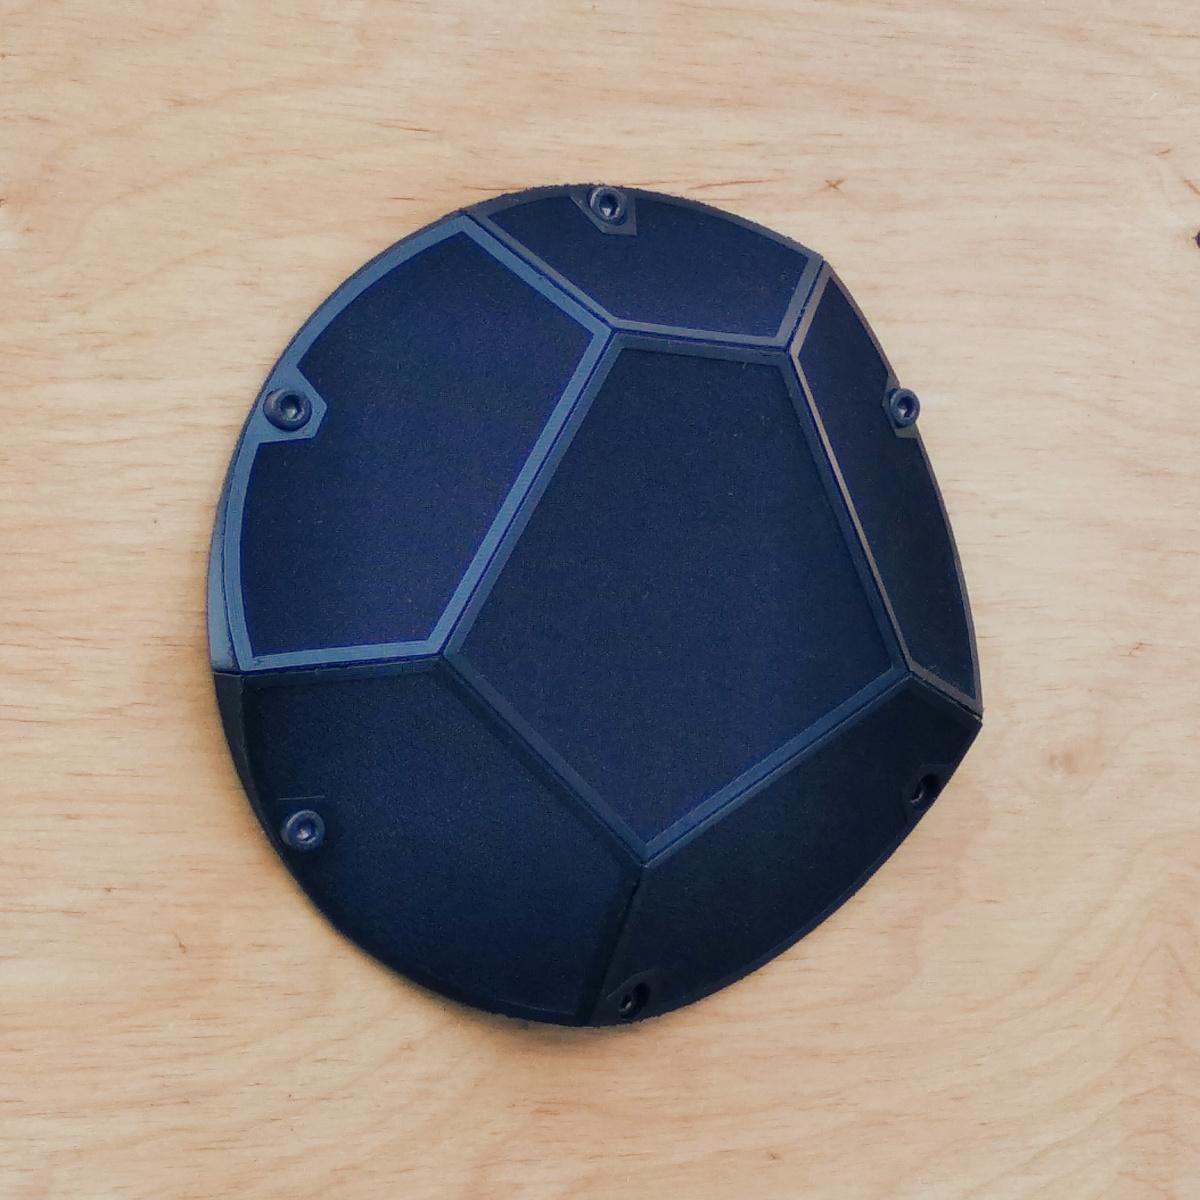
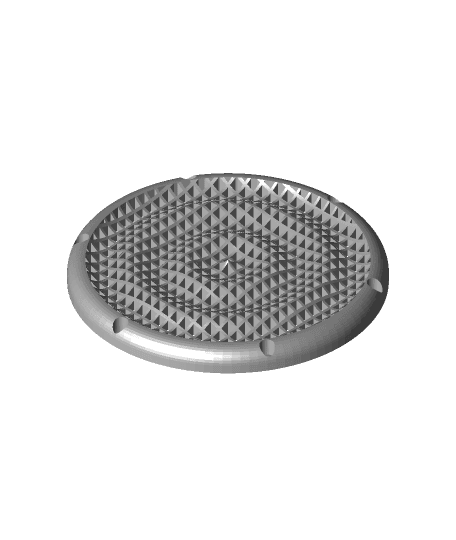
#3DPNSpeakerCover Sierpinski Support.stl
Sierpinski Support used for #3DPNSpeakerCover competition. Sierspinksy: Beauty of math and art.
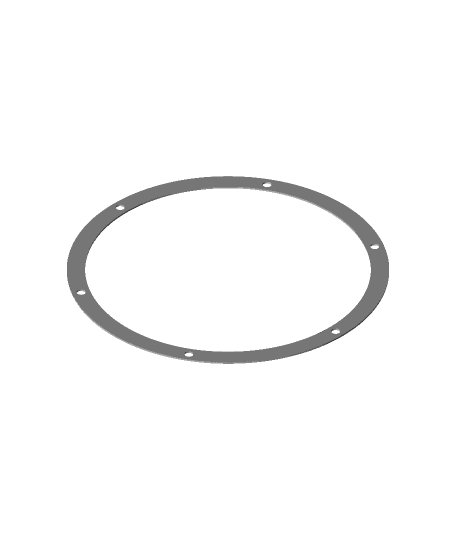
Sorry! Wrong Model Uploaded! See https://thangs.com/m/14859
Manufacturing method: FFF / FDM
Vitamins: Cloth / Mesh / Material (essential / optional) Fastening Screws
Tools: Knife and scissors for trimming cloth. Screwdriver for mounting
Printing Suggestions: Printing face down. Insert cloth at about 0.6 to 1.6mm. (If cloth has a front then it must be facing down as well.) (Mount cloth to bed with painters tape or file/buldog clips) Print with a filament swap. First same blue that is used in speakers or High Five Blue, then swap with the insertion of material to the same black as used on speakers.
Post processing: Trim cloth material. Punch away hole bridges. (Or use as holders for mounting screws while assembling) Mount covers. Grab you beverage of choice and enjoy the new look of your speakers, with the satisfaction that you built it.
Design goals: Incorporate 3d printing quirks as design features. Why waste plastic on supports if it can be used as a design feature? Even before Sophy Wong was introduced, I thought of inserting cloth ala Shorey Designs style. Used tutorial dimensions as design constraints. Tried to keep design stylish and compact enough to be used in a studio or entertainment room. Also designed for easy printability. Uprights at least 1.2mm thick, overhangs at 60° and bridges not more than 10mm. Added bridges for mounting holes as well. Minimize post processing. Single print. Minimize post assembly.
Printing with cloth / fabric / mesh: Choosing a good material to 3d print on https://youtu.be/4VRnlIG8To0 Demystifying 3D Printing On Fabric https://youtu.be/nLHMsdrp1k0
#3DPNSpeakerCover Sierpinski Support.stl
#3DPNSpeakerCover Sierpinski V2.stl

USB Drive Storage Rack (Modular, Push to Open)

Sierpinski Fractal

Sierpinski 4-Pyramid with code. Customizable
3D Printing Nerd Speaker Cover Template

Dual Hexahedron Fractal

Menger Sponge - Easy to Print

Pegboard Upper Angled Support.stl
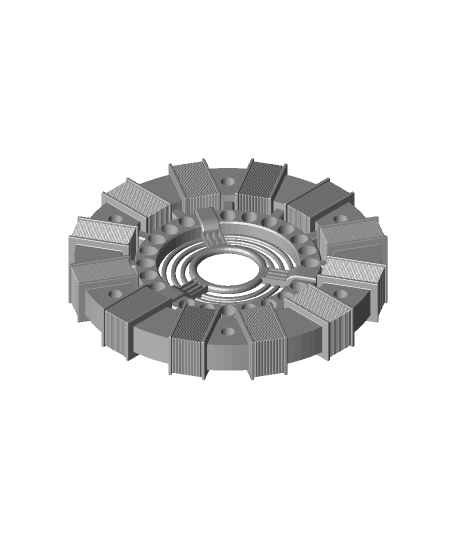
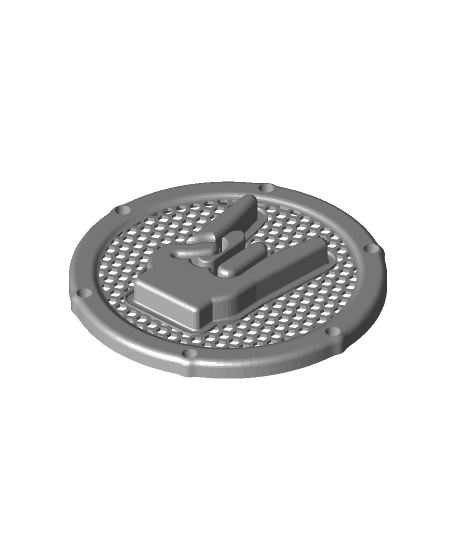
#3DPNSpeakerCover Iron Man Arc Reactor
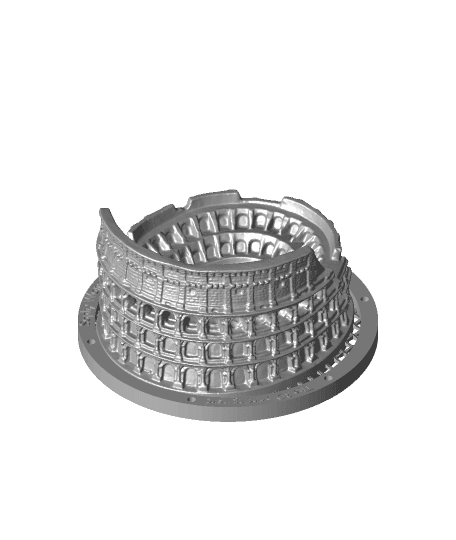
#3DPNSpeakerCover speaker cover colosseum
#3DPNSpeakerCover Print on fabric - Fold in place

#3DPNSpeakerCover Speaker grill simple
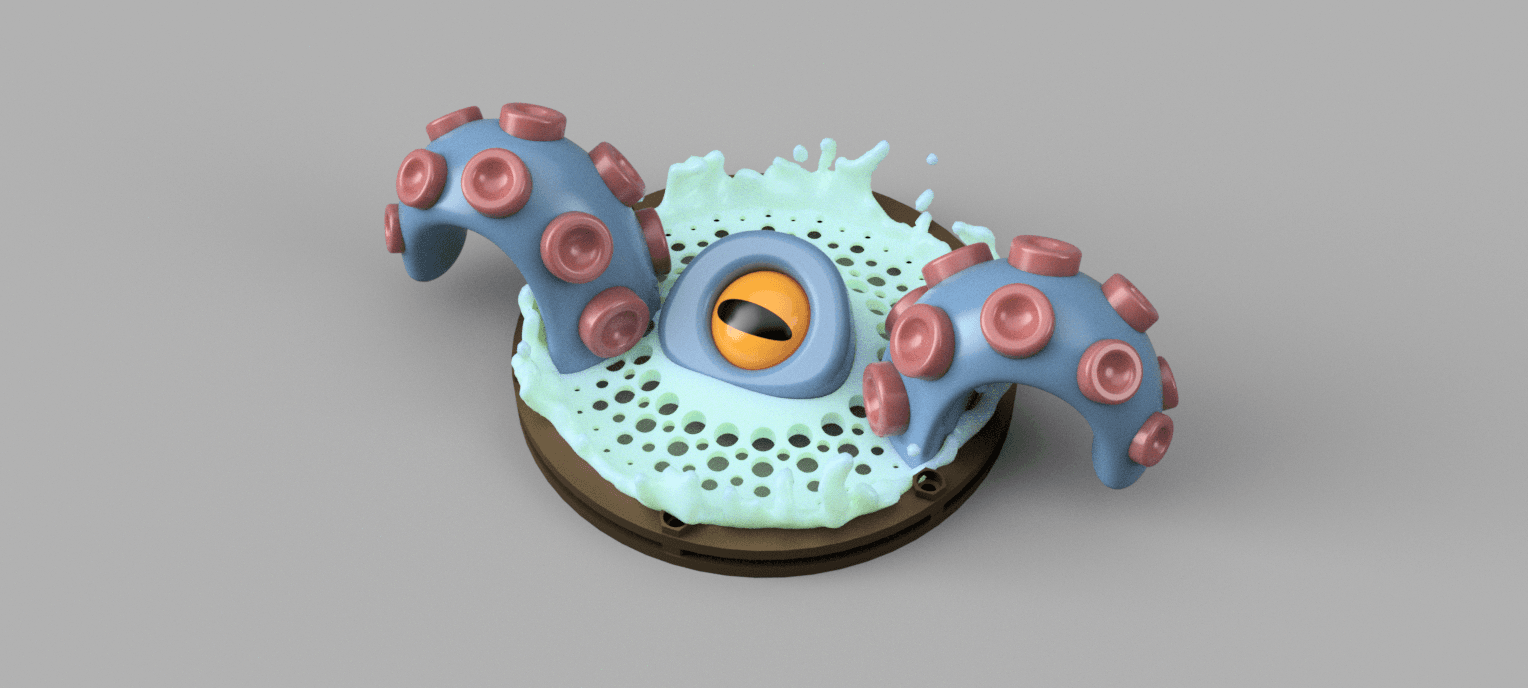
#3DPNSpeakerCover Octopus Splash Cover
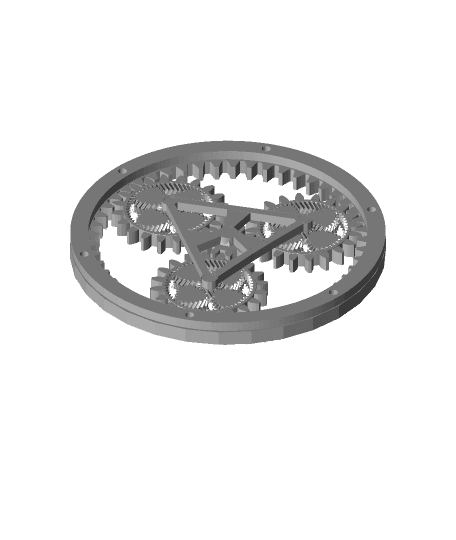
#3DPNSpeakerCover speaker cover gears in gears
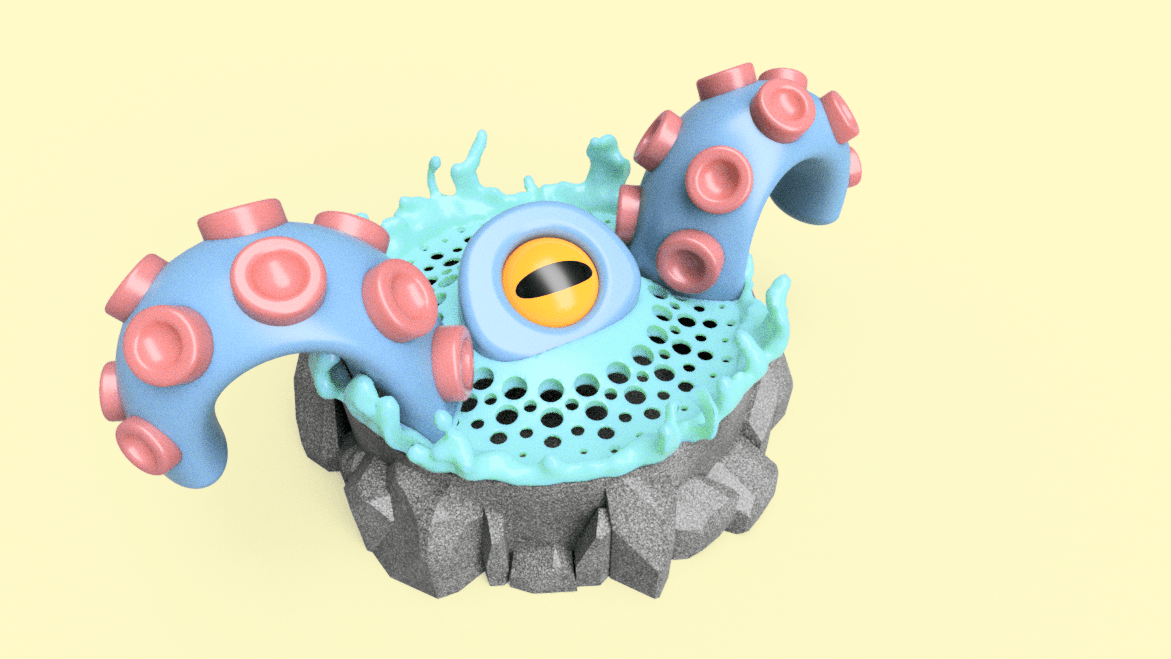
Octopus Splash Rock Box

#3DPNSpeakerCover Blasting Off Again

#3DPNSpeakerCover Spider web + spider
Ripple Speaker Cover v2.stl
#3DPNSpeakerCover - Rock & Roll Speaker Cover
Sorry, I uploaded the wrong version of the model. Please use https://thangs.com/m/14859 to have the mounting holes included.