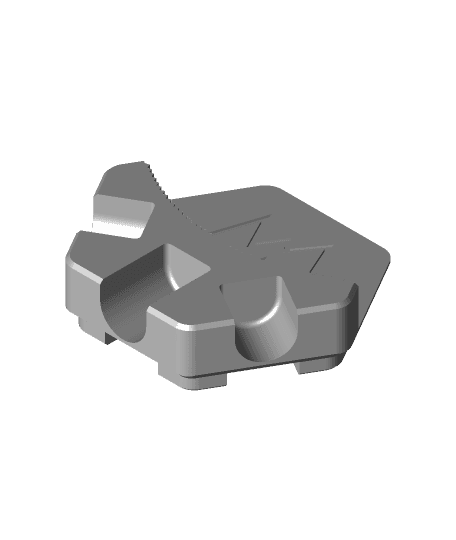


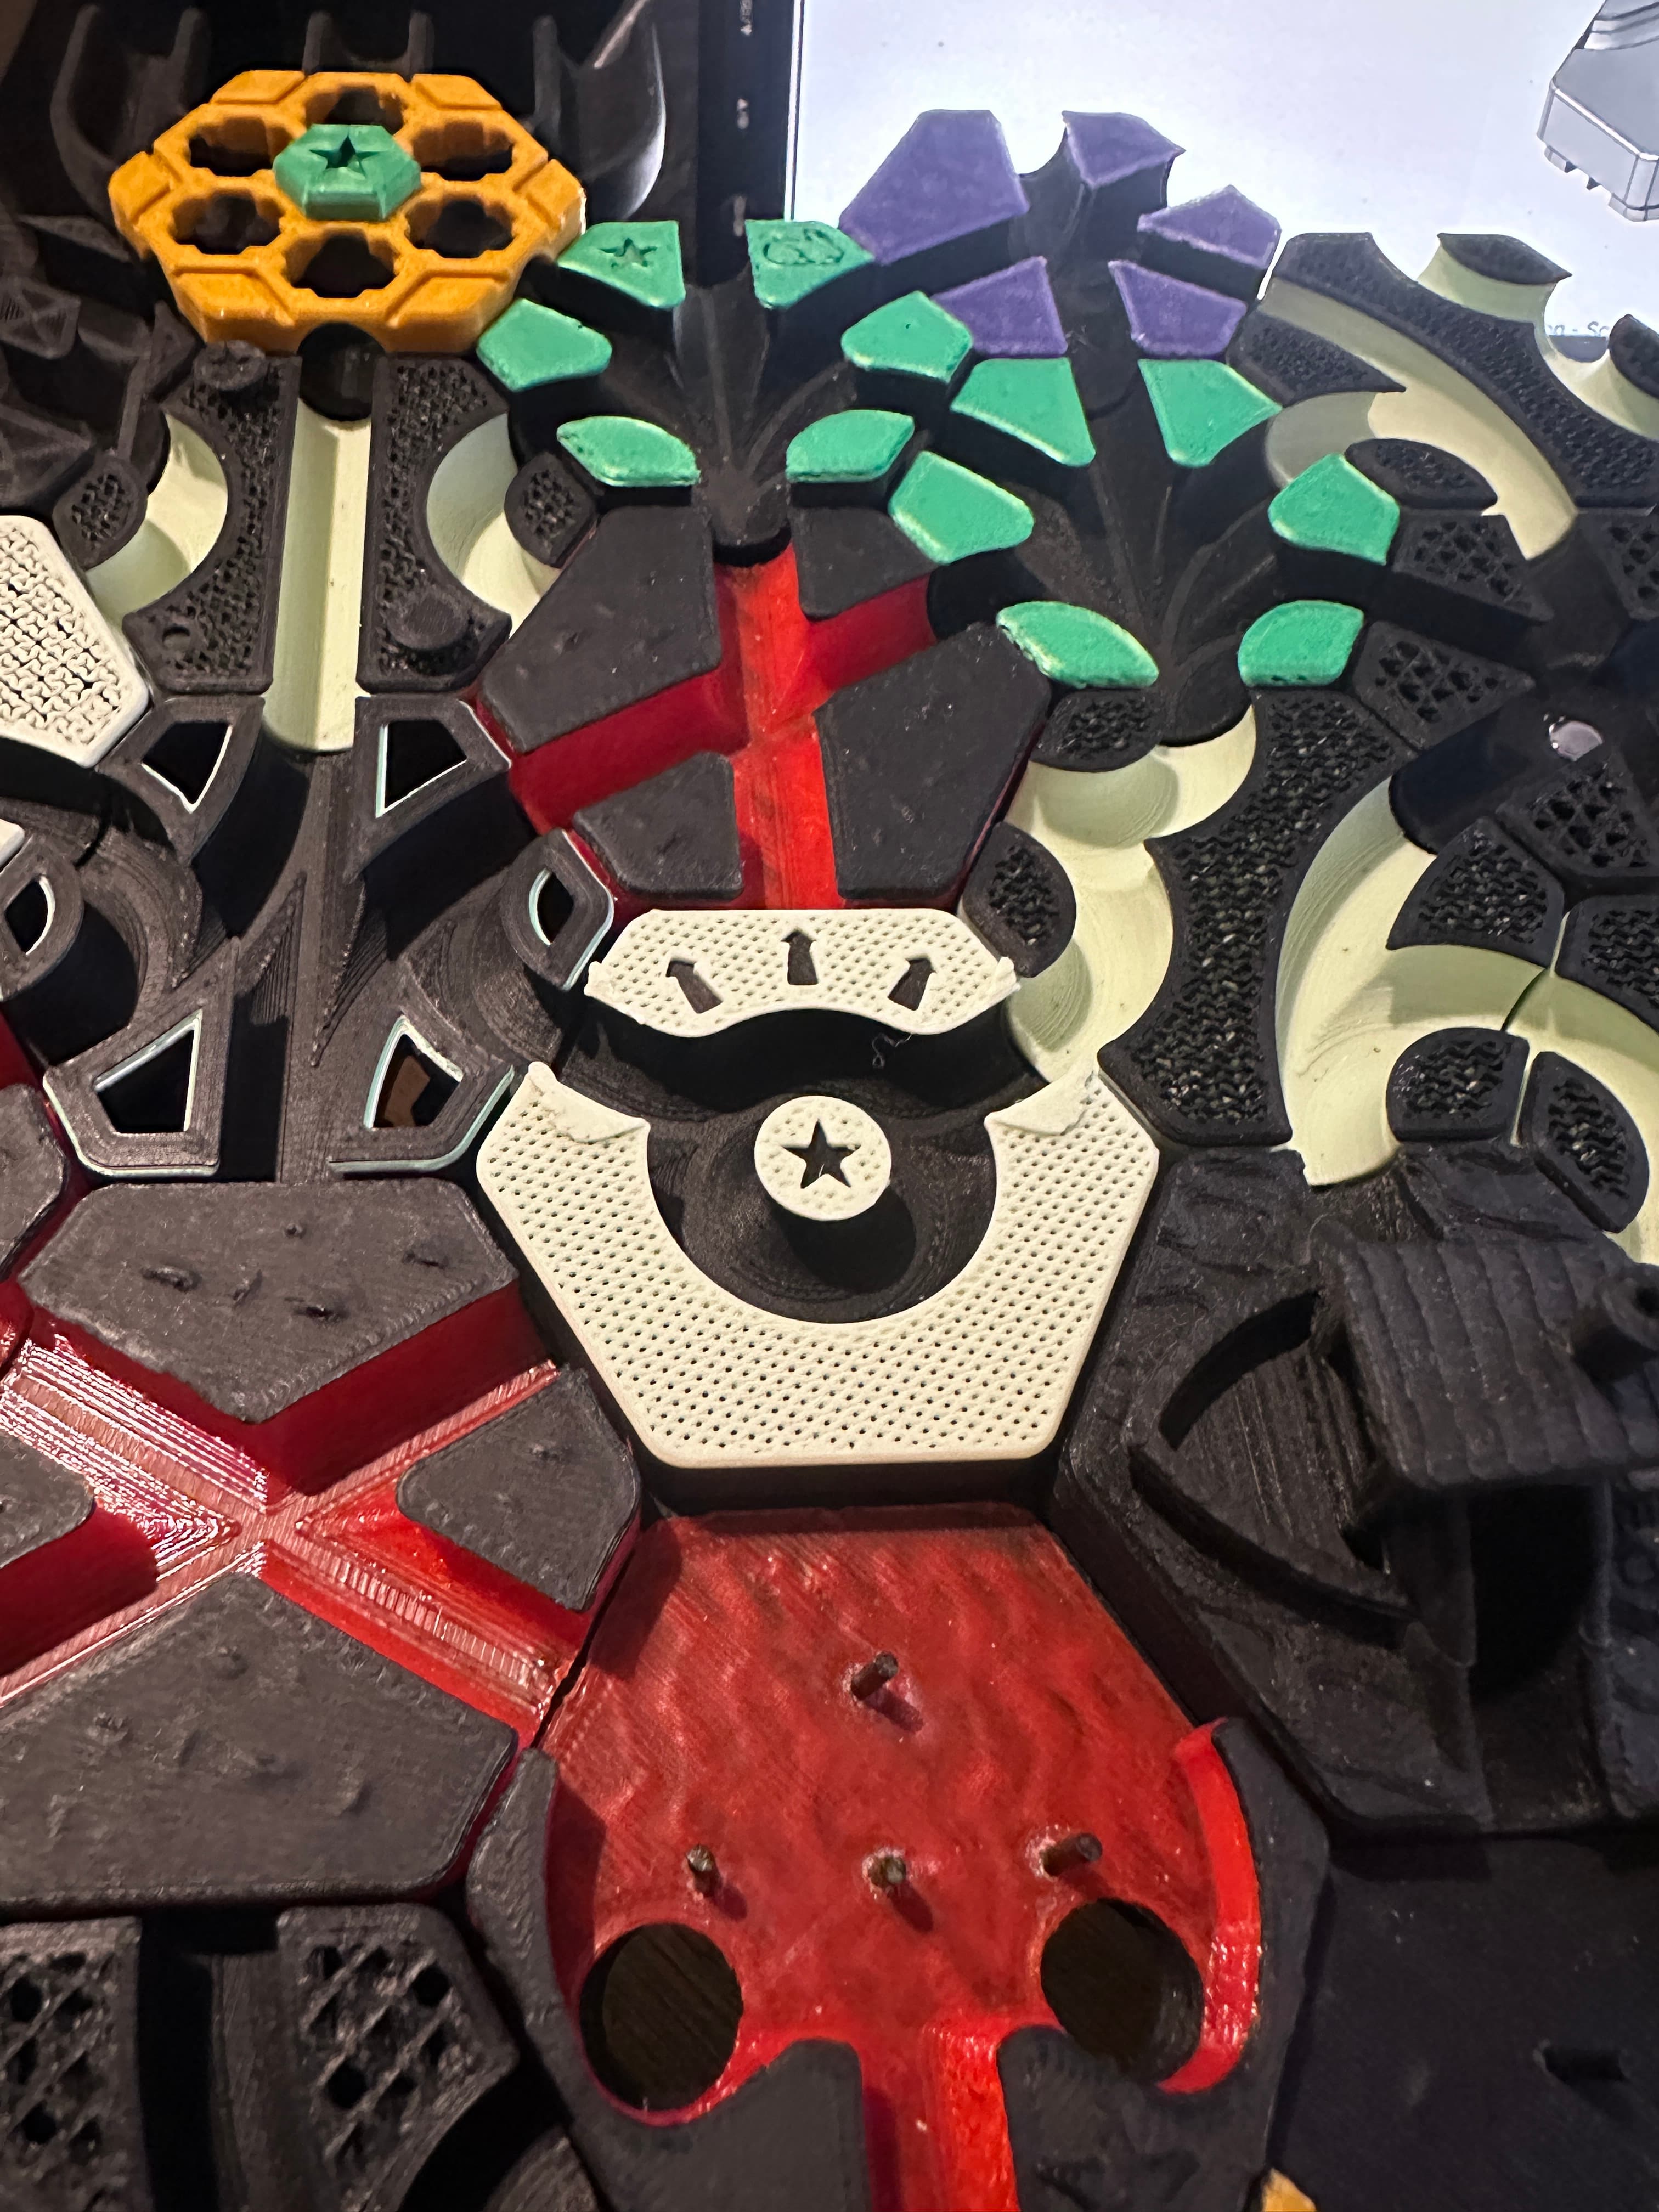
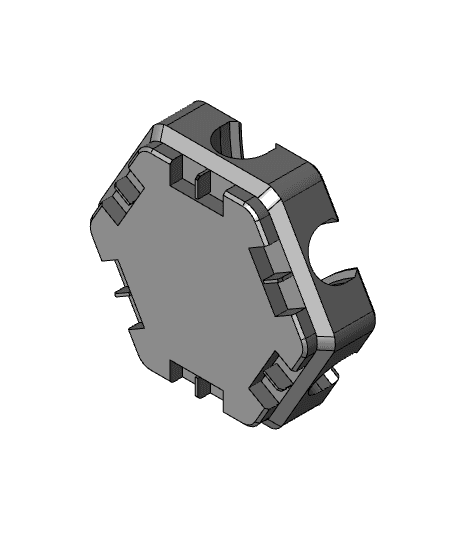
Hextraction Tile: Switchflop
TL;DR This is a variant of a Flip-Flop tile for the 3D-printed board game Hextraction. The main feature is that it can be rotated, so it can be used on the whole board
Print recommendation:
- Nozzle: 0.4mm
- Layer height: 0.2mm
- Perimeters: 2
- Infill: 15%
- Supports: no
- Filament: generic PLA (other materials should work, but i couldn't test them)
Needs a M3x16 screw, M3 washer is recommended
Motivation
Flip-Flop tiles are great, as they allow more strategic play and/or cause more chaos. Unfortunately most variants can only be placed in specific locations, mainly not the edges of the board. On a "standard" gameboard, this excludes 2/5 columns = 40% of the play area.
To rectify this, i designed this tile which can be rotated one step, so each tile can be used on both edges (and everywhere else on the board)
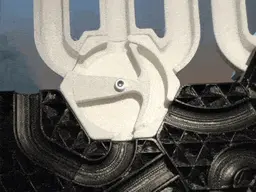
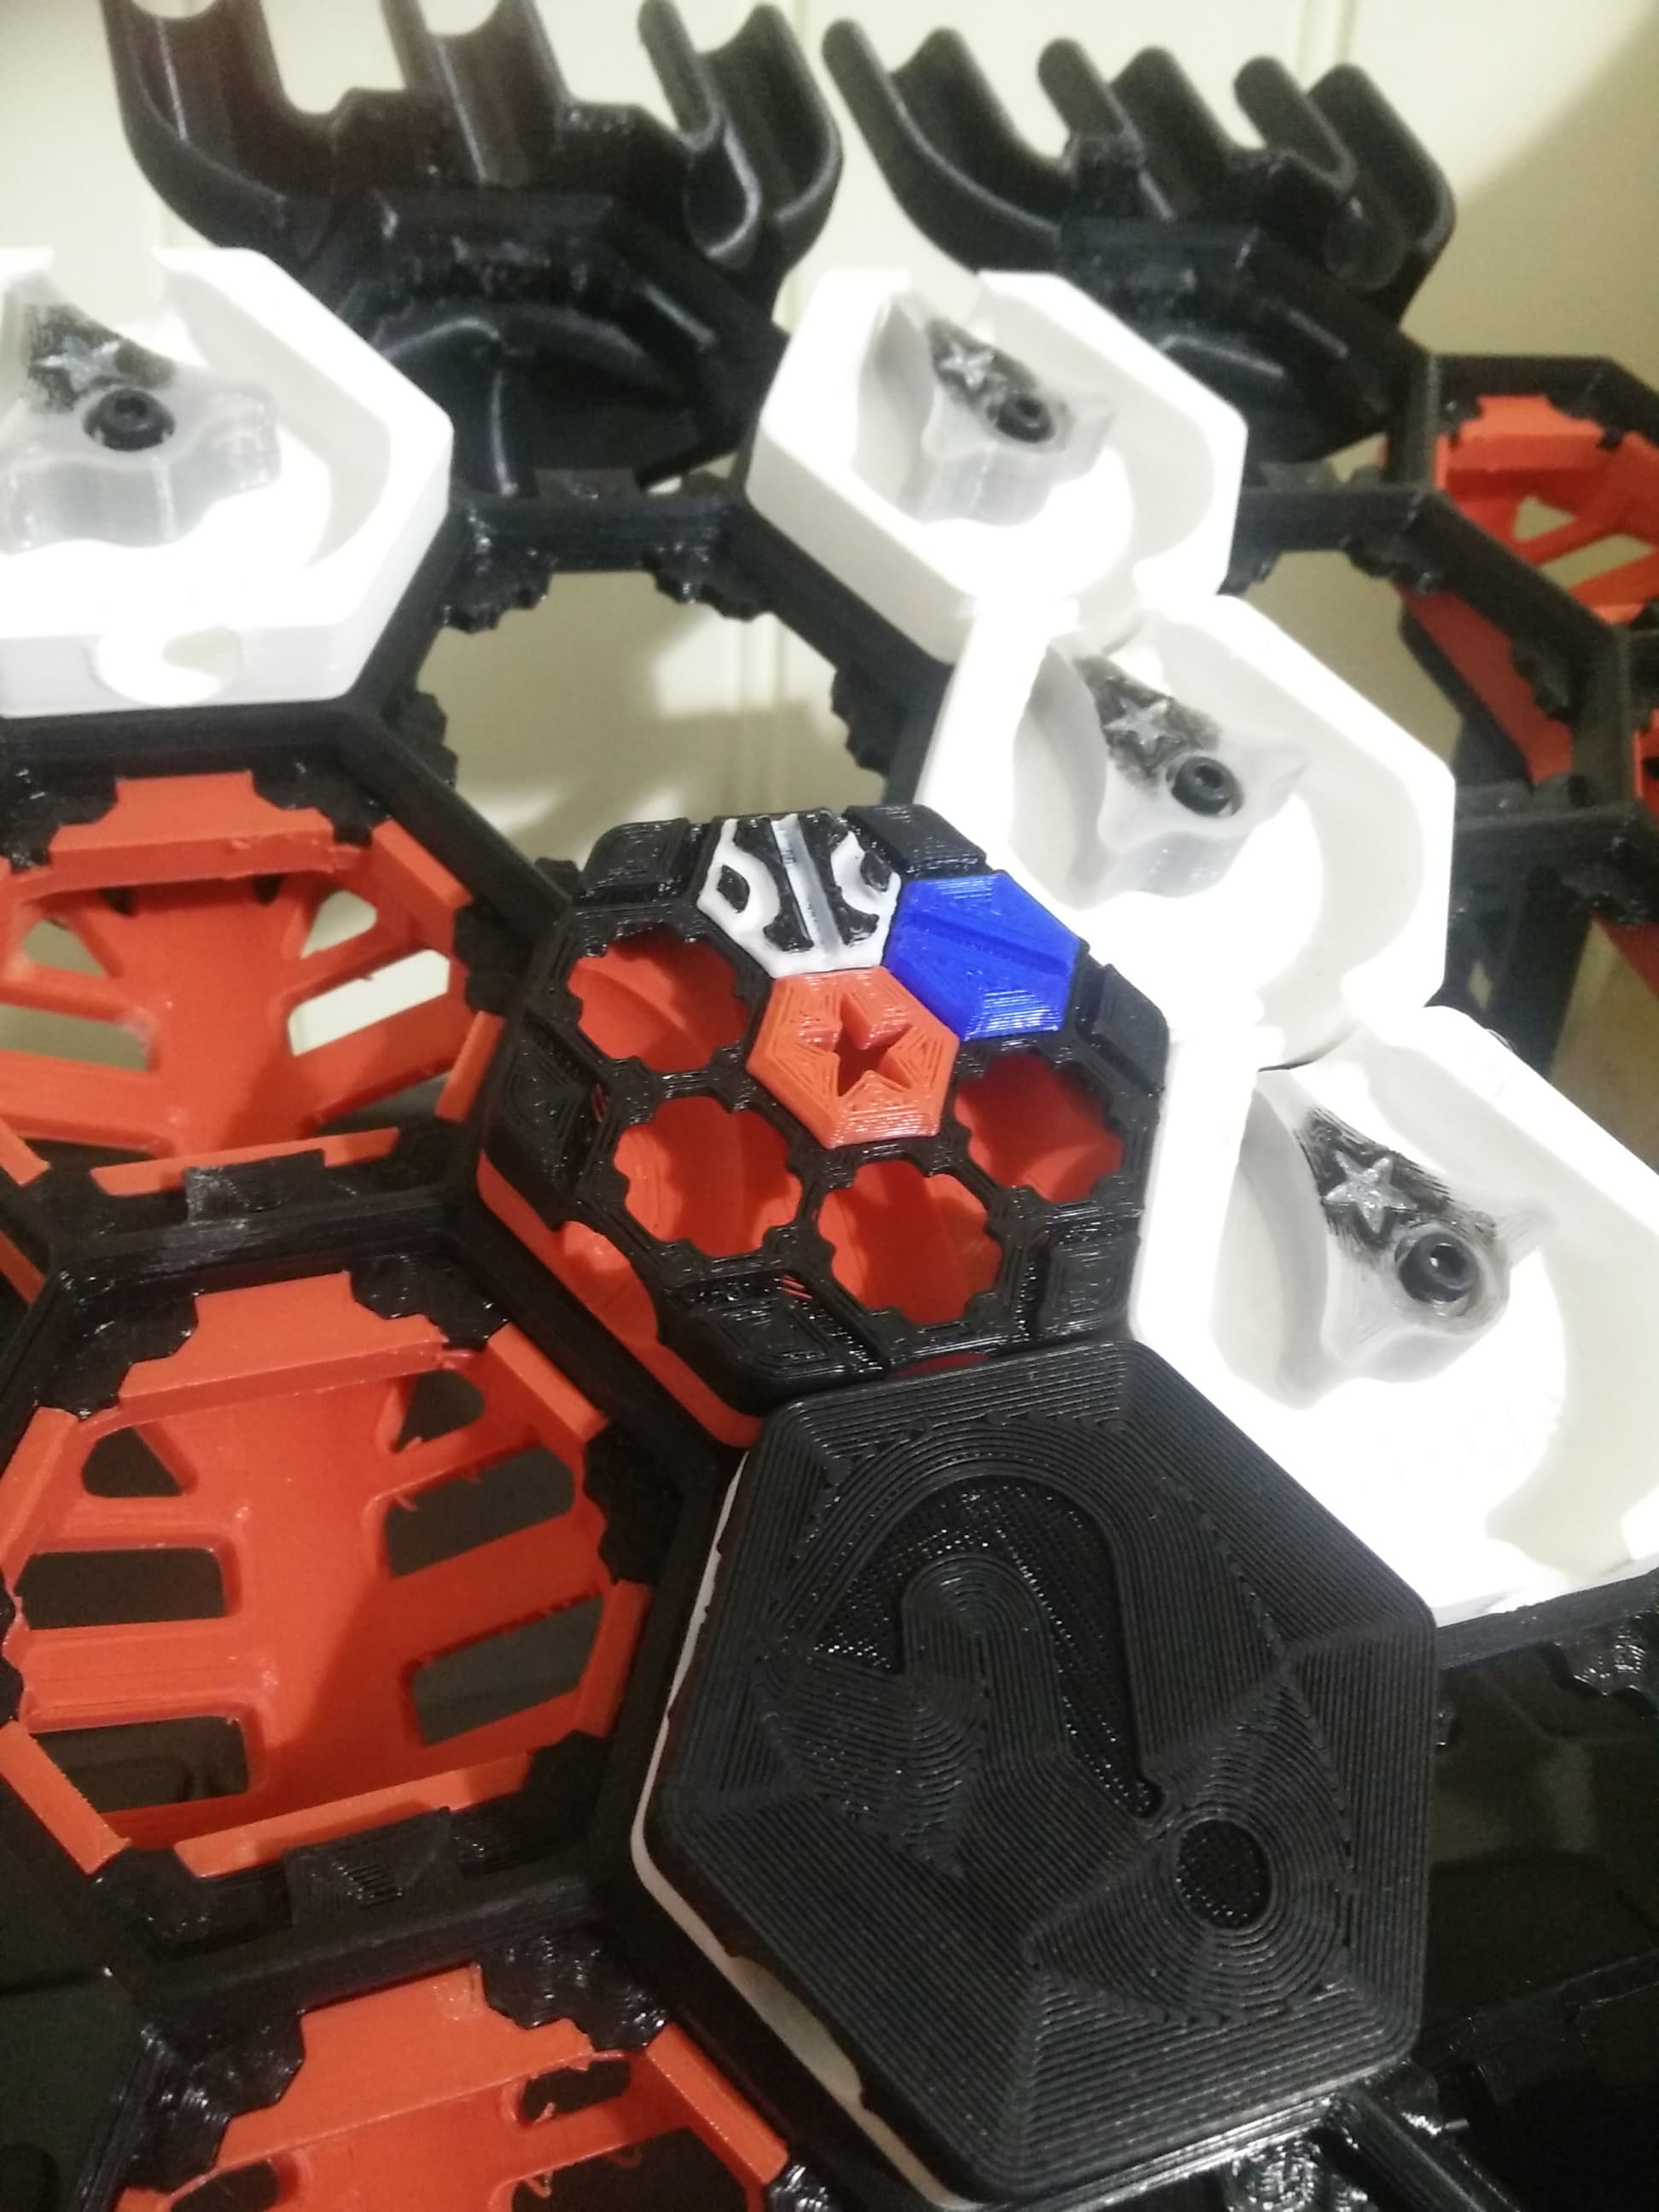
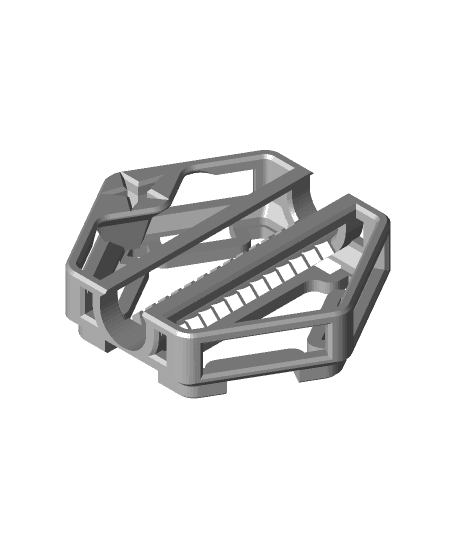
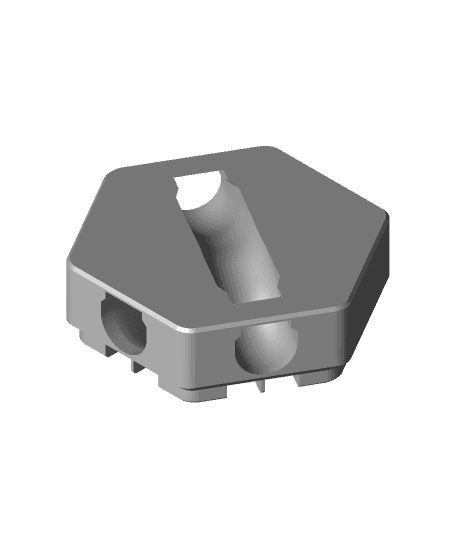
Function
The mechanics are optimised for reliability:
- The "catch"-position gives the ball enough leverage even with the slowest input
- The output slope has enough of an angle to allow the balls to roll out even on uneven game boards
- To help with the output slope, even the output-cutouts are angled
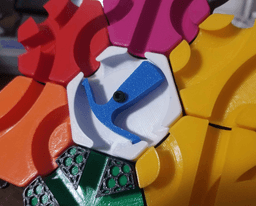
Some characteristics of this tile are the result of the initial conditions:
- It has two directly adjacent outputs (otherwise one output would lead a ball over the edge)
- It has two inputs (i wanted one on top when it's placed on the edge. Rotating it necessitates the second input)
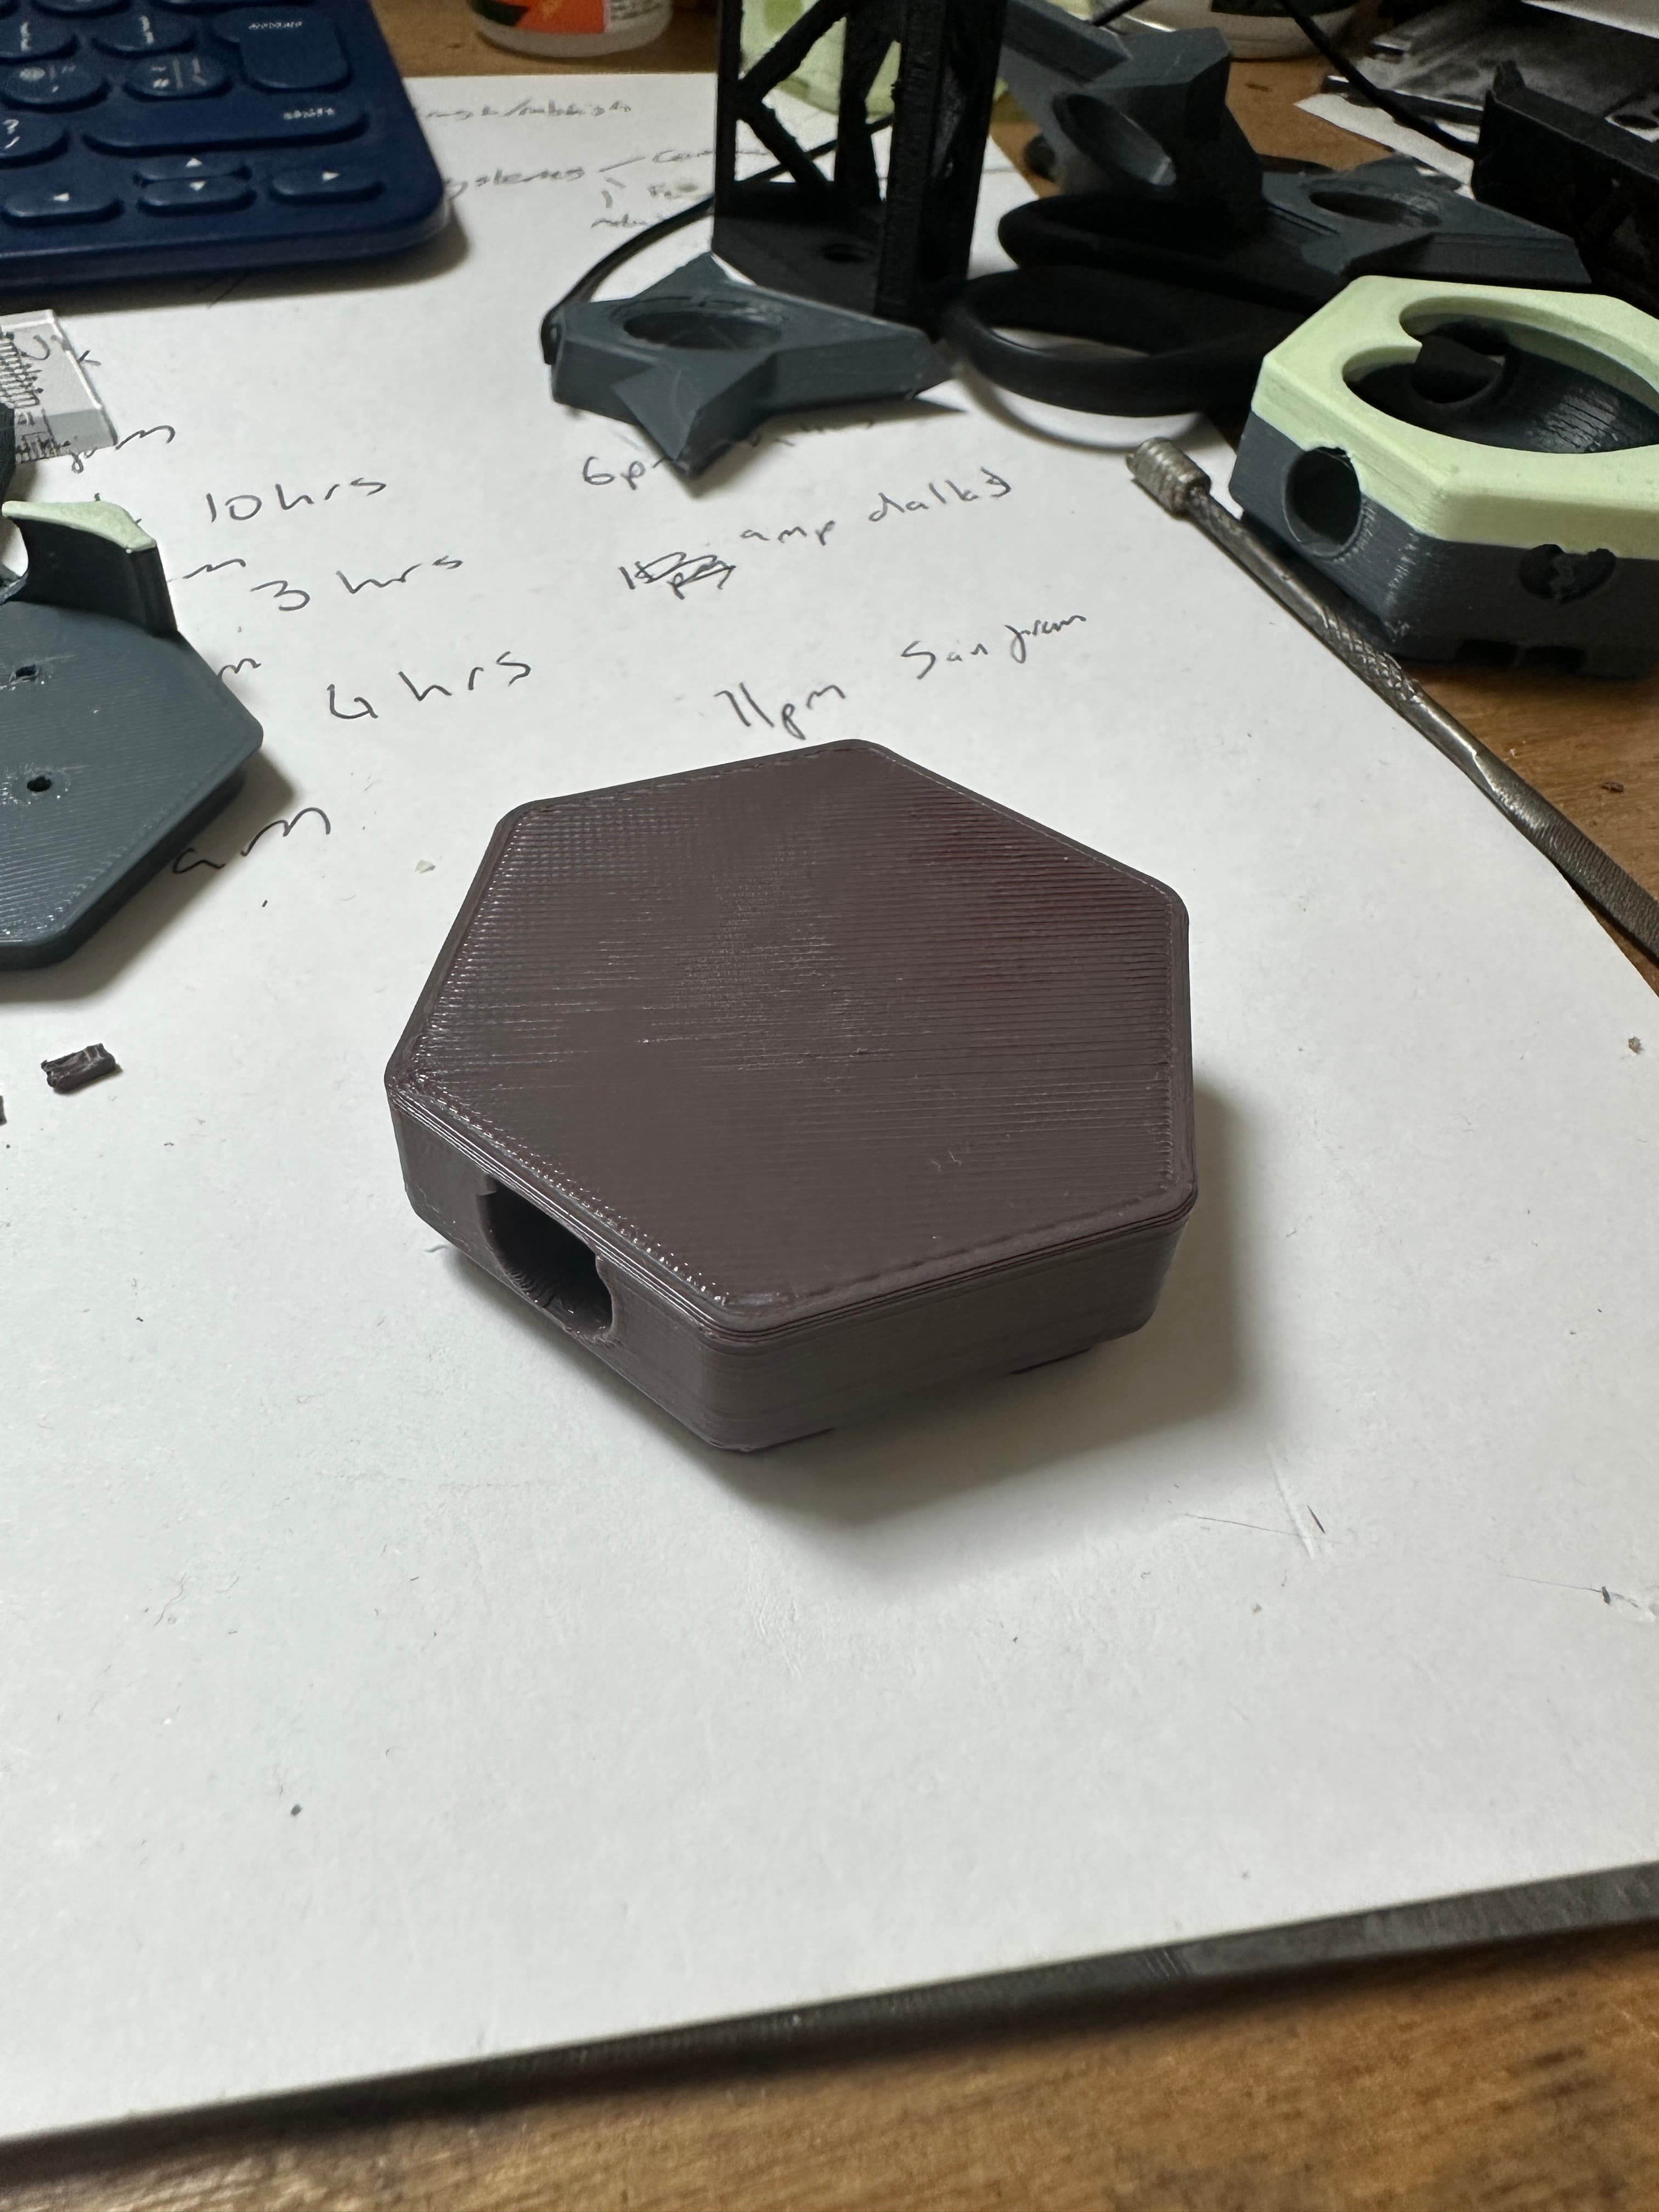
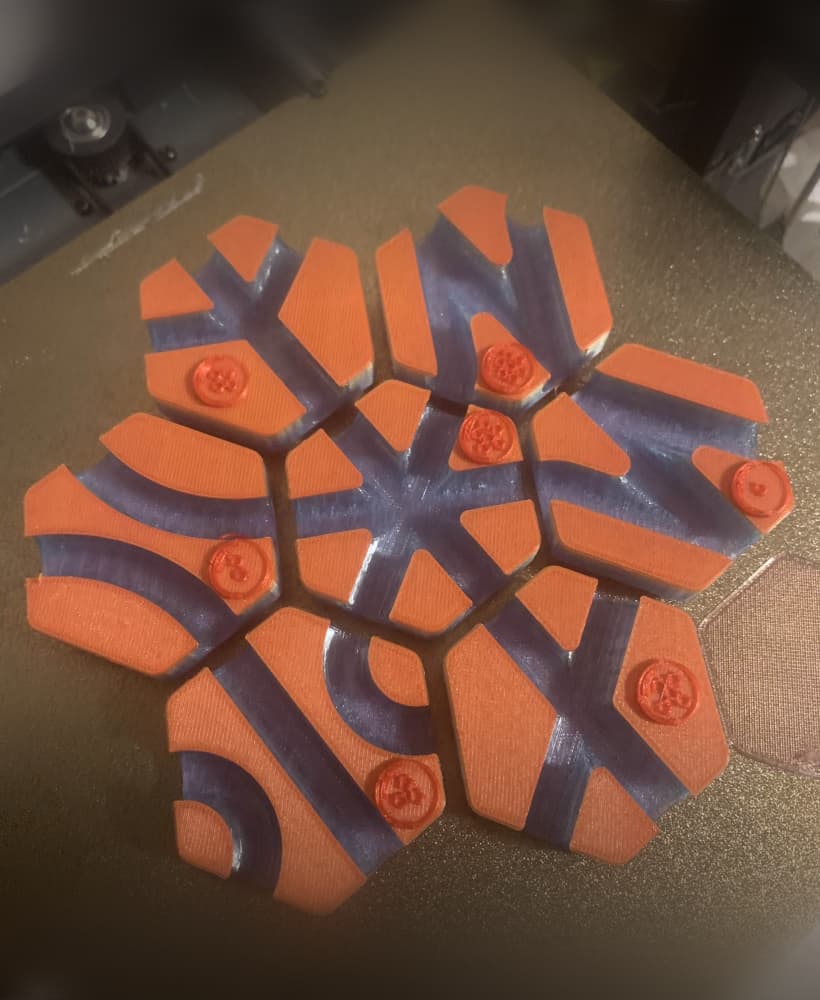
Printing & Assembly
The files should automatically have the best orientation in your slicer. Otherwise standard rules apply: Chamfers on the bottom, fillets on top.
Recommended nozzle size is 0.4mm: the flipper is designed with a 0.45mm perimeter width in mind. This way, there are no unsightly seams in the axle hole
Supports are not necessary, see "Shaping" for more information
For assembly you need a M3x16 screw. A washer between the base and flipper should improve performance, although i didn't find it necessary.
Assembly process:
- Push the srew through the flipper
- Ensure the flipper rotates freely on the screw
- (Add the washer)
- Screw into the base, with special attention that the screw stays straight (a lopsided screw can lead to binding in some flipper orientations)
- Place the tile on the board and play with it
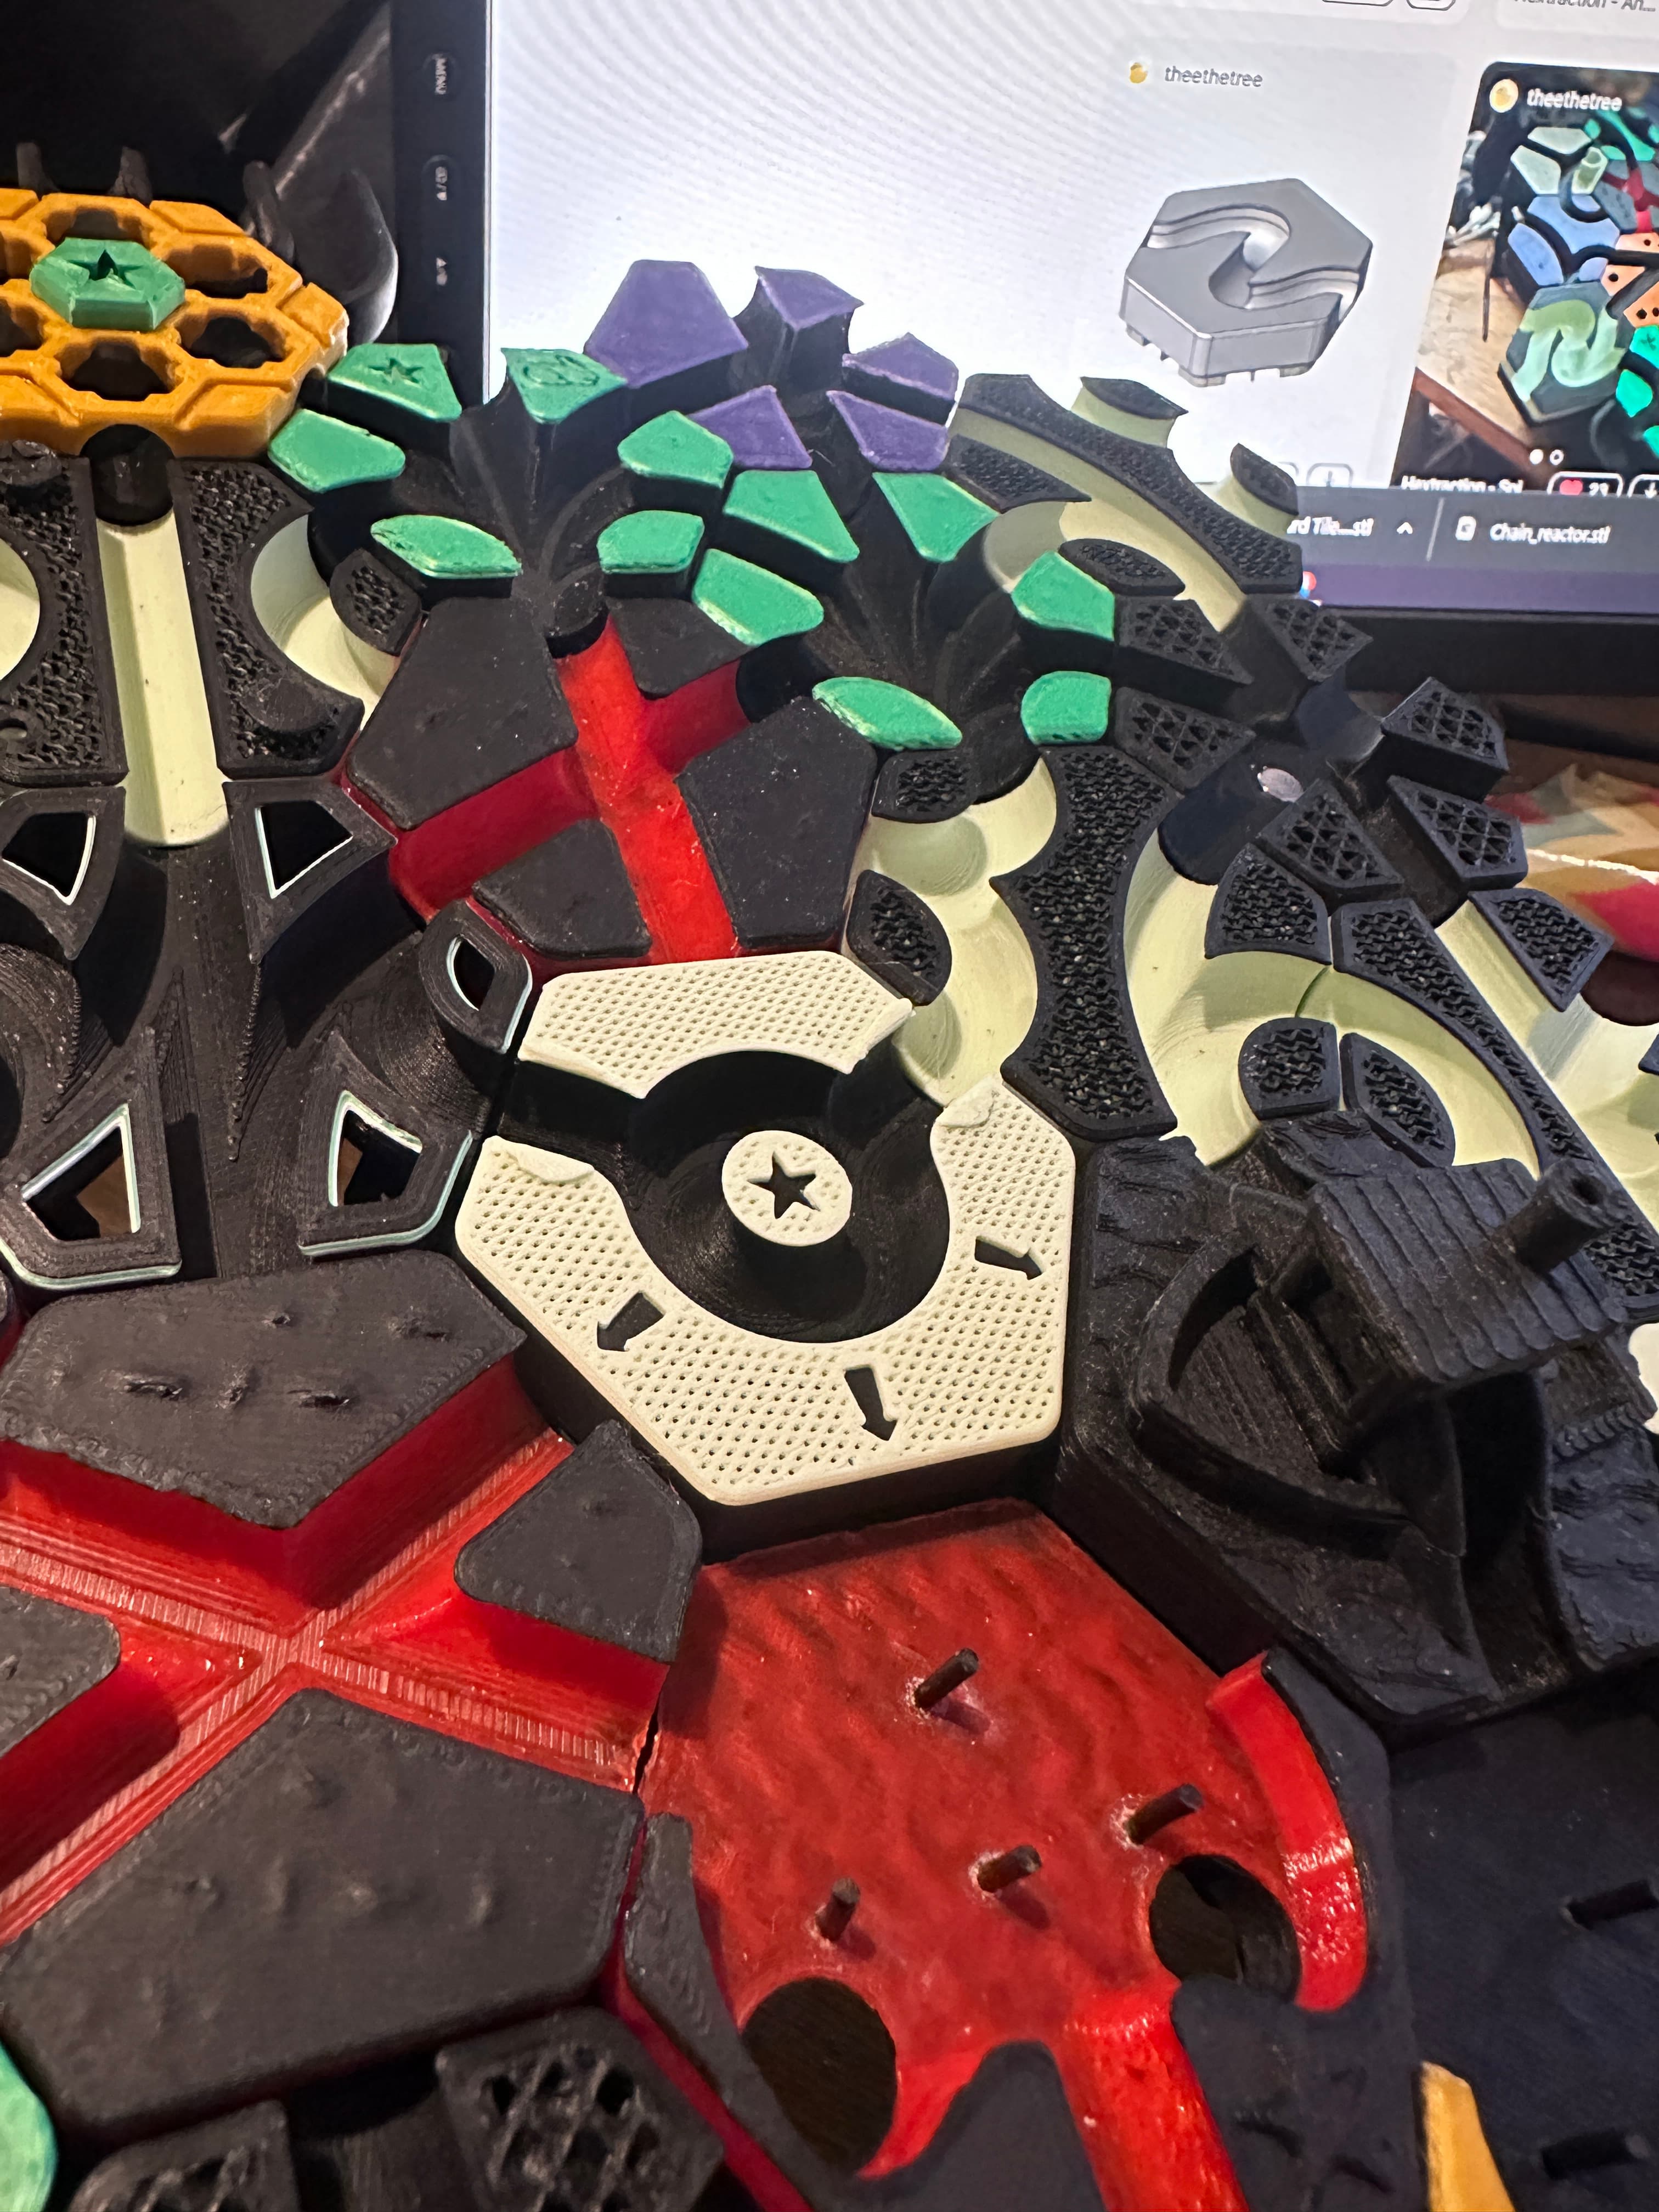
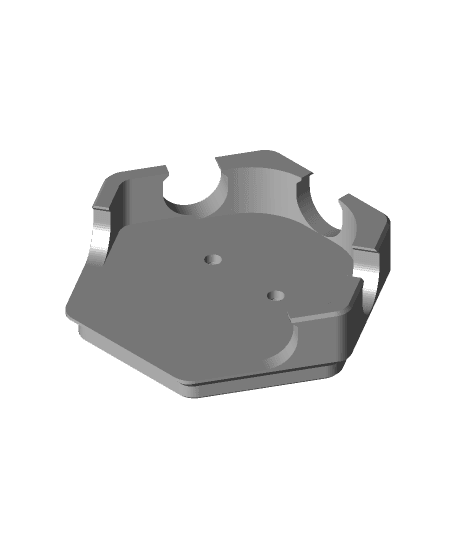
Shaping
The orientation cutouts in the tile base are deeper (0.4mm) than on most other tiles, this has two motivations:
- Mainly: removing the redundant constraints with the base surface. Unfortunate tolerance stacking or print artifacts can lead to a wobble / inconsistent fit when tiles contact either one or the other surface
- Enable printing without supports while ensuring that potential bridge sag won't interfere with the fit on the board.
Known issues
- Can get stuck with 4 or more balls
- Can get stuck with 2 or more very slow balls
- The name could be improved
Inspiration
Zack Freedman's Hextraction is directly responsible for me getting a 3D Printer.
The functional inspiration was his original Flip-Flop Tile.
The possibility of this form of Flip-Flop came to me when thinking about NoStep's Side Flop Tile, which is also the reason i used an extrusion in the base wall as an angle limit, contrary to screws or pins + cutouts in the surfaces of the base and flipper. I find this design impacts performance the least and allows for more freedom in the print orientation.
The flipper wall shape is similar to NoStep's designs after i found that the standard Flip-Flop shape has too much friction.
The no-support solution is thanks to Hackjaz's remixes, which showed me that it's possible. (Elevating the cutout was my own idea after using tiles with badly removed supports)
I hope you have a lot of fun using this tile :-)

Hextraction Tile: Switchflop

OLD Hextraction - Bishop Tile Chess Tiles

Hextraction - King tile Chess Tiles

OLD Hextraction - Rook tile Chess Tiles
OLD Hextraction - Knight Tile Chess Tiles
OLD Hextraction - Pawn Tile Chess Tiles
NEW Hextraction - Knight Chess Tiles
Hextraction - Queen Tile - Chess Tiles
Hextraction - Angel Down Tile
Hextraction - Angel Up tile

Hextraction - High-Consistency Trap Tiles
Hextraction - Dip Tile
NEW Hextraction - Rook Chess Tiles
Hextraction Shahrazad Tile Lid - Secret Tile Compatible
Hextraction - Holo XC tile - One peice
Hextraction - XC Holo Tile
Hextraction - Dip and hill tile
Hextraction - Rubber band Trampoline Tile
Dragon Ball Hextraction Tiles
Hextraction Necromancer tile