
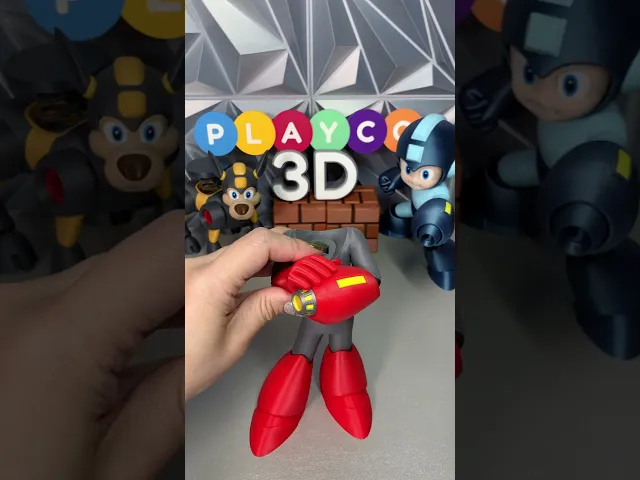
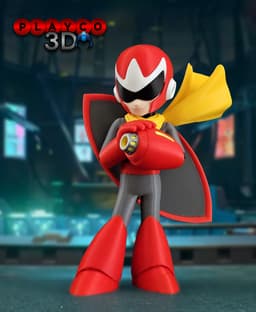
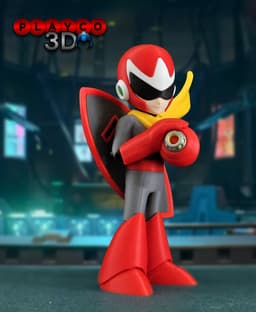

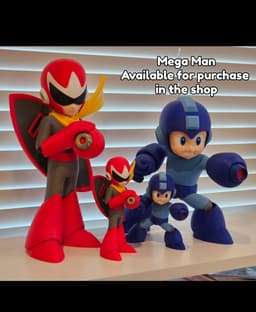


Proto Man
Introducing Proto Man, the red rival who shares a hidden connection with Mega Man. Equipped with his signature Proto Shield and arm cannon, this 3D print captures his cool, confident style with a touch of mystery. Designed for multi-color printing and easy assembly, he’s a must-have for any Mega Man fan!
Dimensions:
At 100% scale, Proto Man stands approximately 7.9 inches (197 mm) tall. A 200% scale profile is also included, making him about 15.8 inches (394 mm) tall. Scaling larger will exceed the standard Bambu print area of 256 mm x 256 mm due to the shield, but you can modify and split the parts if needed. If scaling down, be mindful that tolerances will tighten and assembly may become more difficult.
Colors Used: Bambu Basic: Black, White, Sunflower Yellow (Scarf), Yellow (Blaster), Red, Green, Silver, Dark Gray (Shield) Bambu Matte: Gray (Body) eSun PLA+: Beige
Printing Tips: The chest is set to print upright, and I’ve reinforced the supports around the arms, which can cause issues when using default support settings. I’ve printed it this way many times successfully, though results may vary depending on your setup. If you prefer a safer print and don’t mind the body being split (the seams are well-hidden by the model’s pose), use the version with the body split.
For the scarf, I’ve included two printing techniques. The horizontal version uses more supports but provides the most reliable results. The vertical version requires fewer supports but is riskier. I’ve printed it vertically a few times with success using Sunflower Yellow PLA, but other filaments experienced some failures. For consistency, I recommend printing the horizontal version.
Make sure to add supports under the red helmet if your slicer doesn’t generate them automatically. You can check my profile for reference.
Assembly Steps: Attach the knees to the body using the pins. Attach the legs to the boots. Building the Blaster and Hands: (Use Assembly Pics for reference) Begin by assembling the blaster with all its components. Glue the hand and blaster together using the pin provided. Glue the left elbow to the body. Insert the right elbow into the red hand — apply firm pressure until it snaps securely into place, then attach the small pin to the right black elbow. Take the blaster and hand assembly, slide it onto the left elbow, and press it onto the right arm until it snaps in securely. The 200% version will be a tighter fit, but it will snap together firmly with extra pressure. If it’s too difficult to snap the right elbow onto the body, remove the pin from the right elbow, align it manually, and glue it in place Attach the chest to the legs Insert the pin into the legs, then place the red belt over it with the printed side facing up. Apply glue to both ends of the pin and along the inside edges of the belt, since the chest and legs do not make direct contact. Glue the scarf onto the body with the pin.
Building the Helmet Place the face in first, then glue the black neck piece to the face under the helmet using the pin. The arrow on the white helmet (on the back) should point upward. Slide the white helmet piece all the way in, but don’t glue yet. Apply a small amount of glue to the top of the face and the bottom of the white helmet piece. Press the black visor firmly into place until it’s fully inside. The pressure may cause it to press out slightly, so hold it steady until the glue sets. For the ears, you can use the pins if you’d like, though they’re quite small. They’re mainly included for extra support and to help with alignment during assembly. Attach the green part to the back of the head. Next, glue the head onto the body.
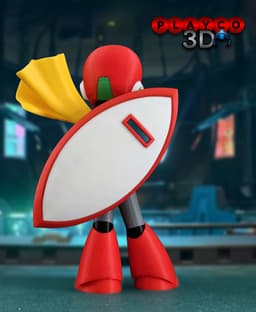
Building the Shield (Use Assembly Pics for reference)
Press the white shield piece (curved side goes in) into the back of the red shield trim — the back of the red trim is the opposite side of the printed flat surface. Align the pieces and press firmly. It may take a little adjusting, but once aligned, the red trim will hold it securely with pressure. Glue the gray inner shield piece onto the back, with the printed side facing the white shield. Make sure the holes line up correctly. Attach the handle — the flat cut edge of the handle should point to the right side of the shield when viewing the gray part.
Building the Shield Windows Each window piece has a slight curve. The deeper piece attaches to the white section, and the shallow piece attaches to the gray section. Align the black window pieces so their curves match the red shield trim, then insert them into place on the shield.
Final Assembly Attach the shield to the back of Proto Man and you are done! That’s it for Proto Man!
Thanks so much for your support and for being part of the Playco3D community. I hope you enjoy printing and building him as much as I did creating him!
Don’t forget to share your photos and tag @Playco3D — I’d love to see your finished Proto Man!

Stripe (Gremlins)

Rocko (Rocko's Modern Life)

Chris Griffin (Family Guy)

Ice Man (Mega Man)

Inspector Gadget

Cobra Commander (G.I. Joe)

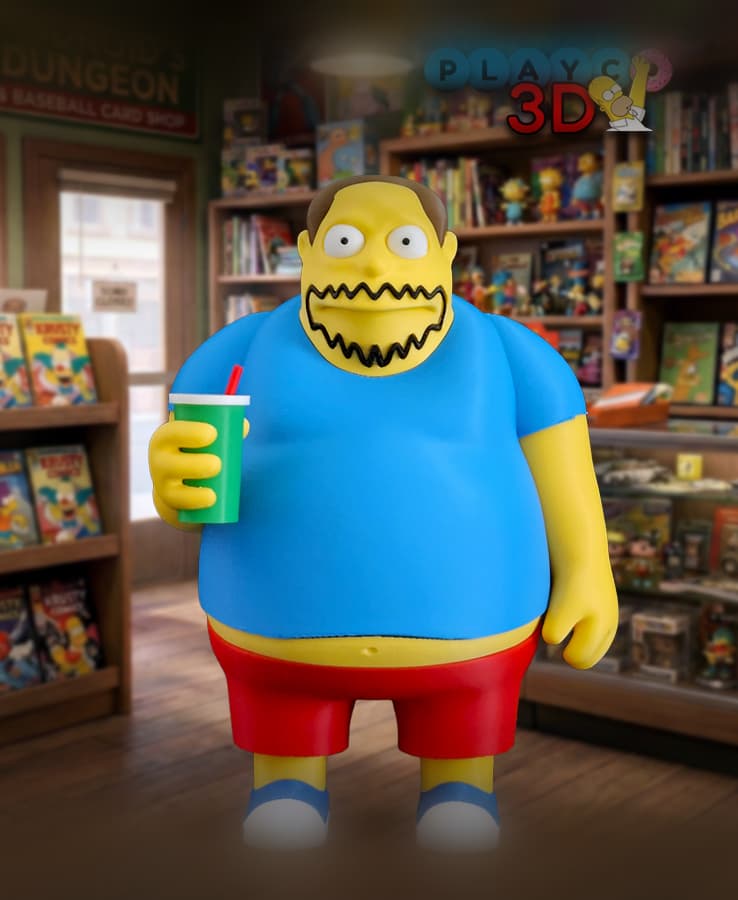
Waylon Smithers (Simpsons)

Lion-O (Thundercats)

Philip Fry (Futurama)

Rosalina and Luma (Mario Bros.)

Lois Griffin (Family Guy)

Sideshow Bob (Simpsons)

Drill Man (Mega Man)

Cut Man (Mega Man)

Gizmo

Chef (South Park)

Peter Griffin

Officer Eric Cartman
Comic Book Guy
