


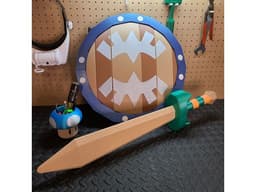

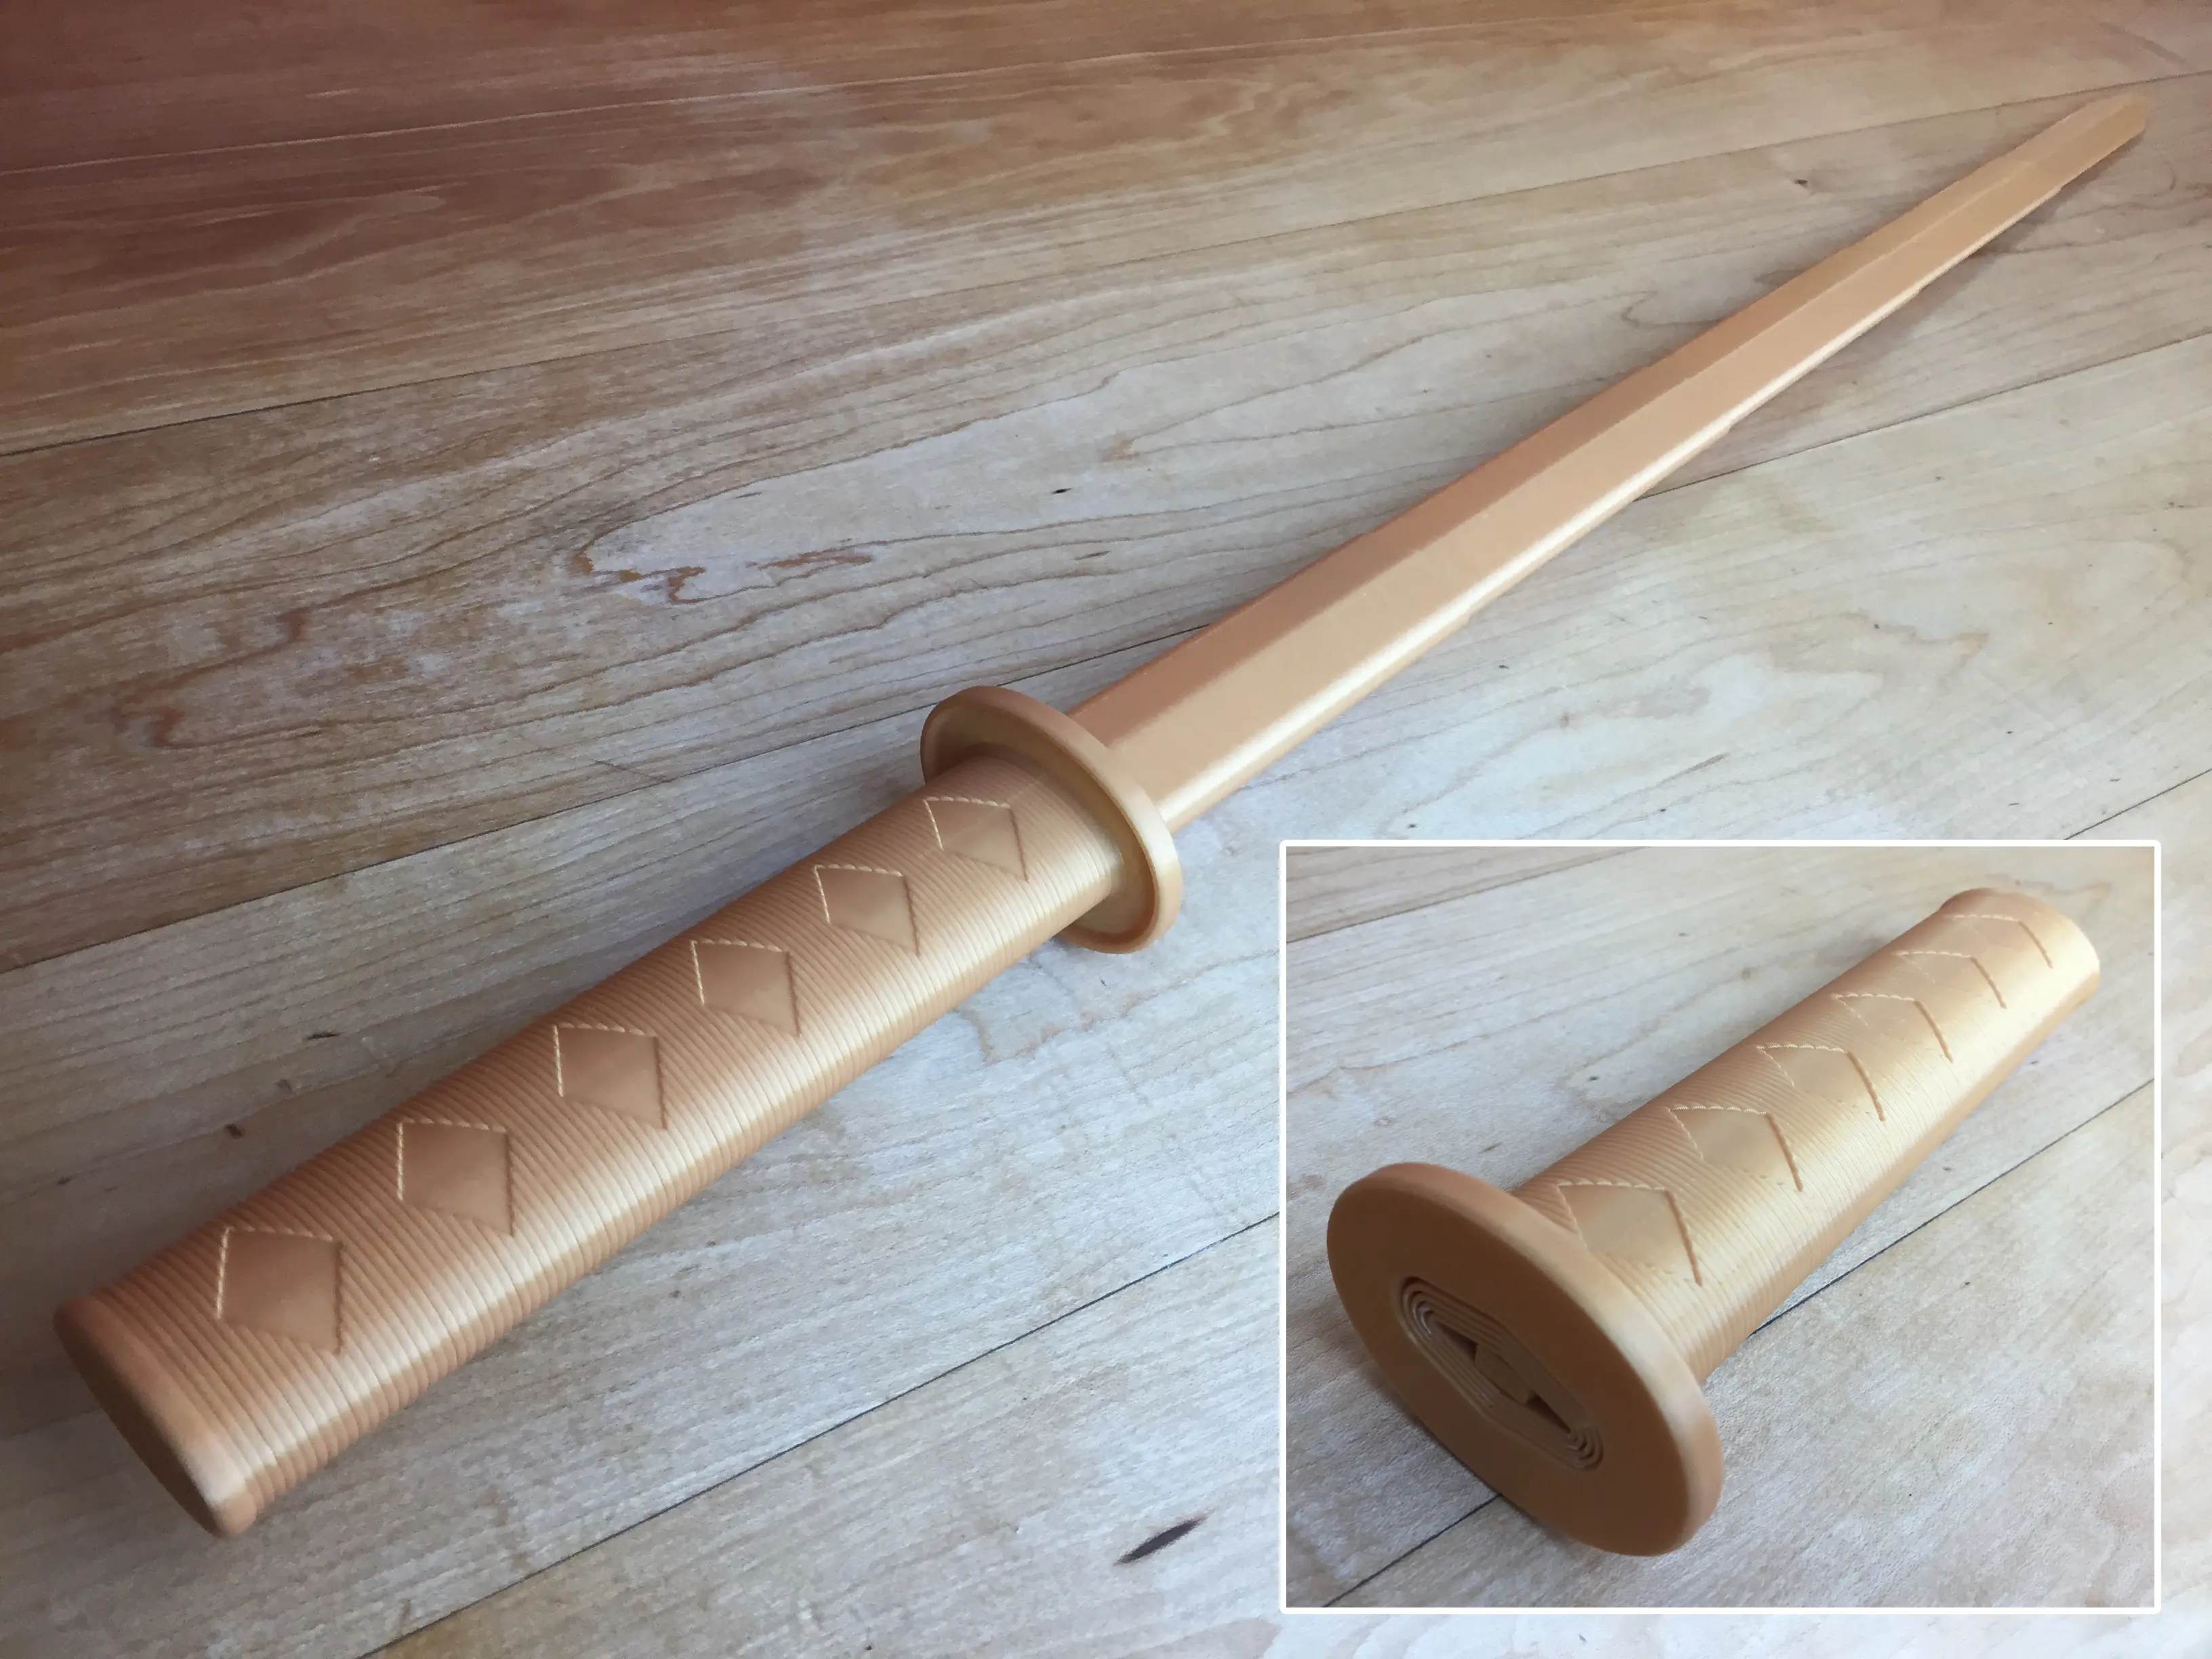
Links Wooden Sword
Model originally uploaded to Thingiverse at https://www.thingiverse.com/thing:5364448.
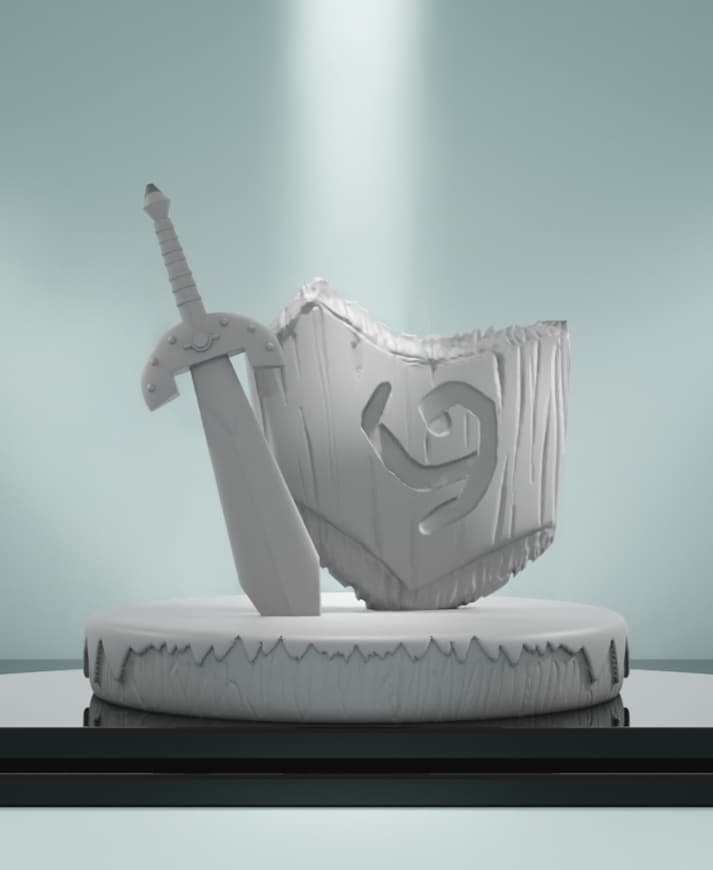
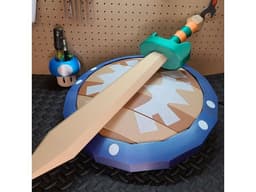
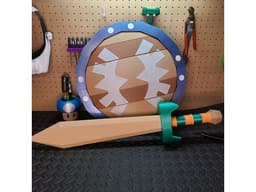
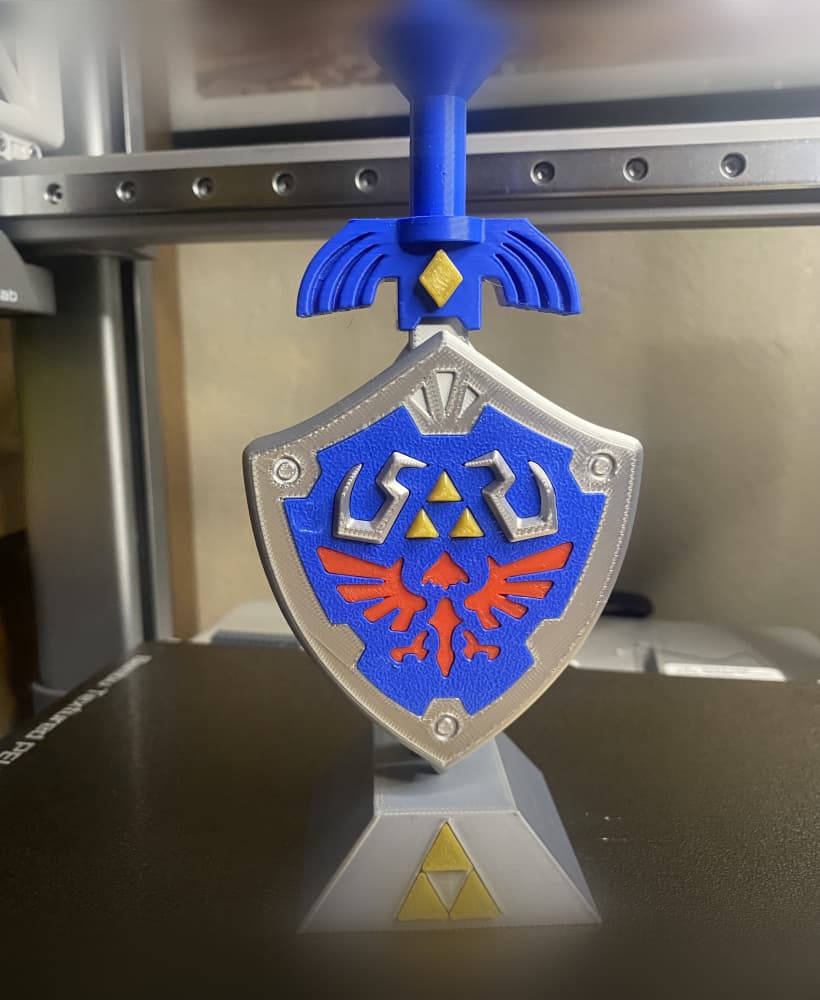
Tottally inspired by "Zelda Skyward Sword" Playing the game again recently, I saw the banded shield and just had to create my own copy. Printing the wooden parts in wood PLA gave me the idea to create this wooden sword.
For the Banded shield design check it out here https://cults3d.com/en/3d-model/art/skyward-sword-banded-shield
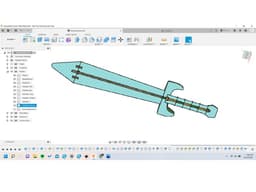
All the pieces fit on a Cr10 size printer, but may need cut down to fit something smaller. The Sword completed measures about 28 inchs in length, and is designed for an 8mm threaded rod to be inserted down the center to add stability.
I used a .6 nozzle to print all the wooden parts at .28 layer hieght, standing the blade up with the widest part on the printers build plate. Being a rather tall print, I slowed down the print speed and the travel motions to get a cleaner piece. I would recomend useing a low infill %, 8 or 10 to complete the blade and the blade tip, and a much higher % 60 to 80 for the handle parts. This will help keep the sword balanced at the gaurd.
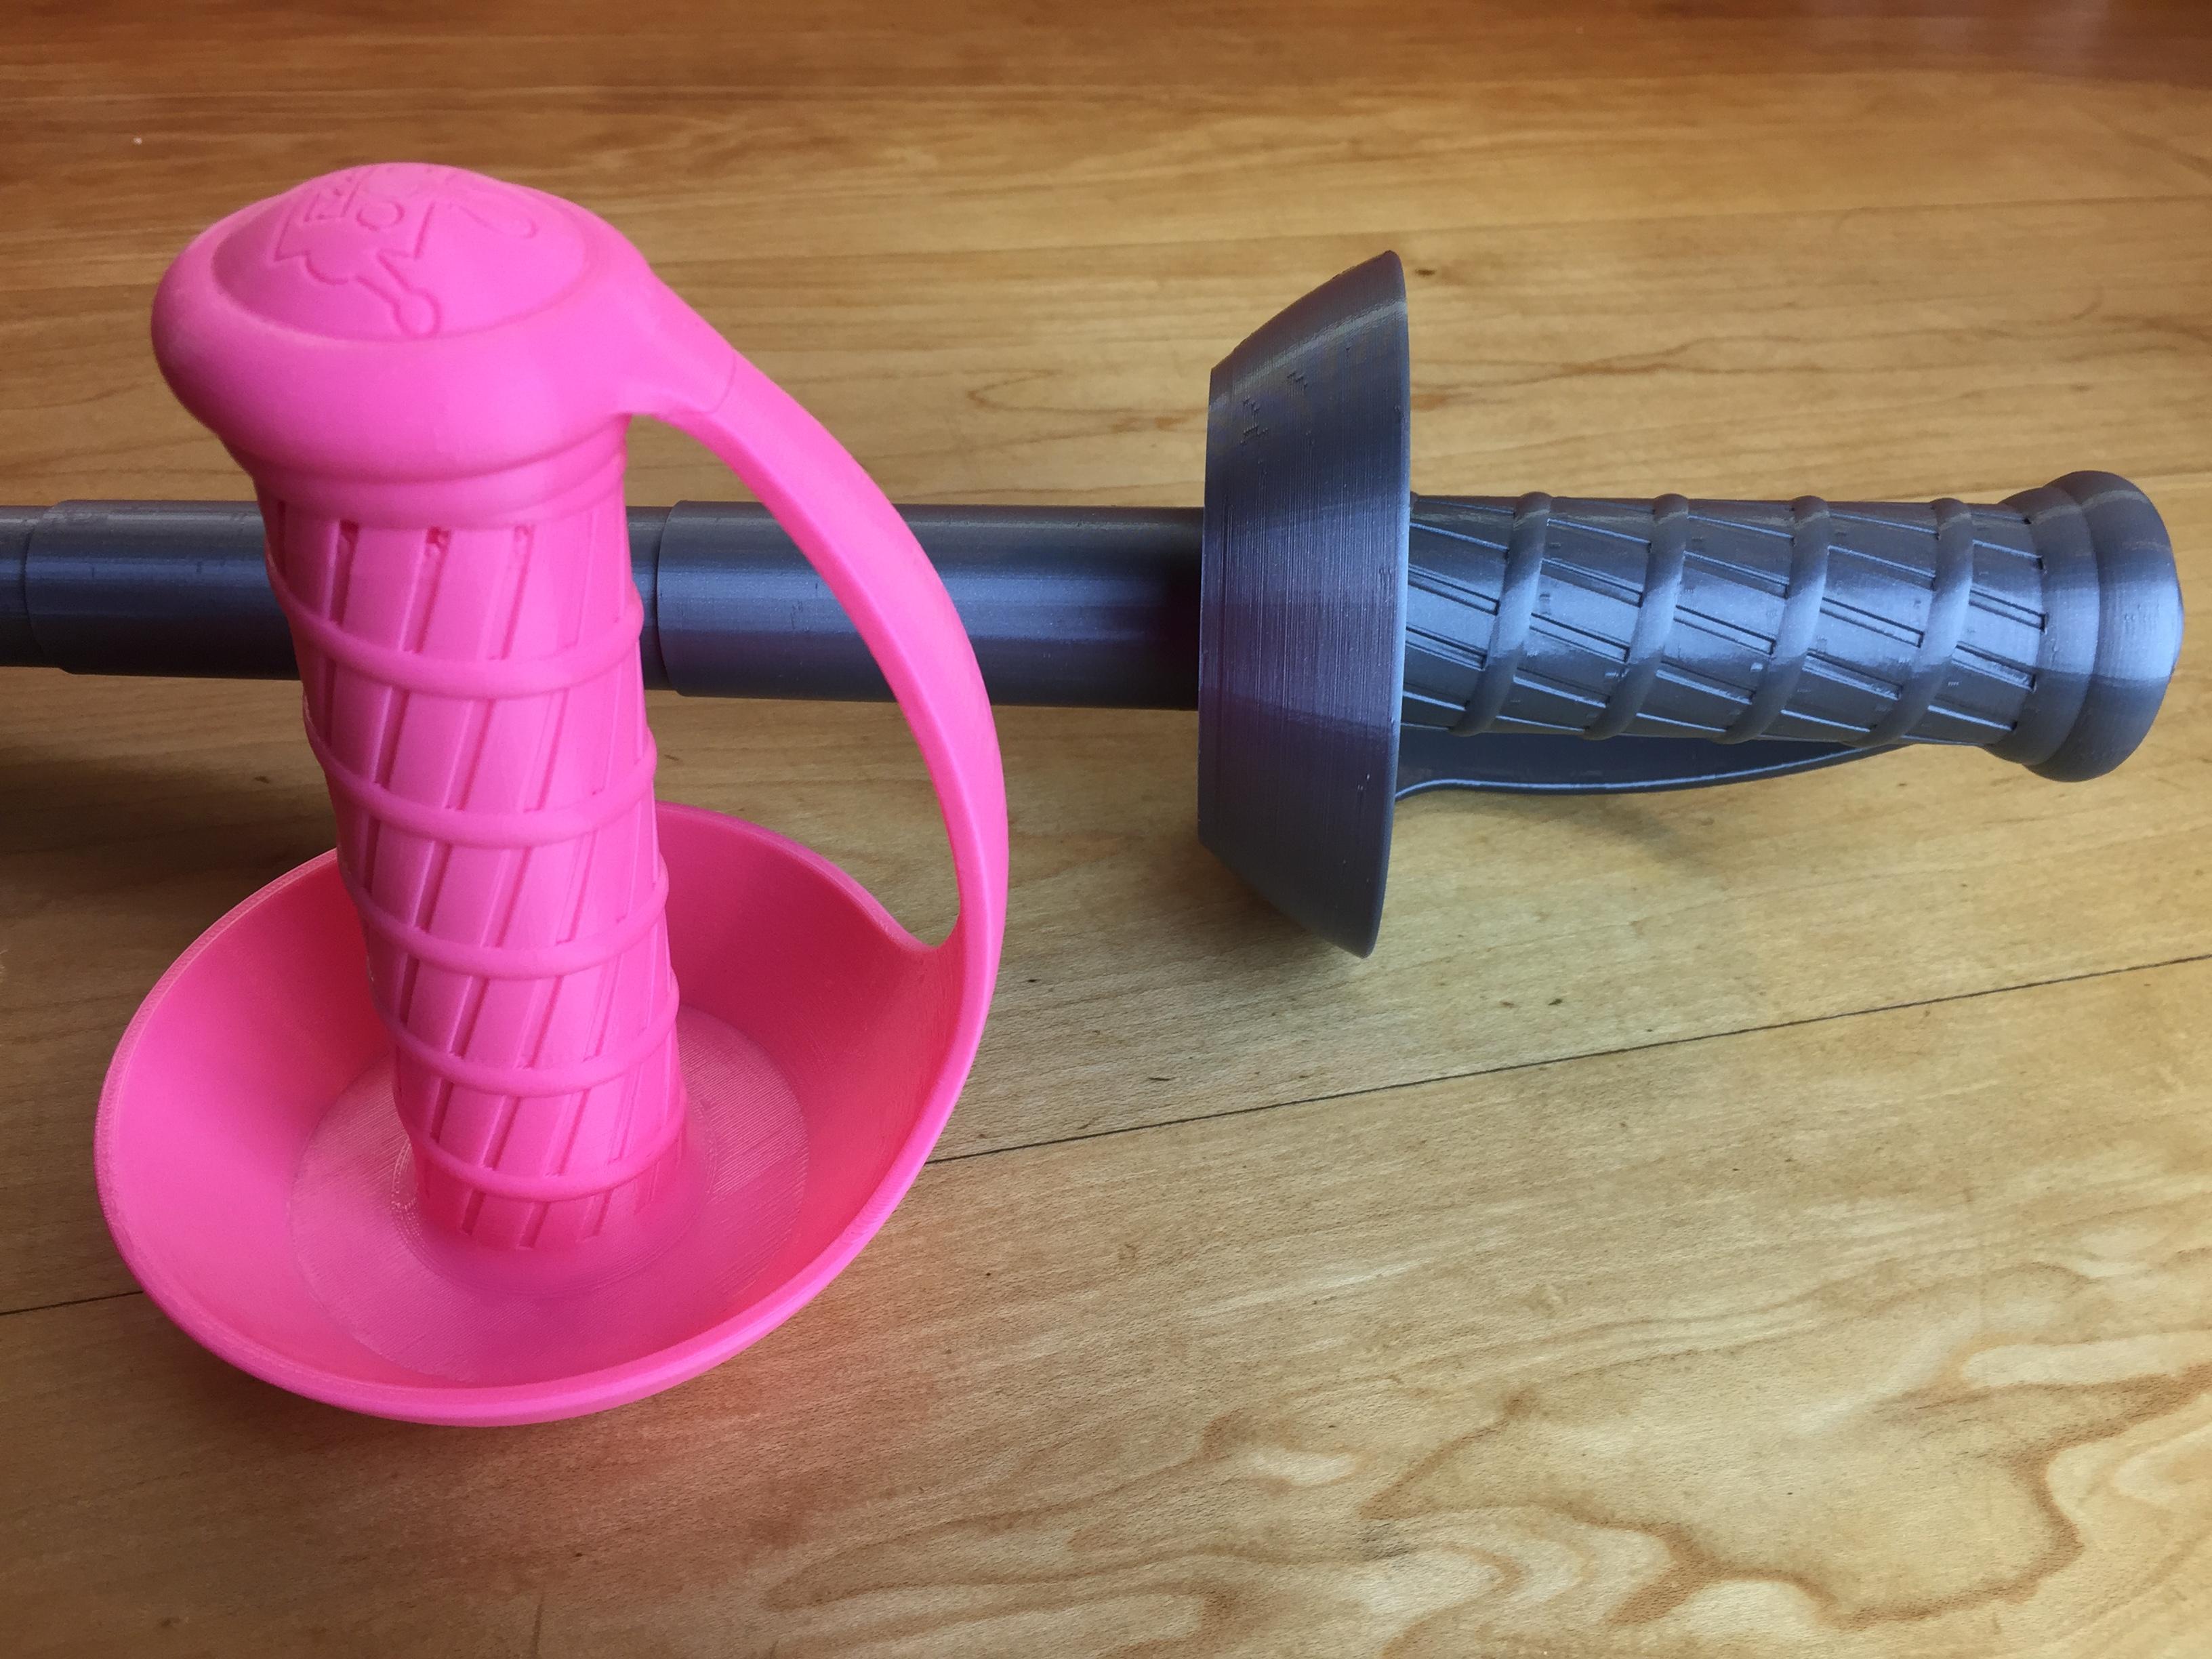
Once all the pieces are printed out it should be relativly simple to put together. I cut my threaded rod at 23.5 inches and put a nylock nut on the one end. Then inserted the rod down the main blade and the gaurd before adding anouther nut. The Handle pieces are named consecutivly in order to add them to the threaded rod. I added a third nut to the end of the handle before glueing on the decrative handle cap. Last I inserted two pins in the blade top and glued it on the the blade bottom.
You can follow me on instagram, https://www.instagram.com/pla.n.pa/ to find out what I designs I am currently working on
If your interested in selling prints of my designs, become a Patreon supporter here… https://patreon.com/planpa3d
Thanks for checking out my design. I hope you enjoy and happy printing Jeremiah Lee

Legend of Zelda Inspired Master Sword Replica for Cosplay
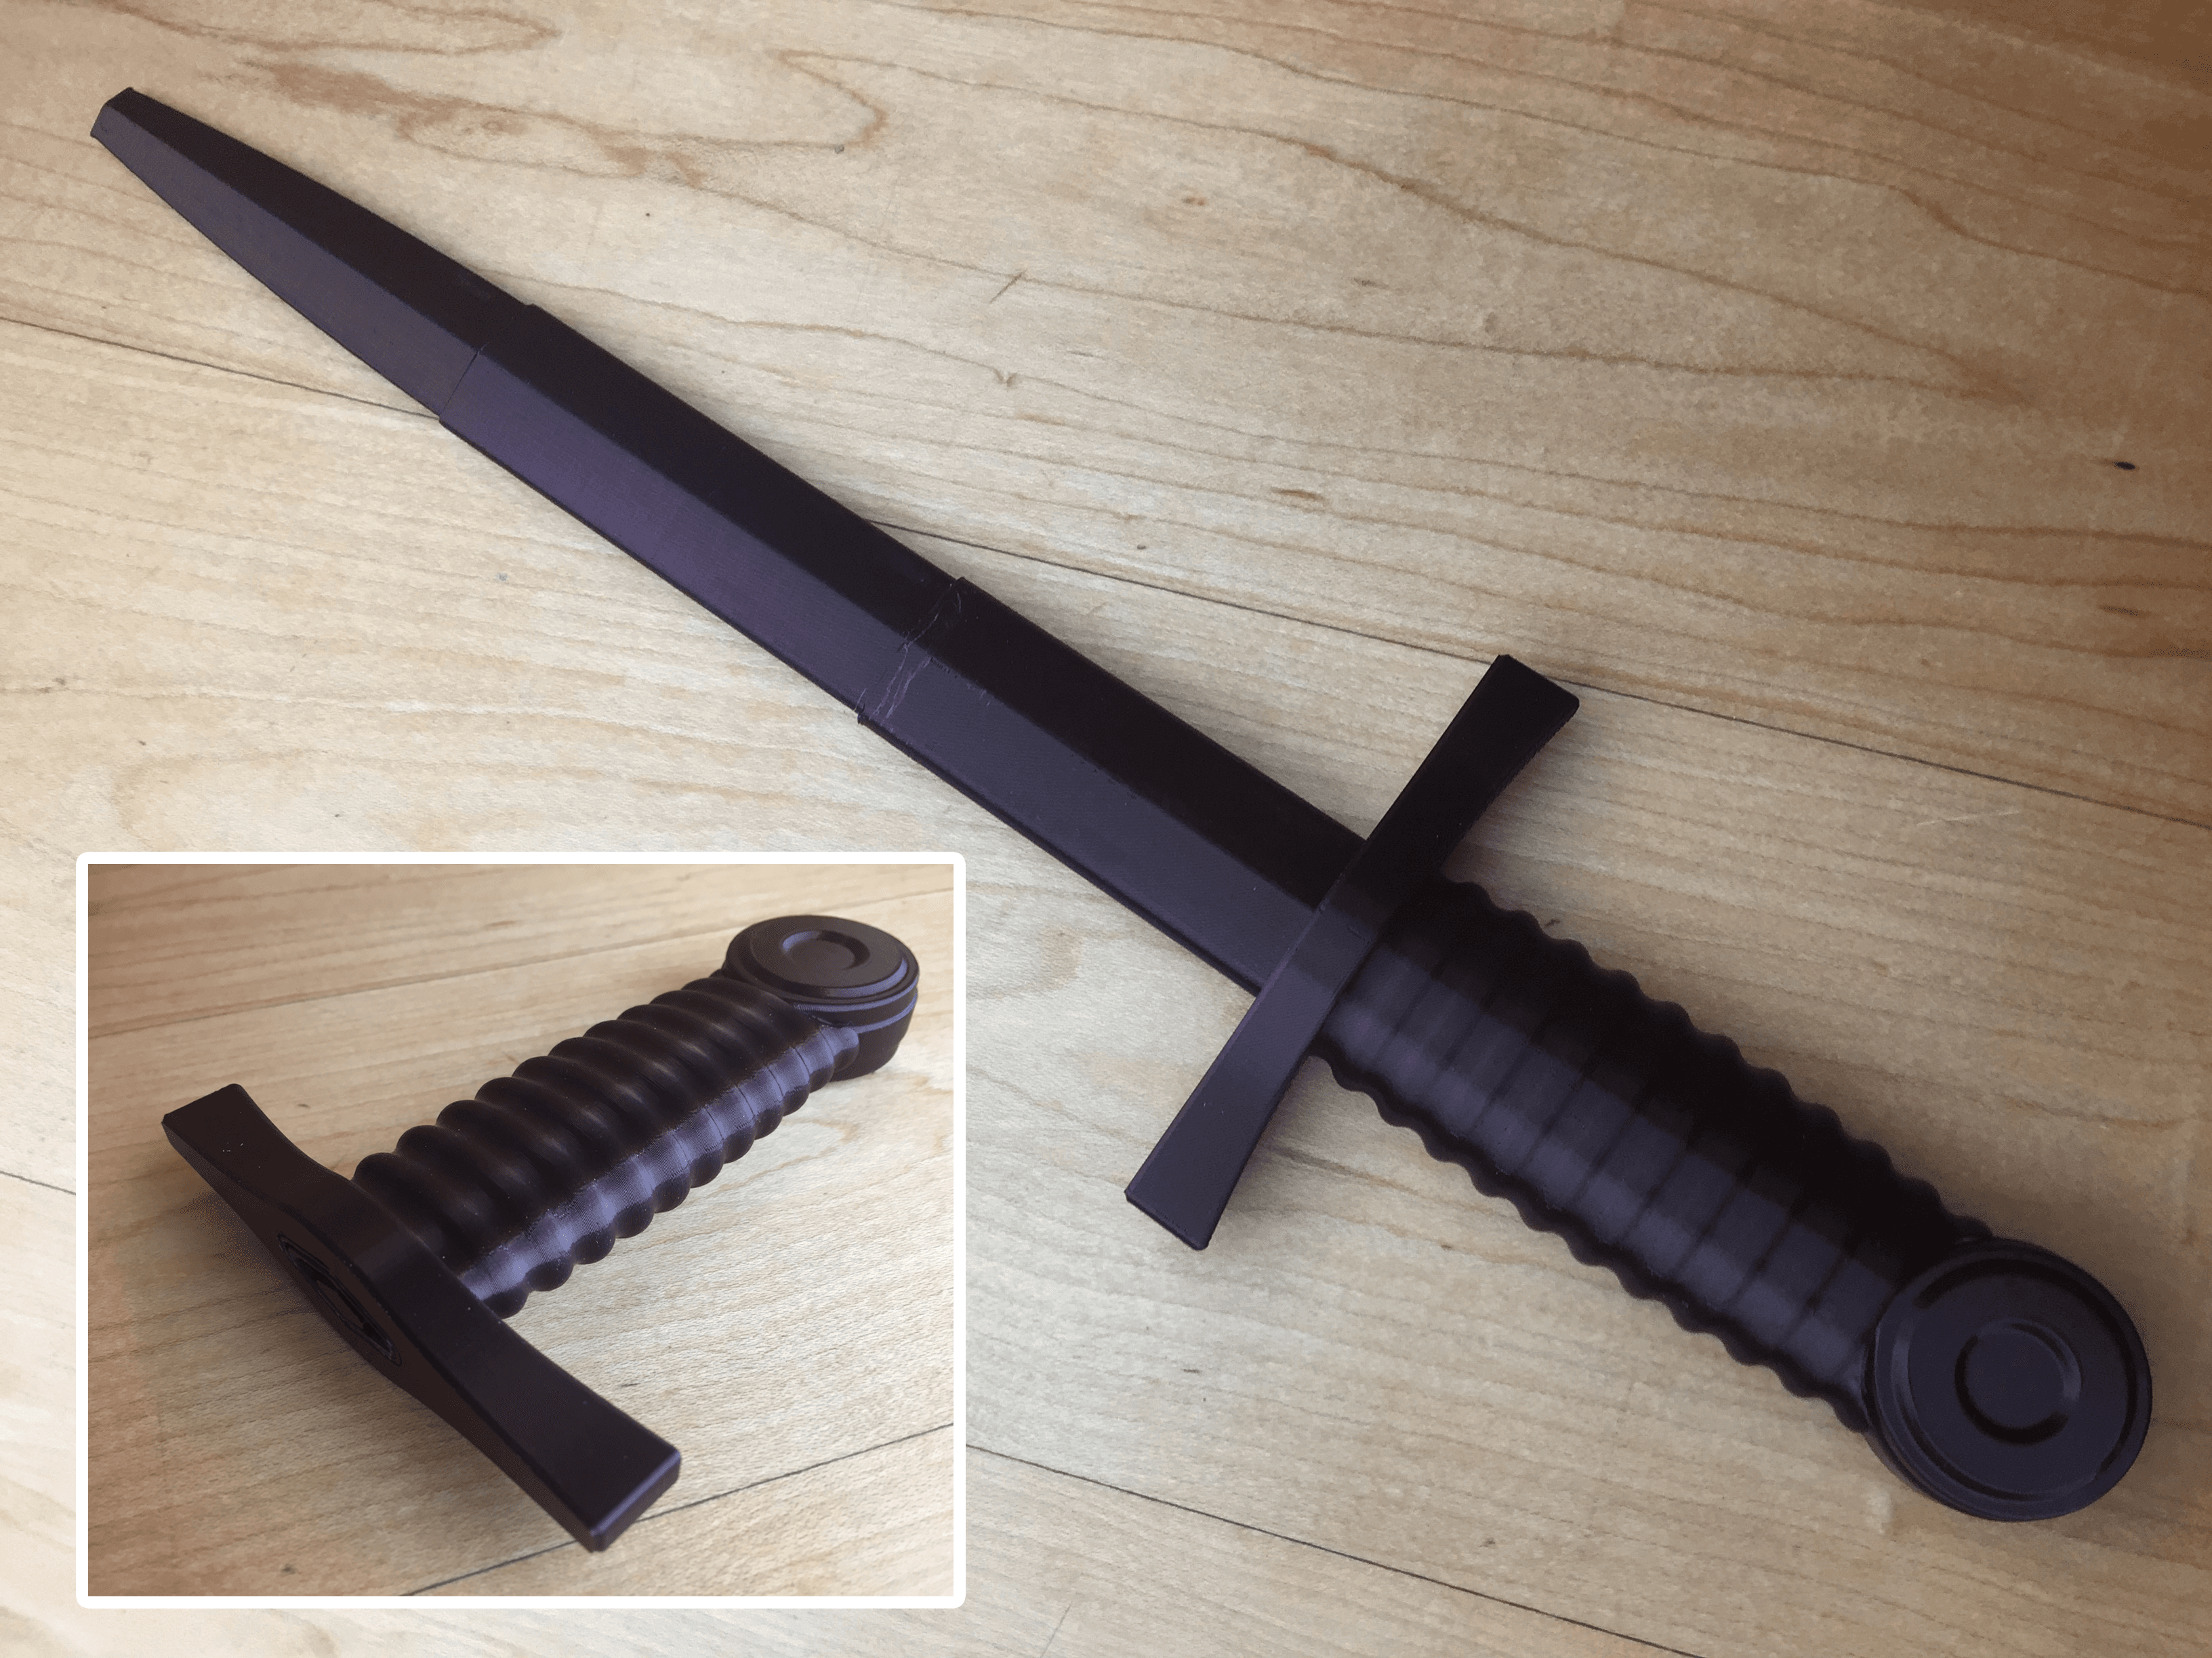
Deaths Edge

Rumi's Sword 2.0 – Sword Kit | No Supports, No AMS, No Glue

Sword Art Online Alicization Kirito Wooden Sword Assembly
.png&w=3840&q=75)
Thunder cats sword mount (see sword link below)
Display stand for Chunky Links Sword and Shield
Link and Swords

Zelda Breath of the Wild Pendant
Collapsing Katana
Collapsing Pirate Sword
Collapsing Dagger
Collapsing Broadsword
Collapsing Jian

Medieval Longsword - Kingdom Come

Master Sword - Zelda Tears of the Kingdom - Complete Set - Life Size
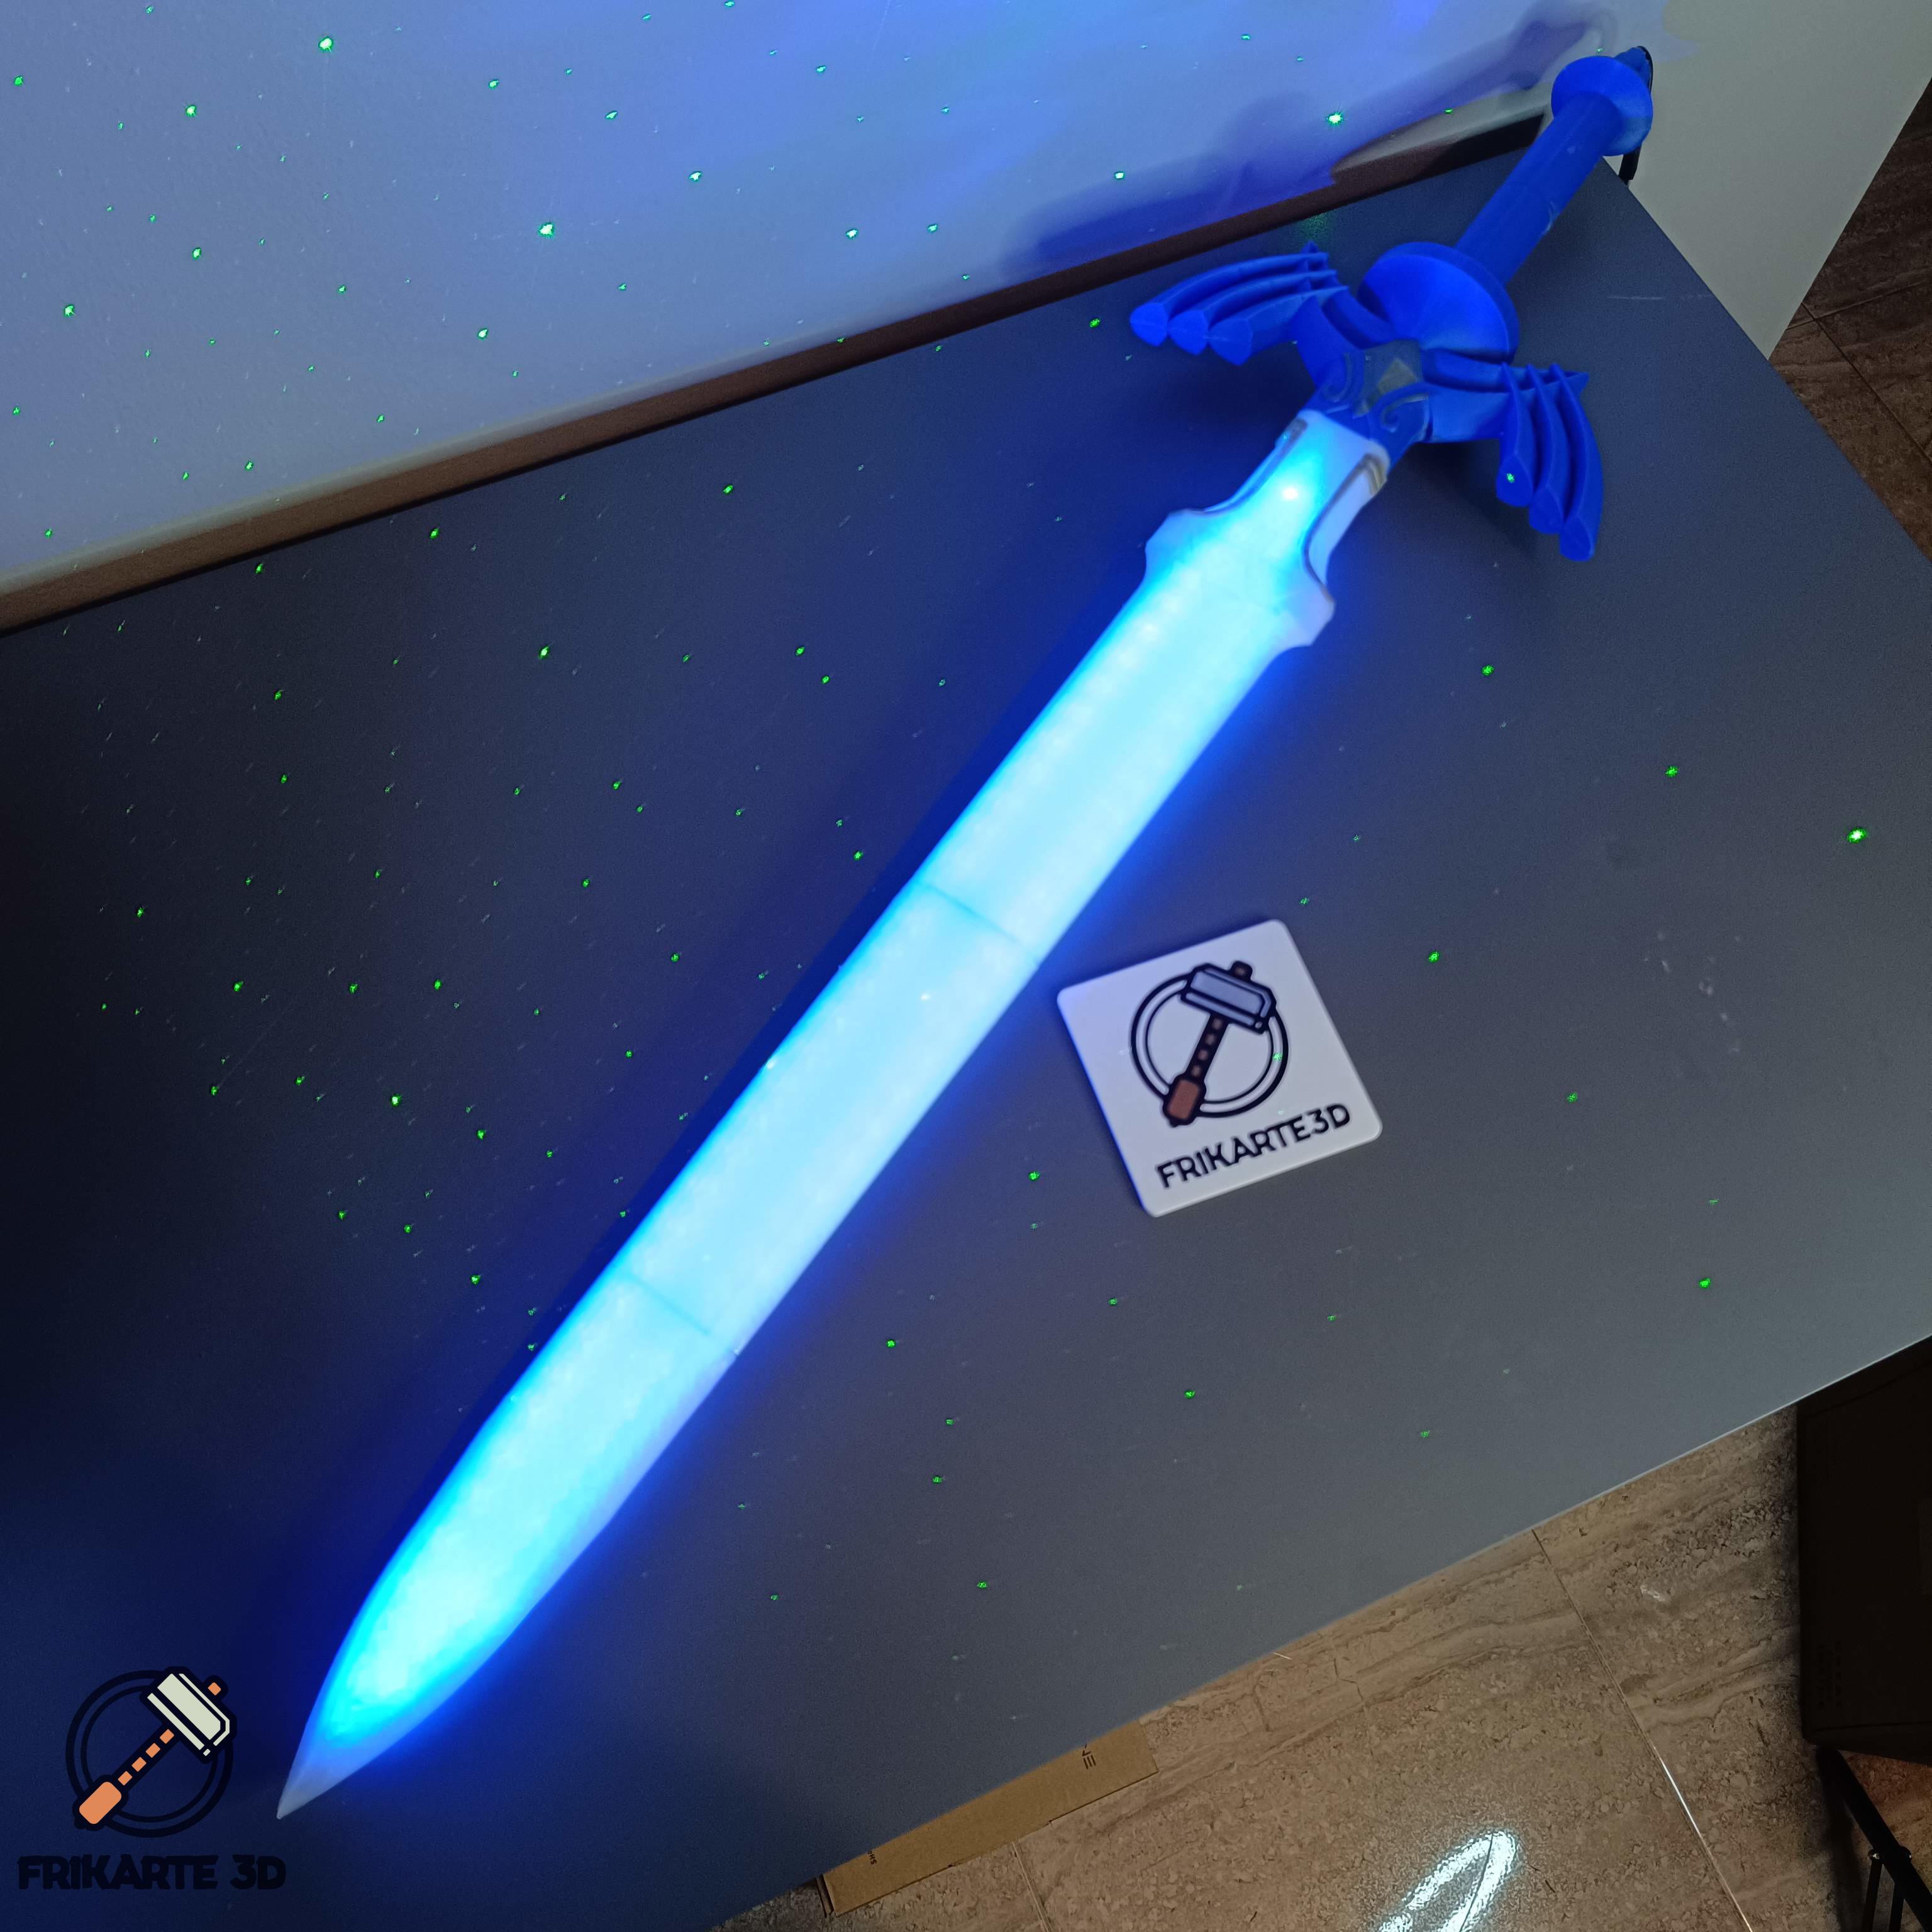
LED Zelda Master Sword Remix

Master Sword in Stone with Keychain

TOTK Broken Master Sword inspired textiles

Sword kirby