


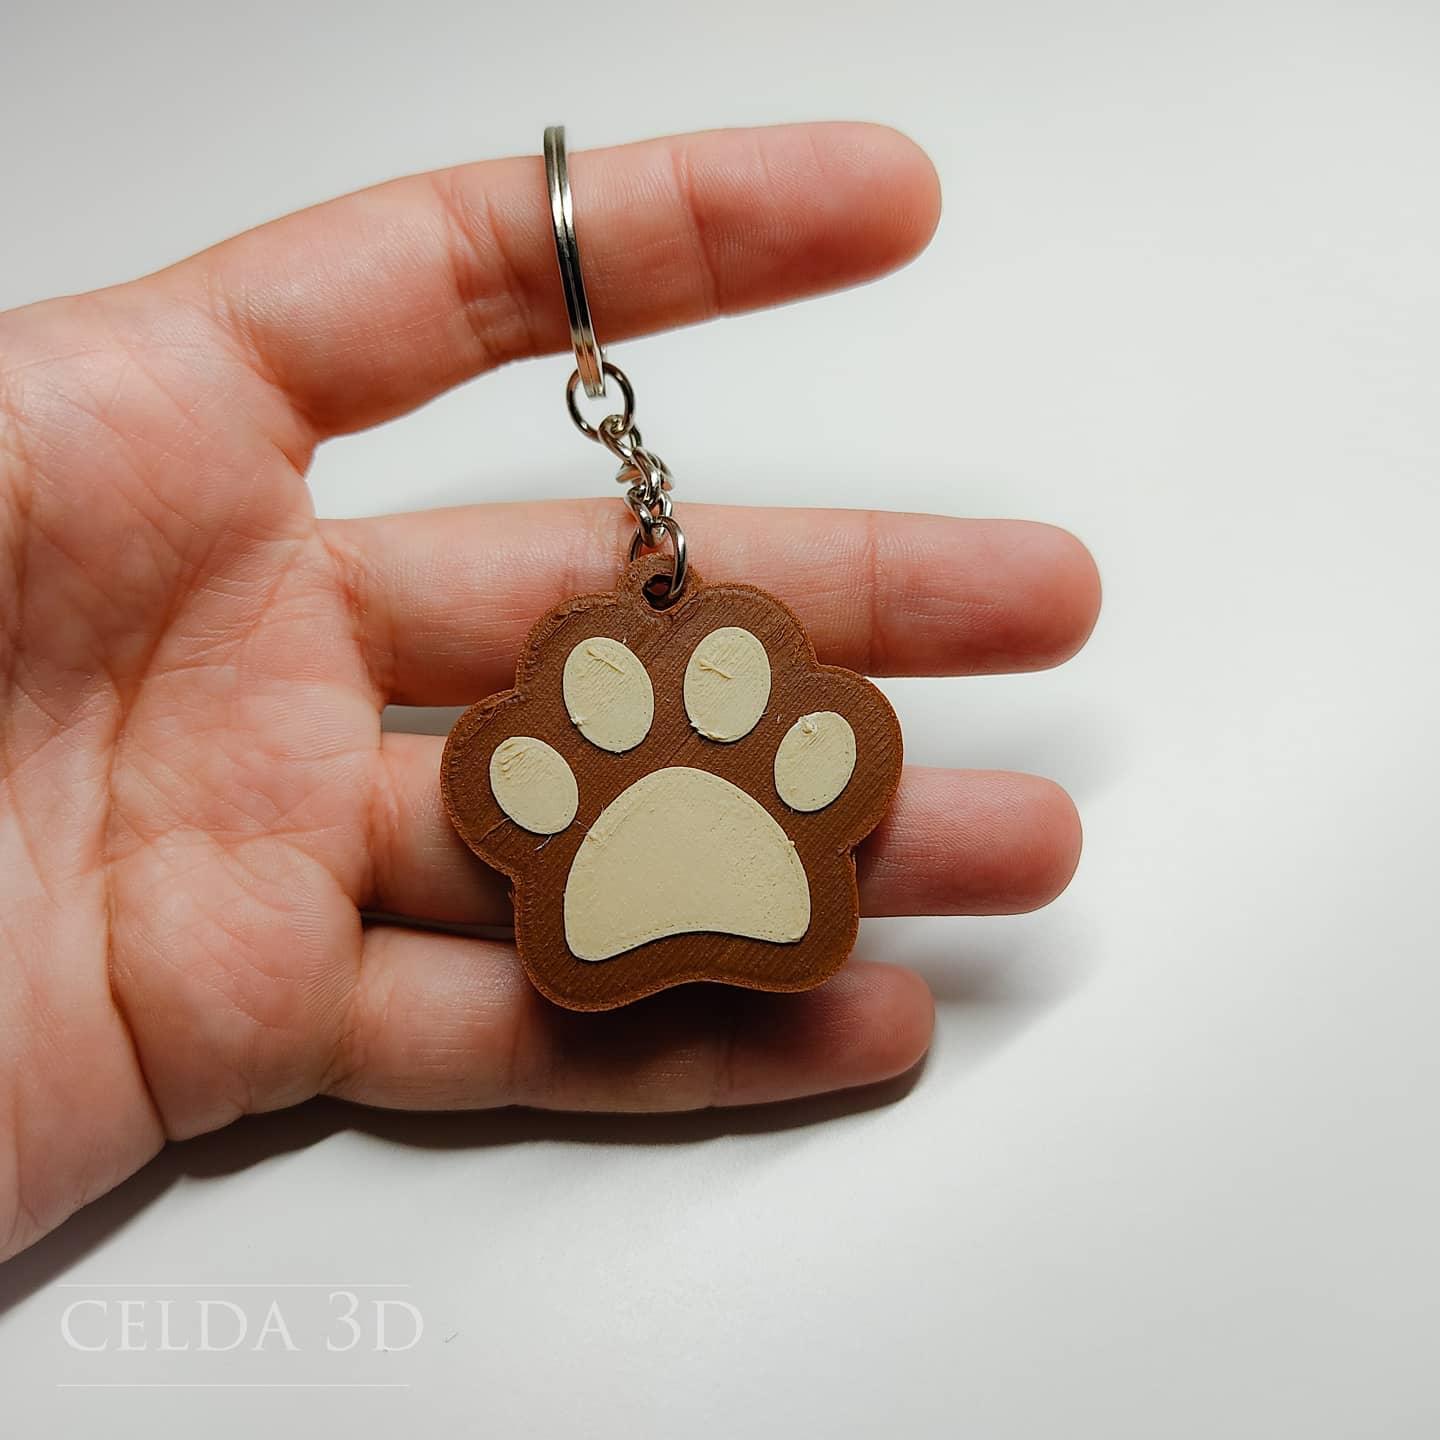
Pixel Paw Print Keychain
A very basic pixelated paw print keychain, as well as the blank, for all your fur adjacent fun! This is my first design, modeled for a local furry convention with a retro gaming theme - I went with subtractive over additive for the "beans" as this way the keychain looks correct from both sides. A lot of designs have the beans raised, which looks awesome in 2 colours - but does require the tag to always face one direction and doesn't look as nice in a single colour.
As well as being faster to print, these use less filament (about 2g depending on slicer settings). Currently I'm printing these with rainbow glow in the dark PLA and adding a chain and ring later - you can play with the infill settings depending on how much you want these to glow. Less infill means less glow, also less material and faster prints - more infill means more/longer glow but obviously uses more material and takes longer to print.
I personally use thick layers on this print (0.28 initial, 0.24 layers), with a couple extra walls to really make the beans pop, a gyroid infill at 15-35% (depending on my mood and materials), and then iron the heck out of the top at high speed to smooth one side out (the other side takes on the texture of the PEI build plate). The attached picture is a prototype keychain with 30% infill under UV light (don't mind the stringing, our old printer has given up the thermistor ghost) - they do not glow this much under normal light, but gosh do they look great at the club!
I have included the blank, so you can make your own designs - this was made in TinkerCAD as a way to learn the differences between the solid and hole tools. You can import a monochromatic SVG in TinkerCAD or design tool of your choice on top of the blank, and create your own keychains with any design that will fit. If you'd like to remix this or use this, please feel free - I don't care what you do with it so long as you're having fun (like I did, when I couldn't find a design matching my idea and learned how to make it out of 2 solid circles, a hole circle and a hole of the .svg beans)! =^.^=
[Update May 31, 2025]
- merged extra pixels, increased overall X & Y to 120%, decreased Z to 80%, making a proper size keychain without having to increase scale in slicer
- I found that this size works better and solves some slicing issues
- recommend printing with 4 walls to get a "circuit" looking effect on the top and bottom layers, 30% infill, 4 top and 4 bottom layers
[Update May 13, 2025]
- added subpixels in outer beans to close the design, previously there was a slight gap between pixels whereas now it should be one piece
Pixel Paw Print Keychain

Paw Print Keychain Clay Cutter for Polymer Clay | Digital STL File | Clay Tools
.png&w=3840&q=75)
Collapsible Keychain Rack - Print in Place Keychain Rack - Prints for Sellers
Paw-print keychain
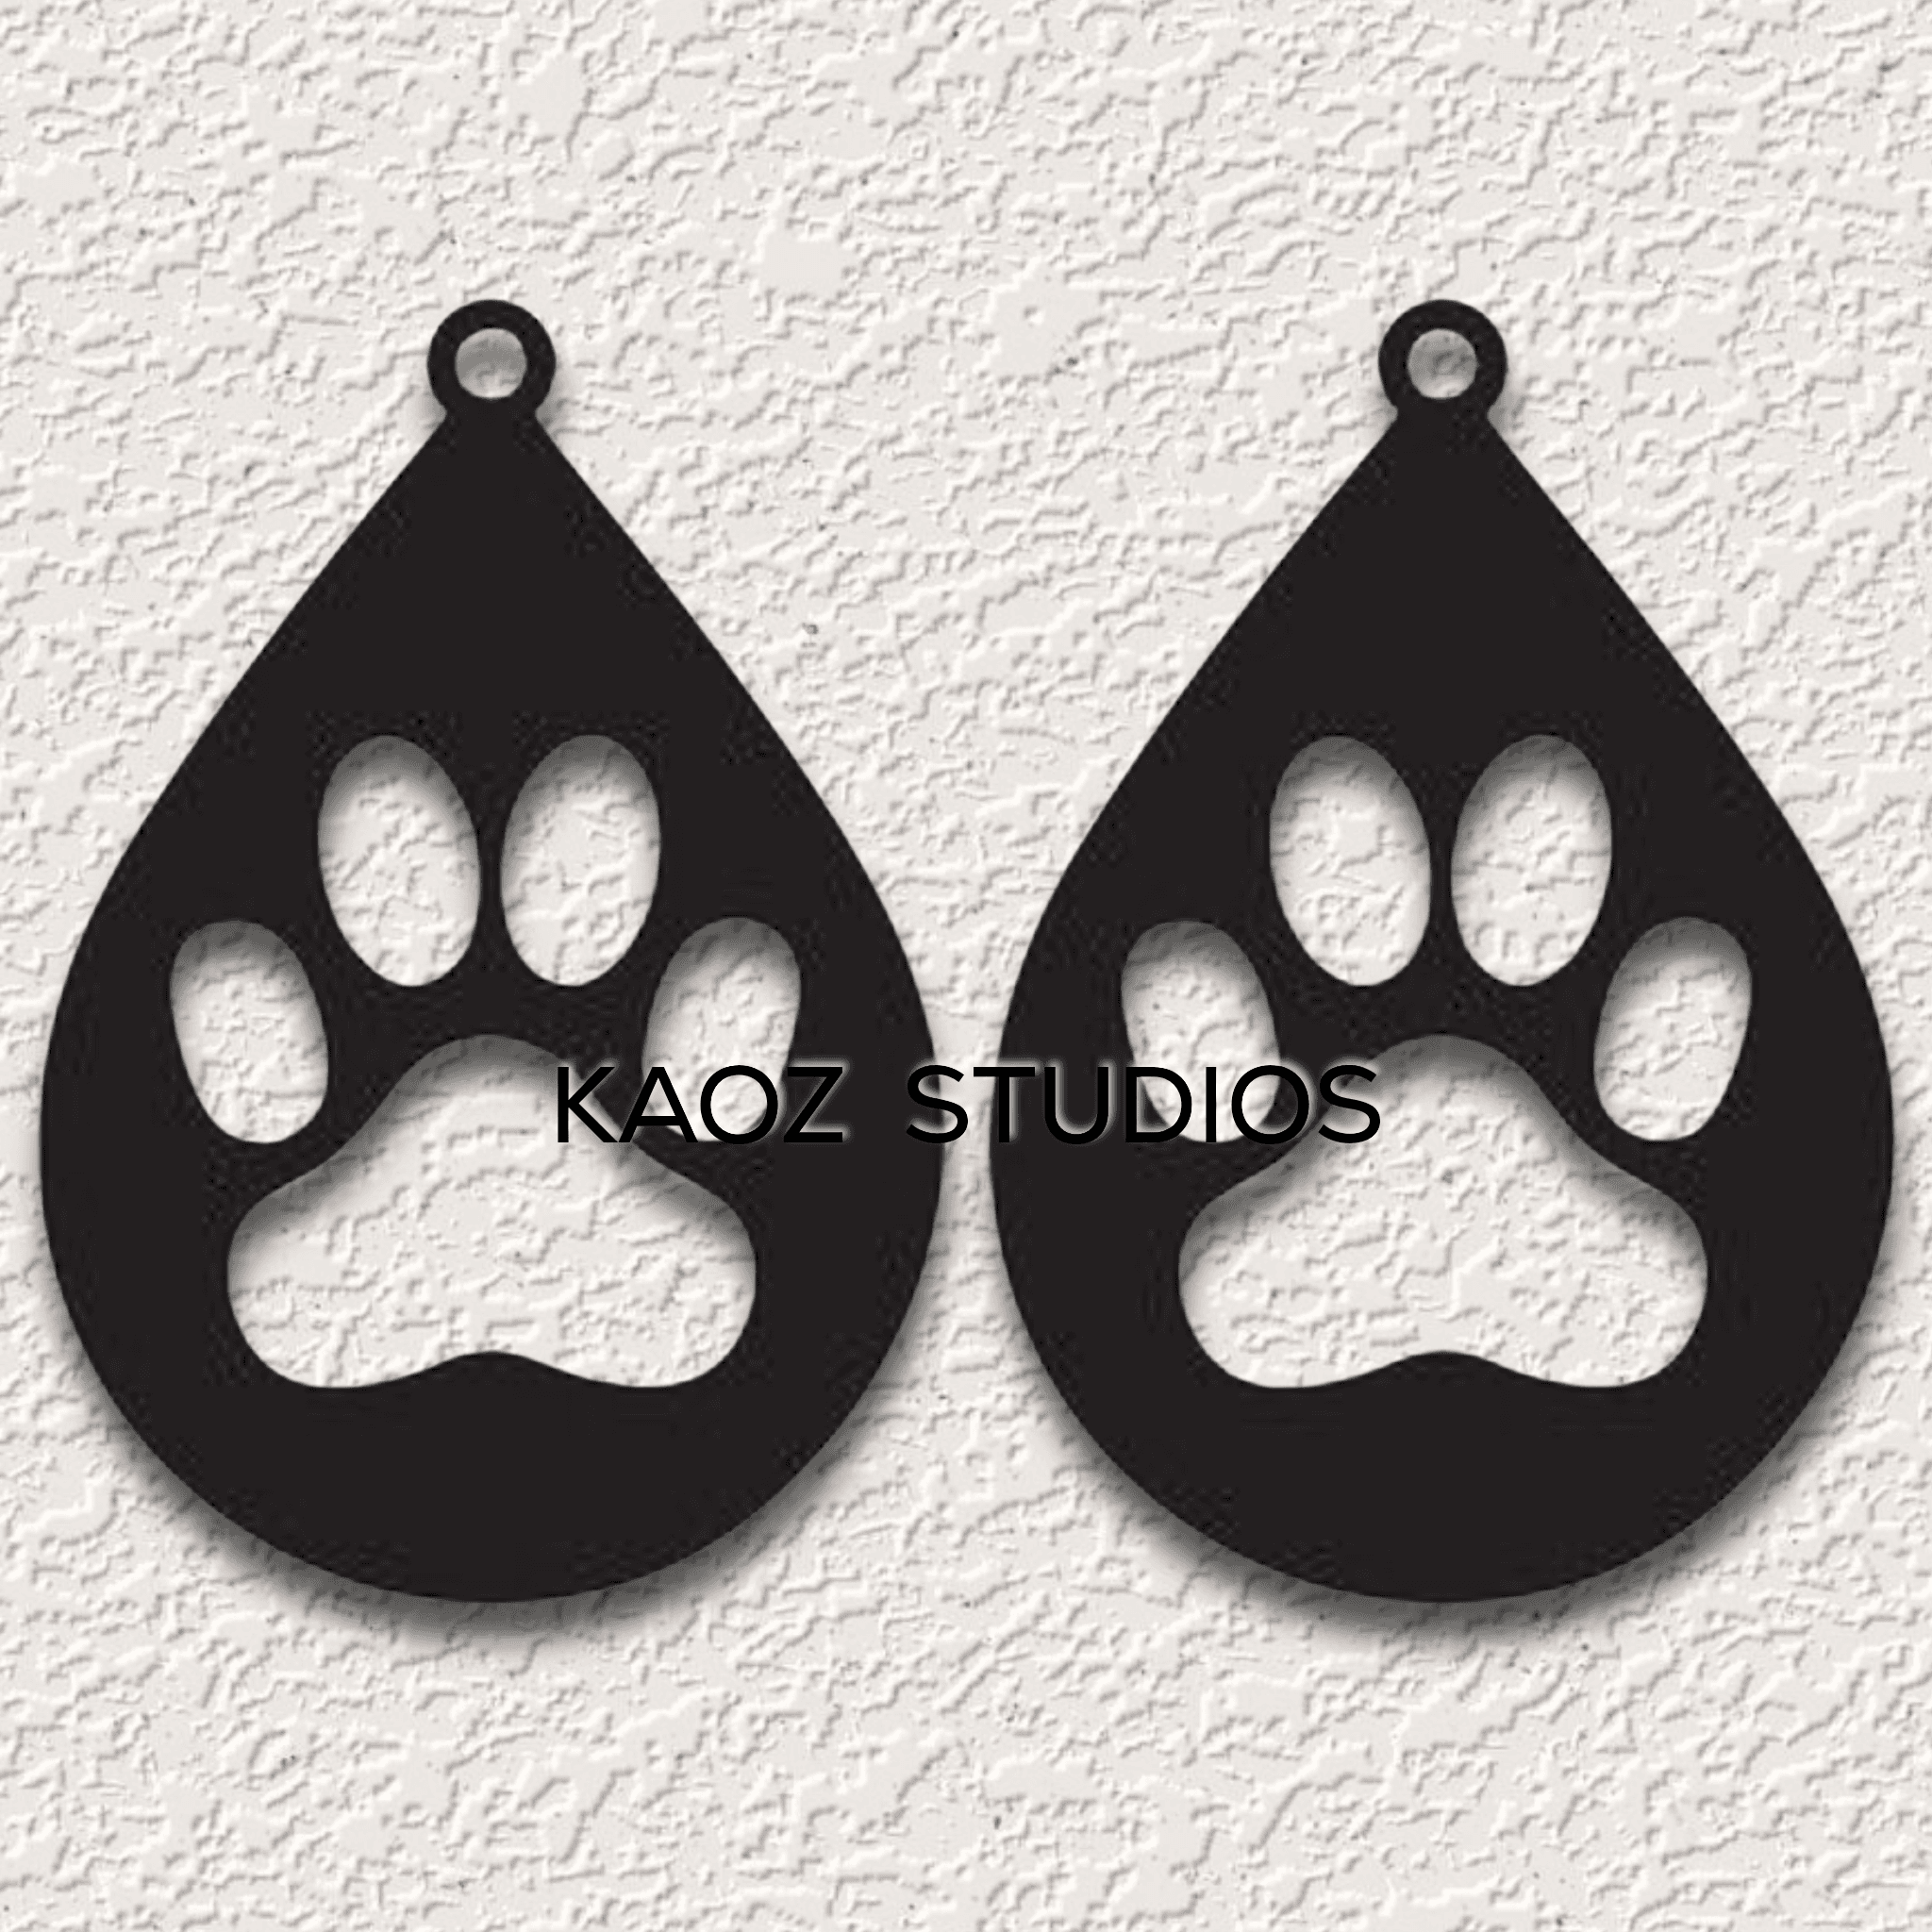
paw print earrings animal prints jewelry cat paw pendants

Lunar Moth Keychain - Flexi Print-in-Place Keychain - No Supports 3D Print STL/3MF

Pixel Milk Juice Carton Clicker Keychains - Print in Place, Fidget, No Support, Retro, Kawaii, Game

DAD Keychain | Fathers Day Gift | Gift for Dad | Fishing Keychain | Easy Print | Multicolor Print |

Lobster / Crawfish Keychain STL – Cute Crayfish 3D Print Figure – Printable Keychain or Figurine
.png&w=3840&q=75)
Evil Avocado Keychain STL | Keychain 3D Print | Funny
EDC (EVERYDAY CARRY) POCKET CONTAINERS, PILL CONTAINER, KEYCHAIN, PRINT IN PLACE, FUNCTIONAL PRINTS

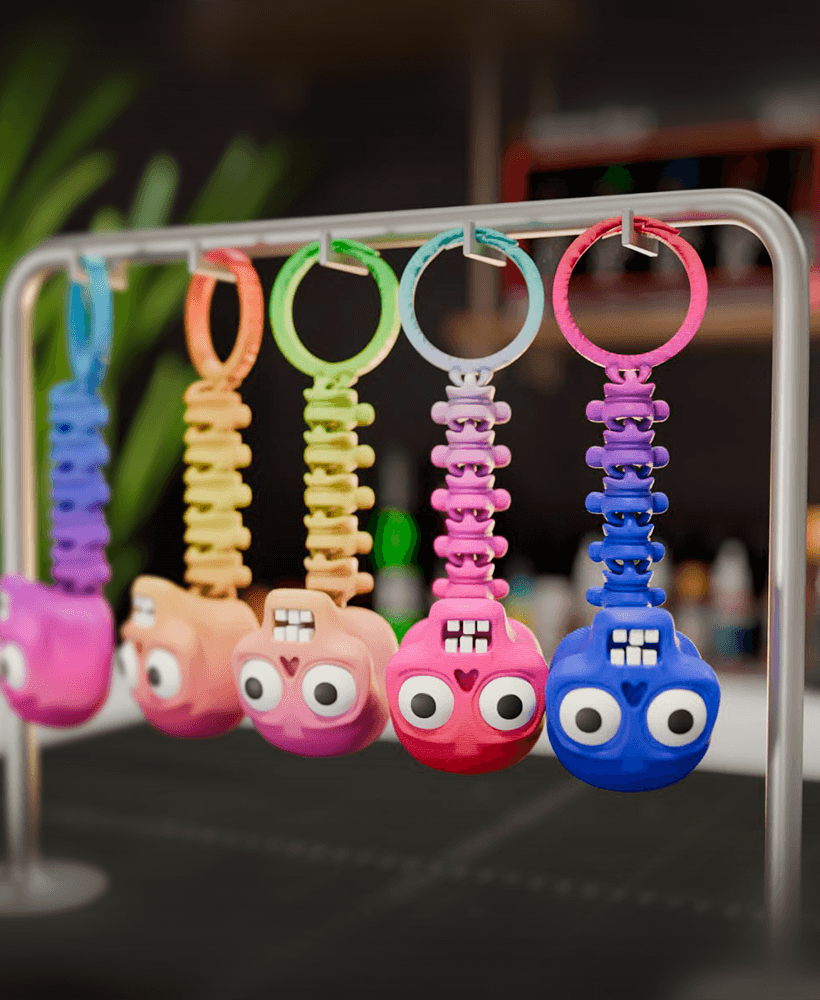
Labubu Clicker + Keychain, Print-in-Place & Print-in-Parts, Clicky Toy

Paw Prints Sun Catcher
.png&w=3840&q=75)
Crab Fidget Clicker Keychain- Print Pop Creations
.png&w=3840&q=75)
Coffee Cup Fidget Clicker Keychain- Print Pop Creations
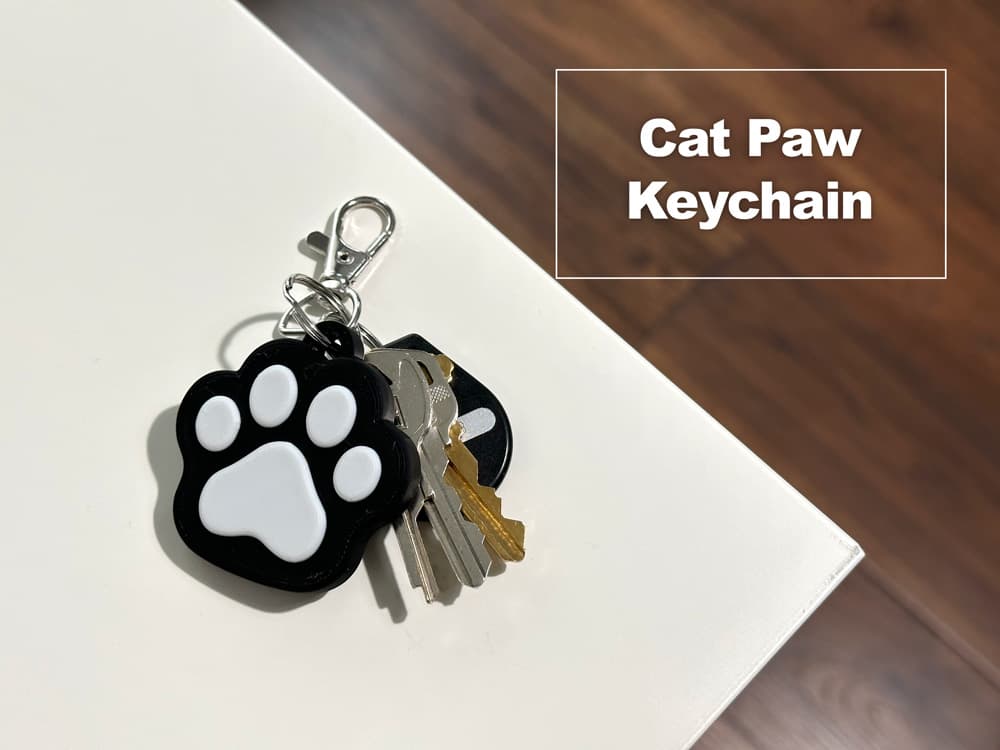
Cat paw Keychain
Flexi Skeleton Charm – Printable STL Keychain | Print-in-Place, No Supports, 3D Print

Deadpool Keychain - Print in Place
.png&w=3840&q=75)
Rocket Ship Fidget Clicker Keychain- Print Pop Creations
.png&w=3840&q=75)
Triceratops Fidget Clicker Keychain- Print Pop Creations
.png&w=3840&q=75)