.png&w=3840&q=85)
.png&w=256&q=75)


Collapsible Keychain Rack - Print in Place Keychain Rack - Prints for Sellers
The Best 3D Printed Keychain Rack?
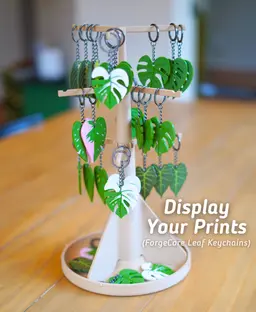
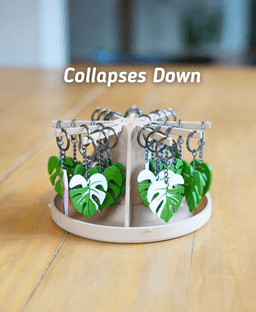
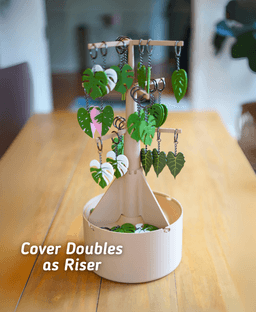
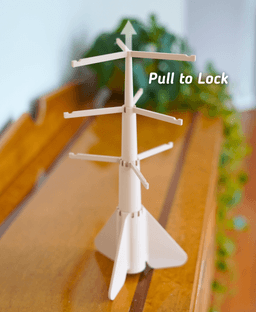
This keychain rack is fully print-in-place with no supports, collapses for storage, and locks into place. Great for displaying keychains at home, or at craft fairs. It also comes with an optional Tray and Cover to make transport and storage easy and quick.
This was designed specifically to show of Ludo models! You'll find that you can hang any Ludo model neatly on this Rack. This design was meant to help 3D print sellers display their prints at craft events, BUT its turned into a great keychain rack in general!
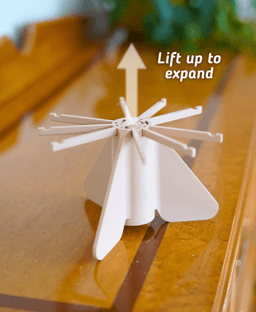
Print in Place The entire rack can be printed on a 250 mm (or larger) print bed with no supports. It comes off the build plate fully functional, with no cleanup required! Just pull it up and lock in place.
What are those Leaf Keychains?!? The leaf keychains shown in the images are from ForgeCore, Linked Here: Leafy Keys
Filaments I Used: Bambu Wood White Oak

Collapsible Keychain Rack - Print in Place Keychain Rack - Prints for Sellers
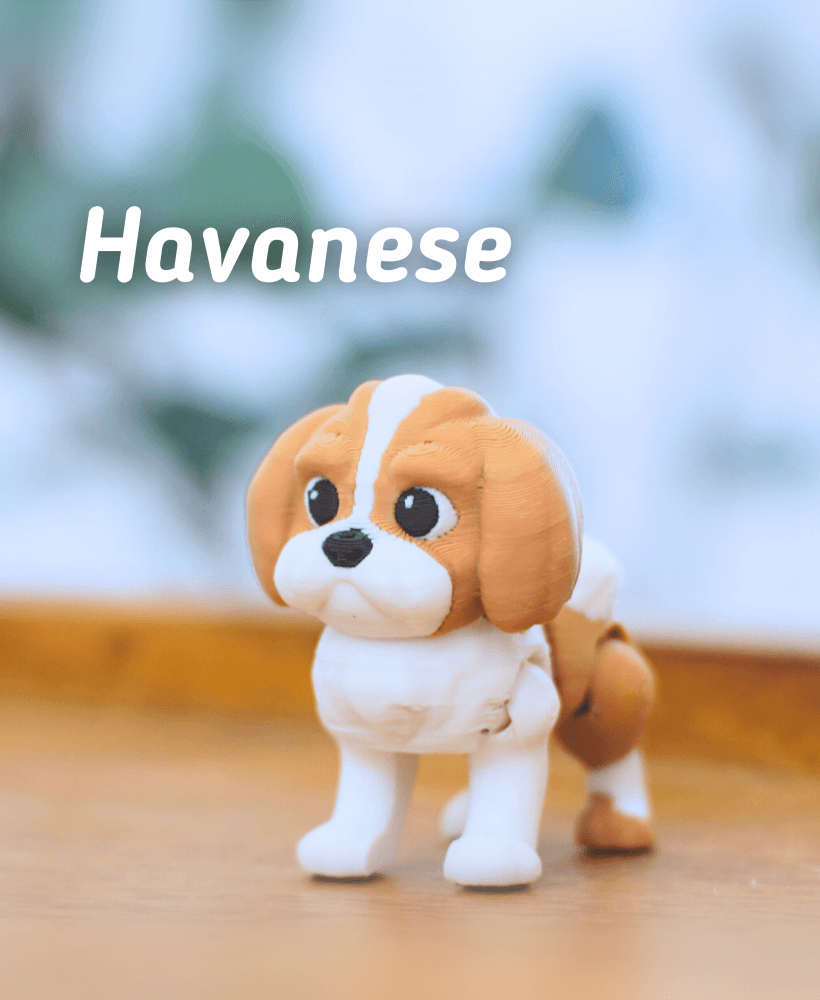
Ludo Havanese -Articulated Fidget Dog

Labradoodle - Articulated Fidget Dog

Ludo Pug - Articulated fidget dog

Popsicle Clicker

Buck-Tooth Beaver - Articulated fidget beaver

Ludo Boarder Collie - Articulated Fidget Dog

Ludo Springer Spaniel - Articulated Fidget Dog

Grumpy Goose - Articulated Fidget Goose
.png&w=3840&q=75)
Ludo Chihuahua - Articulated fidget Dog

Pecky Pigeon- Articulated Fidget Pigeon
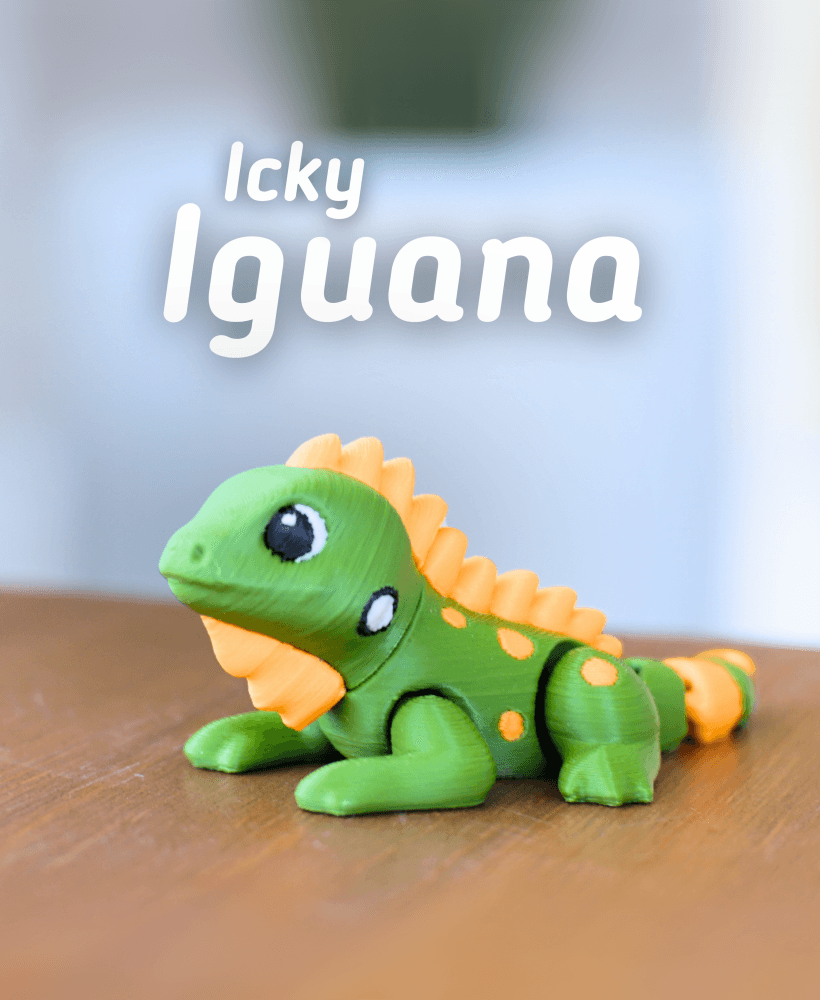
Icky Iguana - Articulated fidget Iguana

Ludo Jack Russel - Articulated Fidget Dog

Squawking Seagull - Articulated Fidget Seagull
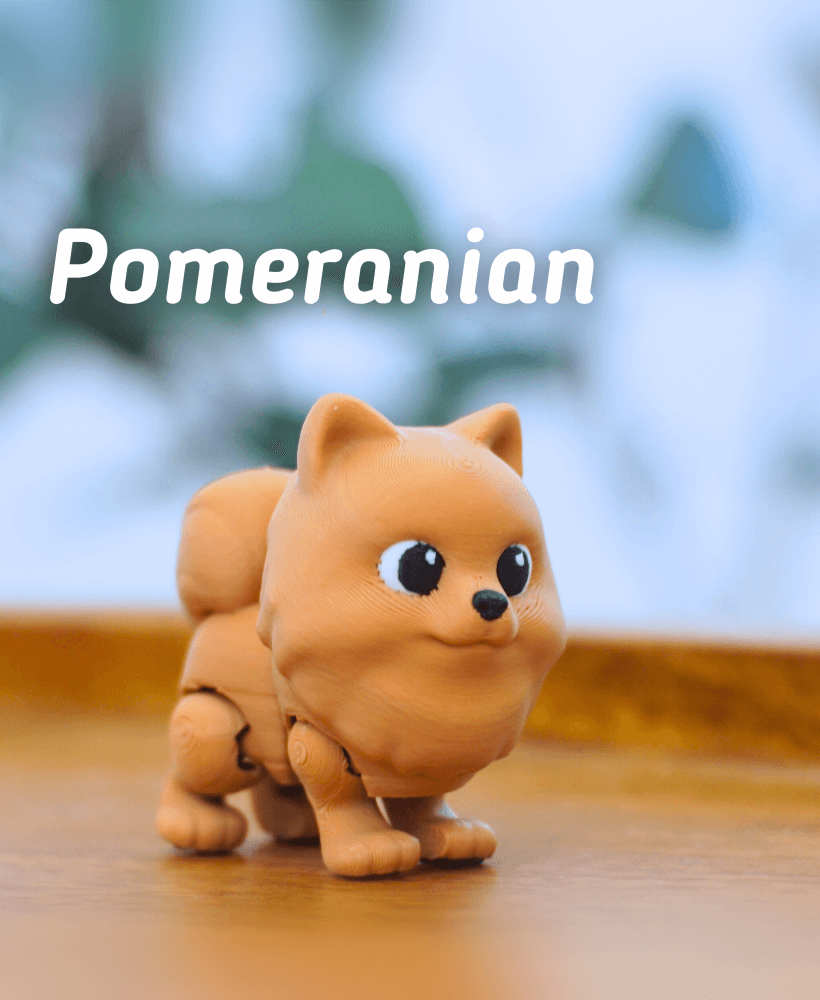
Ludo Pomeranian - Articulated Fidget Dog
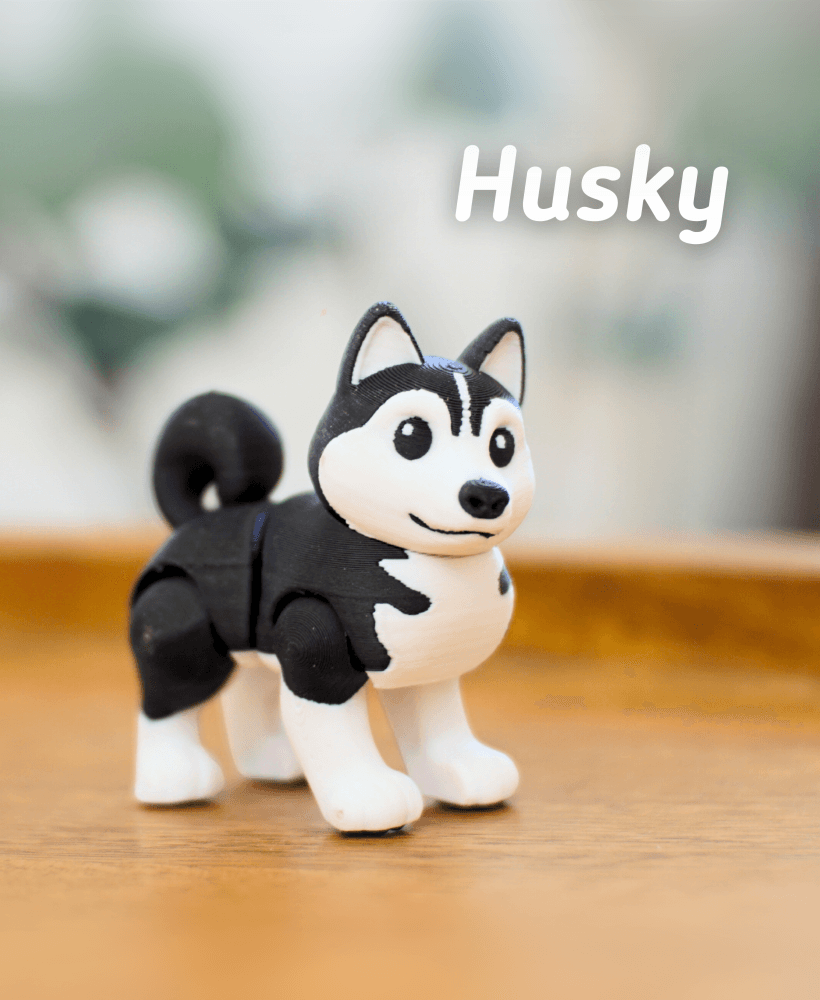
Husky - Articualted Fidget Dog

Able Alien - Articulated fidget alien

Merry Meerkat - Articulated fidget Meerkat
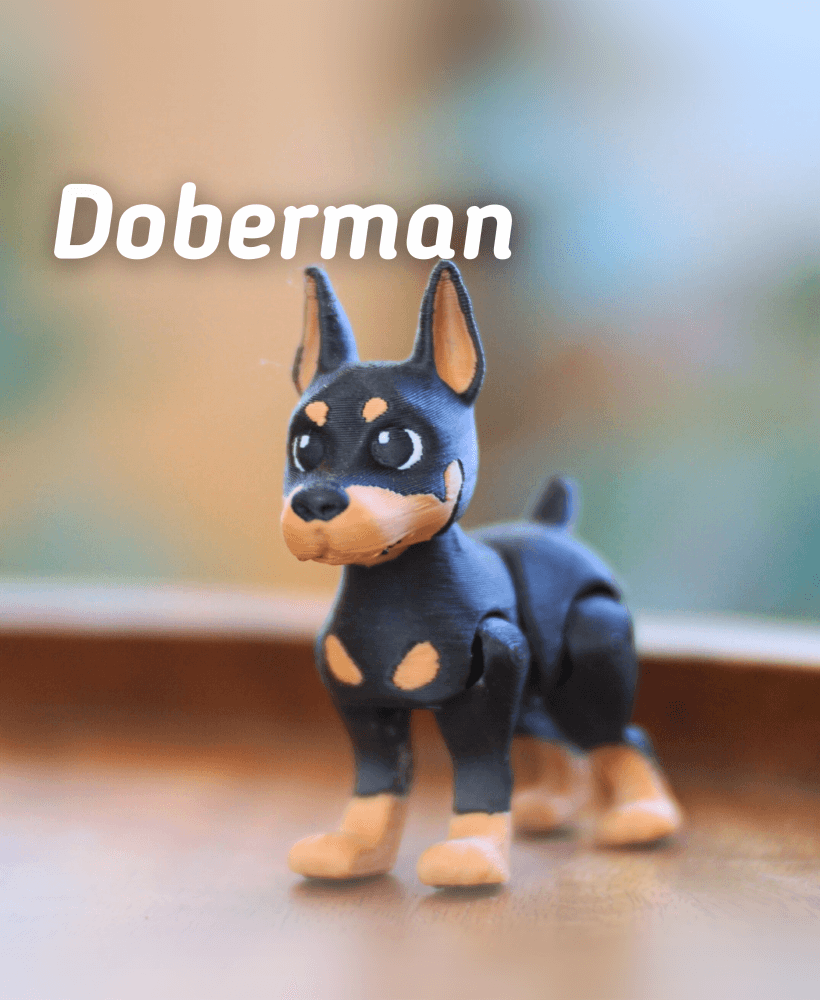
Doberman - Articulated Ludo Dog

Italian Greyhound - Articulated Fidget Dog
Hi, Sorry this happened. If you end up reprinting it, try changing the settings to 4 wall loops and 25% infill. That should make it a bit sturdier.
This happened to me too- I think the same exact arm broke. I super glued it last night and am hoping that will fix it for now
I welded it with a soldering iron. Simply take a small piece of filament from the spool and use it as filler metal.
What is the threading on the bottom of the middle piece for? some sort of dowel? I would love to get that to add some stability!
The Tray threads onto the base for added stability. The smaller thread you're referencing to is actually a vestigial feature leftover from an early version. Good catch haha it needs to be removed
I printed this over night last night and it seems to have fused together, I can't get it to extend. I didn't resize it at all, just printed it as is. Any way to fix it? I love the idea but not happy with how it turned out.
Hi, what part exactly is fused and what printer are you using? There are a few reasons this could happen so I would like to help narrow it down for you.
Hi it's the top section where the arms come out. I'm using a Bambu Labs A1 I tried heating it up to see if I could loosen it up a bit but I was worried about stuffing it up. I'm wondering if it was because it was left on the printer overnight
There could be two things that cause this. One being "elephant foot" in which case it's likely your temperatures were too high and spread the first layer into tolerances causing them to fuse slightly. In which case you could manually separate them by carefully using a razor and splitting them apart. The other option could be that you need a new nozzle or to lower your max volumetric flow rate because your printer could be pushing out too much filament.
Cool thanks I'm actually printing it again as we speak. I wouldn't think it would need a new nozzle, it isn't even a week old yet. Maybe I should have printed it on the P1S instead. 🤷♀️ I'll try the razor idea. Thanks so much, I'll let you know how I go.
hello i cant seem to get this file or the mantis to adhere to the print plate, im using the bambulab ai mini
Try cleaning your build plate with soapy water. Don't touch the build plate surface after you wash it (the oils on your hands mess with bed adhesion), Then add some glue (from a glue stick) across the build plate. You shouldn't have issues after that.
i have already tried both options, i usually wash my build plate with dish soap to make sure theres no oils on it, tried glue for the first time since it seems to struggle the most with the tips of the hangers, but still no luck. i did resize the model so that the bowl would fit the mini build plate thats the last thing i can think of at this point
you could try checking the 4 tiny screws on the back of the hotend assembly. my a1 mini is notorious for those coming loose over time and causes me so many adhesion issues
okay ill take a look at it, would resizing the model have an affect on the printing?
Resising this model is likely to cause issues with the tolerances. If you scale it down too much the parts could fuse together. Depends how much you're scaling it down though.
Scaling shouldnt effect adhesion though
resizing would deffinately affect things, but im not exactly sure in what way, since i havent resized them myself. you can always try adding a brim as well
checked the screws and all seems secure, my personal models seem to adhere with no issue as well, I tried to add a brim on one of the tries it also failed
what filament are you using for it? and have you printed with it on other models recently?
pla pro 1.75, i have printed on it before and with some fighting i did manage to get it to print the mantis today with some mild issues around the head
it could be the filament or settings but honestly its hard to know for sure because i didnt have issues printing either design
ive tried to print just the hanger since that still fits on the mini in the default size as well as with a different filament and this is the furthest ive gotten but two hooks lifted around 13% of the way so it might print with glue but that would mean i could only print one part of the model
If they're lifting, its more likely a warping issue, than an adhesion issue.
Make sure your build plate temp is set correctly. If its warping you may need to increase your build plate temperature.
What is your build plate temperature currently set to?
ive tried it between 65 and 75 at varying amounts, the most recent time i tried i think it was at 70
I have just printed this model in Bambu Lab PETG-HF and it came out beautifully. No warping or adhesion issues. All the joints are strong and they came apart crisp. I think you can try heating the bed to the right temperature first, and if possible, print it in an enclosed chamber.
How small did you scale it to? Below 80% and it likely will fuse and not work regardless of adhesion issues.
For the mantis, did you print at 100% scale or scale it down?