


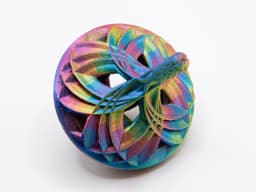


Feathered Top
This top gets its name from the patterns on the top and bottom, which looks like bird's wings to me.
Not for commercial use. Please see license agreement.
The top prints well from 100% down to 55% and spins well at all the sizes I've tried. To get the stem of the 55% to print well, I created a new version of the STLs with thicker stems. I also added GCODE to my 3MF file to drop the print head temp down to 177 at 10.50 mm. That worked really well, but I also found that printing two at once improves the print quality of the stem even more. So, the 3MF file I've provided for 55% includes pieces for 2 tops.
Want to show off your top? Download my Display Stand for Tops. It prints in as little as 10 minutes!
I've included my STL and PrusaSlicer 3MF files. The top is available as 1 piece and two. I recommend the 2 piece. It prints a lot smoother, takes less time (almost ½ the time of the 1 piece) and the pieces go together easily with just a few small drops of CA glue. They spin about the same.
If you want to print the 1 piece top, I'd suggest doing it inverted with the provided support collar. It goes around the stem and keeps the top from wobbling while it prints. The collar breaks away easily once the print is done if you get it adjusted right for your printer. I tried this technique with another of my tops and it worked OK, but the final print quality was pretty rough on top and it didn't spin better. It also took a lot longer and required more filament. Still, if you want to print the top as one piece, I recommend using the stem and printing just the first 30mm (takes about 45 minutes). While the print is still on the plate, try moving the stem sideways to see if it has give. Then, remove it from the plate and the collar and see if it was too tight. Then, scale the collar up or down as needed (probably no more than 0.5 - 1%).
This is a great design for 2 or 3 color filament, rainbow filament, or adding color changes by swapping filament.
Print Settings
If you don't use my 3MF file, I suggest you set perimeters to 11 (yes, really) and infill to 100%. The tops need the mass to spin well.
Also, print external perimeters first. I couldn't explain why, but they are a lot smoother if you print the outside first.
I added grid supports with an overhang angle of 50 degrees.
Filament
If anyone's curious, I used OVV3D's Tri-Colors Red-Yellow-Blue PLA.

Raven Hair Fork - Bird Hair Pin for Gothic Hairstyles

Husky Ducky - Hazbin Hotel Rubber Duck

Animated Weapon Collection (DND / TTRPG)
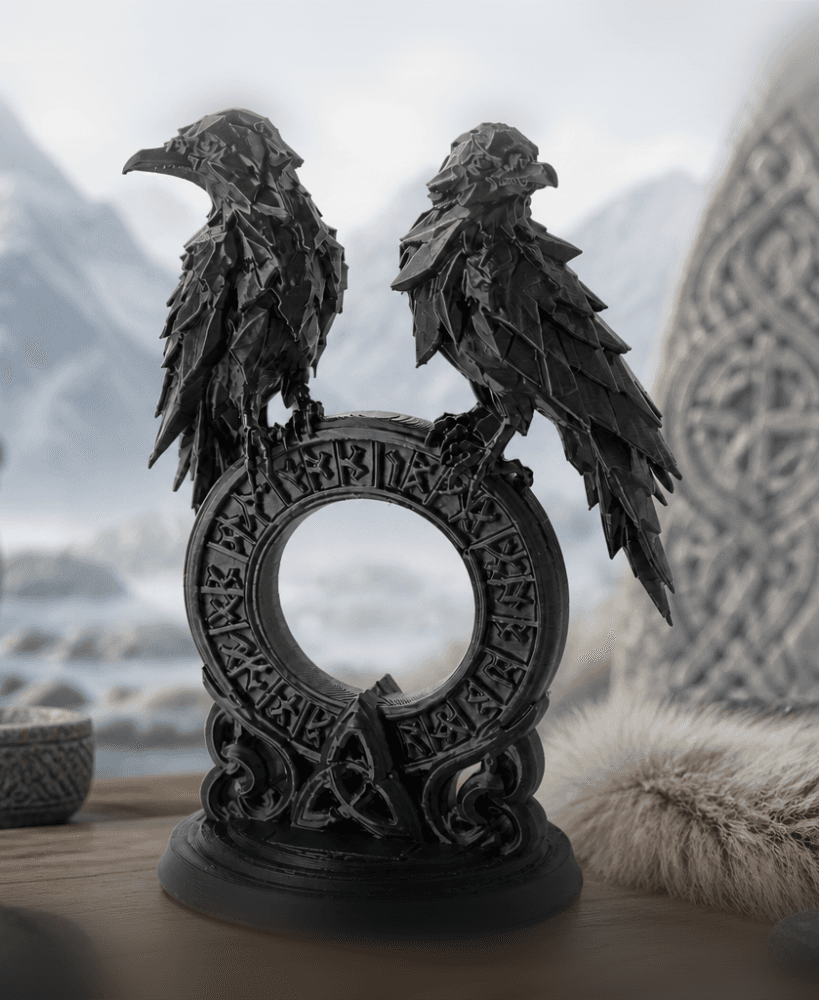
Twin Raven Rune Gate - Gothic Norse Statue

The Mask Bust 3MF | Movie Icon Multi-Color | FDM

Thanksgiving Turkey STL – Festive 3D Printable Decoration – Smaller
.png&w=3840&q=75)
Royal Peacock Bust STL | Fantasy Animal 3D Print | Elegant Statue

COOBO Baby Chick

Feathers rest jewelry dish.3mf
.png&w=3840&q=75)
Sun Wukong STL | Monkey King 3D Print | Cloud Staff Pose
.png&w=3840&q=75)
Featherd cresent jewelry dish

Aventurine Inspired Keychain
.jpg&w=3840&q=75)
Patriotic Baby Eagle STL | Kawaii Heroic Pose | 4th of July Ornament | Bald Eagle On Rock Model

Peacock Feather Trinket Box

Bird Masquerade Mask with Feathers and Beak

Owl Head Planter - Gothic Owl Pot - Decorative Owl Planter
.png&w=3840&q=75)
Horus Warrior Bust STL | Egyptian Bust 3D Print | HighDetail

Duck Paw Credit Card Payment Wand
.png&w=3840&q=75)
Wise Scholar Owl STL | Graduation 3D Print | Academic Desk Decor
.png&w=3840&q=75)
the gold game