


Lawnmower Man 2: Beyond Cyberspace Chiron Chip
This is my interpretation of the Chiron Chip from The Lawnmower Man 2 Movie. I am frequently drawn to the focal devices in movies and TV shows, this case, the Chiron Chip from Lawnmower Man 2.
After seeing this movie again and recalling how cool I thought this chip was when I was a child, I decided I wanted to print one. To my surprise, I could not find an existing model. So, with my limited skills as a designer I searched for diagrams or samples only to find terrible screen grabs. At first, the design appeared simple due to the fuzzy images. I decided to frame by frame through the movie and to my horror found that the chip had way more detail than I had originally thought.
You don't have to provide a light source etc. and can display this as is when the print completes. I printed 3 panels and glued them together with a simple base and green LEDs. In an effort to provide options for others I've added some optional stackers for your LEDs so you can raise them to the level you like as well as adding a rotatable magnet attached panel mount for the front. I like to use the nickel strips used for soldering batteries together as magnet attachments but you can also do some magnet on magnet action if that's what you prefer. For me, "rotatable" panel mount on the front is wrapped and glued using one of these nickel strips that will cling to the 2.5x5mm magnets that can be slotted into the bottom of the panel mount on the front.
All that said I hope you enjoy. I'm certainly a beginner in CAD/Design so there are likely some beginner mistakes. I appreciate designers that allow us to alter their models to our liking so, in kind, feel free to alter this model and/or improve on its design just please share your version so we can all benefit from more seasoned creators.
Lawnmower Man 2: Beyond Cyberspace Chiron Chip
Jerk Juice: Wearable Kinetic Energy Generator for #HalloWearables
.png&w=3840&q=75)
Venus Flytrap Snack Clips - Bag Clips
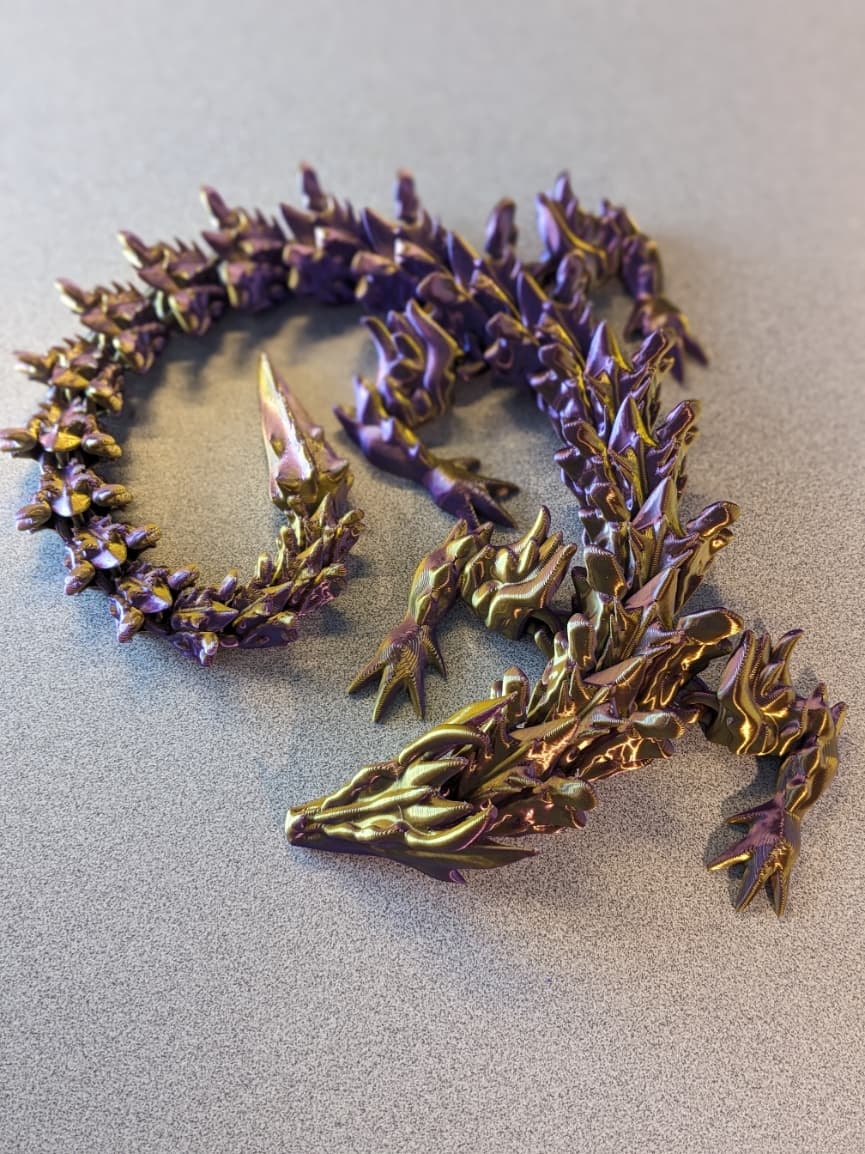
Bone Dragon - Articulated dragon
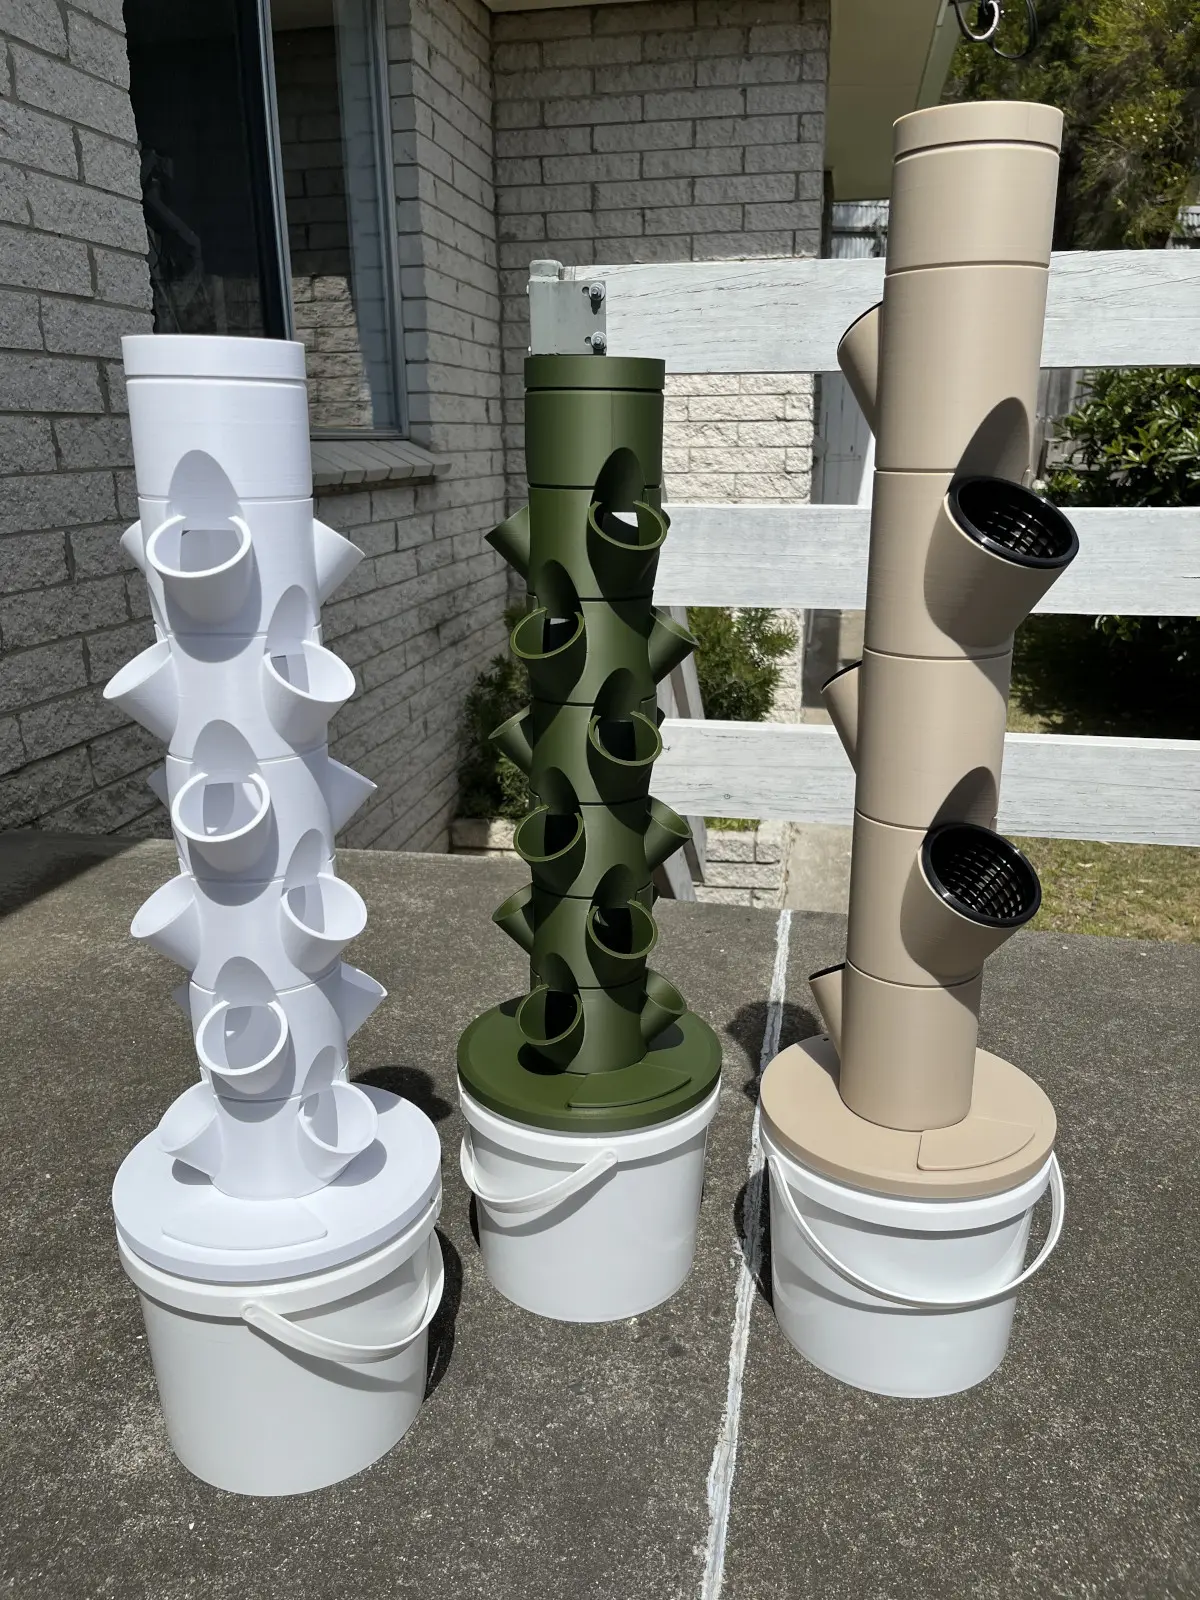
Dani's Miniature Grow Towers
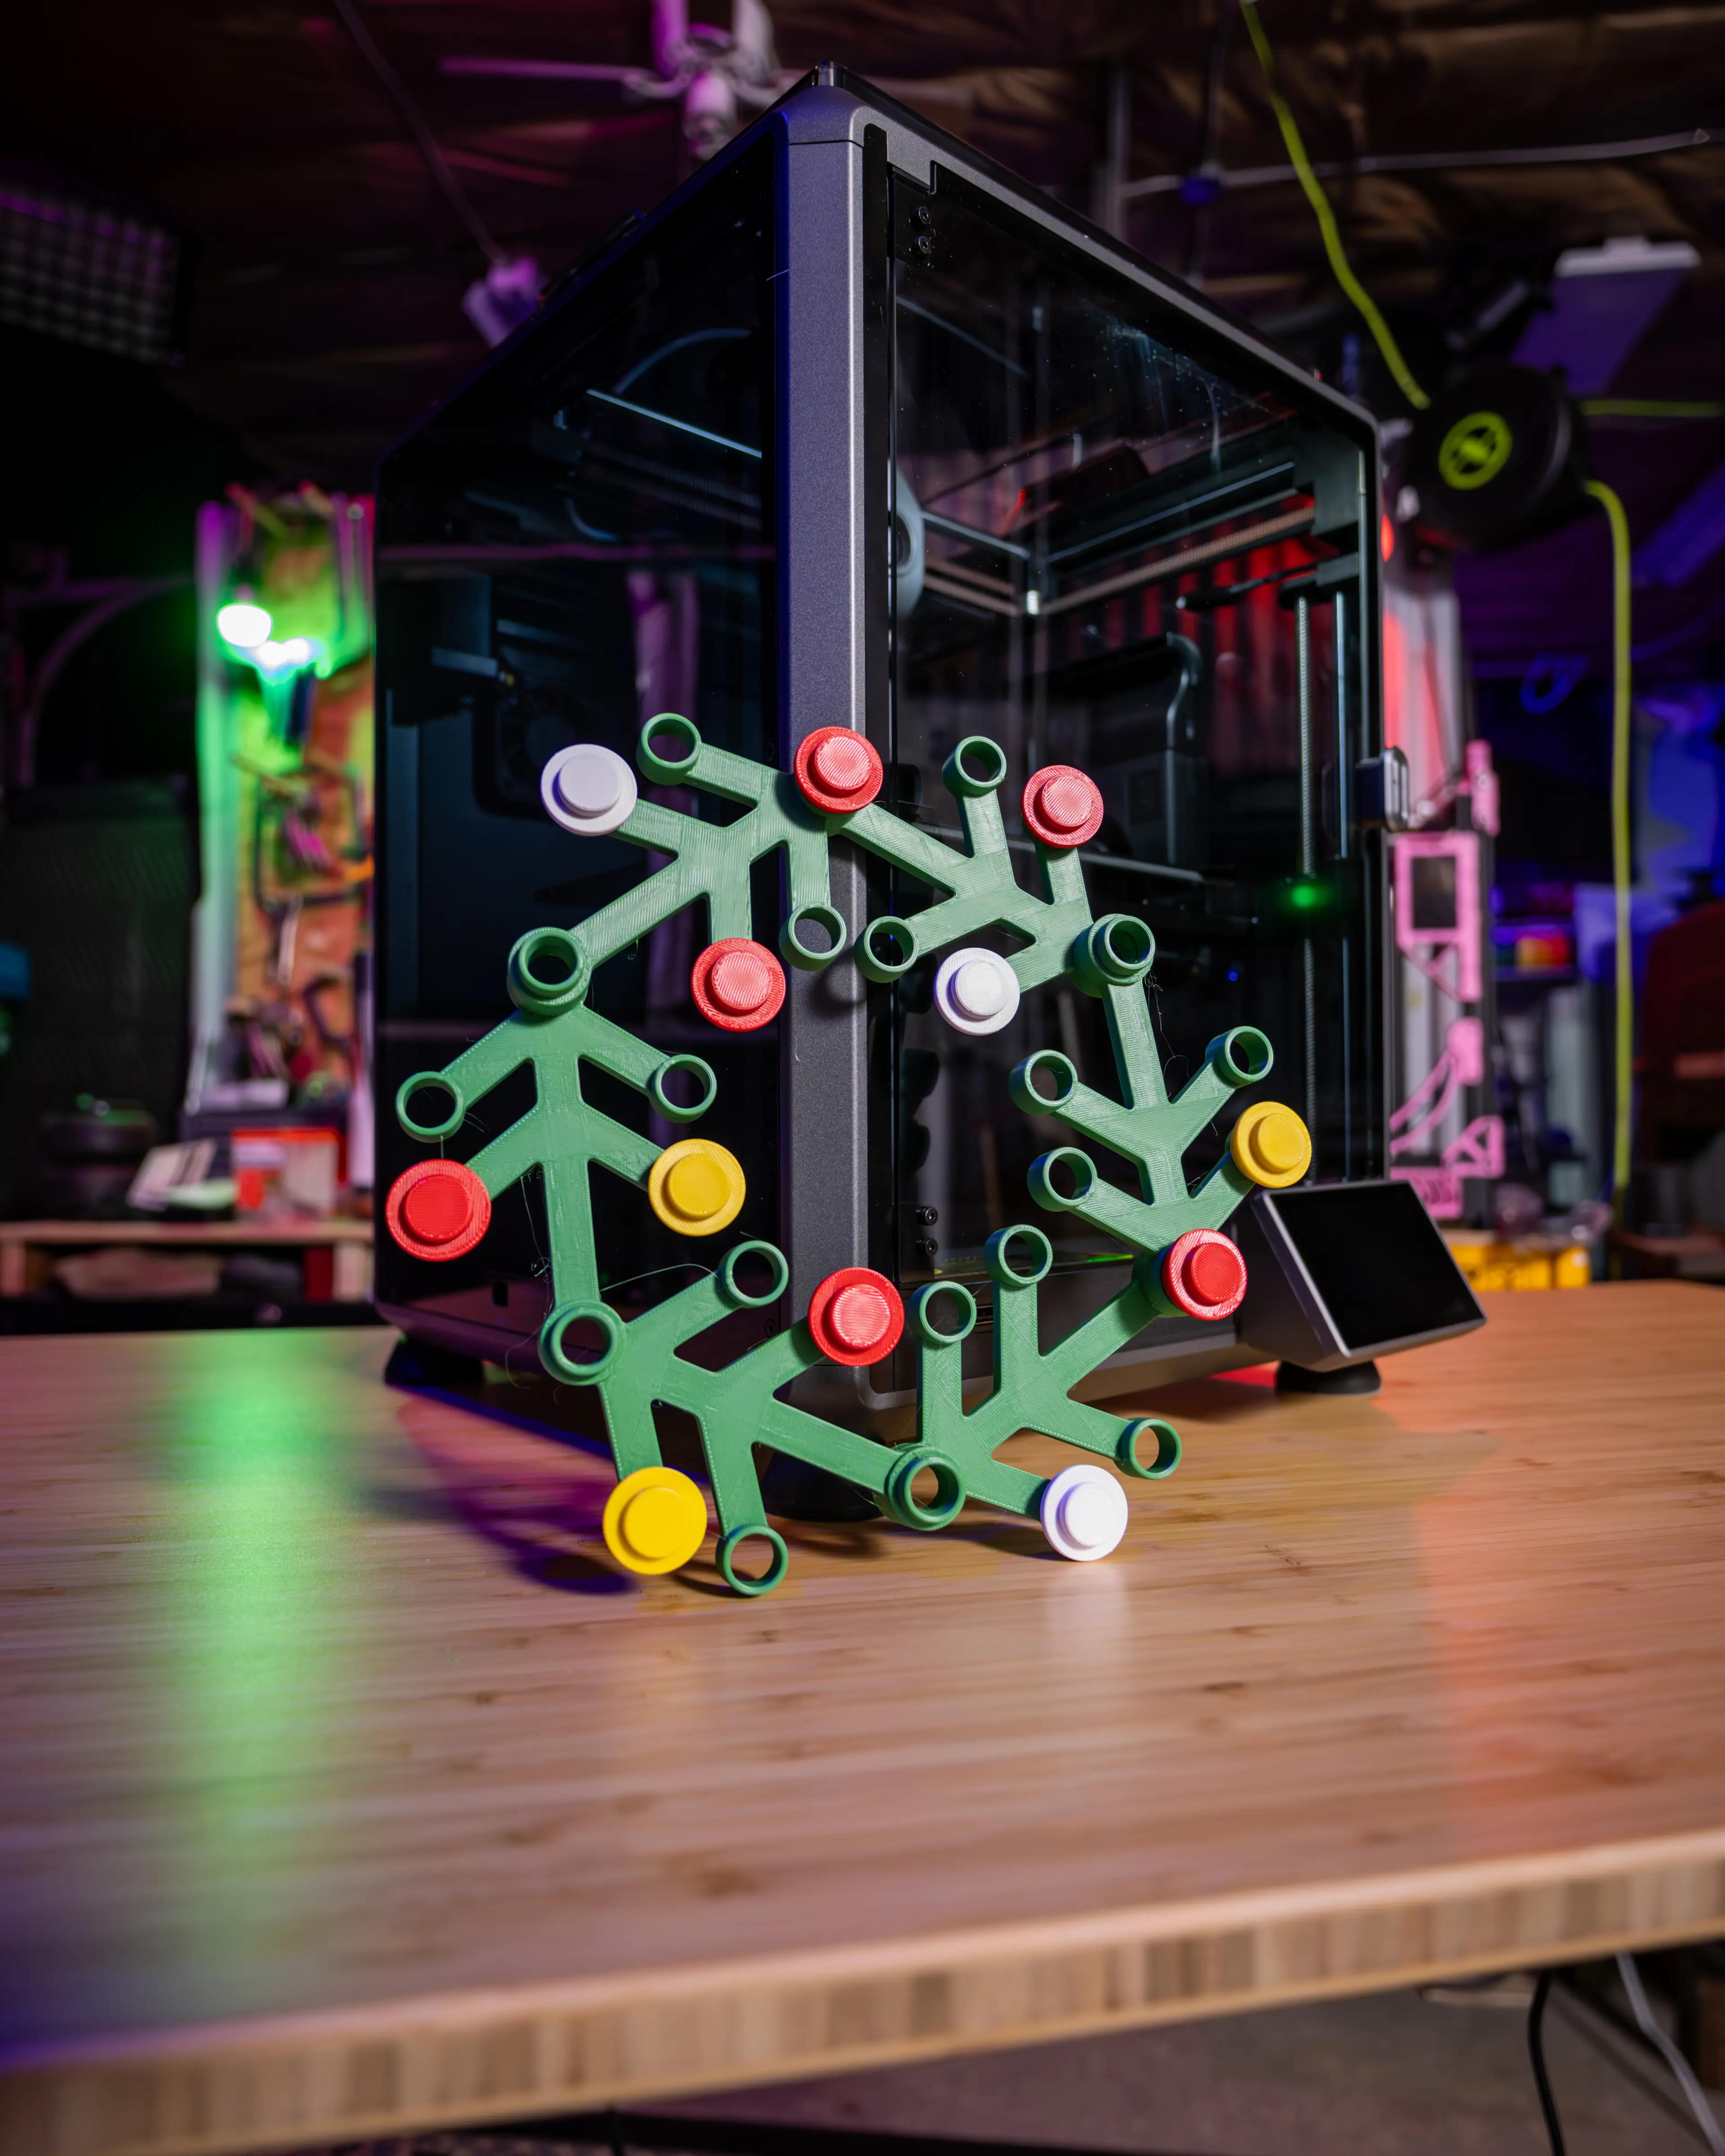
LEt'GO Holiday Wreath - Support Free Interlocking Brick Xmas Cheer!

VinoGrace Elegance Wine Holder smooth version

DrinkColder (12floz) – Self-Closing Drink Holder & Cooler
Wormhole Chess Board

MakerChip - Maker Chip - The New Maker Coin

Void Knight - Ser Elias the Forgotten
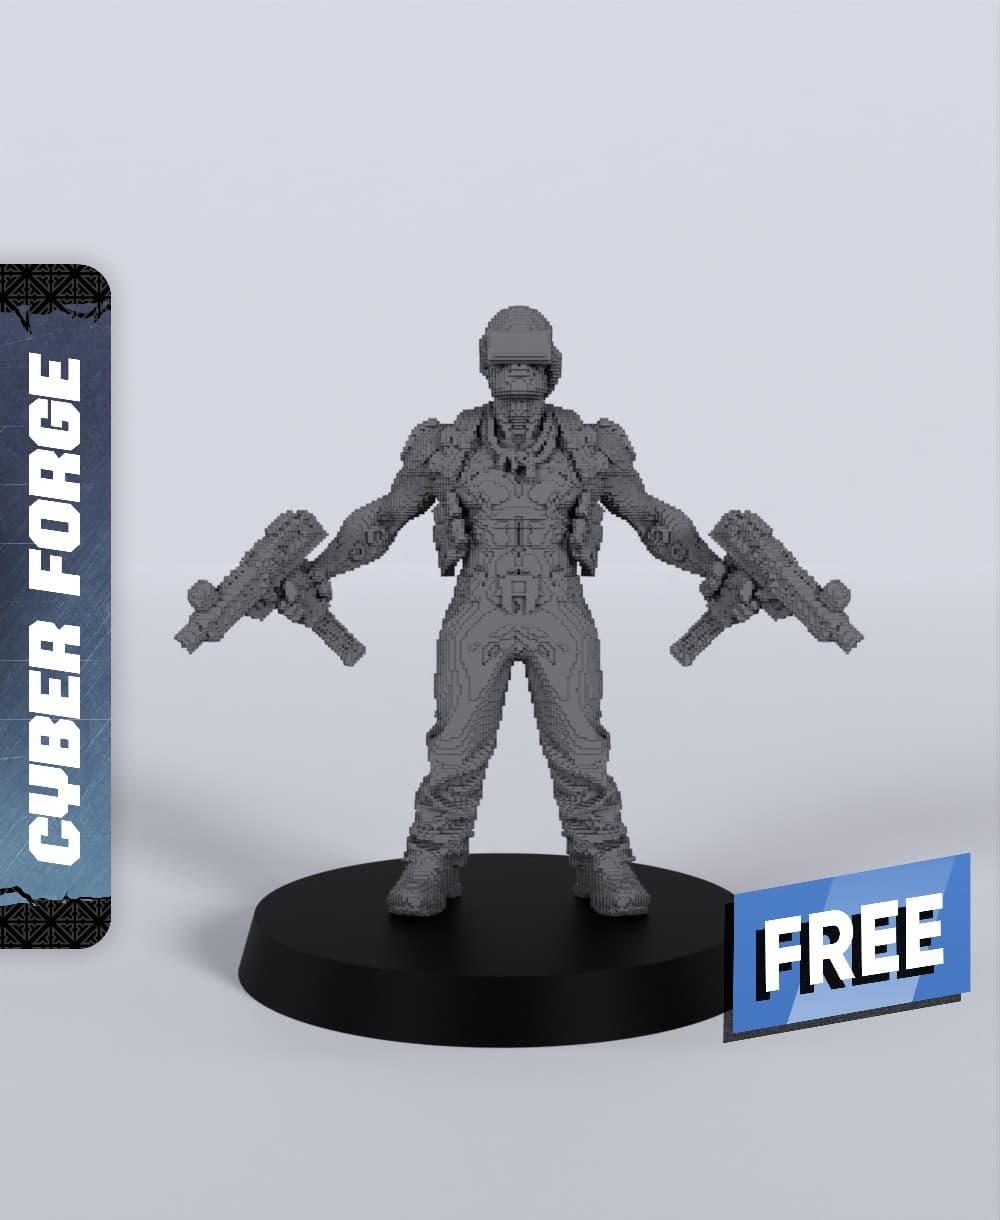
Cube in Cyberspace - With Free Cyberpunk - Sci-Fi Gift Ideas for RPG and Wargamers
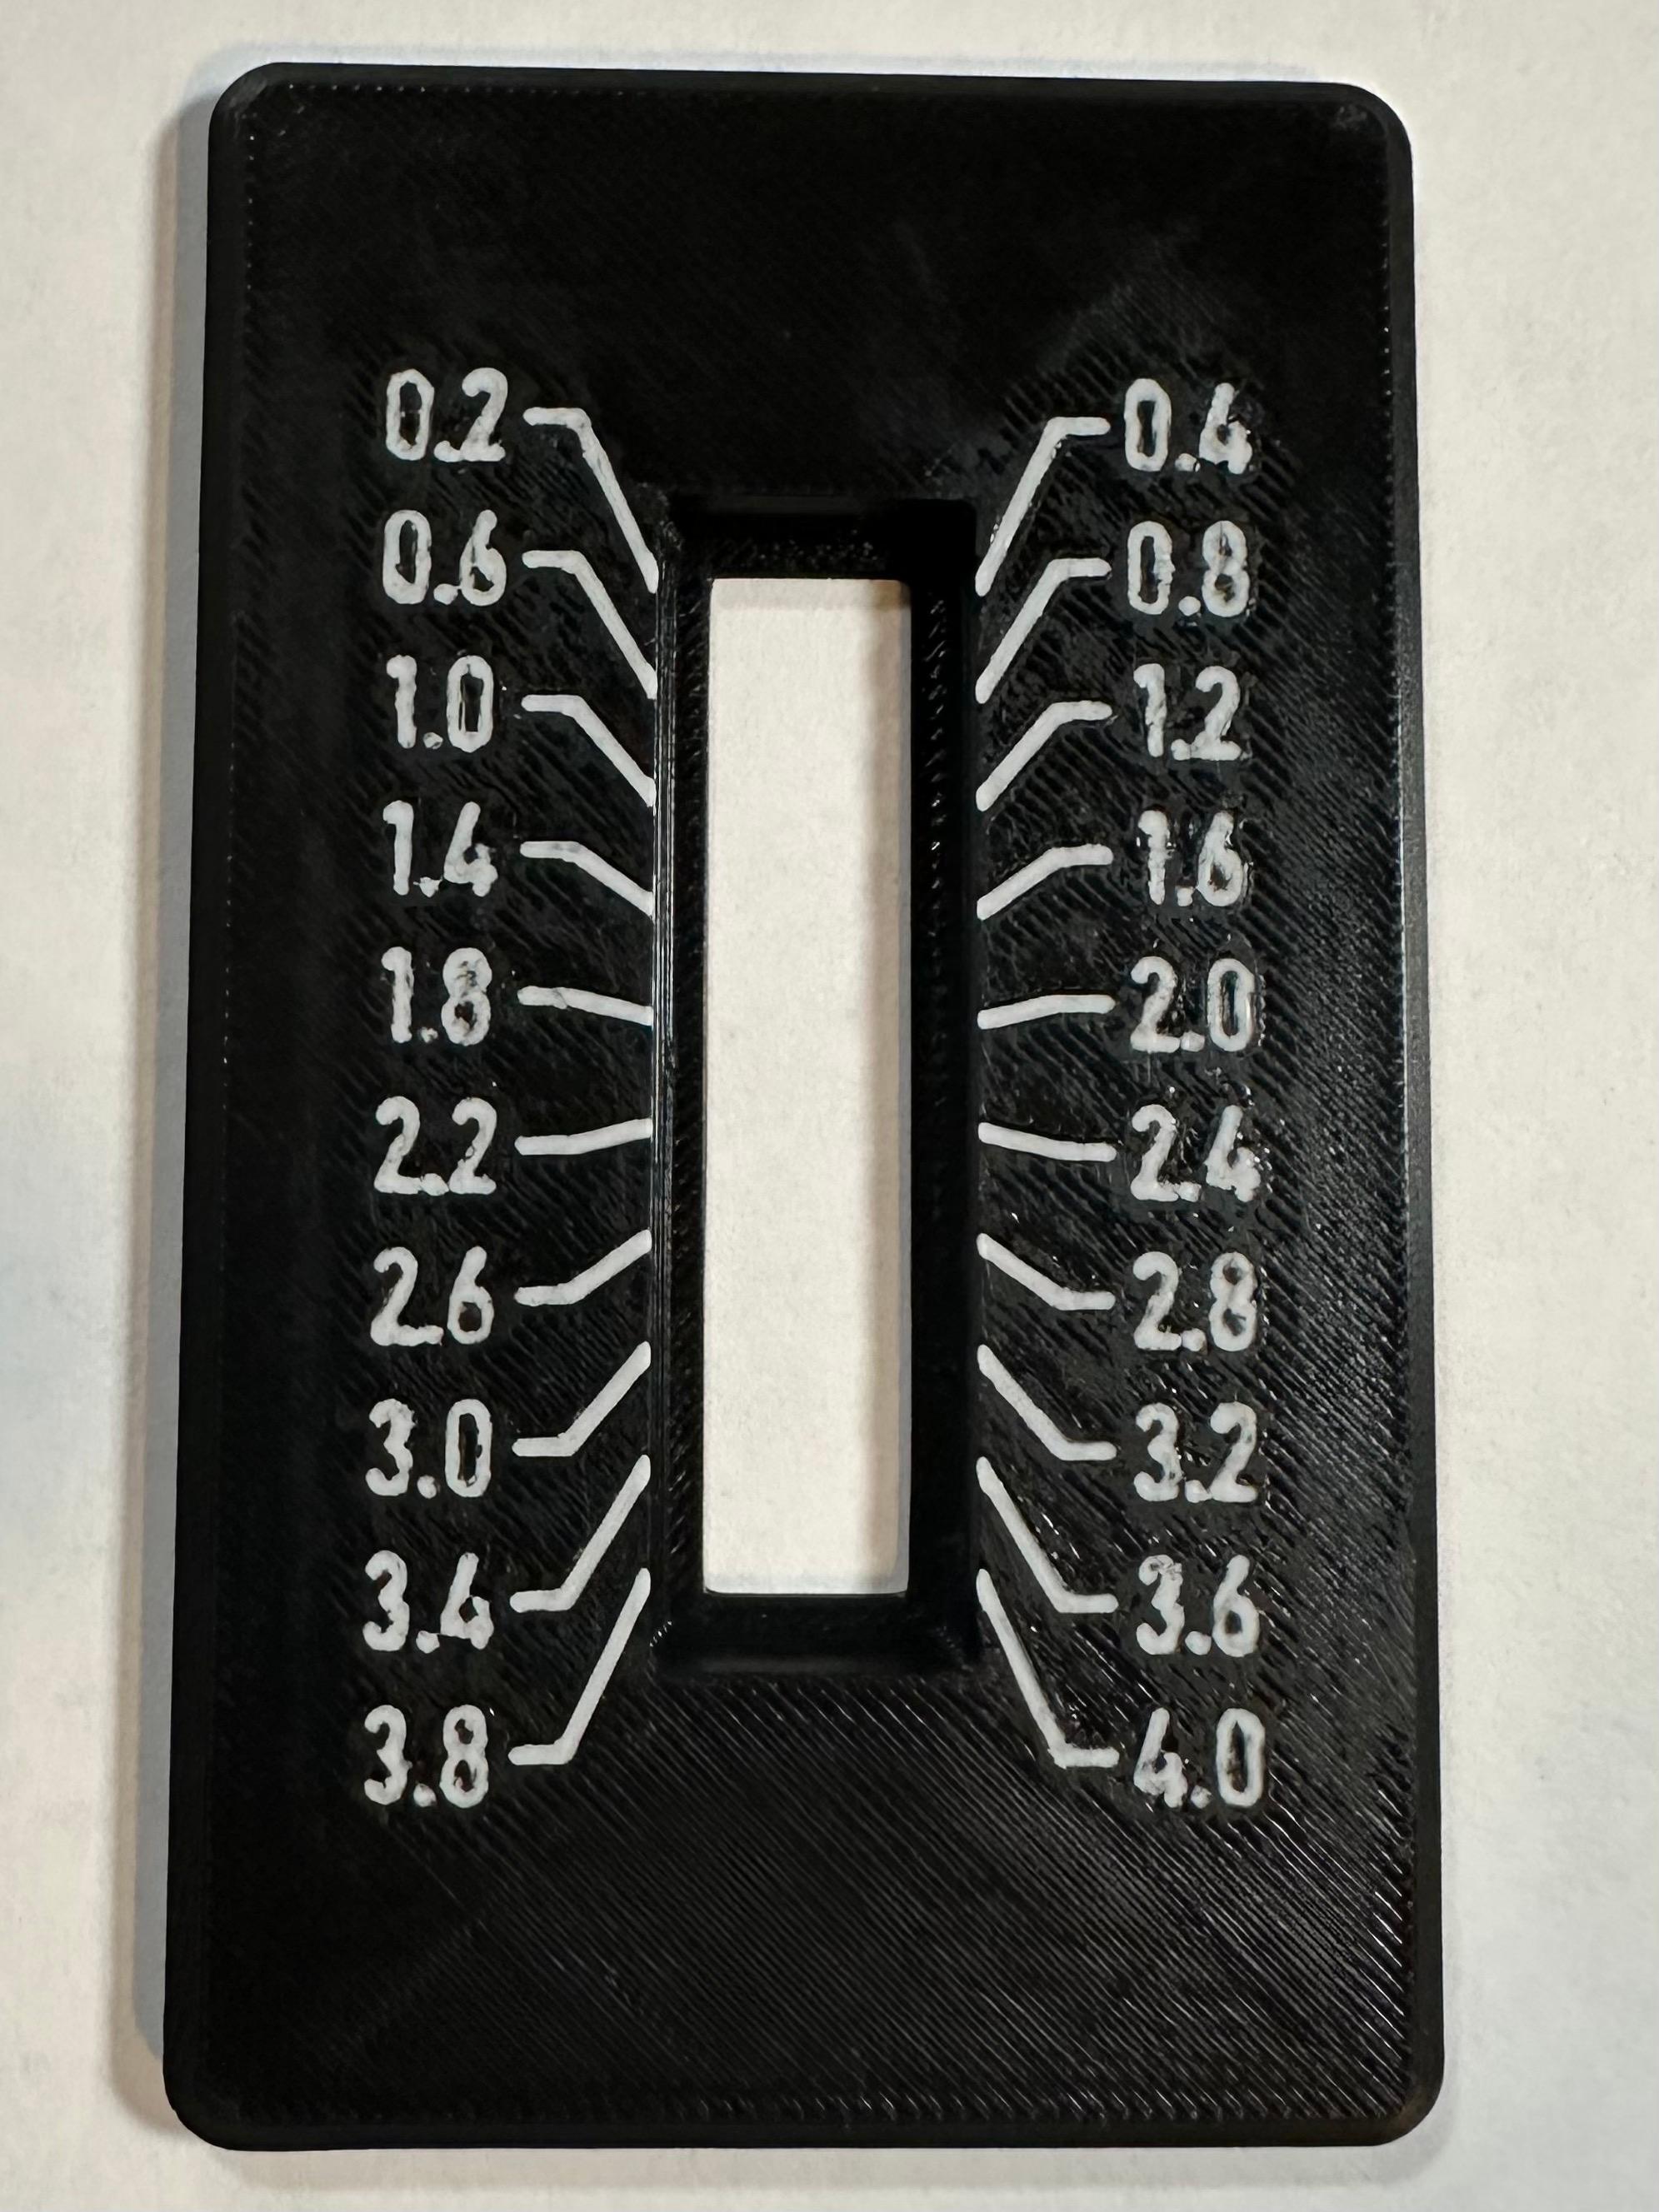
Official HueForge TD Step Test and Light Box
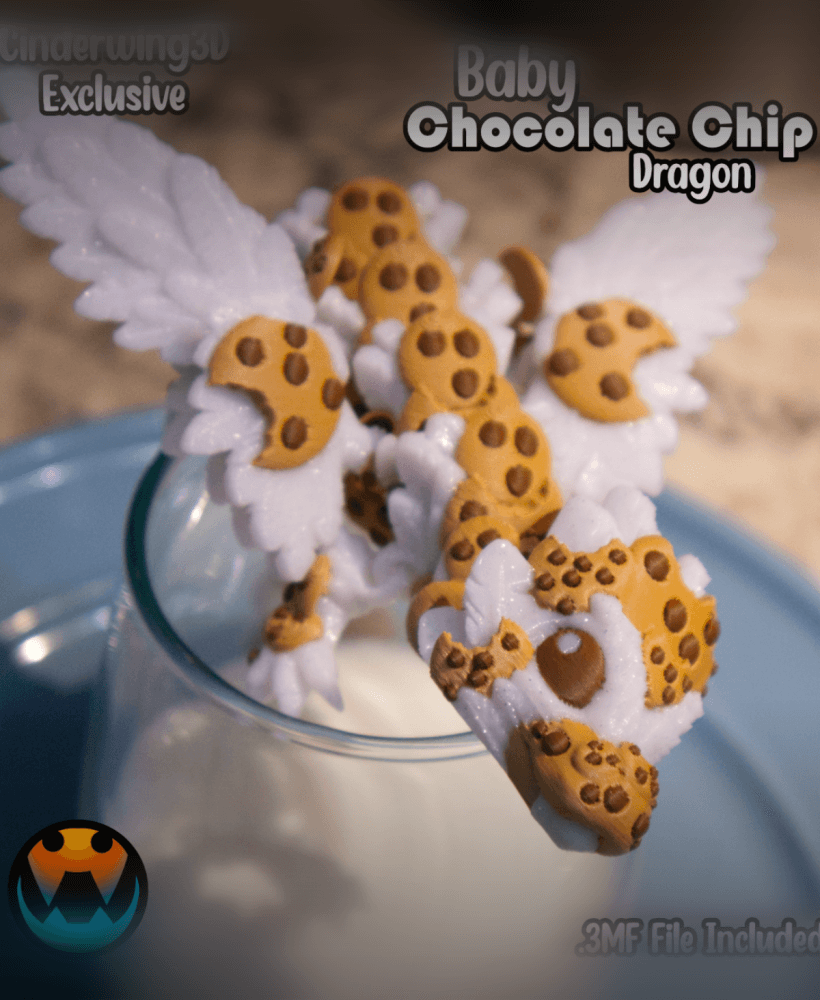
Baby Chocolate Chip Cookie Dragon
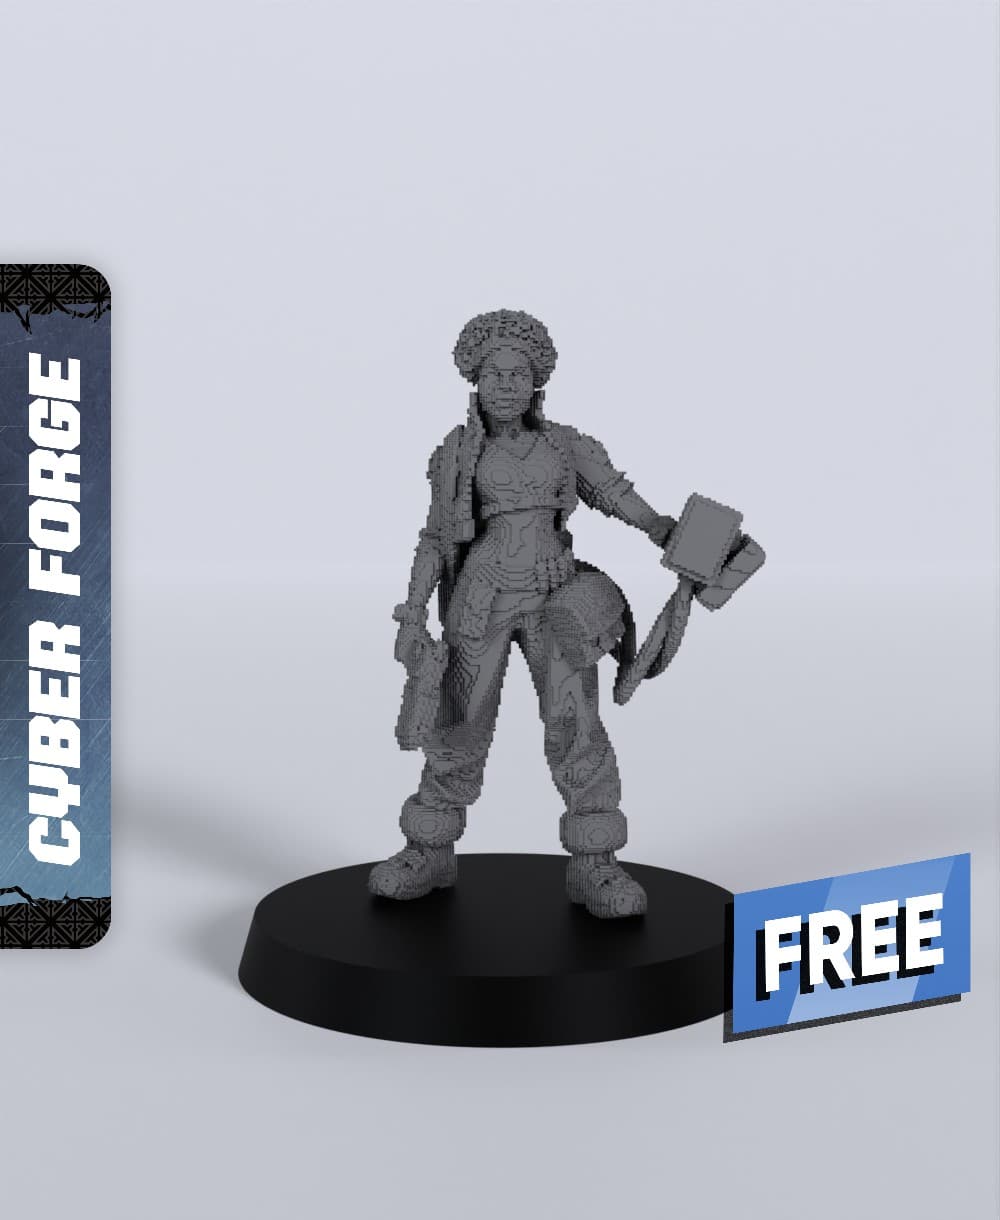
Ajey She in Cyberspace - With Free Cyberpunk - Sci-Fi Gift Ideas for RPG and Wargamers

Queer Qubes

Christmas Stocking Vase for Festive Decor
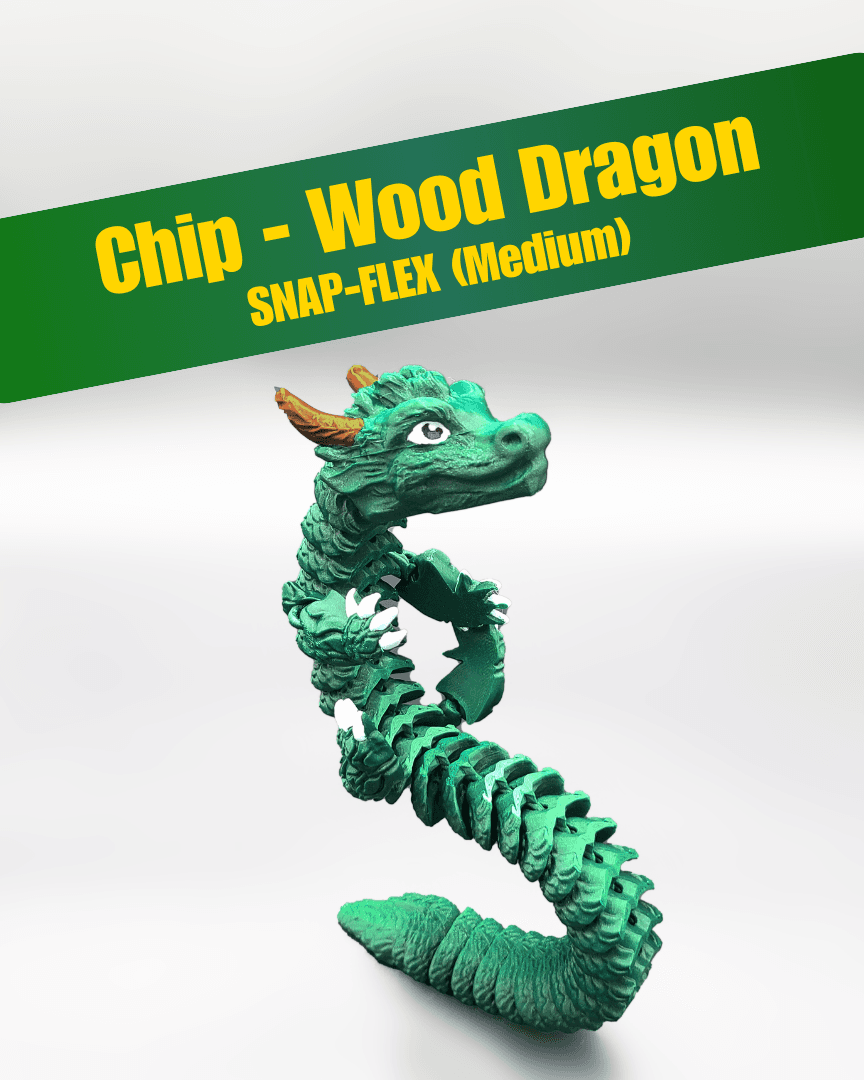
Chip, Wood Dragon - Articulated Dragon Snap-Flex Fidget (Medium Tightness Joints)

Real-size Halloween Props Bundle

Cracked Spiral Planter
