
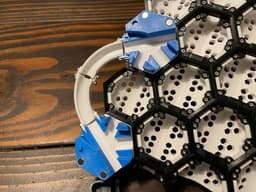


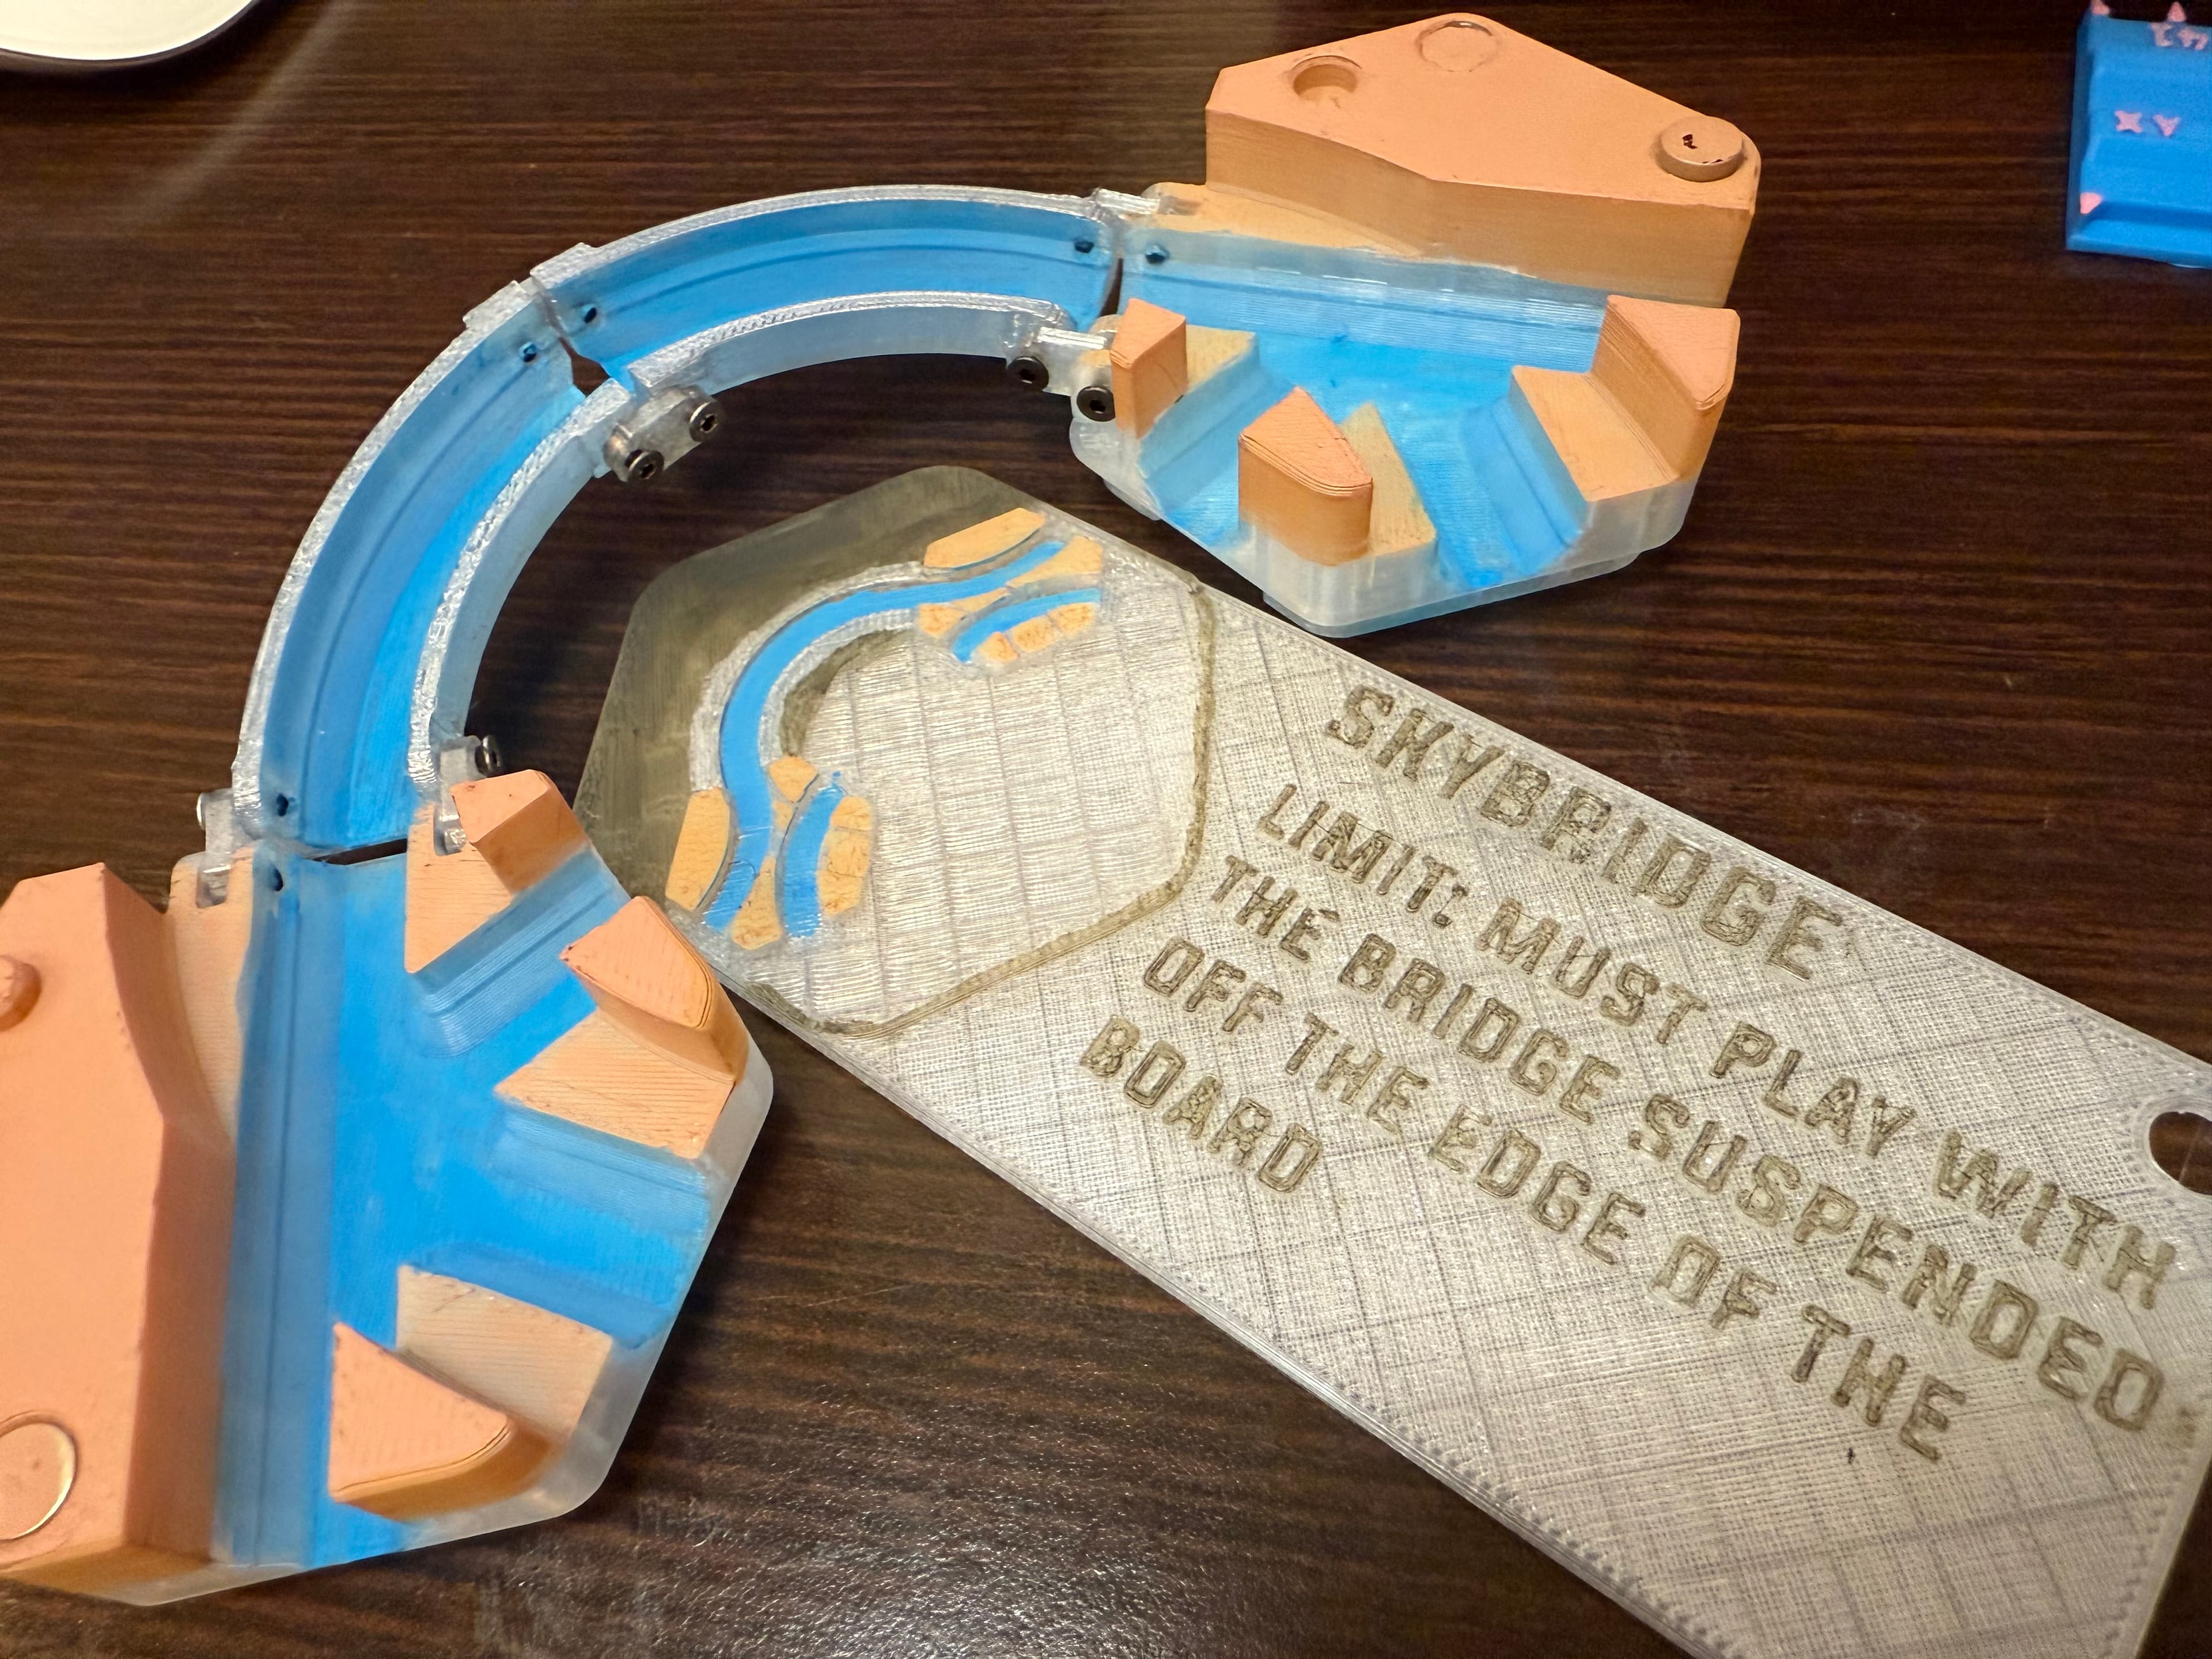
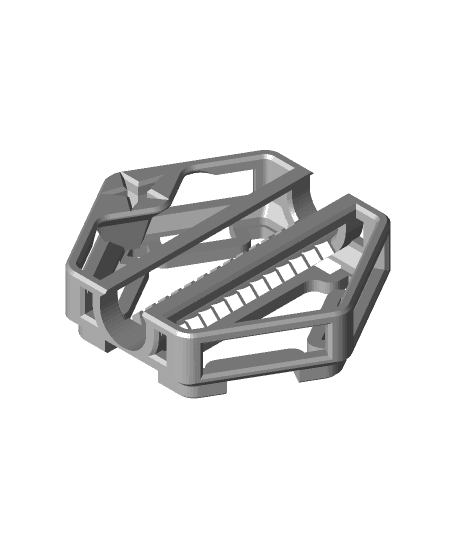
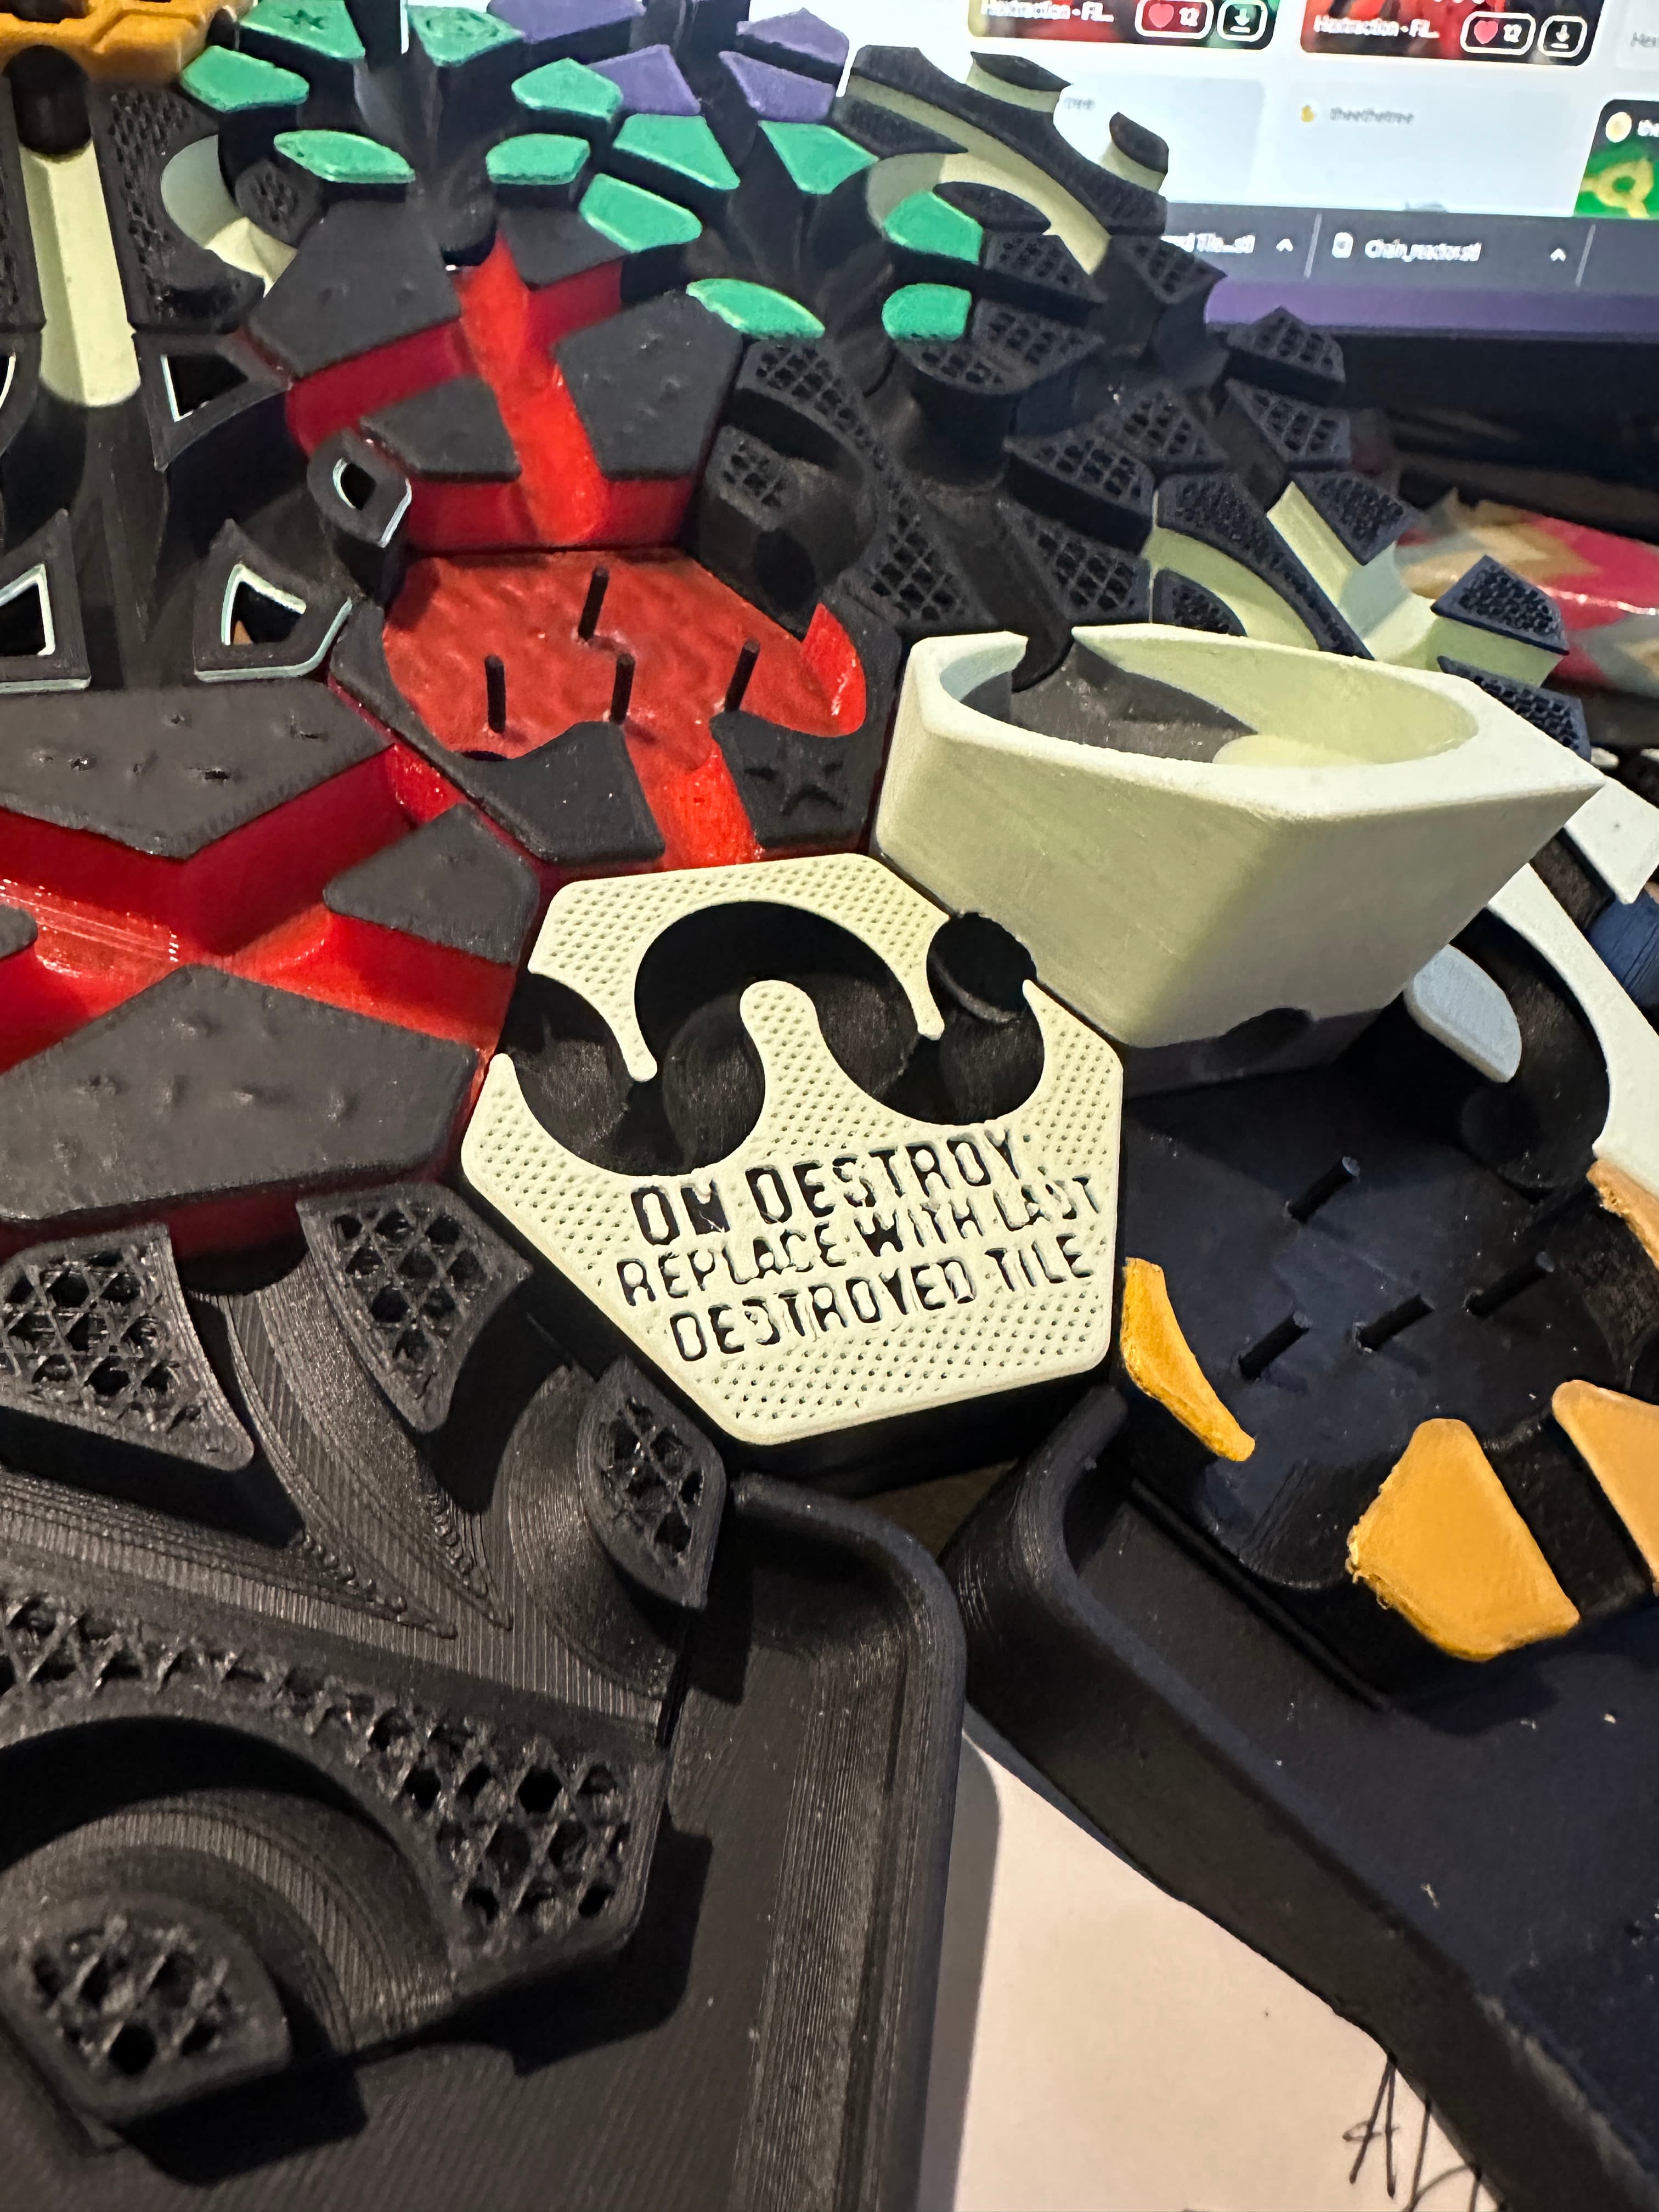
Hextraction Skybridge Tile
Push your Hextraction game beyond the limits with this new combo tile! The two halves are connected by a curved bridge that extends off the edge of the board and out into thin air. Let's just hope those steel balls aren't afraid of heights.
Notes: This tile isn't compatible with boards that have side gutters or other fancy edge features.
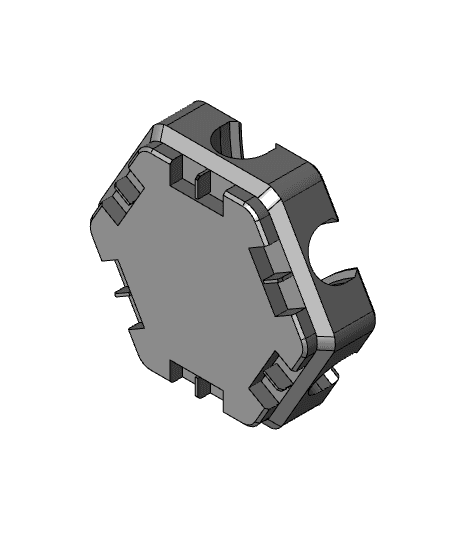
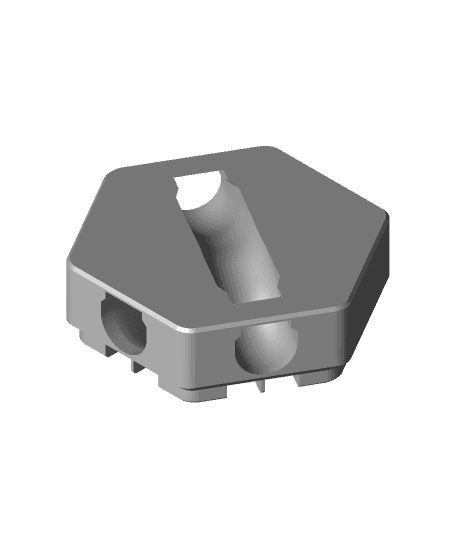
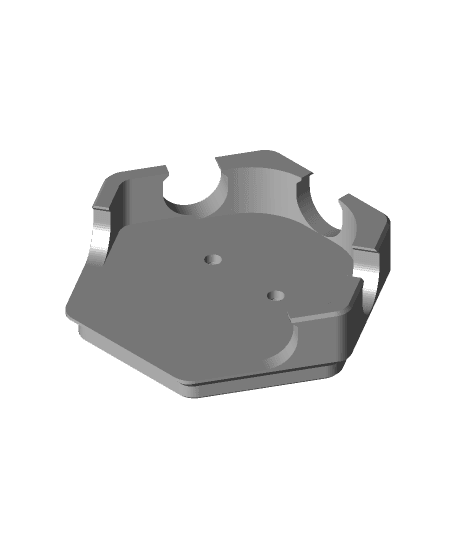
Printing: Print two end tiles (one A and one B variant), one set of bridge halves, and one set of six links. For the end tiles, I changed filament colors at 10mm.
Hardware: 8x M2x4mm screws - socket cap or button head 4x M2x6mm screws 4x 6mm x 2mm magnets
Assembly:
- Connect the bridge halves with two links and four M2x4mm screws, using the lower set of holes. The ends of the bridge halves are not the same. All screws should be snug but not tight, allowing the links to rotate. The bridge halves should be able to fold back-to-back.
- Attach the remaining four links to the ends of the bridge using M2x4mm screws.
- Attach the bridge to the end tiles using four M2x6 screws. Test that the tile can fold and unfold.
- Glue in four magnets, alternating polarities to match the + and - symbols in the holes. Allow glue to fully cure before closing the tile.
Tile Notes: DC: Requires a larger board (edge length of 5 or more tiles). Not compatible with smaller boards, as it requires an empty tile above and below for entry and exit. K: Works on most boards (edge length 3+). Recommended layout for smaller boards. IC: Works on most boards (edge length 3+). "C" paths have challenging entry/exit angles. X: Works on smaller boards (edge length 3+), but will play better on larger boards due to the vertical paths. Merge: Works on most boards (edge length 4+). Mind that lower exit path. Blank (found in f3d and step files): Don't print these; use as a basis for creating new end tiles.
Hextraction Skybridge Tile

Hextraction - Mini Skybridge Tile

OLD Hextraction - Bishop Tile Chess Tiles

Hextraction - King tile Chess Tiles

OLD Hextraction - Rook tile Chess Tiles
OLD Hextraction - Knight Tile Chess Tiles
OLD Hextraction - Pawn Tile Chess Tiles
NEW Hextraction - Knight Chess Tiles
Hextraction - Queen Tile - Chess Tiles
Hextraction - Angel Down Tile
Hextraction - Angel Up tile

Hextraction - High-Consistency Trap Tiles
Hextraction - Dip Tile
NEW Hextraction - Rook Chess Tiles
Hextraction Shahrazad Tile Lid - Secret Tile Compatible
Hextraction - Holo XC tile - One peice
Hextraction - XC Holo Tile
Hextraction - Dip and hill tile
Hextraction - Rubber band Trampoline Tile
Dragon Ball Hextraction Tiles
Awesome idea, love expanding the board!