


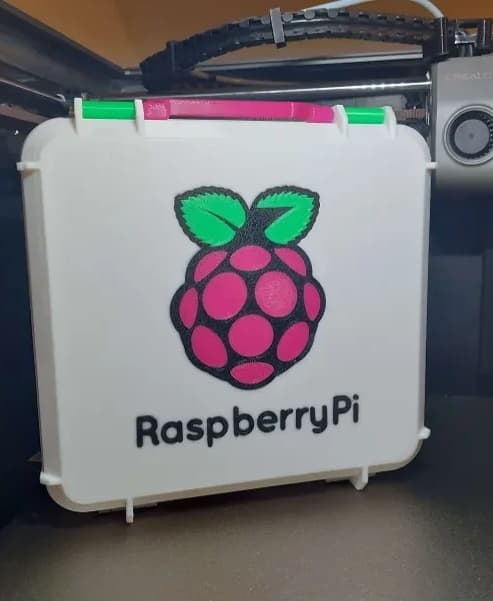
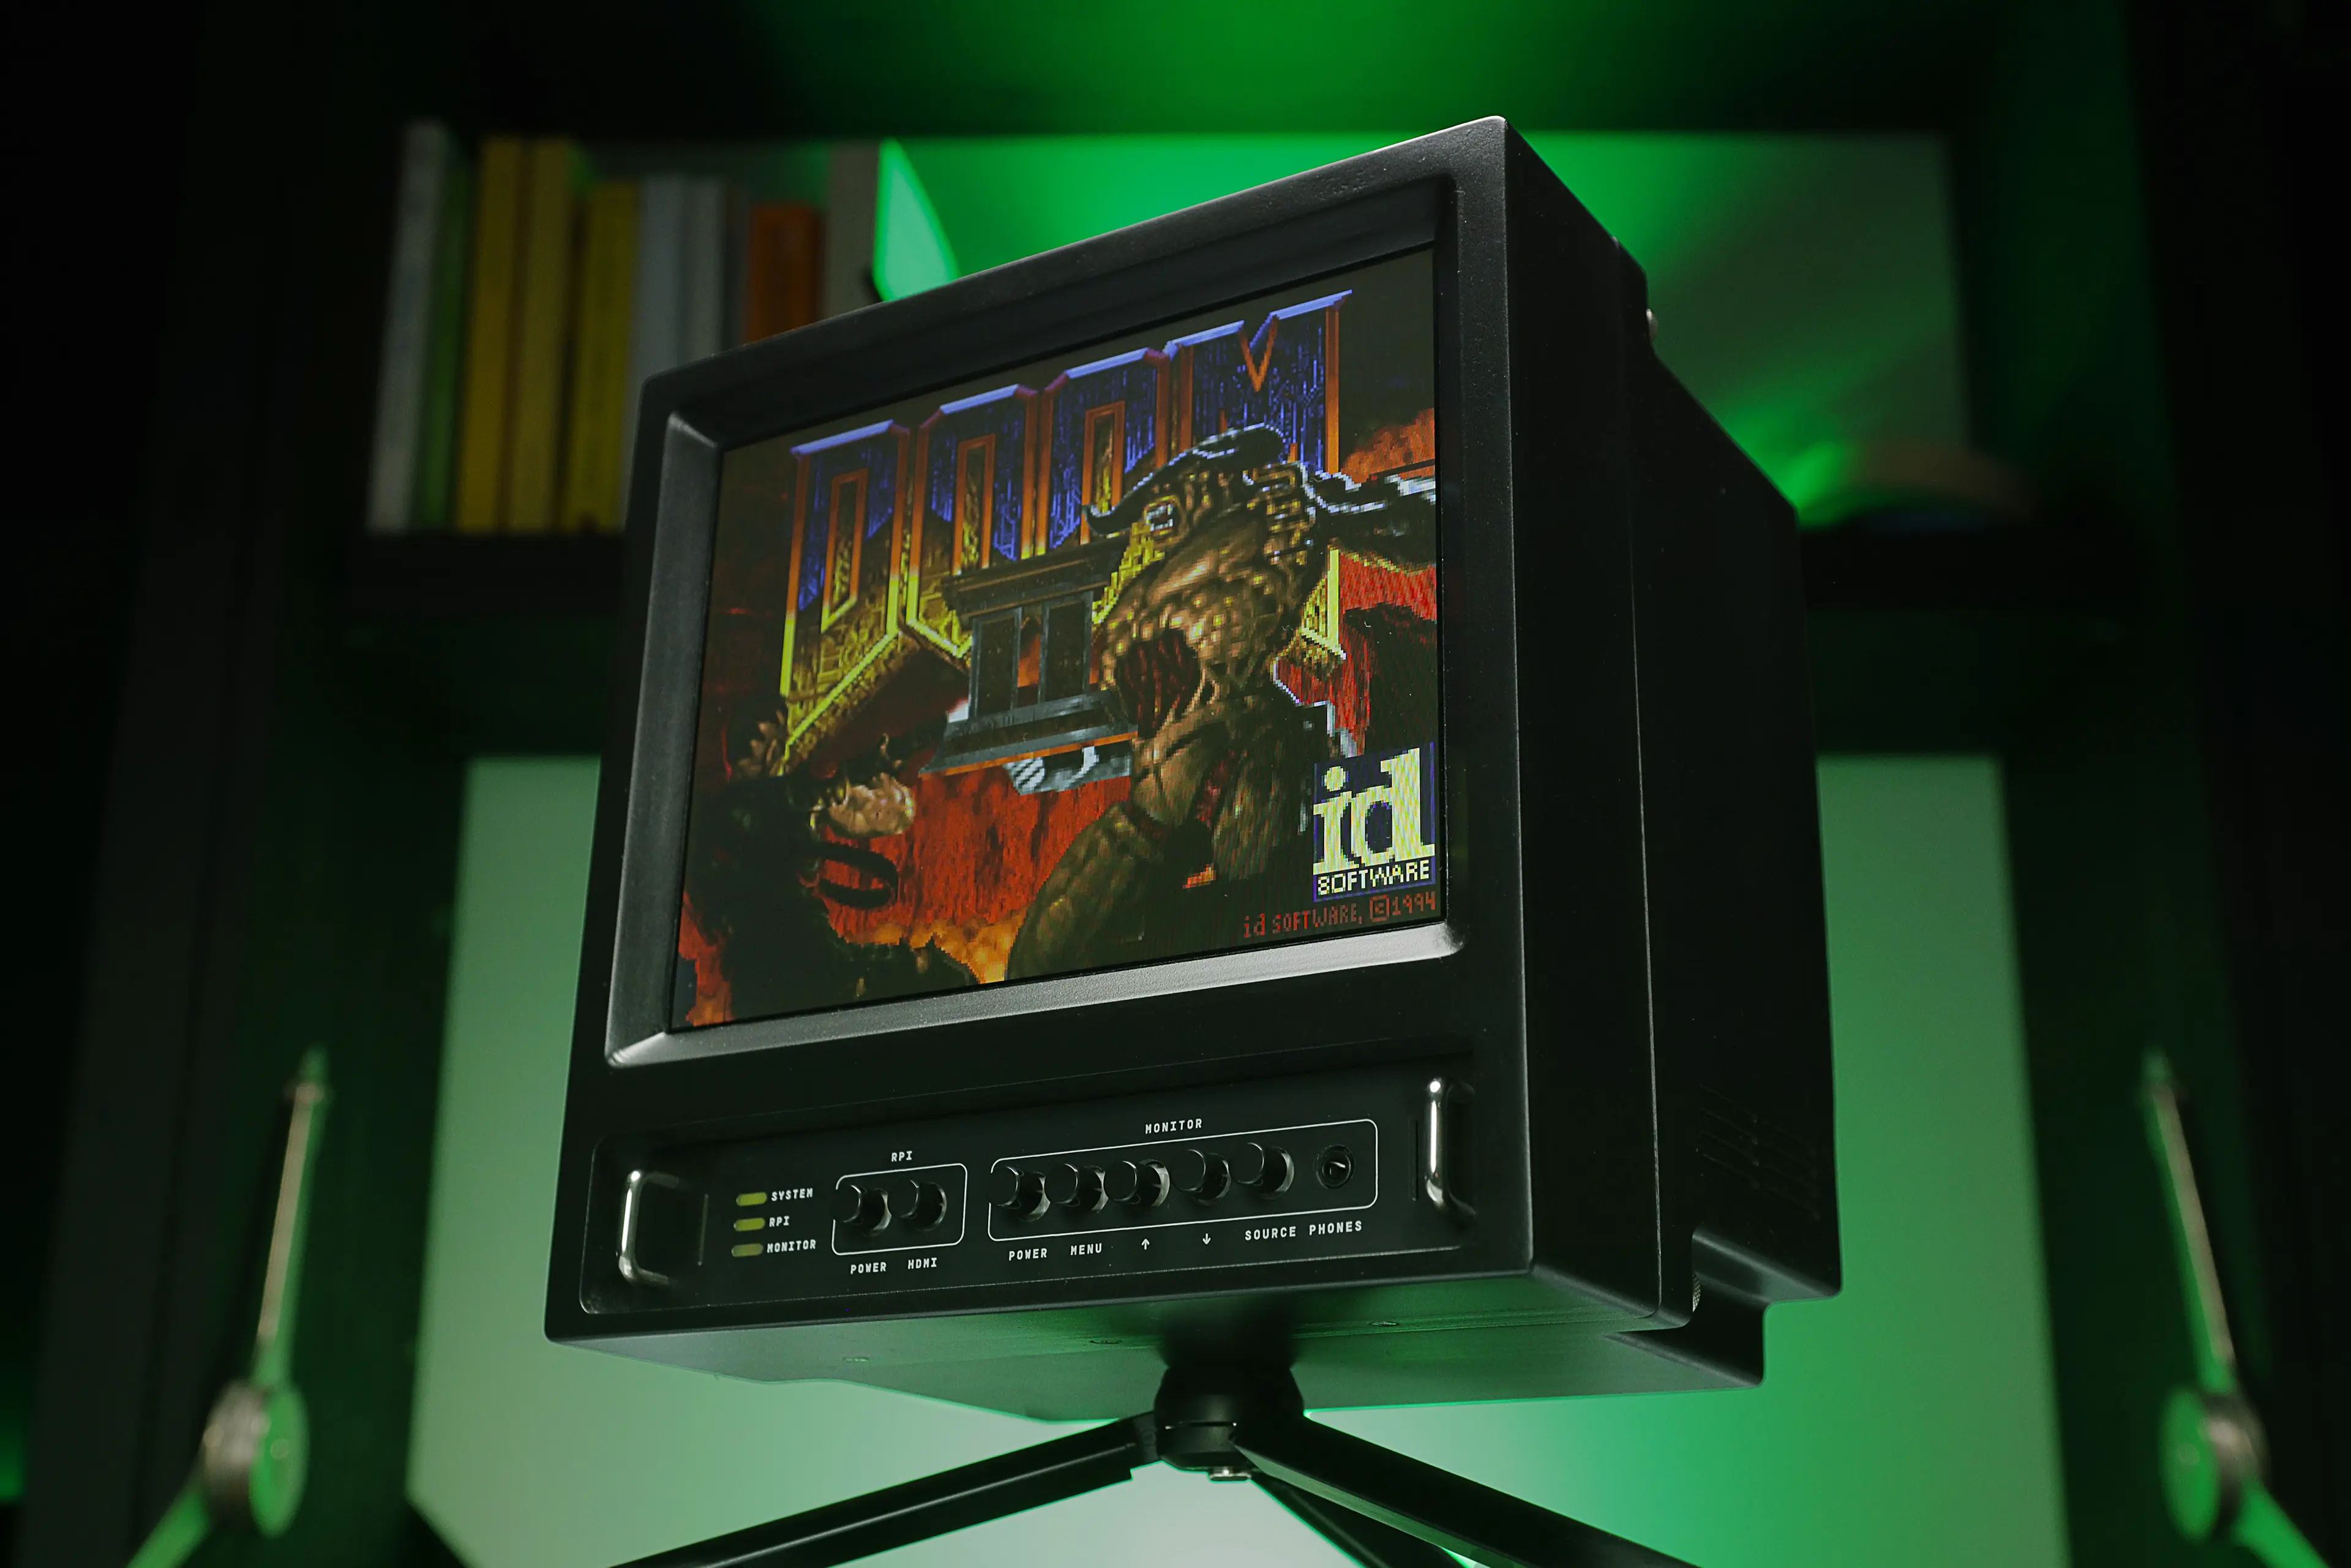
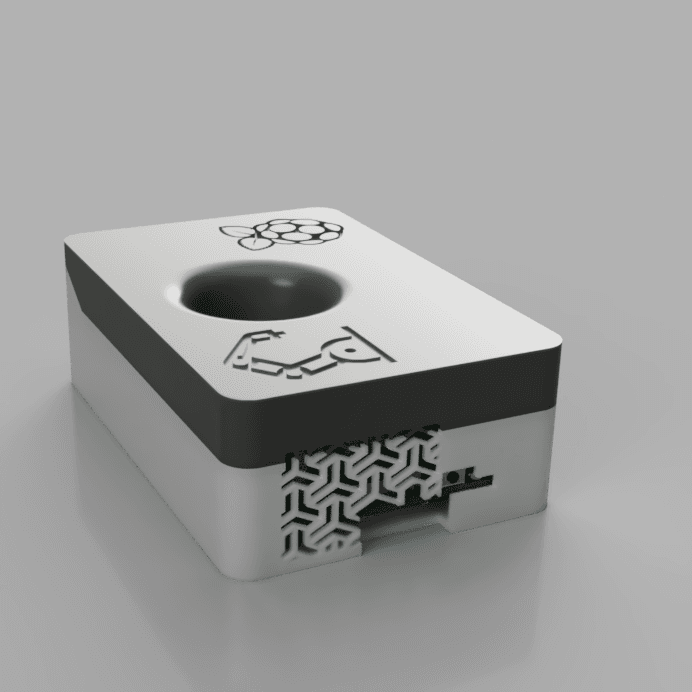
Raspberry Pi Case Hyperpixel 4 Ender3 S1 Pro
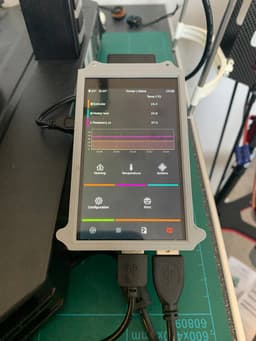
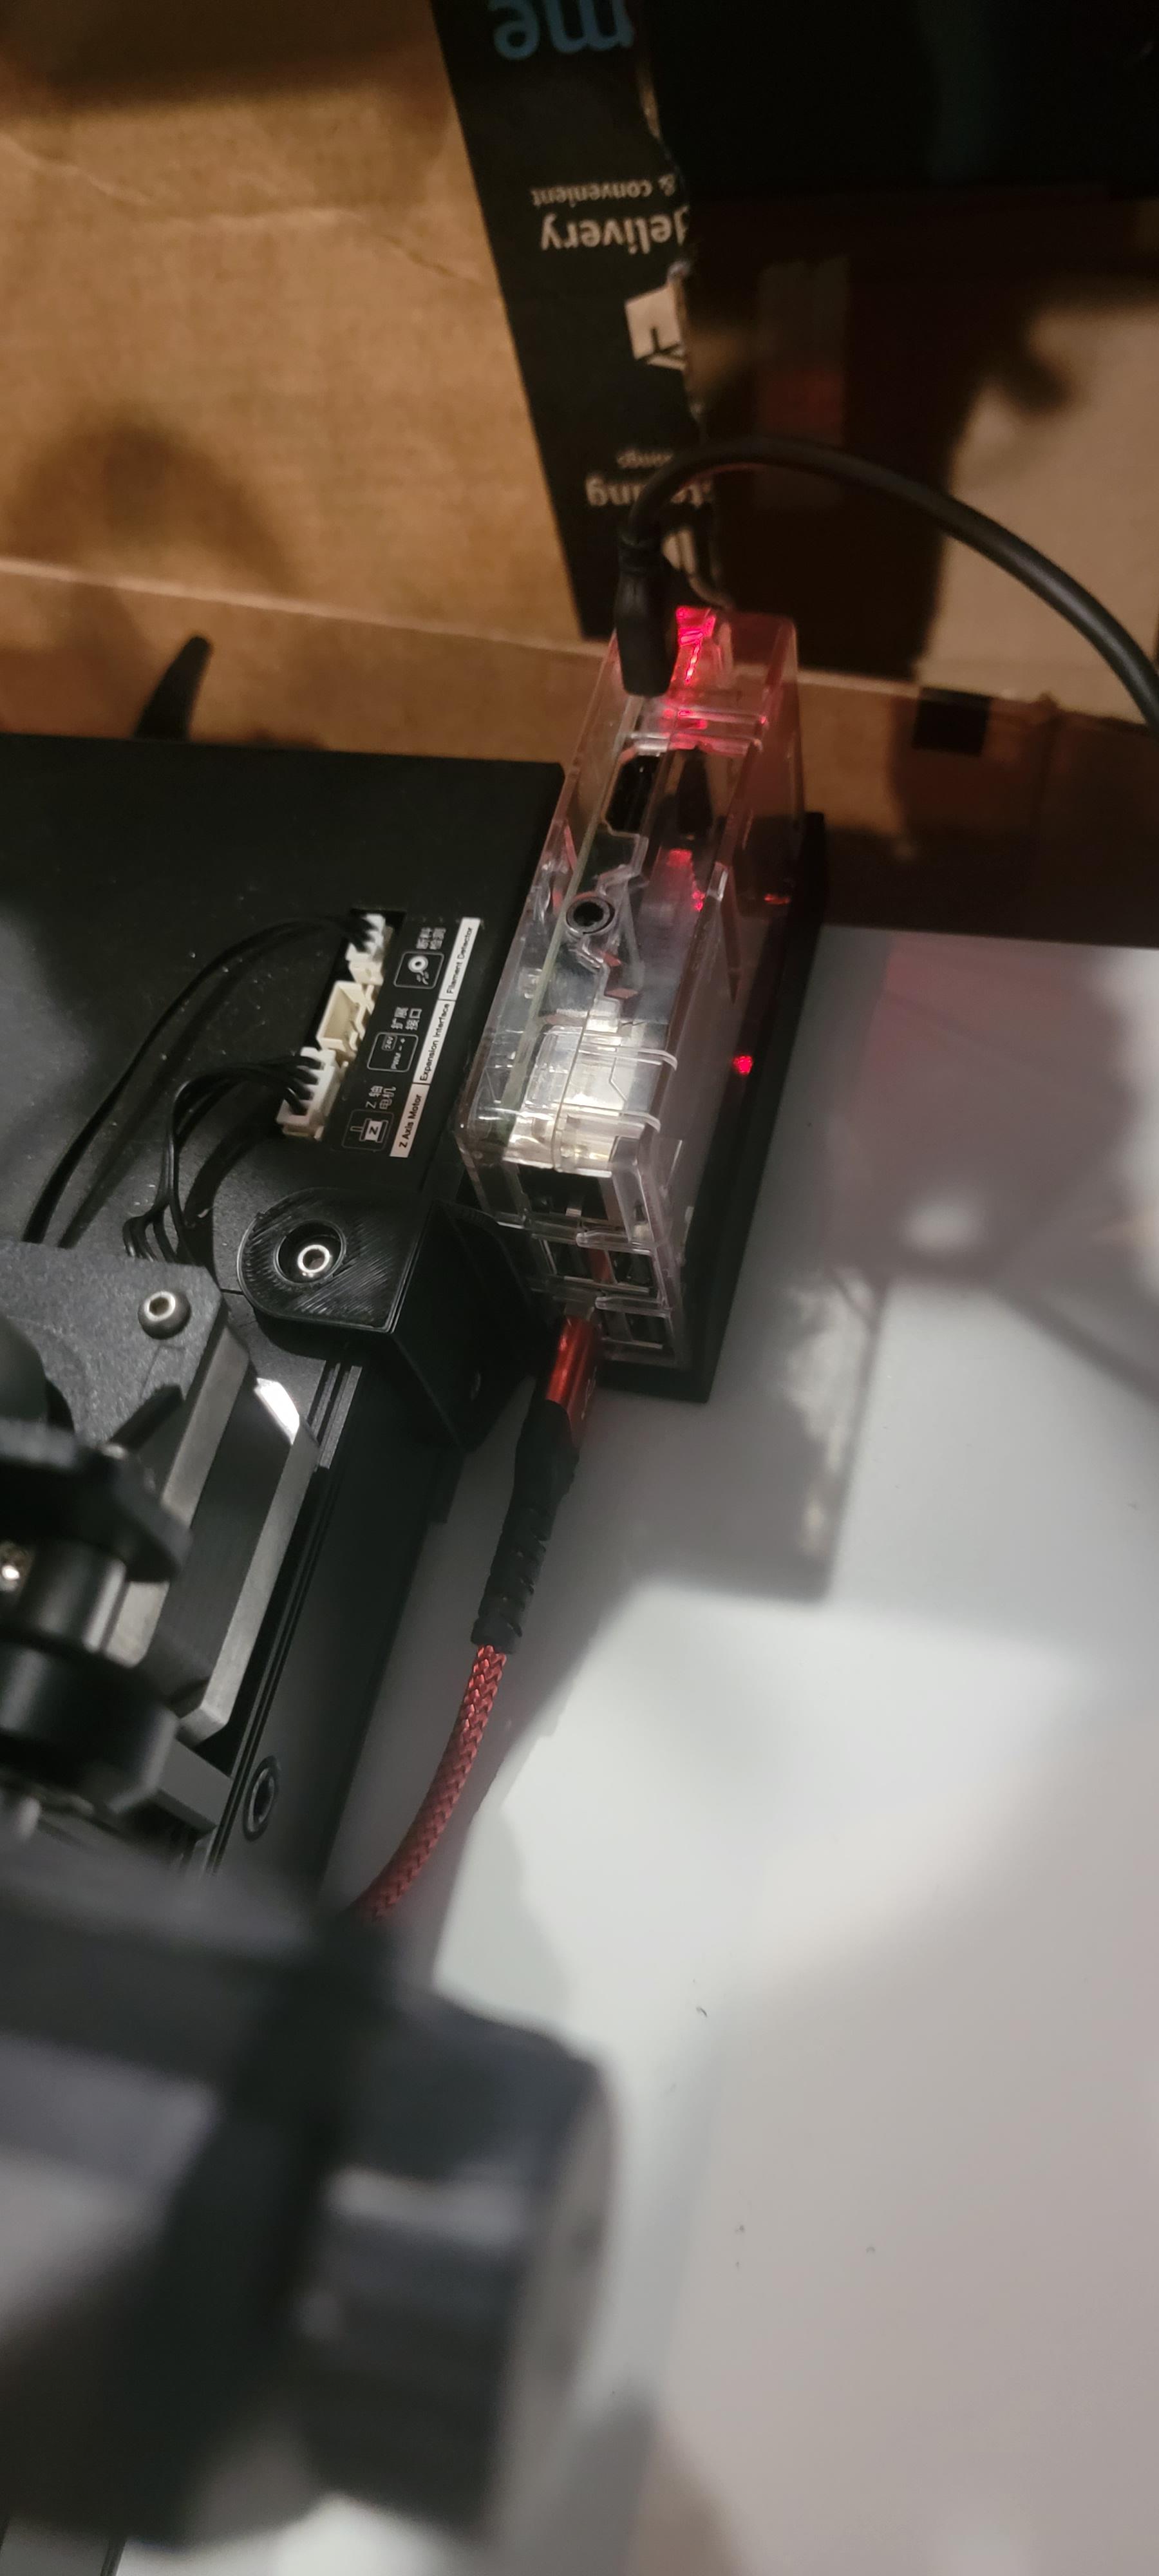
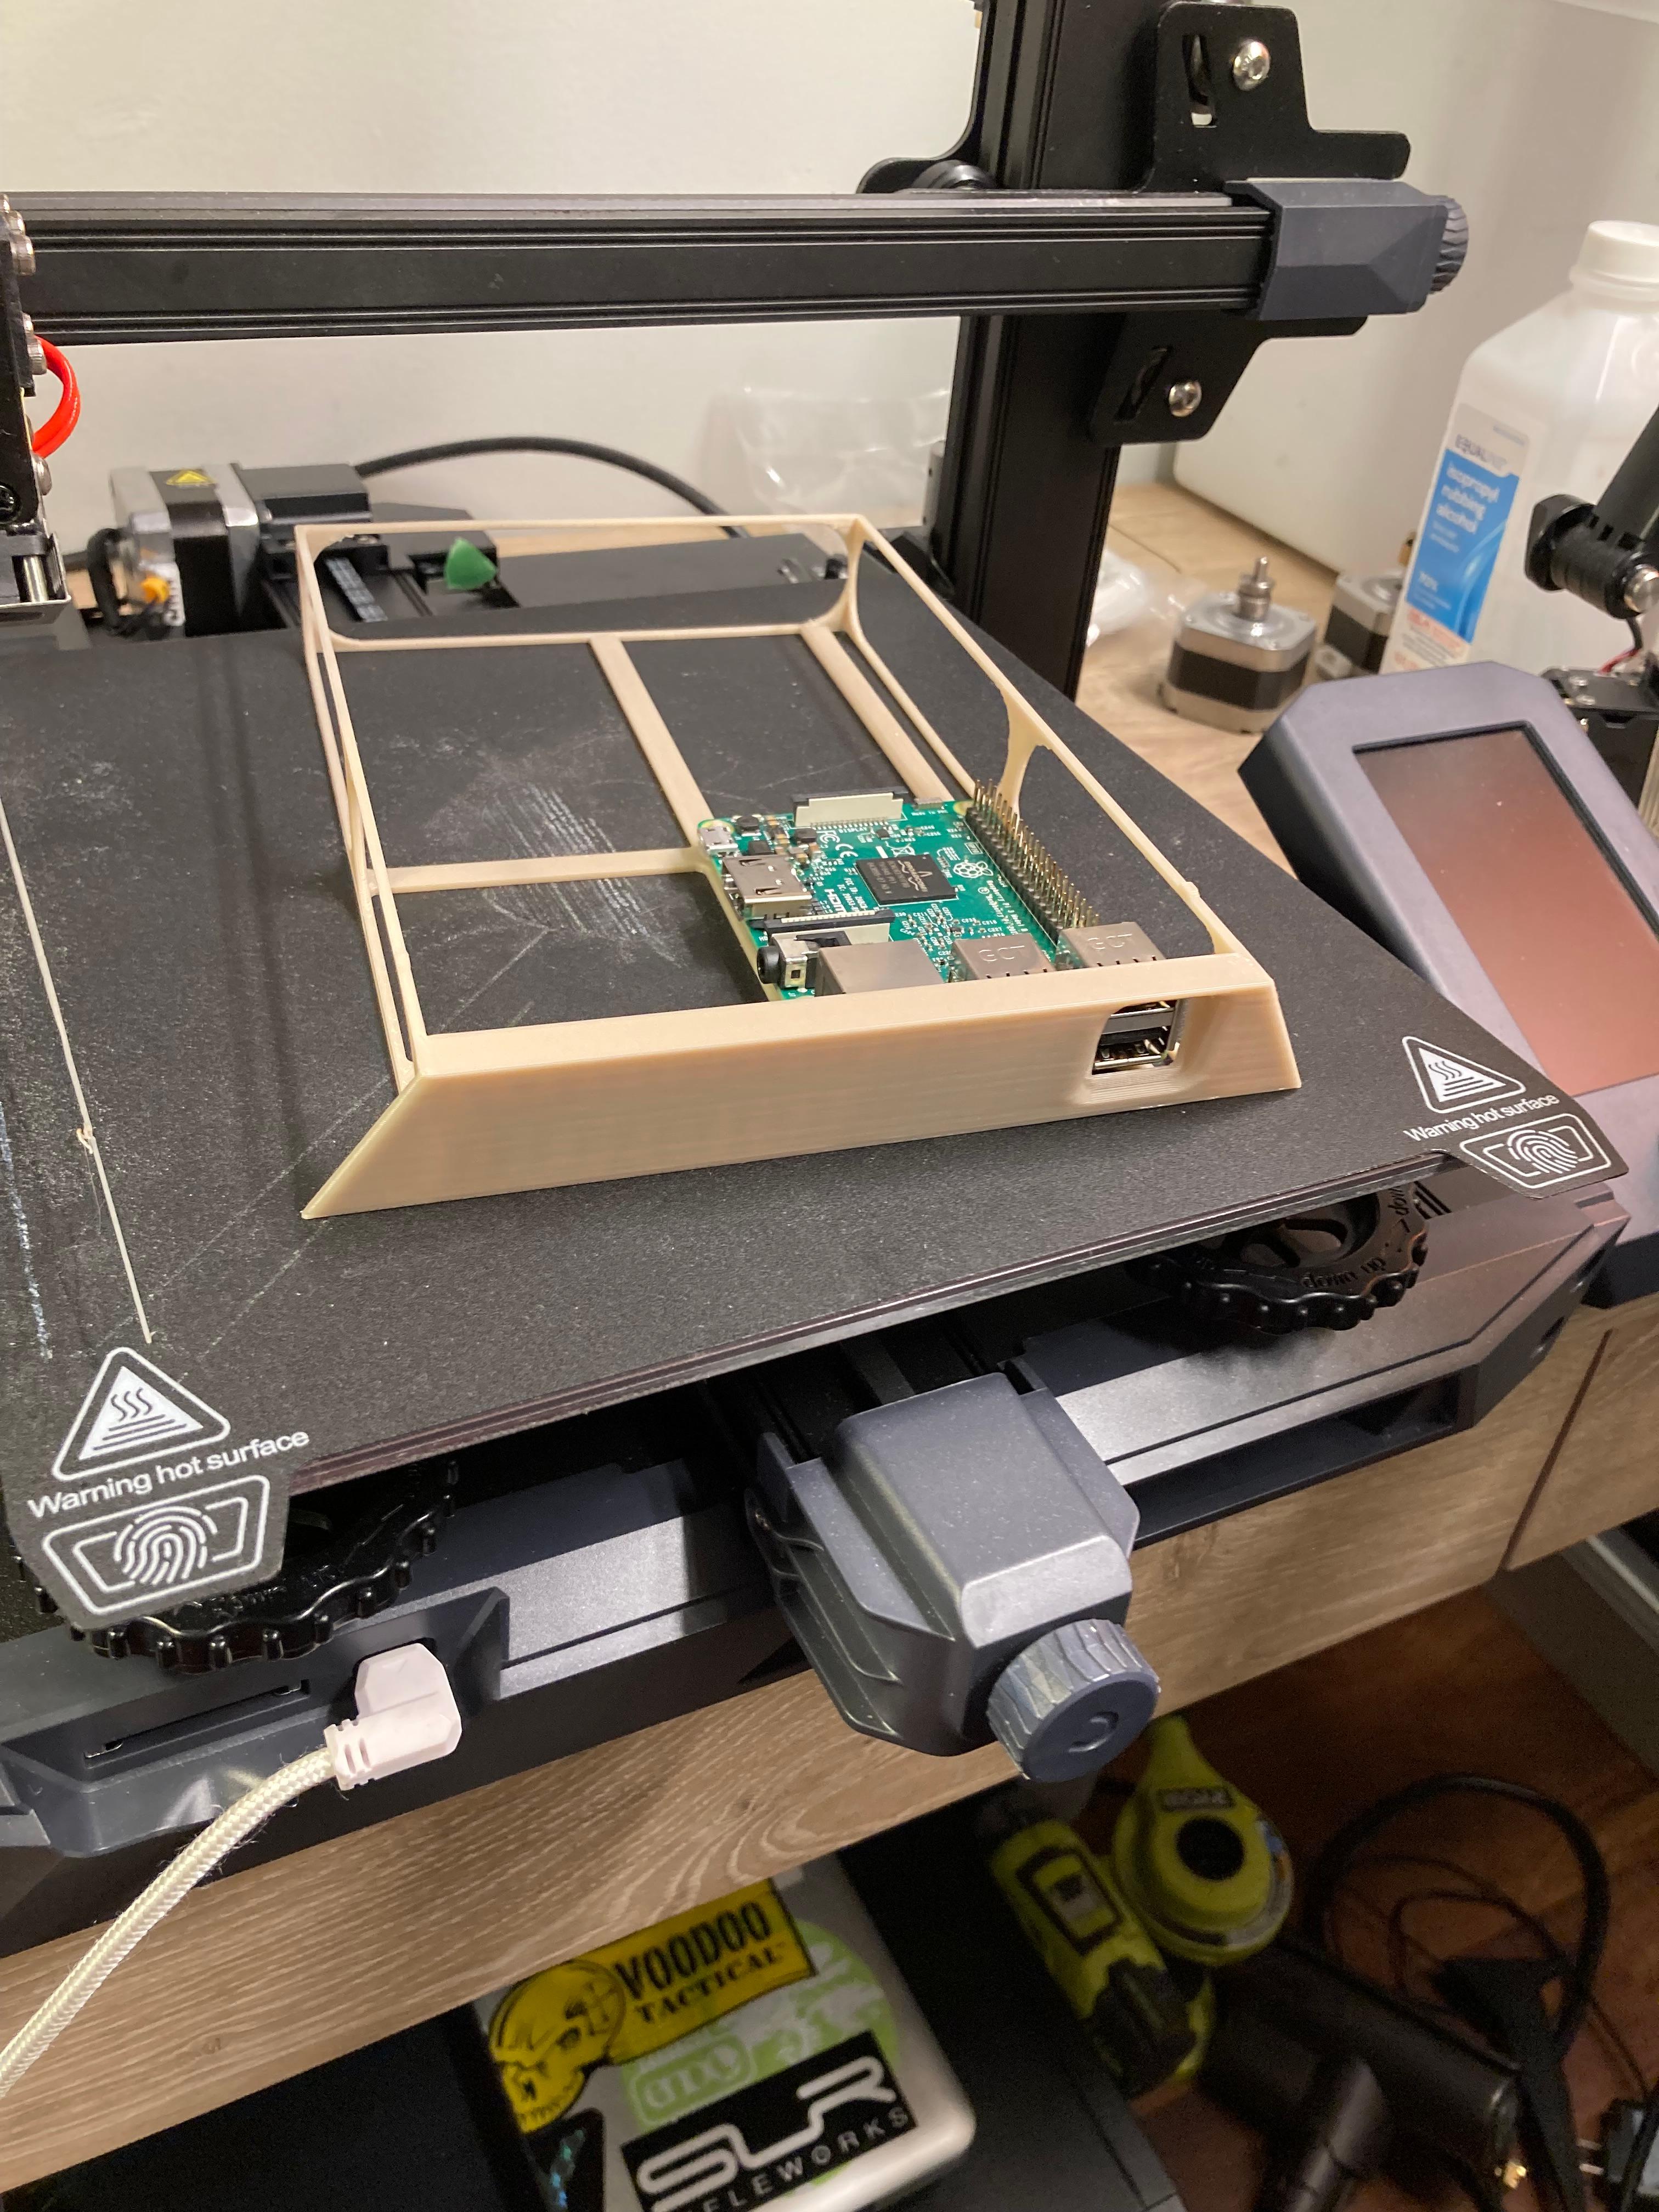
I bought an Ender 3 S1 Pro, and decided that the FW was not working for me, enough said. Looked around and found a really good page on installing Klipper3D on the ender 3 S1 Pro on 3d Print Beginners Site. Followed his instructions and had the ender printing with all the goodness of klipper (pressure advance, input shaping etc). You have to remove the screen that comes with it as its not open source. Wanted a screen so used Kiauh and installed Klipperscreen this allowed me to add a screen to the pi, i choose a Hyperpixel 4, turns out not the best screen to use with Klipper / MainsailOS as it uses all the gpio on the board and leaves nothing left to add accelerometers or power the Pi from the pins. That being said its a really nice screen and works extremely well so I kept it.
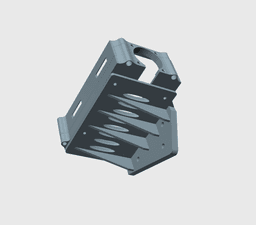
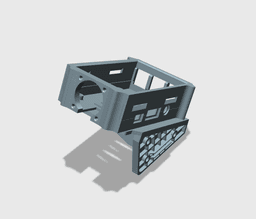
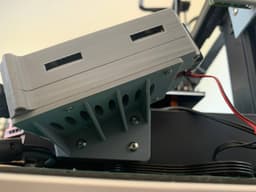
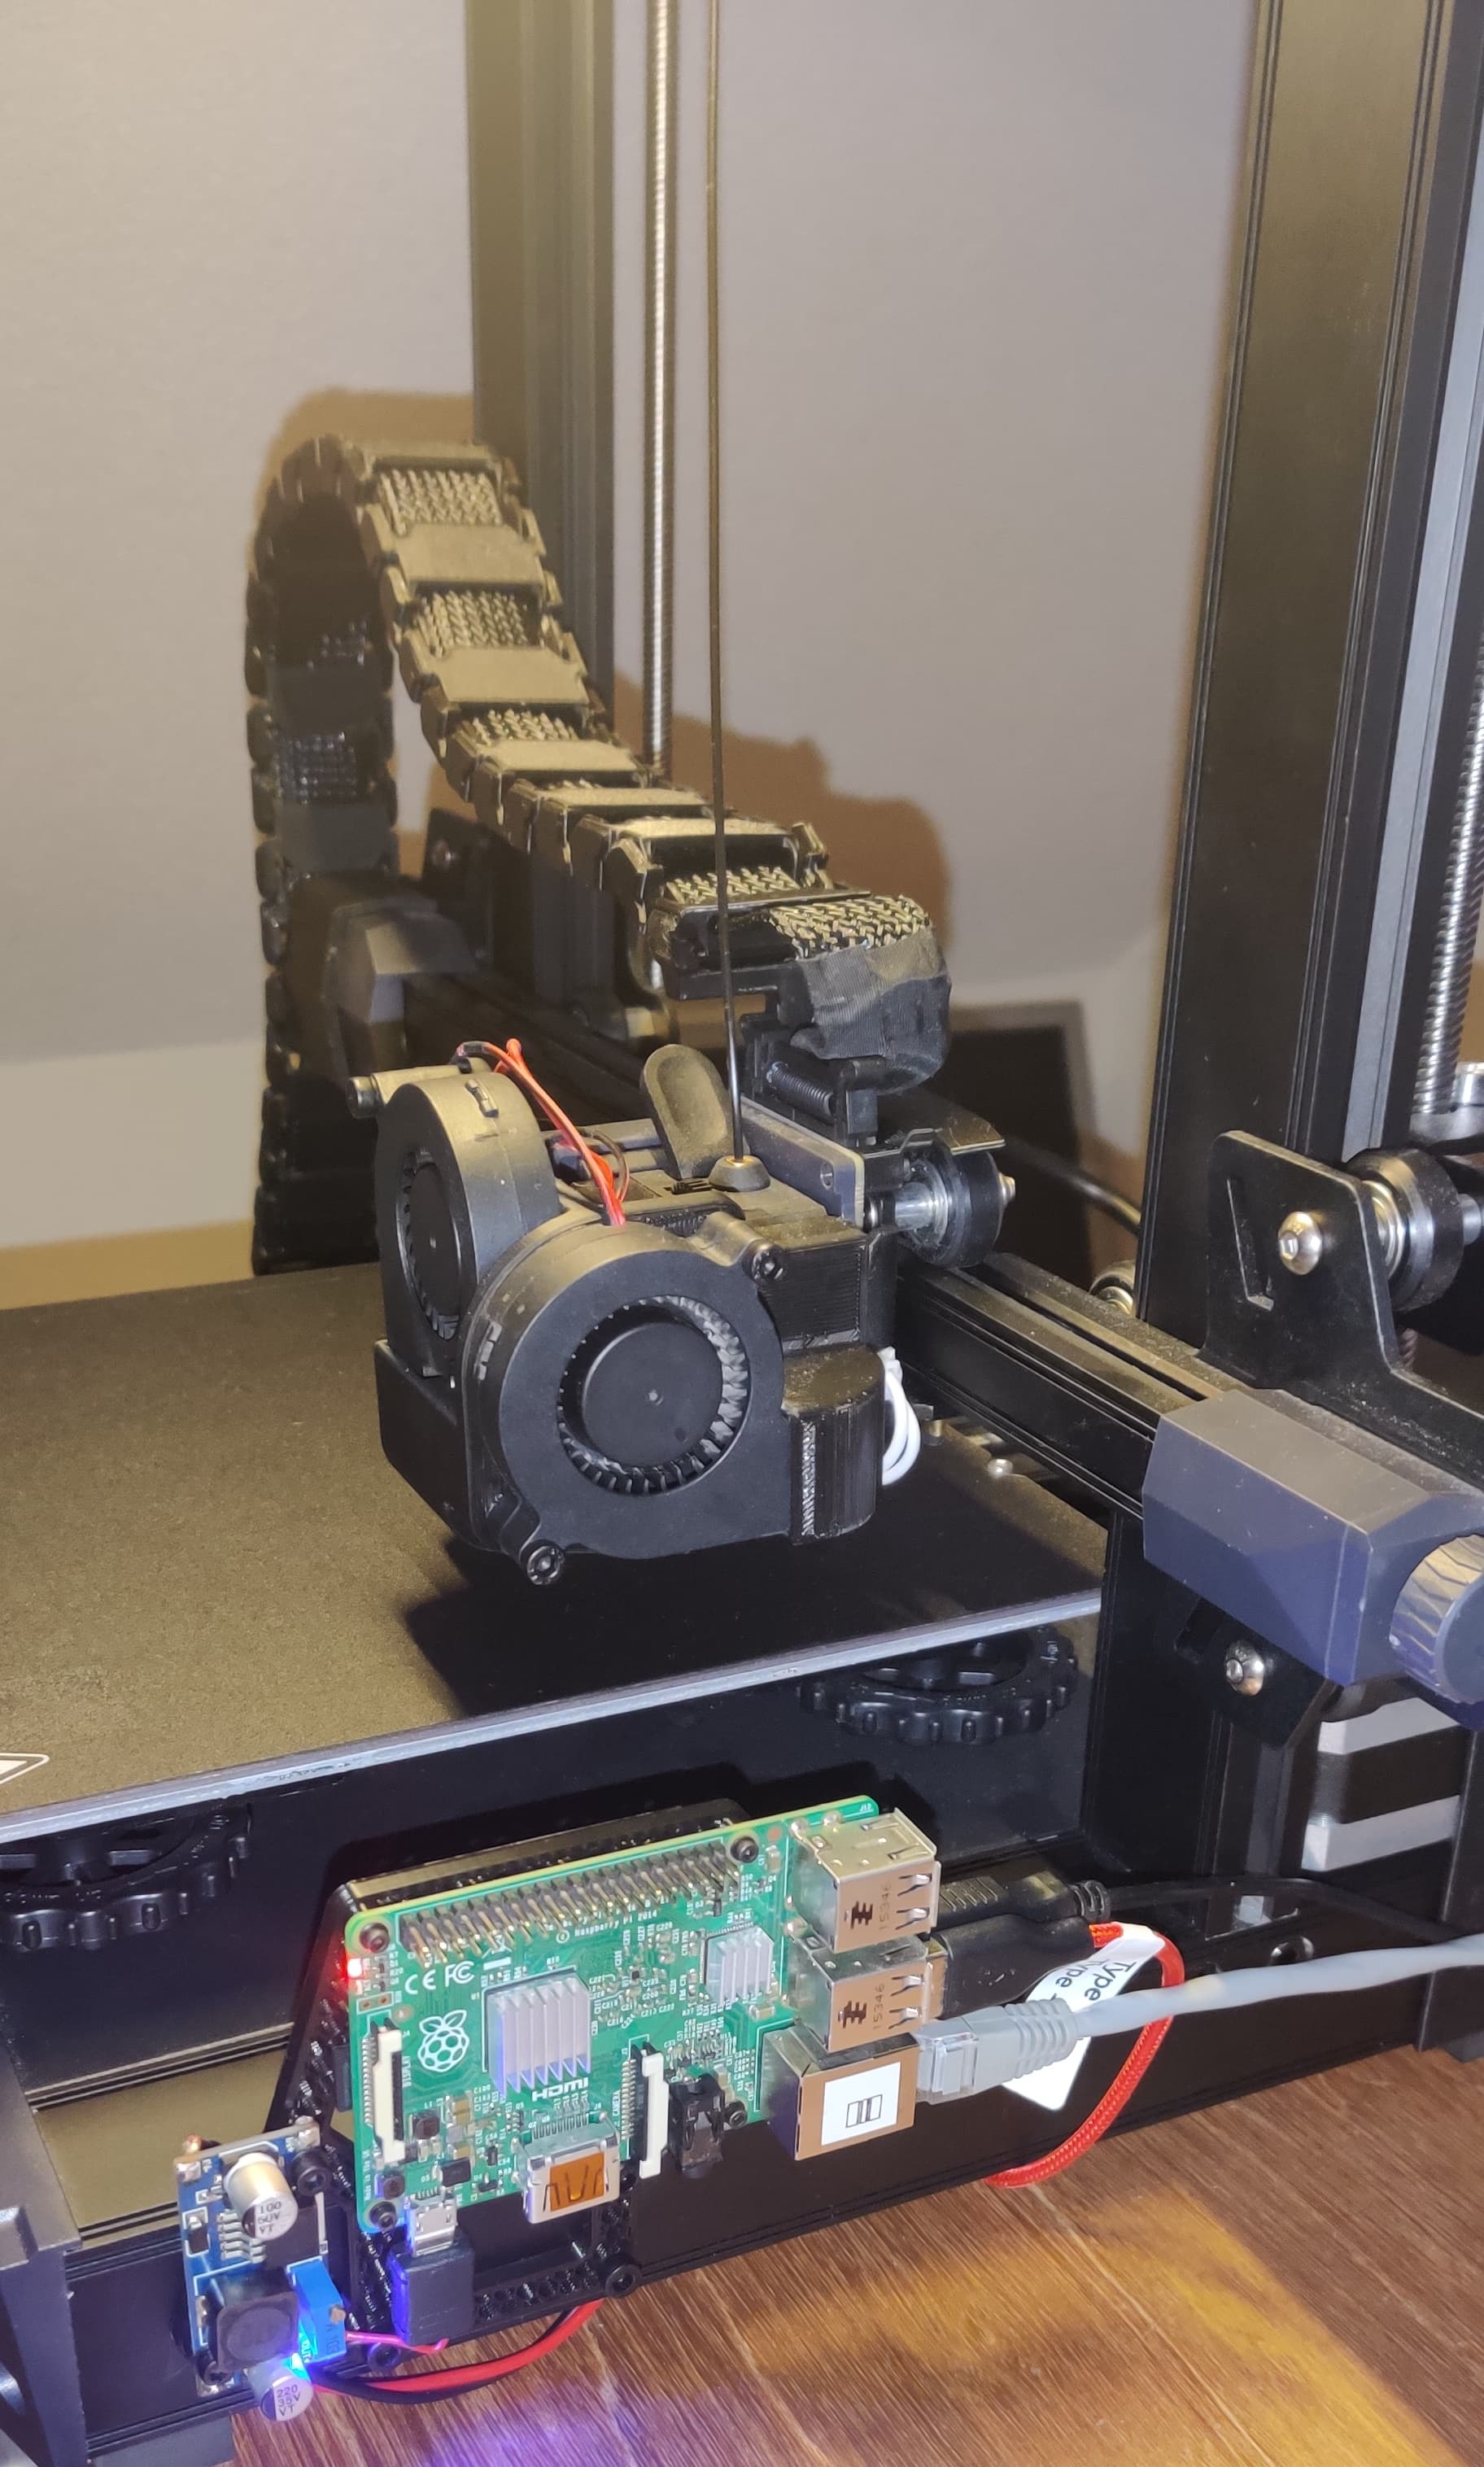
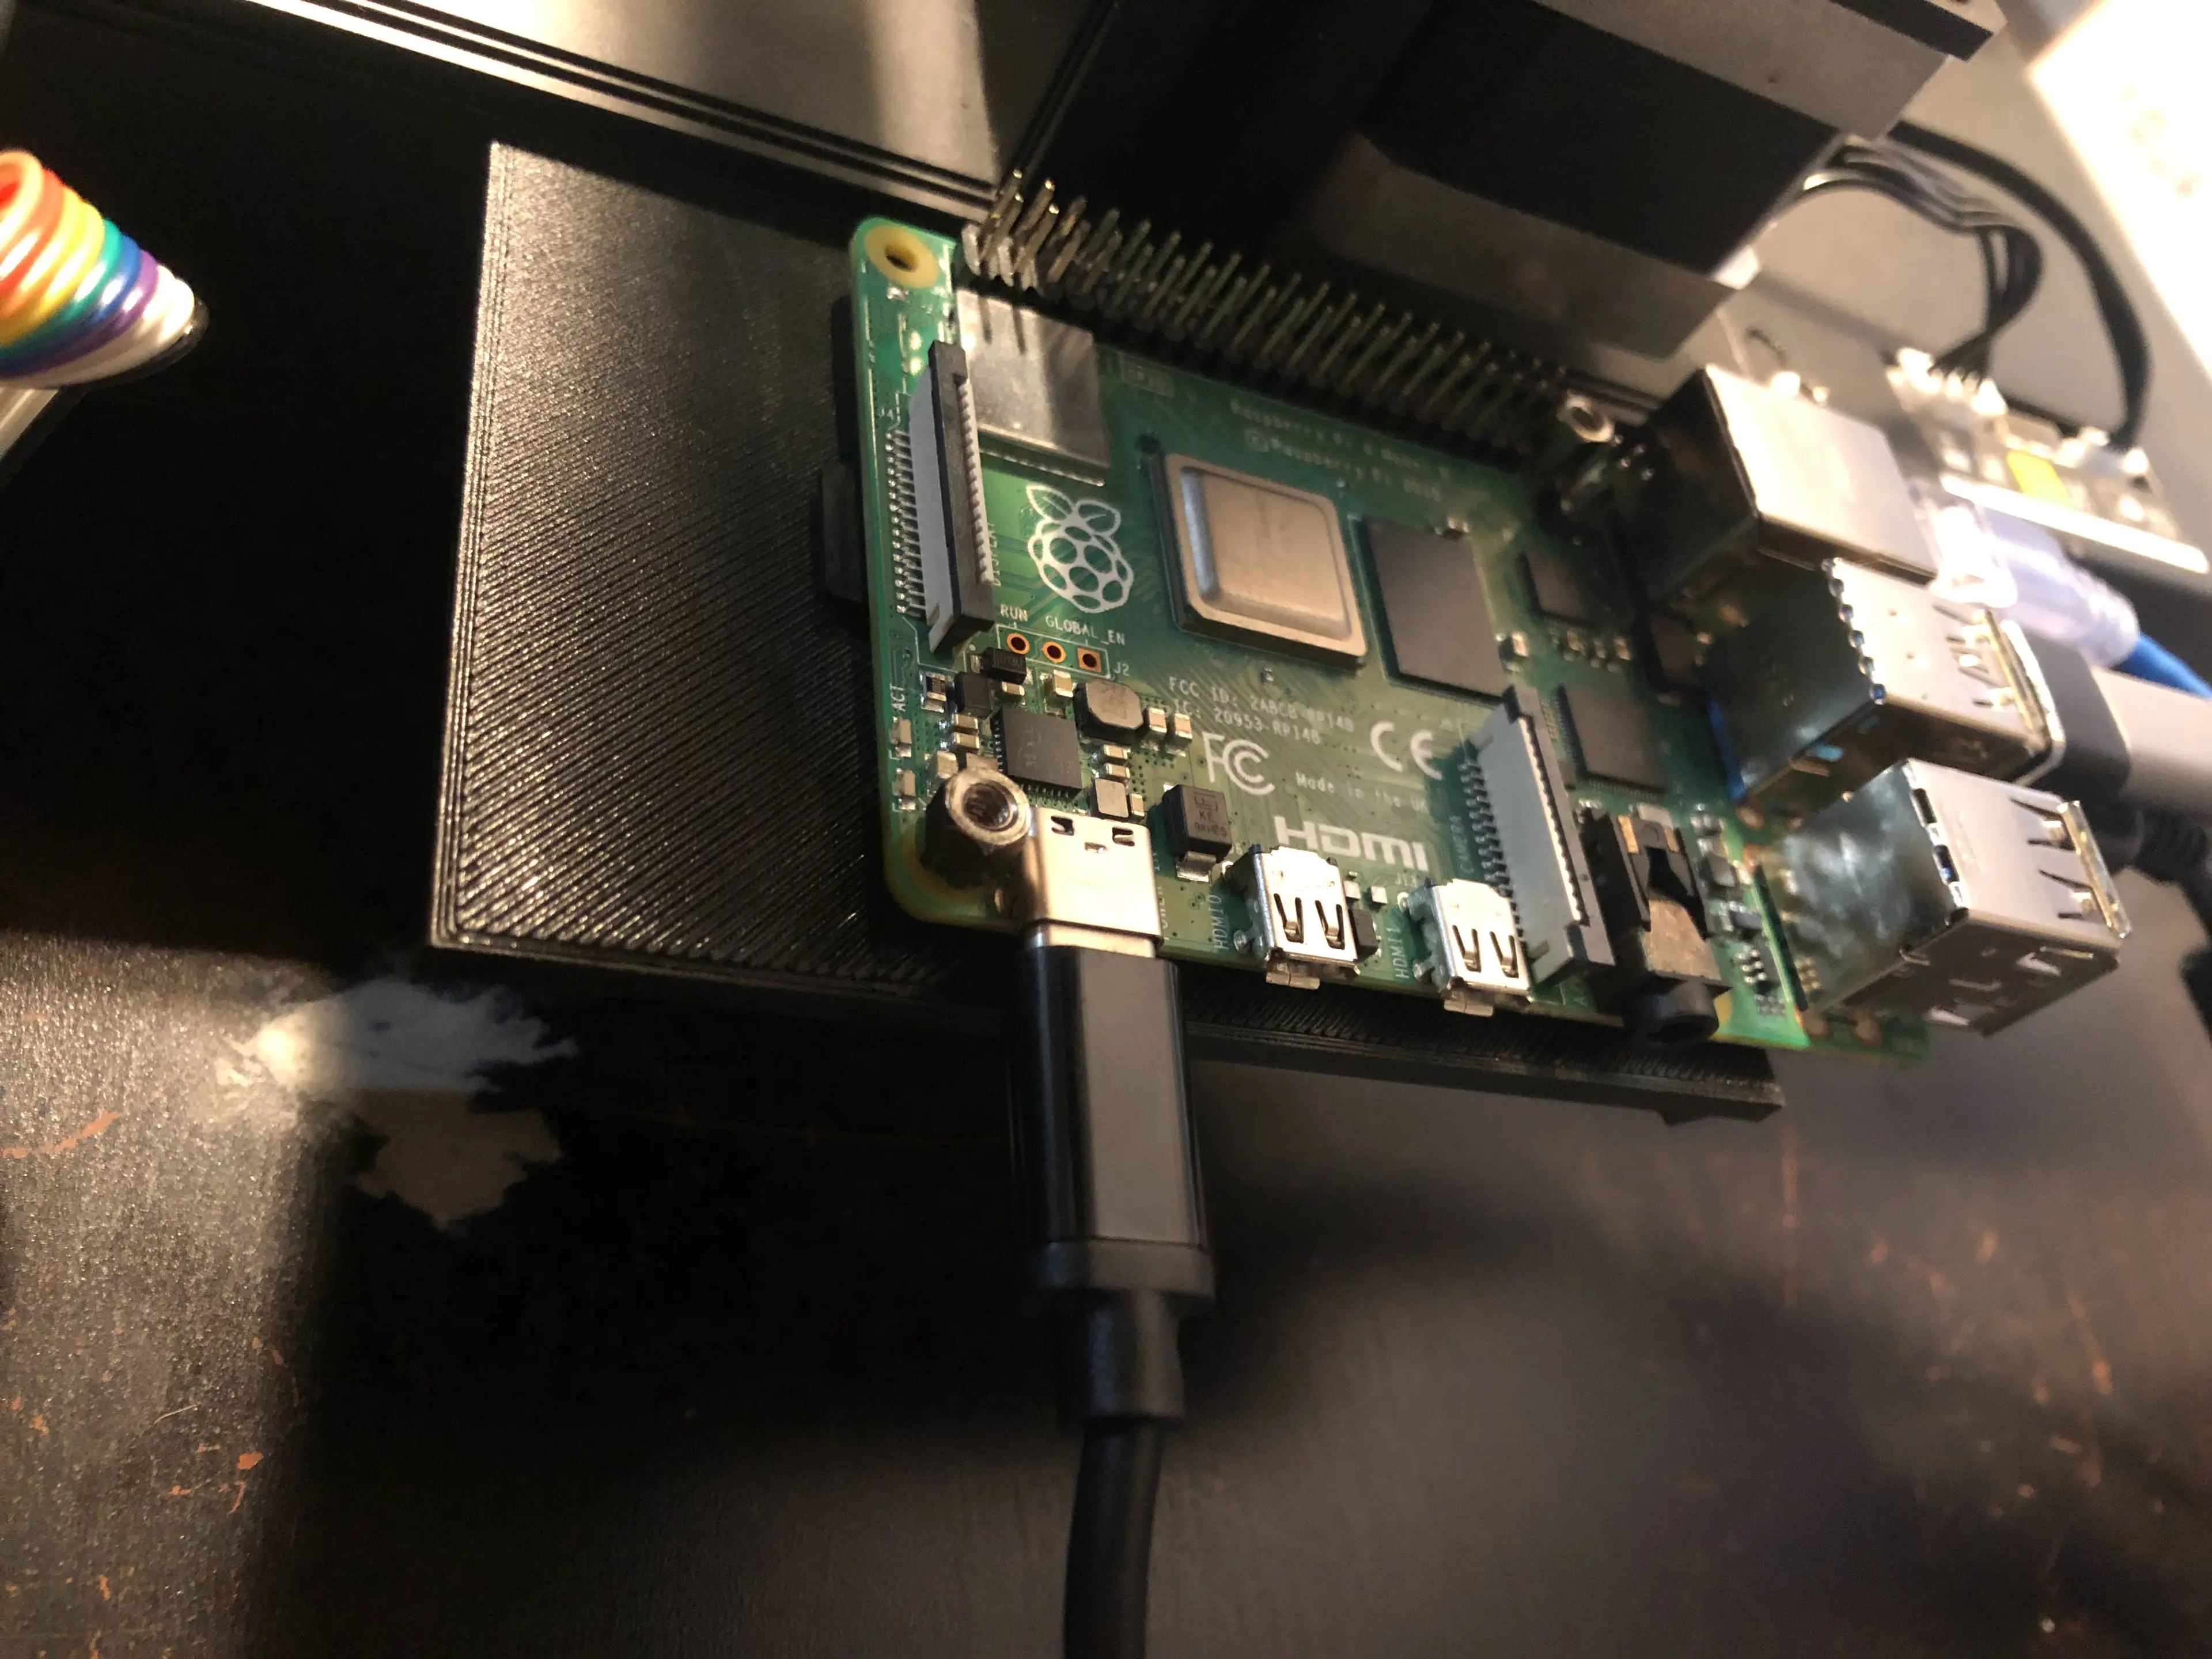
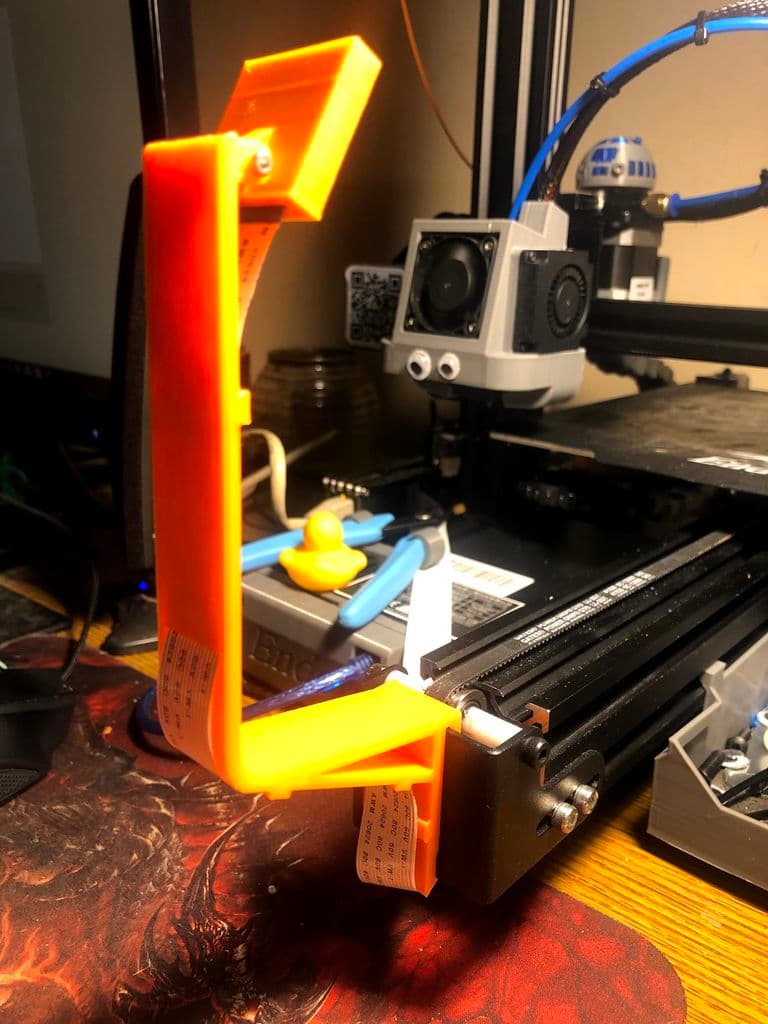
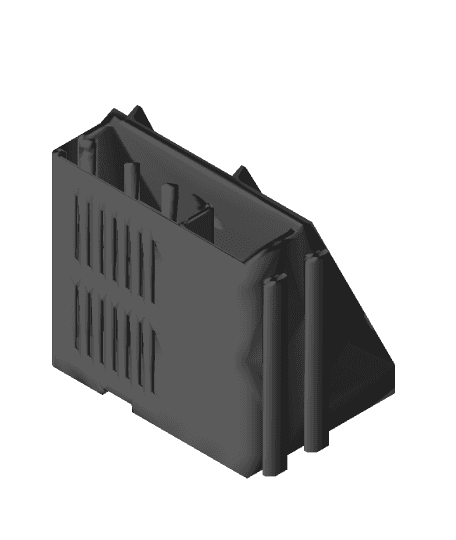
I remixed the case from the one done by "0110-M-P" which is amazing work. Made some changes to fit the screen, also i used inserts which makes a tidier job and keeps the case neat. Then modelled the mount on the side of the S1 Pro from the original. The case fits to the mount by using screws that go through the mount and then into the standoffs which hold the Hyperpixel to the Pi. Makes it a bit annoying if you have to take the Pi out as you have to take the whole thing apart, but it works for me. As the Pi gets quite hot i added a fan mount to the back of the case to help keep things cool. With the fan on i have seen 20 degree drop so well worth fitting but you don't have to.
Print settings are up to you, I used 100% and 3 walls.
I have added step files for easier remixing.
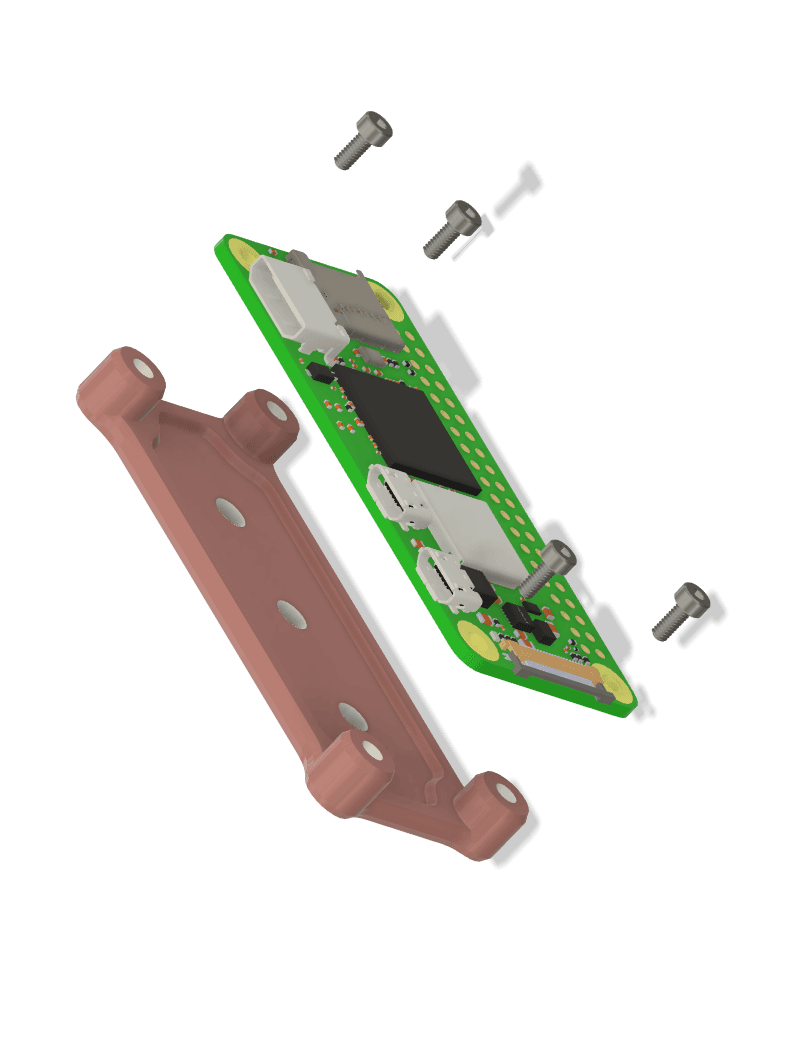
Hardware. M2.5 inserts M2.5 Cap screws The hardware that comes with the Hyperpixel. Hyperpixel 4 Pi fan 5v the fan hardware I used for mounting the Pi.
This work is licensed under CC BY-SA 4.0
Raspberry Pi Case Hyperpixel 4 Ender3 S1 Pro
rasberry pi mount. ender3 s1 stock hardware
Ender 3 S1 (pro / +) Raspberry Pi + LM2956 Buck Converter Holder
Ender 2 Pro, Ender 3 S1, Pro Raspberry Pi mount
Raspberry Pi Ender 3 S1 Mount
Creality Ender-3 S1 Klipper Octoprint Raspberry Pi 3B+ Tray
Raspberry Pi Camera Mount ender3 Pro
Ender3 V2 Screen, Raspberry Pi & 12V mount
Pi Pie Raspberry Pi Case (Easy Print Version)

Raspberry Pi & BigTreeTech Pico 40mm Fan Mount - Pi Zero 2W 3 4
Raspberry Pi Box
Pi Pie Raspberry Pi Case

M!N!MAL 0 CH - Raspberry Pi Zero 2 / Banana Pi M2 Case / Housing / Sleeve with Heatsink & Cooling
Raspberry Pi Zero Mount - VHB Tape or M3 Screws - Pi Zero 2W
SnapBox Raspberry Pi 3 / 4 / Zero - (Resin)
Pi Plate (simple raspberry pi 4 mount)
CRT Style Raspberry Pi Enclosure (portable) — Pi Terminal
Raspberry Pi Display Monitor 7" Screen Box RPi Enclosure Case
SH!ELD Zero - Case for Banana Pi BPI-M2 ZERO or Raspberry Pi Zero 2 W
RASPBERRY PI 5 CUSTOM CASE
