DIY Photography Softbox for LED Panels
1 downloads · 1 year ago · # My "Zero-Budget" Softbox for Professional Photos
I recently invested in some basic equipment to i
My "Zero-Budget" Softbox for Professional Photos
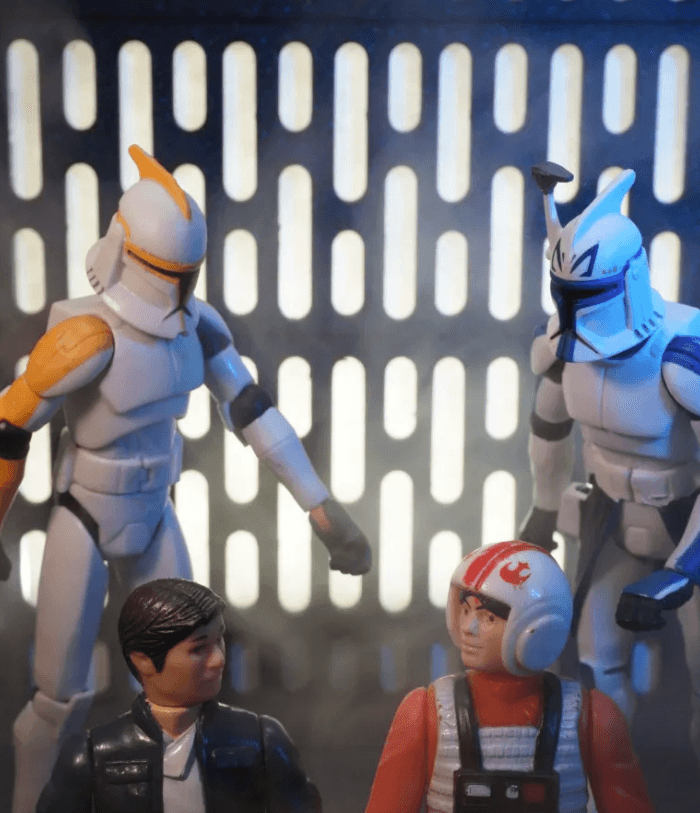
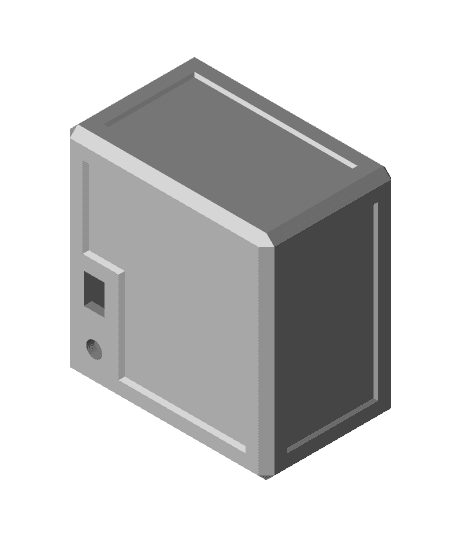
I recently invested in some basic equipment to improve my product photography for my MakerWorld and Printables models. While the LED light panel I got is bright, the light was too harsh and created strong reflections.
Professional softboxes are expensive, so I decided to design and build my own using the tools I have: my 3D printer and some basic materials.
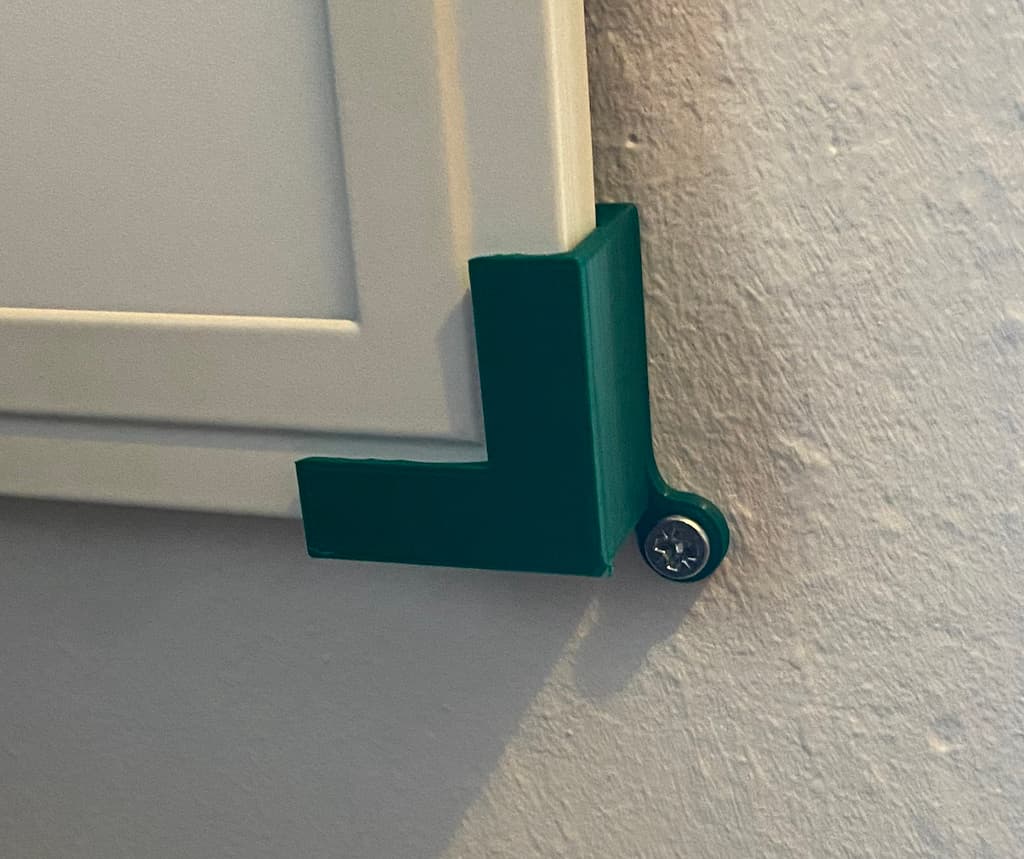
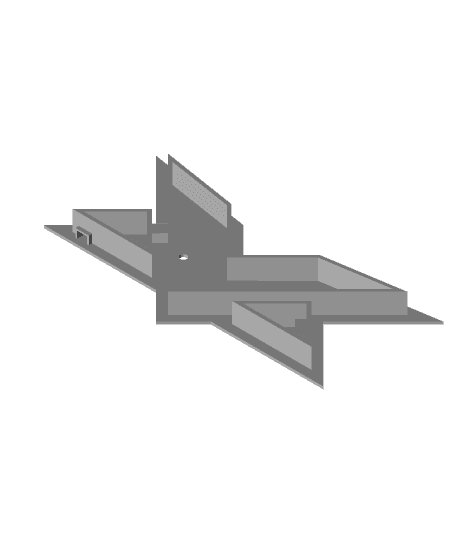
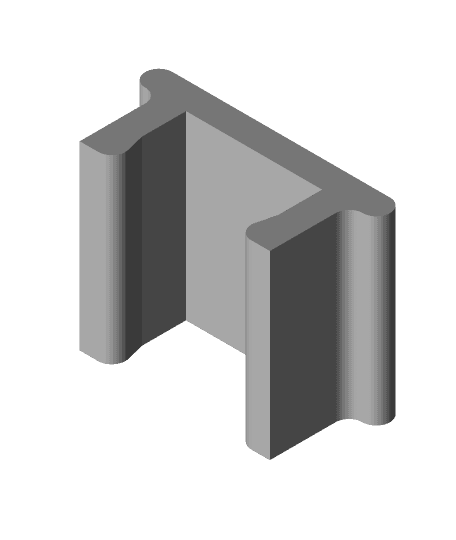
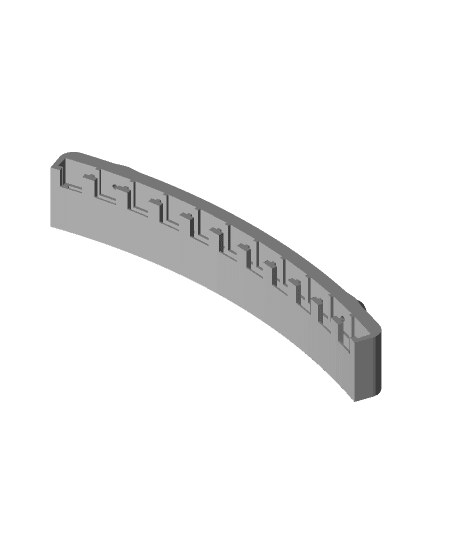
This project uses 3D-printed brackets to create a lightweight but sturdy frame for a DIY softbox. The walls are made from simple cardboard, and the front diffuser is a basic white fabric which is fixed with thumbtacks to the cardboard.
I hope this helps other makers on a budget to elevate their product photography!
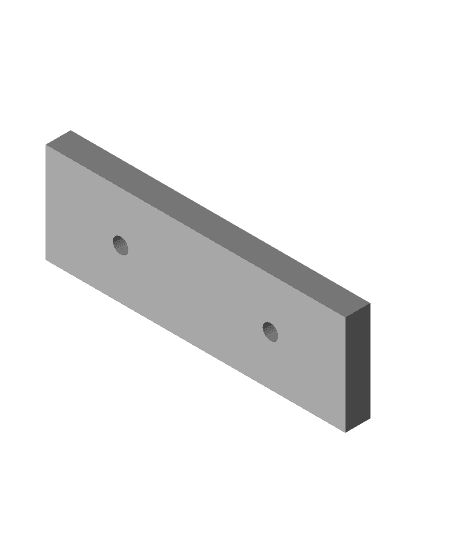
What You'll Need (BOM): 3D-Printed Parts:- 1x SoftboxMale.3mf
- 1x SoftboxFemale.3mf
- 6x Fixture 6x.3mf
- Cardboard for the 4 side walls.
- A piece of white, translucent fabric (an old white t-shirt, a bedsheet, or baking parchment paper works well).
- Aluminum foil to line the inside walls.
- 6x Heated inserts for M3 screws, 6mm long.
- Hot glue or strong tape to assemble everything.
- I bought this light from Aliexpress
DIY Photography Softbox for LED Panels
1 download · 1 year ago in and
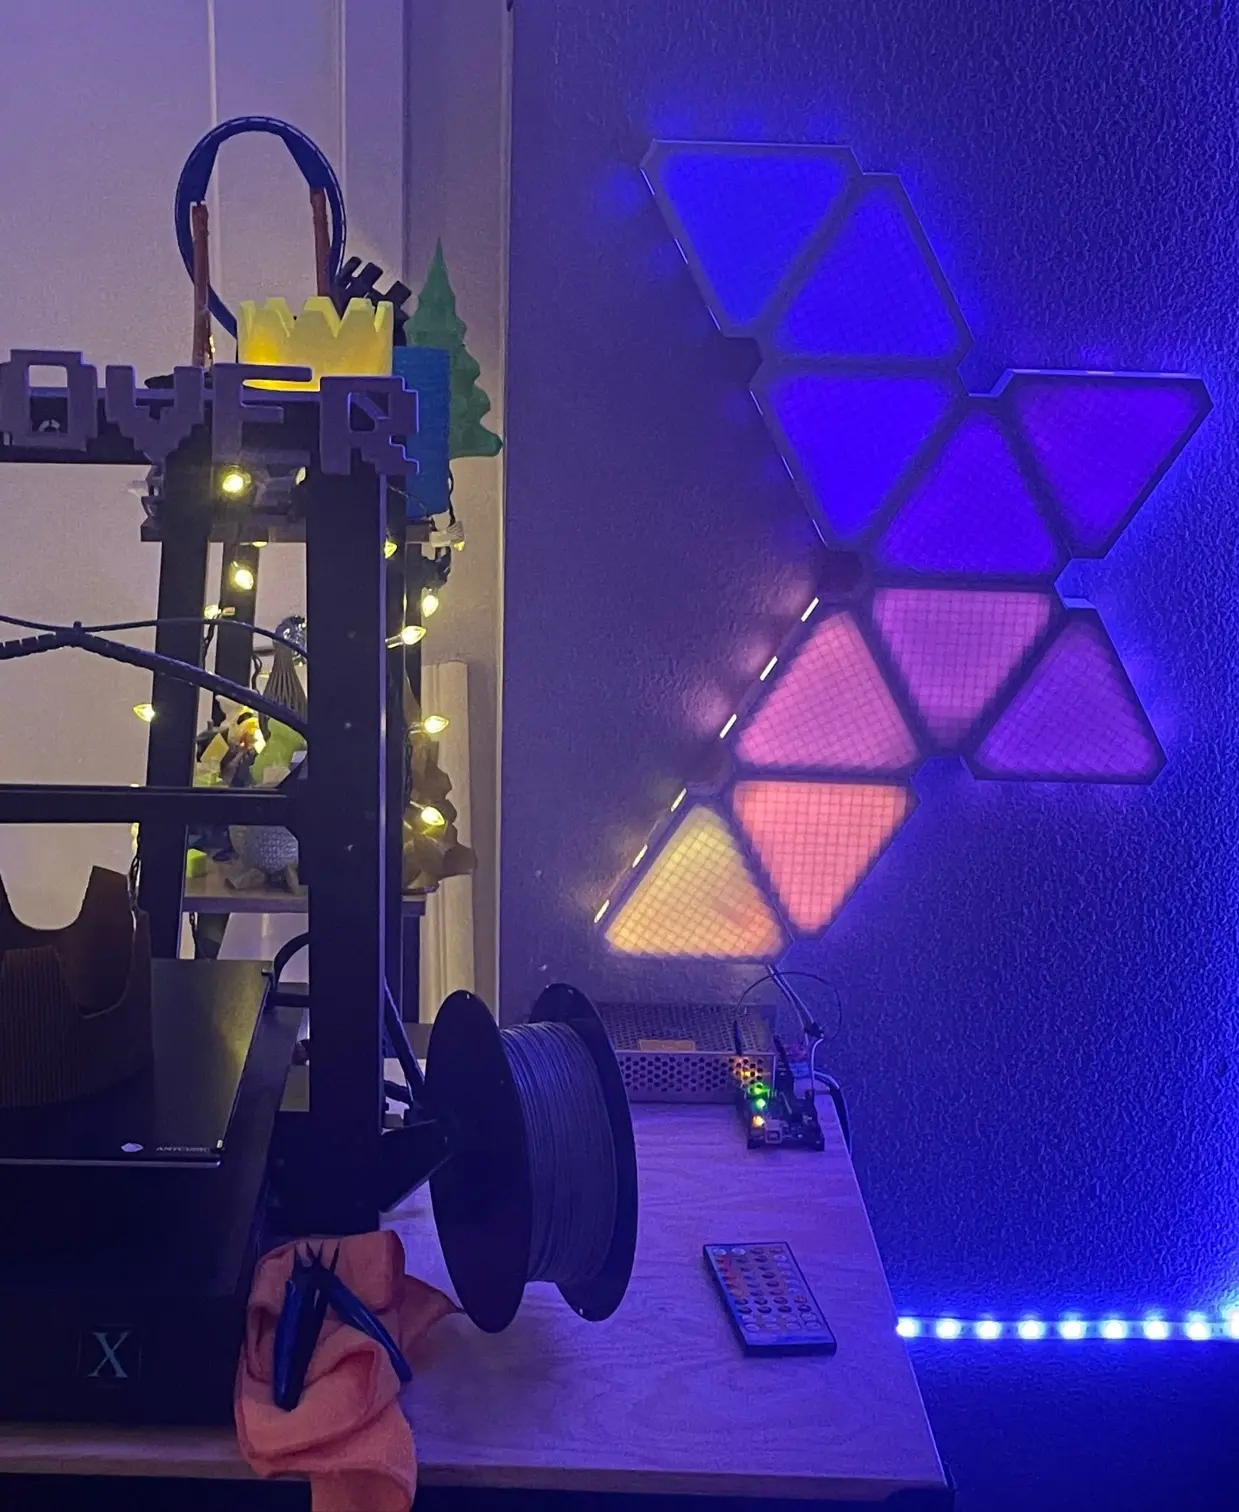
Jano-Leafs 1.0: 3D Printed Wall Mounted LED Panels (Triangular)
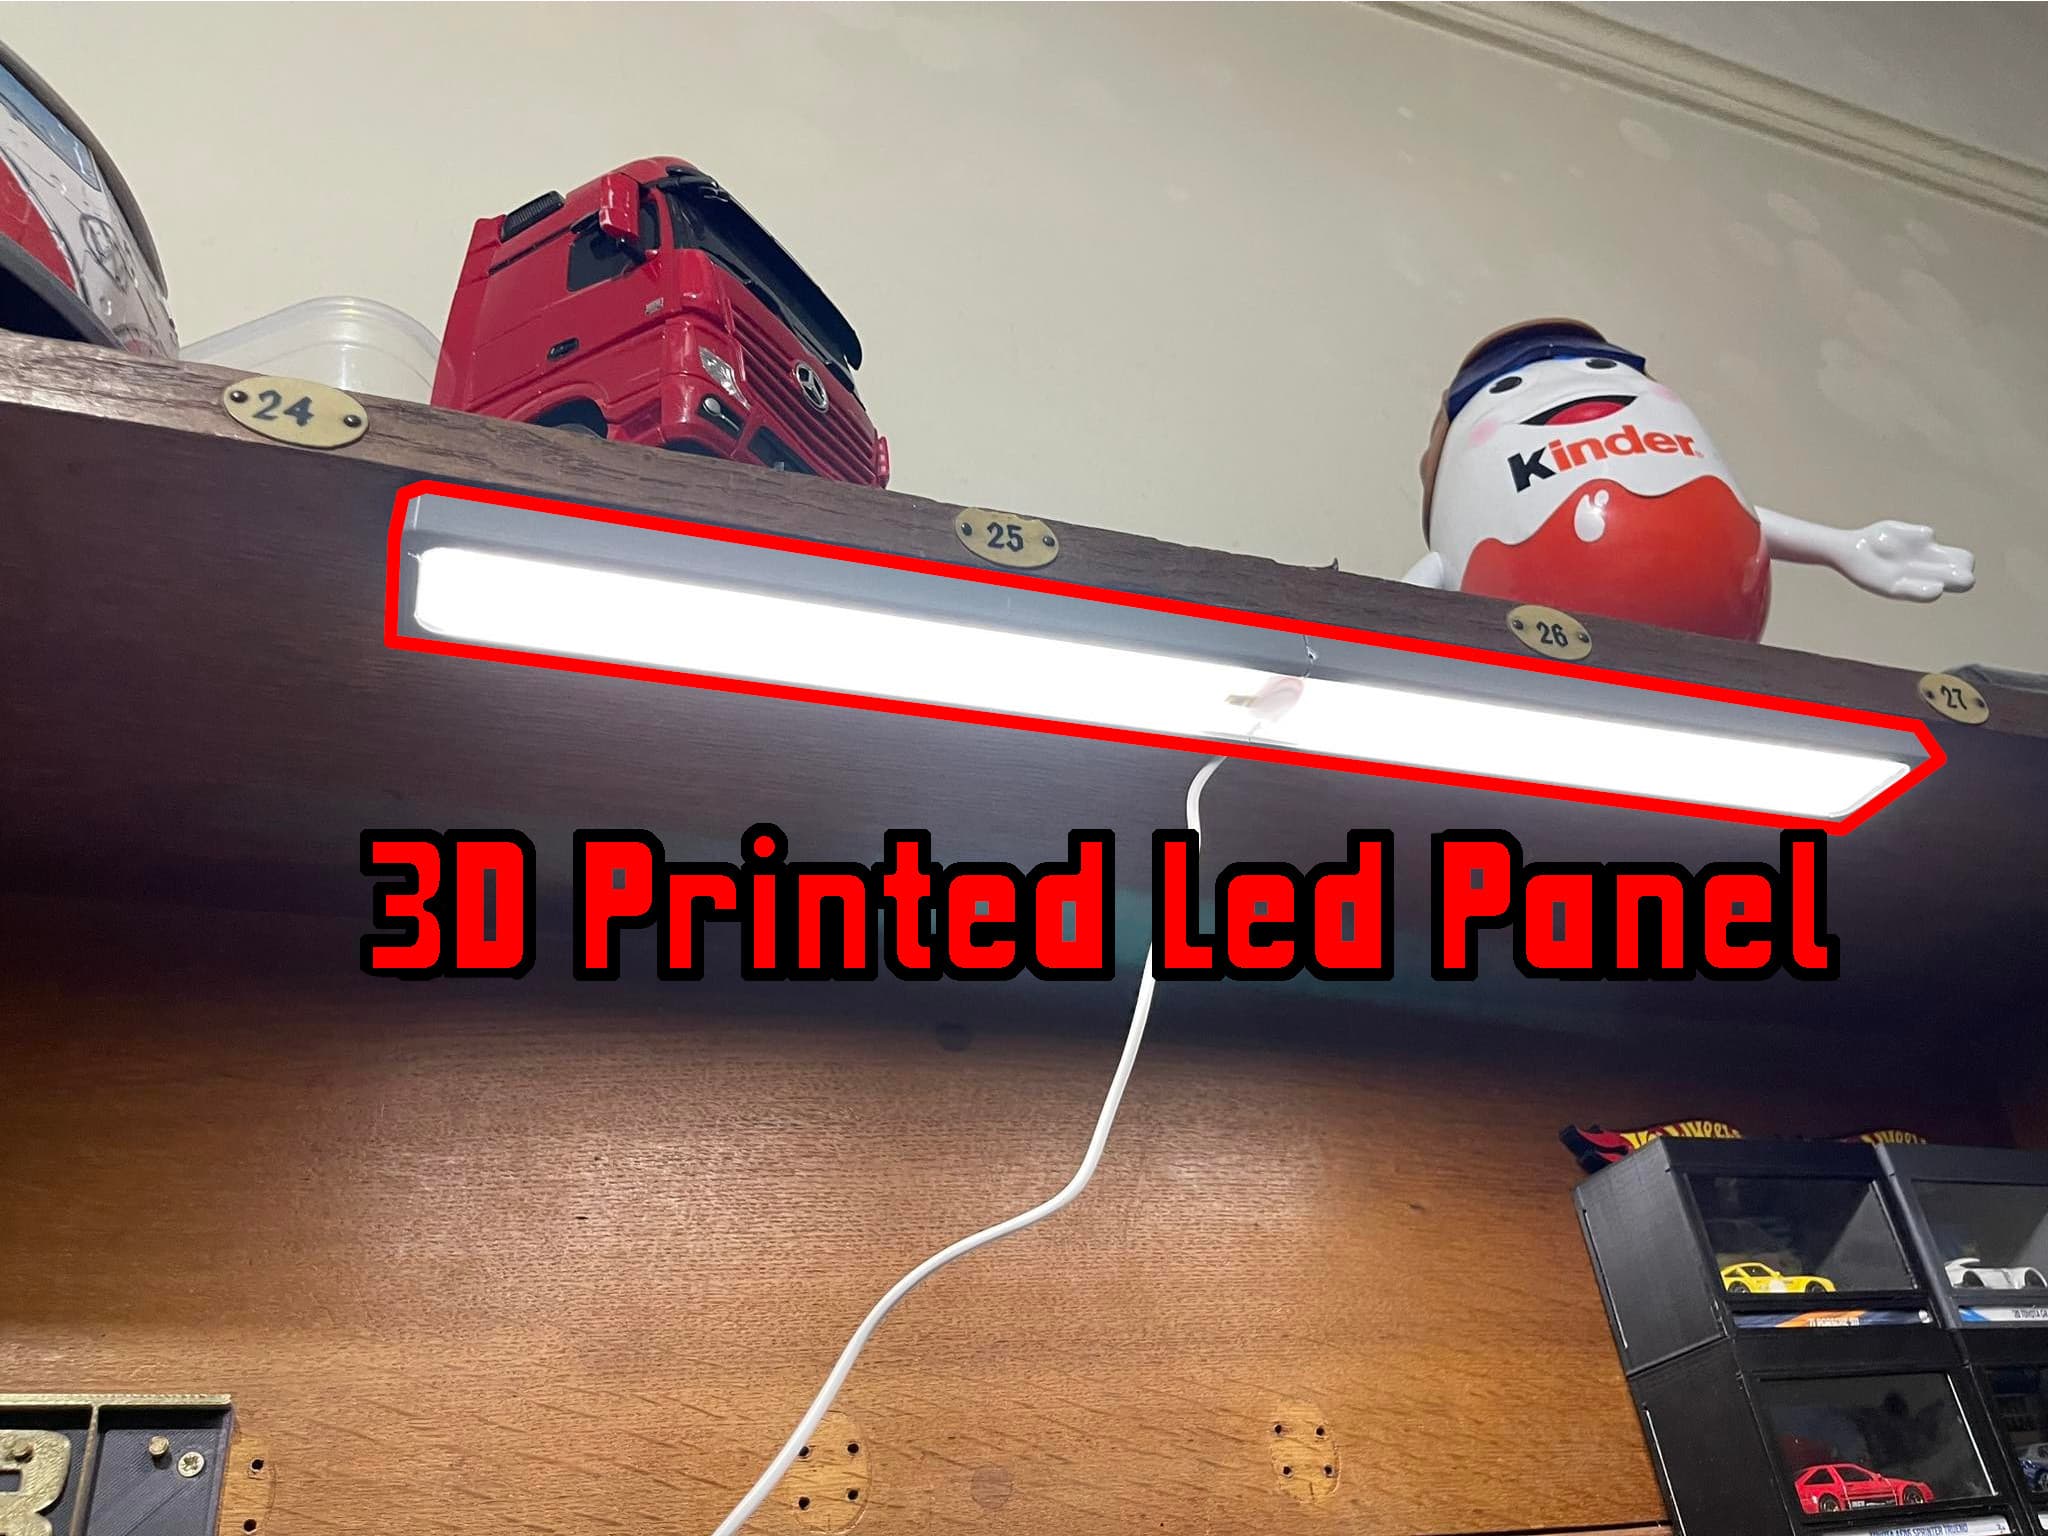
Led Panel

Jano-Leafs 4.0: 3D Printed Wall Mounted LED Panels (Interwoven)
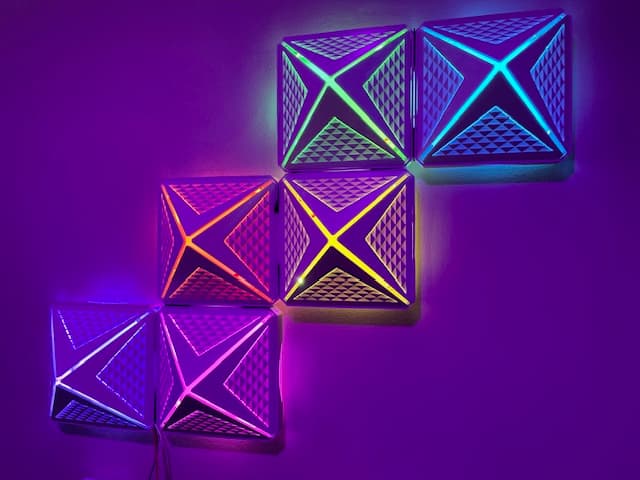
Jano-Leafs 3.0: 3D Printed Wall Mounted LED Panels (Open Pyramidal)
LED panel wall holder
DIY Hex Nano leaf like LED panels
LED panel holder Bottom 20x20 extrusion
Death Star Wall Panel (Photography)
Max Verstappen Led Panel
Dukedoks Led Panels 3D Printed (No thermoformer)

Slim Case for 16x16 RGB LED Flexible Panel Matrix
.webp&w=3840&q=75)
HexaLeaf - Led Light Panels
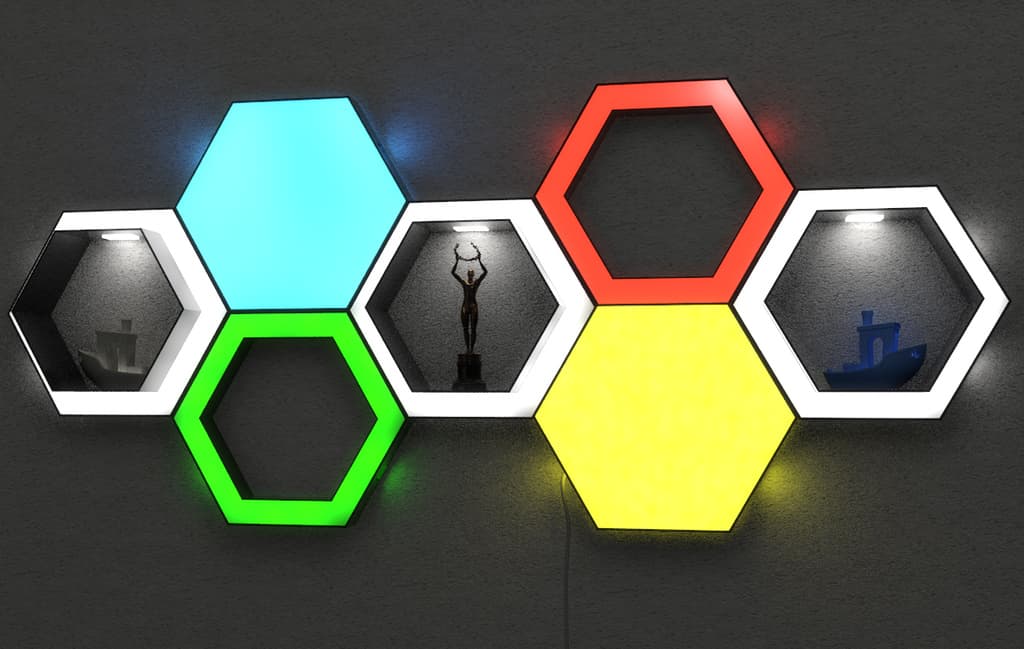
LED Hexagon Panels and Shelfs
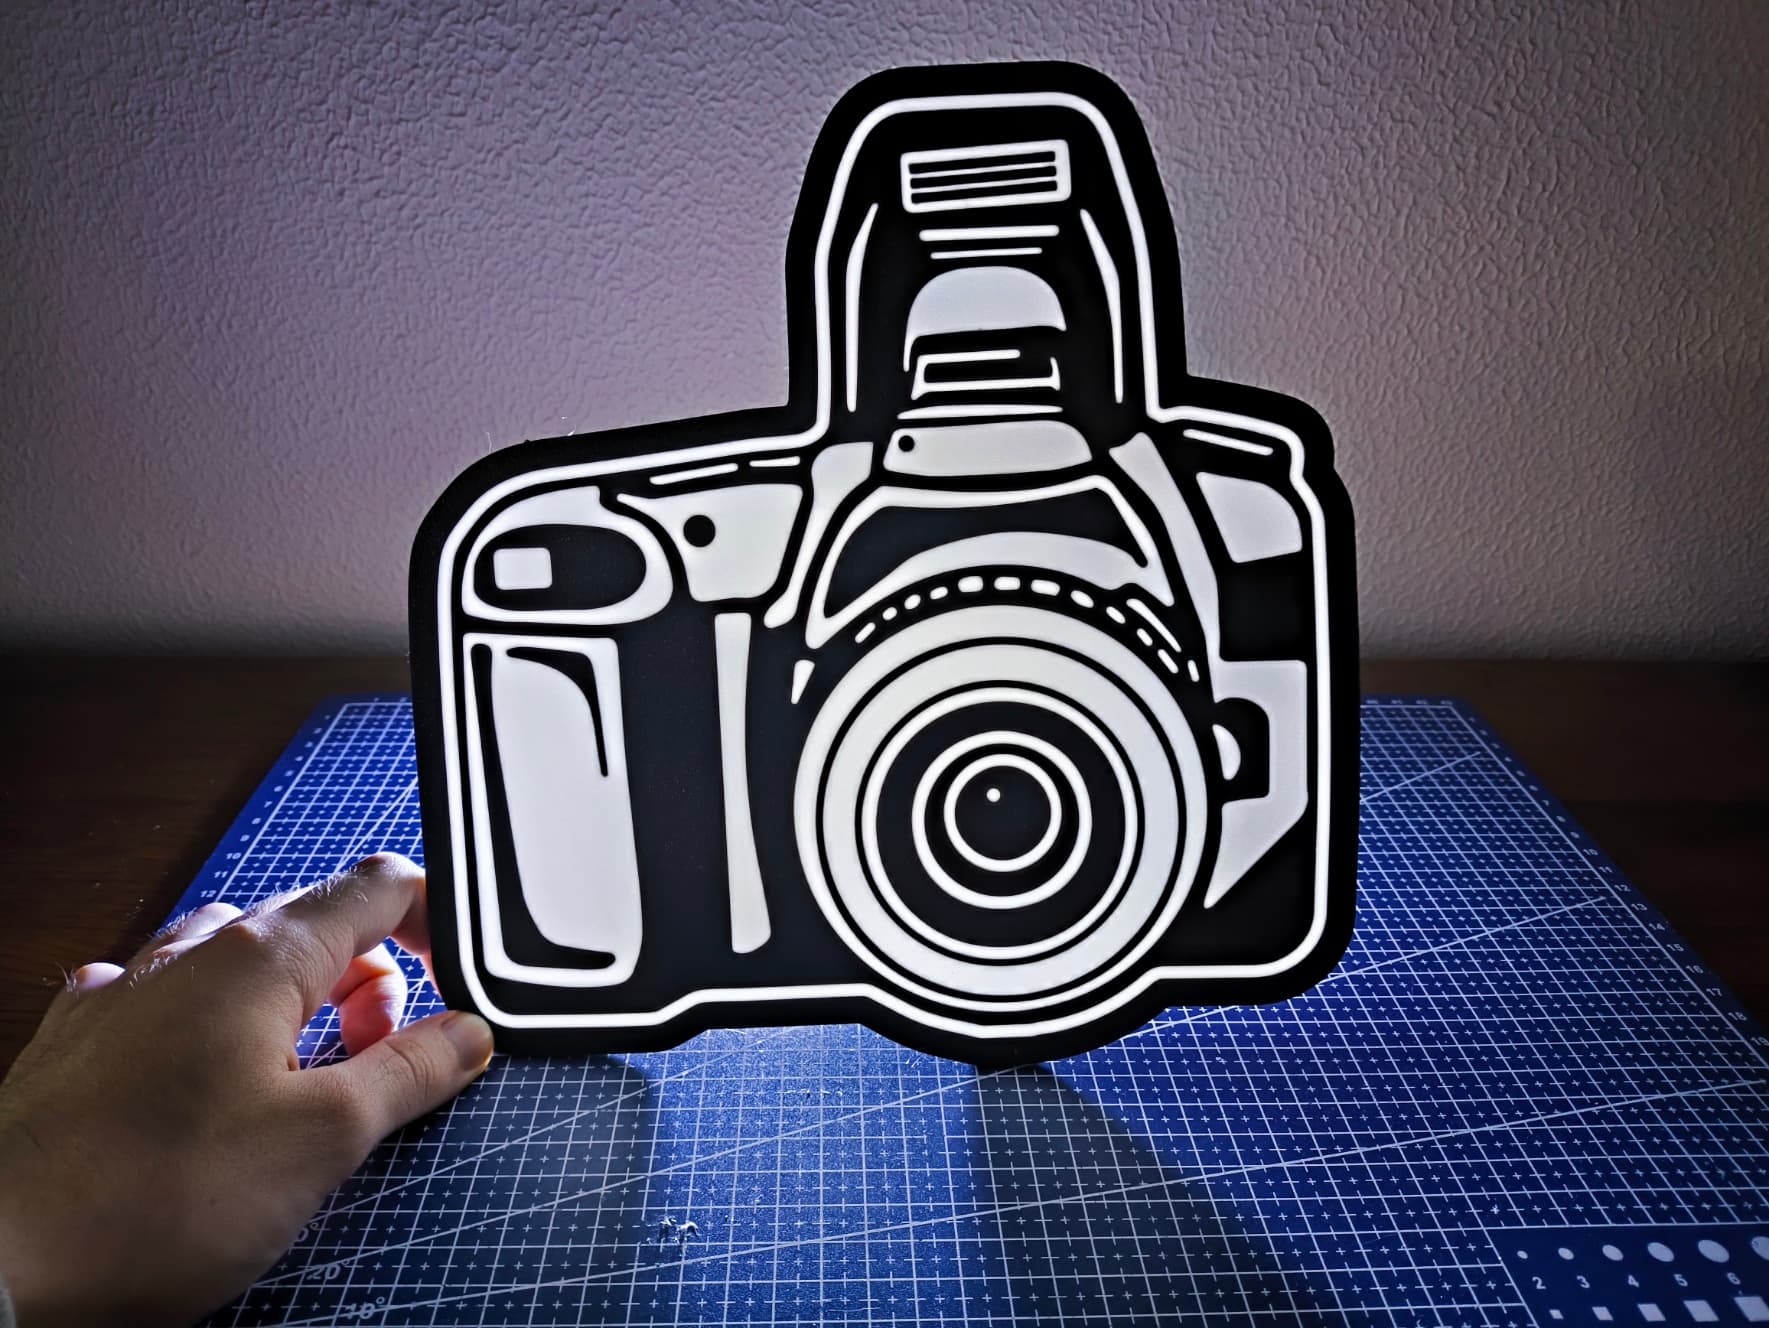
Camera DSLR Photography Lightbox LED Lamp
LED Strip Light Panel with VESA 100 Mount

LED Backlit Feather panels
Lithophane LED Box w/ swappable panels

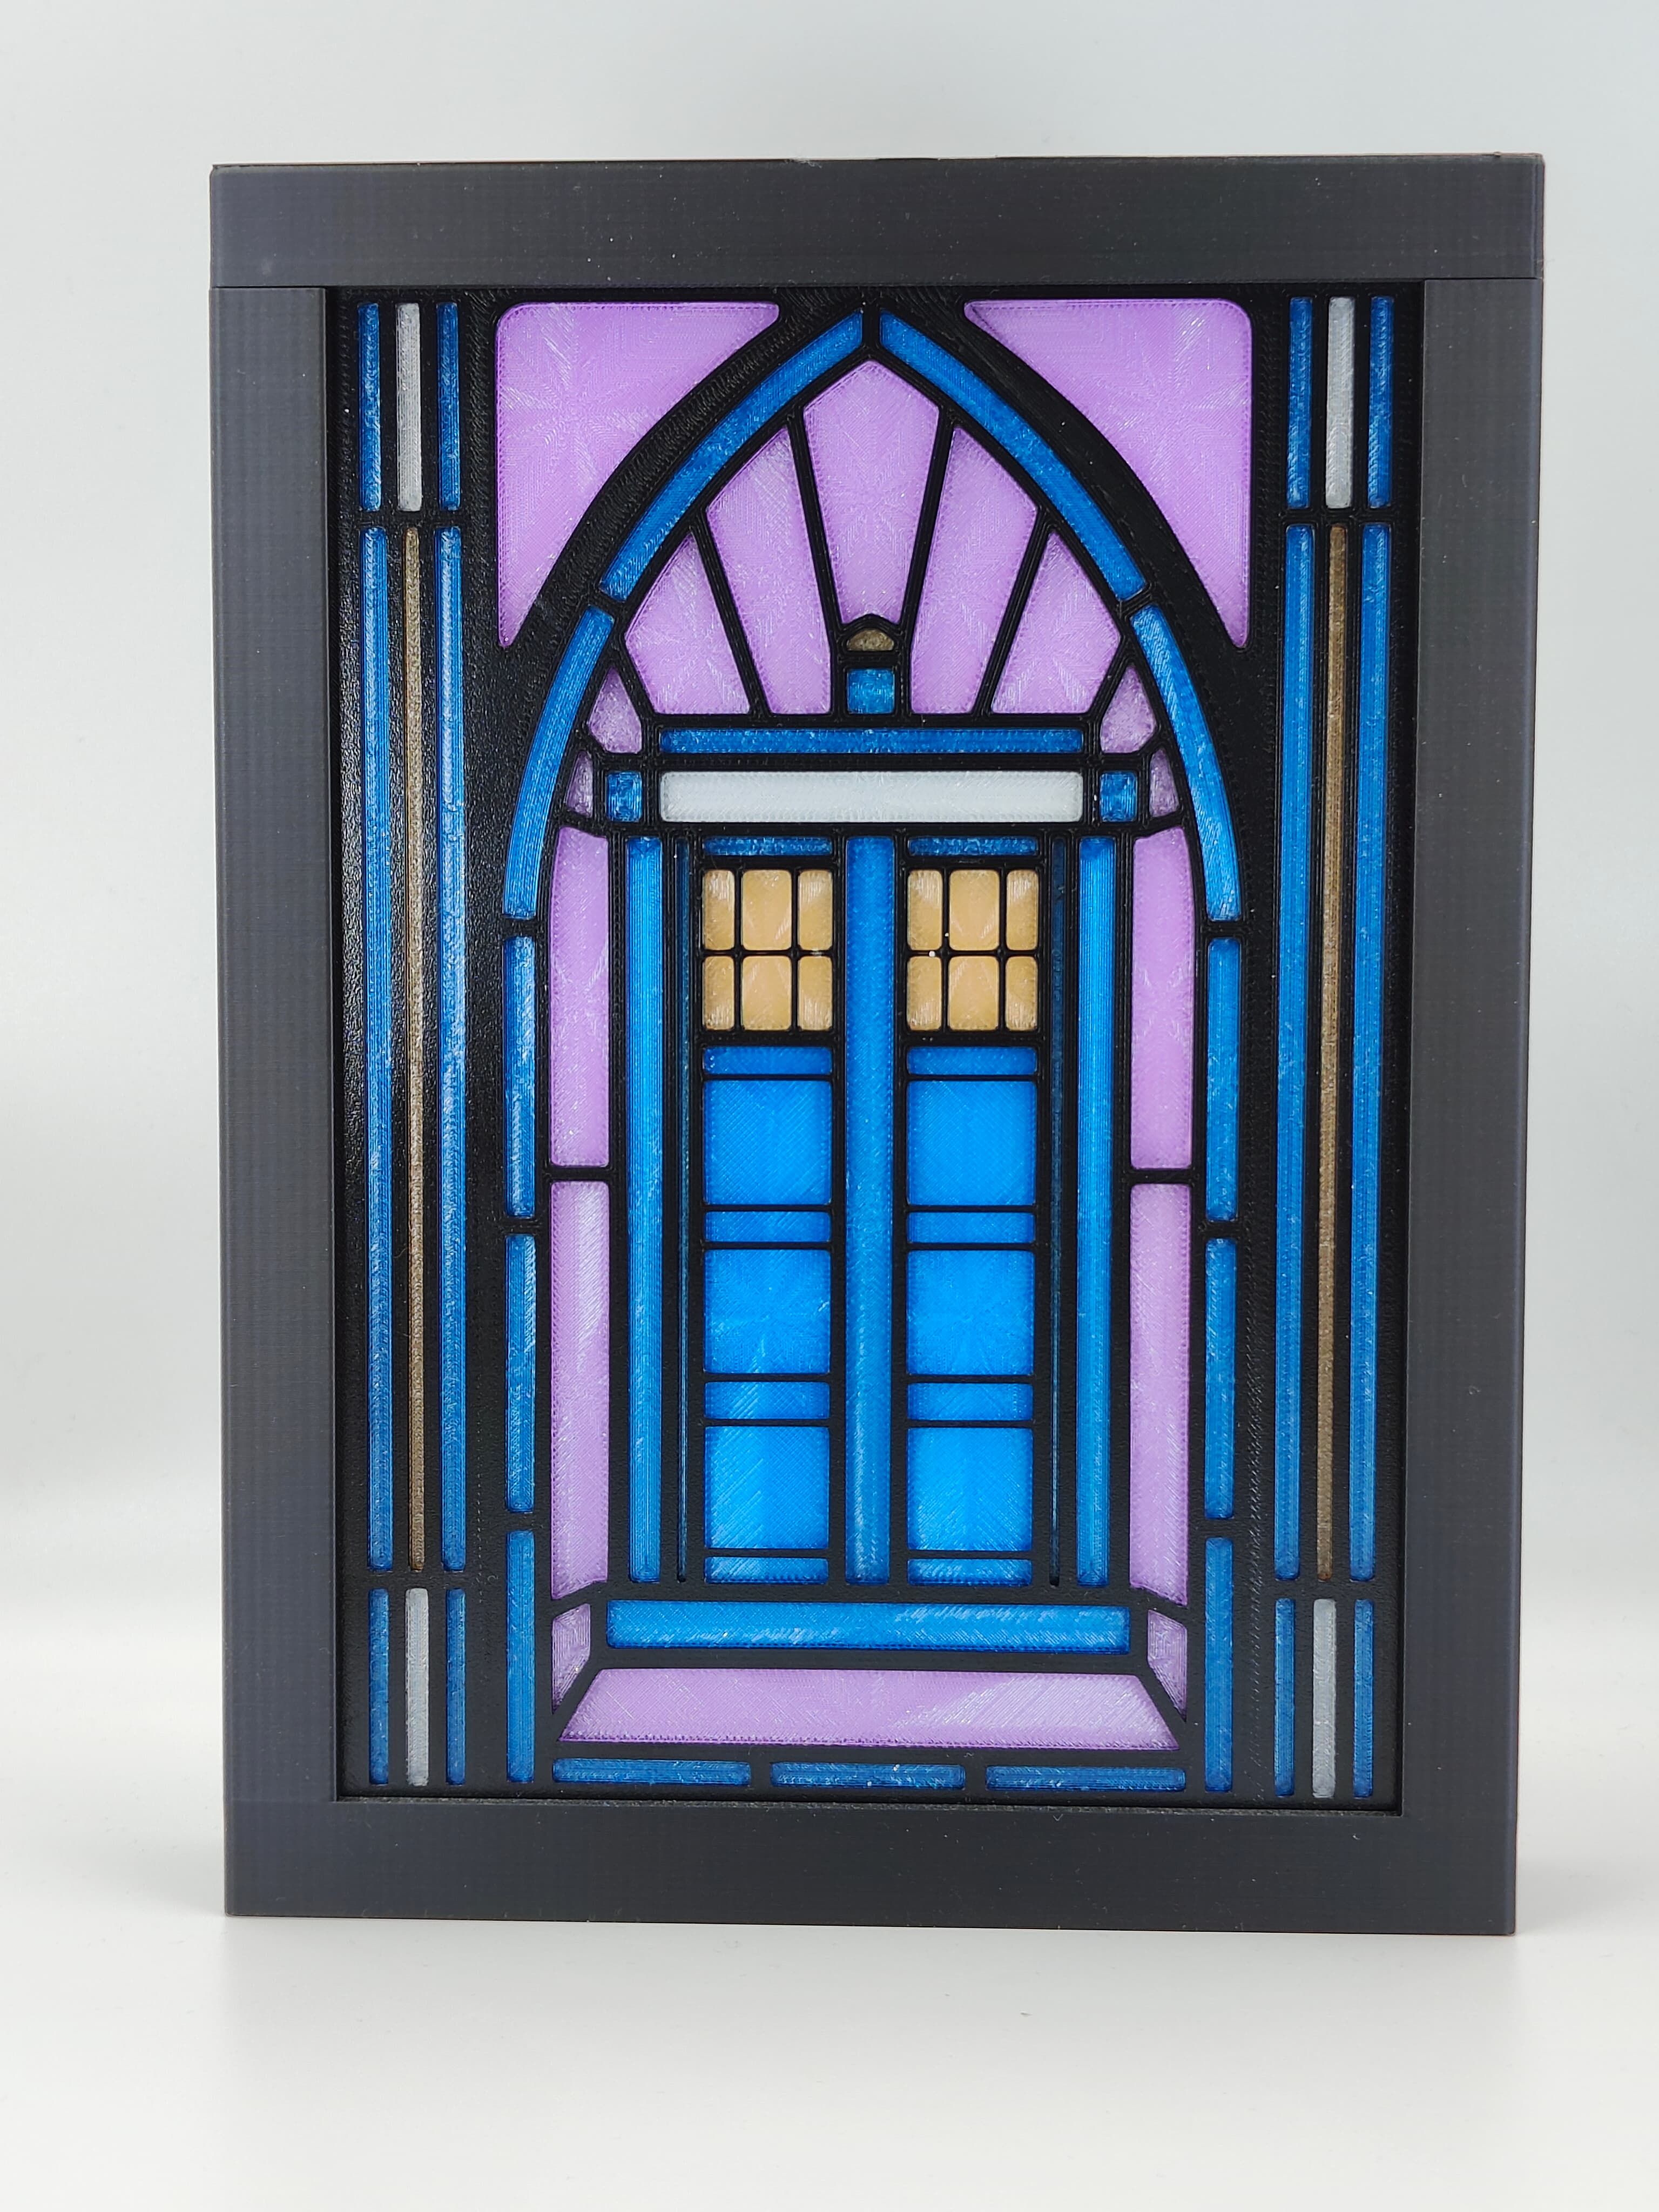
Spiderman Stained Glass Light Box

Virgin Mary Stained Glass Light Box