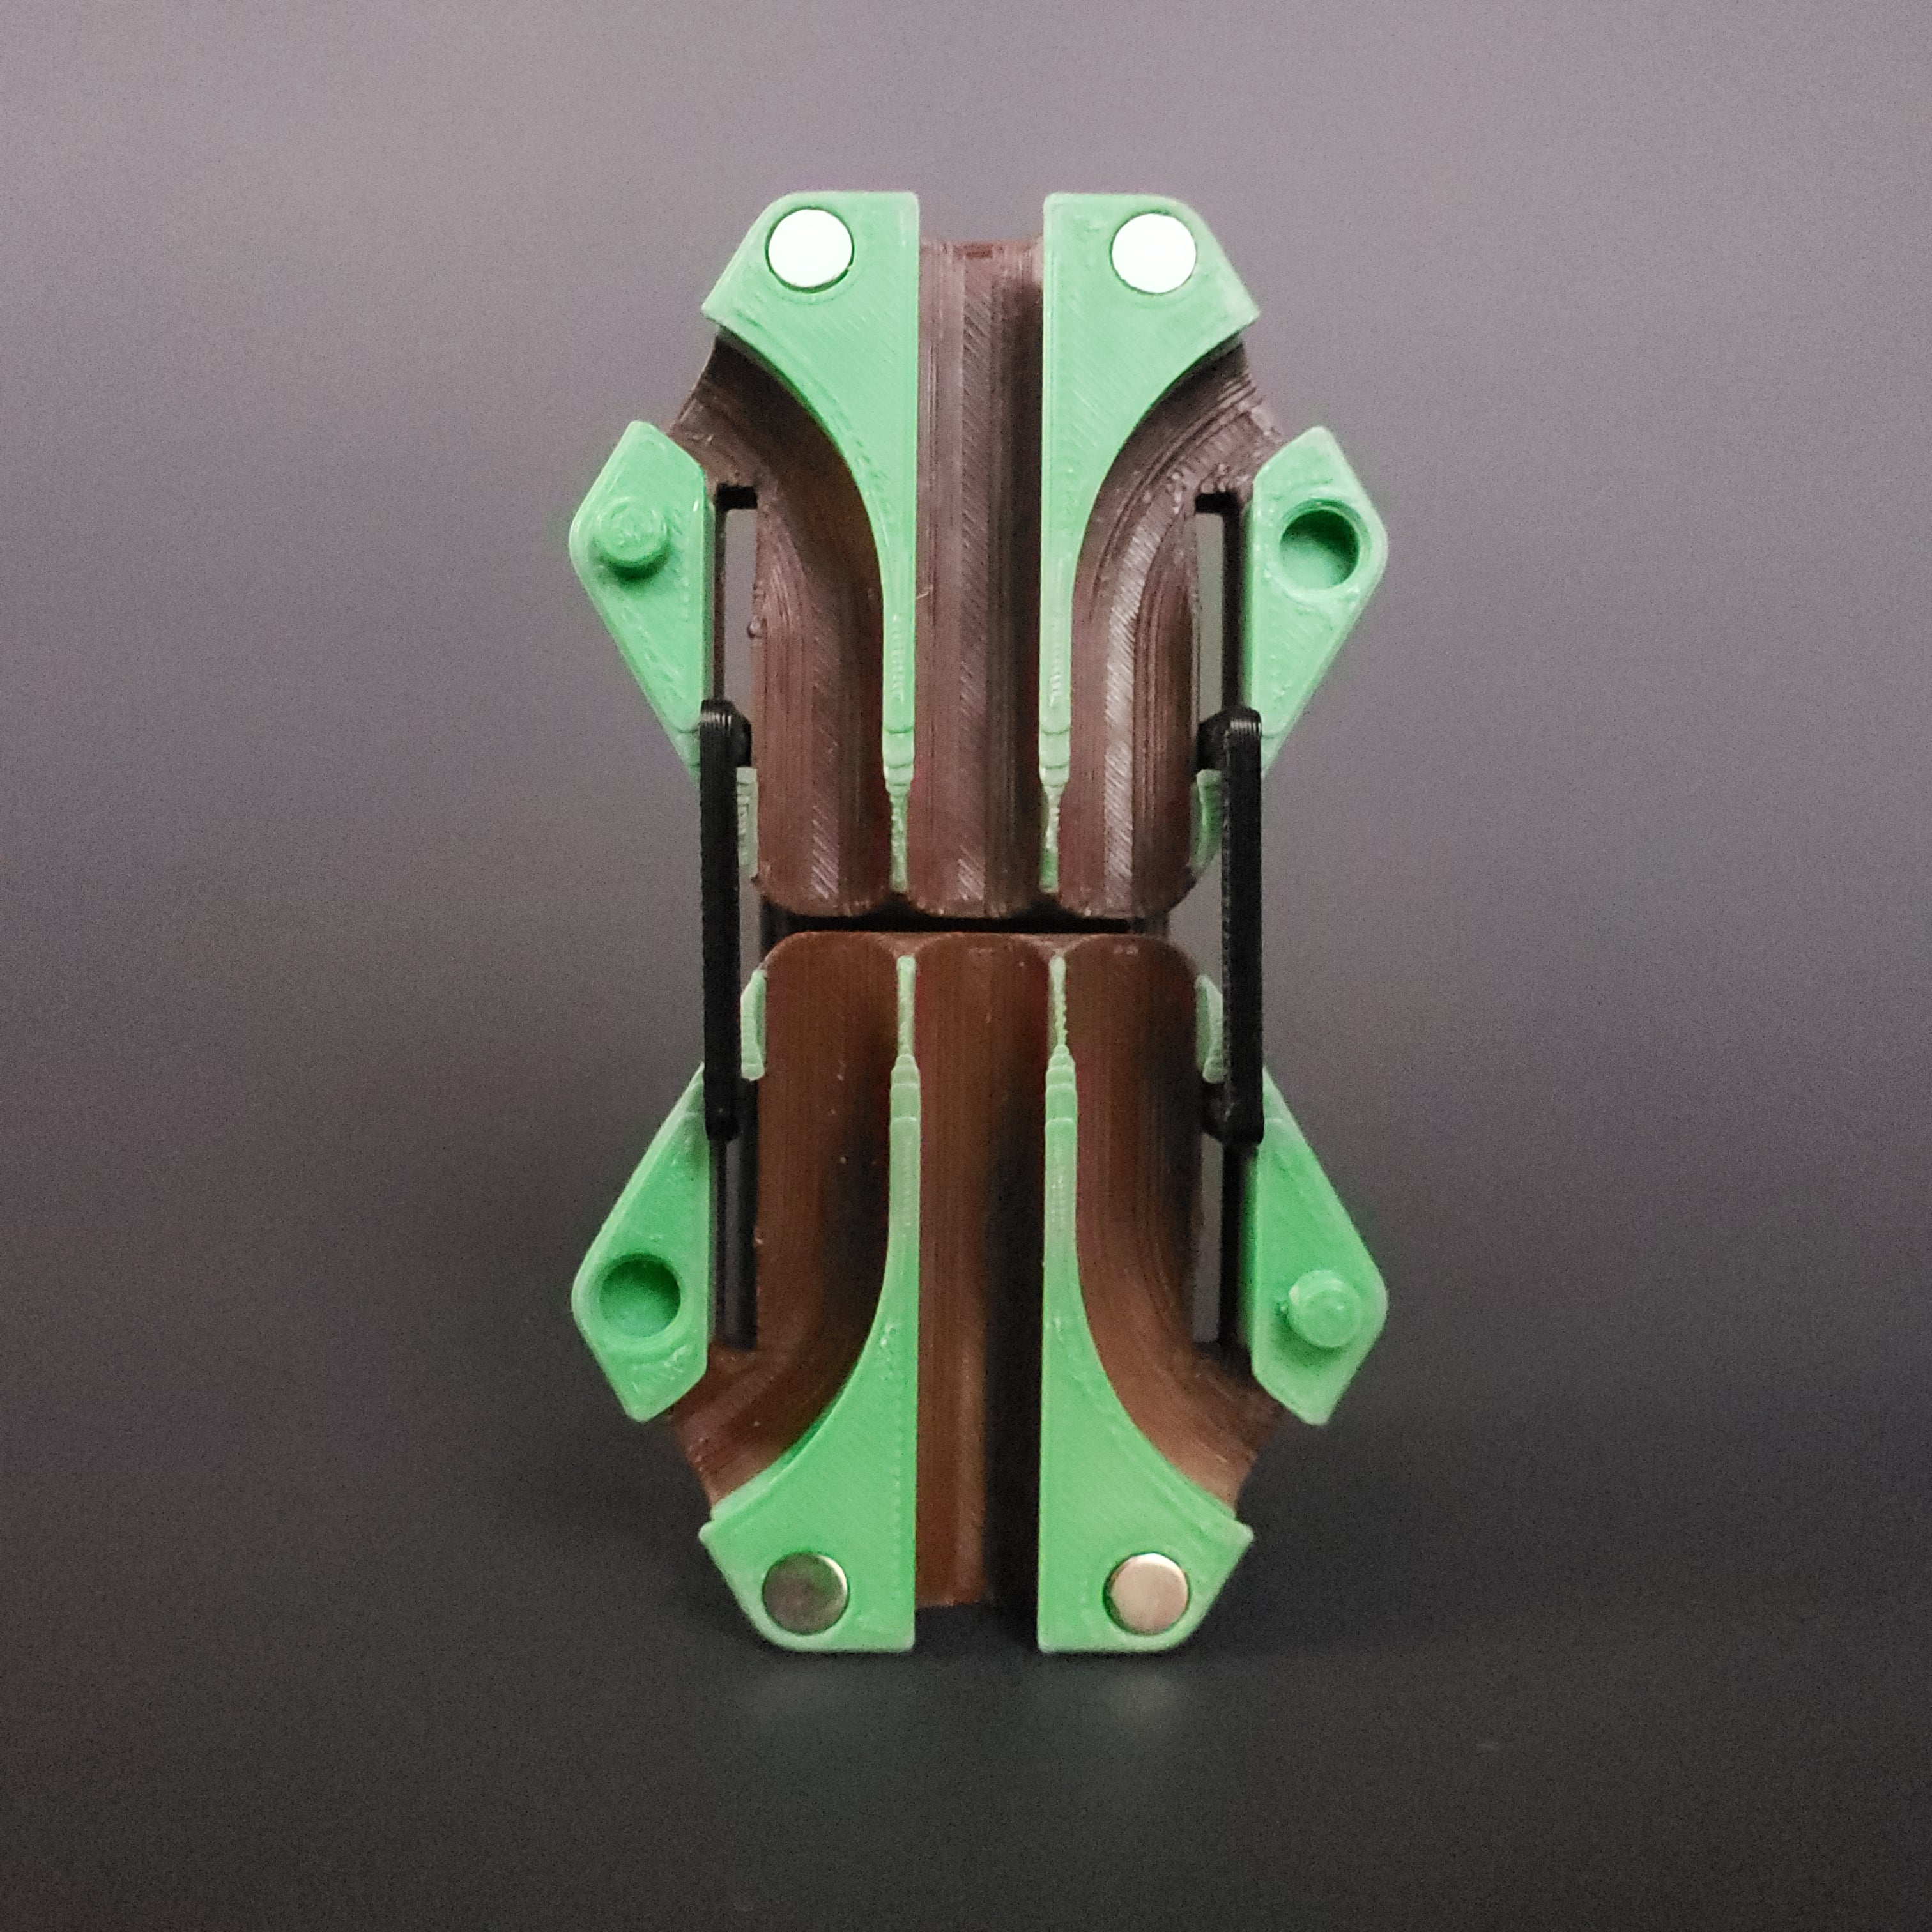
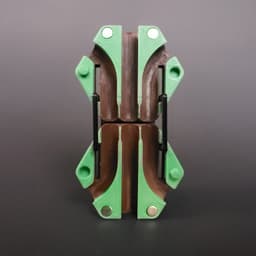


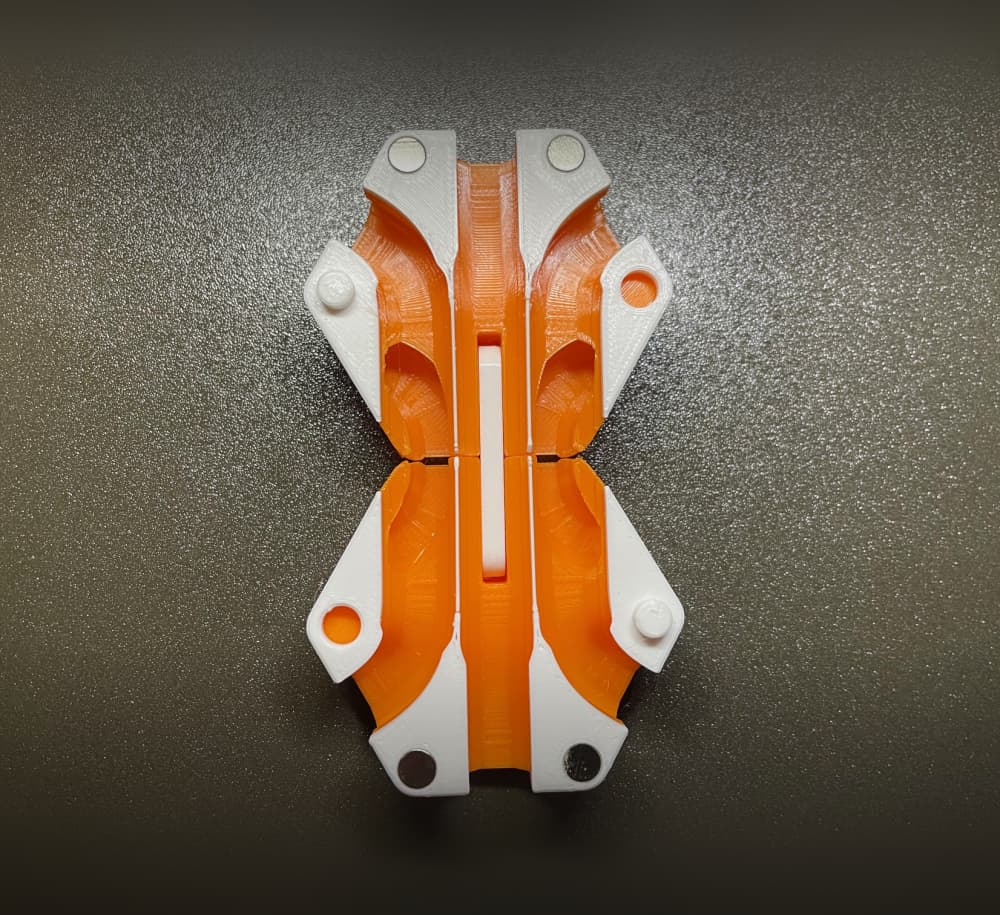
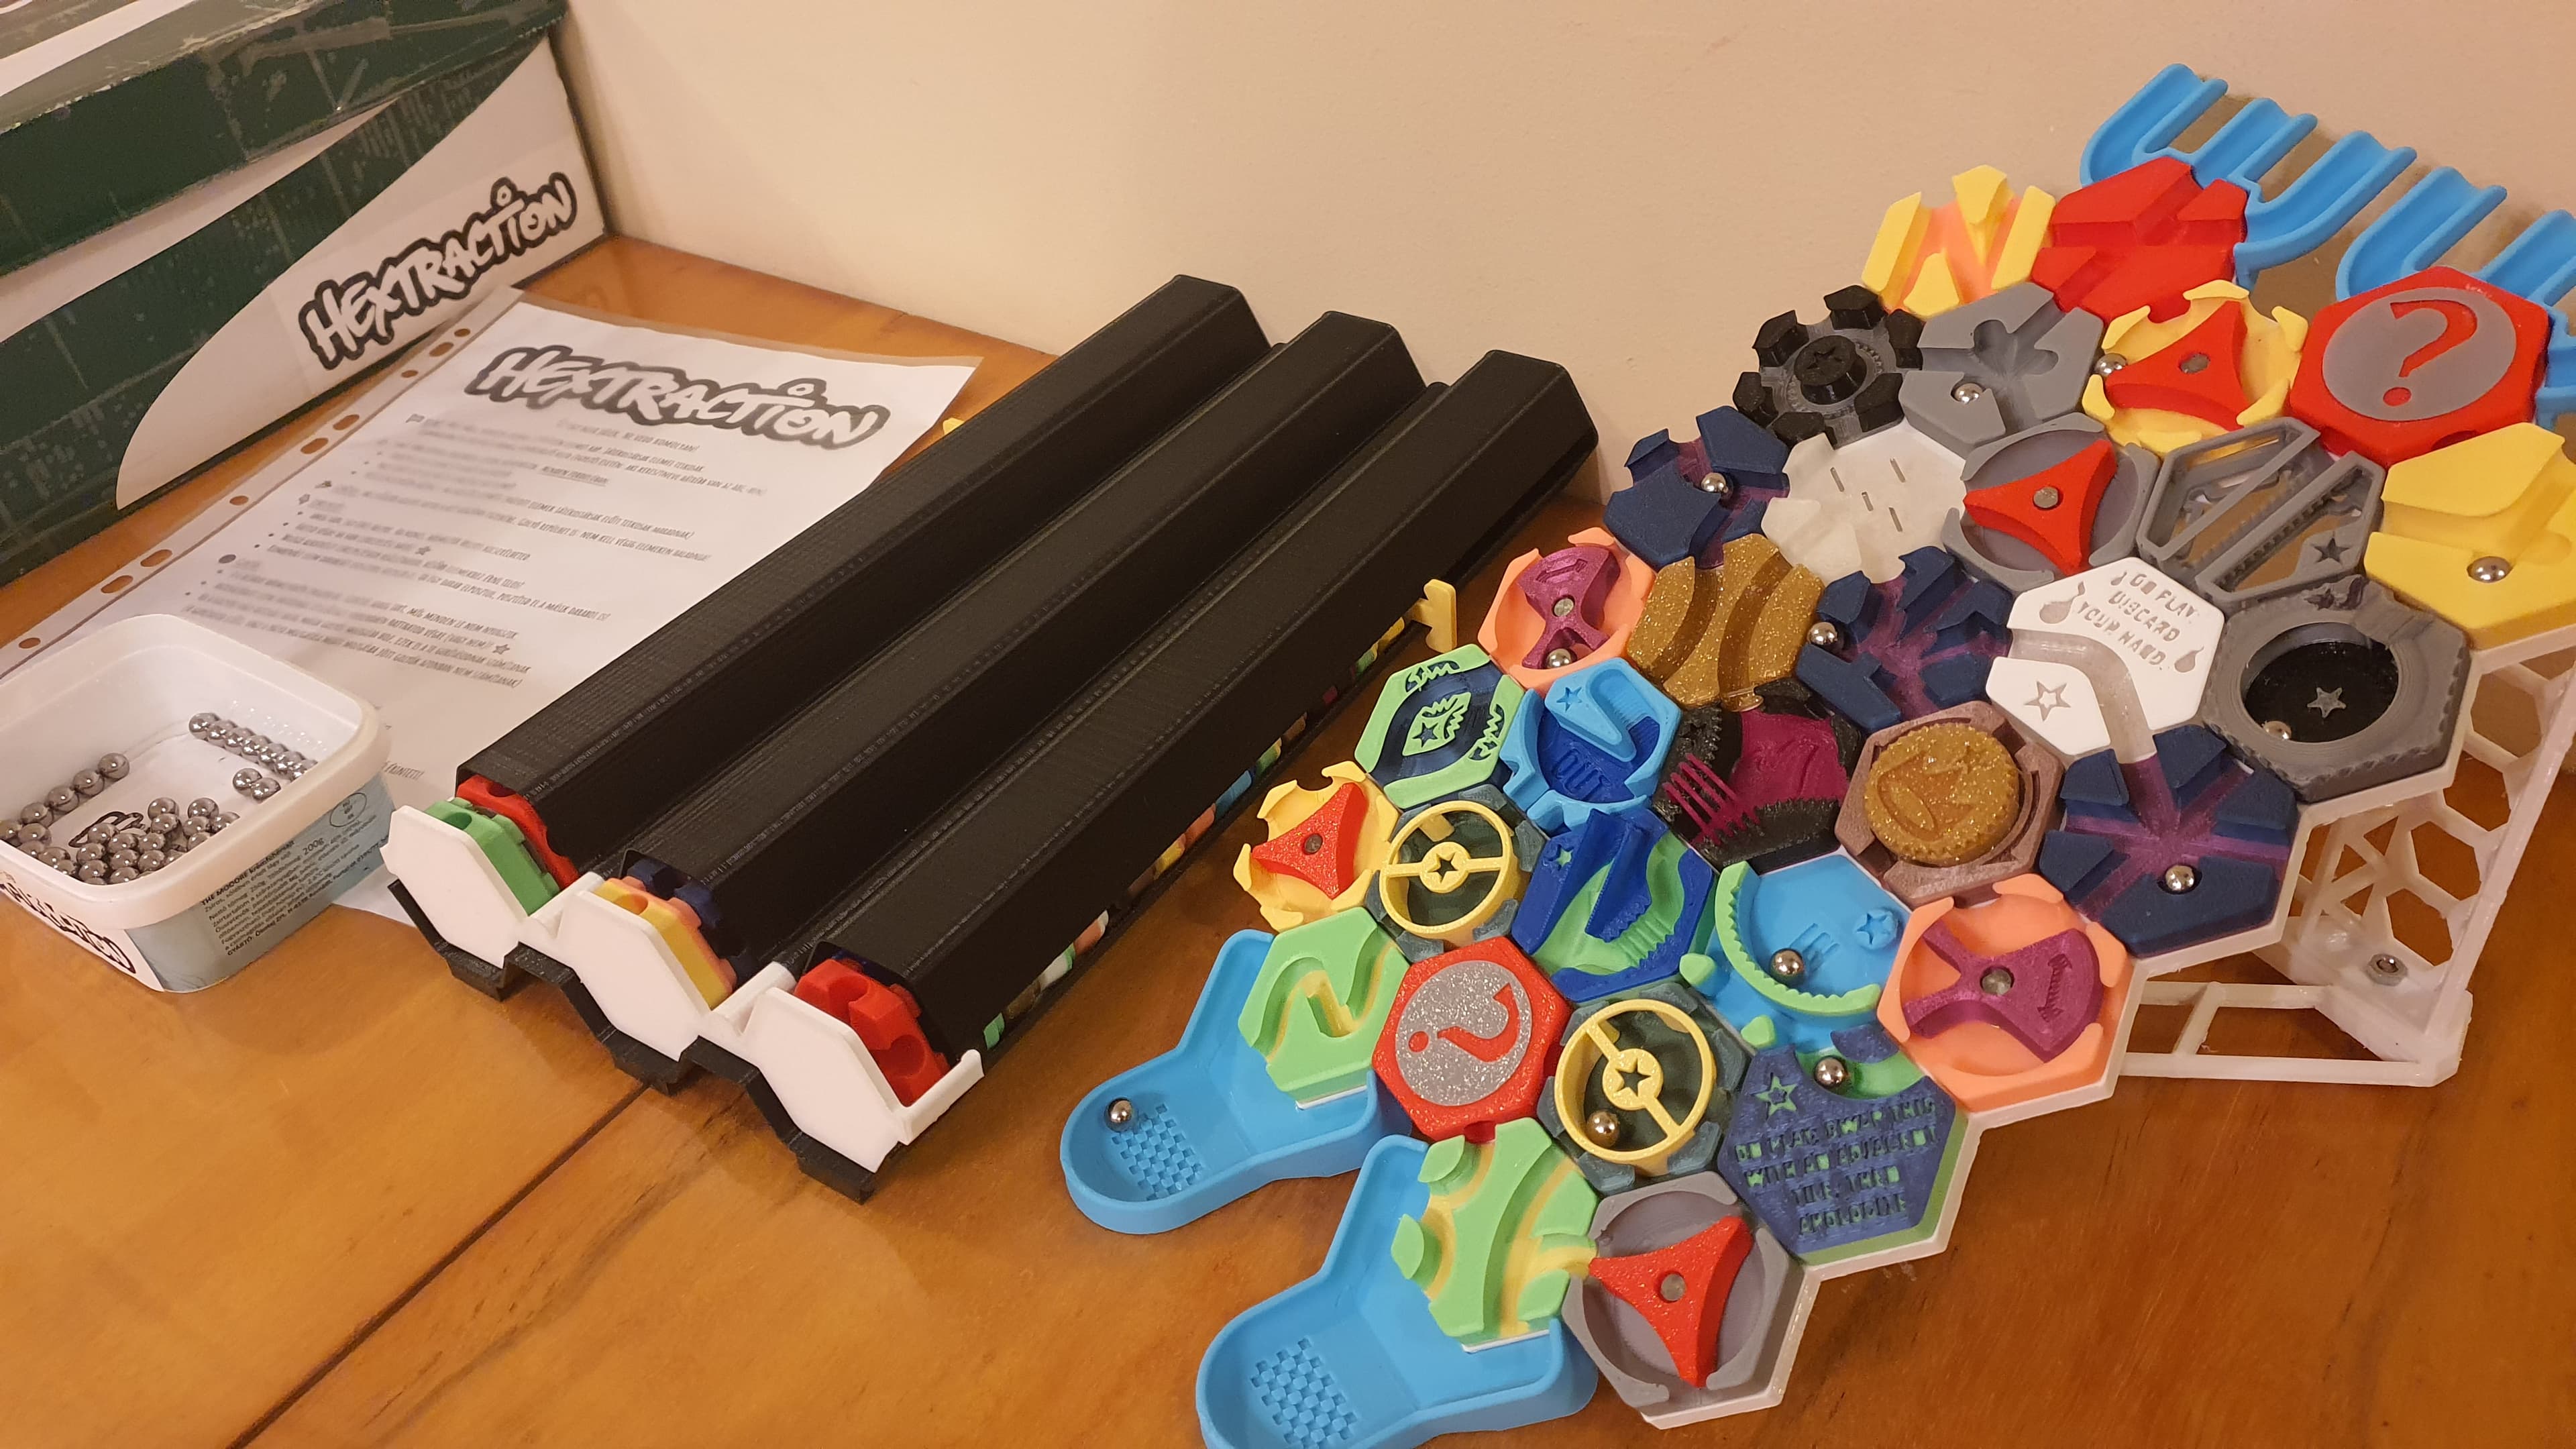
Hextraction Triple Lane Tile
44 downloads · 1 year ago · A folding tile with extended DIC pathing.
**Rules**
Combo Open Me!
**Hardware / Printing**
- Four
A folding tile with extended DIC pathing.
Rules Combo Open Me!
Hardware / Printing
- Four M2x4 screws (can be longer but not recommended, M2x12 max)
- Four 6x2mm magnets
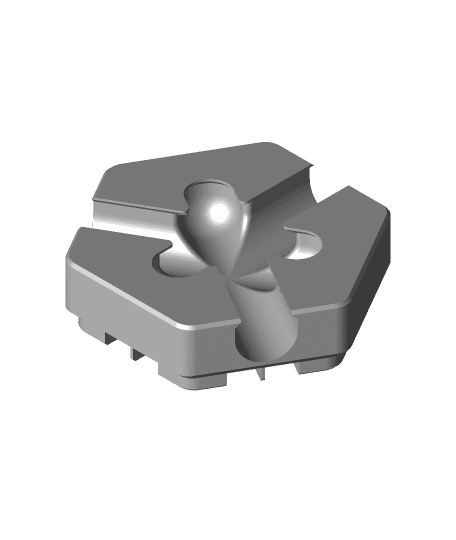
- PLA, 2 walls, 10% infill, thin walls
- Print 2 Bases and 2 Links for each combo.
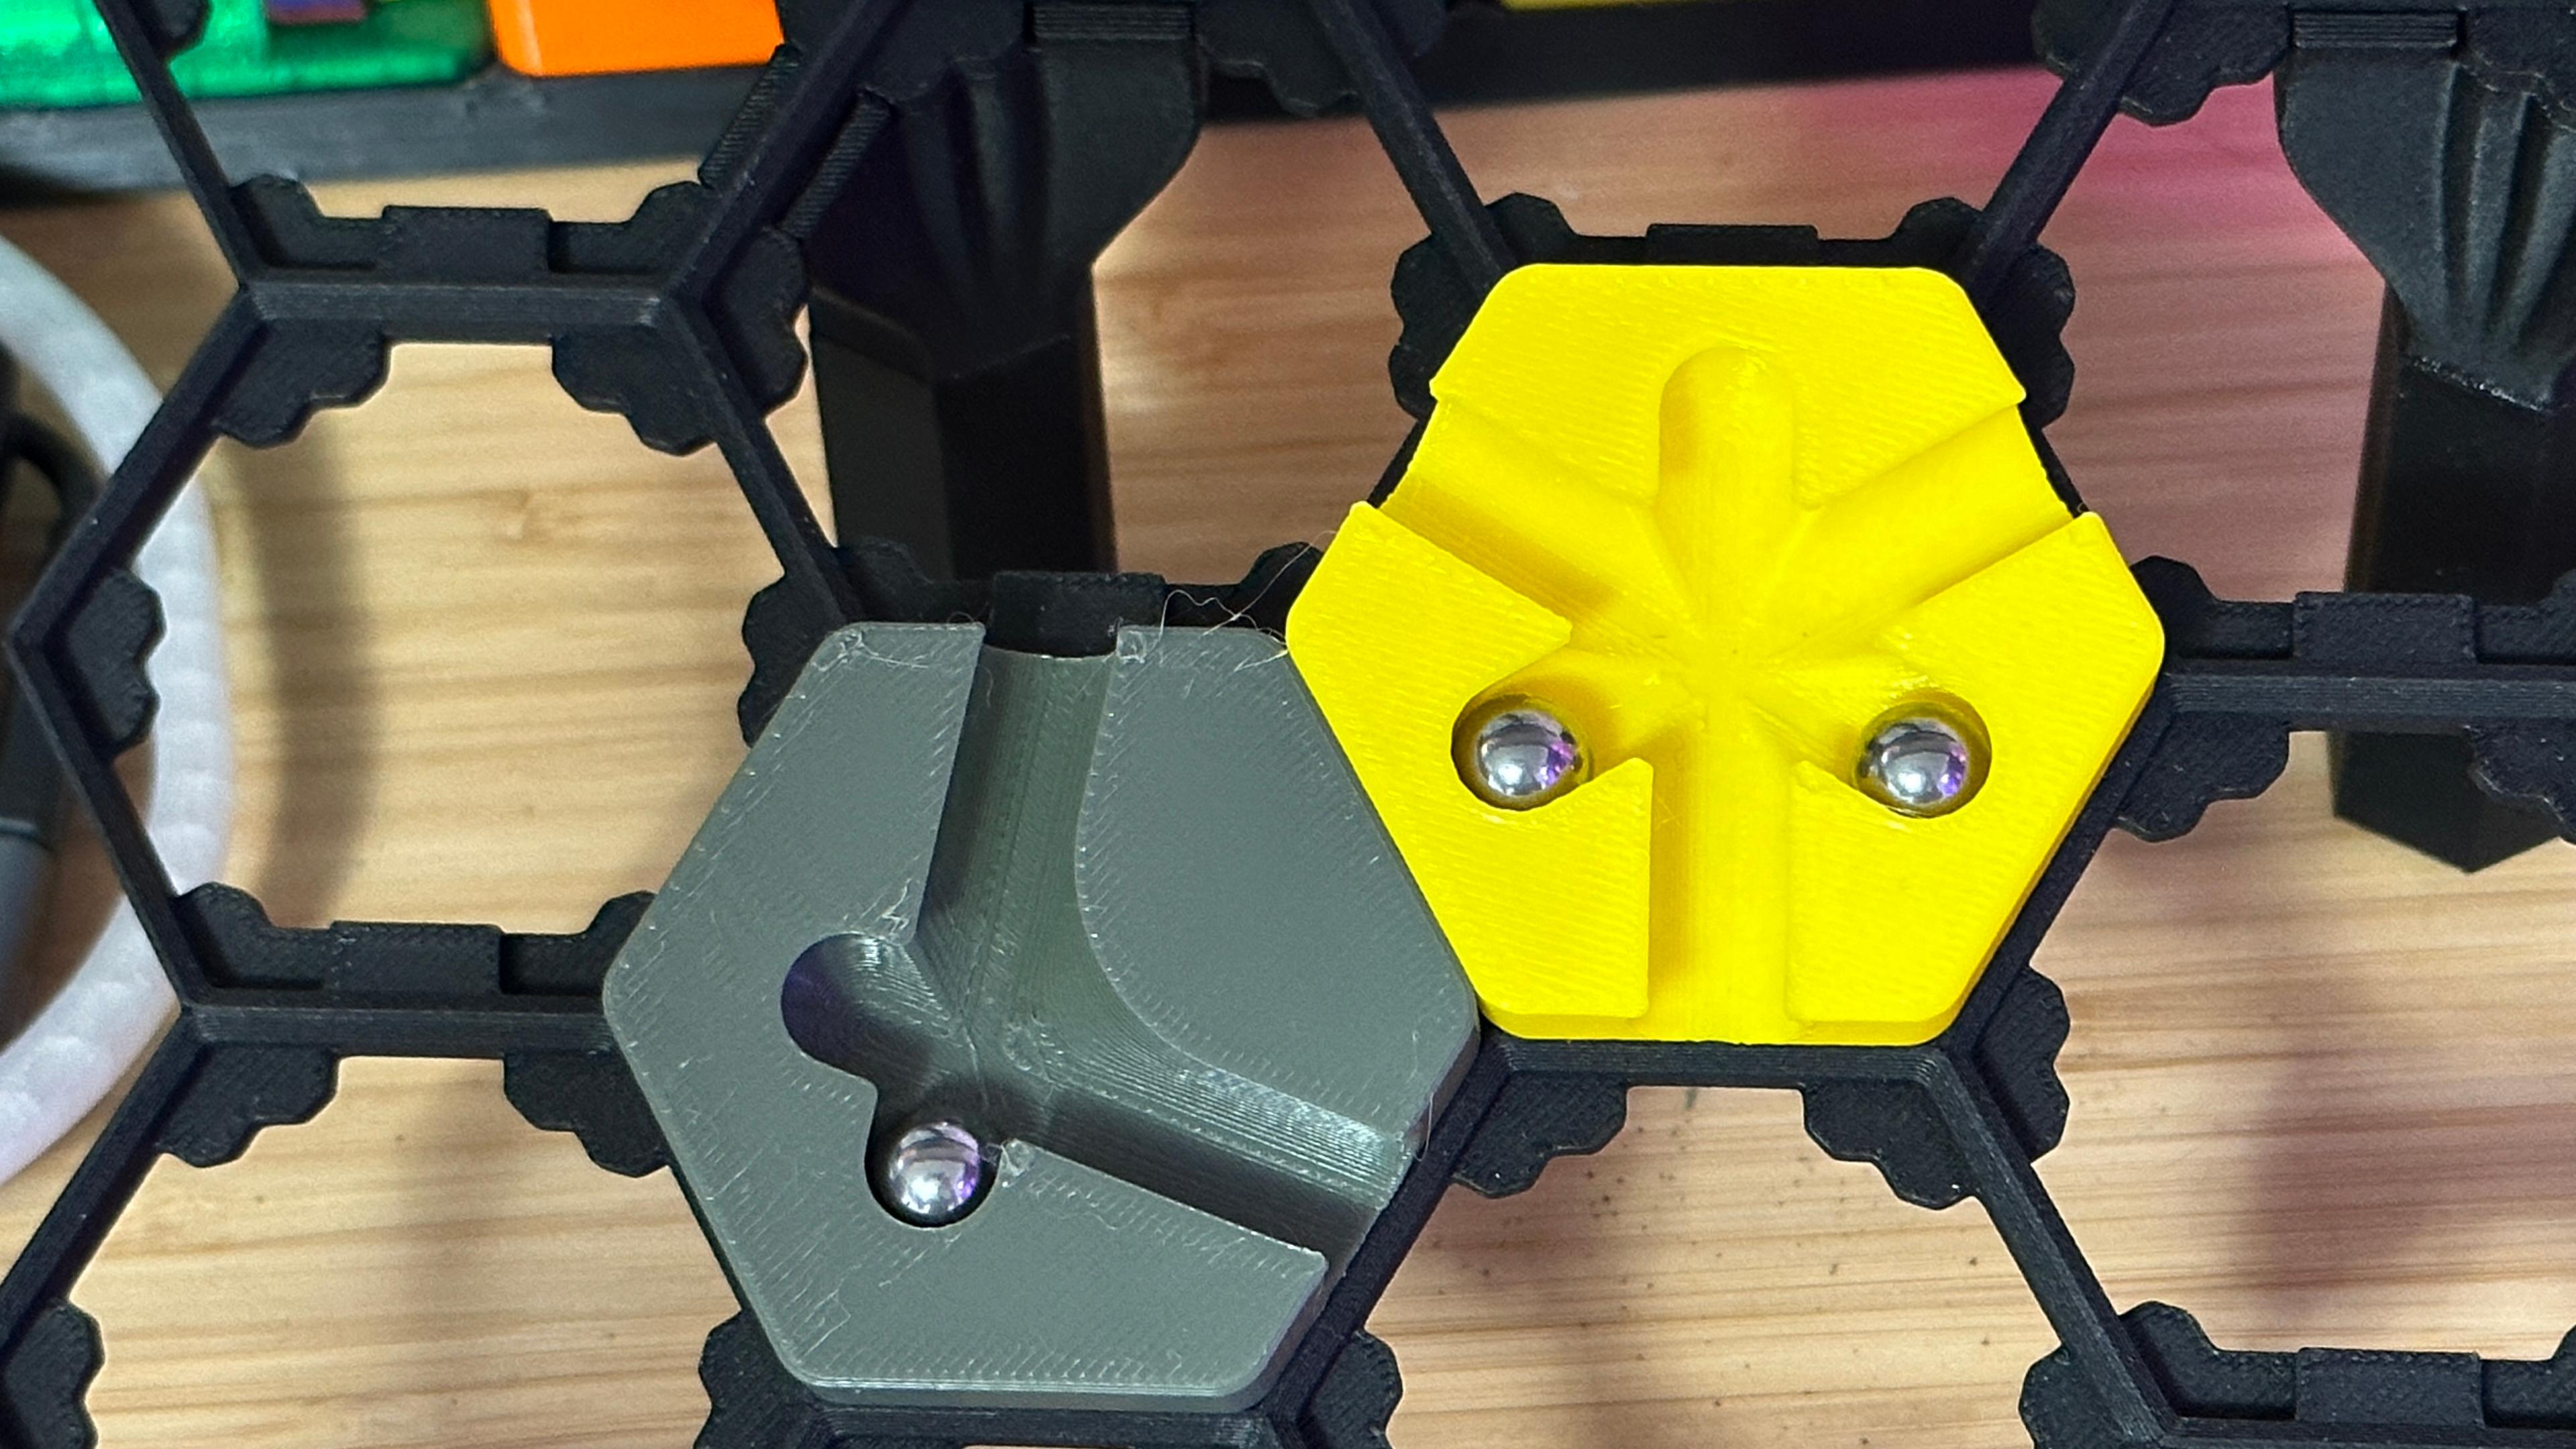
Assembly
- Close the combo then insert both Links in the hinge slots. Verify the axis holes are aligned with the Base’s.
- Through the screw clearance slot, install M2x4 screws into the Links. Recommended to install using a ball-end hex driver.
- Flip the combo over then repeat steps 1 and 2.
- Test opening, closing and playing the combo. Tweak screw depth if necessary.
- Open the combo. Glue four 6x2mm magnets in the magnet holes. Use the + and - for magnet polarity. Allow for glue dry time before closing the Combo.
- Test opening and closing the Combo. When a ball enters the center path, it may jump out at the hinge point. Unfortunately there’s currently no fix at the moment, sorry!
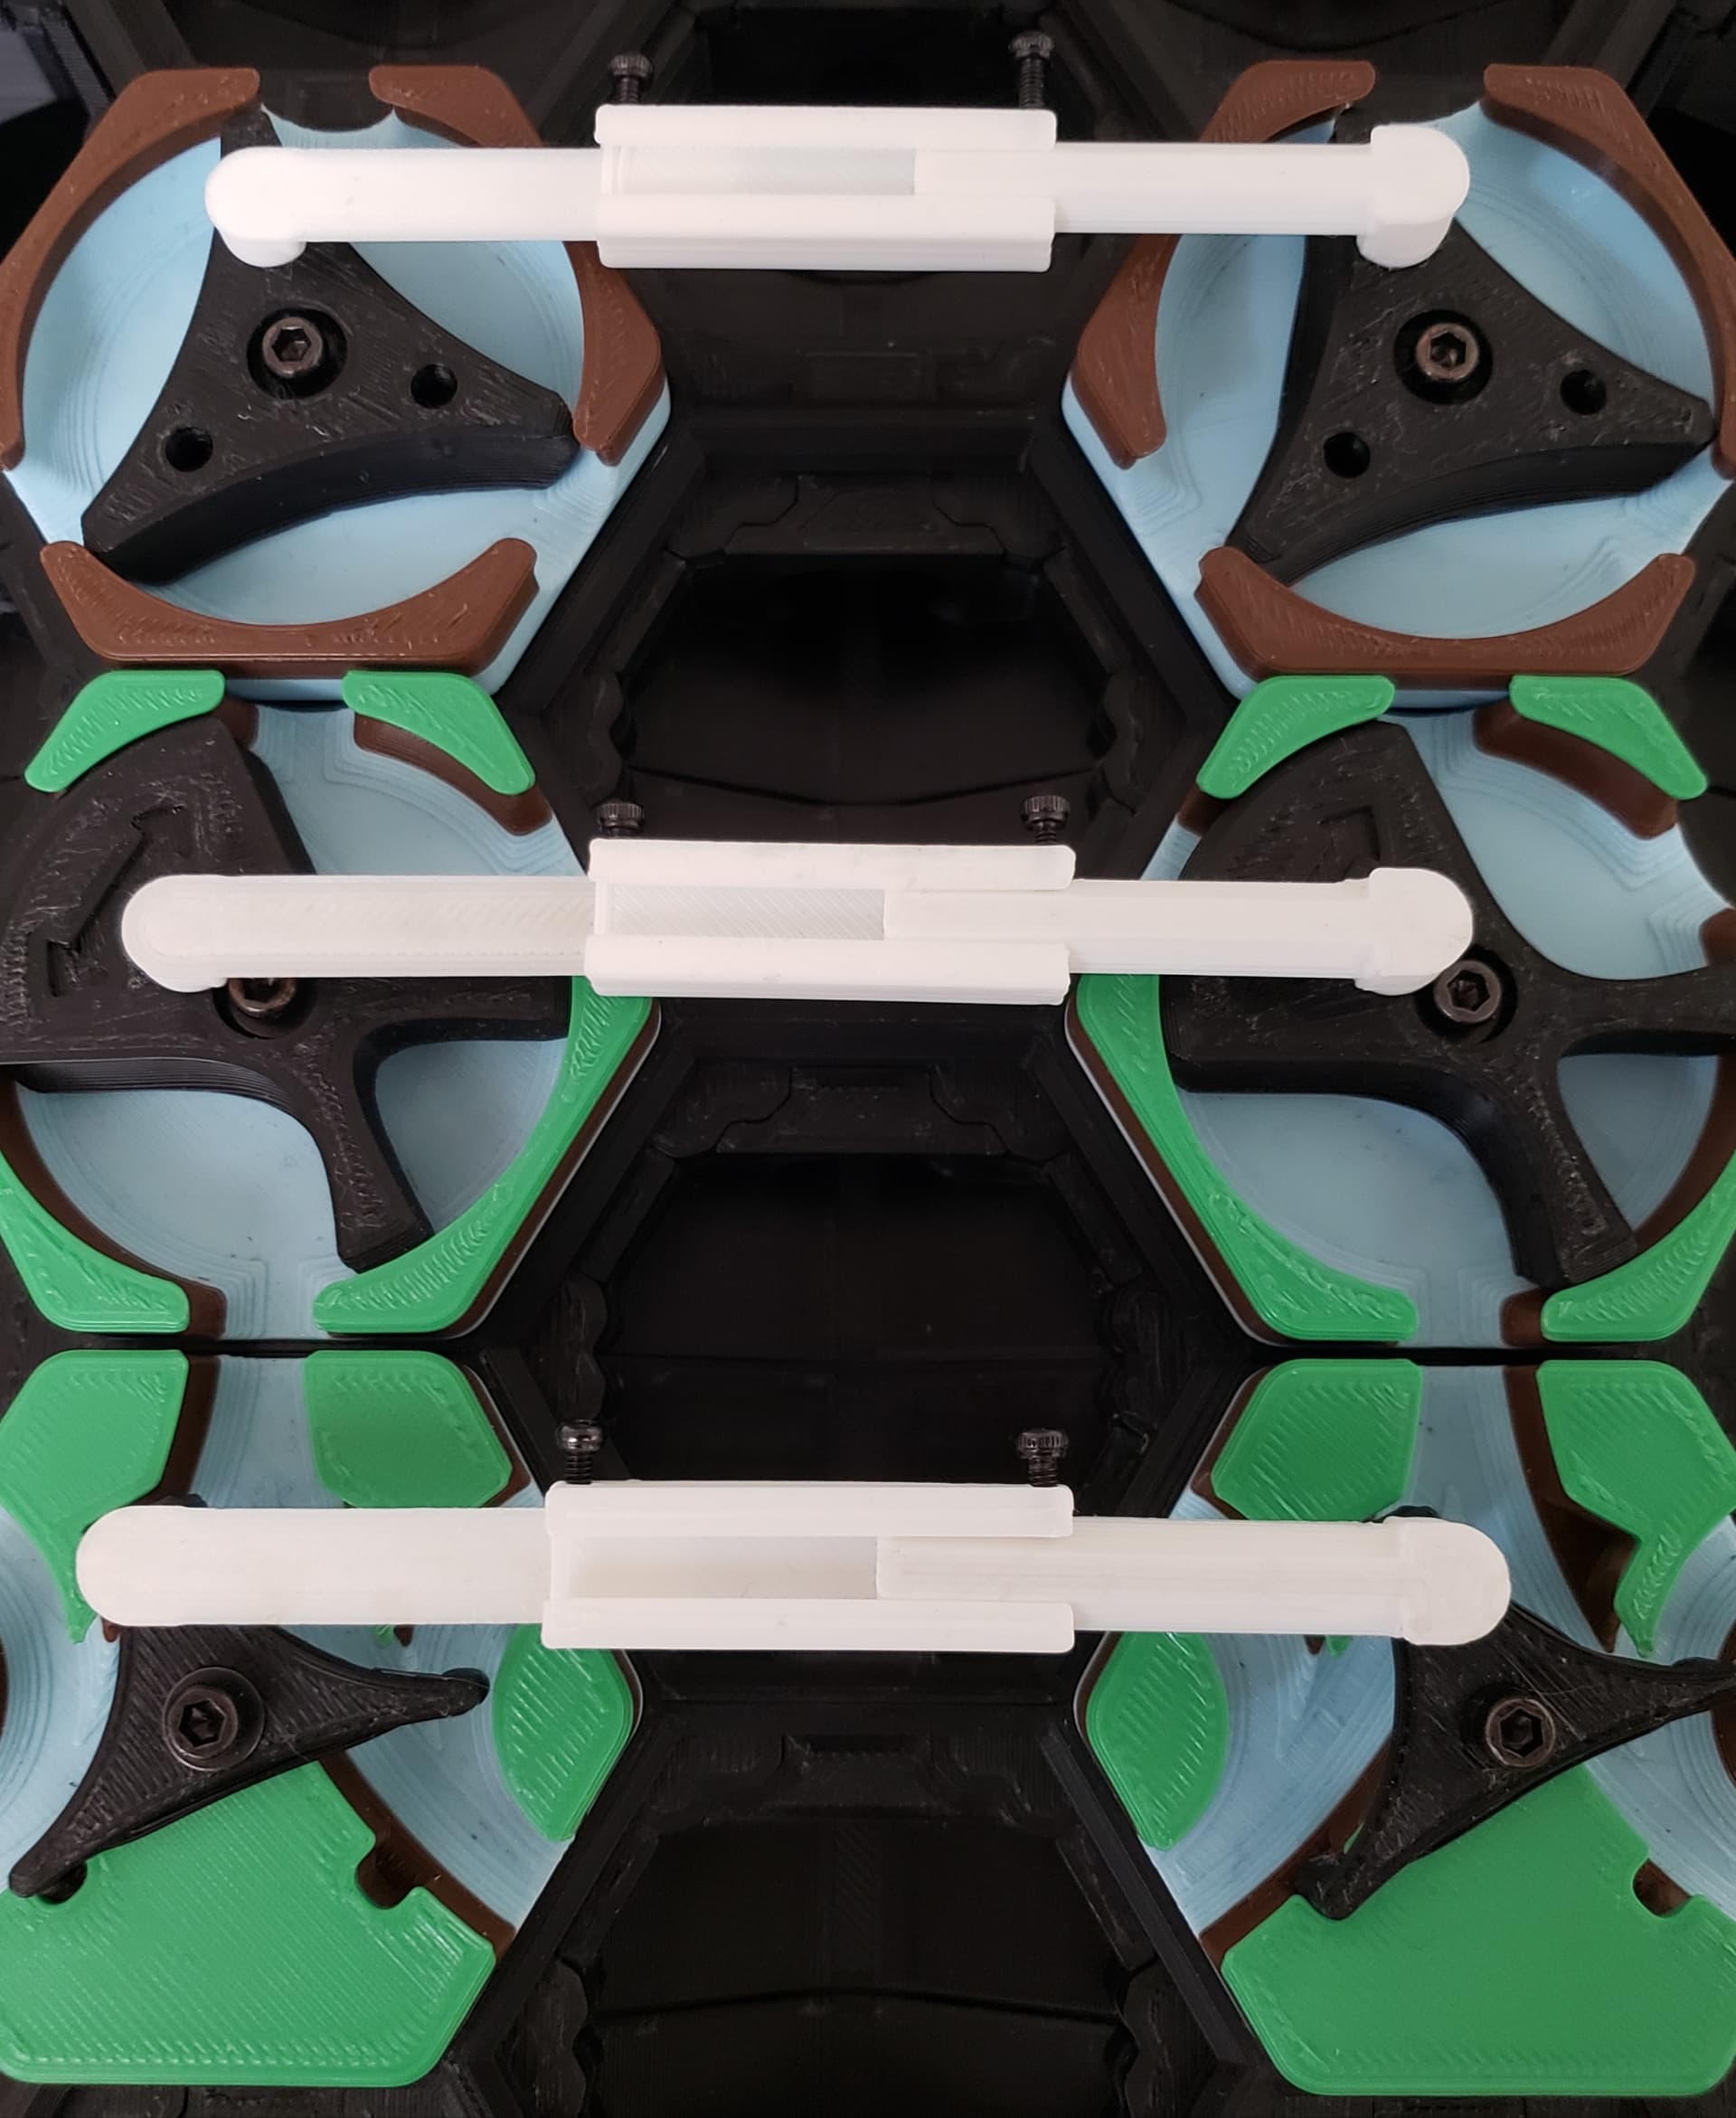
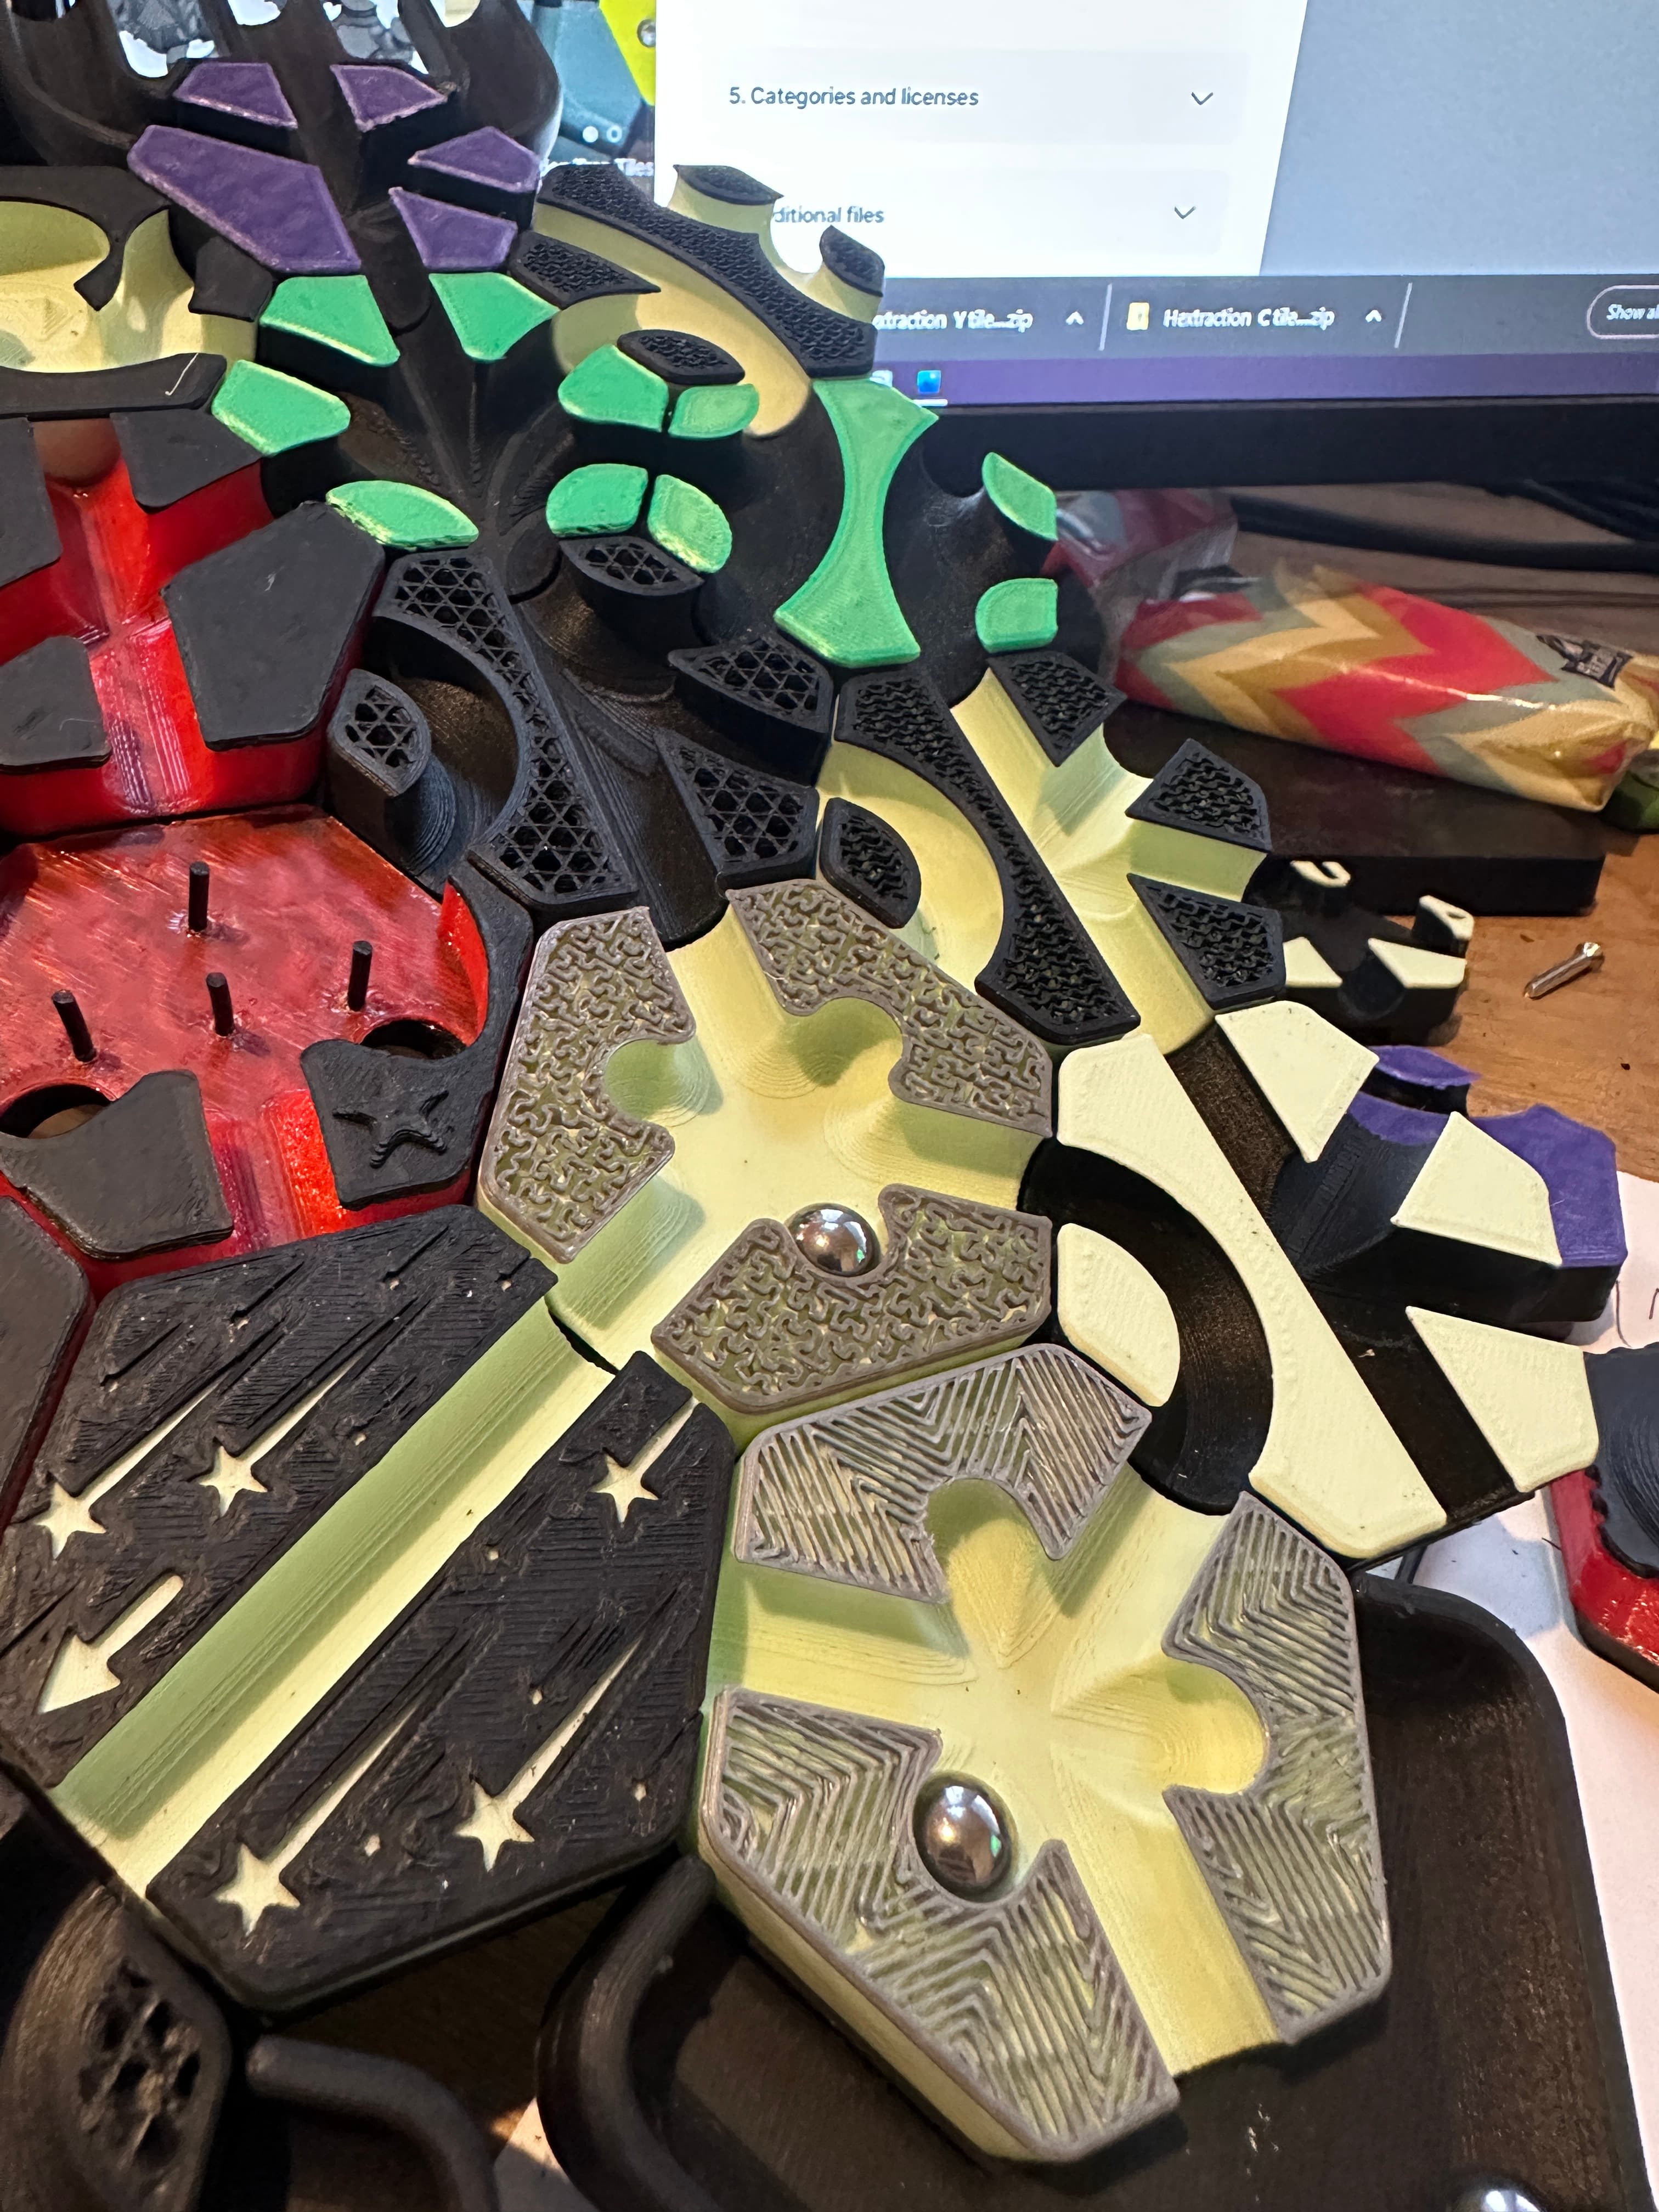
This tile is part of my Connections Pack. Check the others out.
- Double Lane https://than.gs/m/1061128
- Folding Latch https://than.gs/m/1333371
- Gear Train https://than.gs/m/1333372
- Mechanical Link https://than.gs/m/1061125
- Roadblock Wall https://than.gs/m/1093407
- Skyrail https://than.gs/m/1061124
- Snek https://than.gs/m/1349731
- Triple Lane https://than.gs/m/1333373
Hextraction Triple Lane Tile
44 downloads · 1 year ago in and
Hextraction Quintuple Lane Tile

Hextraction Double Lane Tiles

Hextraction World Serpent Tile

Hextraction Skyrail Tile

Hextraction Folding Latch Tile
Hextraction Mechanical Link Tile

Hextraction Gear Train Tile

Hextraction Roadblock Wall Tile

Hextraction Snek
Hextraction tile dispenser Triple Tube

Hextraction Triple Jump Tile
Hextraction Trap Tiles - Double and Triple Trap
Hextraction Trap Tiles - Double and Triple Trap FIXED

Hextraction Trap Tiles - Double and Triple Trap Tabless FIXED

OLD Hextraction - Bishop Tile Chess Tiles

Hextraction - King tile Chess Tiles

OLD Hextraction - Rook tile Chess Tiles
Hextraction Trap Tiles Tabless- Double and Triple Trap
OLD Hextraction - Knight Tile Chess Tiles