
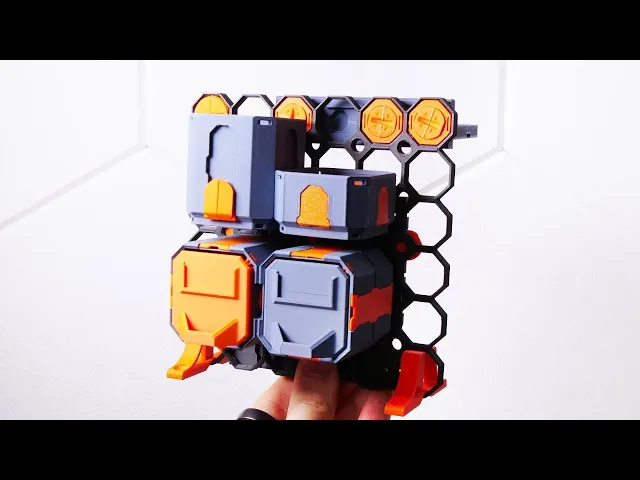

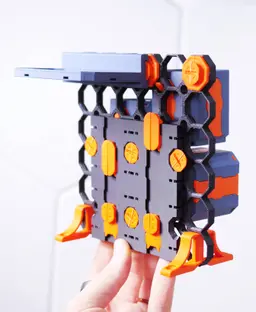

Multipoint Learning Pack
6K downloads · 2 years ago · **Note: “Multipoints” have been renamed to Fix-Points. “Multipoint Rails” are just Rails. All the pa
Note: “Multipoints” have been renamed to Fix-Points. “Multipoint Rails” are just Rails. All the parts will still be available within the Multiboard and Multibin subsystems.
Learn the basics and get a taste of Multipoint. This video tutorial shows you how to assemble everything: https://youtu.be/6-Snwj2g73o
Printing Guidelines: The printing orientation is as provided in the file. The print has been designed to be “3 wall perimeters” in wall thickness. Printed at a layout height of 0.2 mm. It doesn't need printing supports. Use the default 15% infill. This part has been designed with a tolerance of 0.25 mm. Your printer will need to be able to bridge gaps of up to 30 mm for some designs.
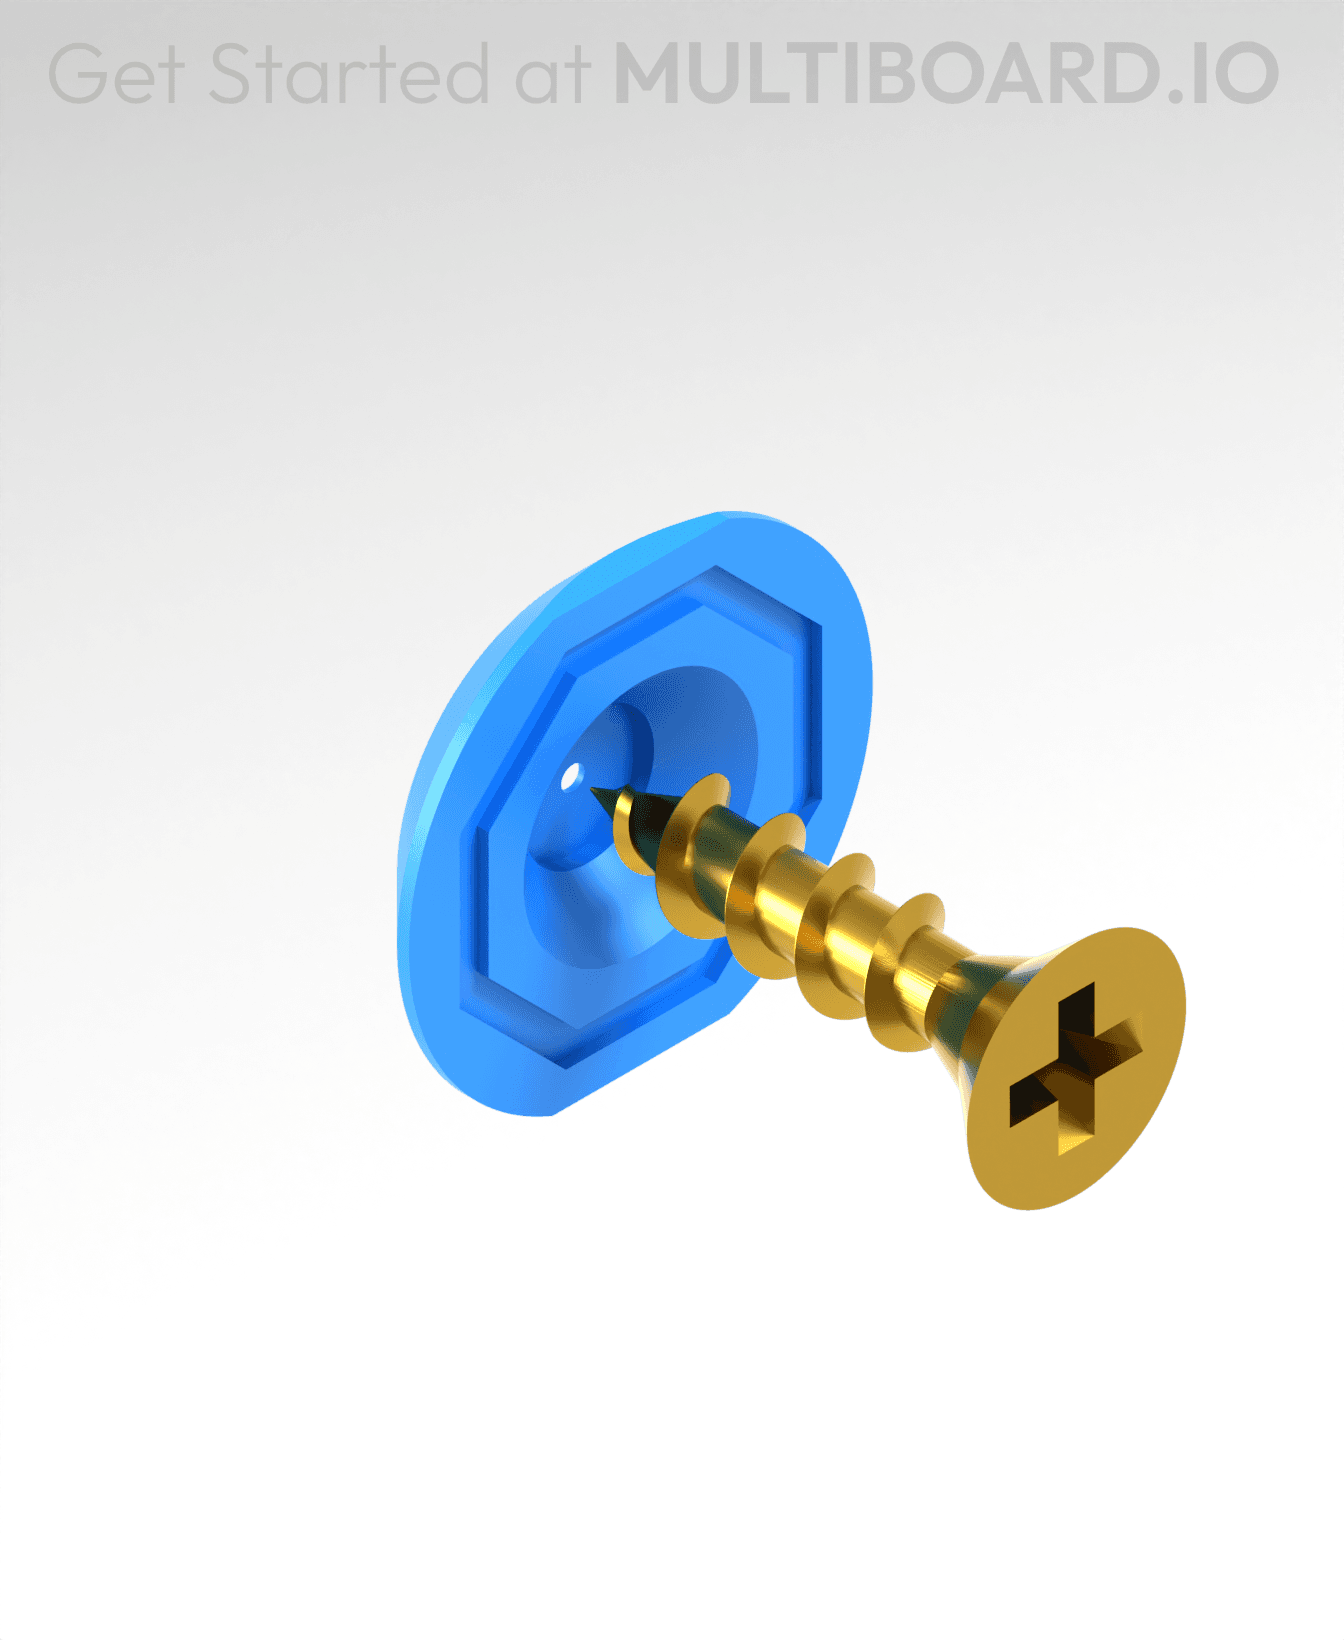
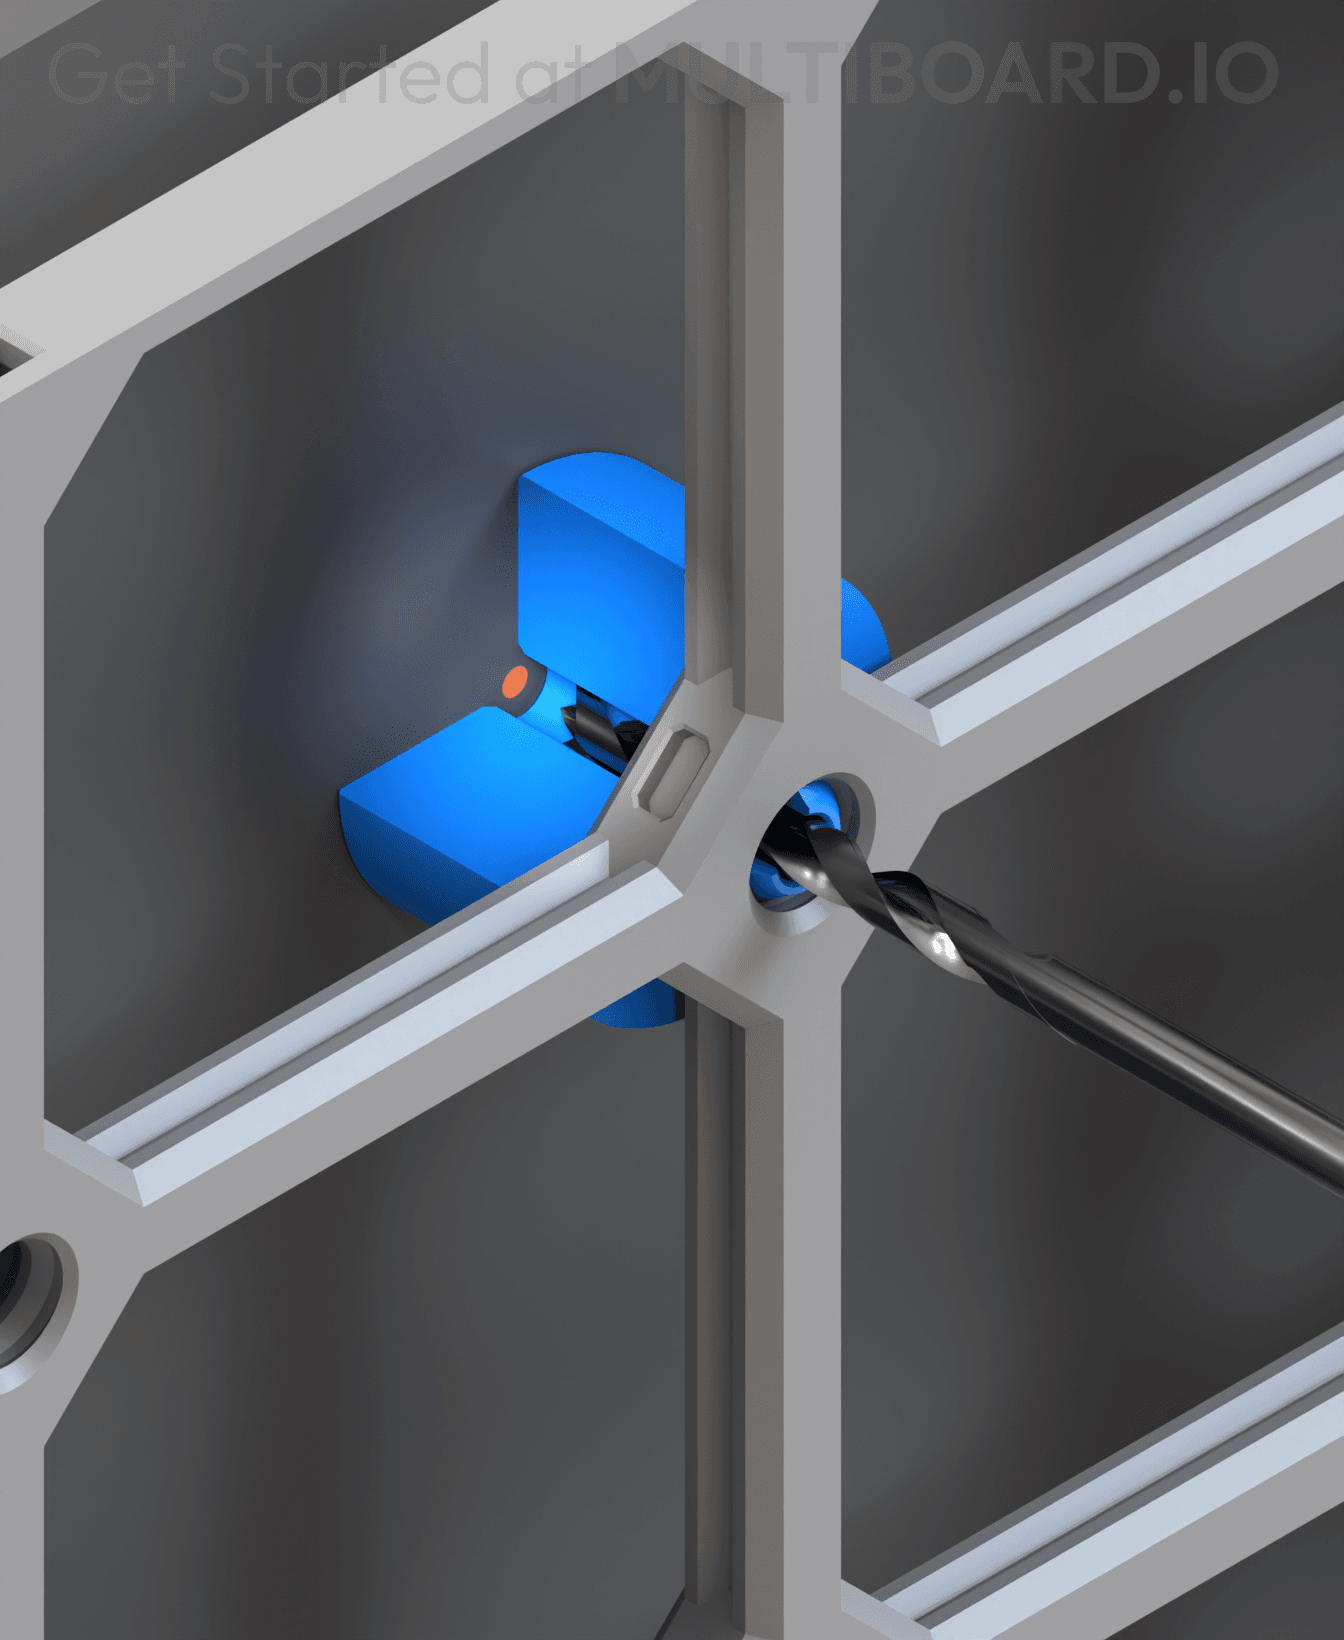
Fix Point to Countersink Adapter

Flush - Small Hole Center Marking Tool
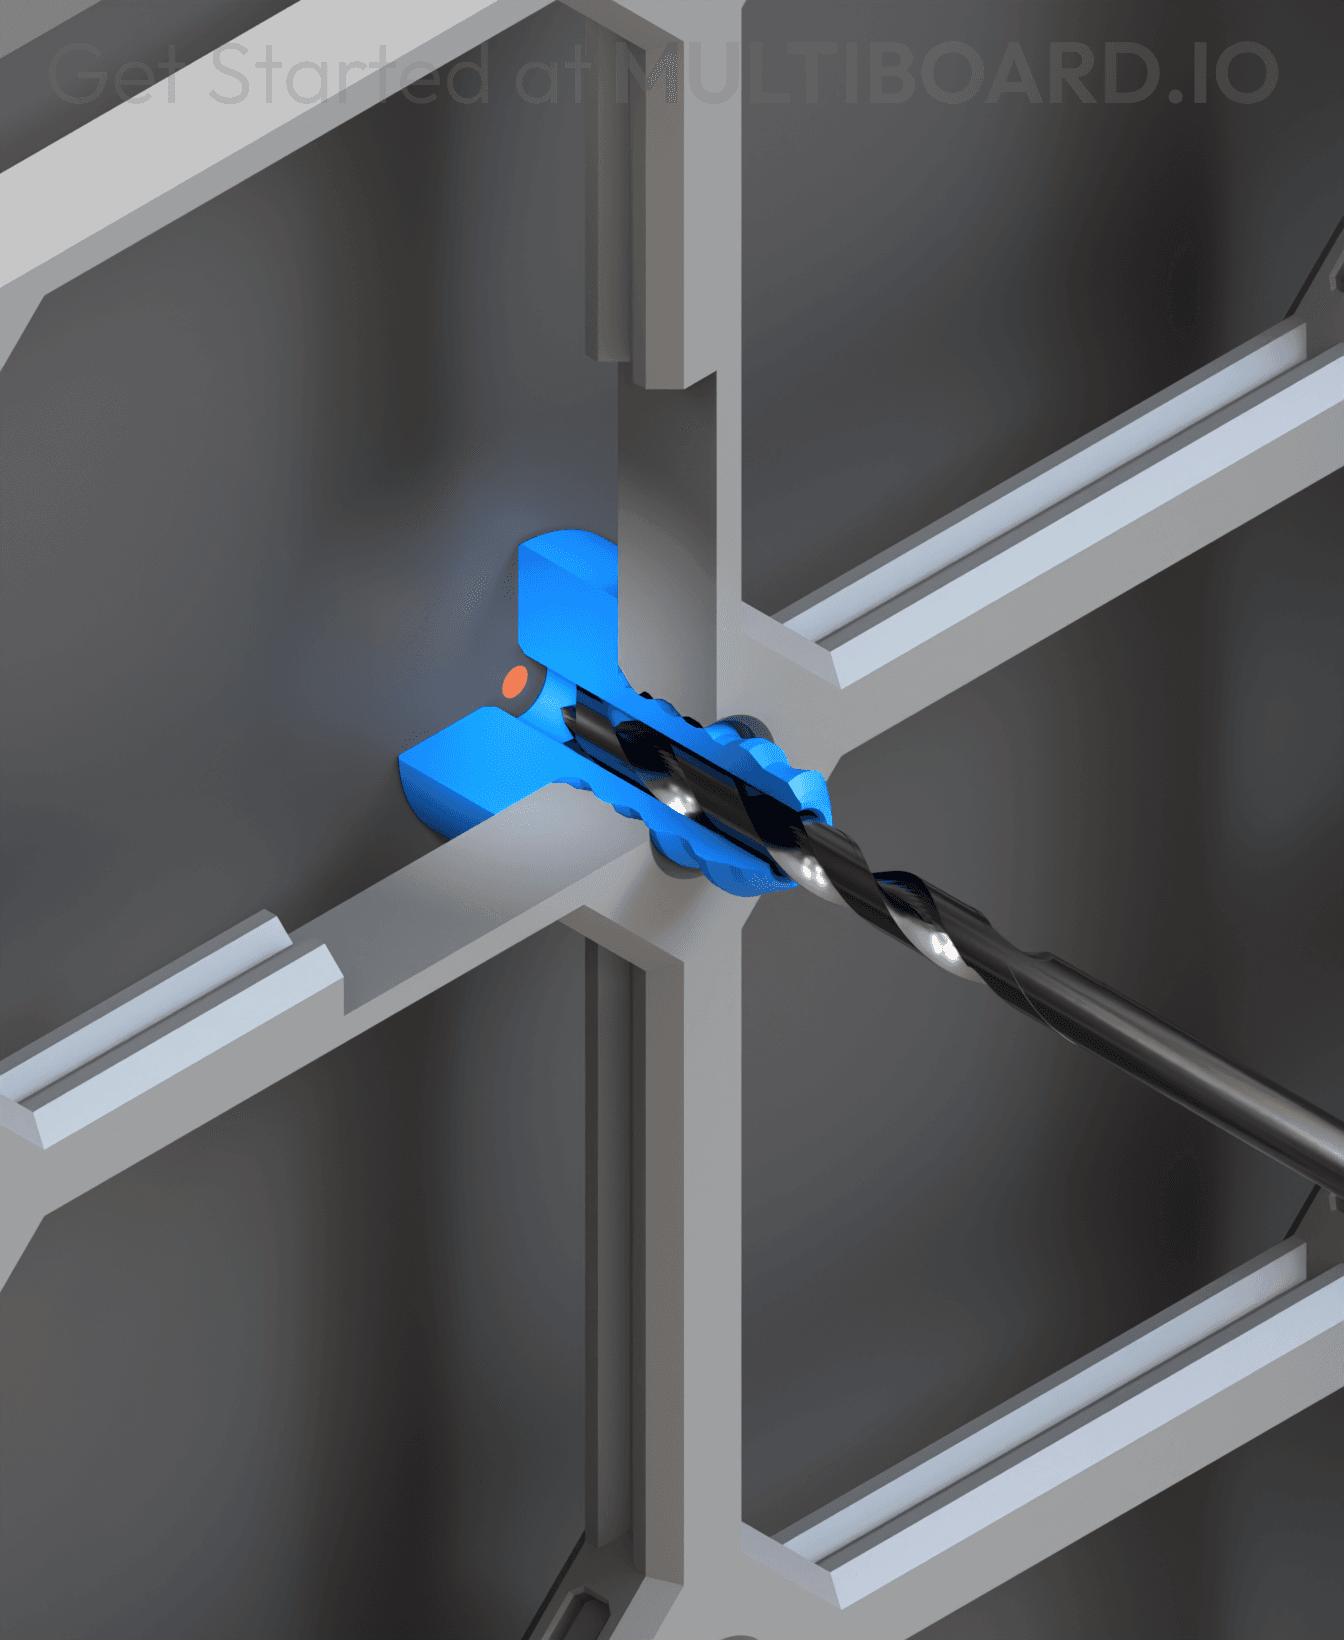
6.25 Offset - Small Hole Center Marking Tool
12.5 Offset - Small Hole Center Marking Tool
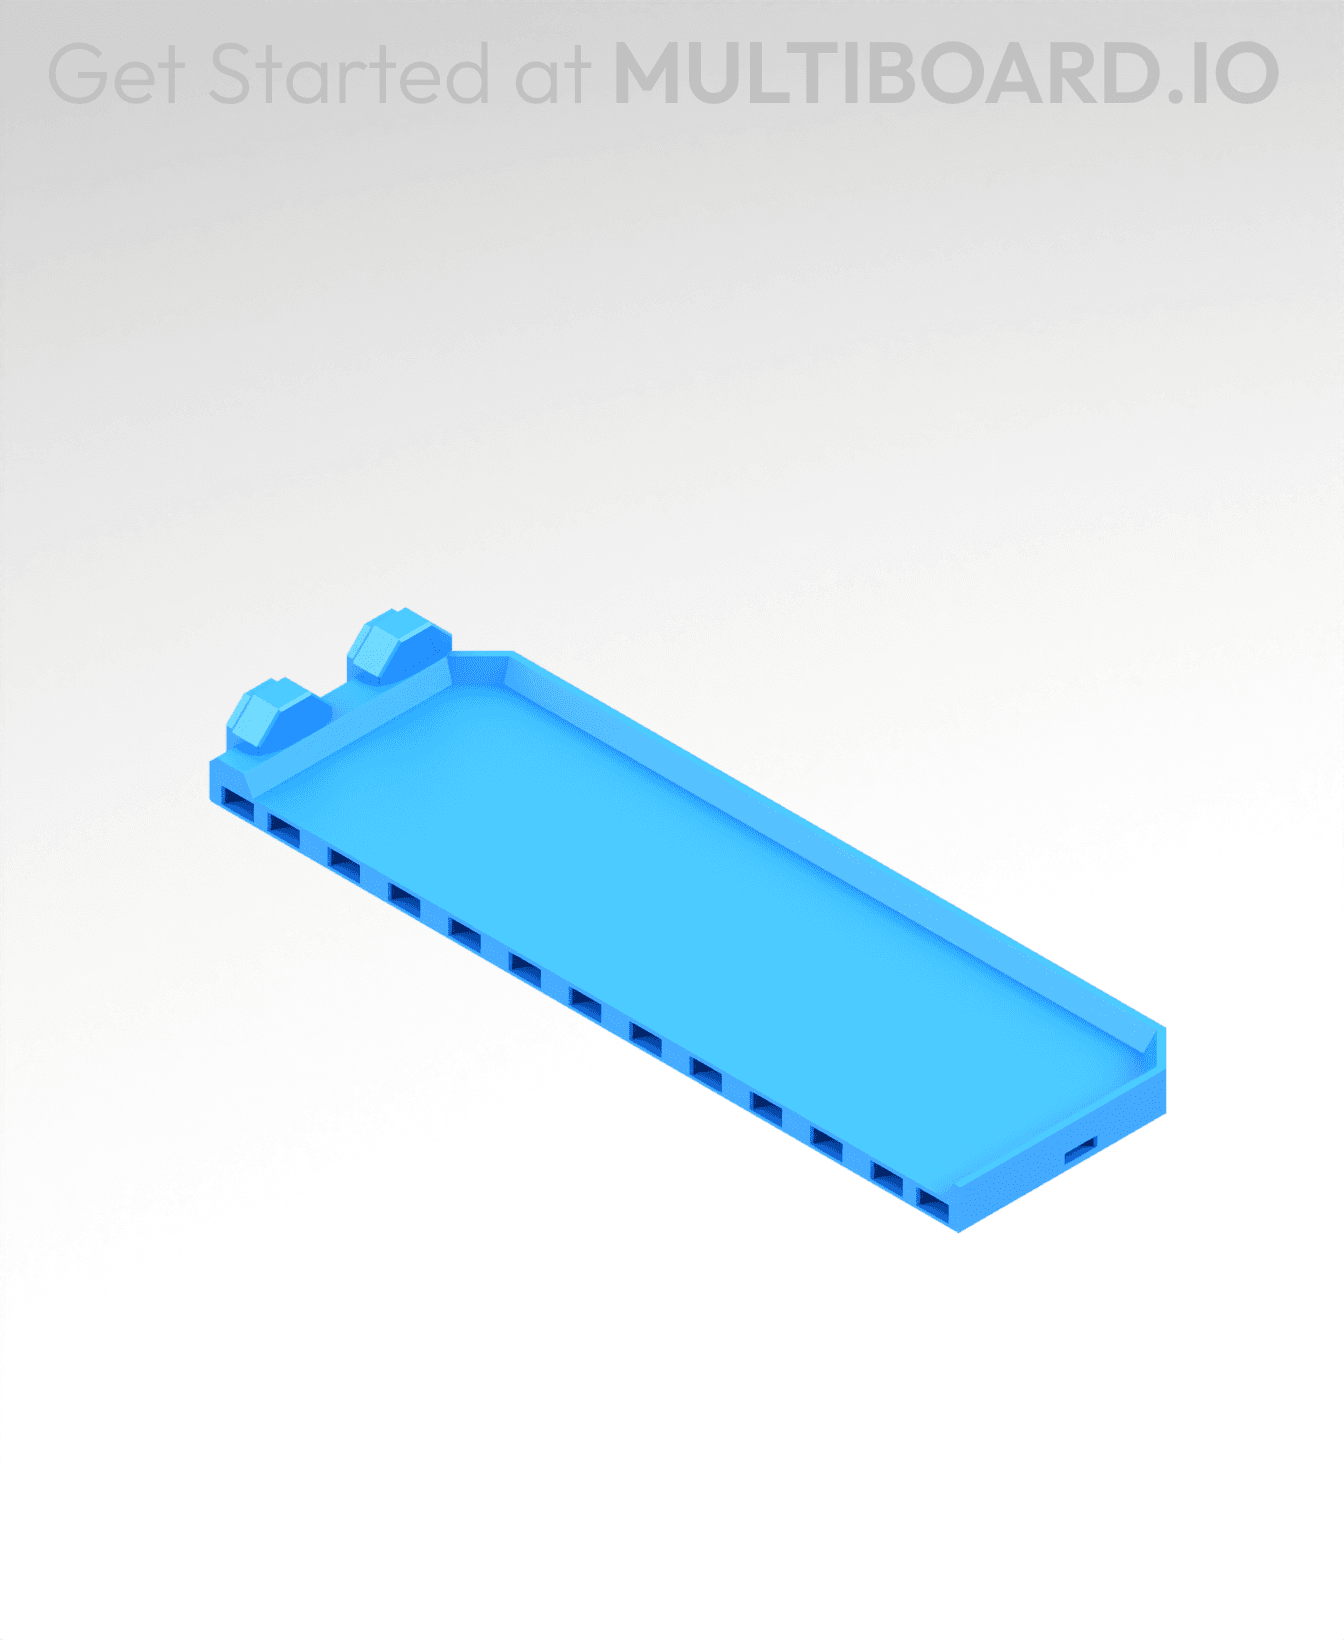
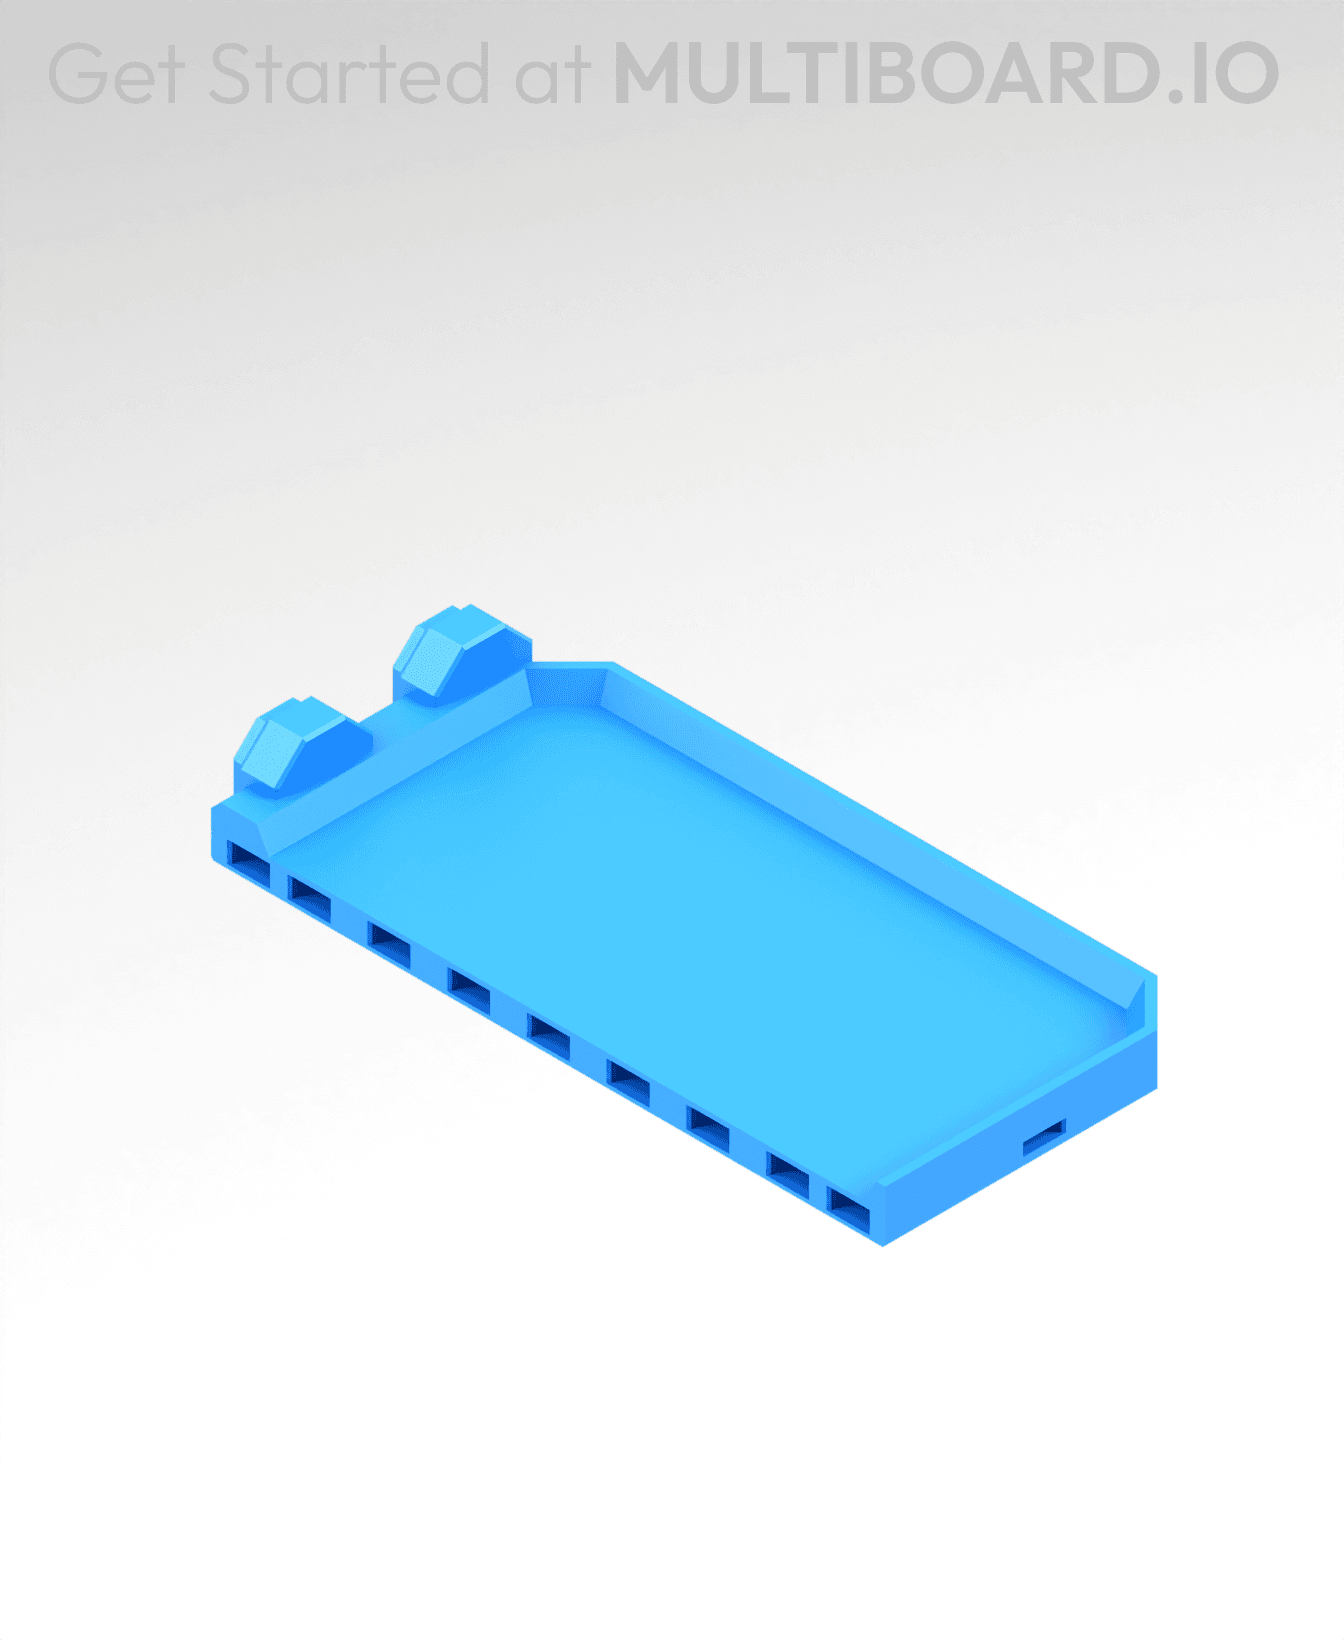
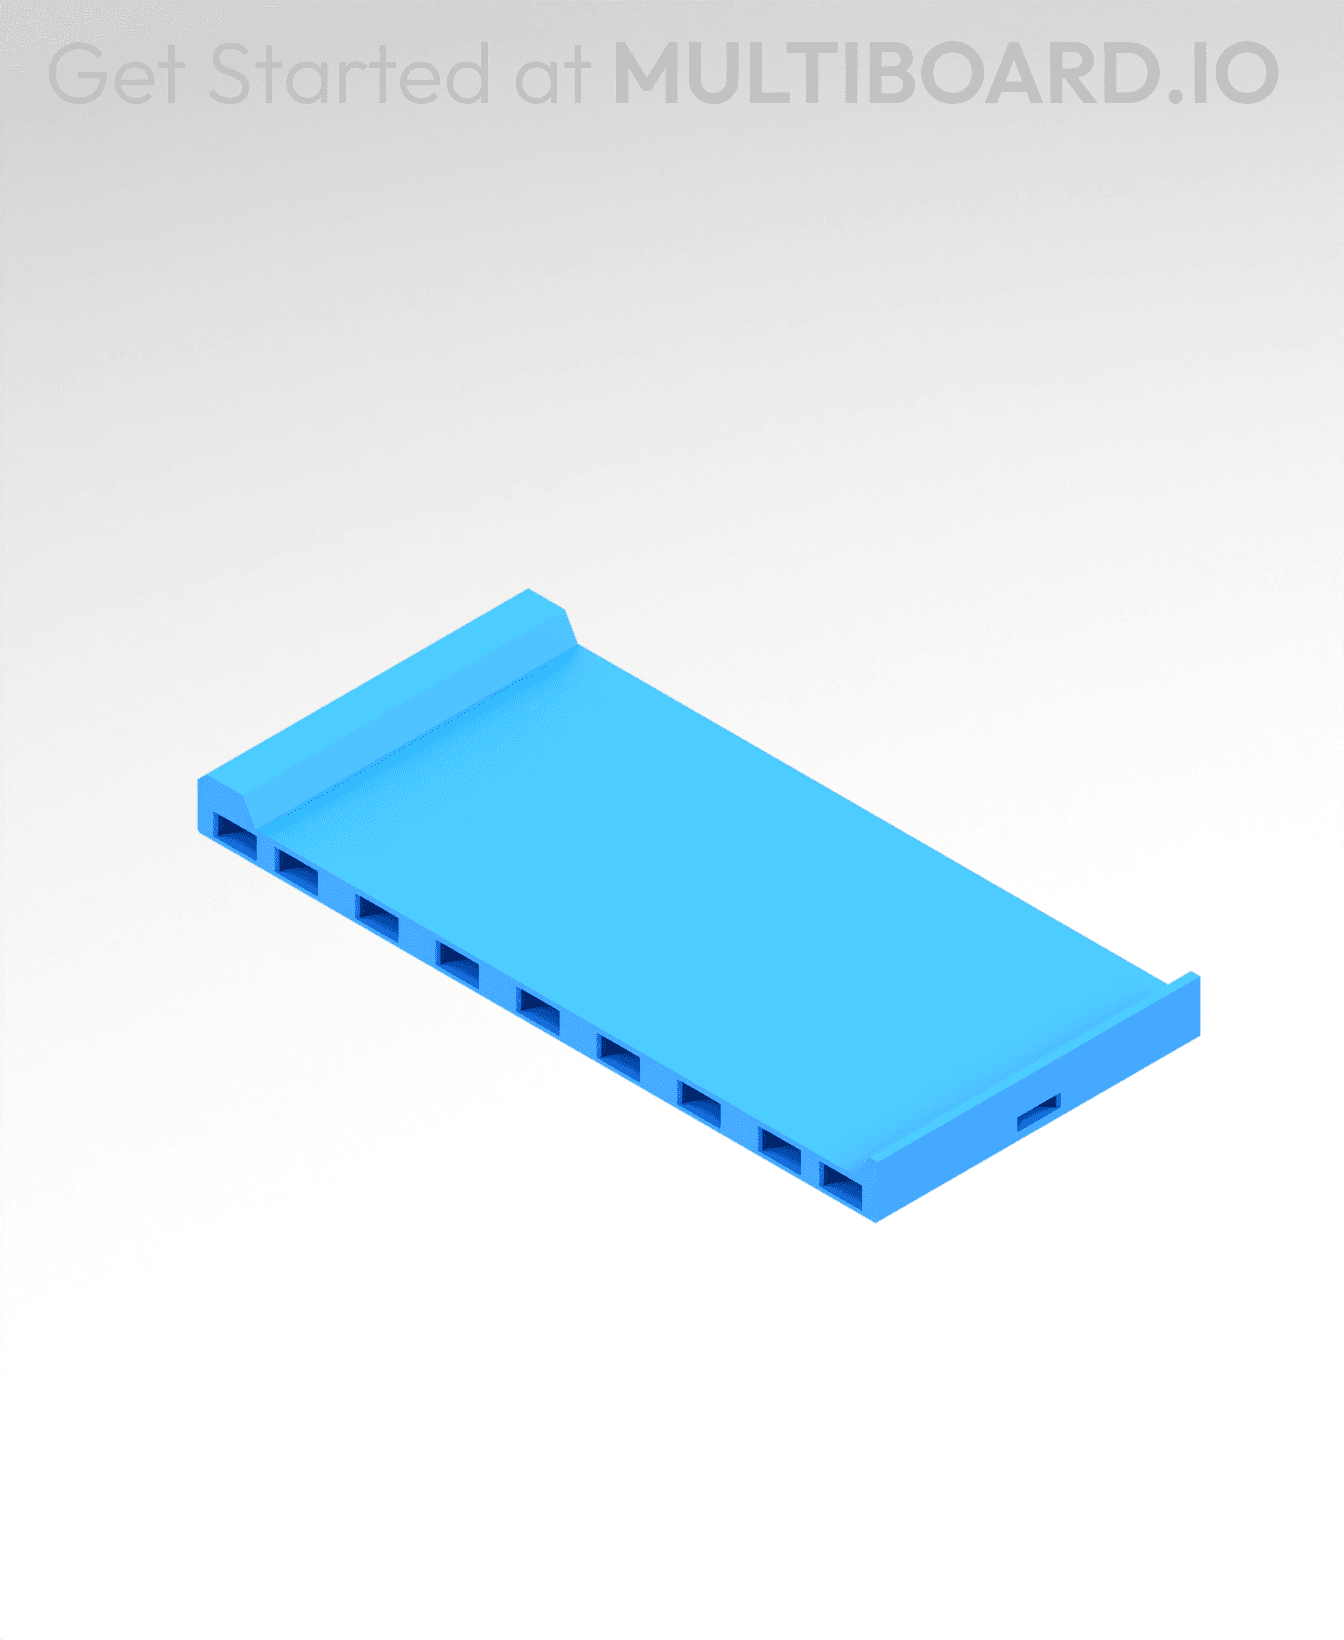
2x6 MU - Right Support End - Modular Bolt-Locked Shelf
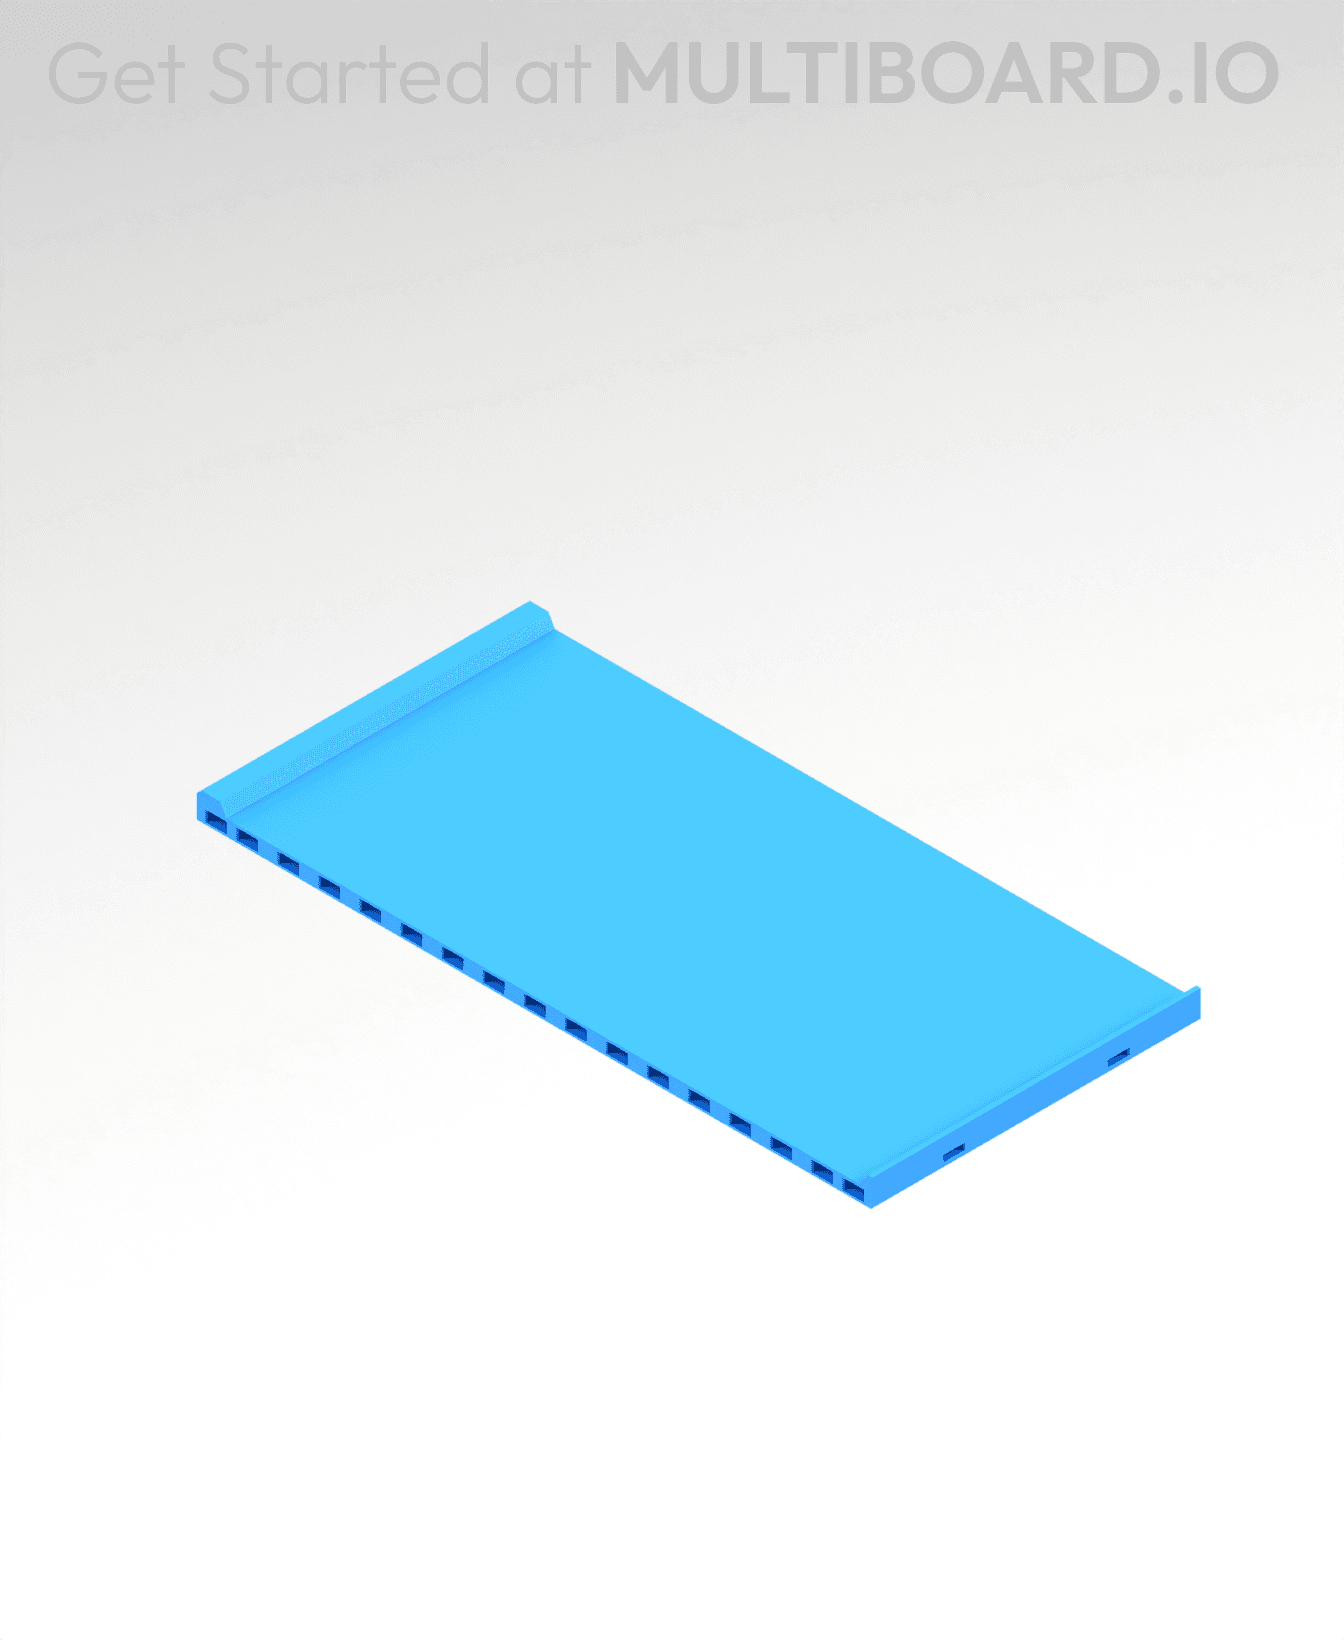
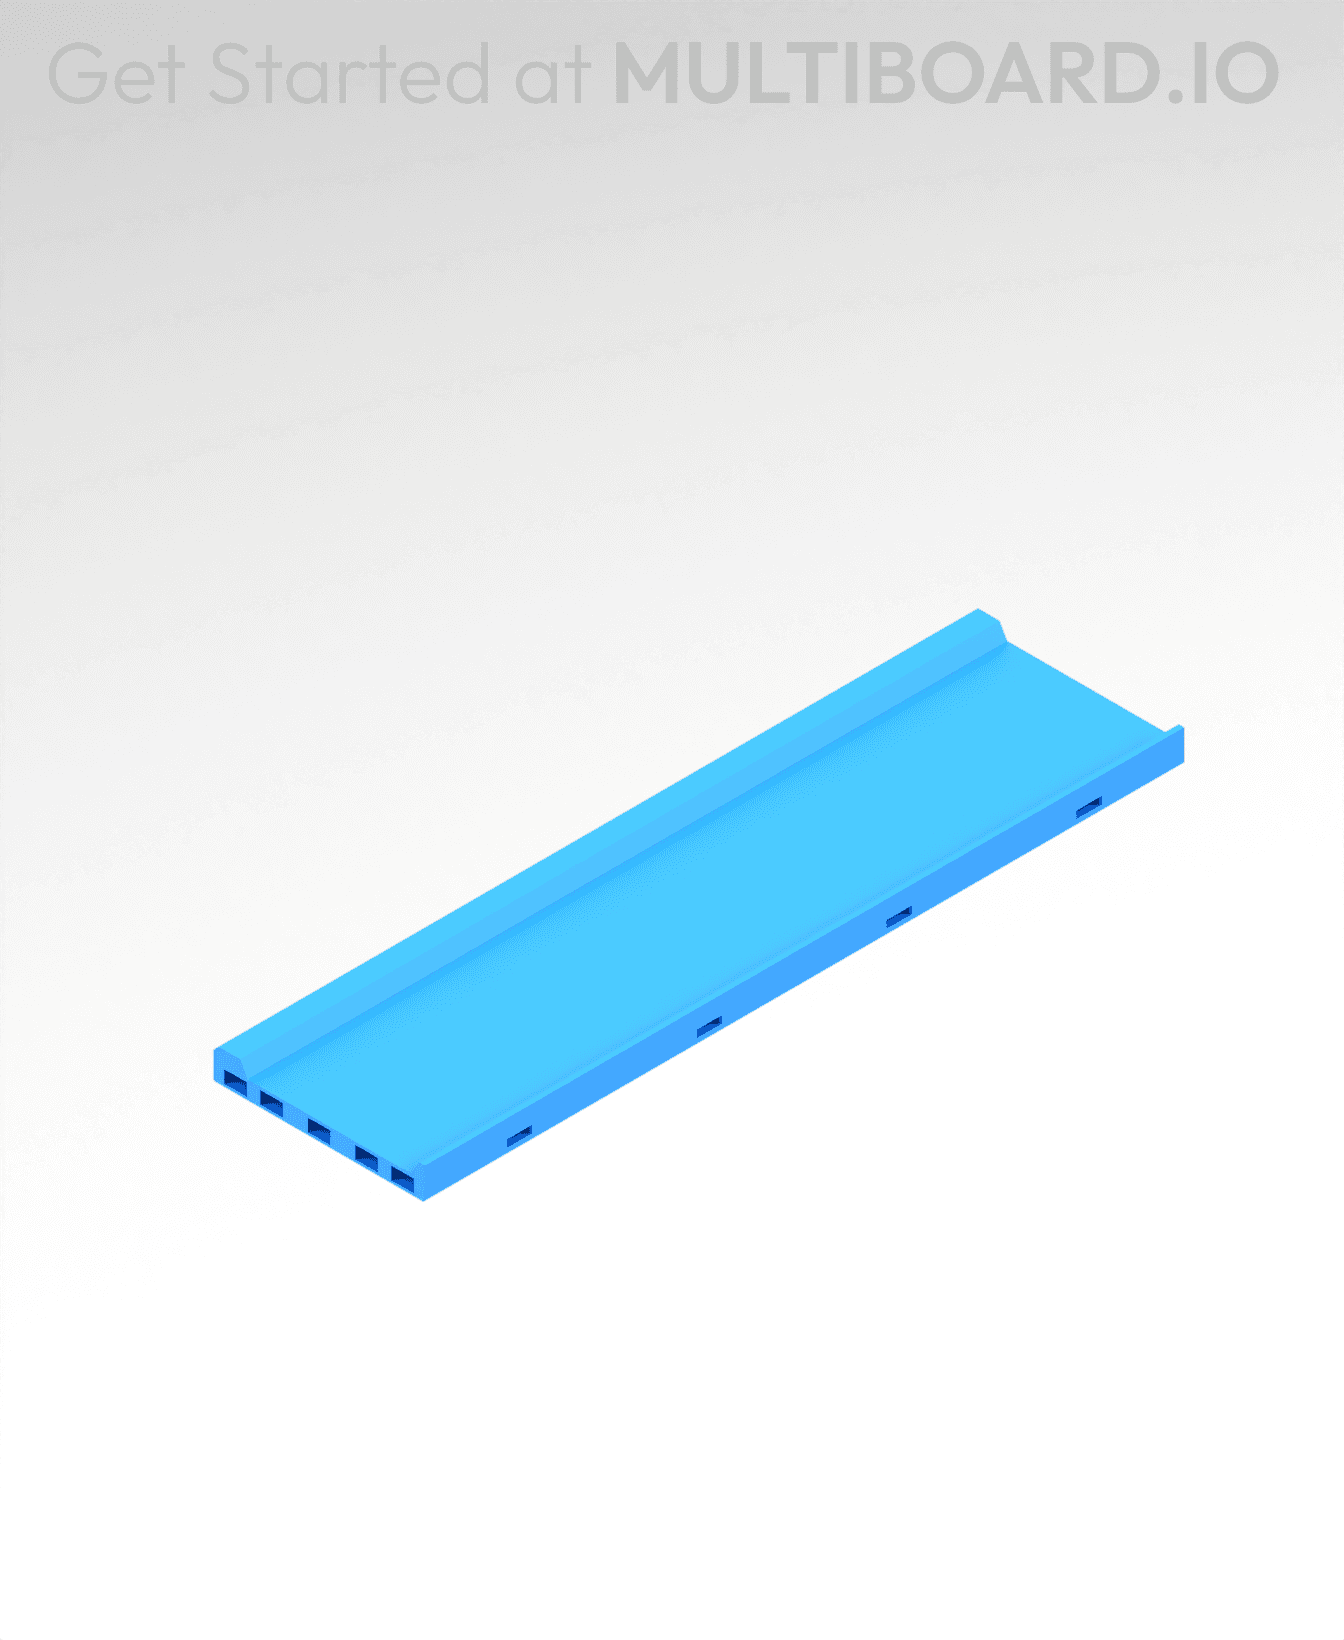
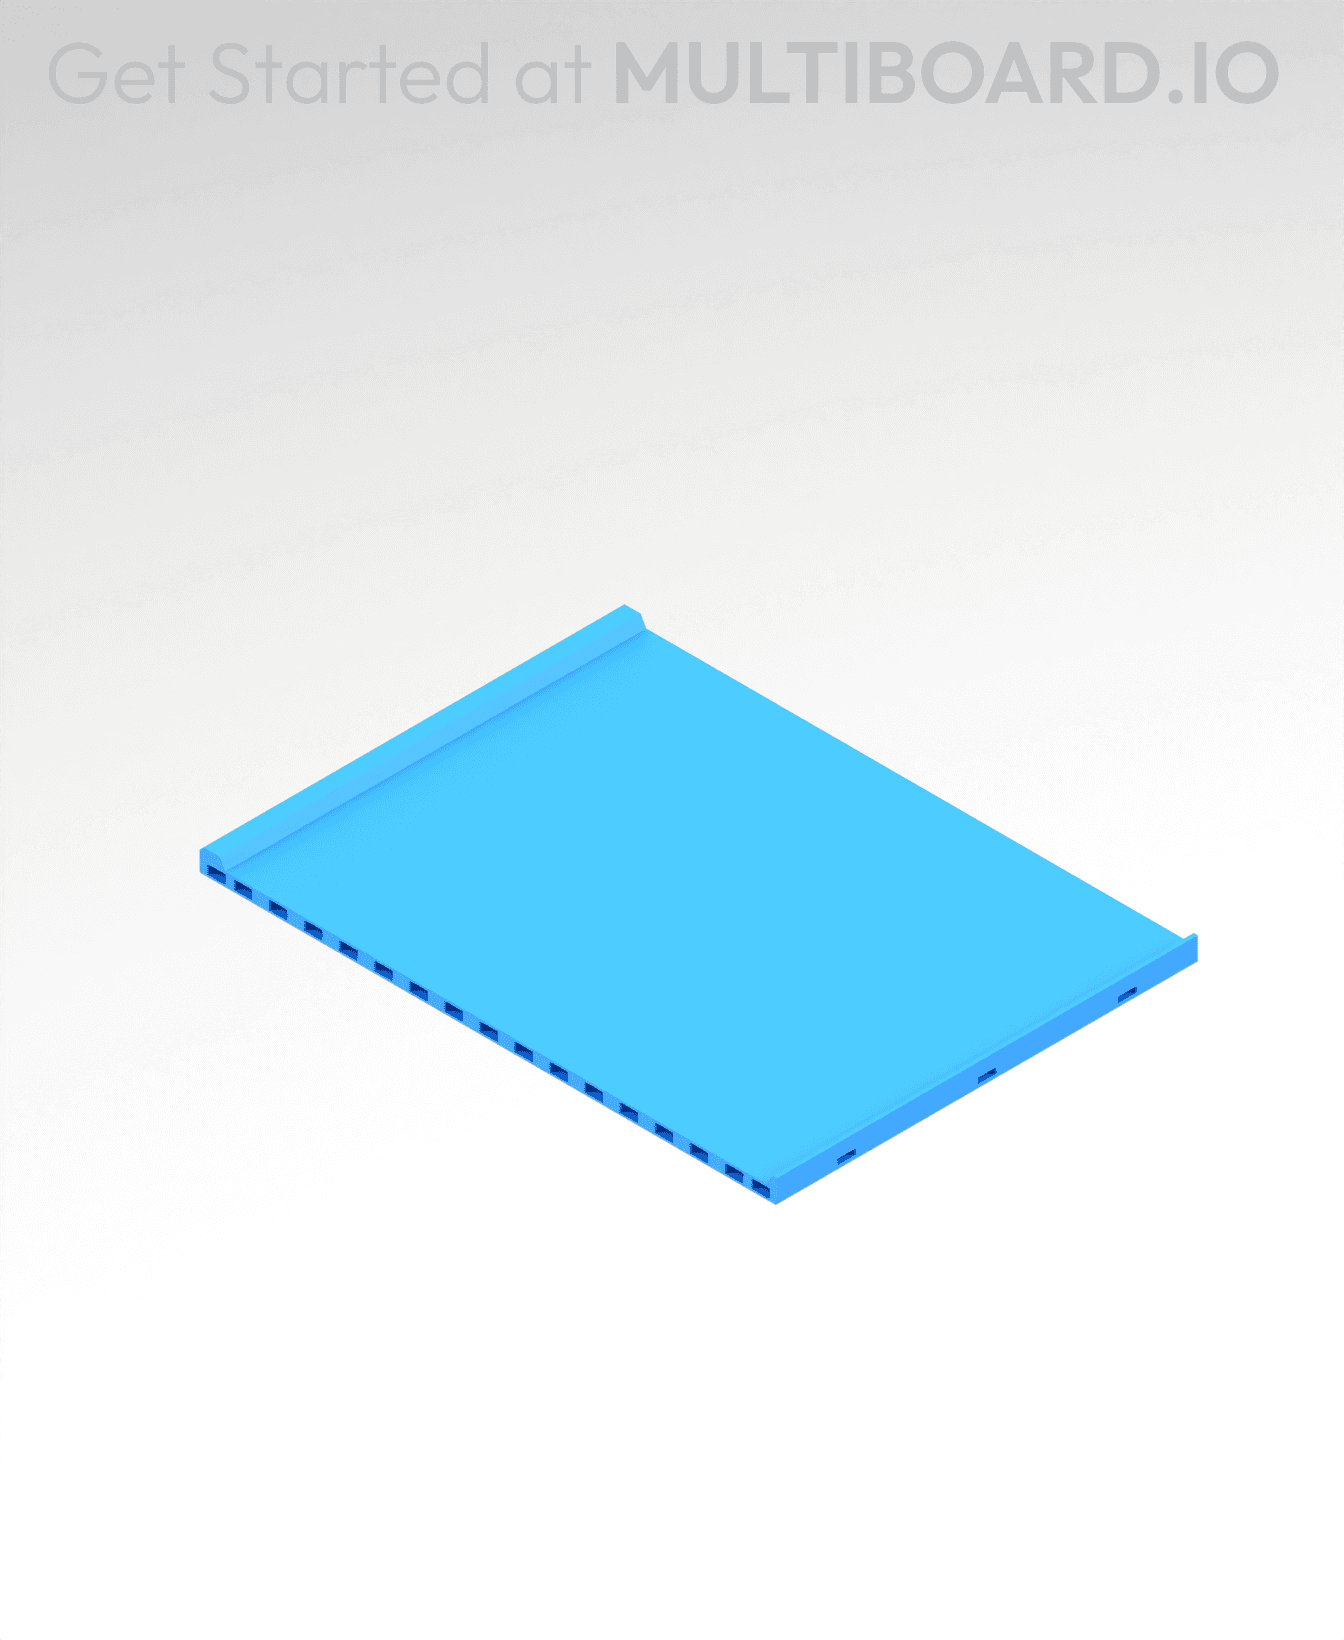
4x8 MU - Center - Modular Bolt-Locked Shelf
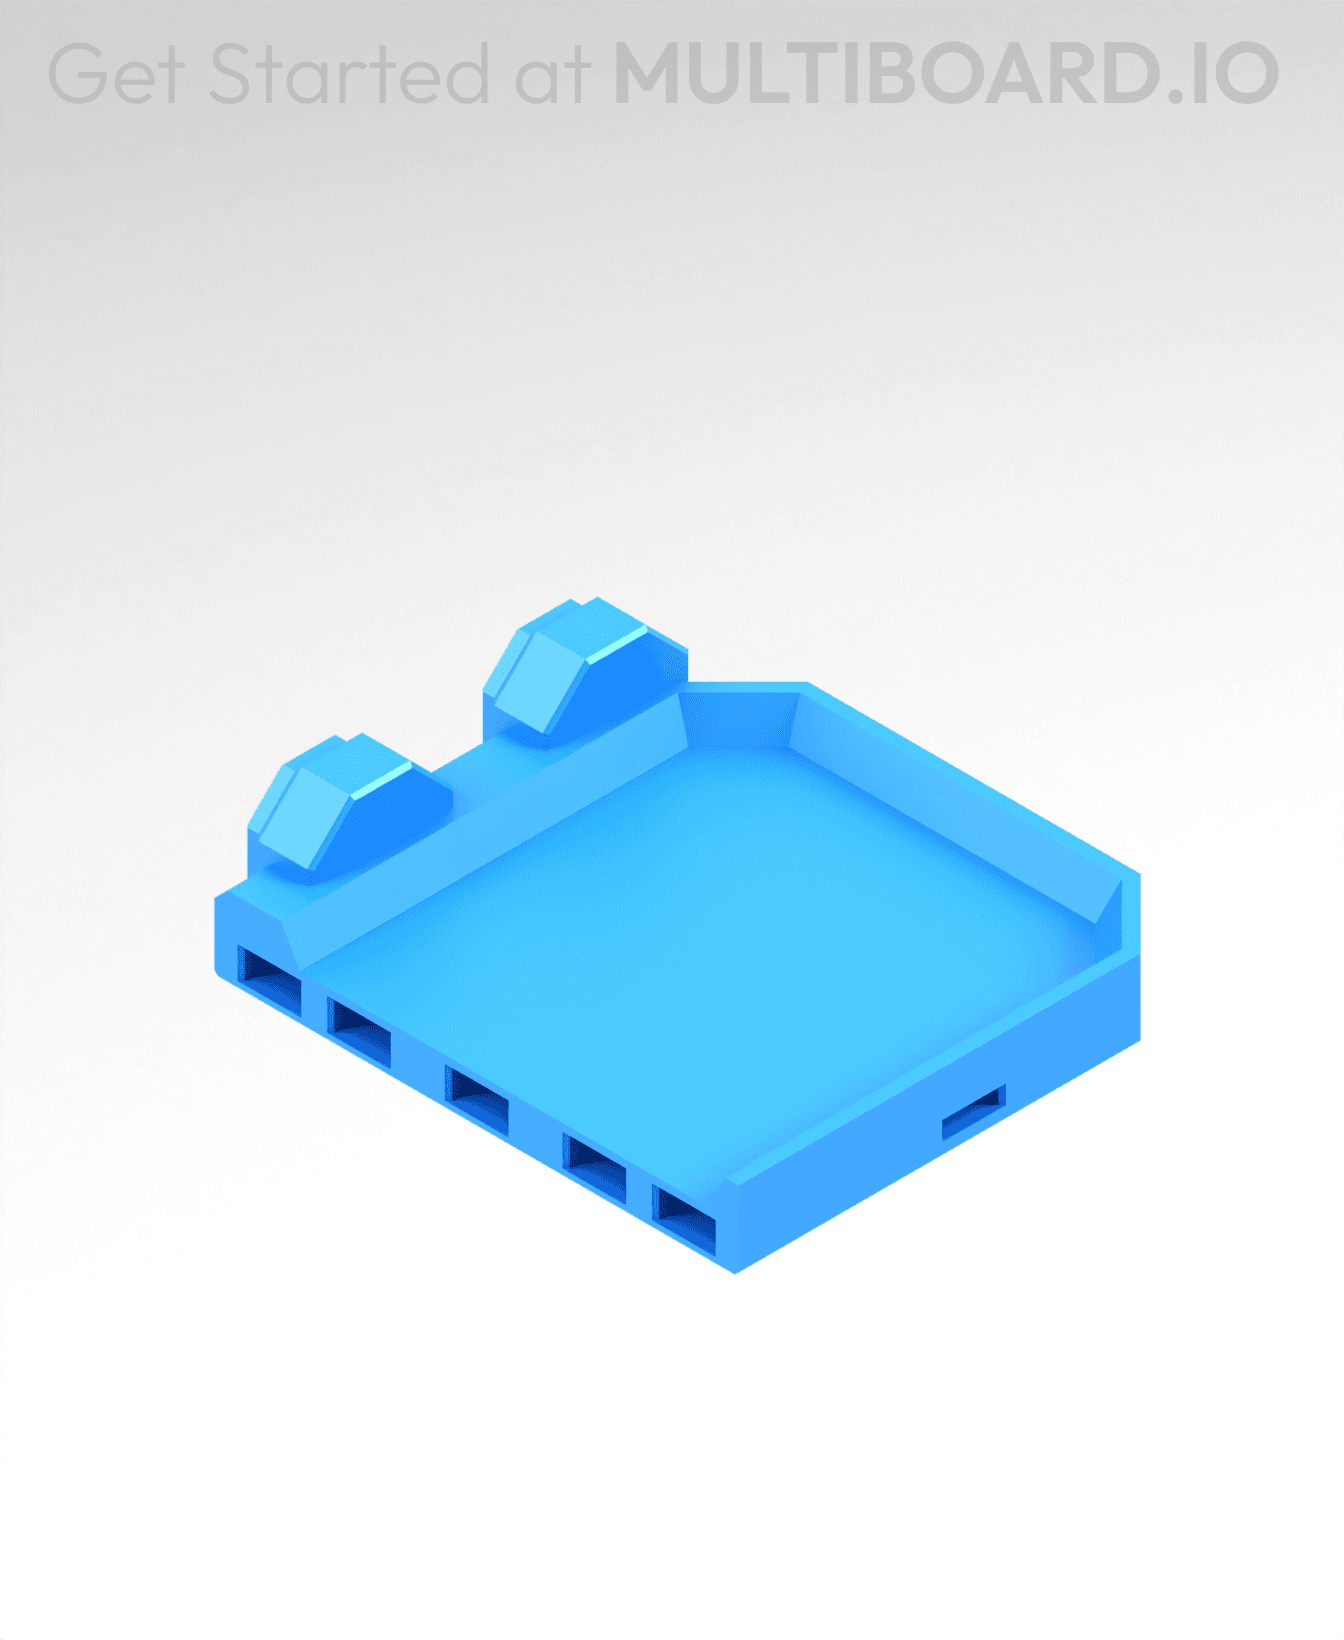
2x2 MU - Right Support End - Modular Bolt-Locked Shelf
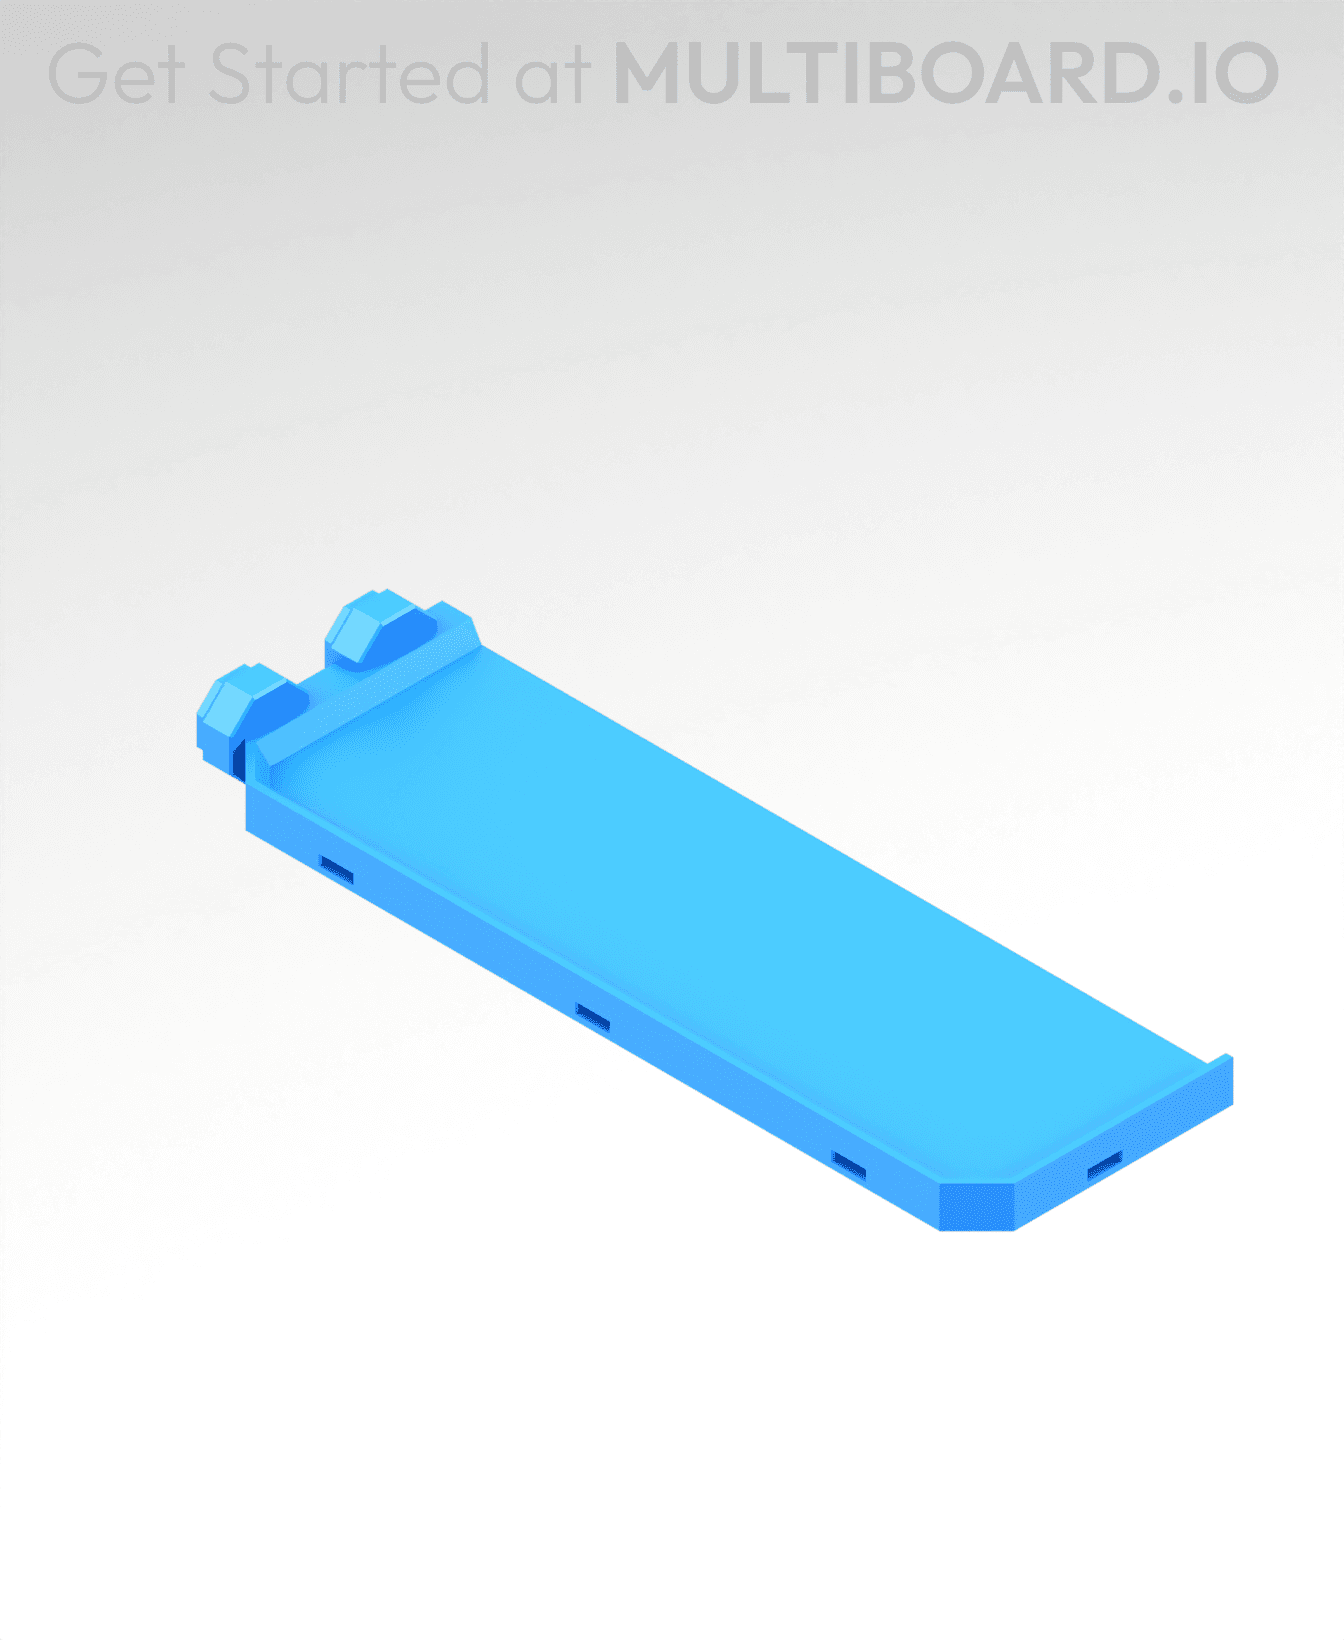
2x6 MU - Left Support End - Modular Bolt-Locked Shelf
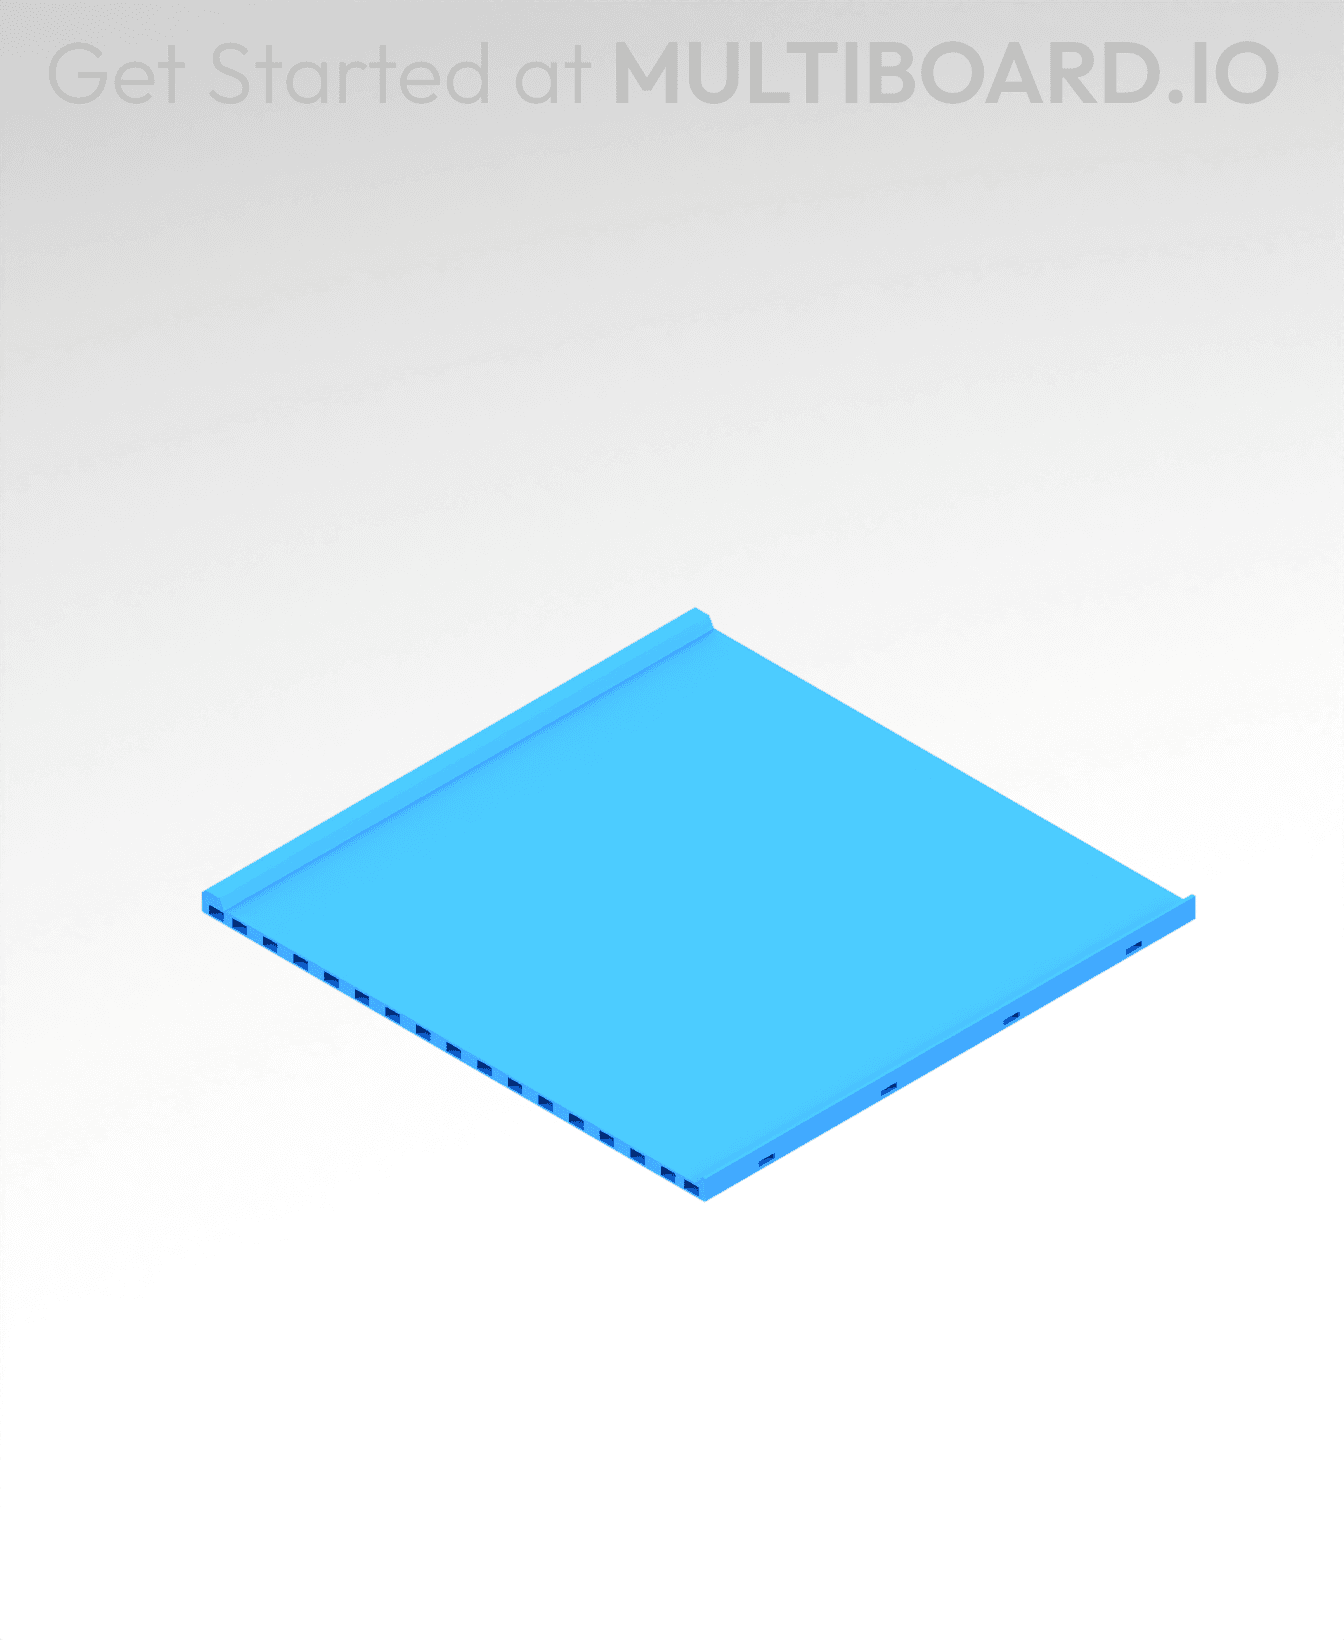
8x8 MU - Center - Modular Bolt-Locked Shelf
2x4 MU - Right Support End - Modular Bolt-Locked Shelf
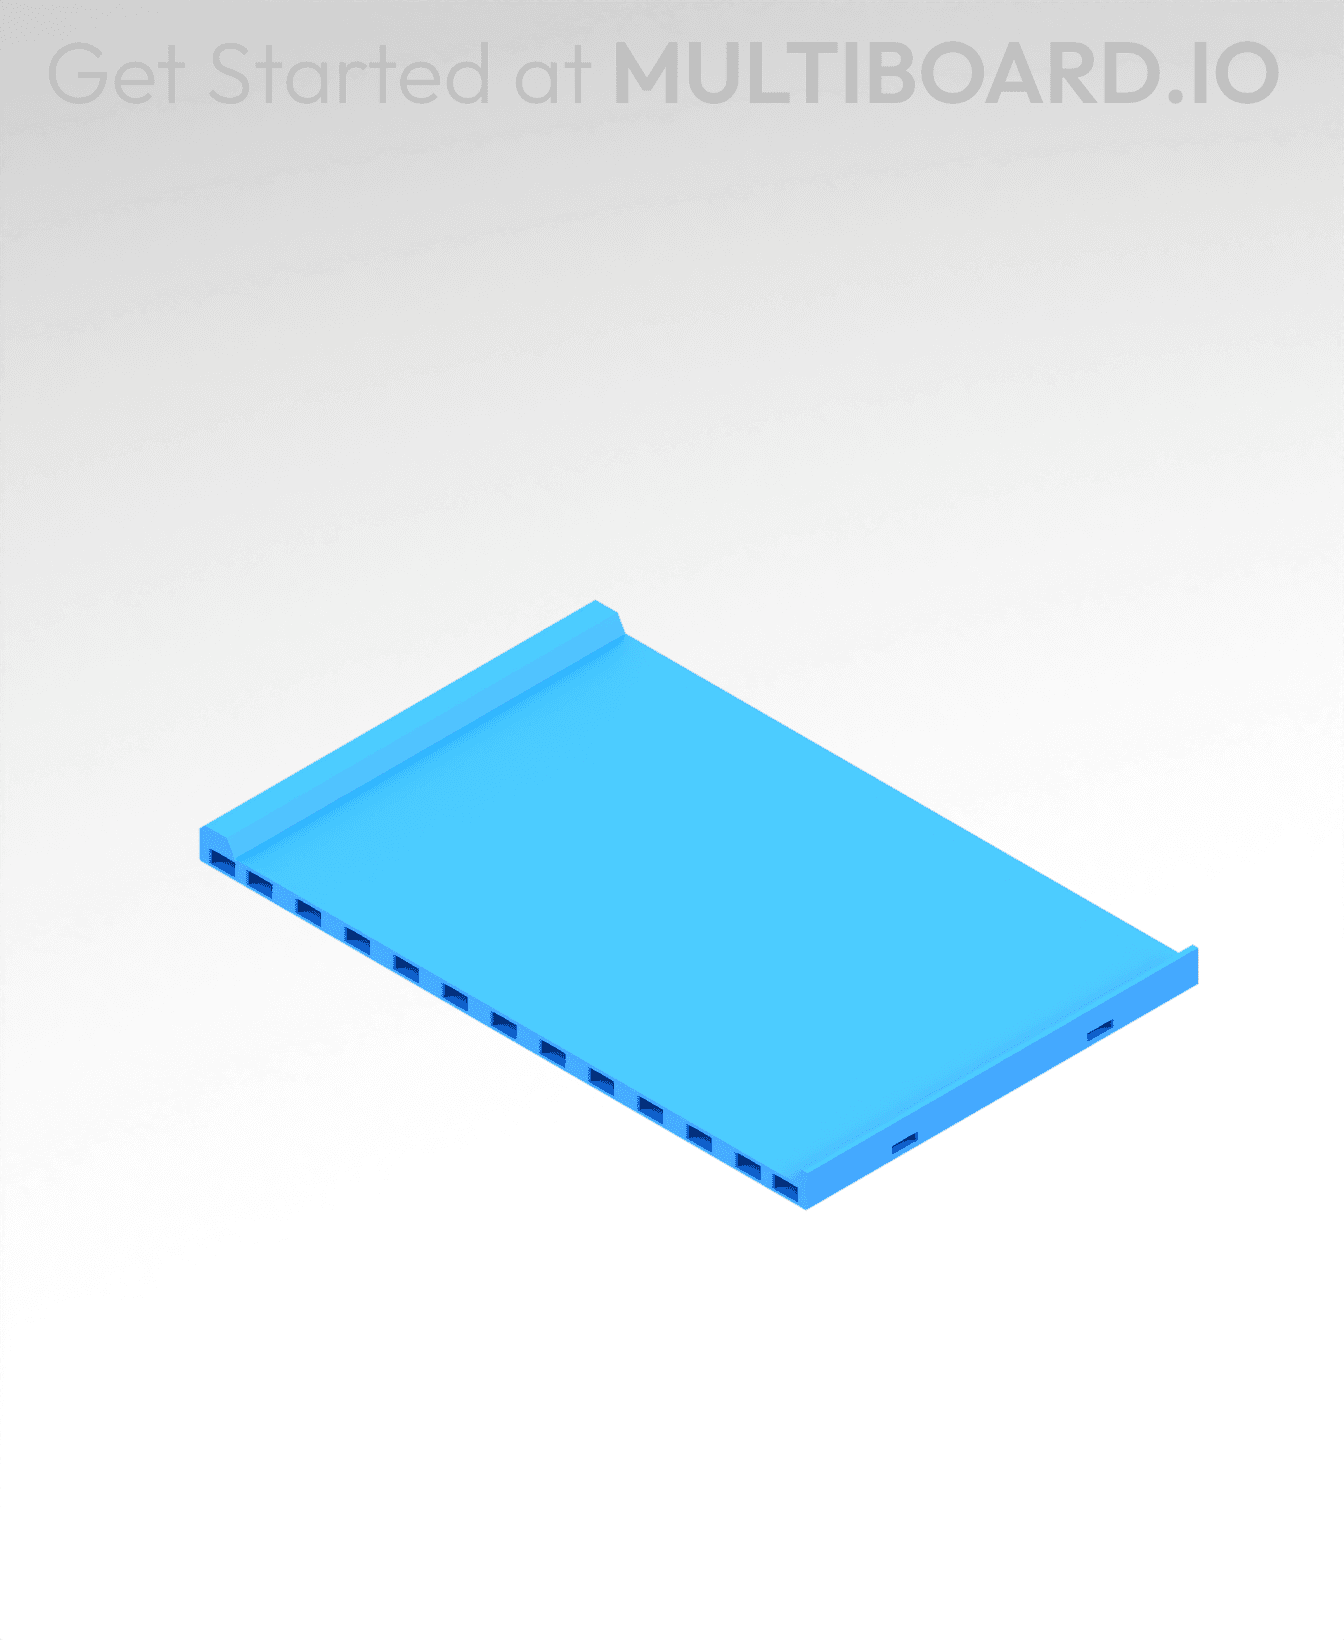
4x6 MU - Center - Modular Bolt-Locked Shelf
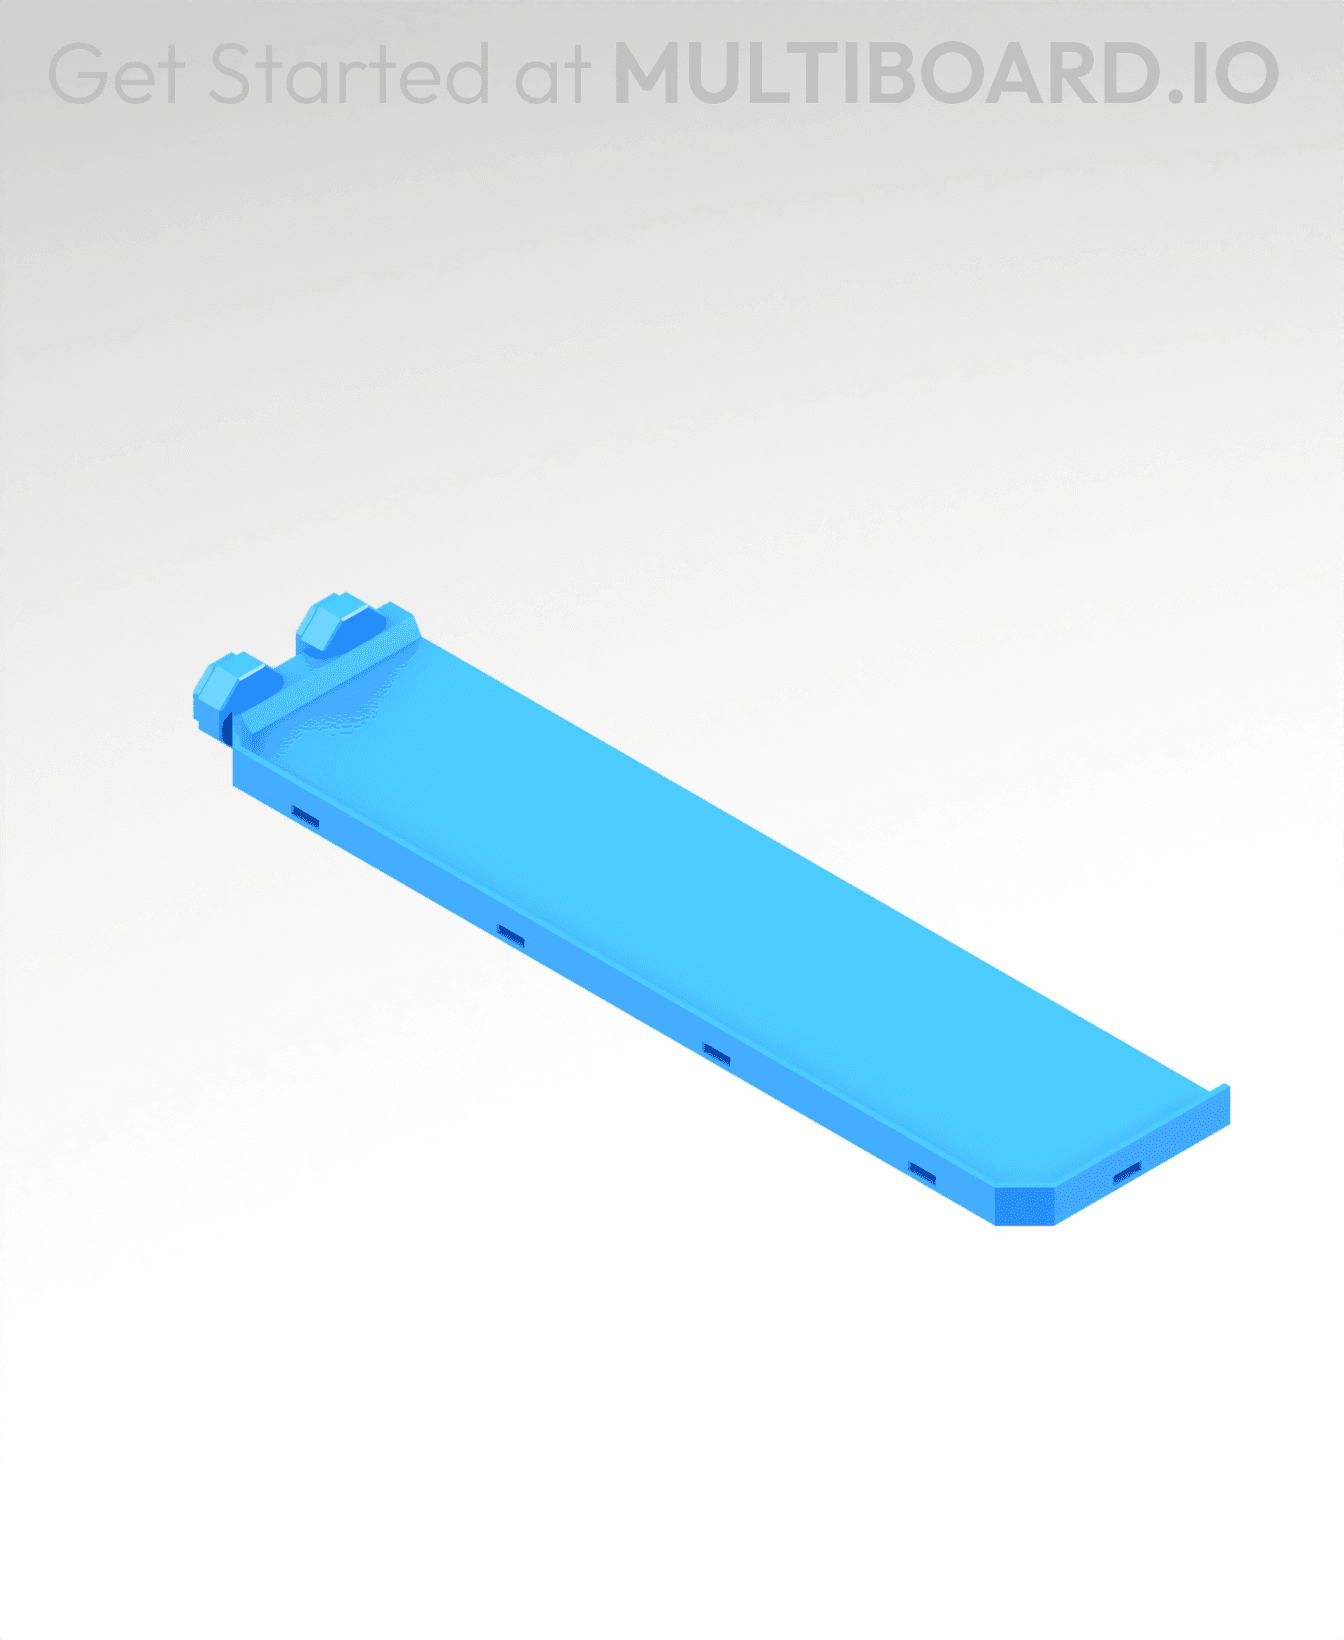
2x8 MU - Left Support End - Modular Bolt-Locked Shelf
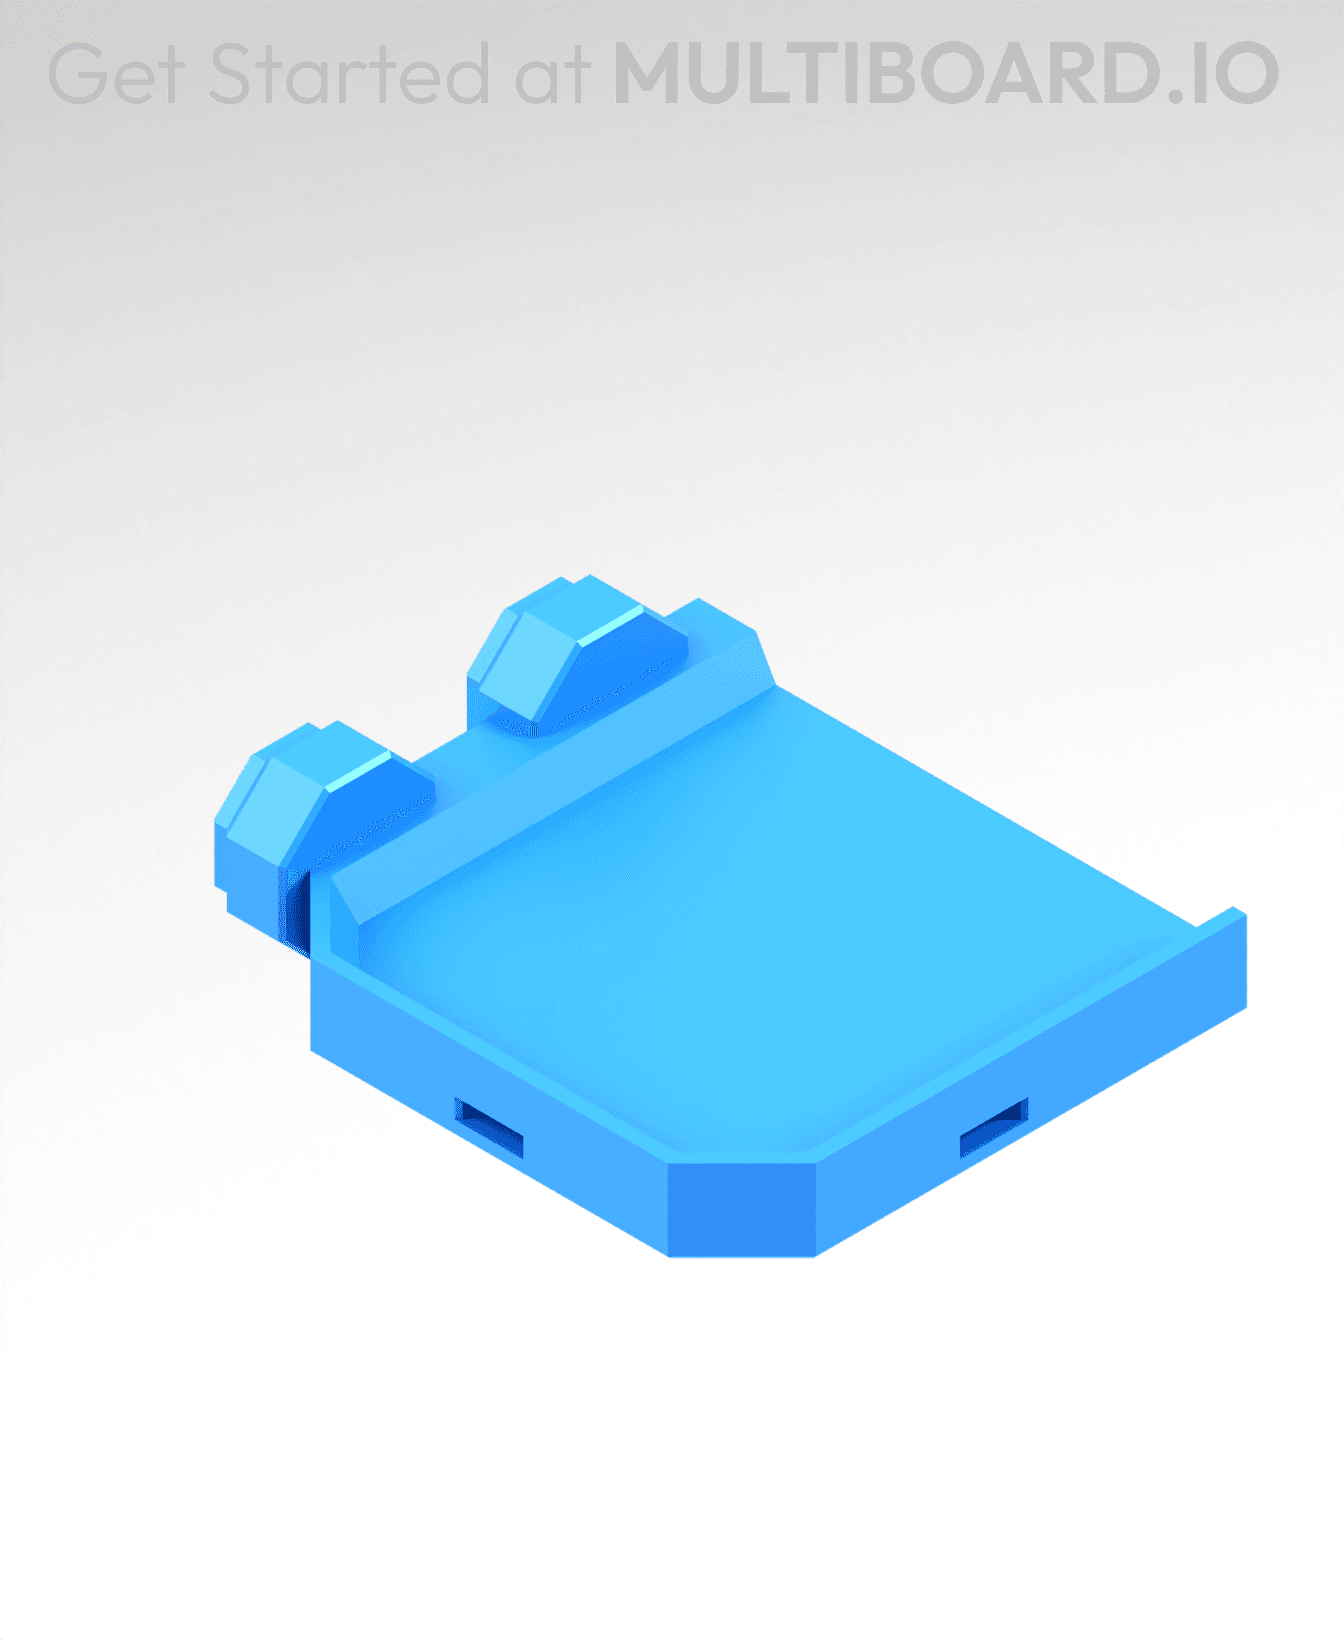
2x2 MU - Left Support End - Modular Bolt-Locked Shelf
8x2 MU - Center - Modular Bolt-Locked Shelf
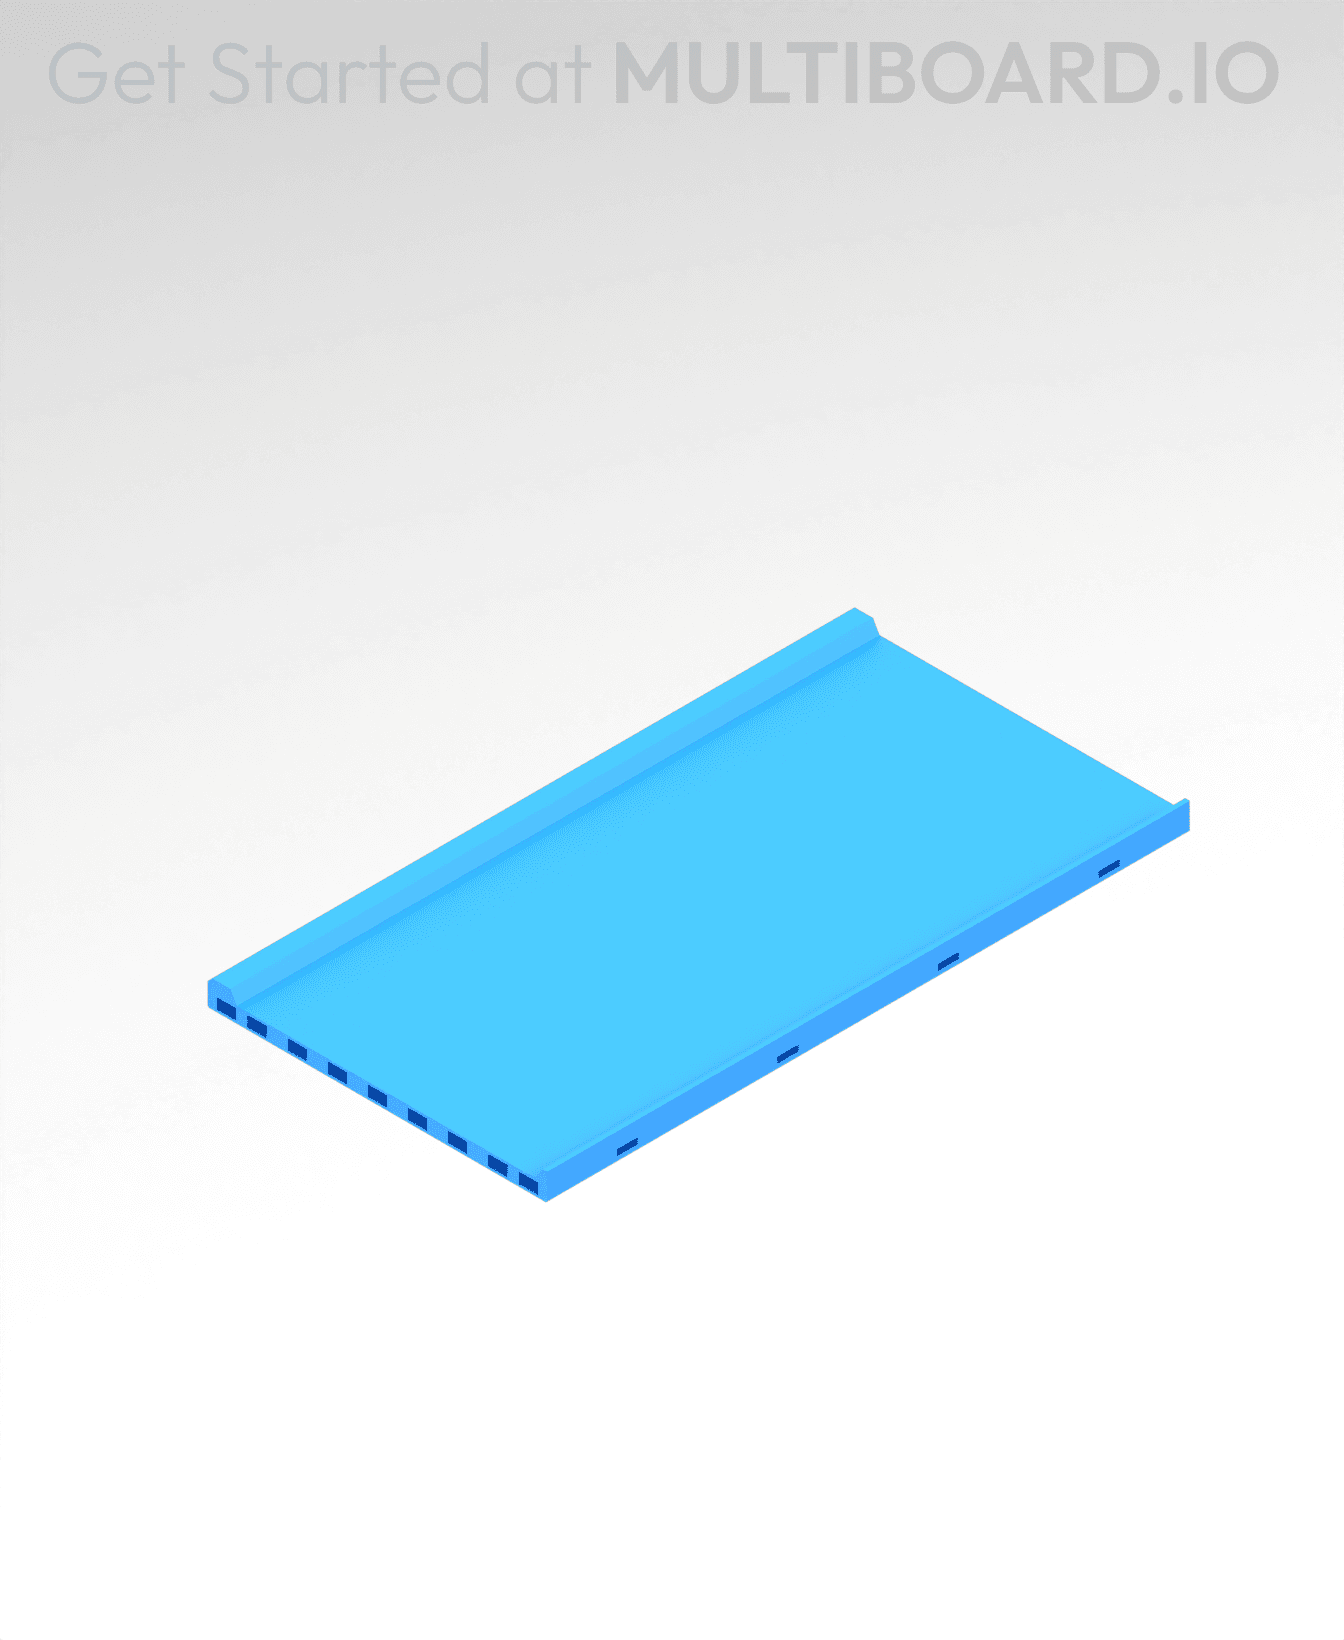
8x4 MU - Center - Modular Bolt-Locked Shelf
2x4 MU - Center - Modular Bolt-Locked Shelf

2x8 MU - Right Support End - Modular Bolt-Locked Shelf
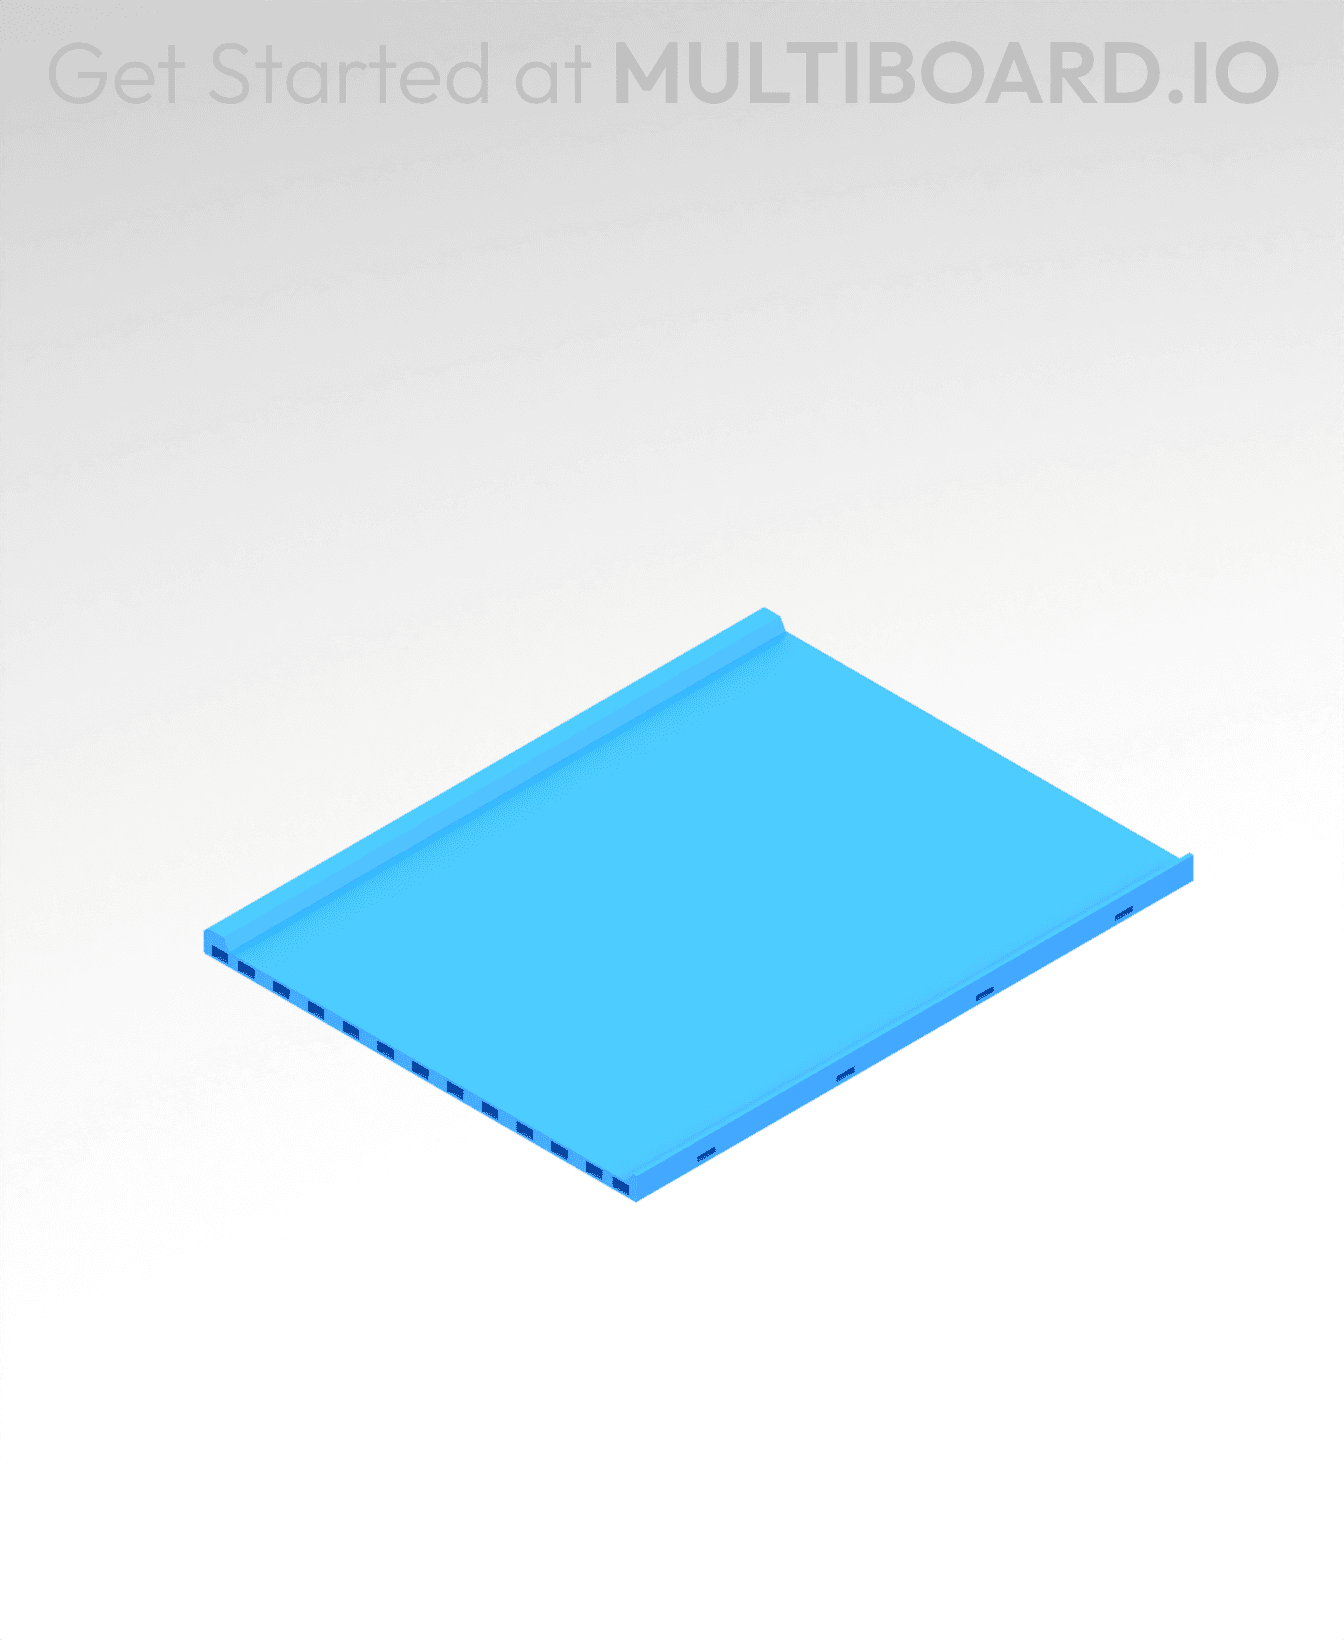
8x6 MU - Center - Modular Bolt-Locked Shelf
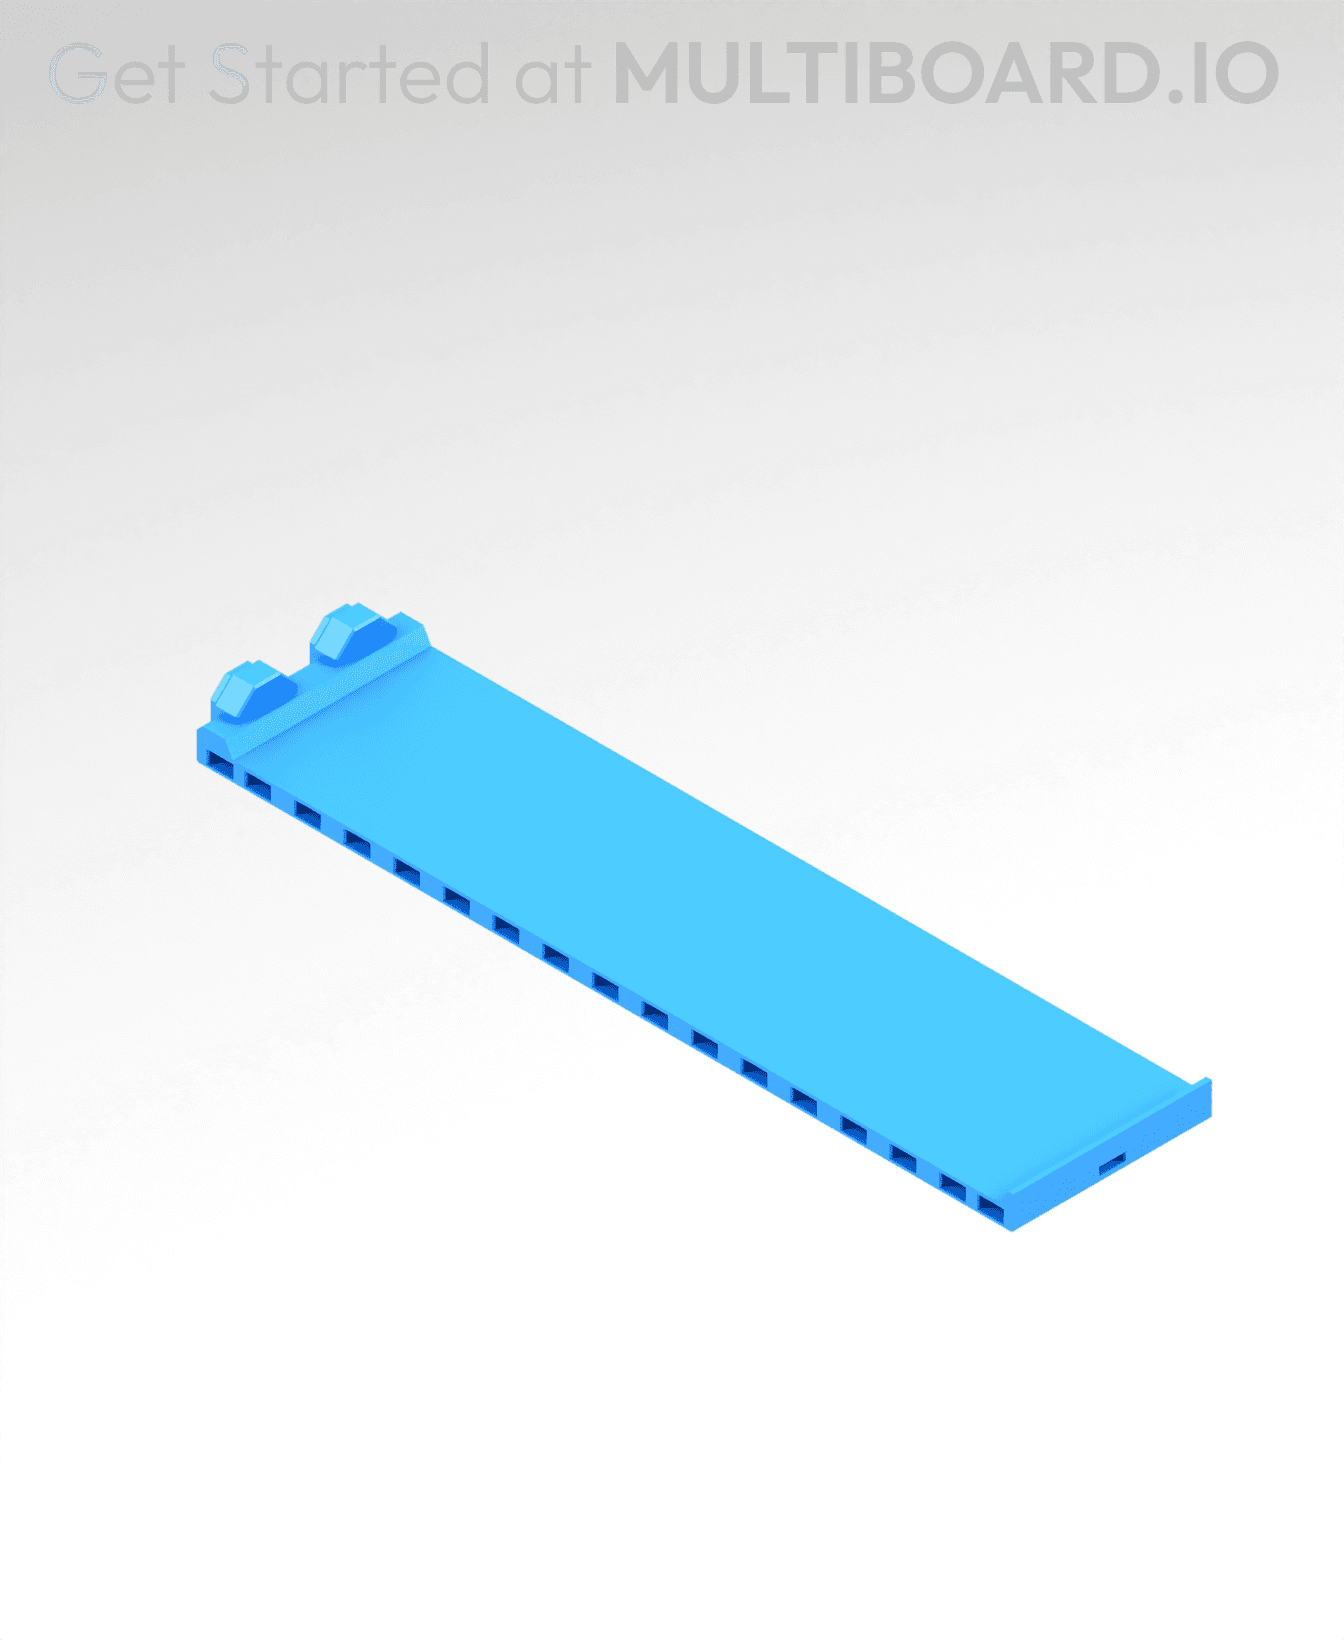
2x8 MU - Center Support - Modular Bolt-Locked Shelf
At 4k+ downloads, I'm surprised there hasn't been more mention of pieces missing from the kit. I now need to go through the video to see what I'm missing and print all the missing pieces. Then I can finish assembling the multipoint learning pack.
Agreed, paid for a membership just so I can download this and all I get is shit! This kid doesn't have any of the shells, plates or shelves in there, or any of the small components. This gives me zero confidence that I can trust anything these guys say!
At around the 8:00 mark a lite multipoint is used. The package that I downloaded did not have a lite one, just a bunch of regular ones. Minor issue, but I thought you would like to know about it.
Great work otherwise.
Totally agree. All the ones I see are not the 'light' version he talked about because they stick out too far and have the four triangle pointers on them.
Definitely pieces missing from the kit. Large threaded multipoint at 3:35 is missing. Will comment if i find that more pieces are missing.
Also no lite multipoints as mentioned at 8:01
The multipoint plate shown at 17:48 is a 2x2 double sided multipoint plate but what's supplied is a 2x2 - 2x stack single sided
The multipoint rails at 20:04 are both the non lite version yet what's supplied in the kit is one lite and one non lite
Can someone please point out to me where the bolt locked Multipoint insert is located on the three sets of plates that are included in this download? It's one of the first parts shown in the video after the tile is erected. There's a variation of one on plate 3, but it's got a hole through it. If people are paying for the kit, it should match the video.
I also just spent a bunch of time trying to figure out why I couldn't find the pieces from the video. Can we get updated plates of models?
Have the same problem. At least 3 pieces are missing so I could´nt follow the video. So I´m a bit disappointed that no one ist responsing to that problem. Though it is a minor problem, for us beginners with this it is a slightly bigger thing.
When I try and load this project file on my Orca Slicer for use on my Elegoo Centauri Carbon, it throws errors and wants me to edit the GCode. Is there printer specific stuff in the project file that could be removed?
It's all set up for Bambu.
Here's how to fix (for anyone that reads this)- open a new project in Orca. Put anything in it- like right click the plate - add primitive - cube. Move your cube off the side of the plate. Now drag-drop the 3mf from this page's zip file onto the plate, and when you get the popup, hit 'import geometry only'.
The result will bring JUST the objects onto the plate, without any of the printing specifications that go with it.
Slice and print away!
Is something like Infinite Storage coming?
yeeeesss! been anxiously waiting for this update video before making my set up.