.png&w=3840&q=85)
.png&w=256&q=75)
.png&w=256&q=75)

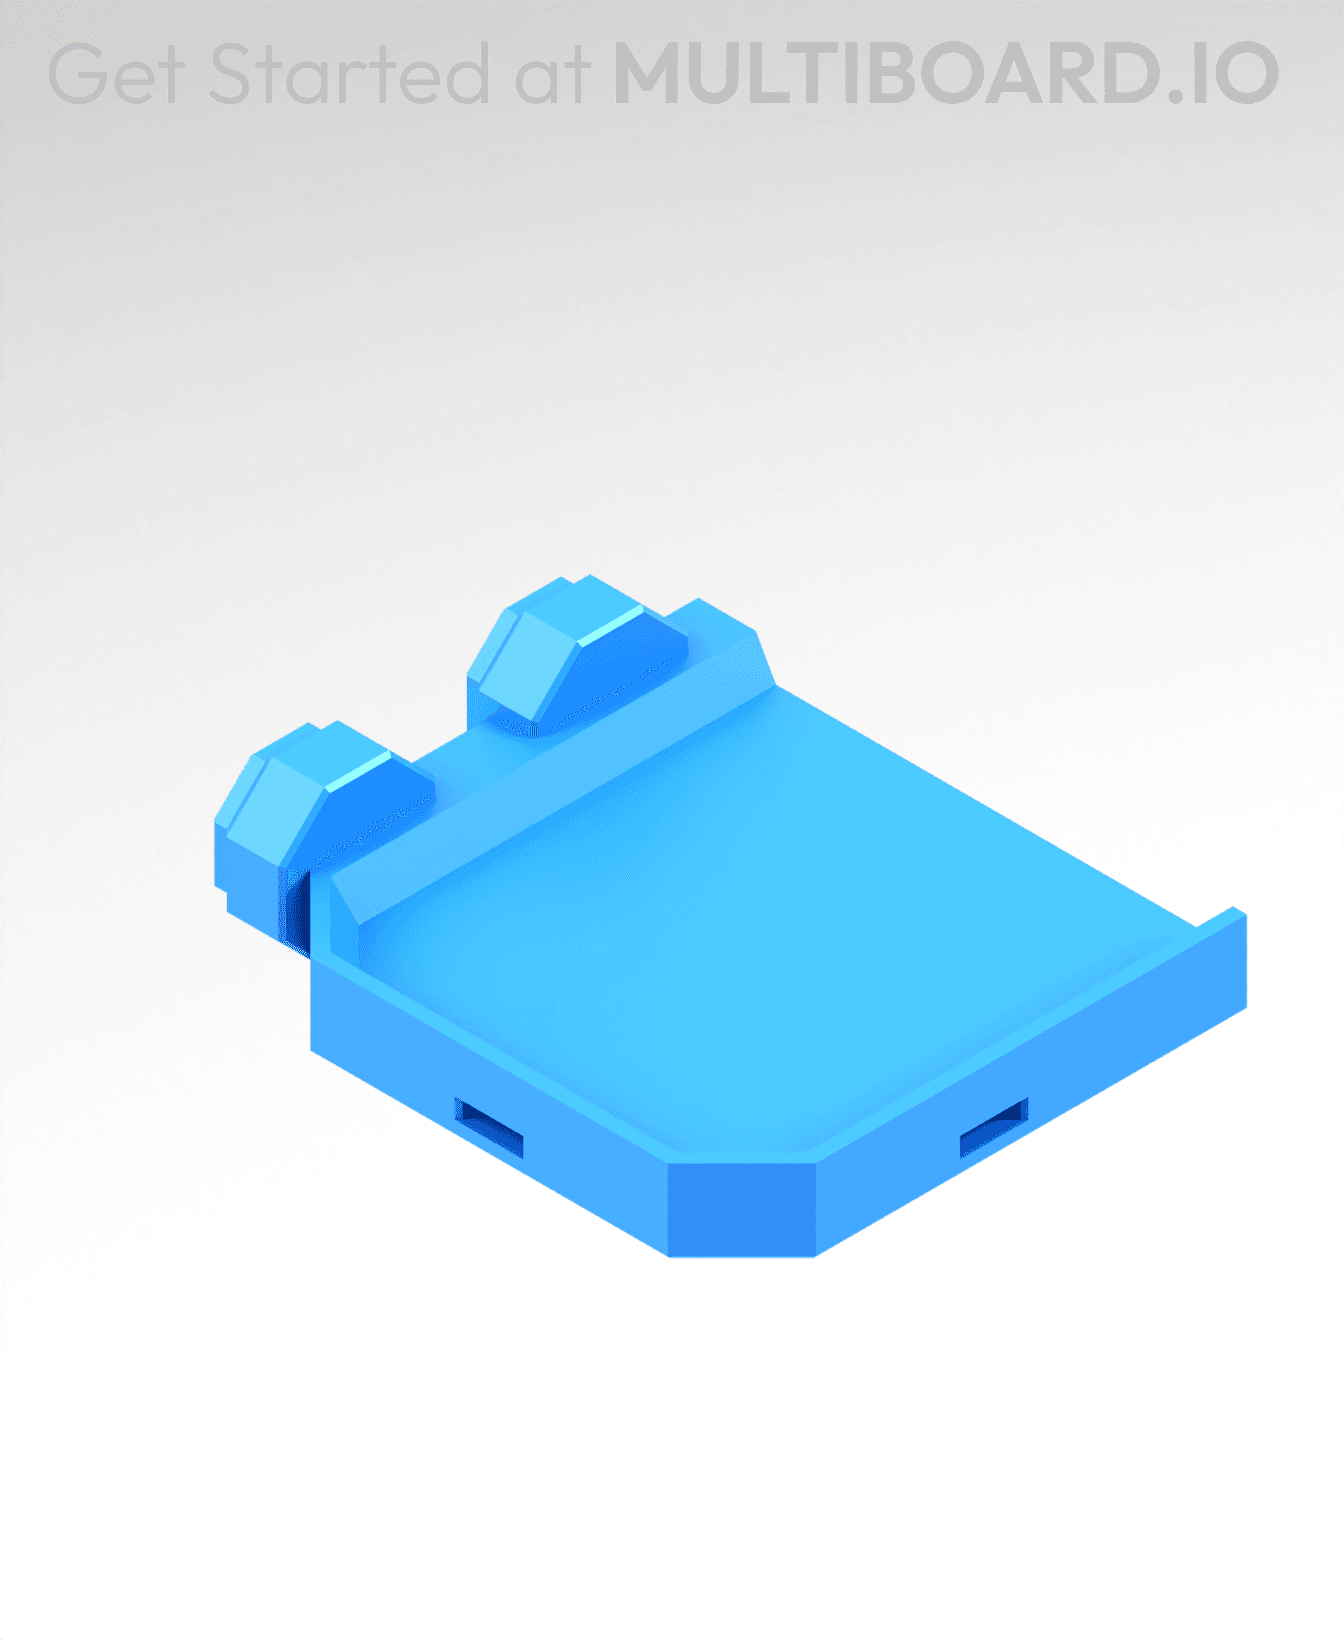
Multi-Material Stack - Test Print
6.1K downloads · 2 years ago · This small stack allows you to test "Multi-Material Stack Printing" and experiment with different "f
This model is restricted by licensing terms.
View license.
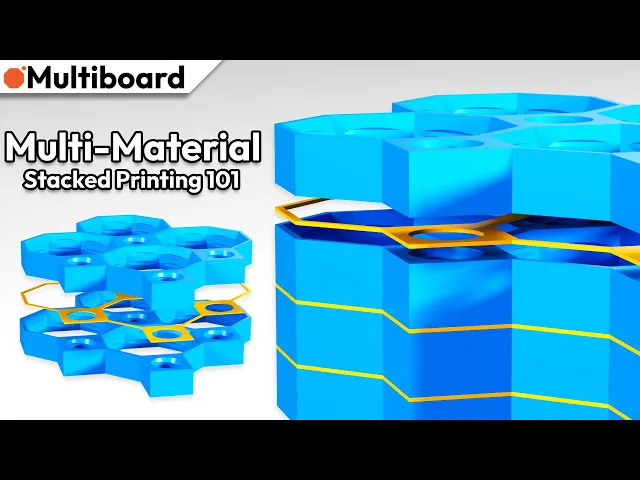
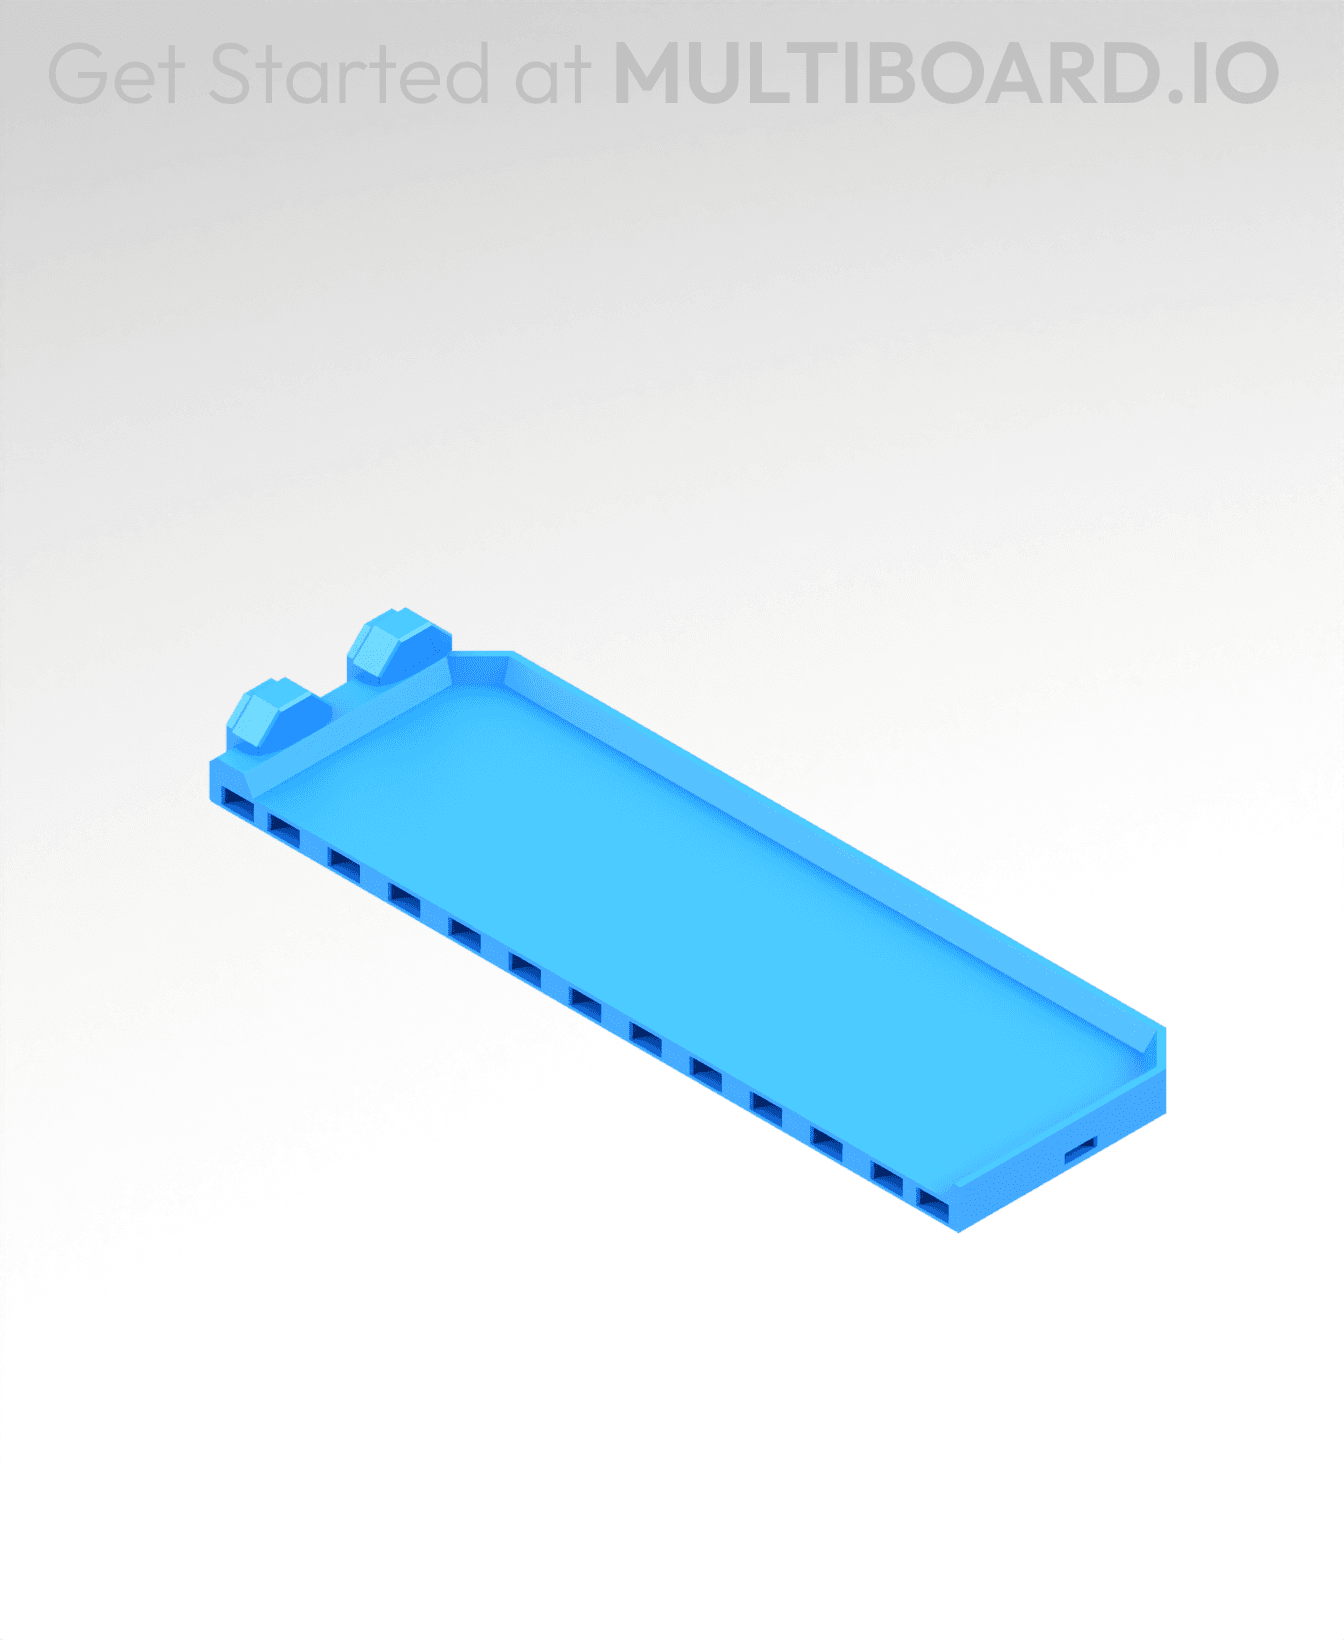
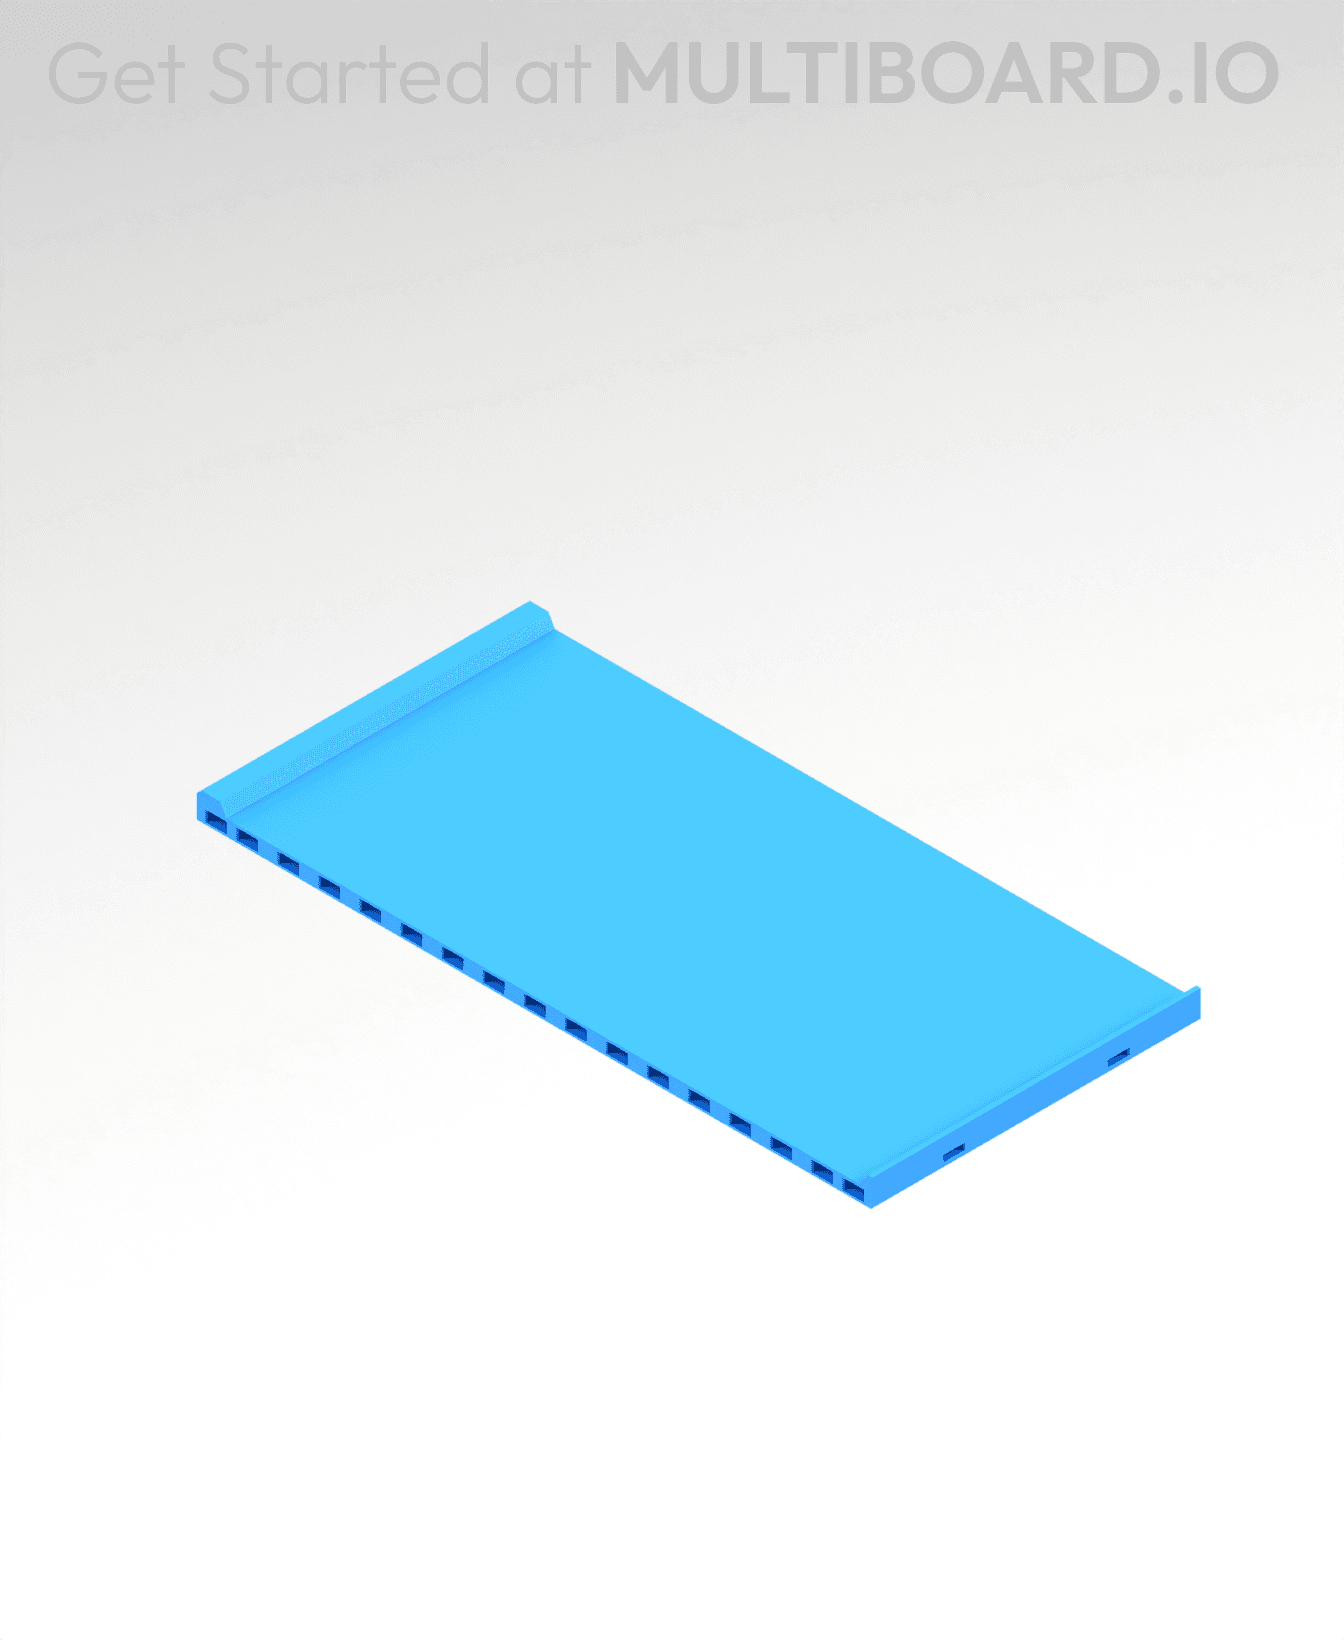
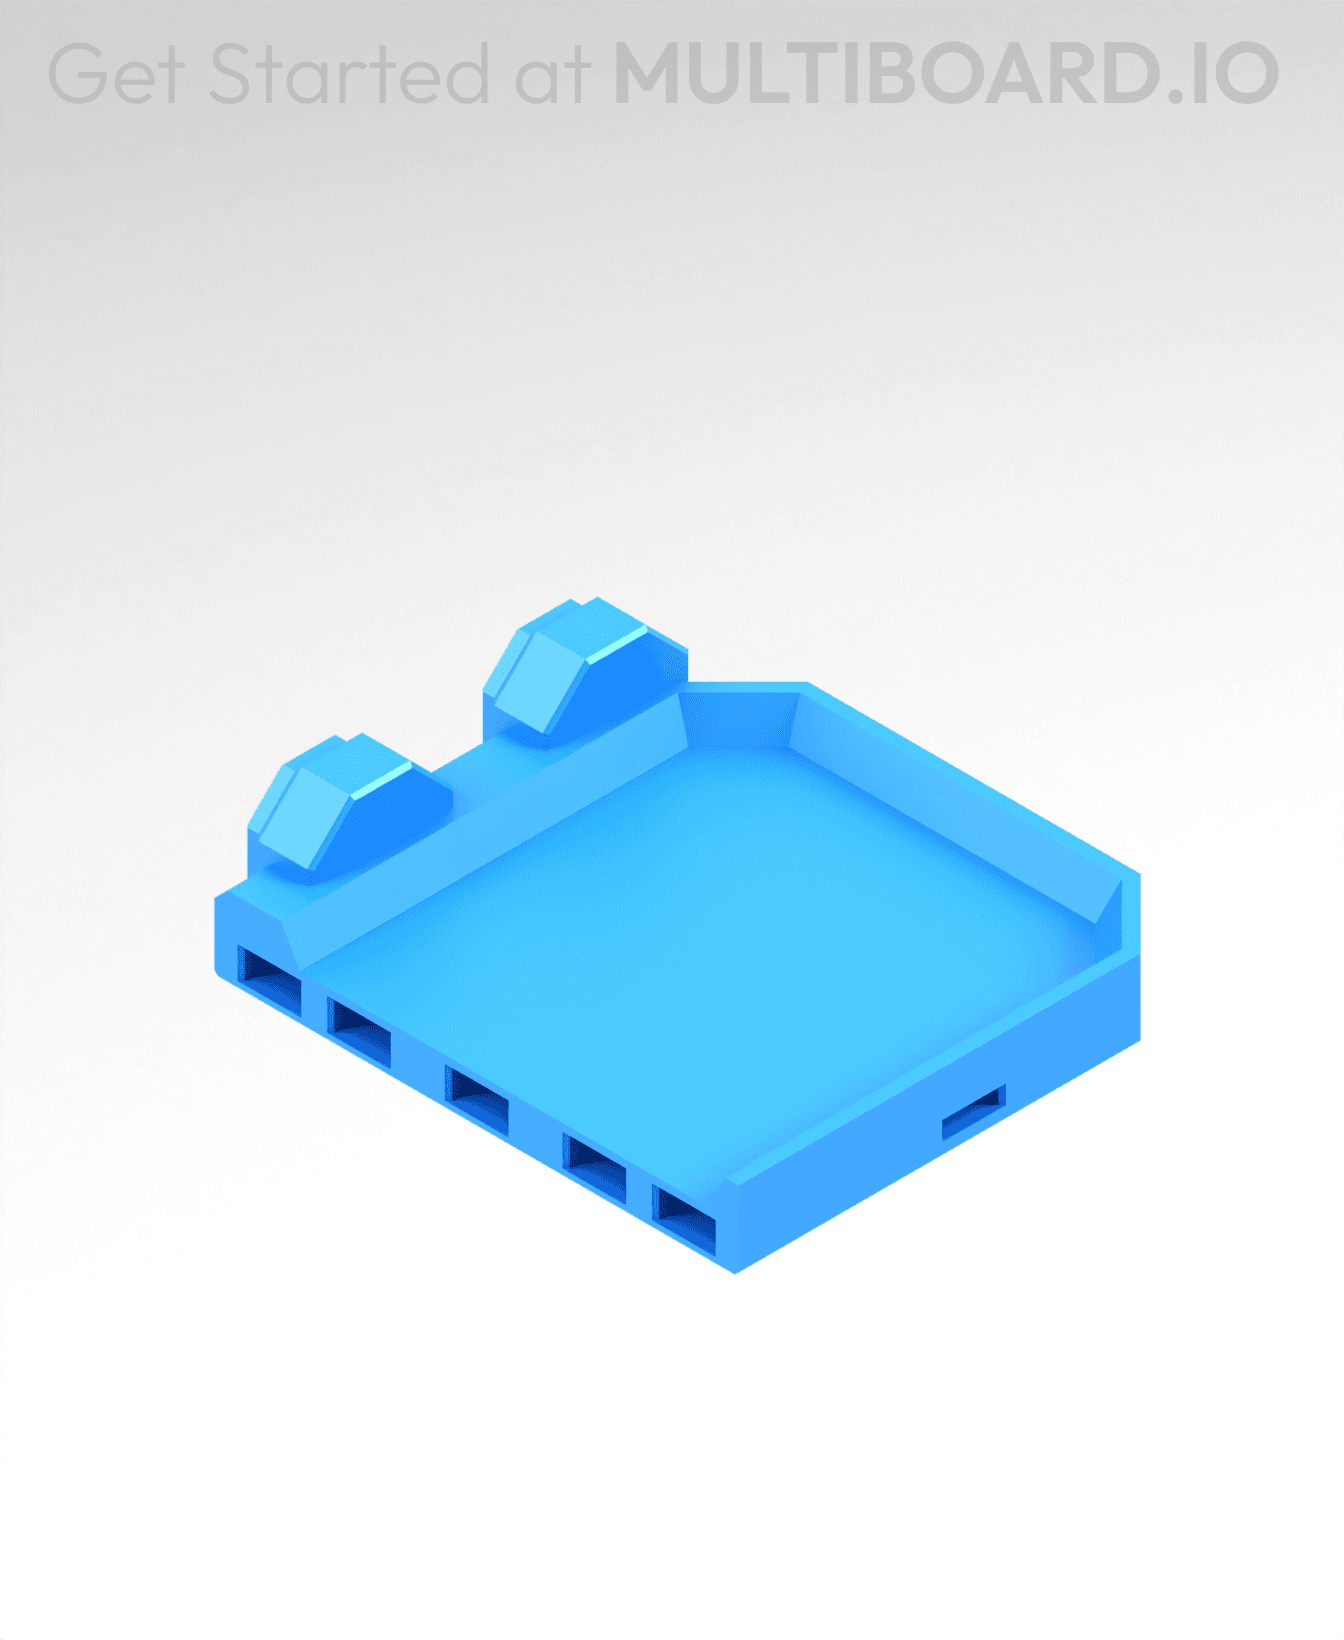
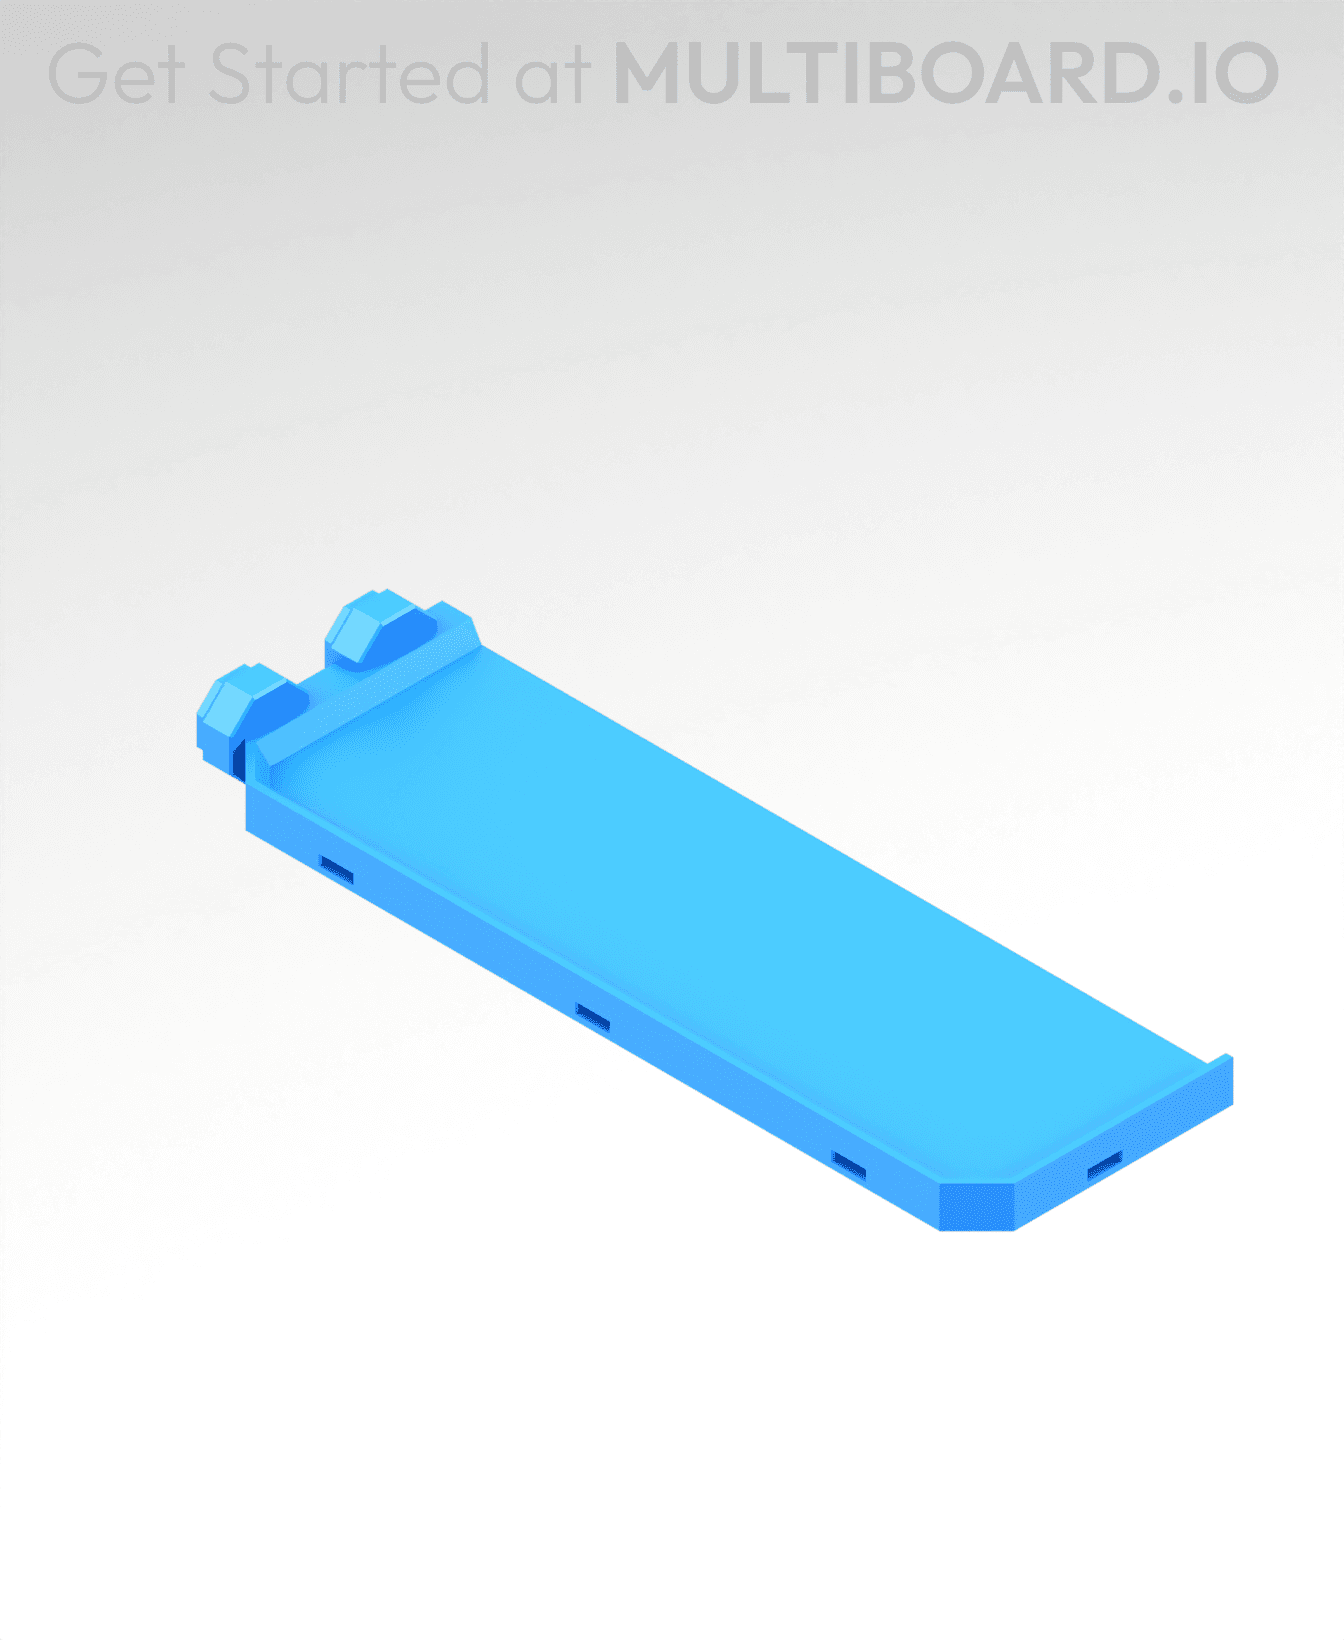
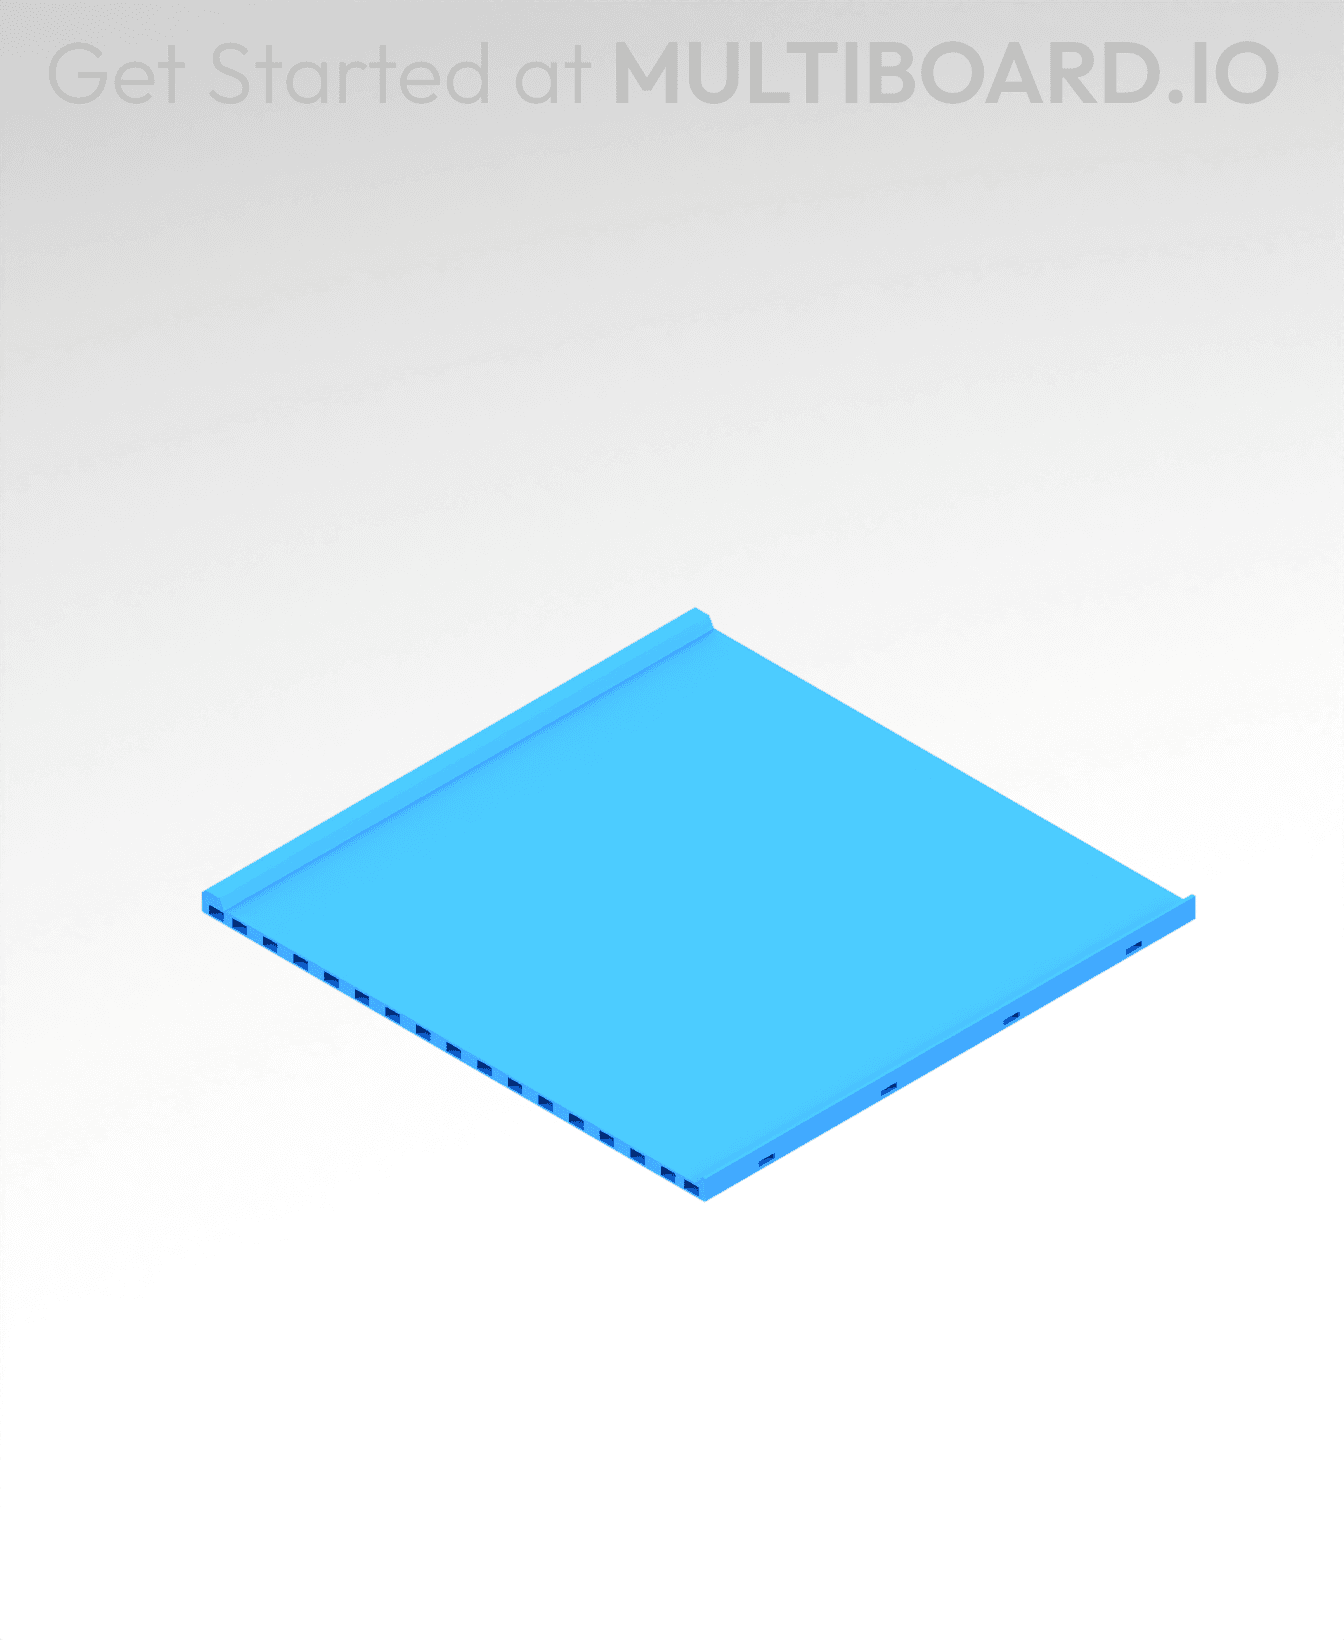
This small stack allows you to test "Multi-Material Stack Printing" and experiment with different "flow ratios".
Multi-Material Stack Printing is an advanced printing method you can use if Ironing printing doesn't work for you, and you have a multi-material printer. Click here to watch a video tutorial about it.
Multi-Material printing is done with PLA and PETG.
Printer Settings:
- Make sure the downloaded files are .STL. The printing orientation is as provided in the file.
- Once the file is in the slicer, split it by objects. Change the Tiles to be PLA, and change the spacing objects to be PETG (or vice-versa).
- Change the plate temperature for the PETG to be the same as the plate temperature for the PLA.
- Set the flow ratio (aka extrusion multiplier) for the PETG to be between 1 and 1.3. You will have to test what flow ratio works best for you using this test file. For me 1.1 works best with a Bambu Lab.
- Set seam position to "random" for more strength (optional). Use 3 perimeter wall thickness, 0.2 mm layer height, 15% infill, and no supports. Apart from that, use your printer's default settings.
For more information about printing options and guidelines, click here.
This object is part of Multiboard, a FREE and ridiculously modular organization system with thousands of parts for creating the most adaptable workspace possible. Learn more and find ALL the parts at https://multiboard.io
Multi-Material Stack - Test Print
6.1K downloads · 2 years ago in and
This model is restricted by licensing terms.
View license.
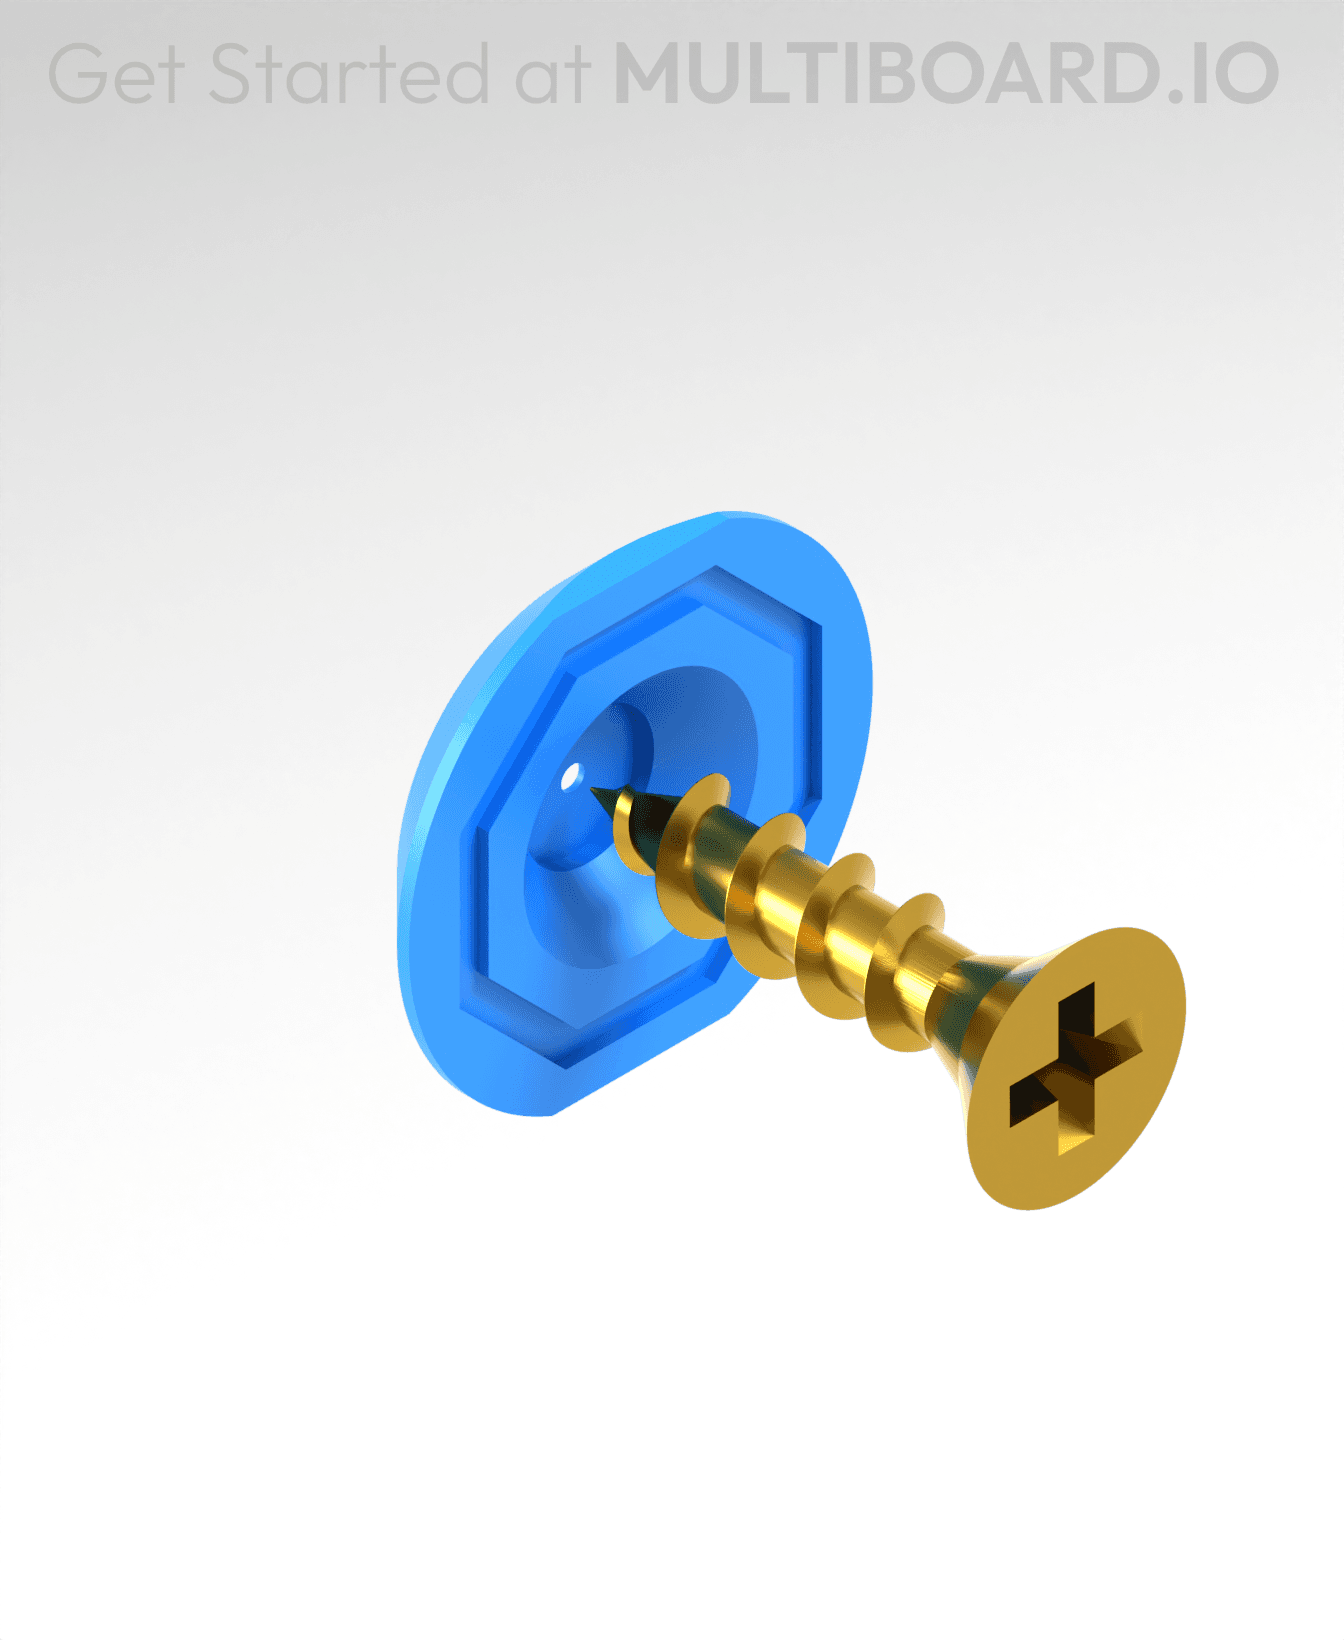
Fix Point to Countersink Adapter

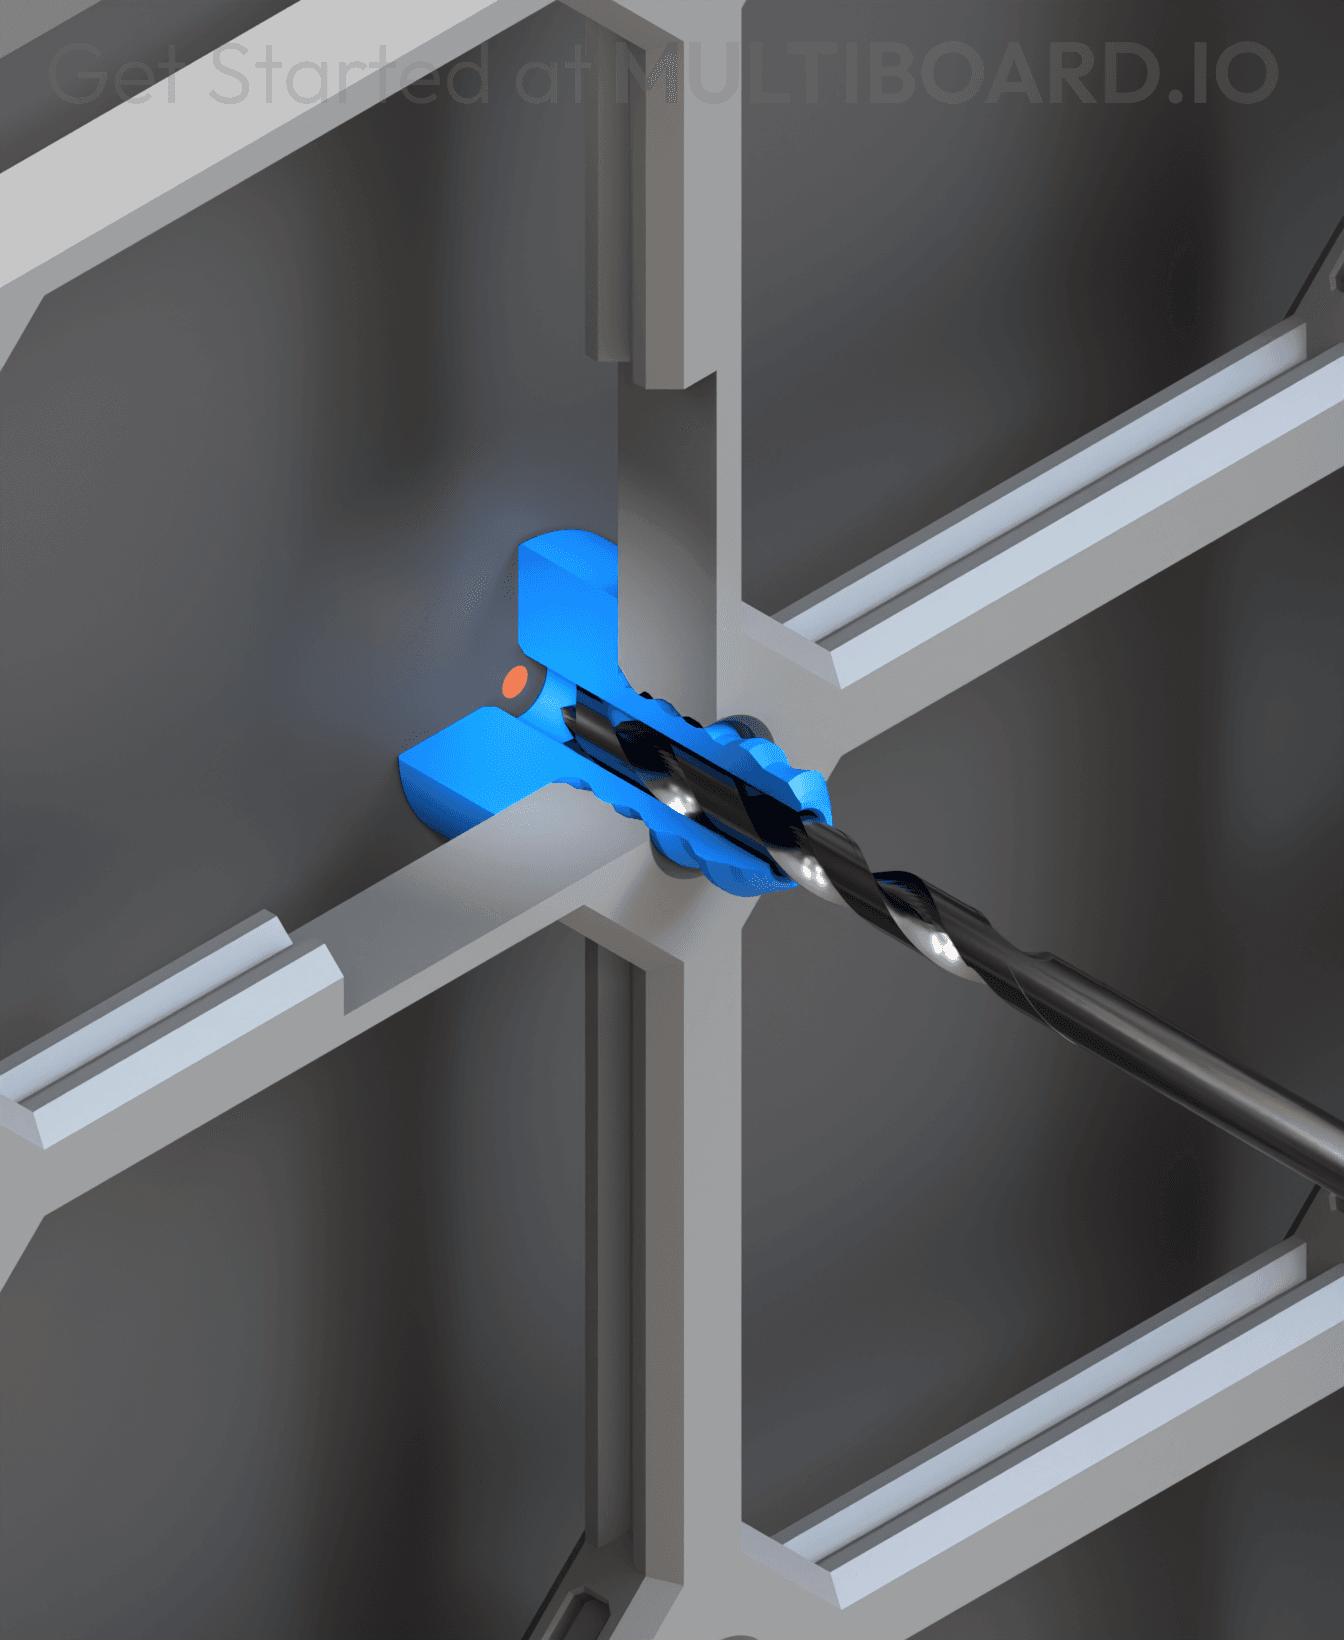
Flush - Small Hole Center Marking Tool
6.25 Offset - Small Hole Center Marking Tool
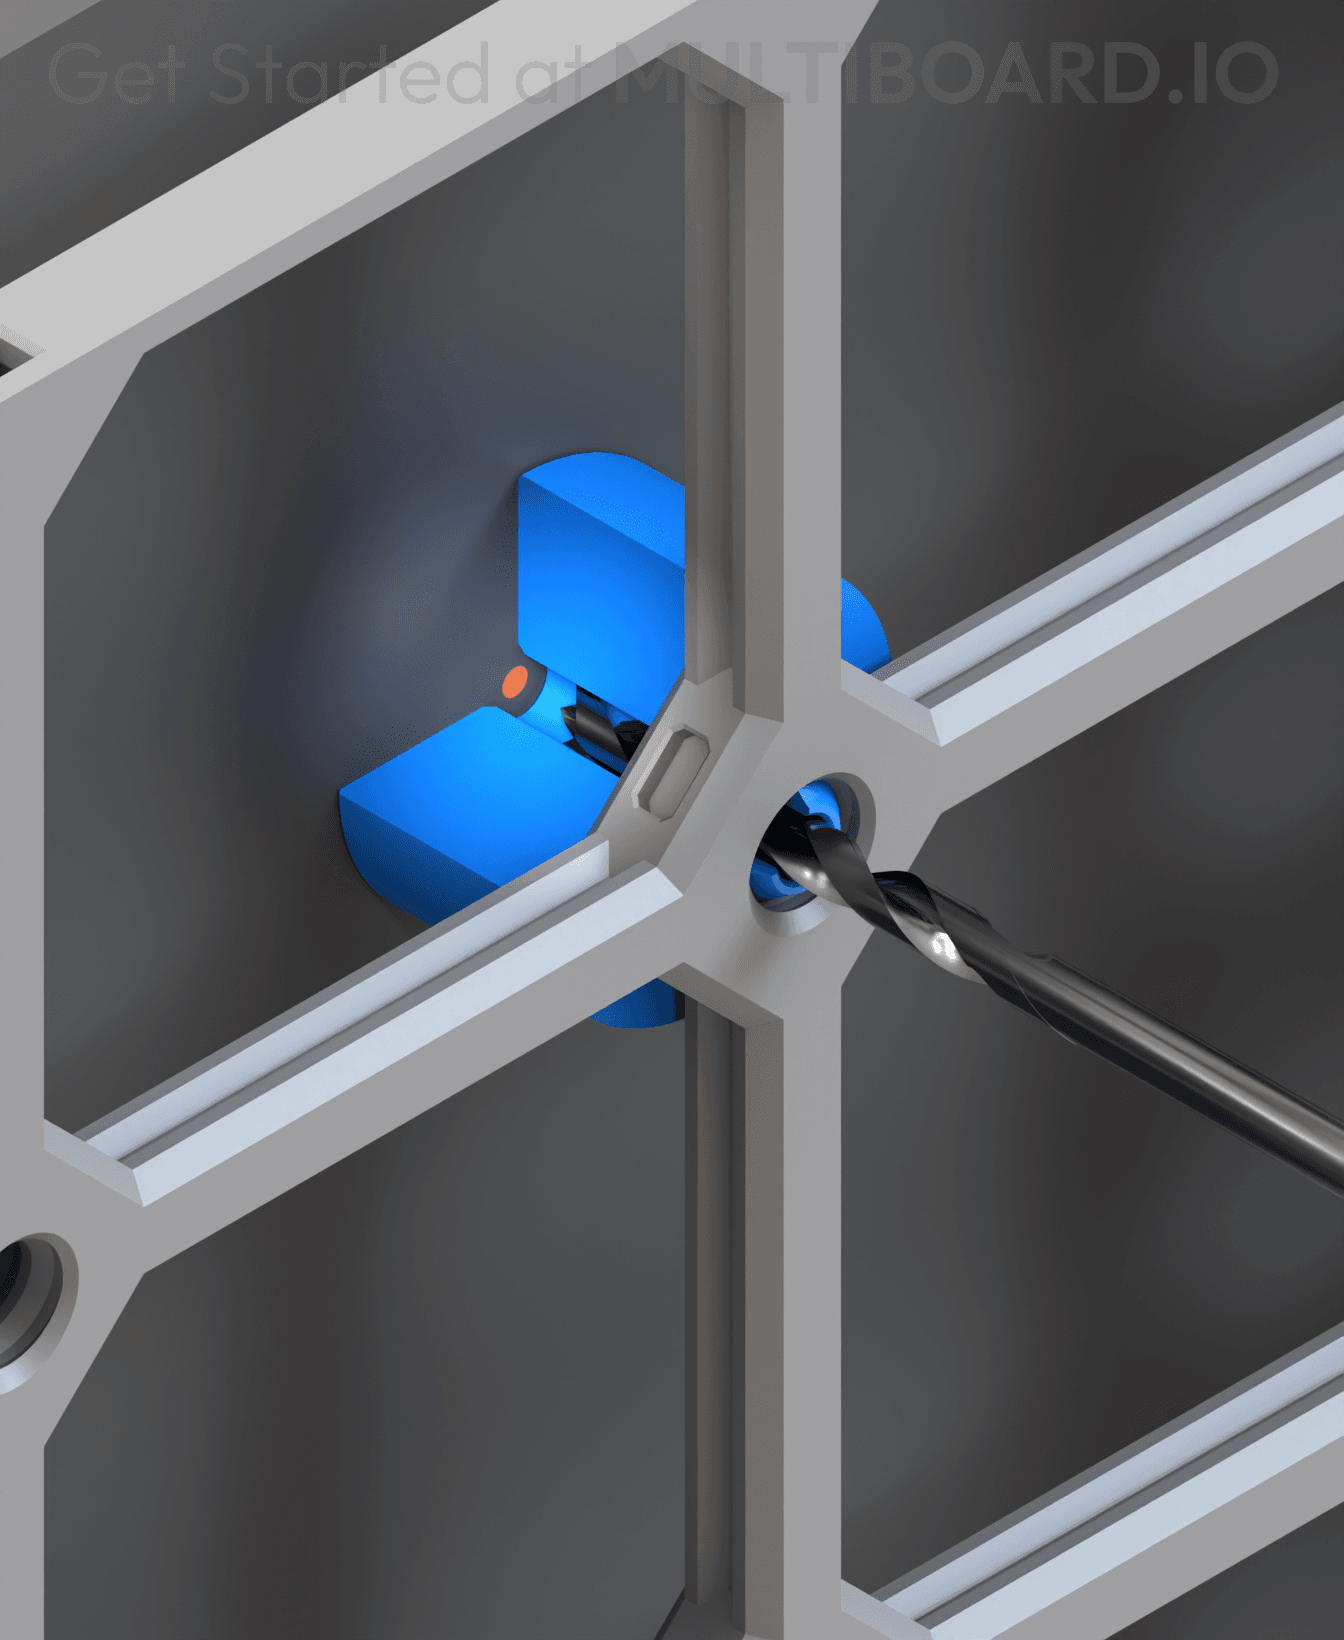
12.5 Offset - Small Hole Center Marking Tool
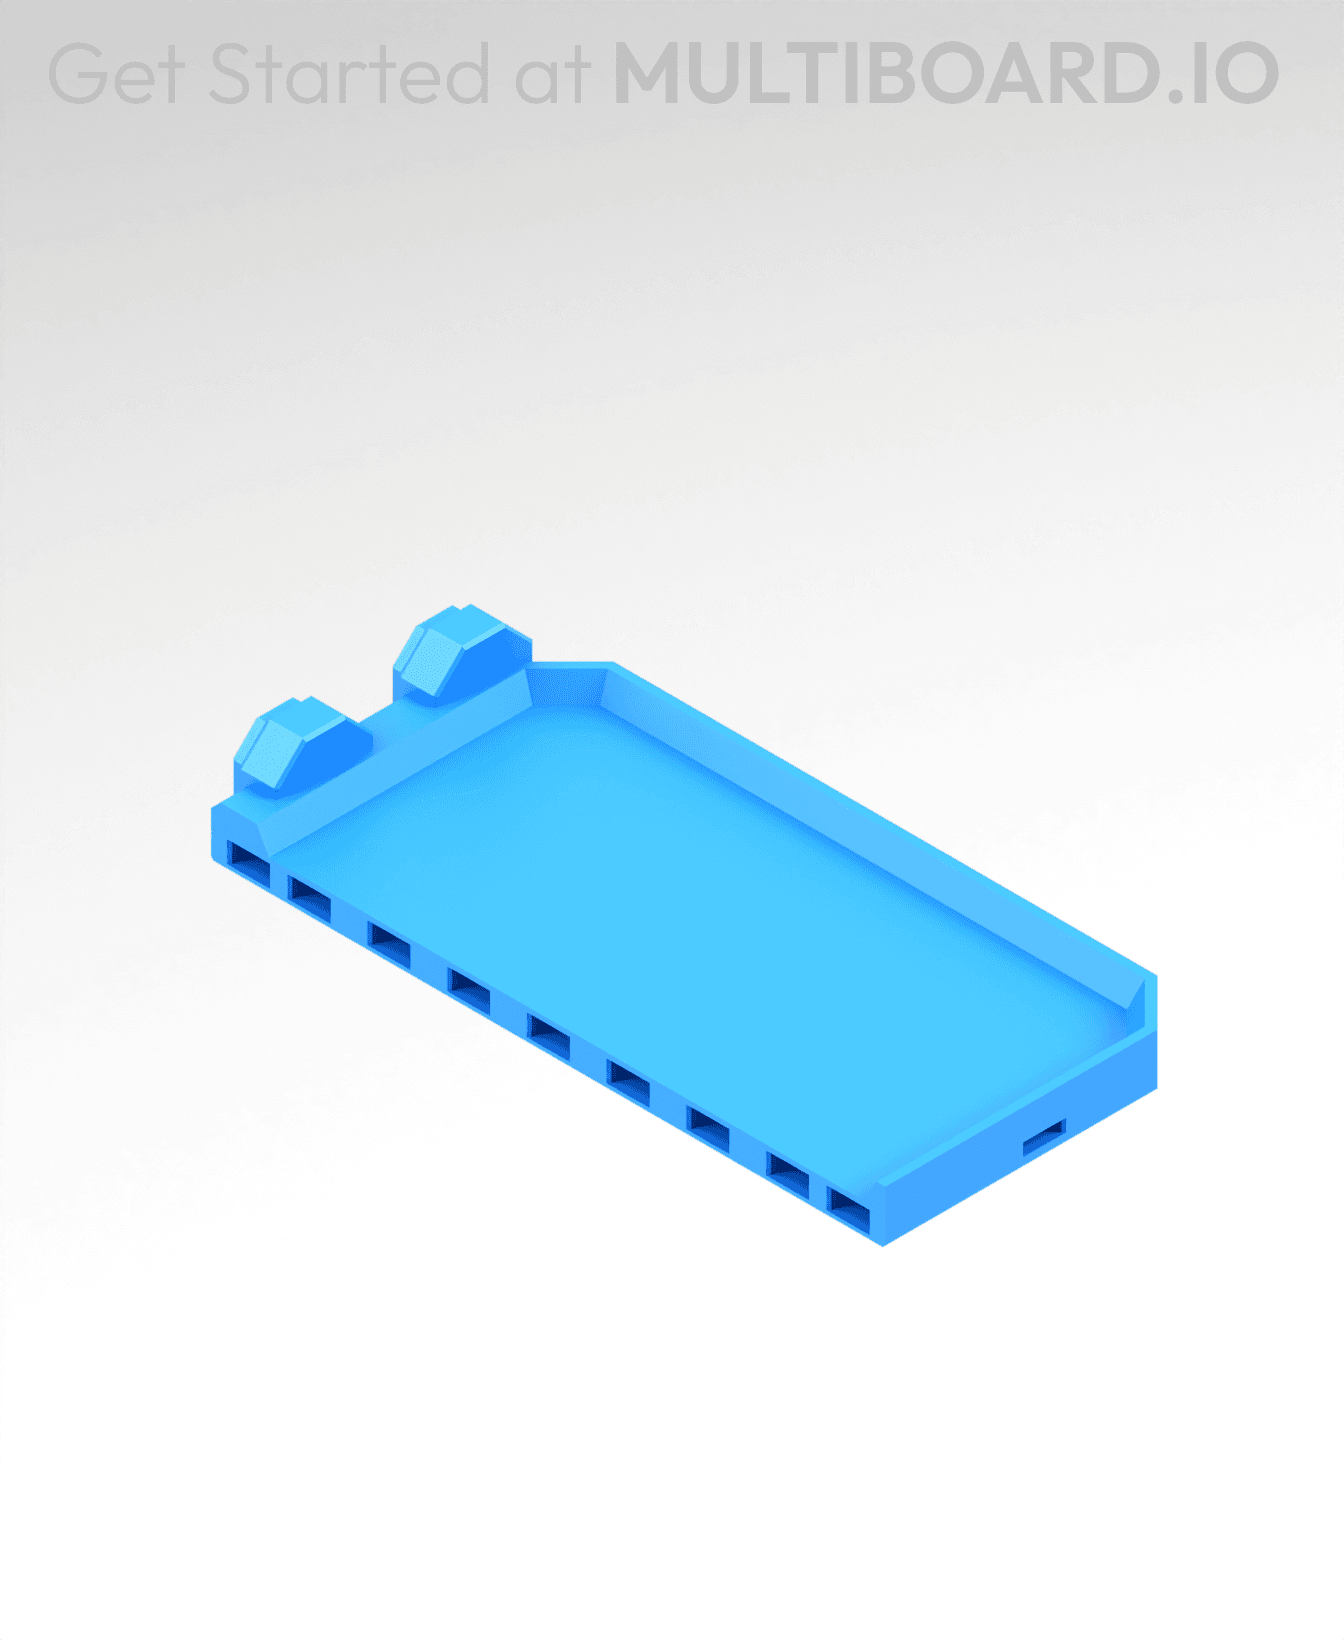
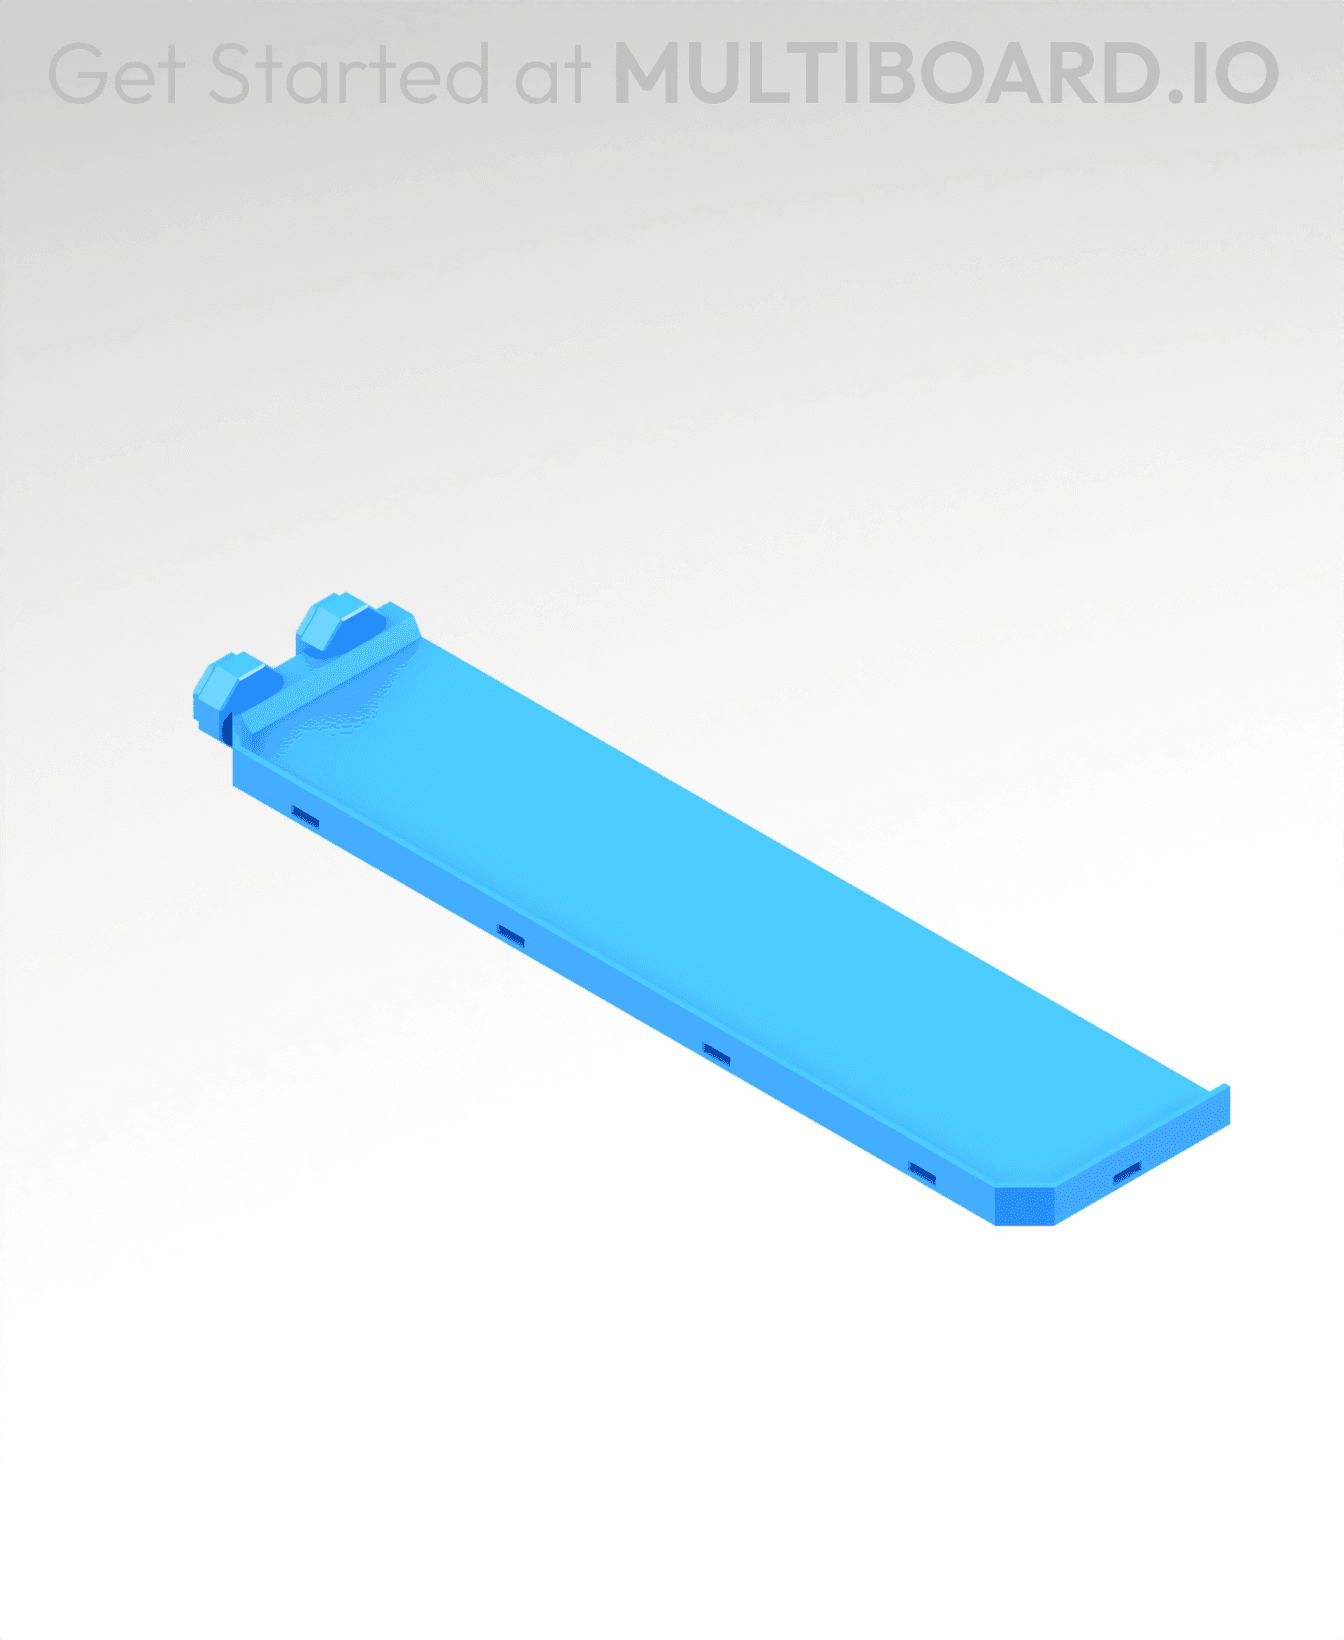
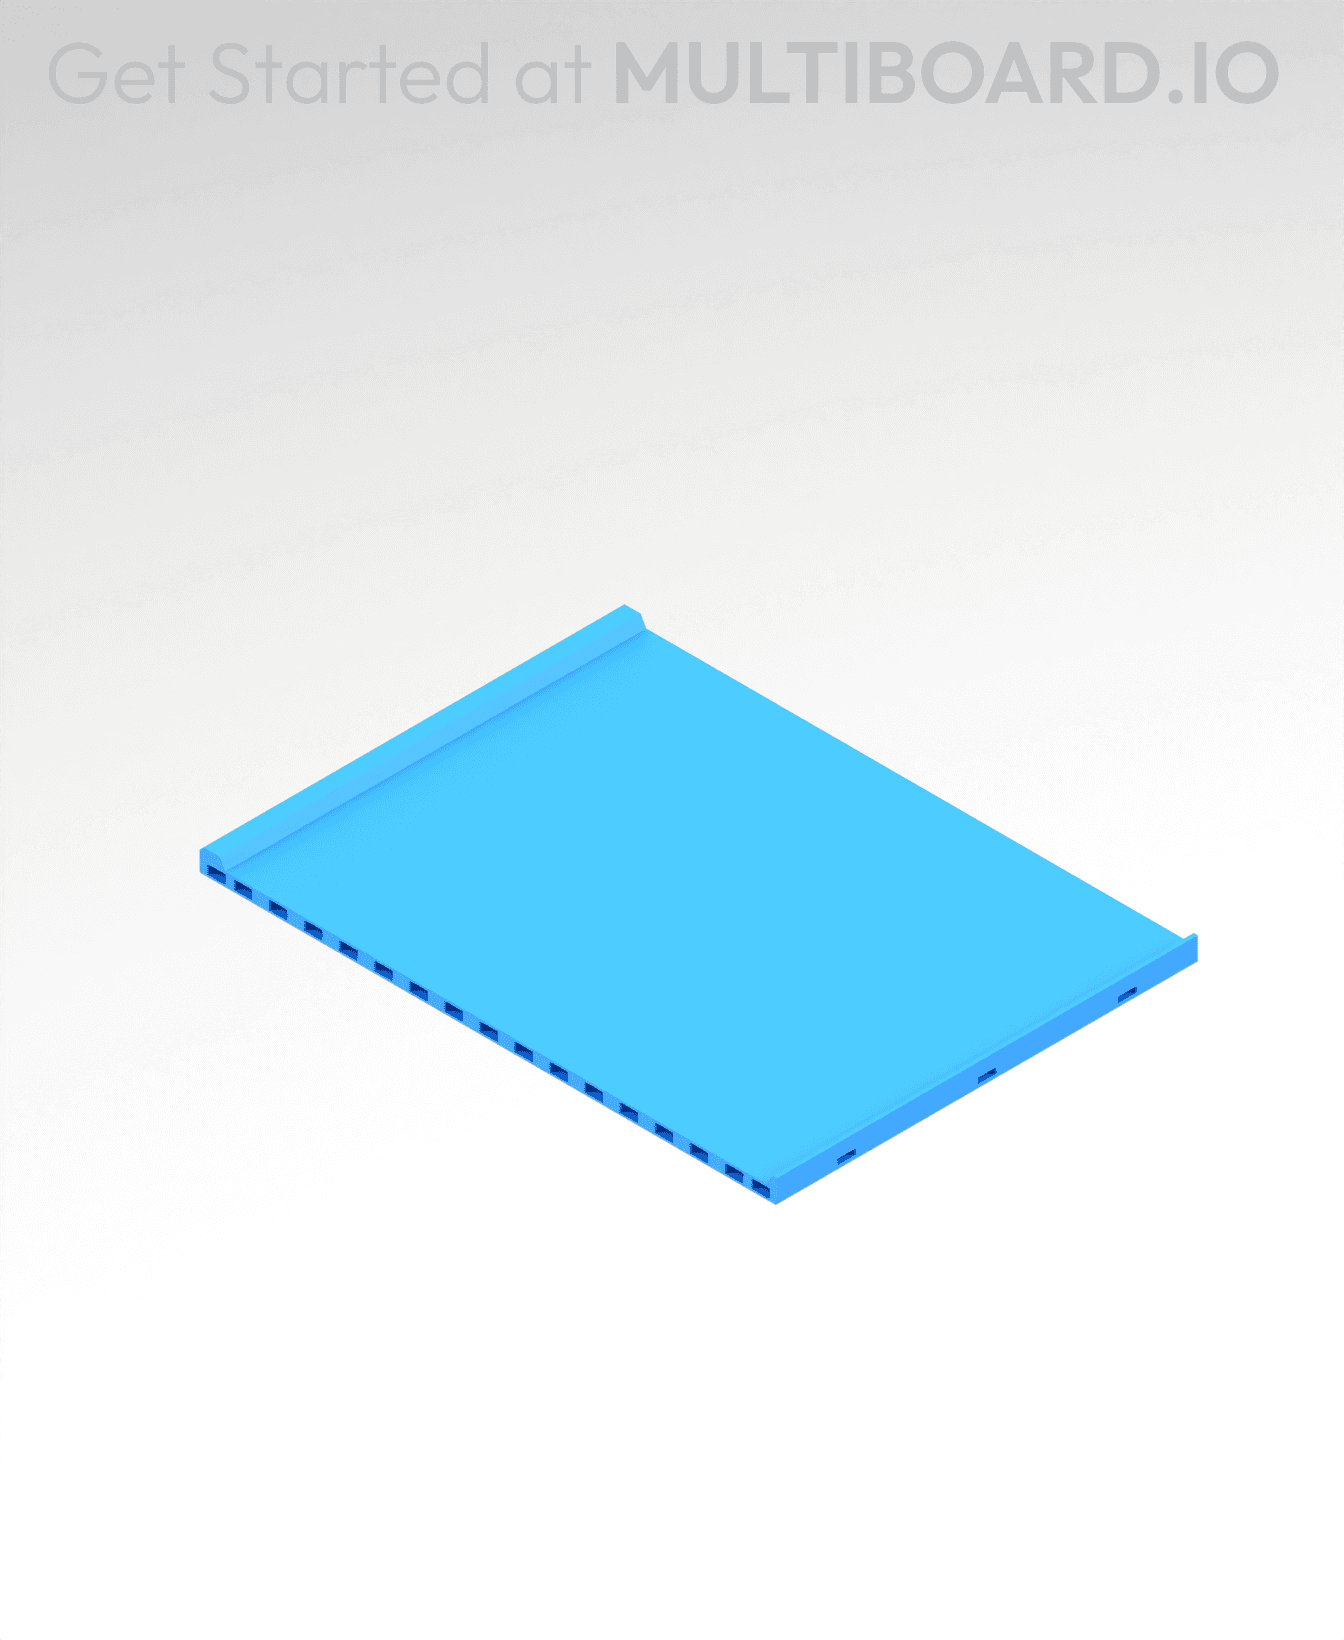
2x6 MU - Right Support End - Modular Bolt-Locked Shelf
4x8 MU - Center - Modular Bolt-Locked Shelf
2x2 MU - Right Support End - Modular Bolt-Locked Shelf
2x6 MU - Left Support End - Modular Bolt-Locked Shelf
8x8 MU - Center - Modular Bolt-Locked Shelf
2x4 MU - Right Support End - Modular Bolt-Locked Shelf
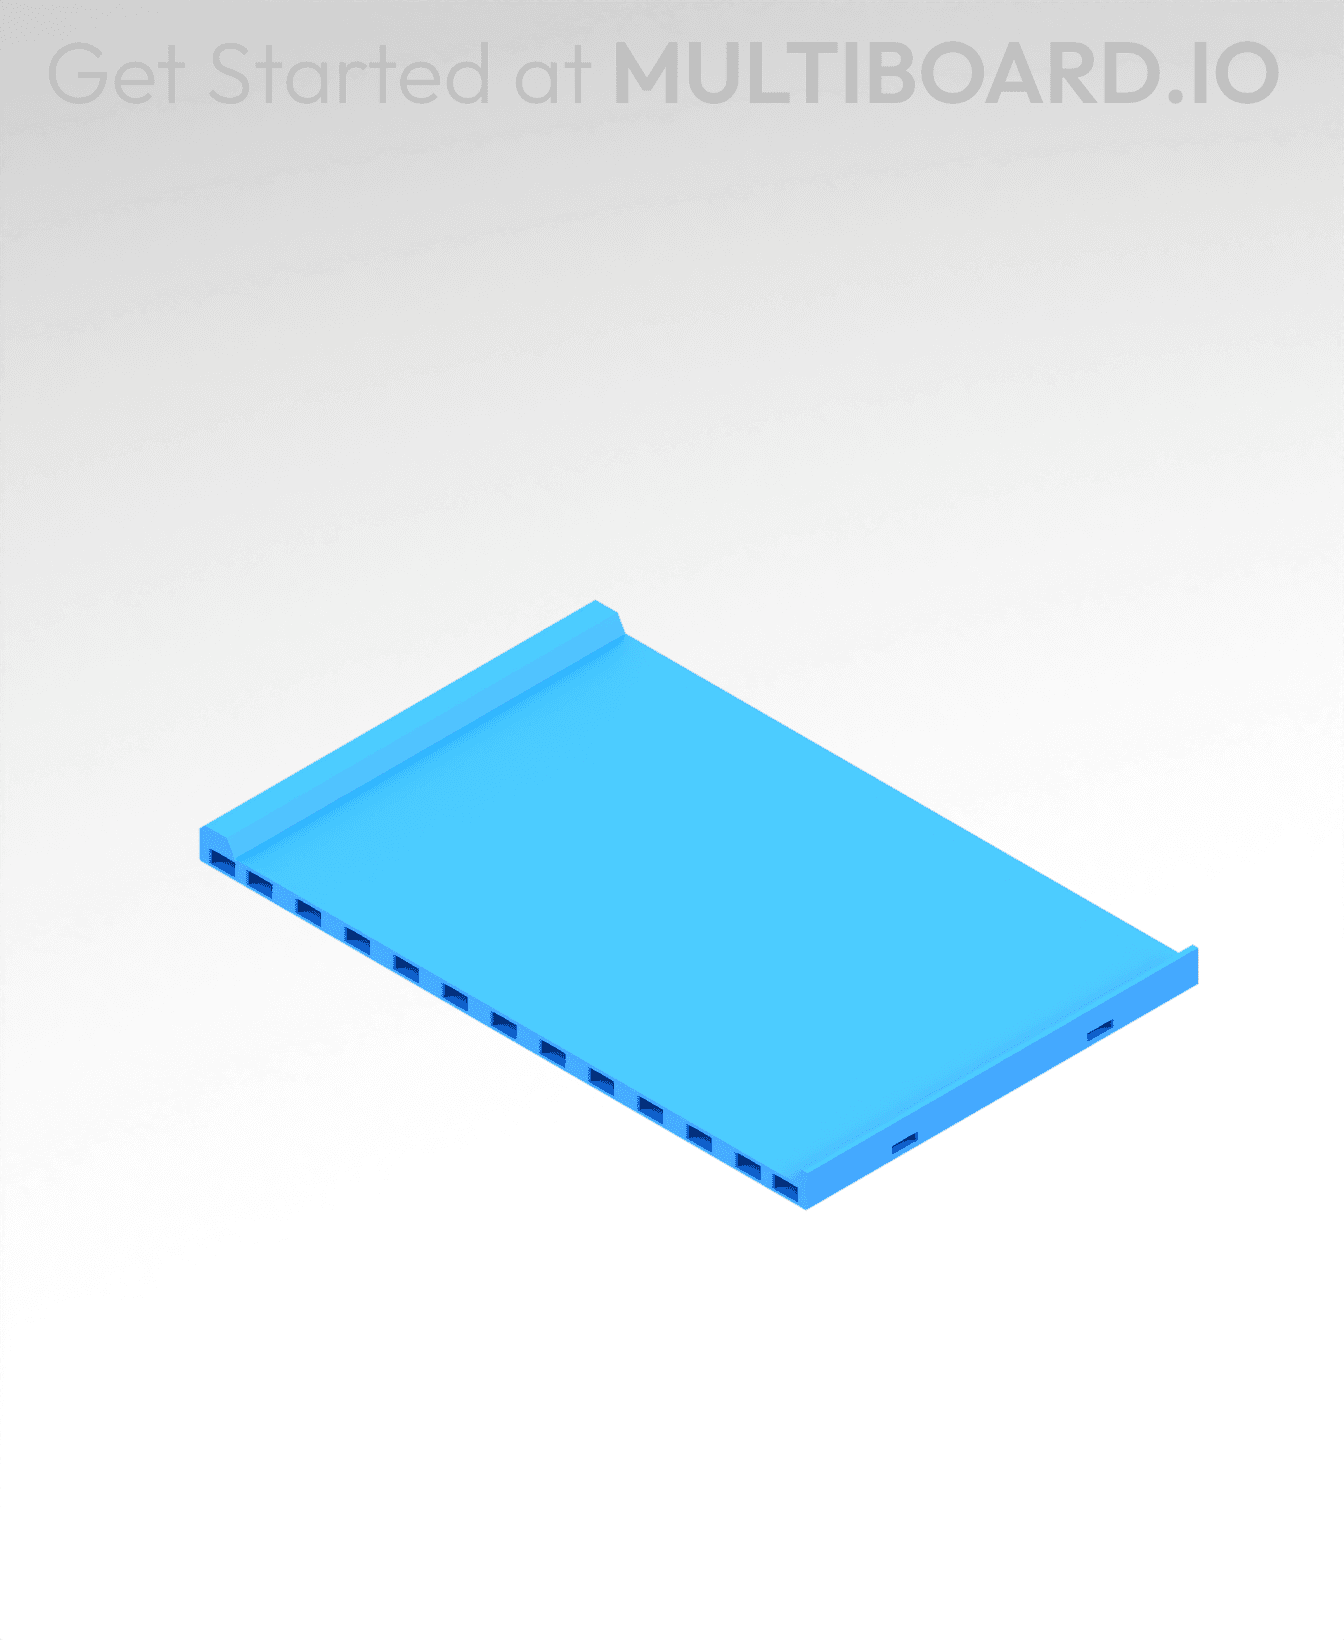
4x6 MU - Center - Modular Bolt-Locked Shelf
2x8 MU - Left Support End - Modular Bolt-Locked Shelf
2x2 MU - Left Support End - Modular Bolt-Locked Shelf
8x2 MU - Center - Modular Bolt-Locked Shelf
8x4 MU - Center - Modular Bolt-Locked Shelf
2x4 MU - Center - Modular Bolt-Locked Shelf

2x8 MU - Right Support End - Modular Bolt-Locked Shelf
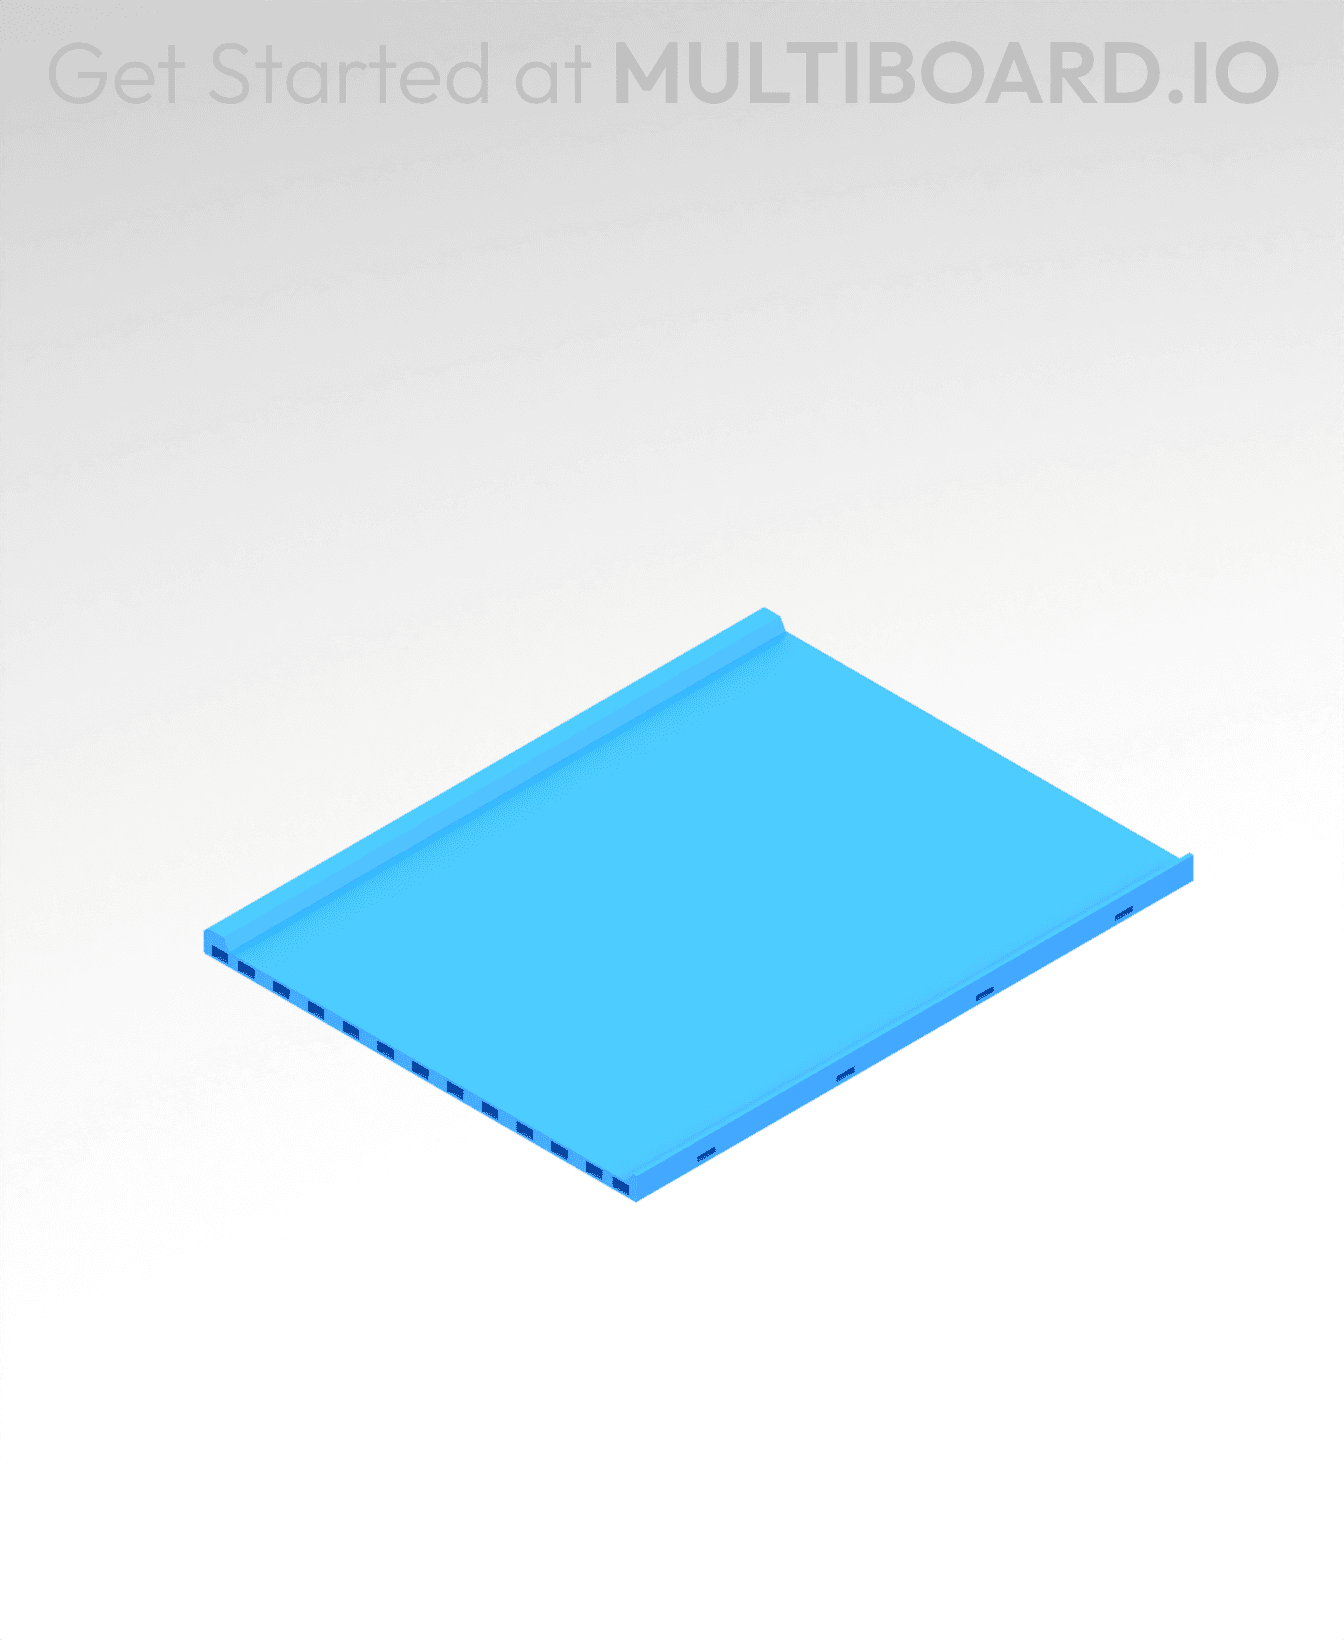
8x6 MU - Center - Modular Bolt-Locked Shelf
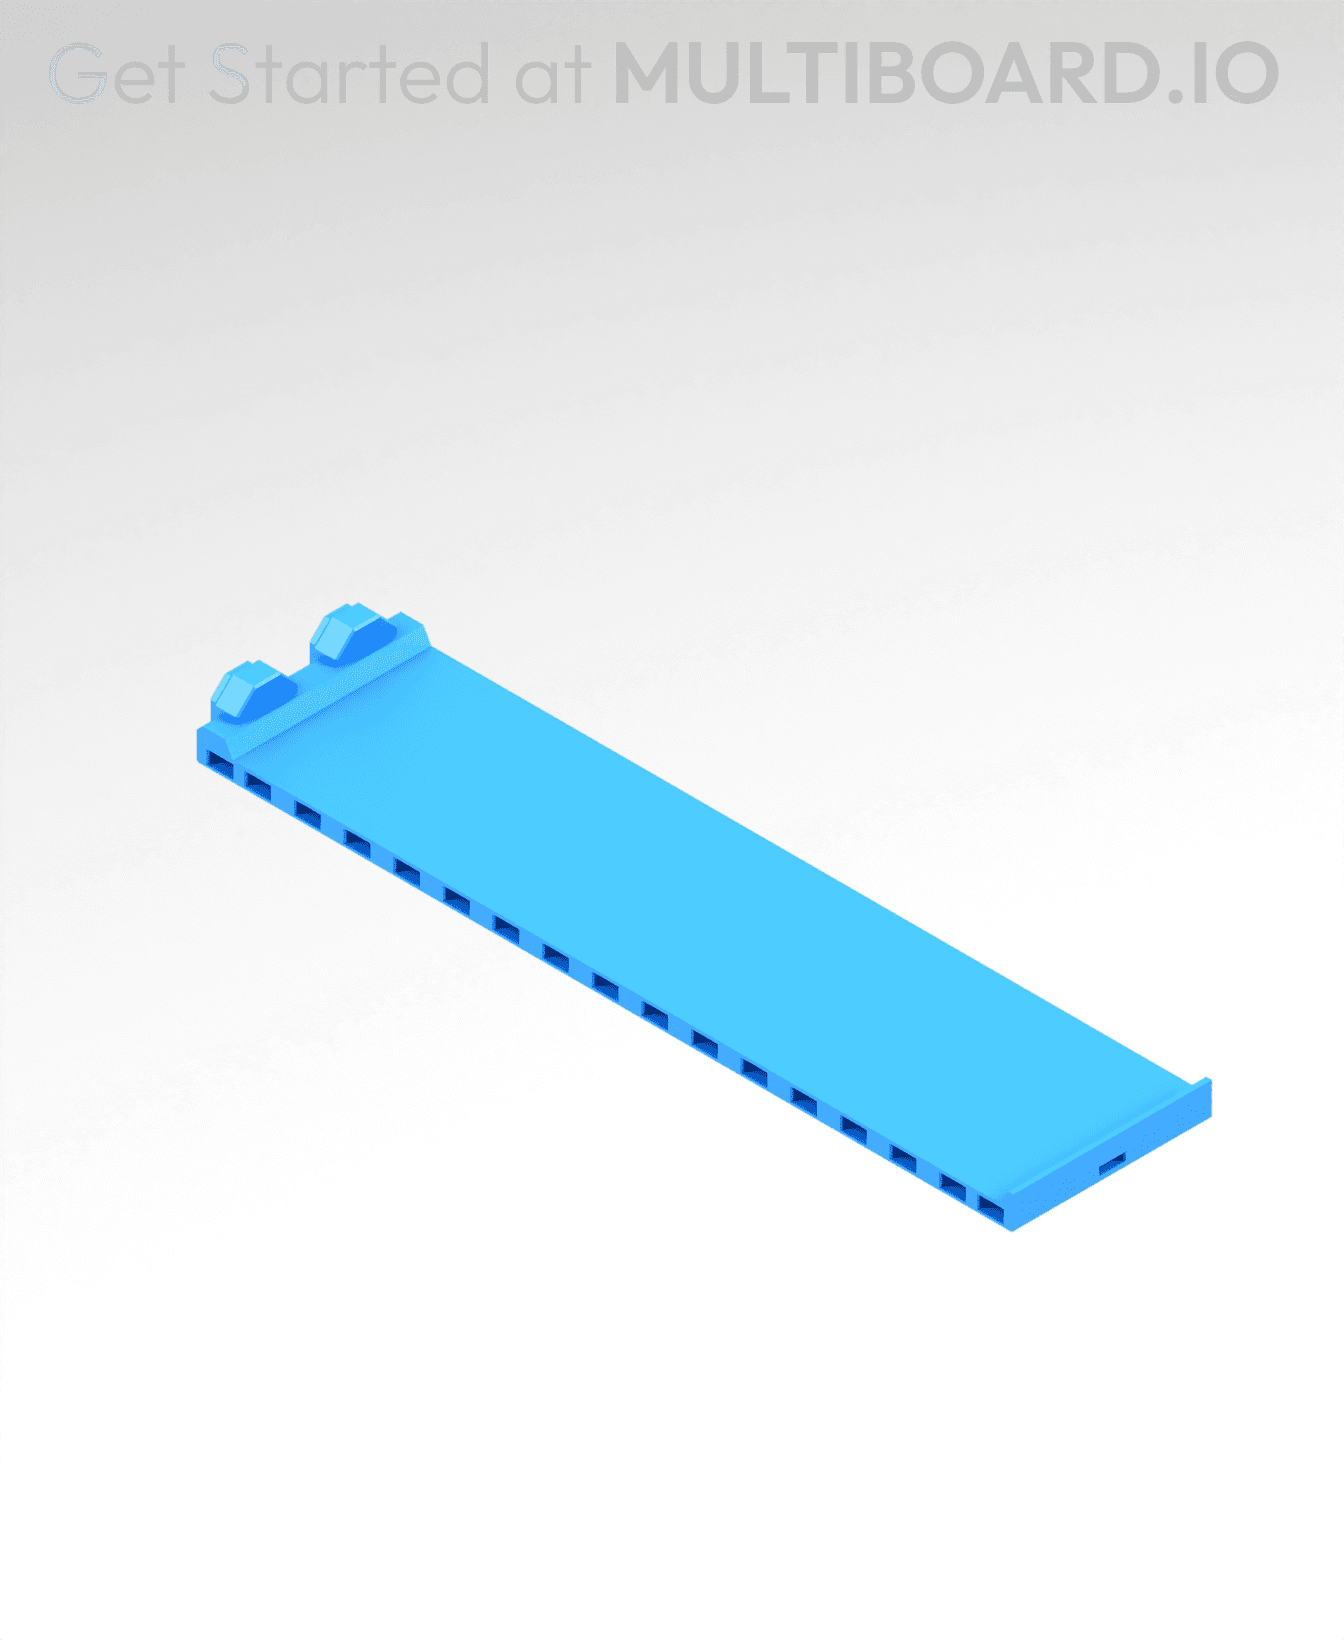
2x8 MU - Center Support - Modular Bolt-Locked Shelf
The major problem with this is that the tiles aren't defined as separate 'objects'. This means that after the first tile, subsequent tiles don't have a 'bottom' set of layers meaning they are weaker than they should be and often the bottom layer does not stick properly as it's printed as a bridge.
In your slicer, if you right click on the object, then select split to, and then do to objects, you can clearly separate all layers, tile's and the middle layer and make them the different filaments
I don't have that problem with the Bambu slicer on these packaged files. I do have a problem with the layers "missing" for the top and bottom when importing from the blender generator. Not sure if it is the same issue. But my sections come out showing the "bones" of the grid rather than the topped bottom layers.
The linked video is for custom tile generator rather than multi-material printing video here: https://youtu.be/zURgeF1Fn0o
It's been a year since this post, and I know a lot of changes have happened. Is Blender still the way to do this?