


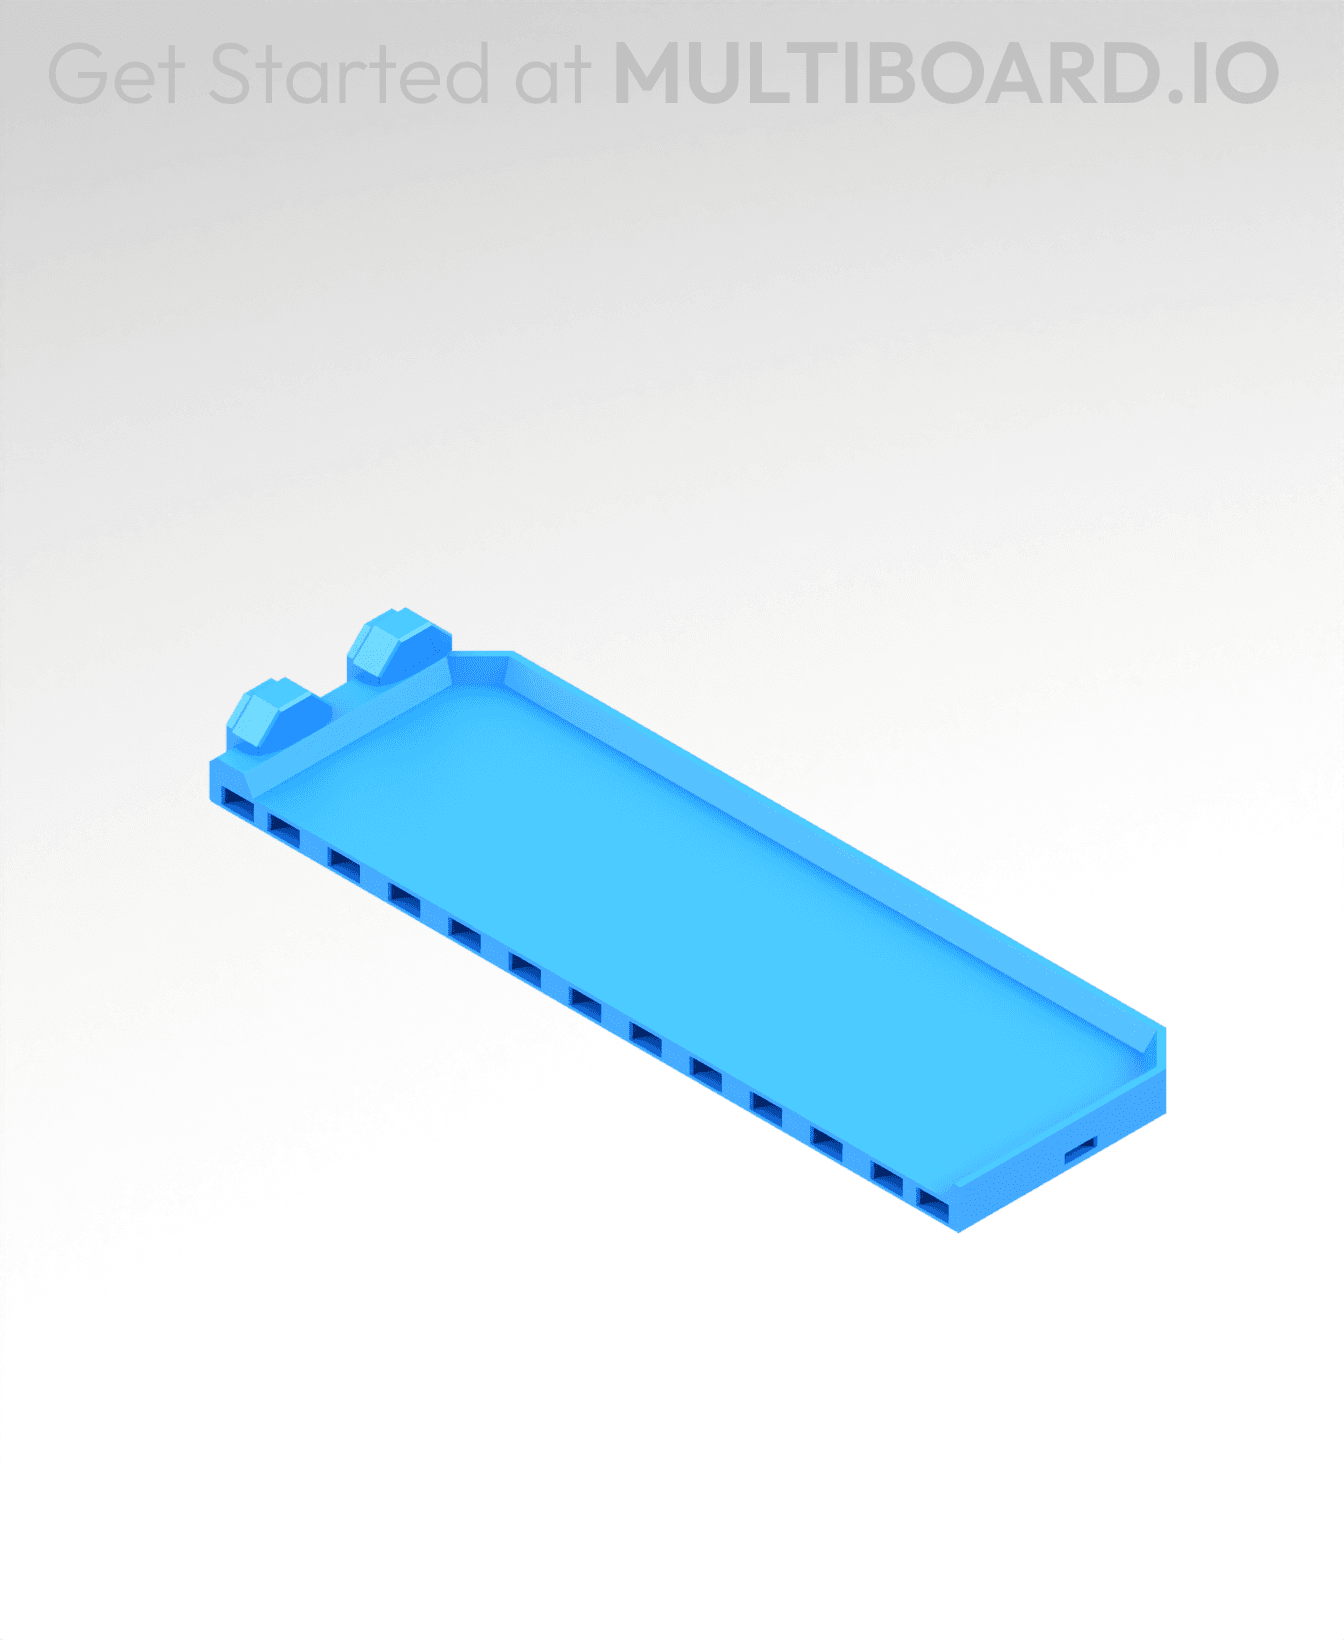
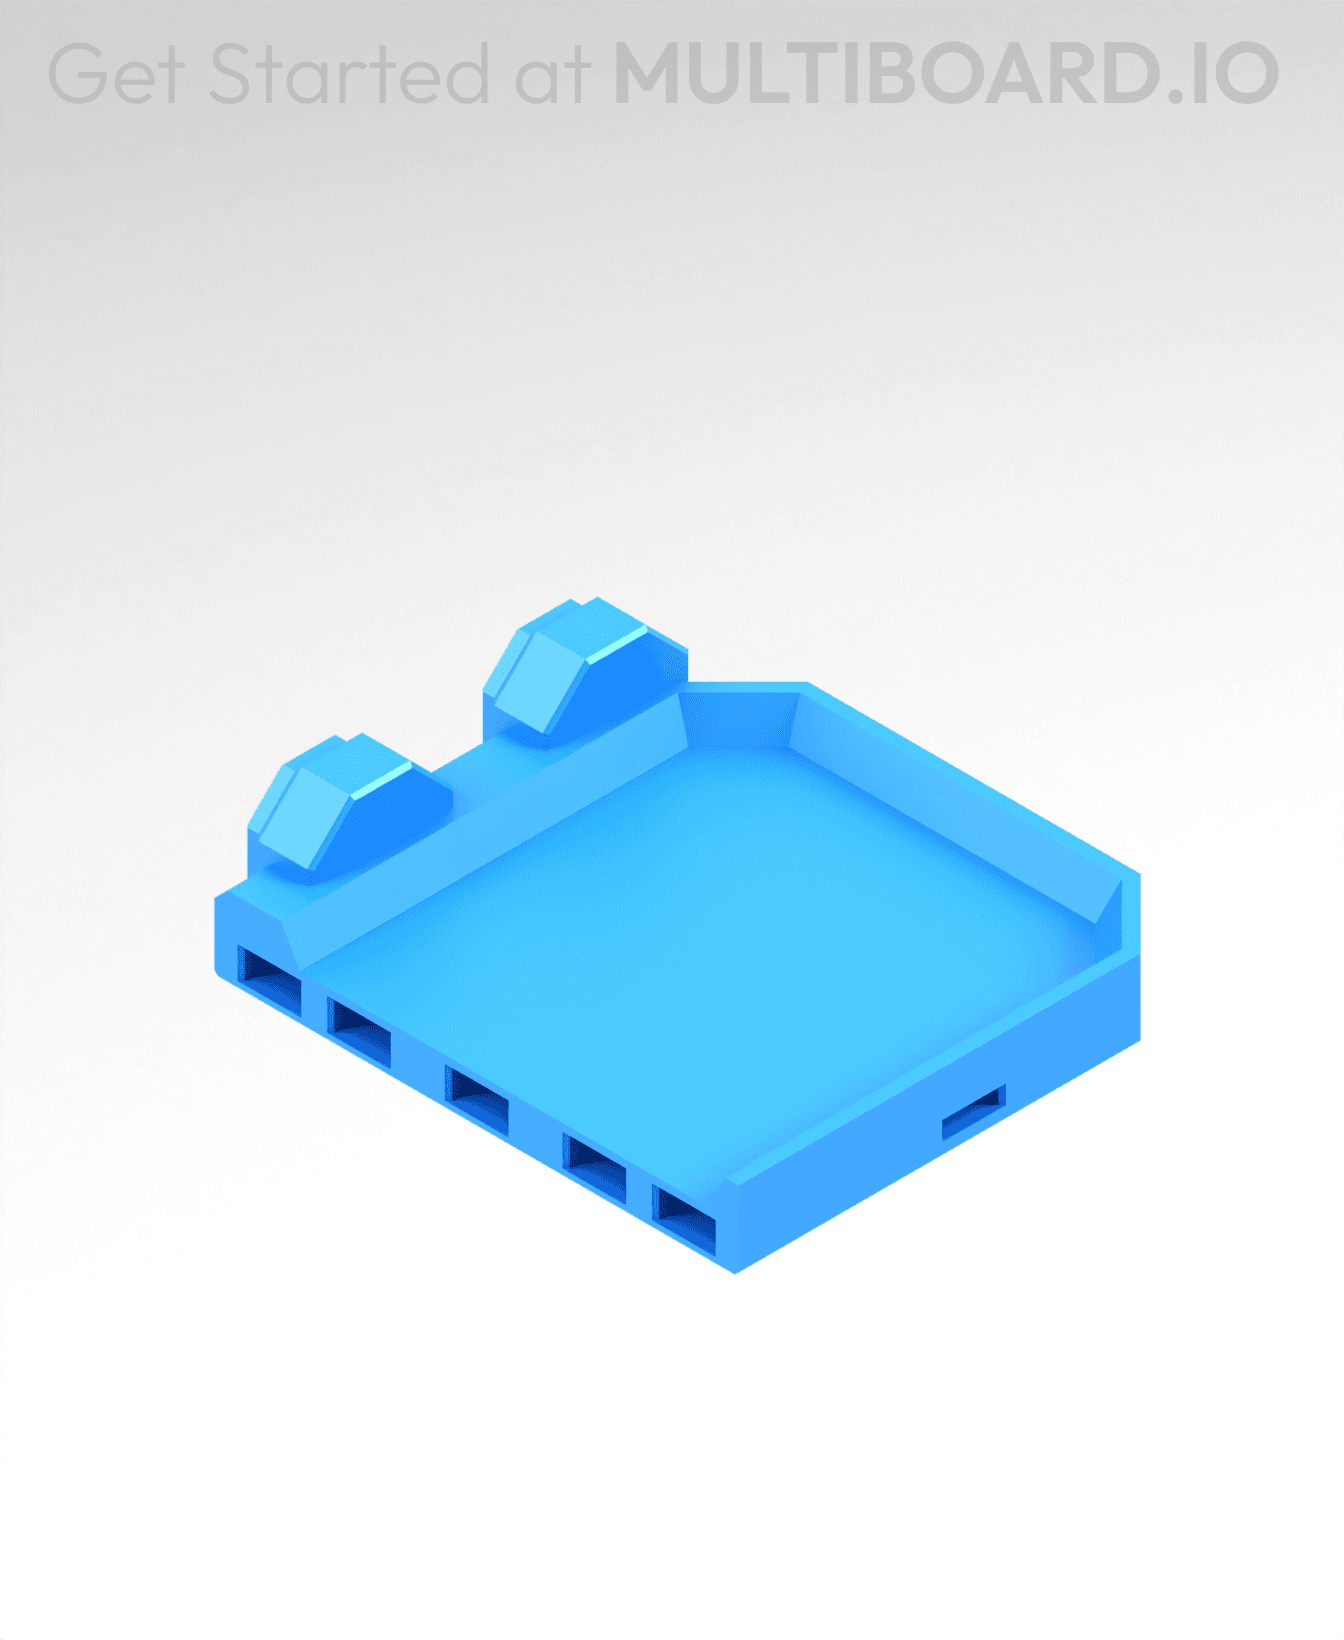
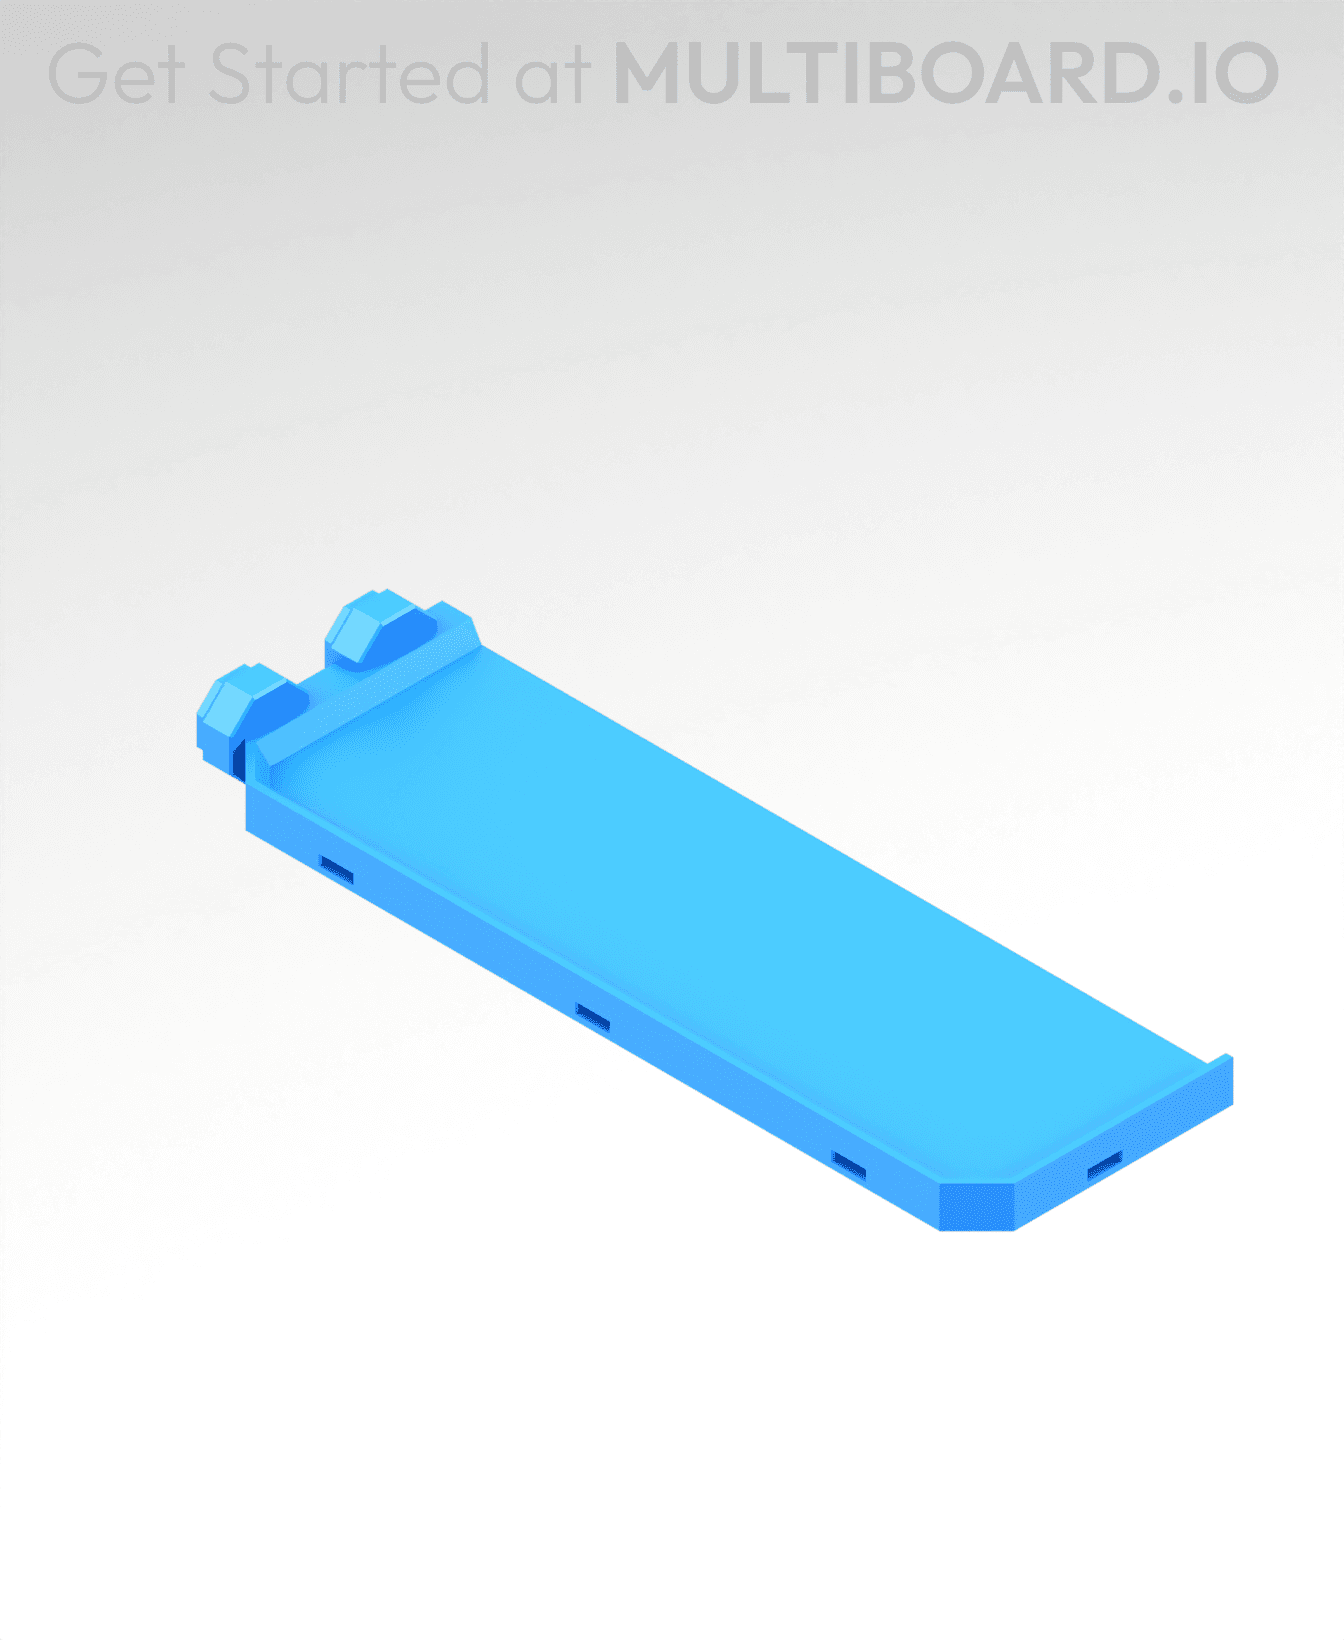
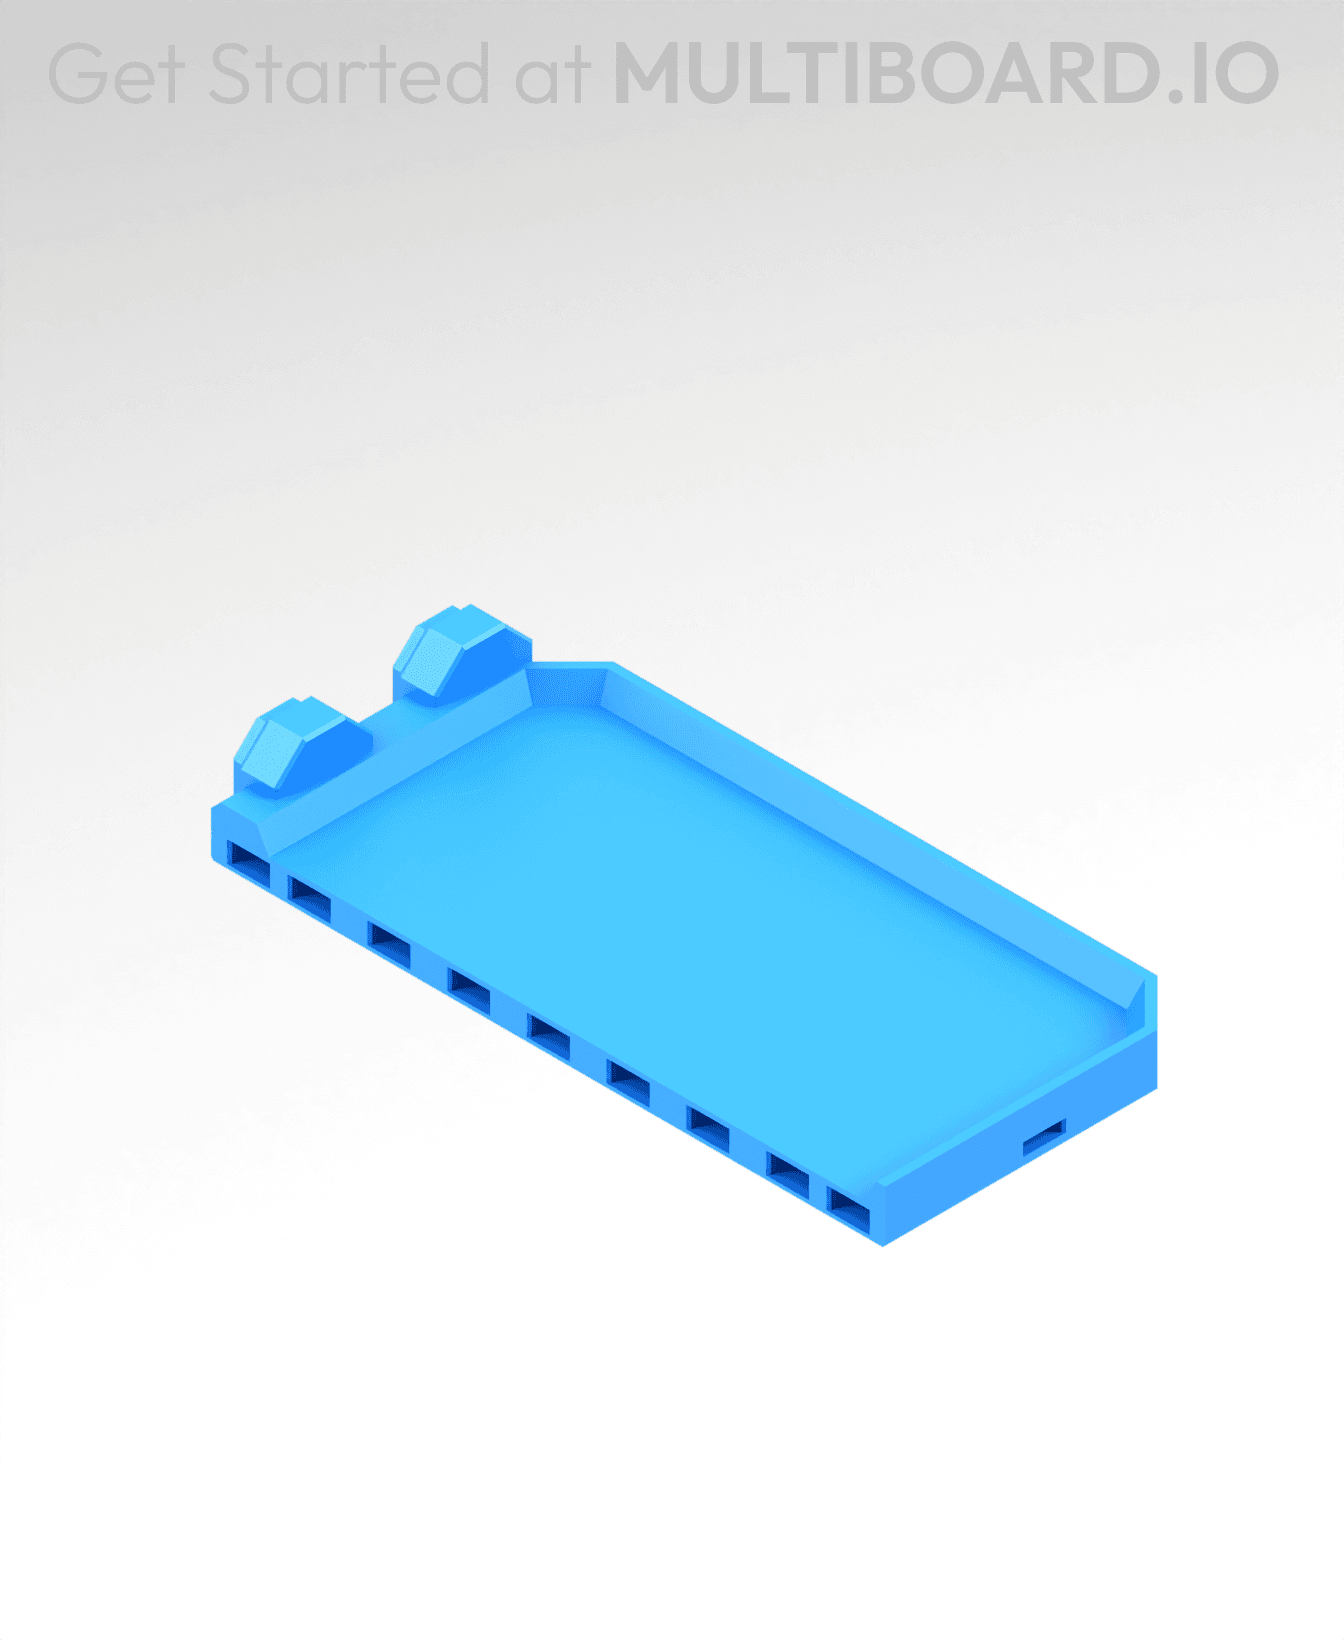
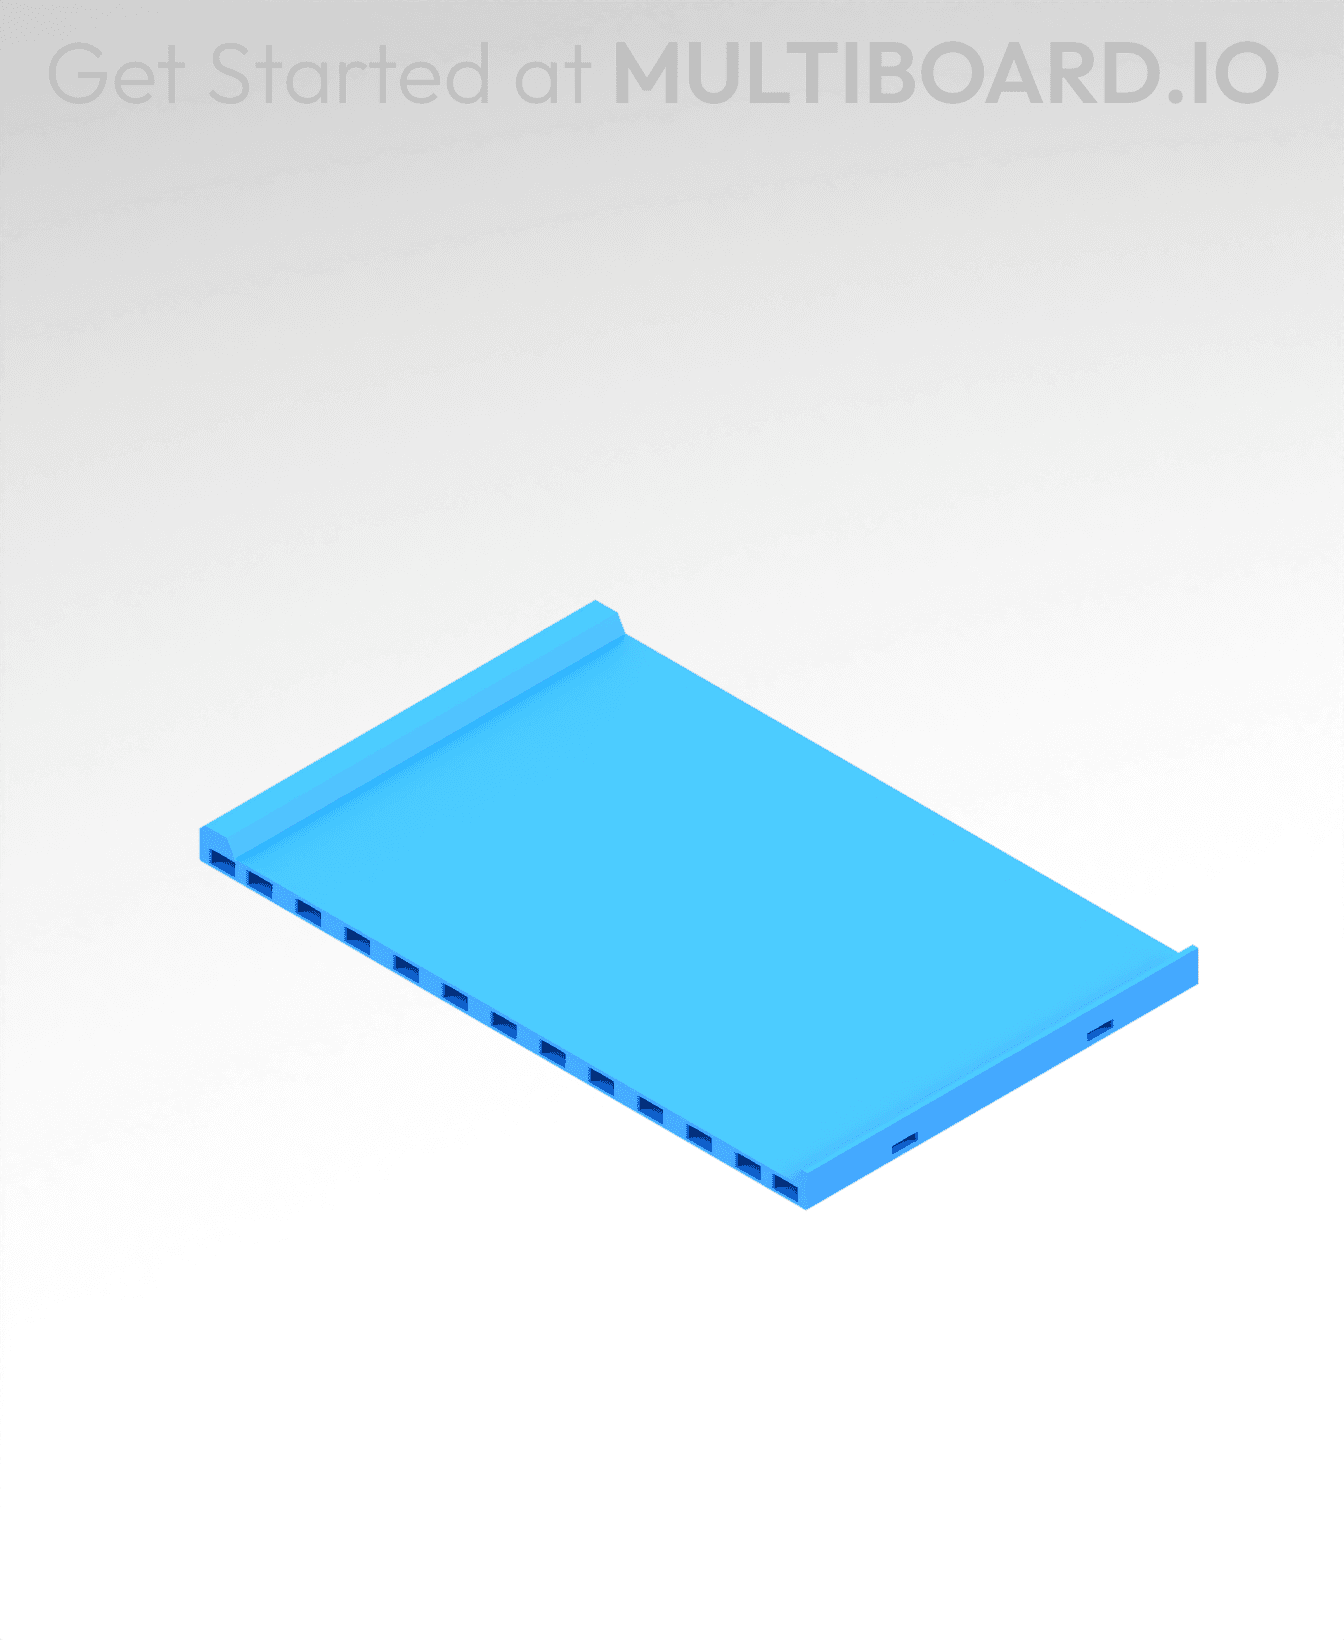
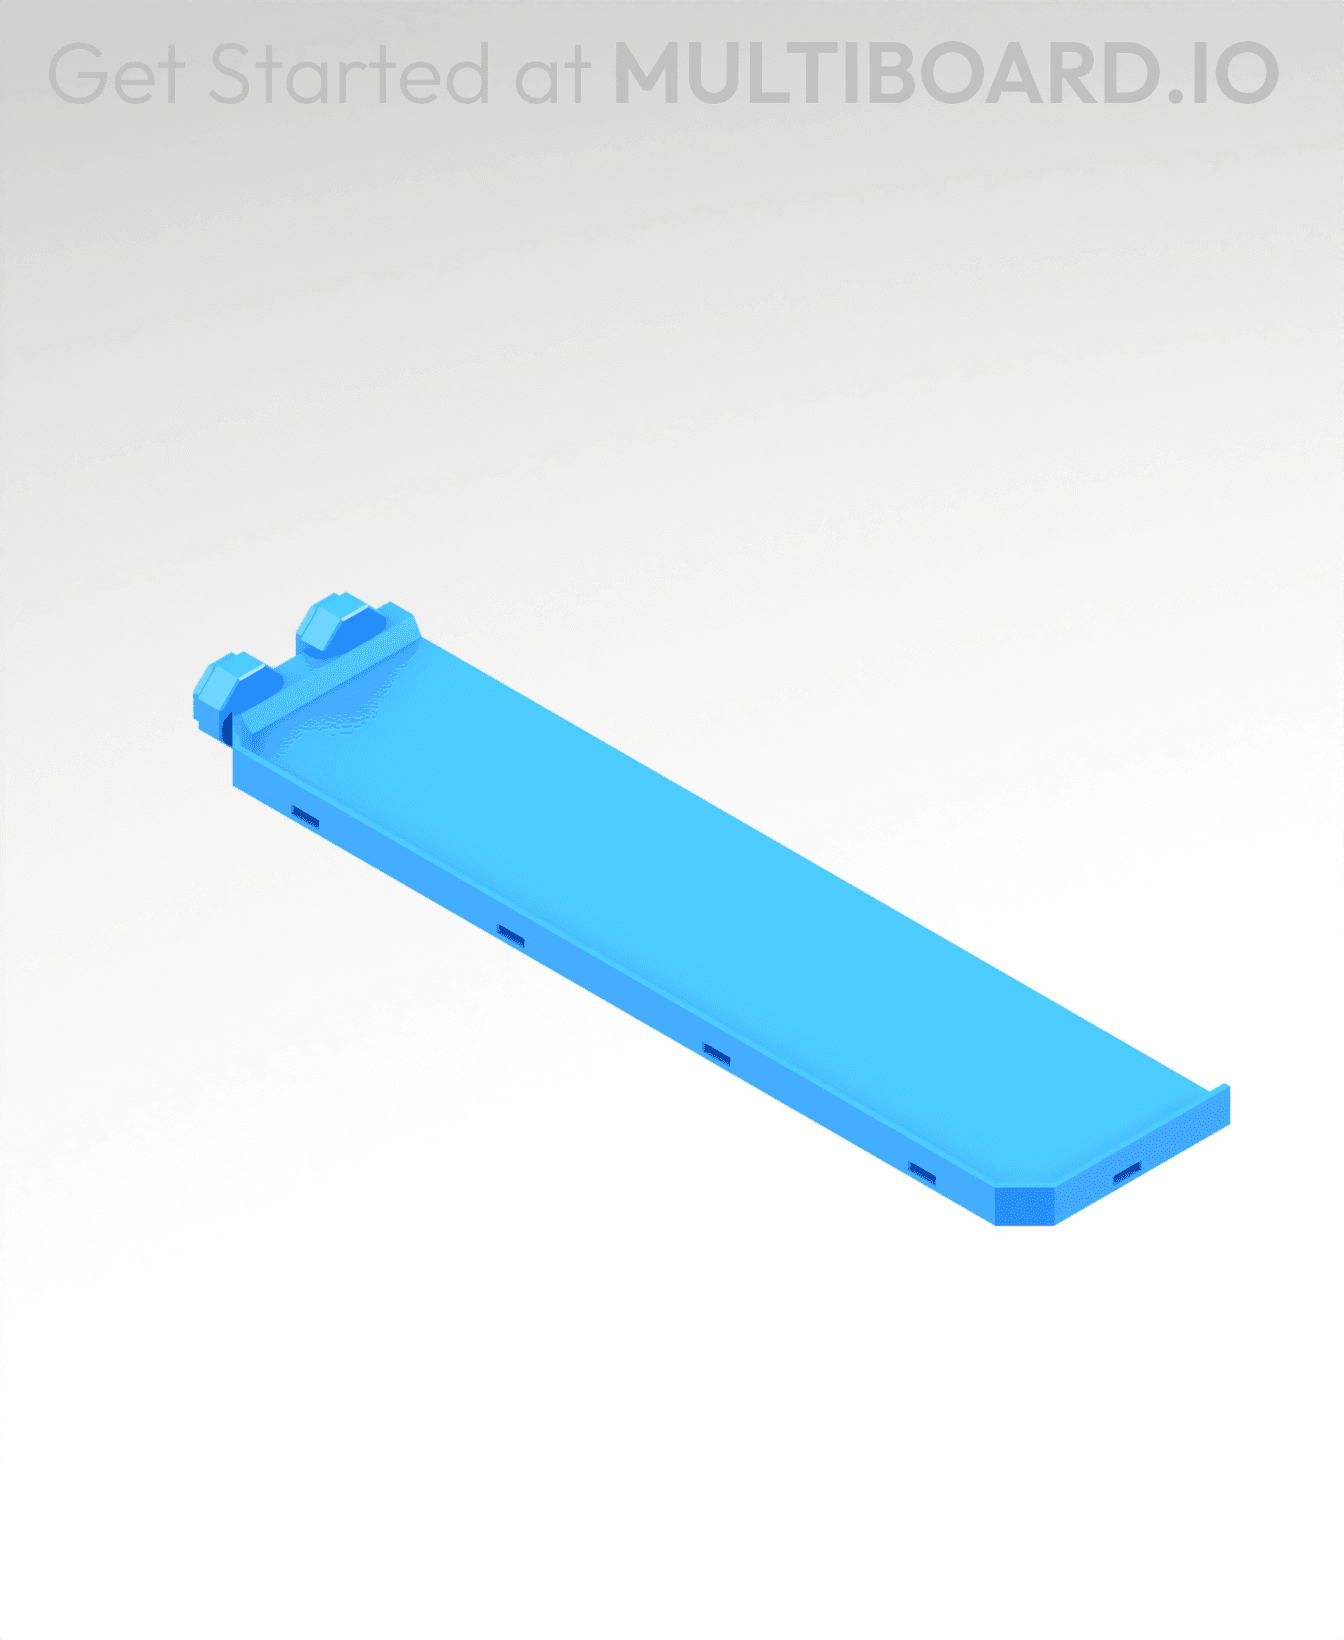
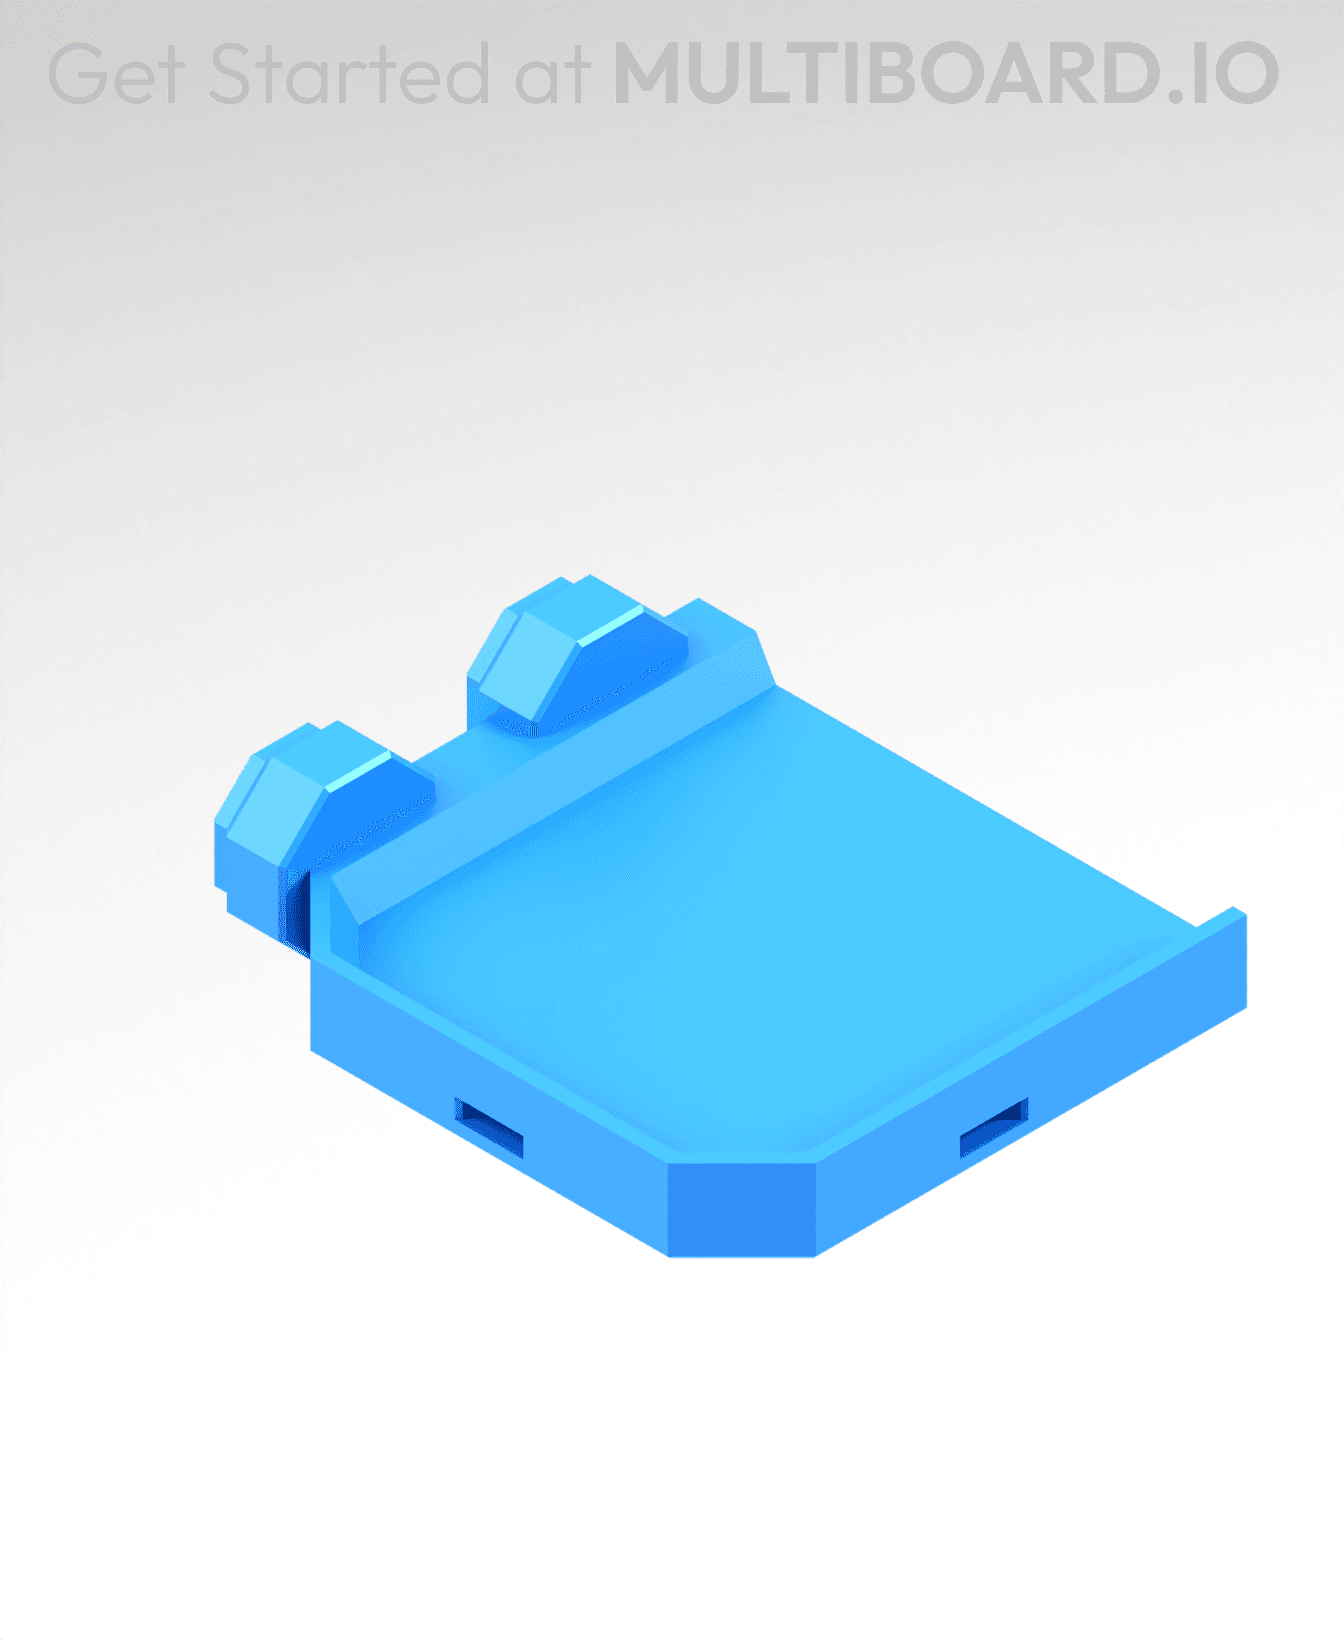
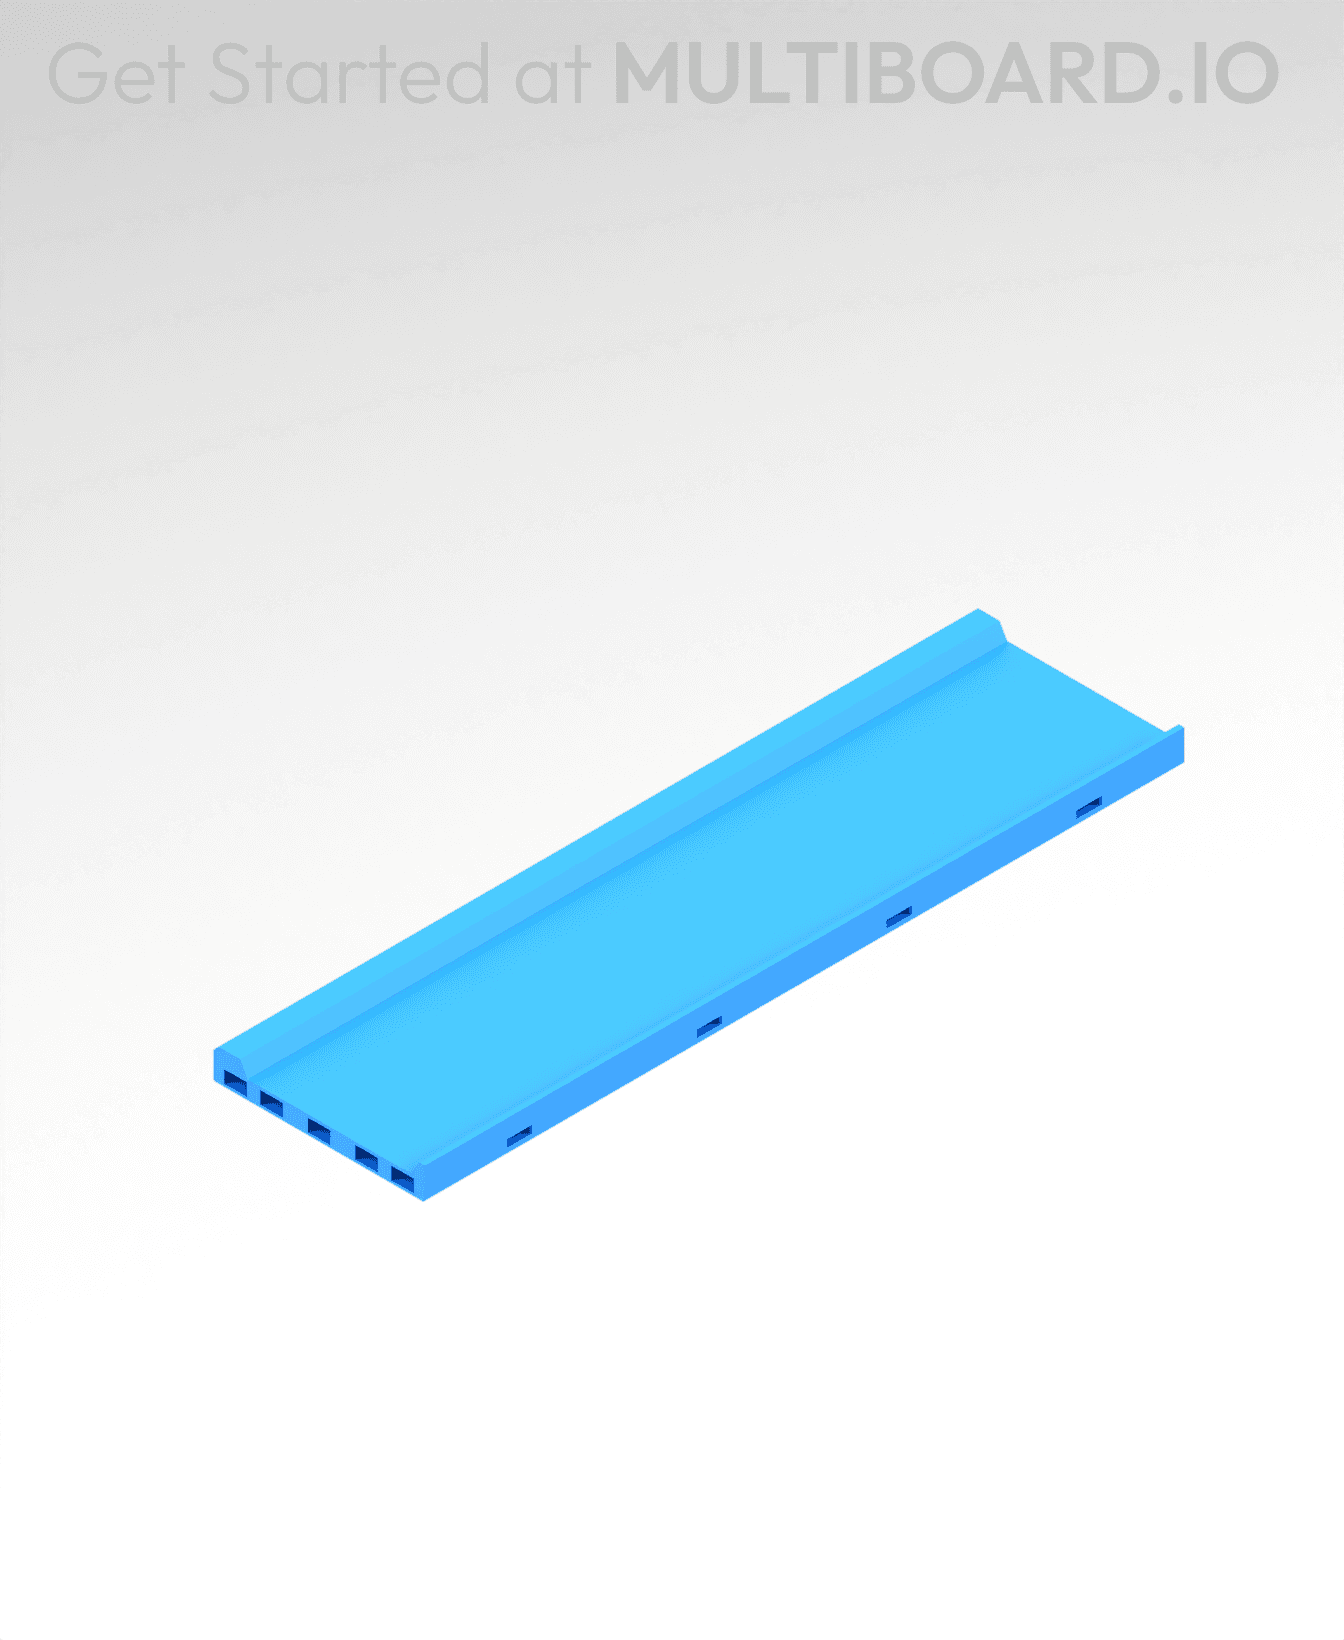
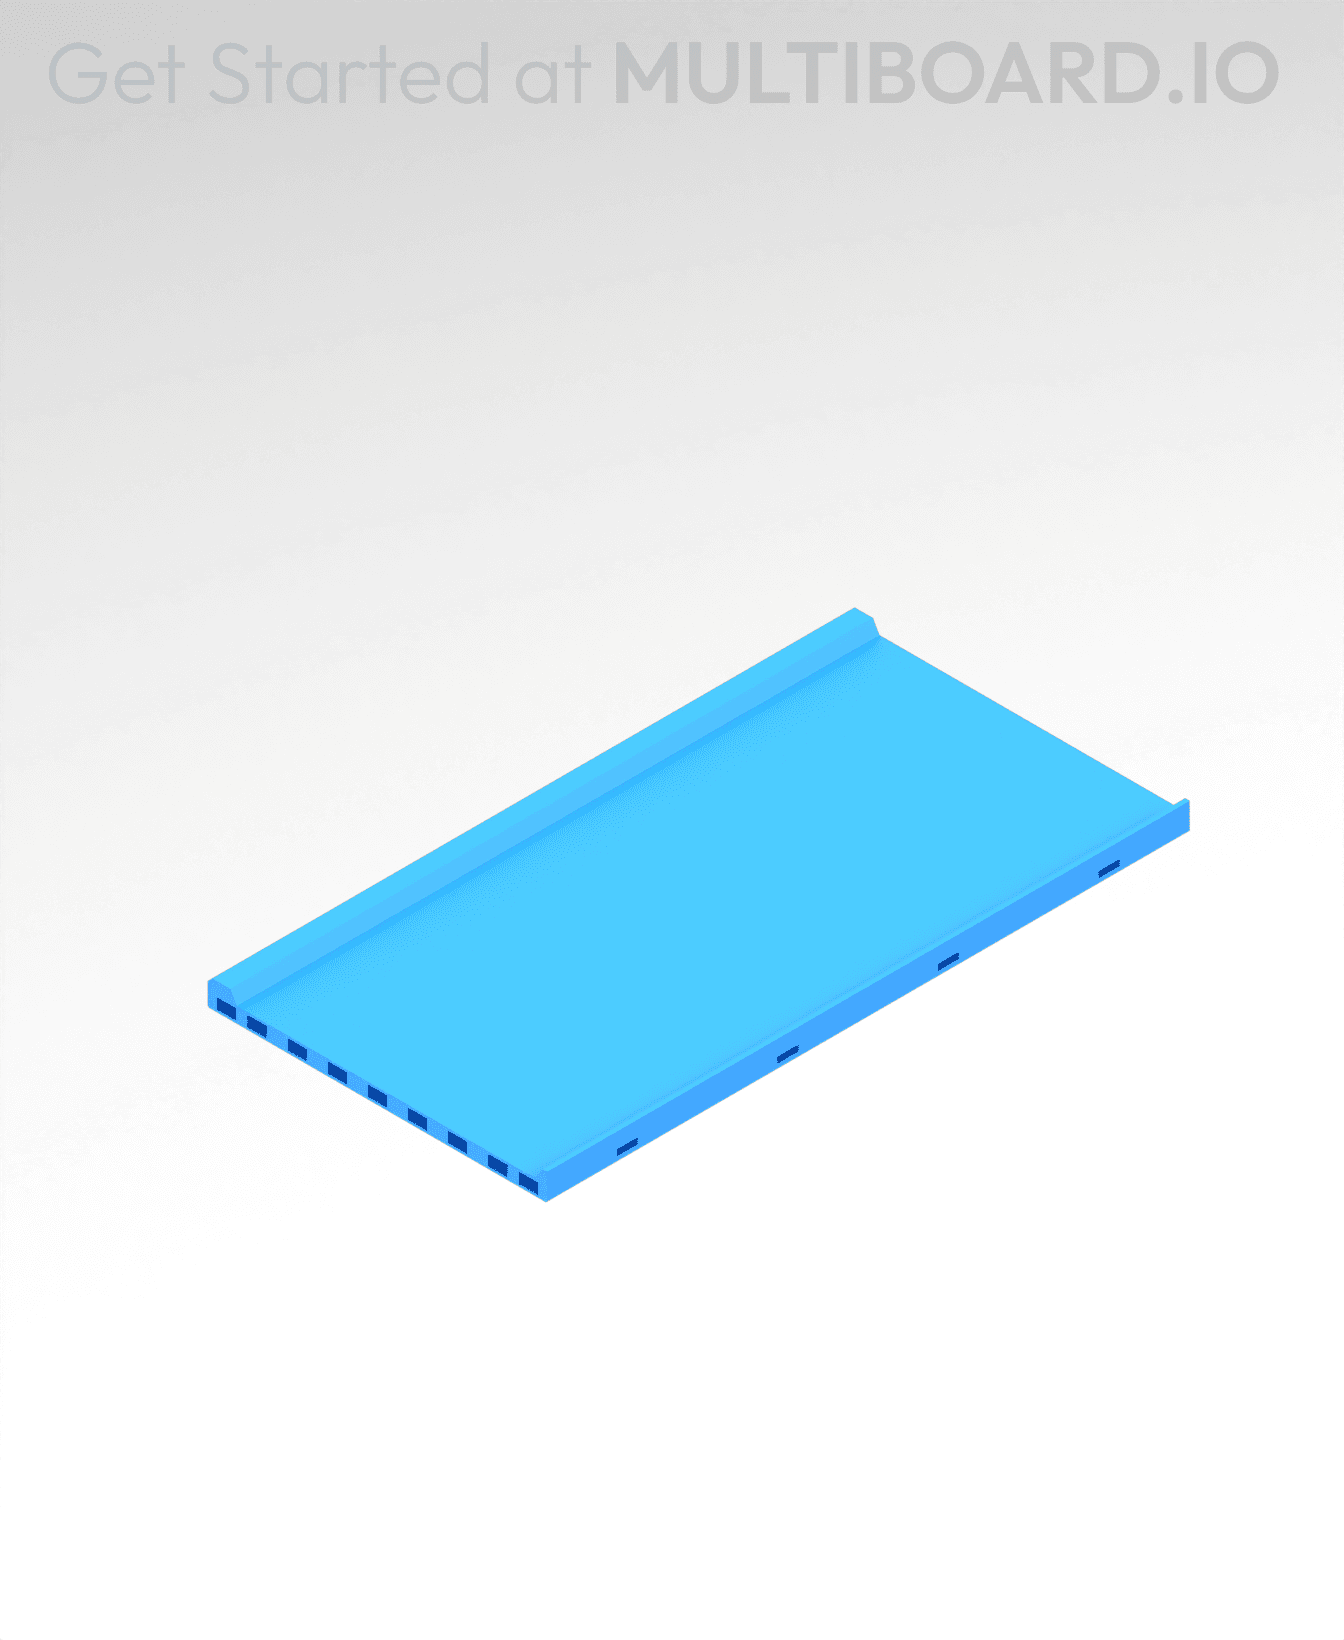
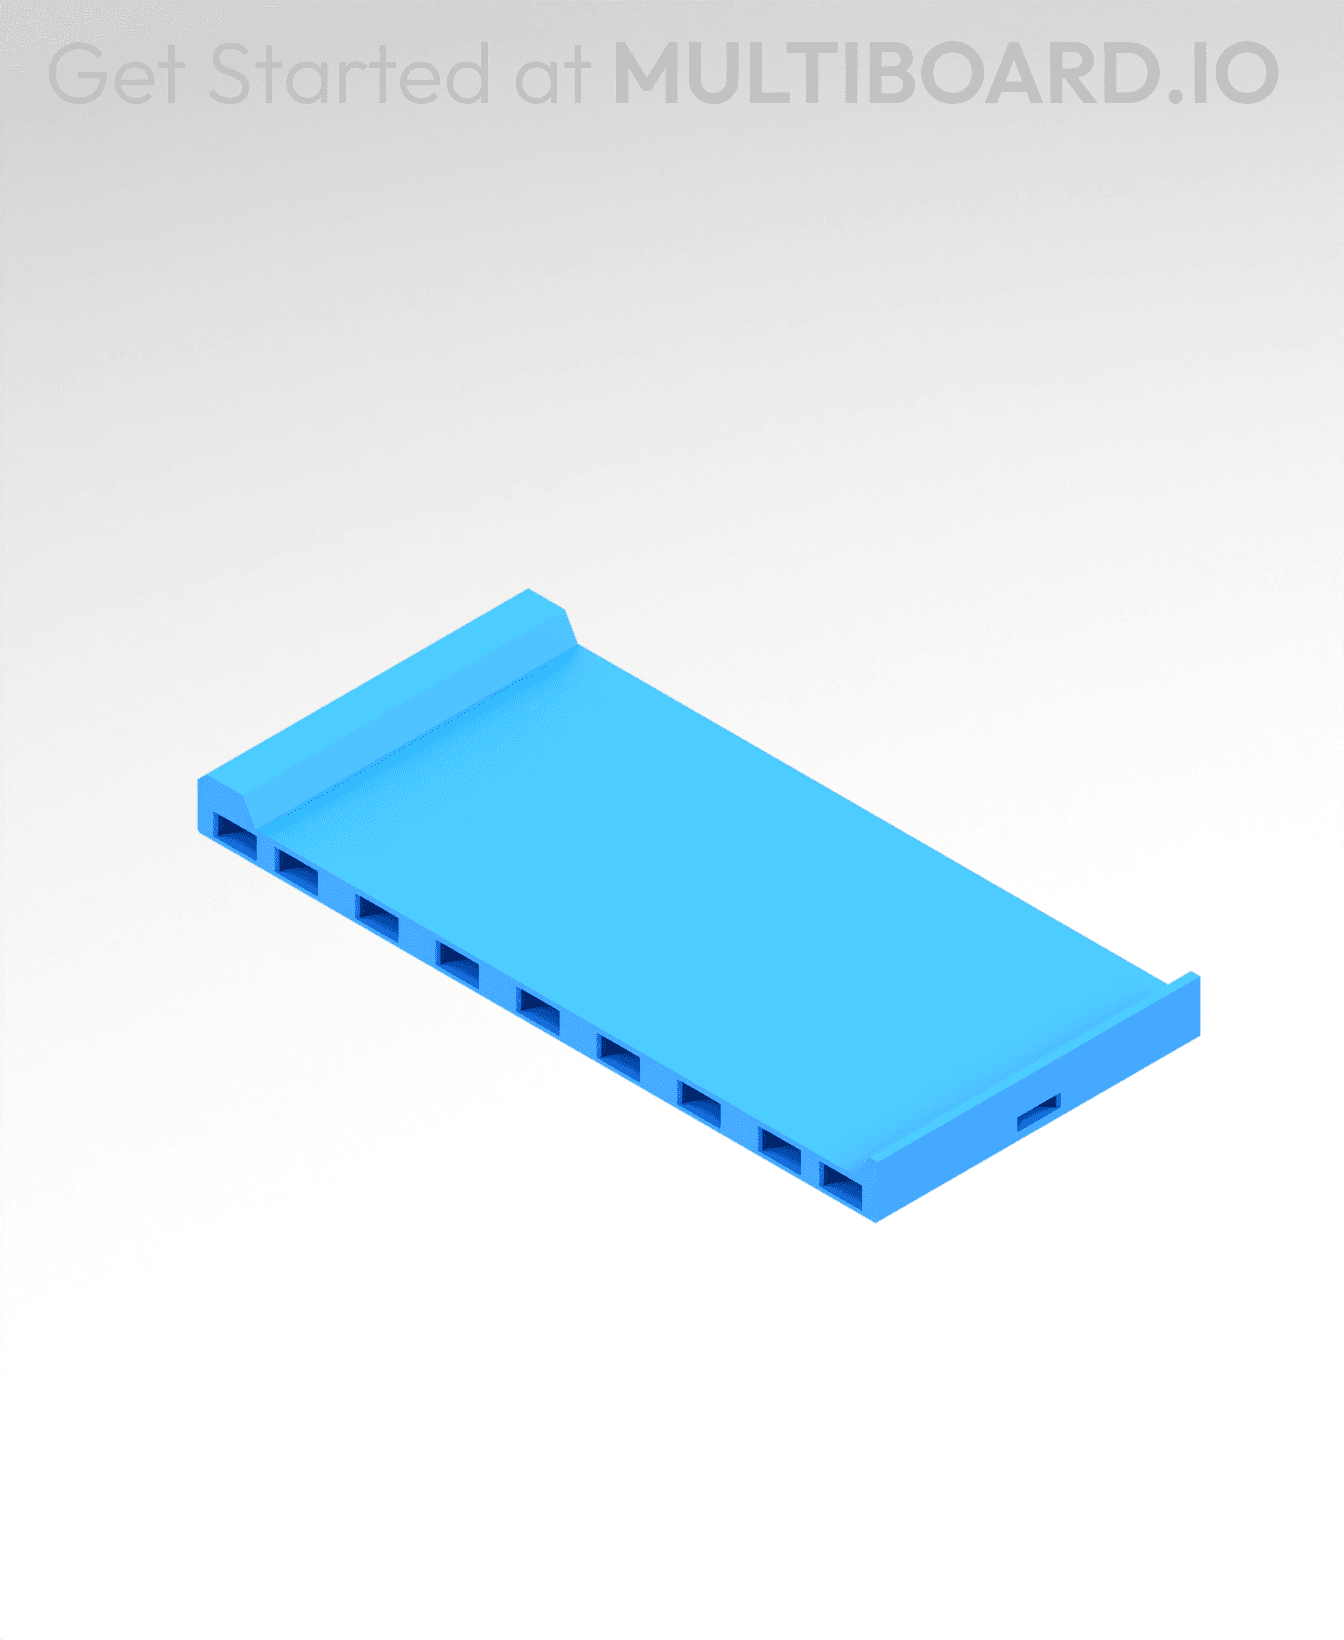
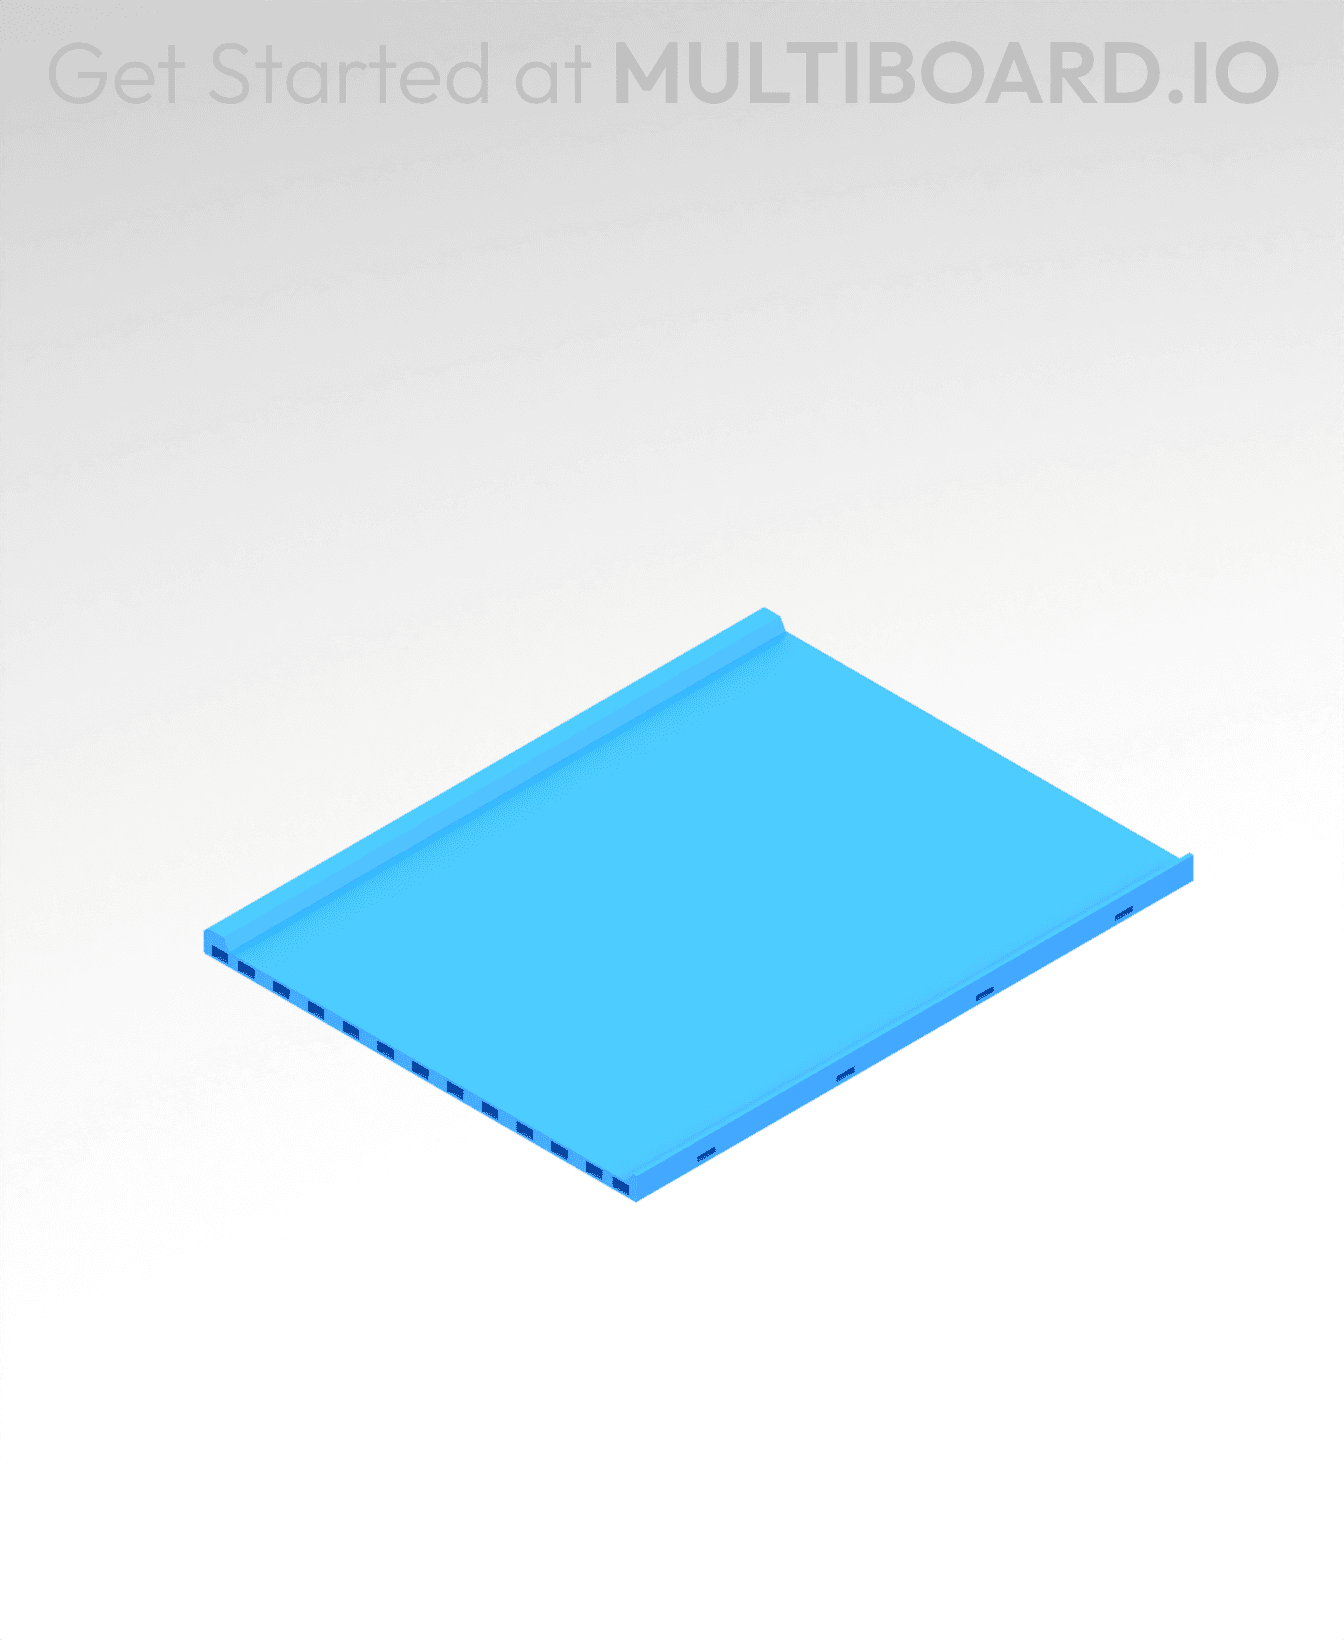
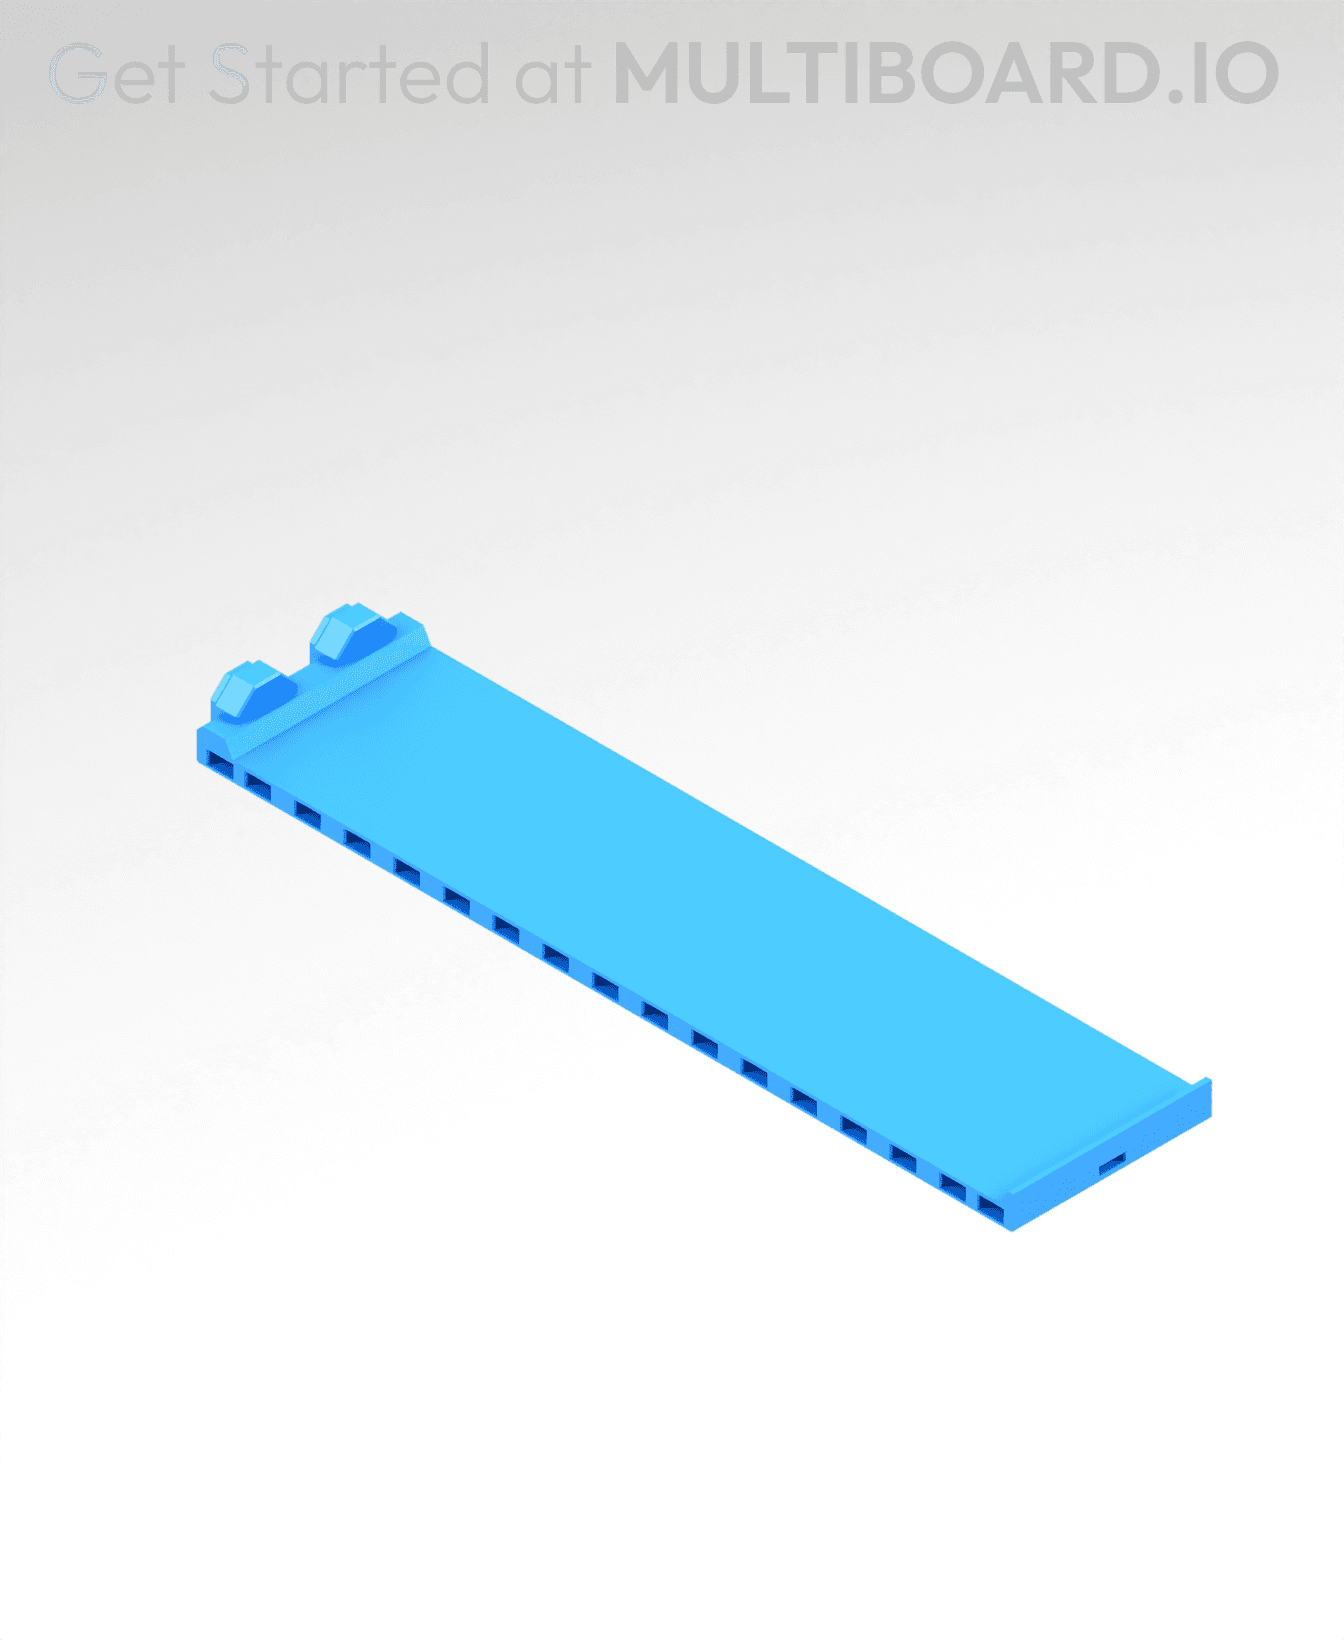
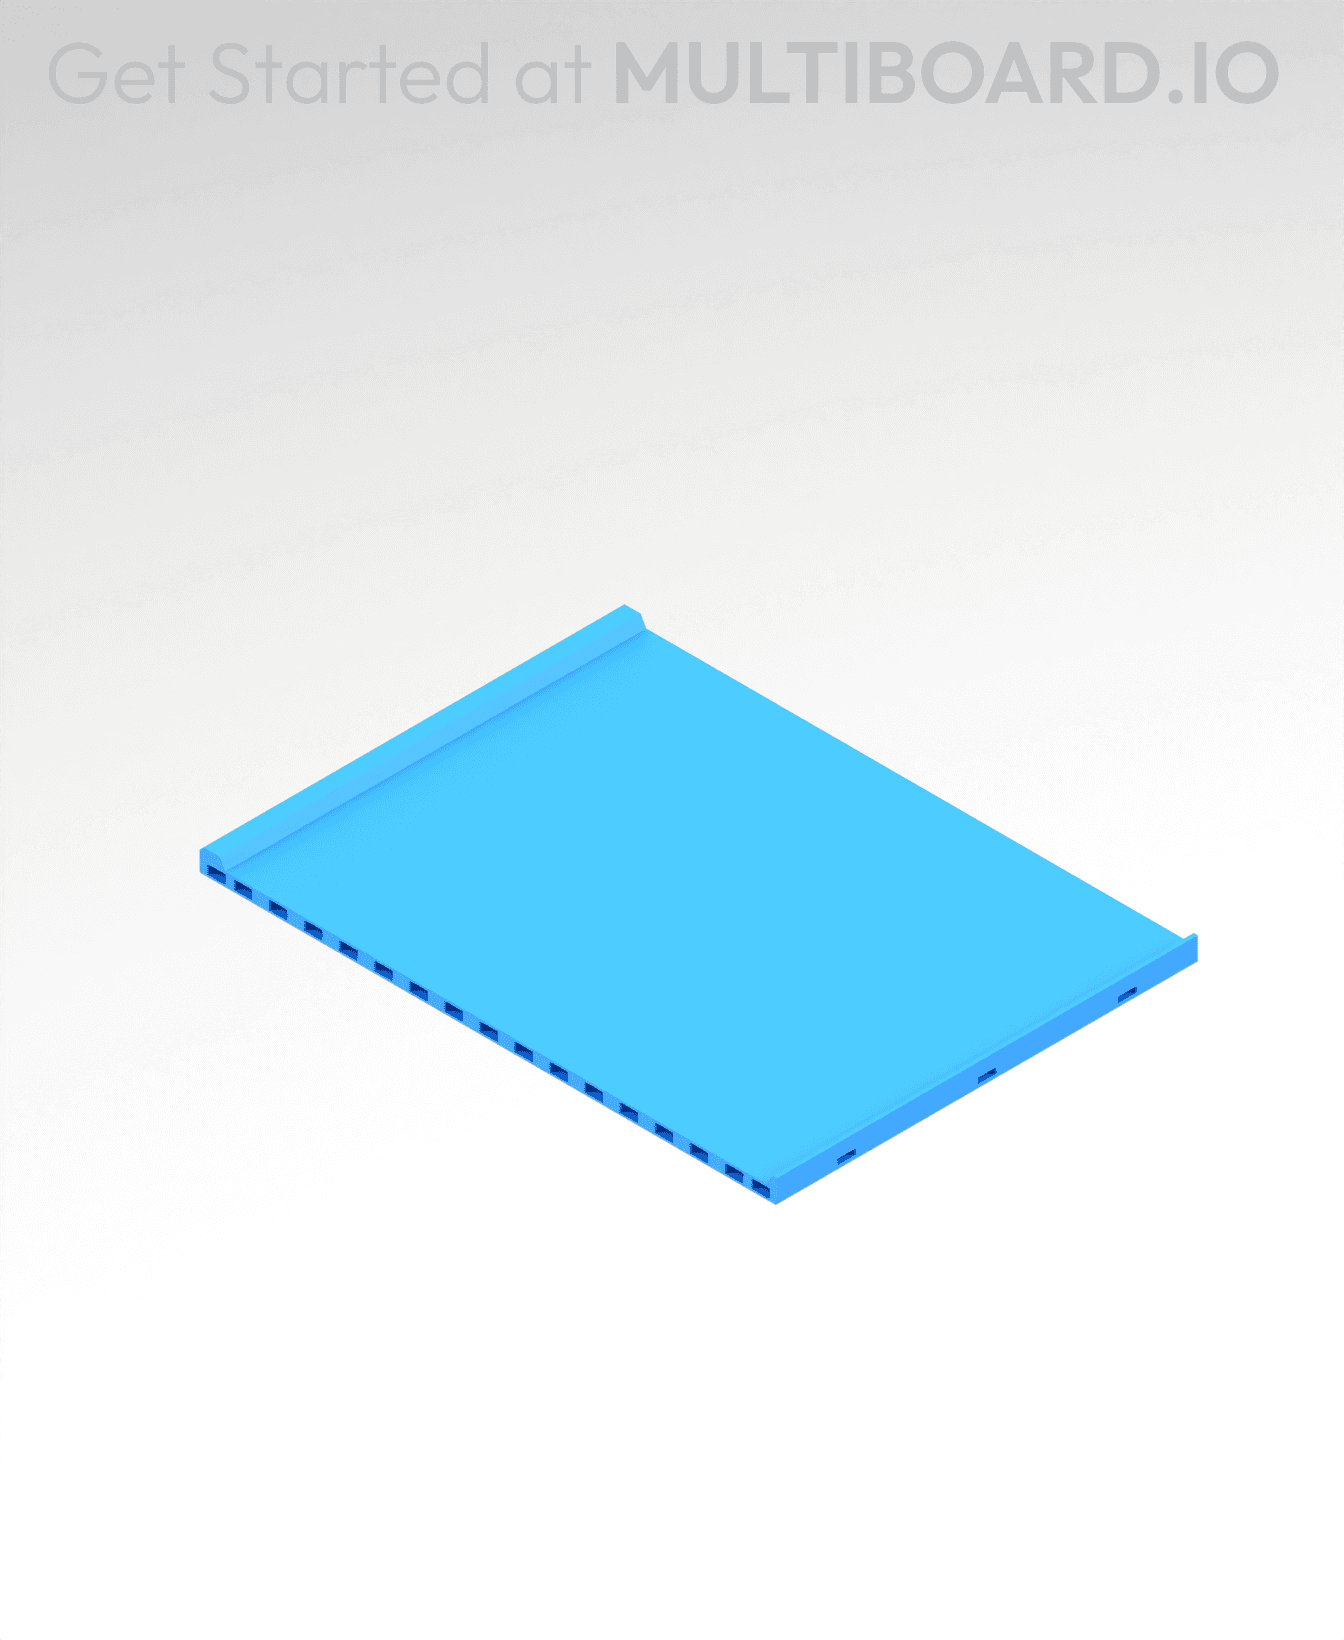
2 MU - Small Thread - L Multiboard Beam
Multiboard Beams are designed to connect with tiles or plates to form 3D structures. They attach to tiles or plates using Dual Clips. Beams can also connect to each other using Dual Clips.
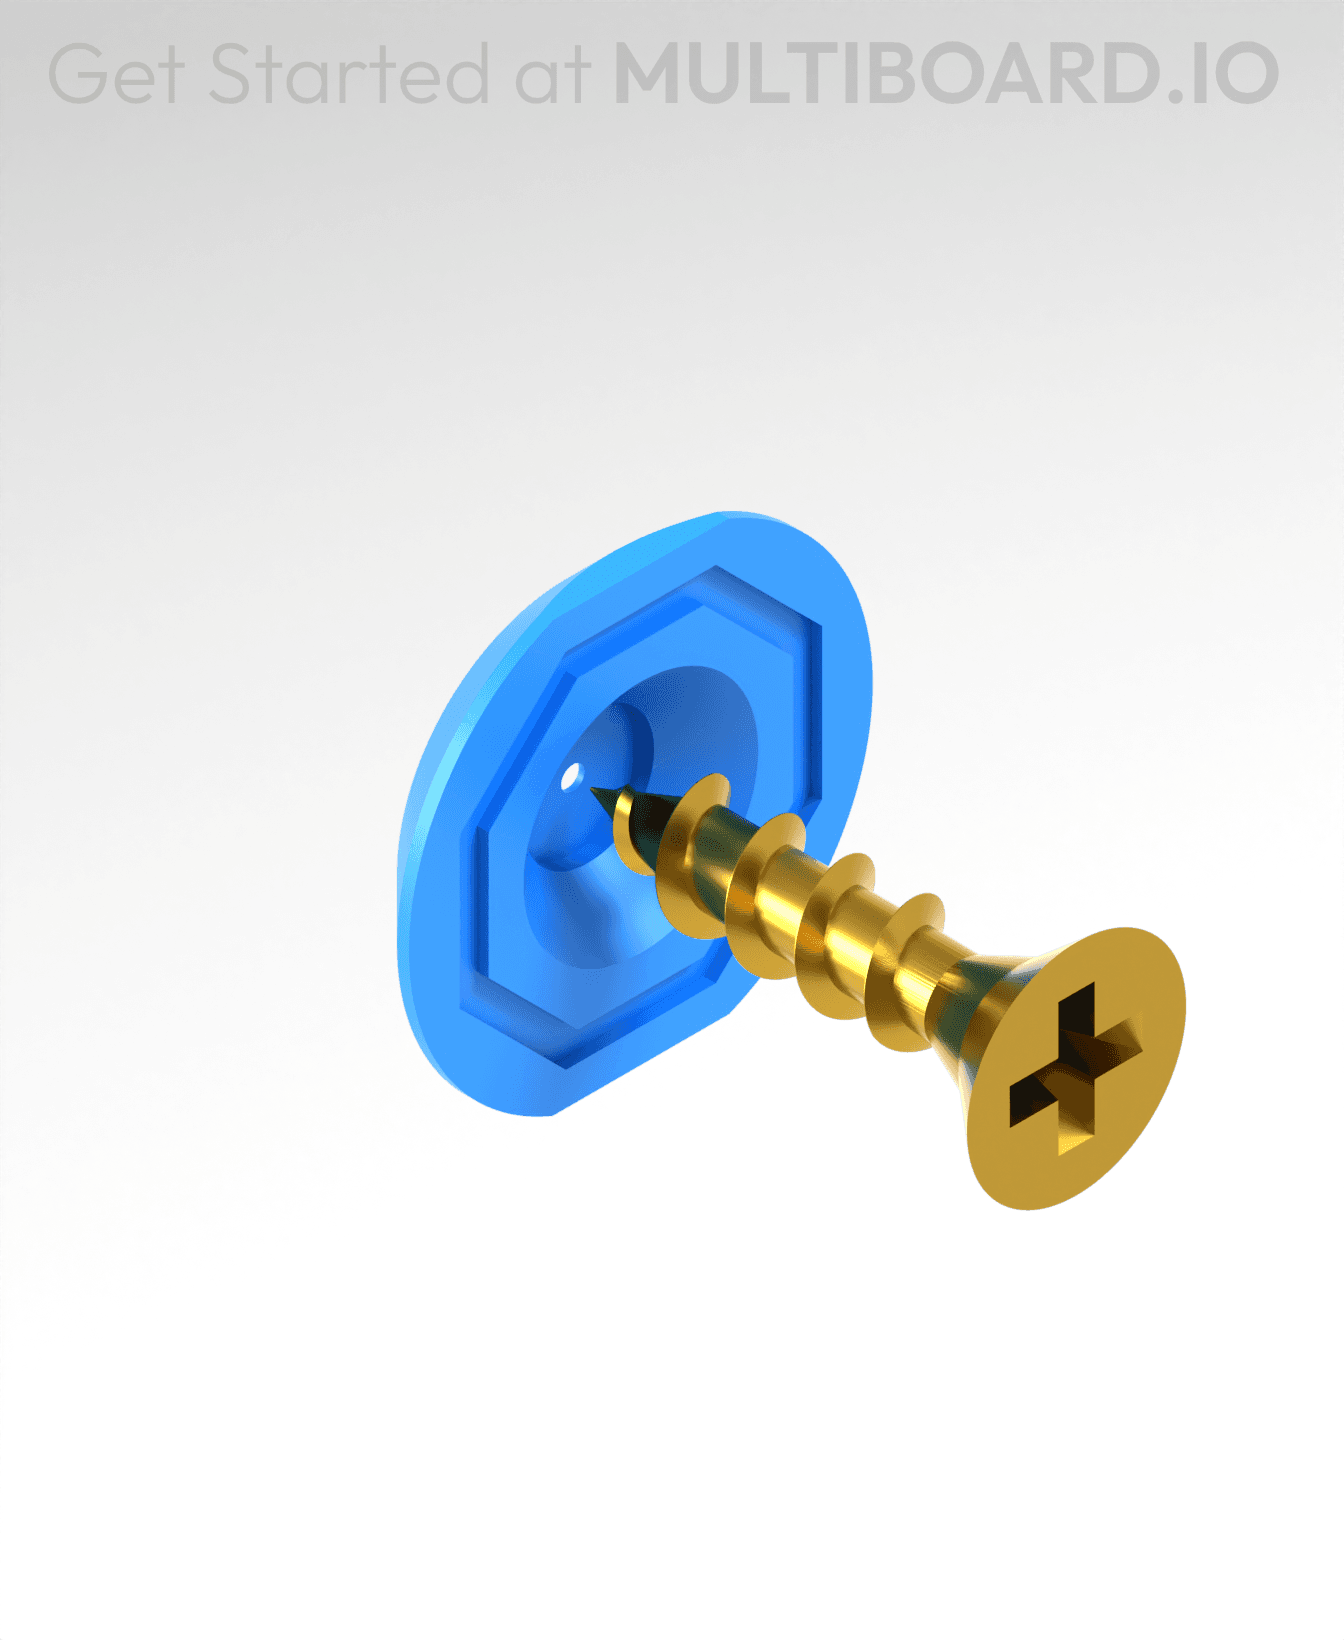
The beam ends have holes for filament pieces to be inserted. The filament is used to secure other connected beams and lock the side dual clips into place.
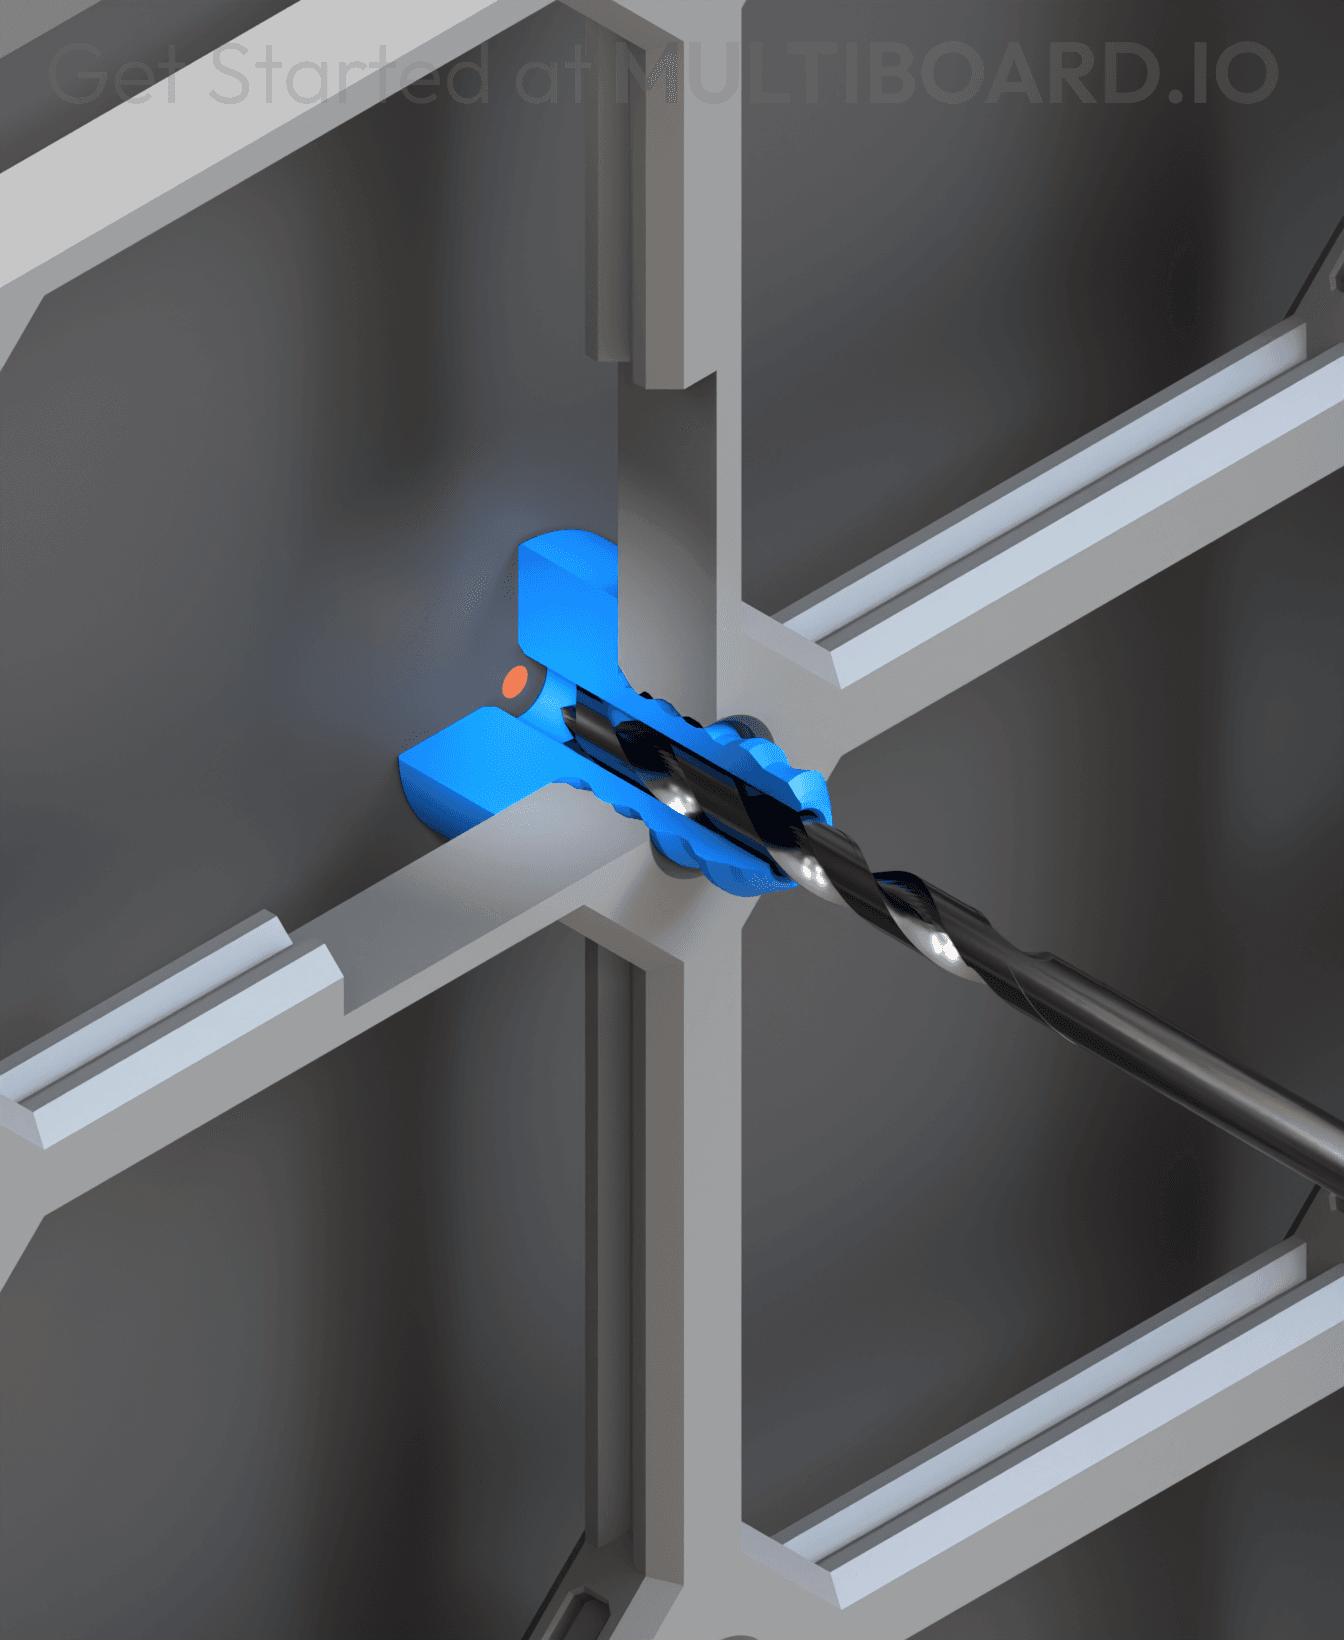
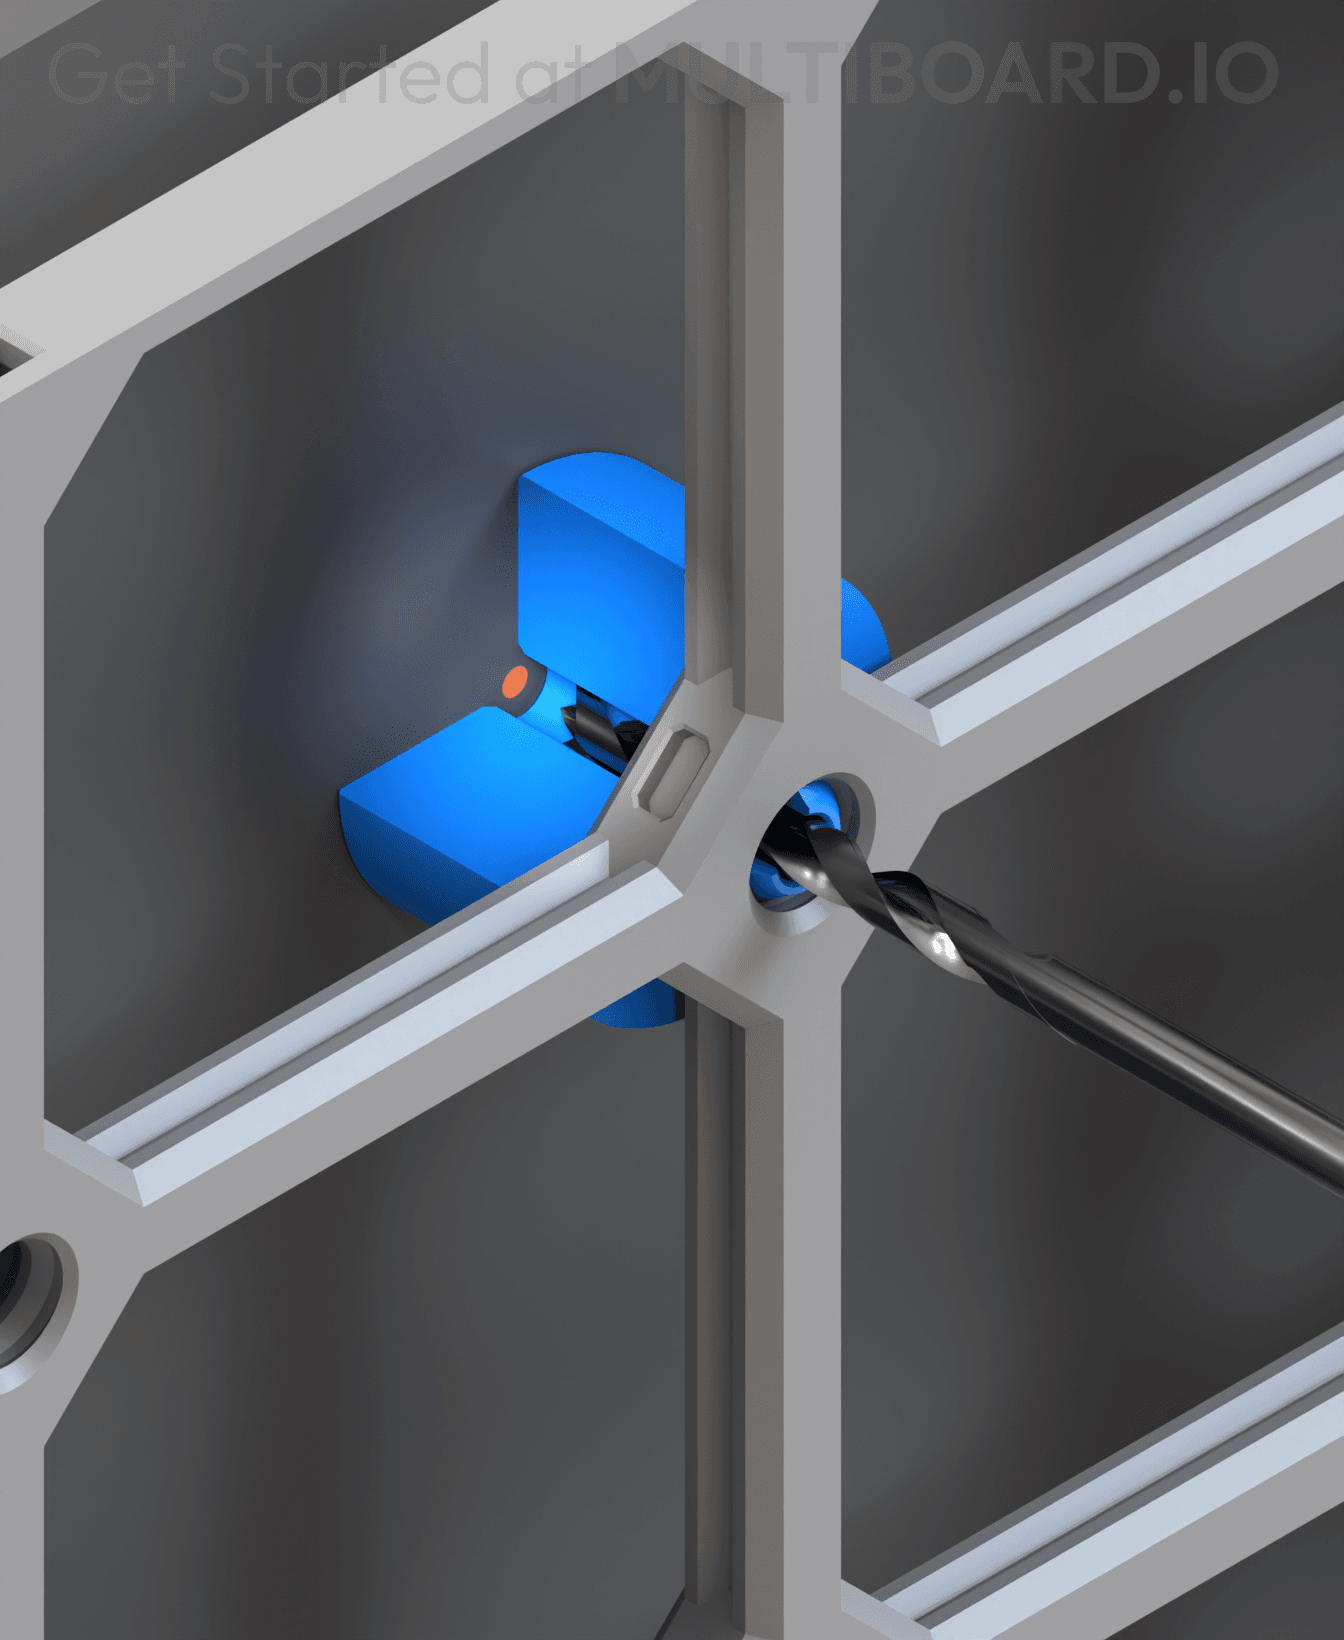
The beam includes small thread holes for added functionality. These thread holes also feature smaller secondary holes, allowing you to remove dual clips with a small Allen key.
This is a 2 MU (50 mm) beam that fits with 3 MU tiles. The additional space is for end caps or corner pieces.
Printing Guidelines:
Use 3 perimeter wall thickness, 0.2 mm layer height, 15% infill, and no supports. Apart from that, use your printer's default settings.
The printing orientation is as provided in the file. Make sure the downloaded files are .STL. This part has been designed with a tolerance of 0.25 mm. Your printer will need to be able to bridge gaps of up to 30 mm for some designs.
This object is part of Multiboard, a FREE and ridiculously modular organization system with thousands of parts to create the most adaptable workspace possible. Learn more and find ALL the parts at https://multiboard.io

2 MU - Small Thread - L Multiboard Beam
Fix Point to Countersink Adapter

Flush - Small Hole Center Marking Tool
6.25 Offset - Small Hole Center Marking Tool
12.5 Offset - Small Hole Center Marking Tool
2x6 MU - Right Support End - Modular Bolt-Locked Shelf
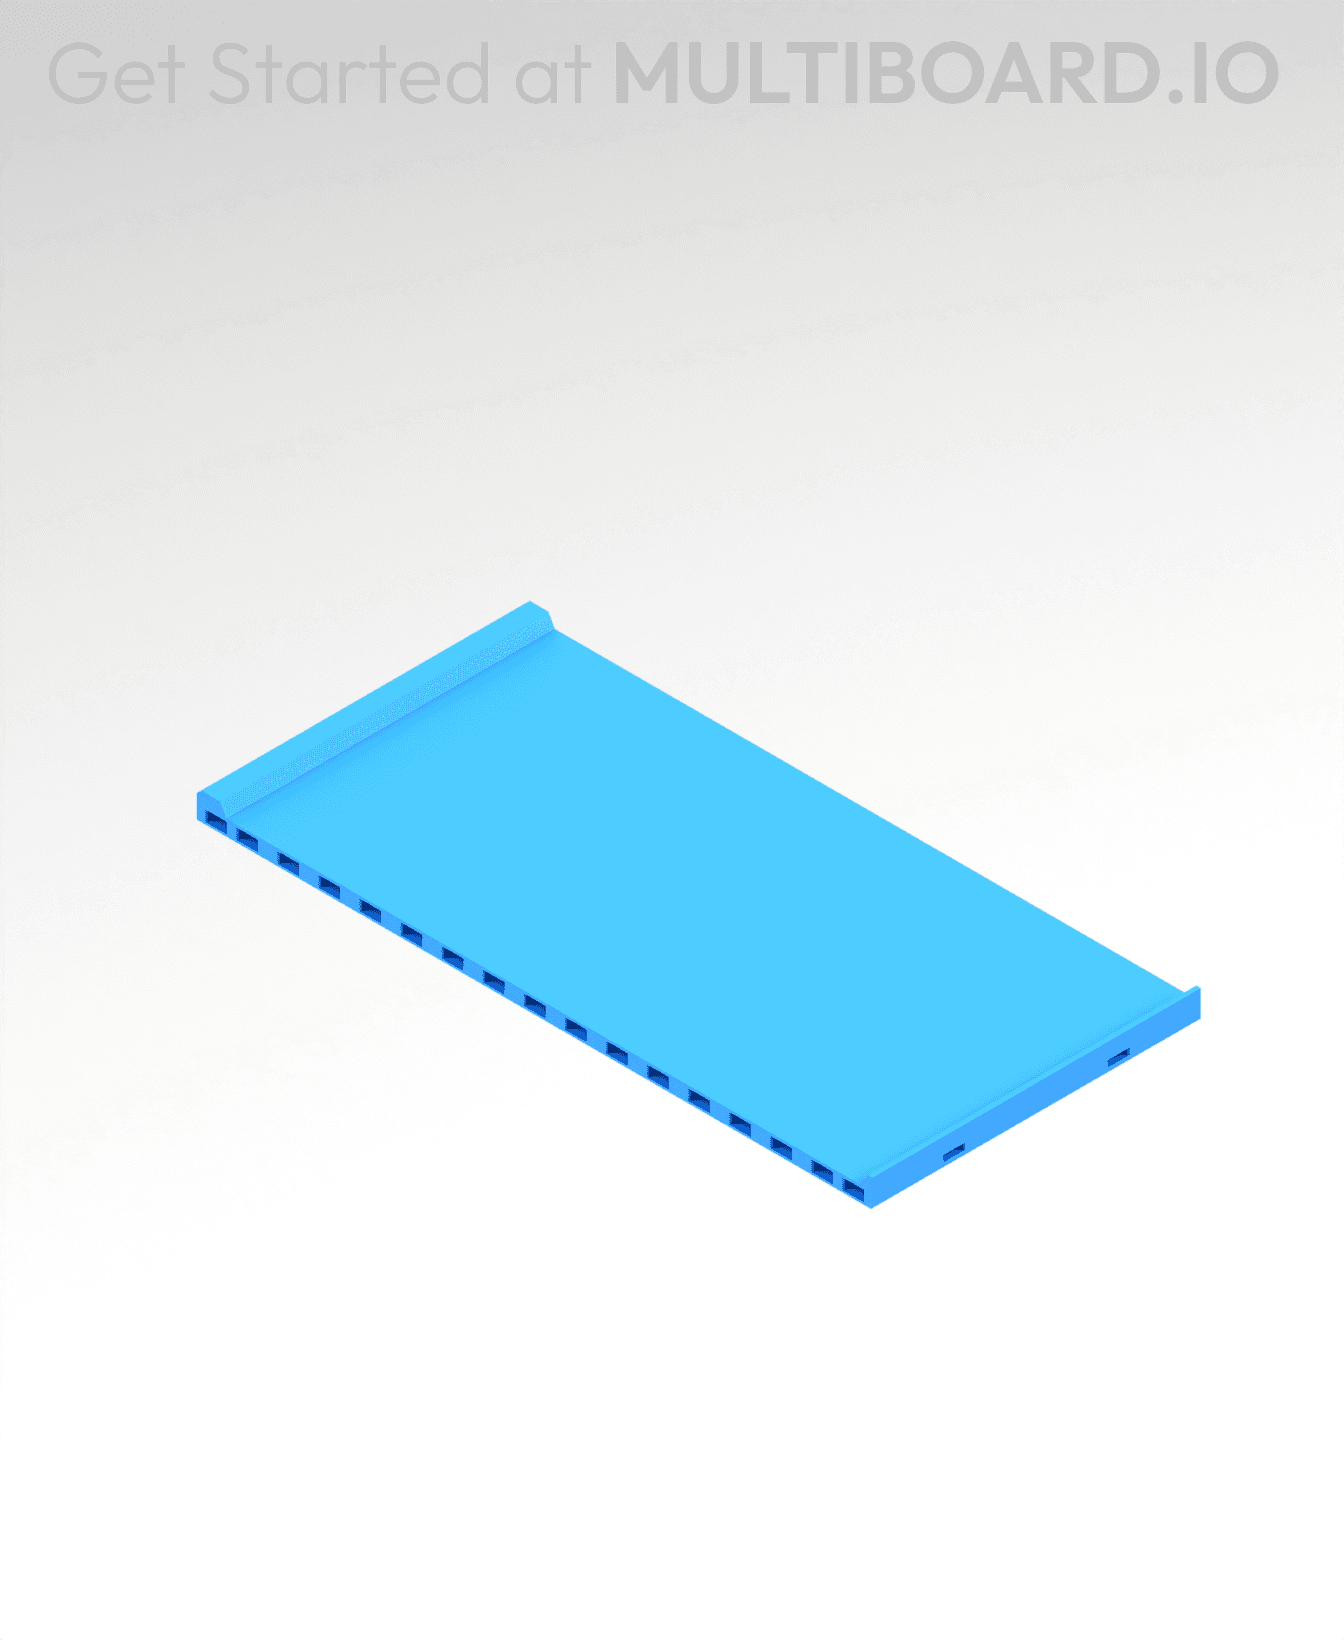
4x8 MU - Center - Modular Bolt-Locked Shelf
2x2 MU - Right Support End - Modular Bolt-Locked Shelf
2x6 MU - Left Support End - Modular Bolt-Locked Shelf
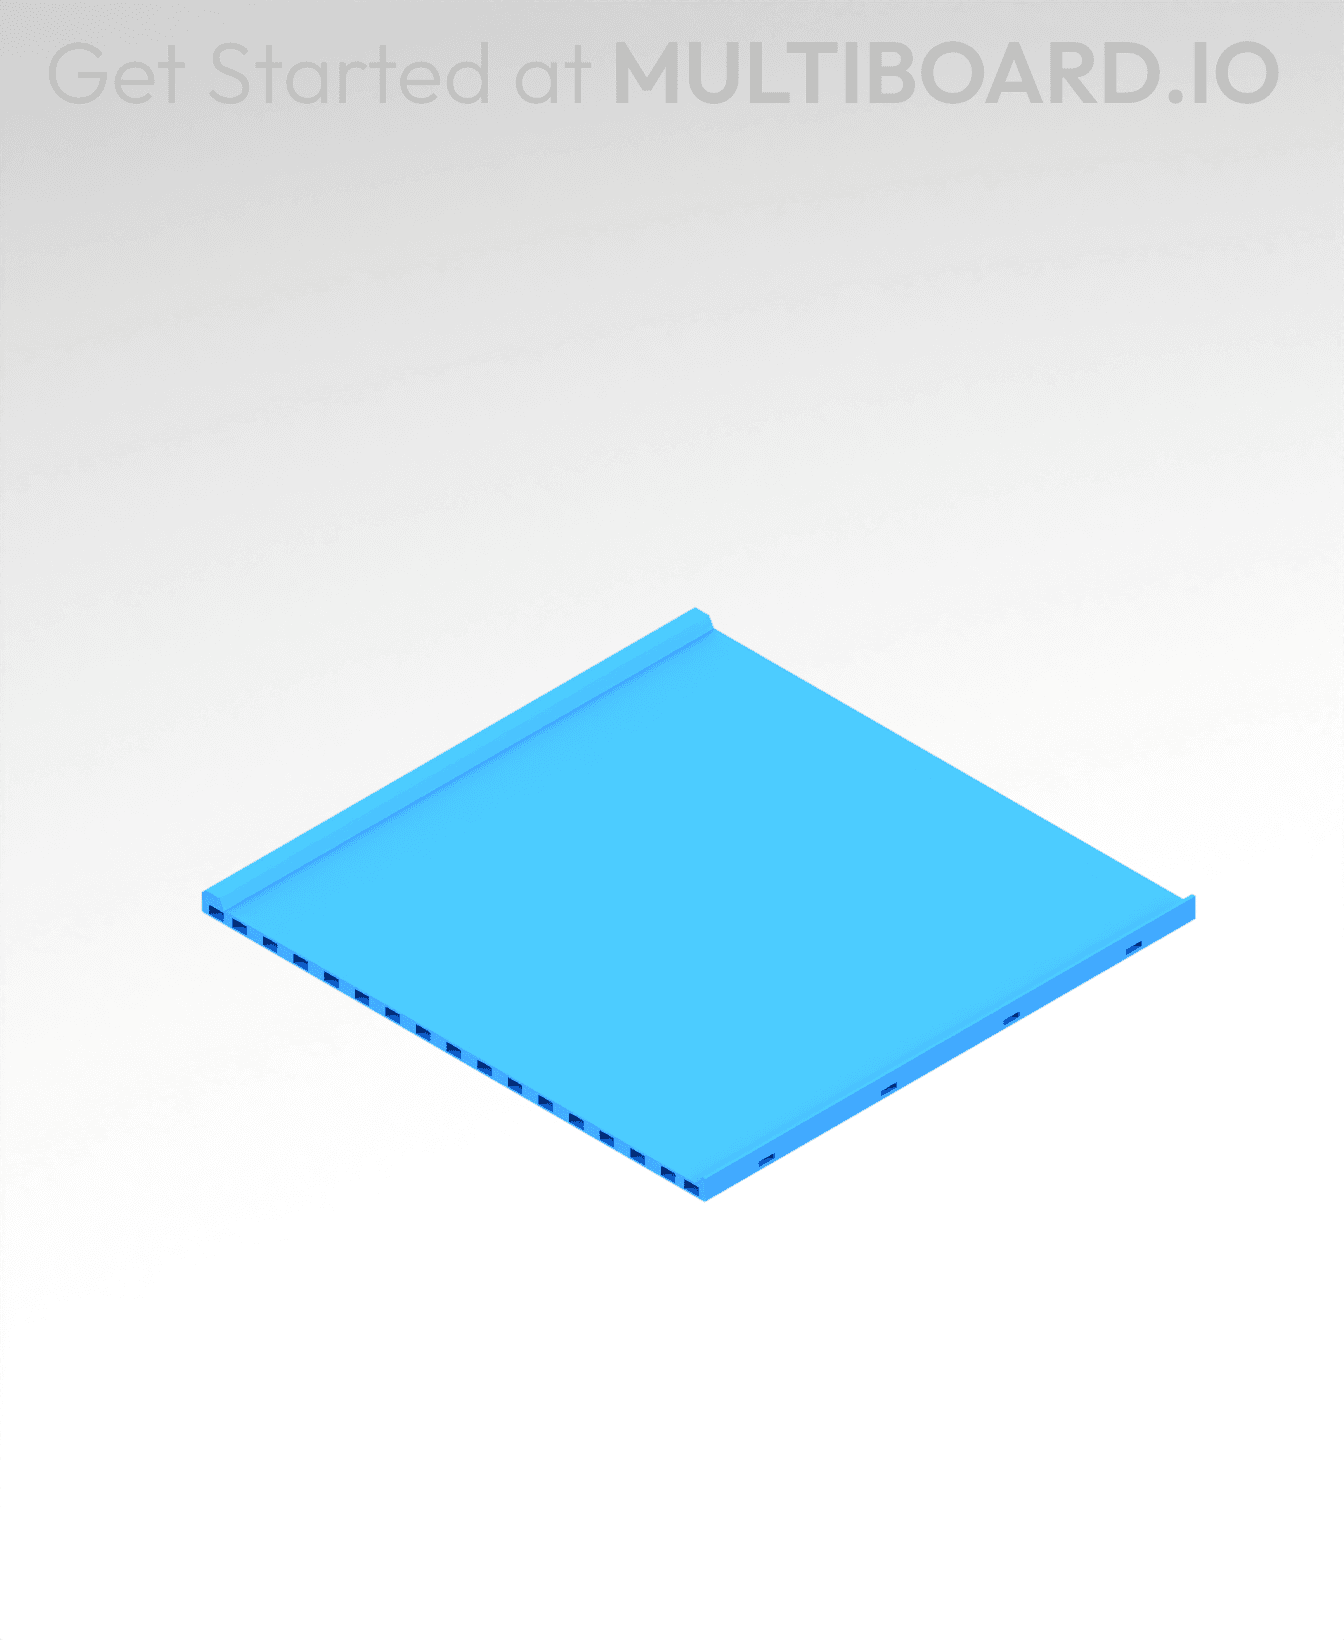
8x8 MU - Center - Modular Bolt-Locked Shelf
2x4 MU - Right Support End - Modular Bolt-Locked Shelf
4x6 MU - Center - Modular Bolt-Locked Shelf
2x8 MU - Left Support End - Modular Bolt-Locked Shelf
2x2 MU - Left Support End - Modular Bolt-Locked Shelf
8x2 MU - Center - Modular Bolt-Locked Shelf
8x4 MU - Center - Modular Bolt-Locked Shelf
2x4 MU - Center - Modular Bolt-Locked Shelf

2x8 MU - Right Support End - Modular Bolt-Locked Shelf
8x6 MU - Center - Modular Bolt-Locked Shelf
2x8 MU - Center Support - Modular Bolt-Locked Shelf
WARNING: It is not possible to get a normal clip out of the end of one of these things. If you break it, you're reprinting another beam.
Not true. There are holes on the inside that you can use an Allen key or even a piece of filament to dislodge the broken clip.